Home & life How-to
How to build a one-wall command center for tasks, deadlines and instant mood control
A concrete wall-mounted system you can assemble in eight to fifteen steps: calendar, priority strip, inspiration pocket, and a tiny ritual shelf. Designed for renters and maximalists alike—clear materials list and maintenance tips included.
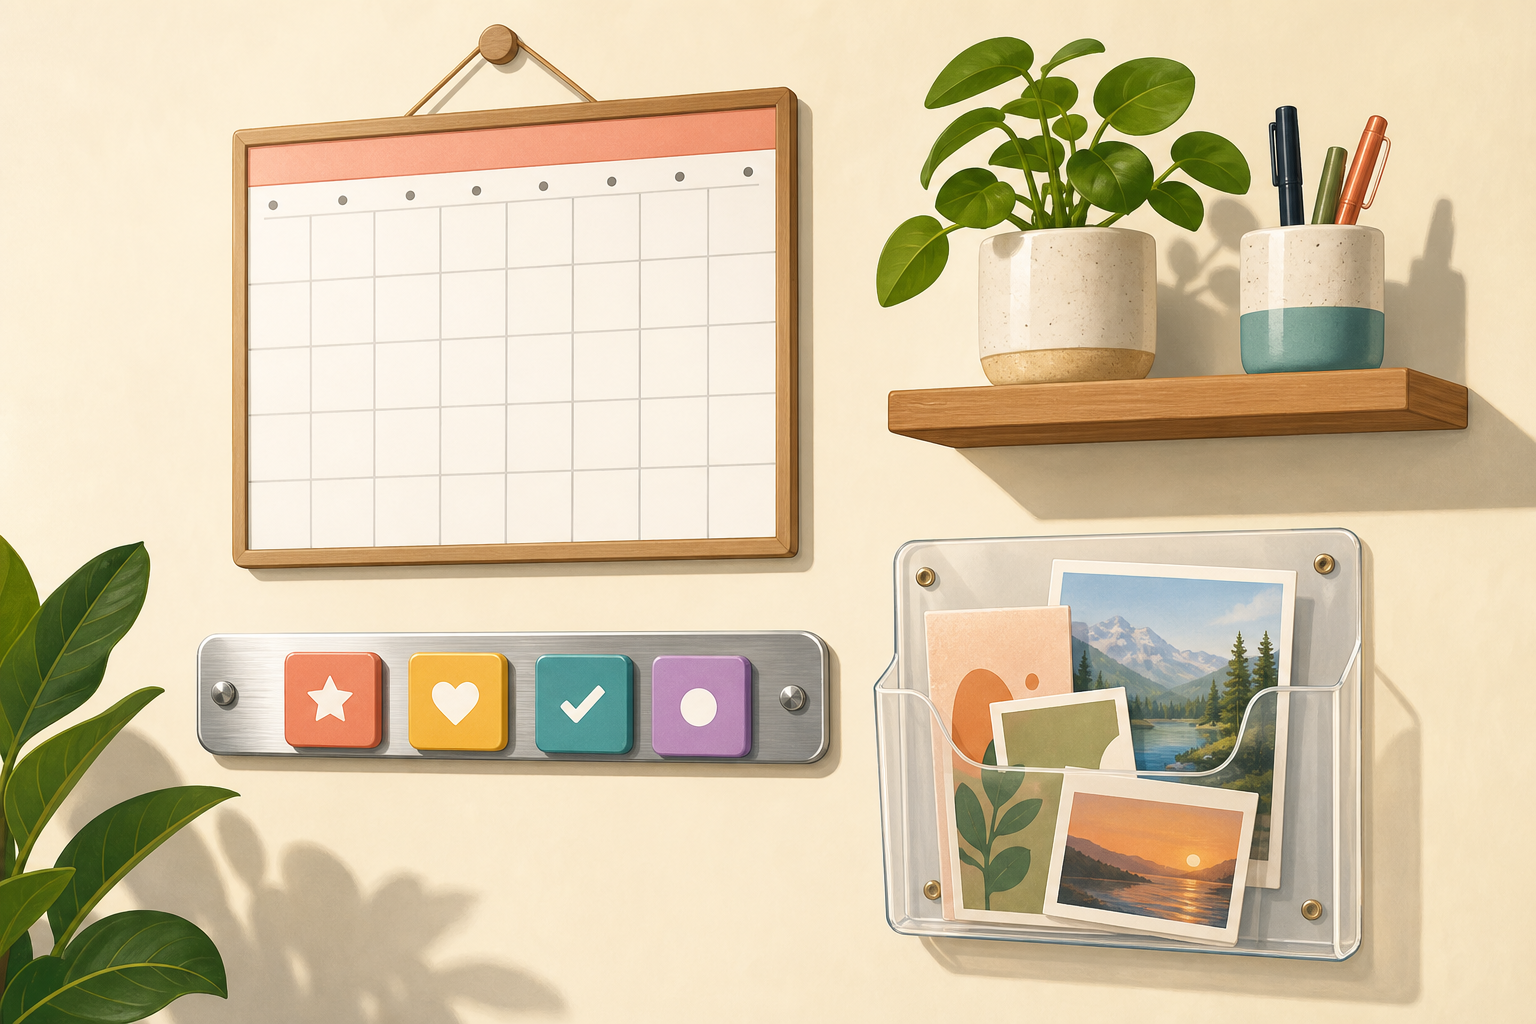
- 01
Pick the wall and pick the vibe
Stand back and choose one mostly empty vertical wall near where you do most planning—desk, kitchen landing, or hallway works. Aim for a 3–4 foot tall zone so all elements feel together. Light and visibility matter: pick a spot with good light so your tiny ritual shelf can actually cheer you up.

- 02
Gather materials and tools
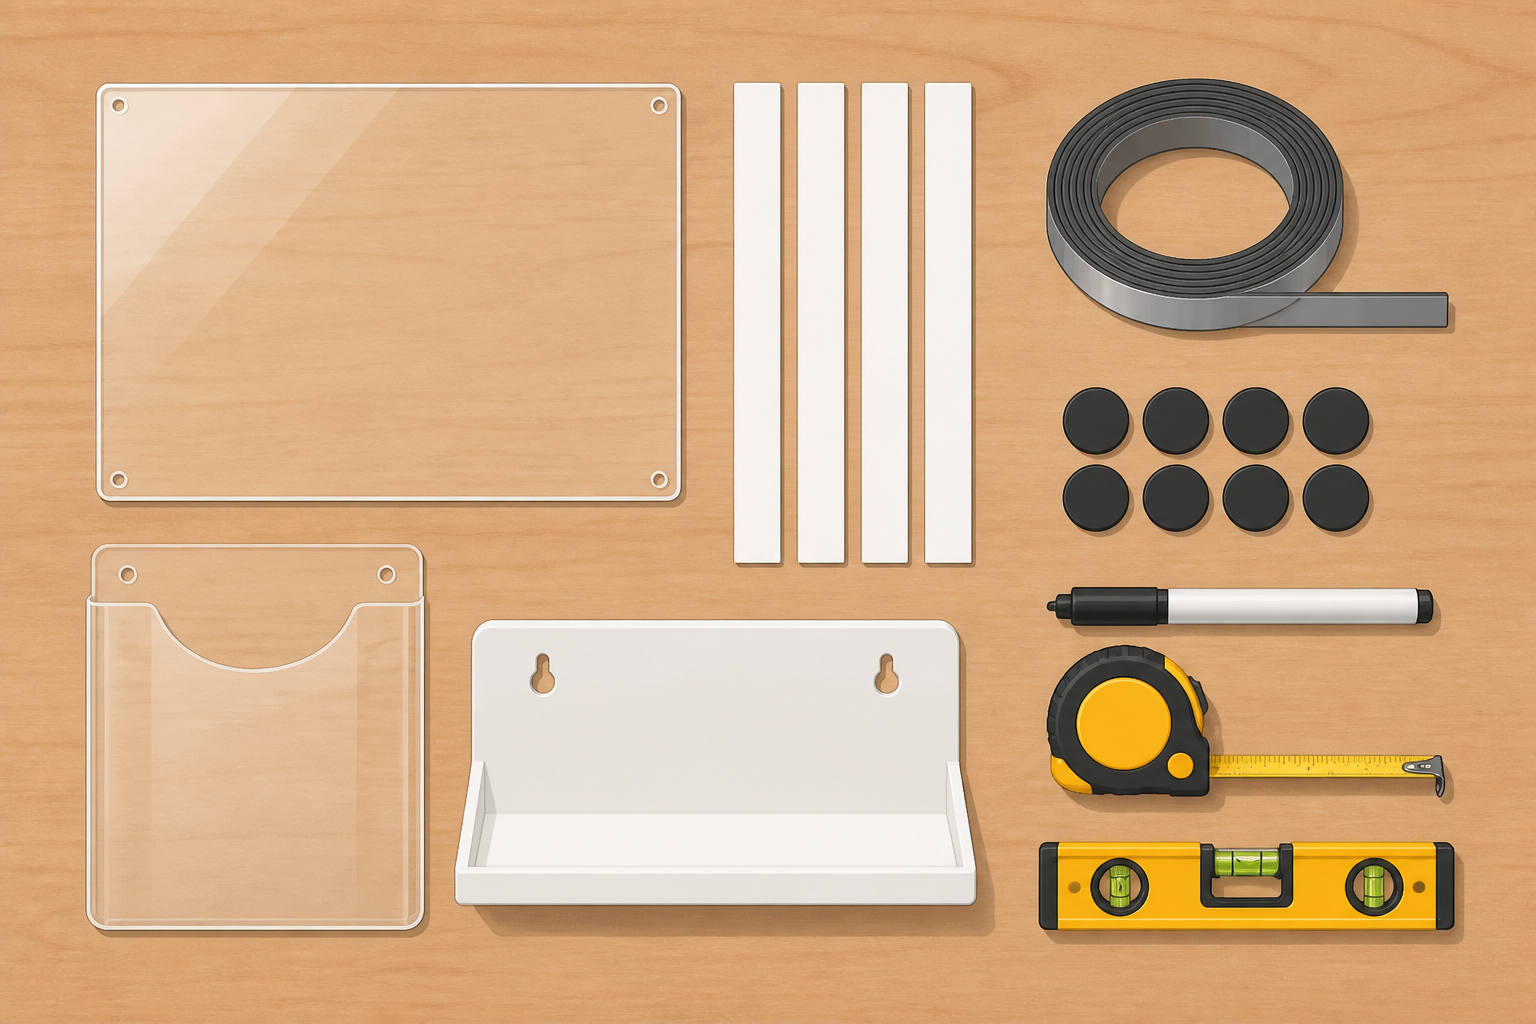
Collect the clear acrylic sheet, removable mounting strips, adhesive steel (magnetic) strip, flat magnets, a self-adhesive clear document pocket, a small removable shelf rated for lightweight items, a dry-erase marker, washi tape or colored sticky tabs, a measuring tape and a small level. Lay them out on a table so nothing disappears into the couch abyss mid-install.
- 03
Mark the layout on the wall
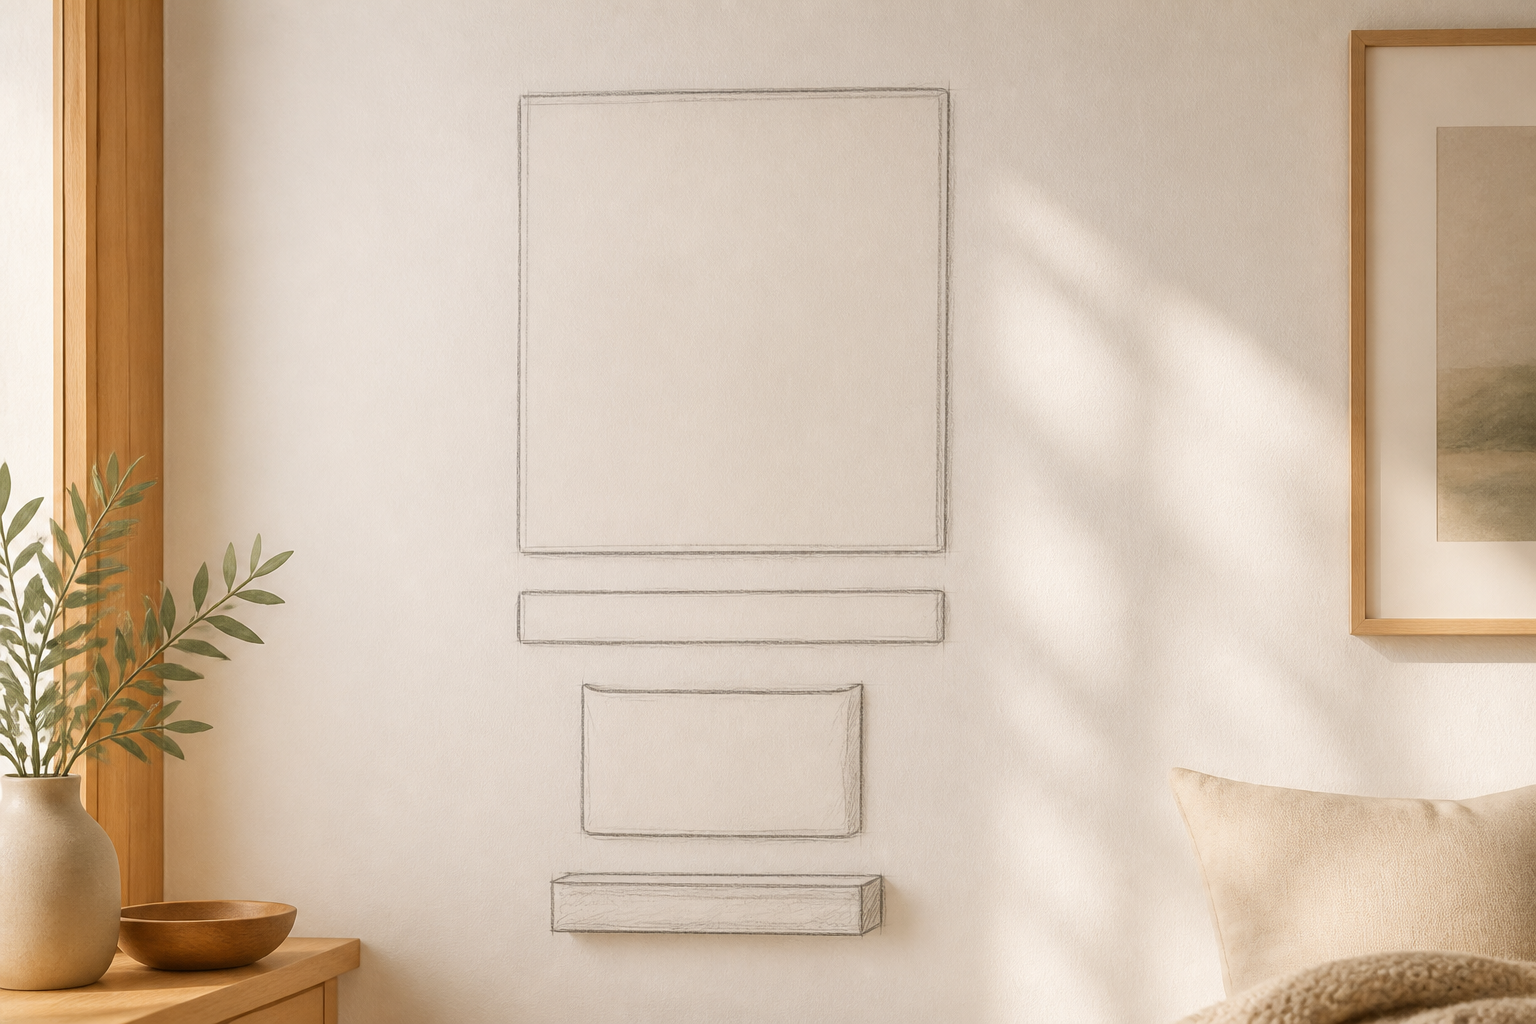
Measure and mark a light pencil outline for each element: top—acrylic calendar (about 18 x 24 in), beneath it a 1–2 inch high priority strip across the width, to the side or below the calendar a 5 x 7 in inspiration pocket, and a tiny shelf (4–6 in) positioned so it won’t be bumped. Keep measurements conservative—leave 2–3 inches between items.
- 04
Pre-fit the acrylic calendar with mounting strips
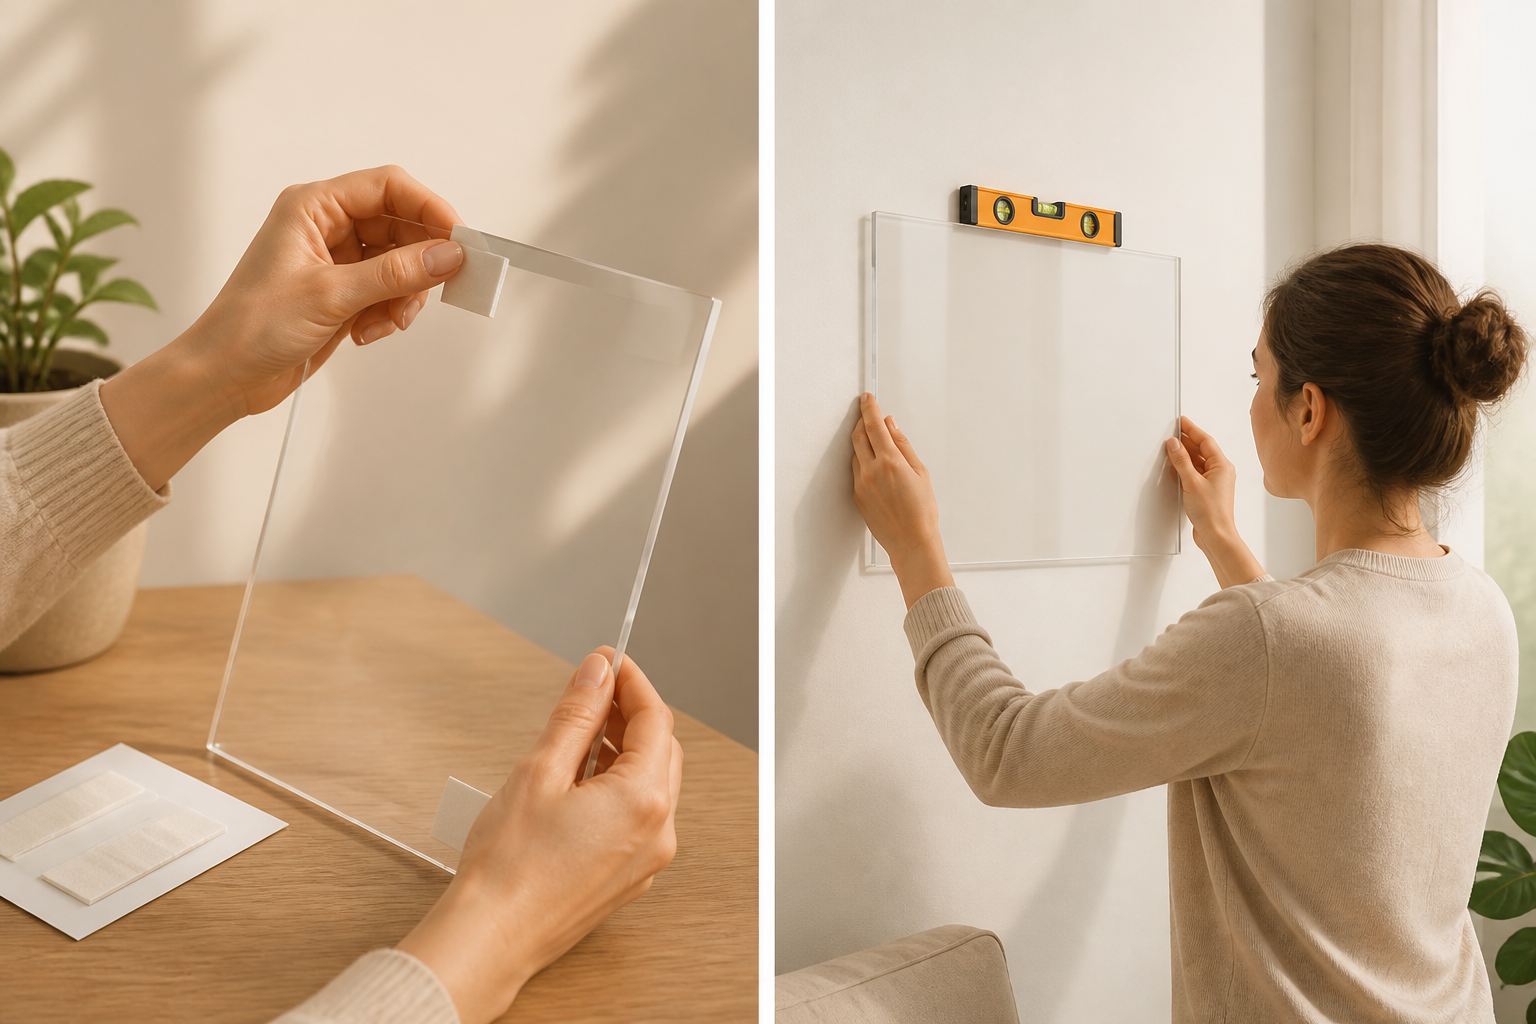
Apply the removable mounting strips to the back corners and midpoint of the acrylic sheet per the strip directions. For a sheet this size use at least four to six strips rated for the weight. Press the strips firmly, then press the acrylic to the wall within your pencil outline, holding for the recommended time so the adhesive bonds. Use a small level on the top edge before final press.
- 05
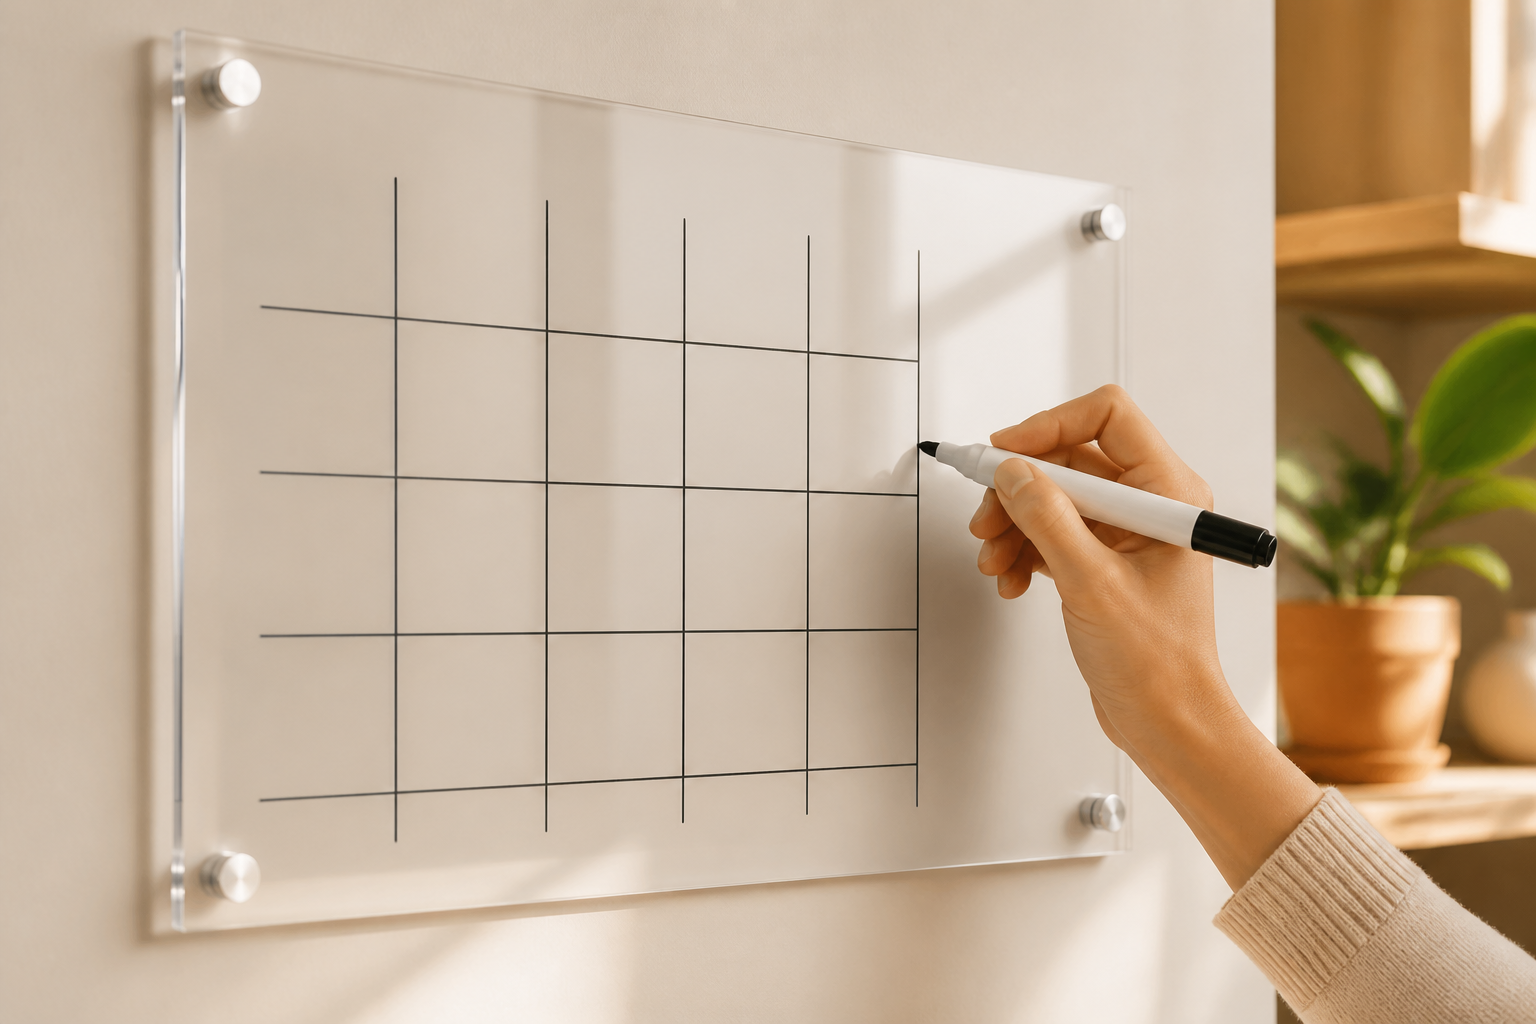
Create a dry-erase calendar grid
With the acrylic mounted, use a dry-erase marker to lightly draw a 7-column grid for days and 4–6 rows for weeks. Keep lines steady and proportional—use the acrylic’s edges as guides. Erase and redo any wonkiness; acrylic is forgiving. Optionally add a slim washi tape line for a permanent-looking header row you can write over.
- 06
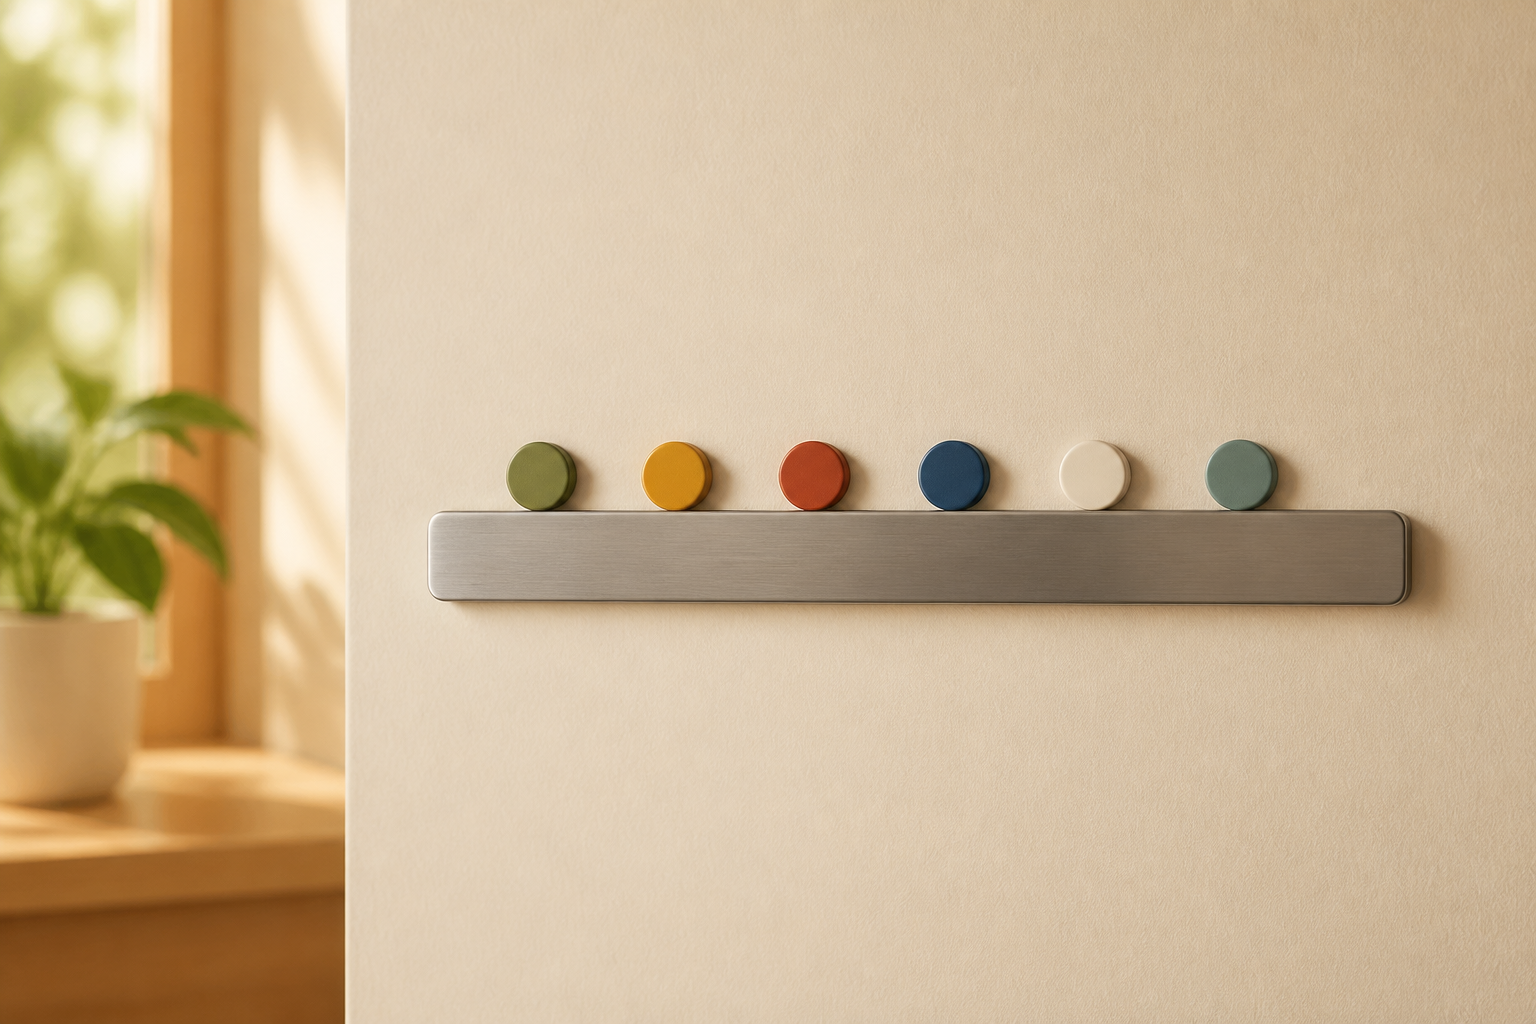
Attach the magnetic priority strip
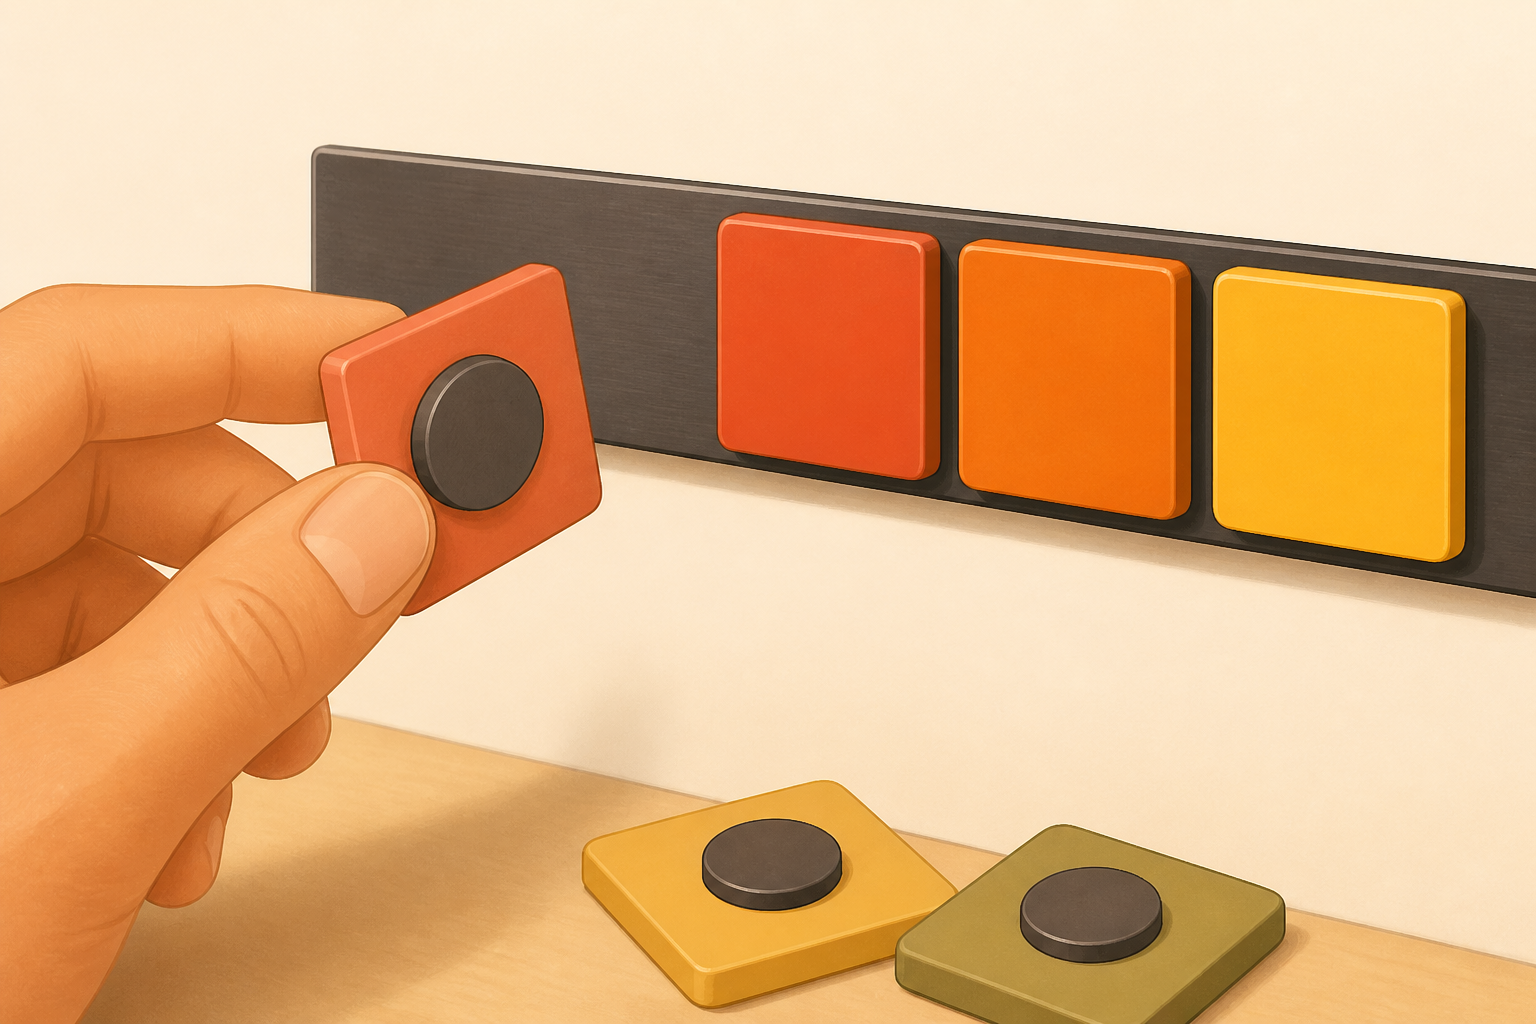
Measure and cut the adhesive steel tape to the width you marked for the priority bar. Apply it to the wall, pressing across the length. Wait the adhesive set time listed on the product, then place your flat magnets on it. Use a small cluster of magnets as movable 'priority tiles' labeled with sticky tabs or washi colors—three tiles for Today / This Week / Backlog works well.
- 07
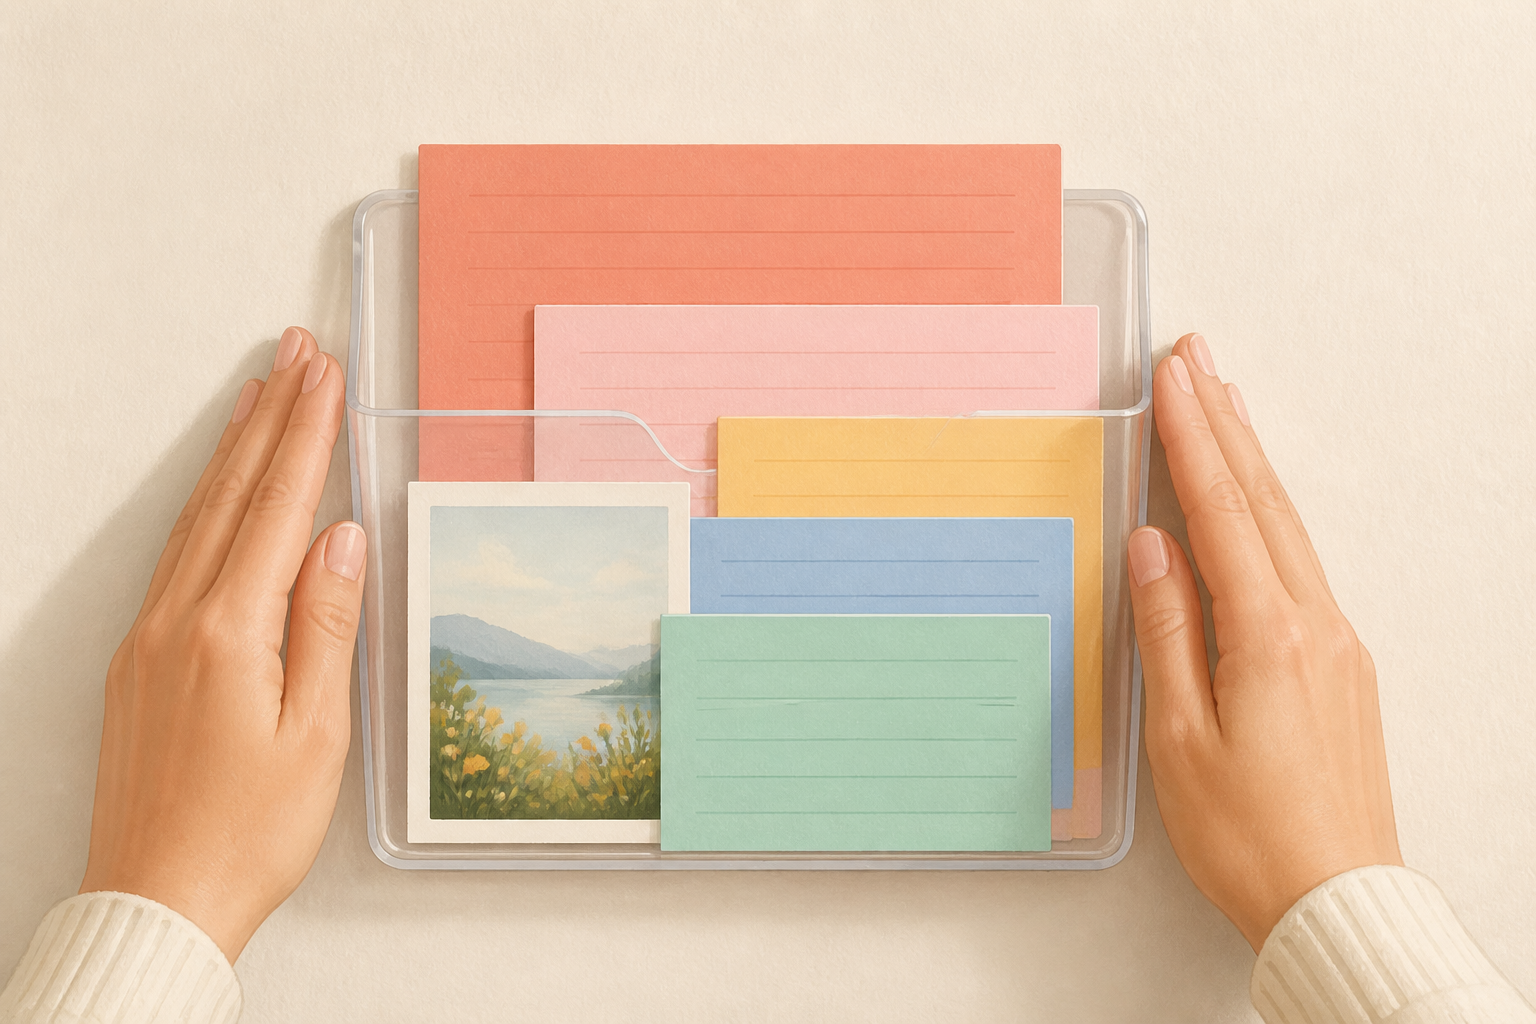
Stick on the inspiration pocket
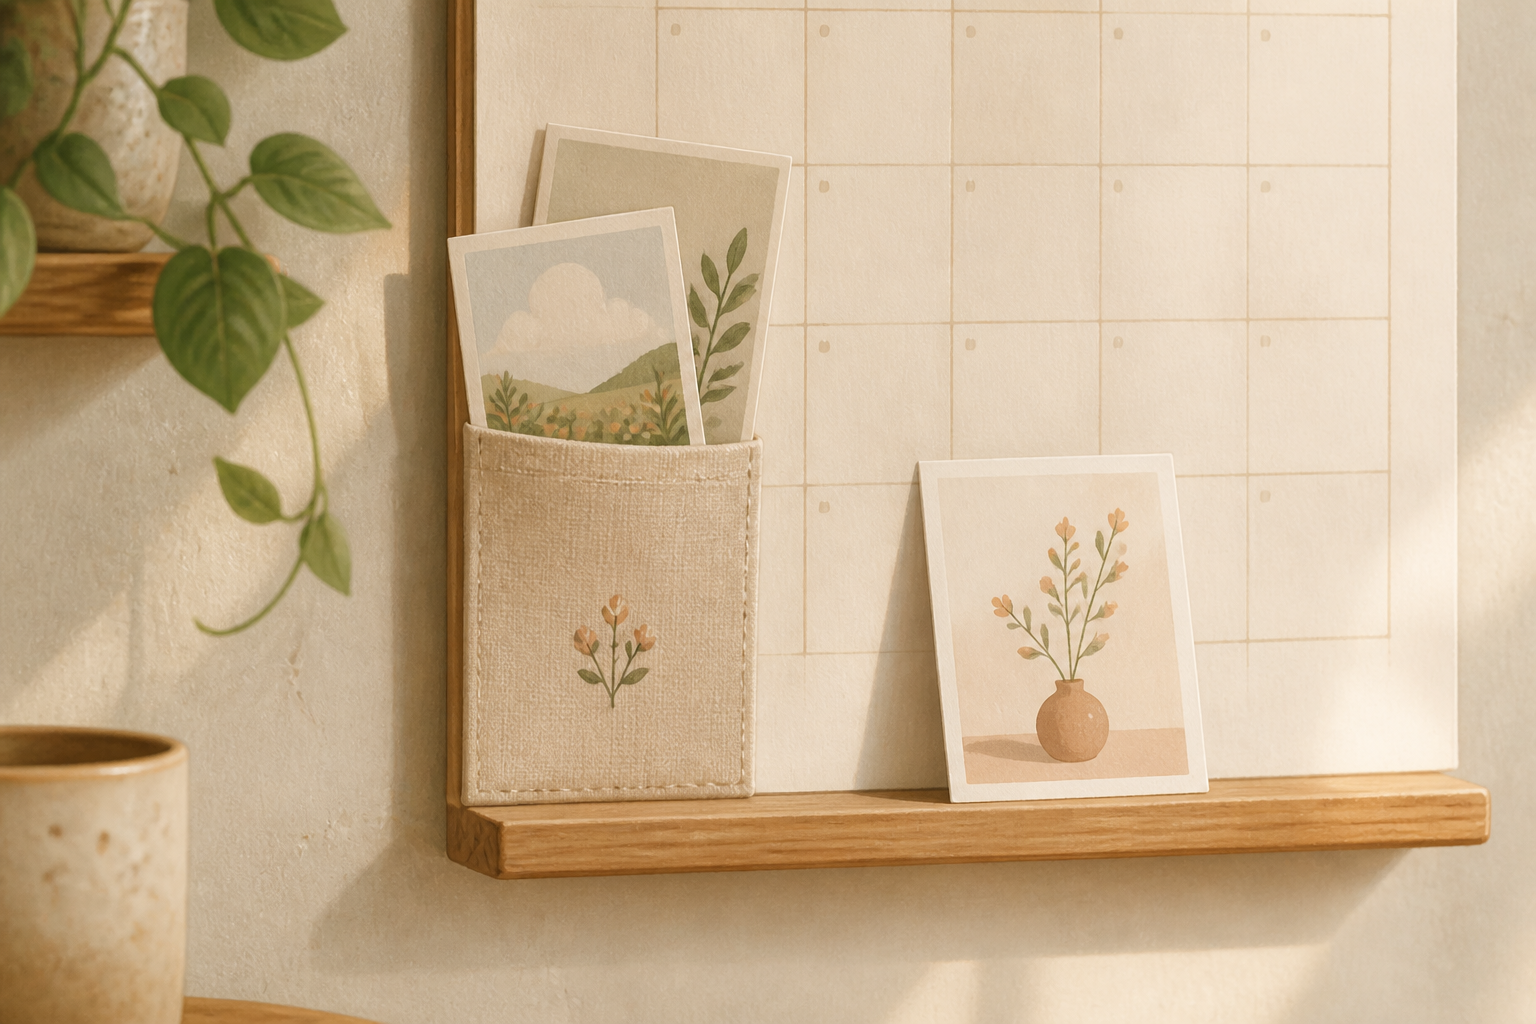
Peel and stick the self-adhesive clear document pocket inside its penciled outline. Press from one side to the other to avoid bubbles. Fill it with one-sheet inspiration—photo, quote card or a small assortment of index cards. Keep contents light so the pocket stays flat and the adhesive lasts.
- 08
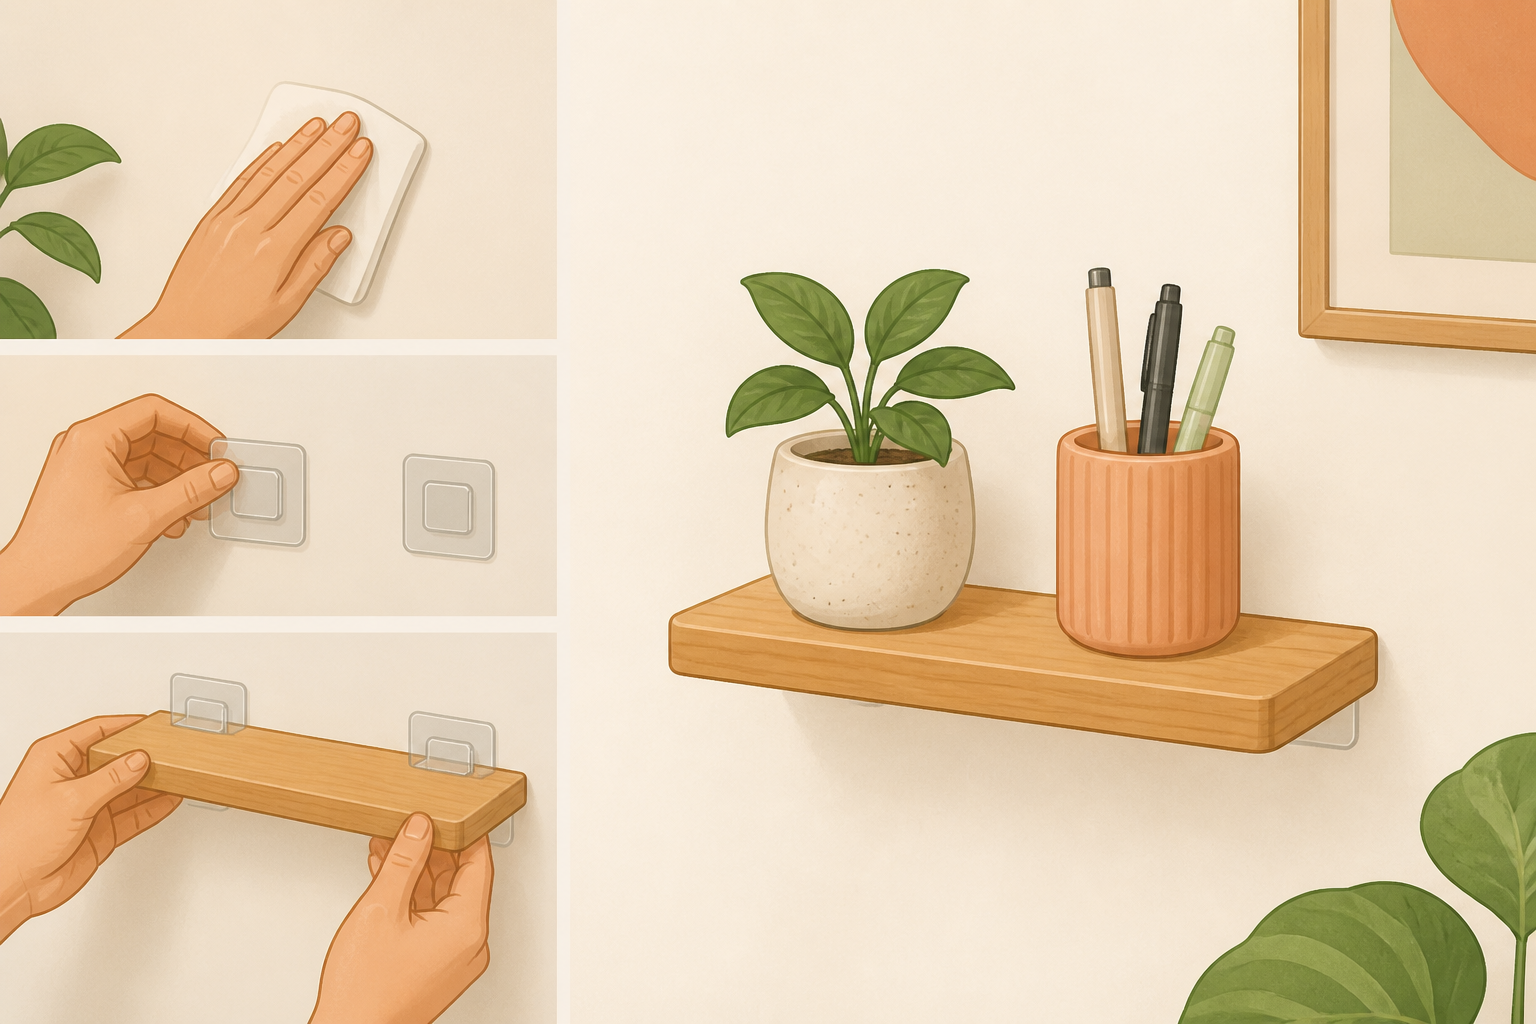
Install the tiny ritual shelf
Use the removable small shelf’s mounting strips or adhesive hardware per its instructions and attach at the penciled spot. Only place featherlight items—pen cup, tiny plant in an unbreakable pot, or a simple token. Confirm the shelf’s weight rating first and do a cautious test by pressing down before leaving anything on it.
- 09
Make movable priority tiles
Cut small squares of cardstock or use colorful sticky tabs and attach a magnet to the back of each. Label each tile simply—Today, Next, Wait—or use icons. Arrange them on the magnetic strip. These tiles give instant tactile control: move them when priorities change instead of rewriting.
- 10
Add habit or ritual micro-prompts
On the lower corner of the calendar or the tiny shelf, add one or two micro-prompts—short printed cards (one-sentence) reminding you to breathe, to take five, or to drink water. Tuck them into the inspiration pocket or stand them on the shelf. Keep these prompts short and removable so they can rotate with your mood.
- 11
Test, tidy and set a weekly refresh
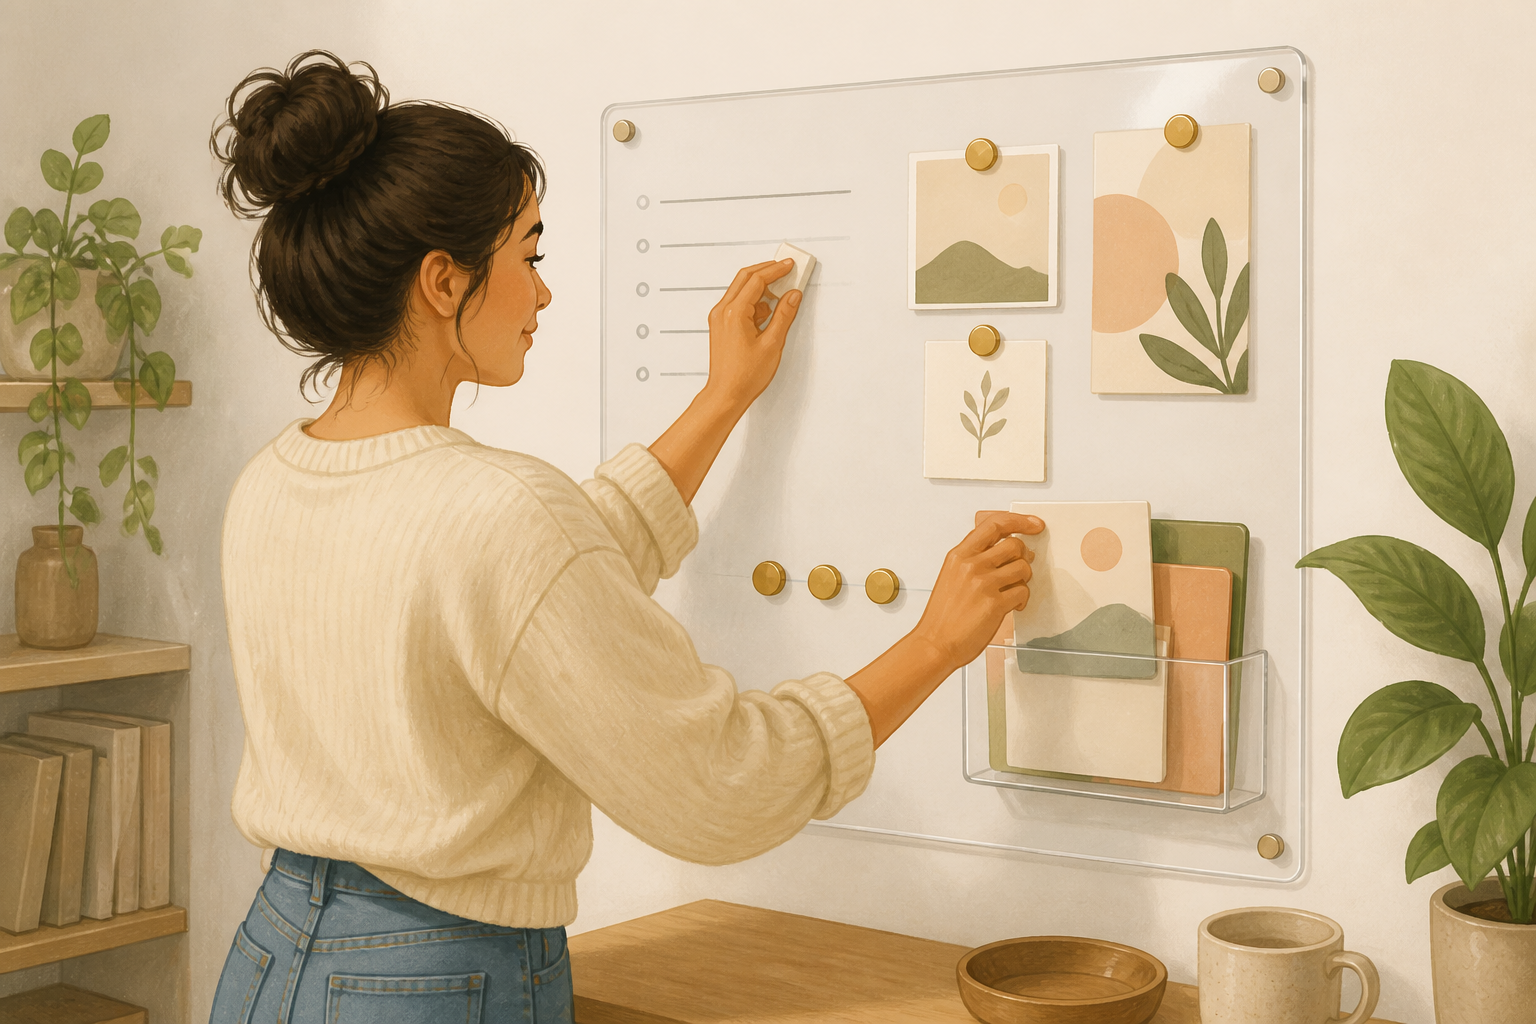
Step back and use the system for one week. Test how magnets hold, whether the shelf wobbles, and if the calendar size fits your planning style. At the end of week one, tidy: erase stray marker lines, replace any mounting strips that creep, and swap one inspiration card to keep the mood fresh. Commit five minutes each Sunday to reset tiles and update the calendar.
- 12
Maintenance checklist and safe-removal
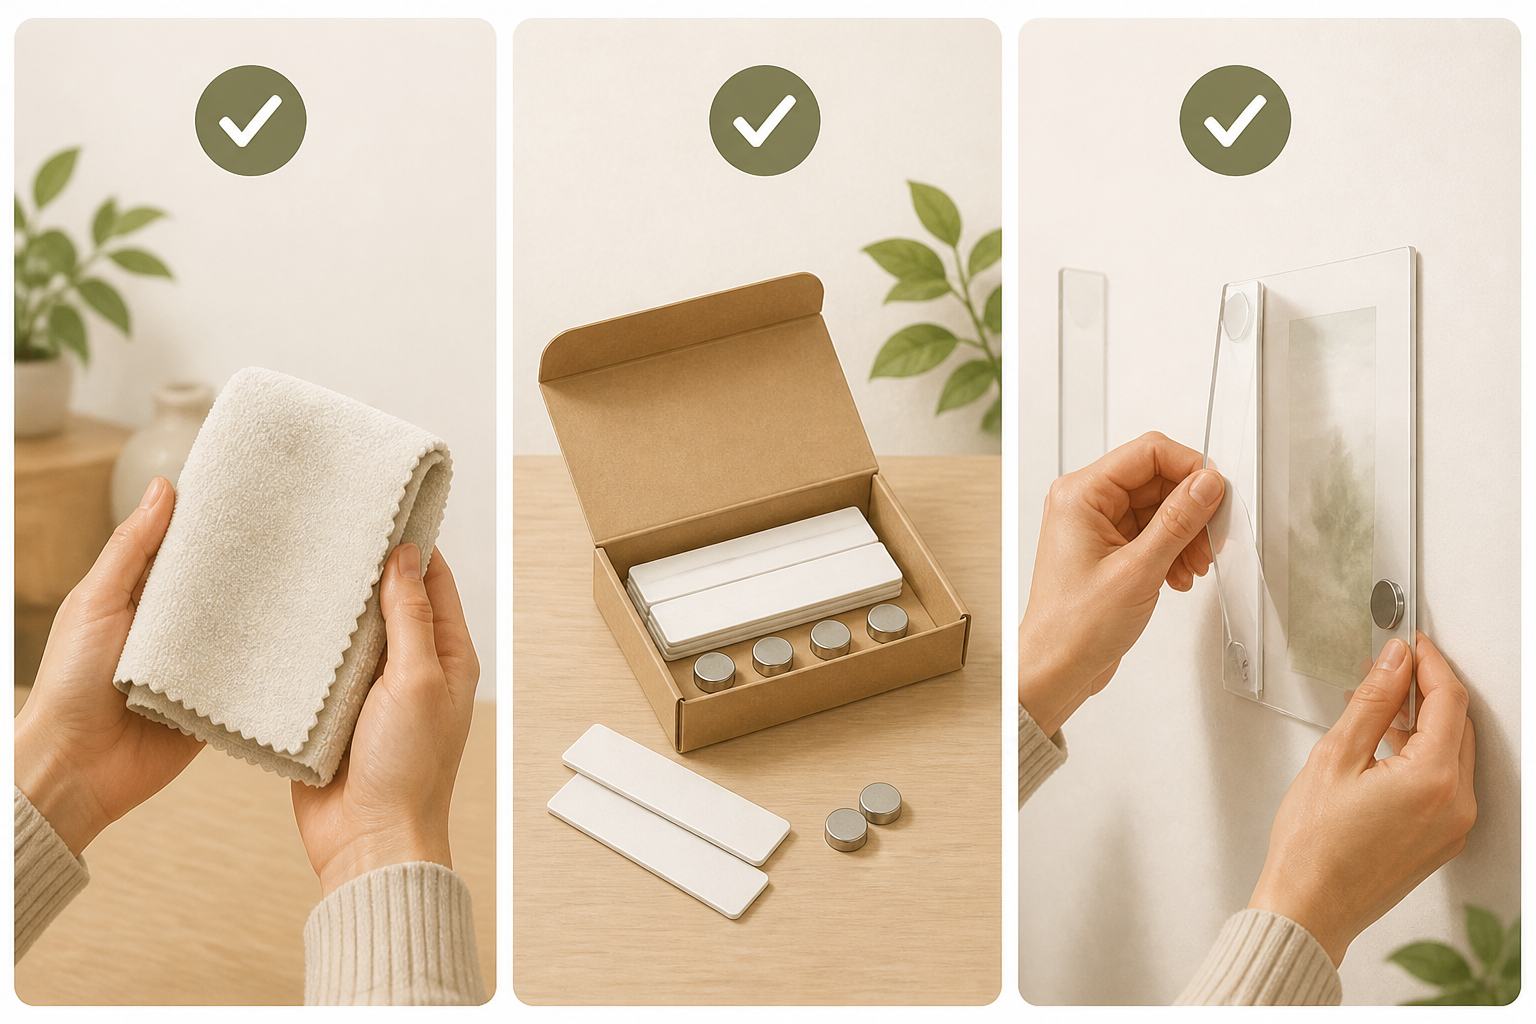
Every month: check adhesive strips for peeling, keep shelf weight under the rated limit, and clean the acrylic with a non-abrasive cleaner. For removal, follow the mounting-strip directions exactly (slow peel or stretch-release) to protect paint. Store magnets and extra strips in a small box on the shelf so refreshes are easy.
If this was useful
Try one of these next

Learning Listicle
5 Albums That Reworked Metalcore Tropes — The Best Entry Points for New Listeners
A tight, ranked guide to five albums that stripped away clichés and pushed metalcore forward. Each pick explains which trope was reworked (breakdowns, clean/scream balance, production, electronics) and why it’s a useful gateway for listeners new to the style.
Read article
Hobbies & crafts Listicle
10 Innovative Metalcore Bands Right Now (Including Vanitas Rex)
A rollicking ranked list of ten modern metalcore acts that twist the genre into fresh shapes — Vanitas Rex included. Ranking is transparent: originality of songwriting, use of noncore influences (jazz, electronica, post-metal), and production boldness determine position.
Read article
Learning Listicle
5 Ways to Discover Experimental Metalcore Beyond Mainstream Algorithms
A ranked list of reliable discovery paths — local shows and scenes, dedicated small-press zines, community-run Bandcamp pages, niche radio/podcasts, and musician-to-musician recommendations — ordered by depth of discovery and likelihood of unearthing truly experimental acts.
Read article
Food & drink Listicle
10 Weeknight Keto Beef Mince Dinners Ready in 30 Minutes or Less
Speed + low-carb deliciousness = sanity. Ranked by true hands-on time, this list runs from skillet stir-fries to speedy skillet lasagna swaps and lettuce-wrapped tacos—each entry includes a note on prep shortcuts and one-sentence serve.
Read article