Home & life How-to
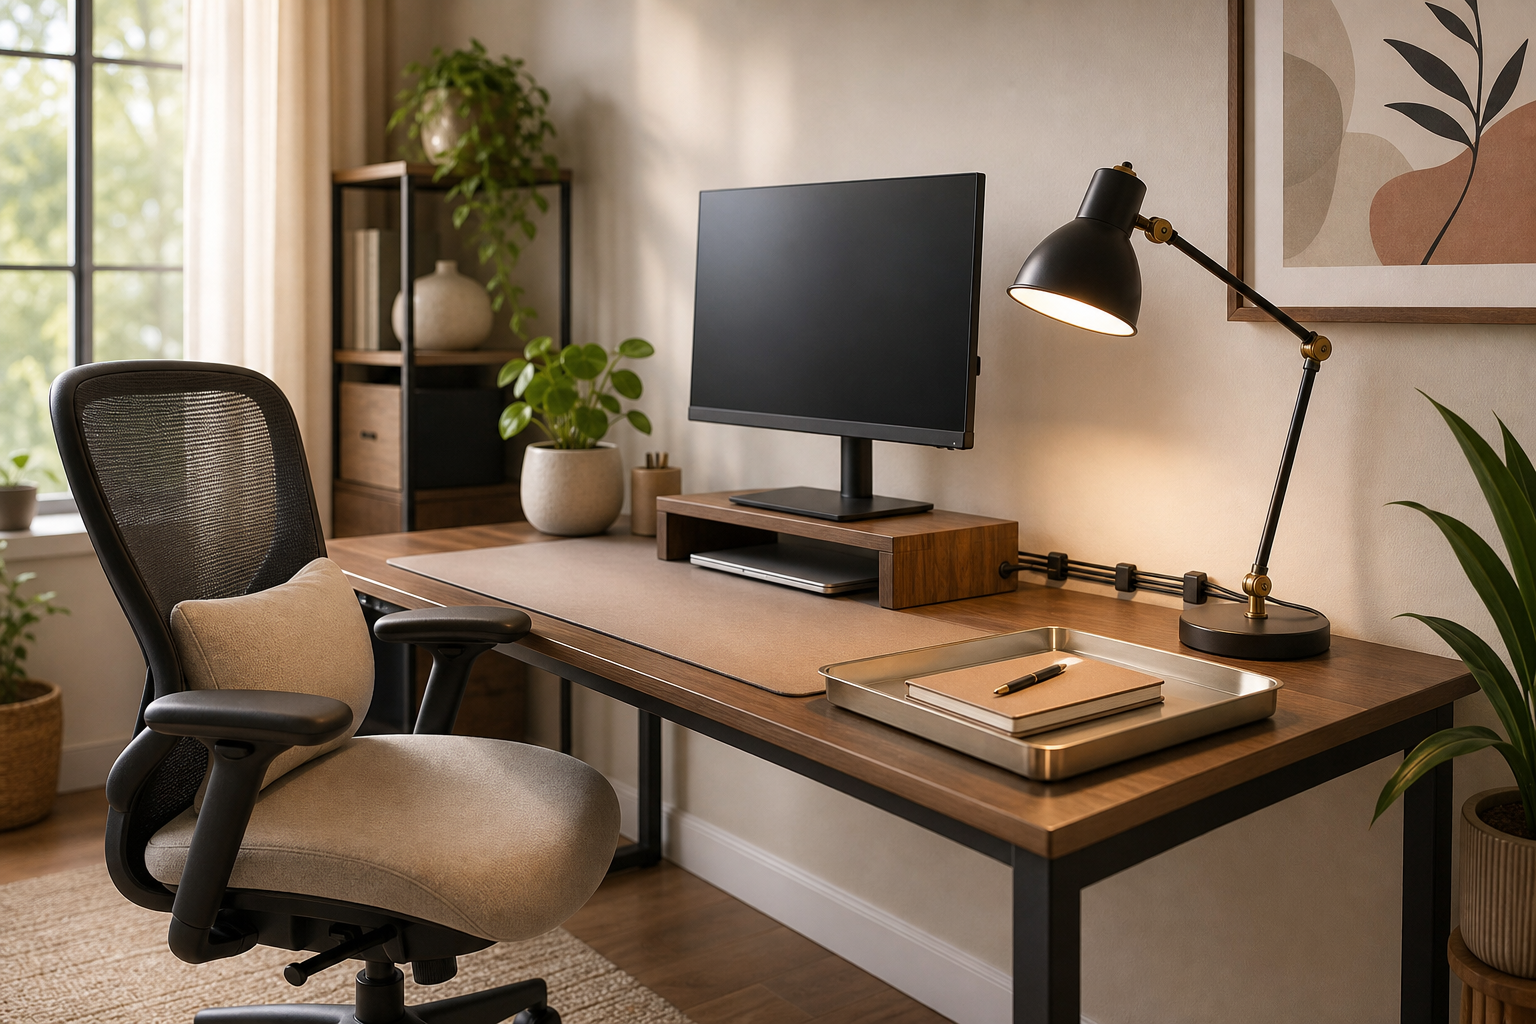
How to lay out an ergonomic baddie desk that actually makes you sit like a legend
Turn posture into panache. A quick, step-by-step guide to arranging your chair, monitor(s), keyboard, and mouse so you look fierce and don’t hate your neck by 3 PM. Includes simple measurements, seat adjustments, and easy swaps for small or
- 01
Clear a working footprint
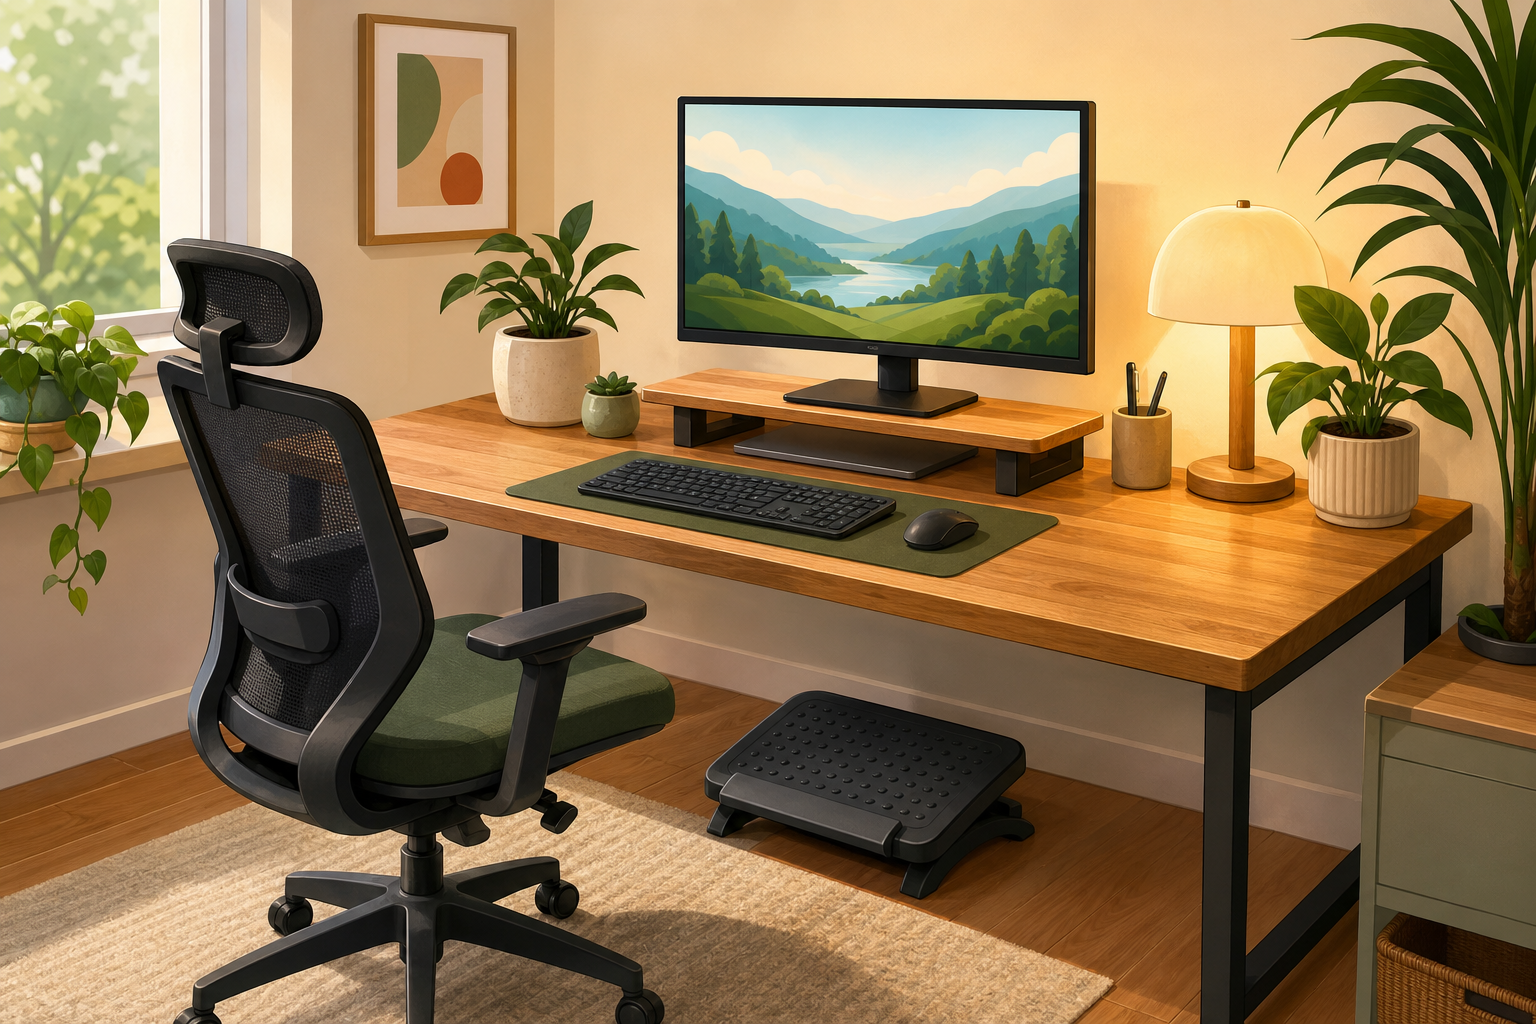
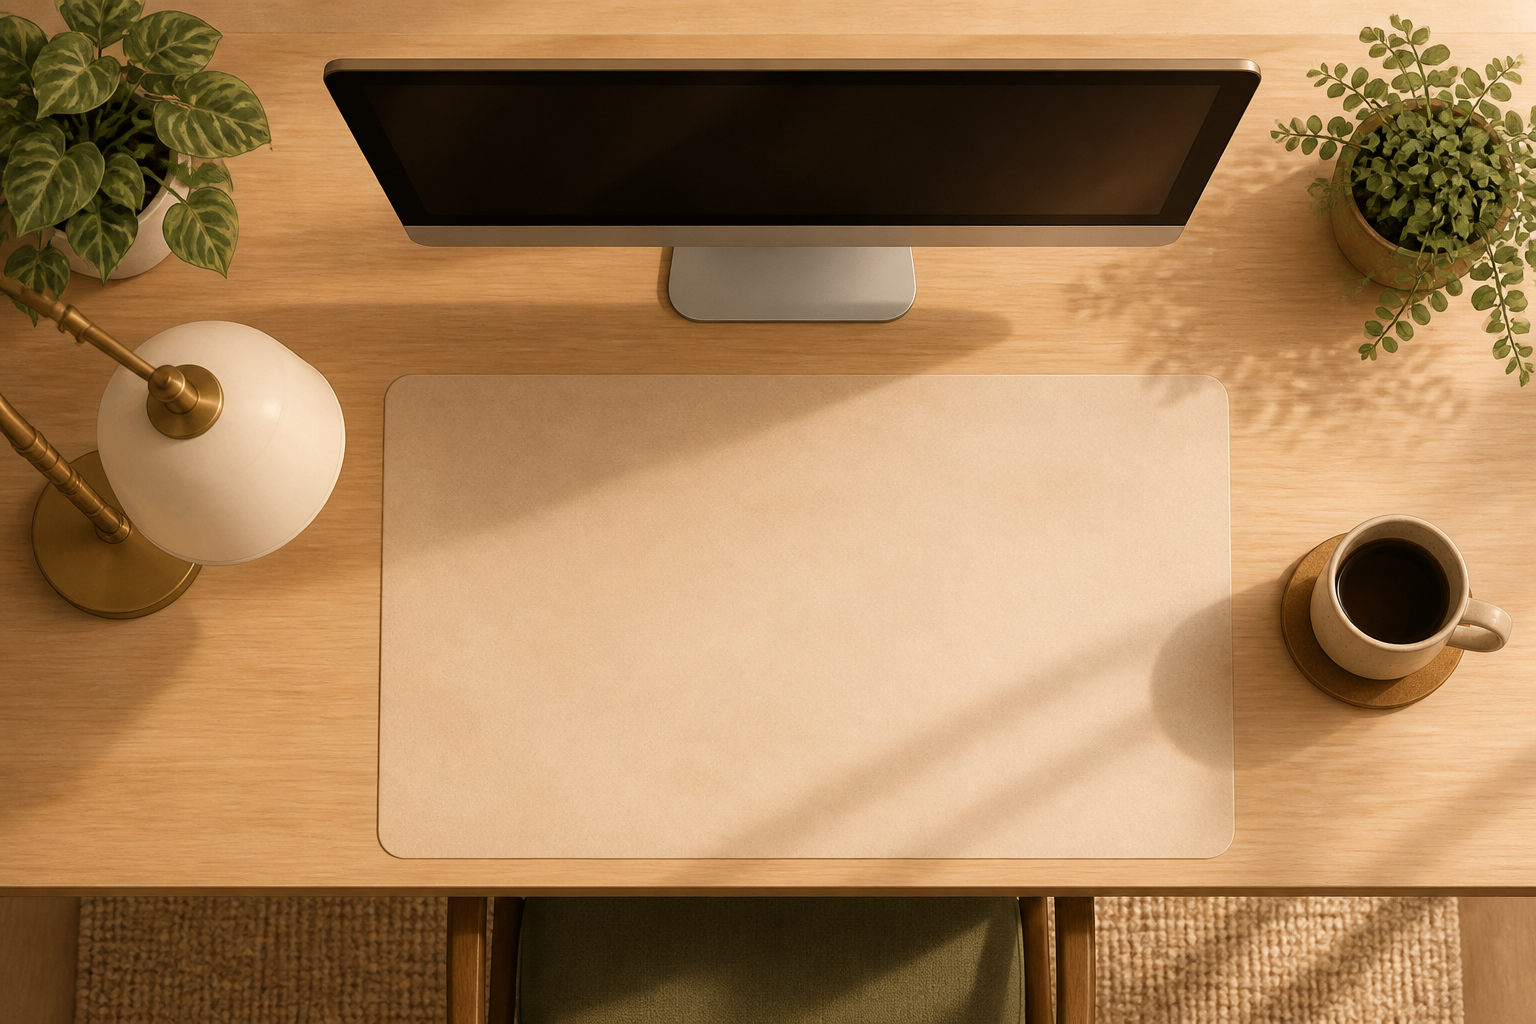
Remove nonessentials from the desktop until you have a rectangle roughly the width of your shoulders in front of the monitor. This gives you room for keyboard+mouse and prevents leaning to reach items. Keep only one frequently used item (cup, lamp) to the side.
- 02
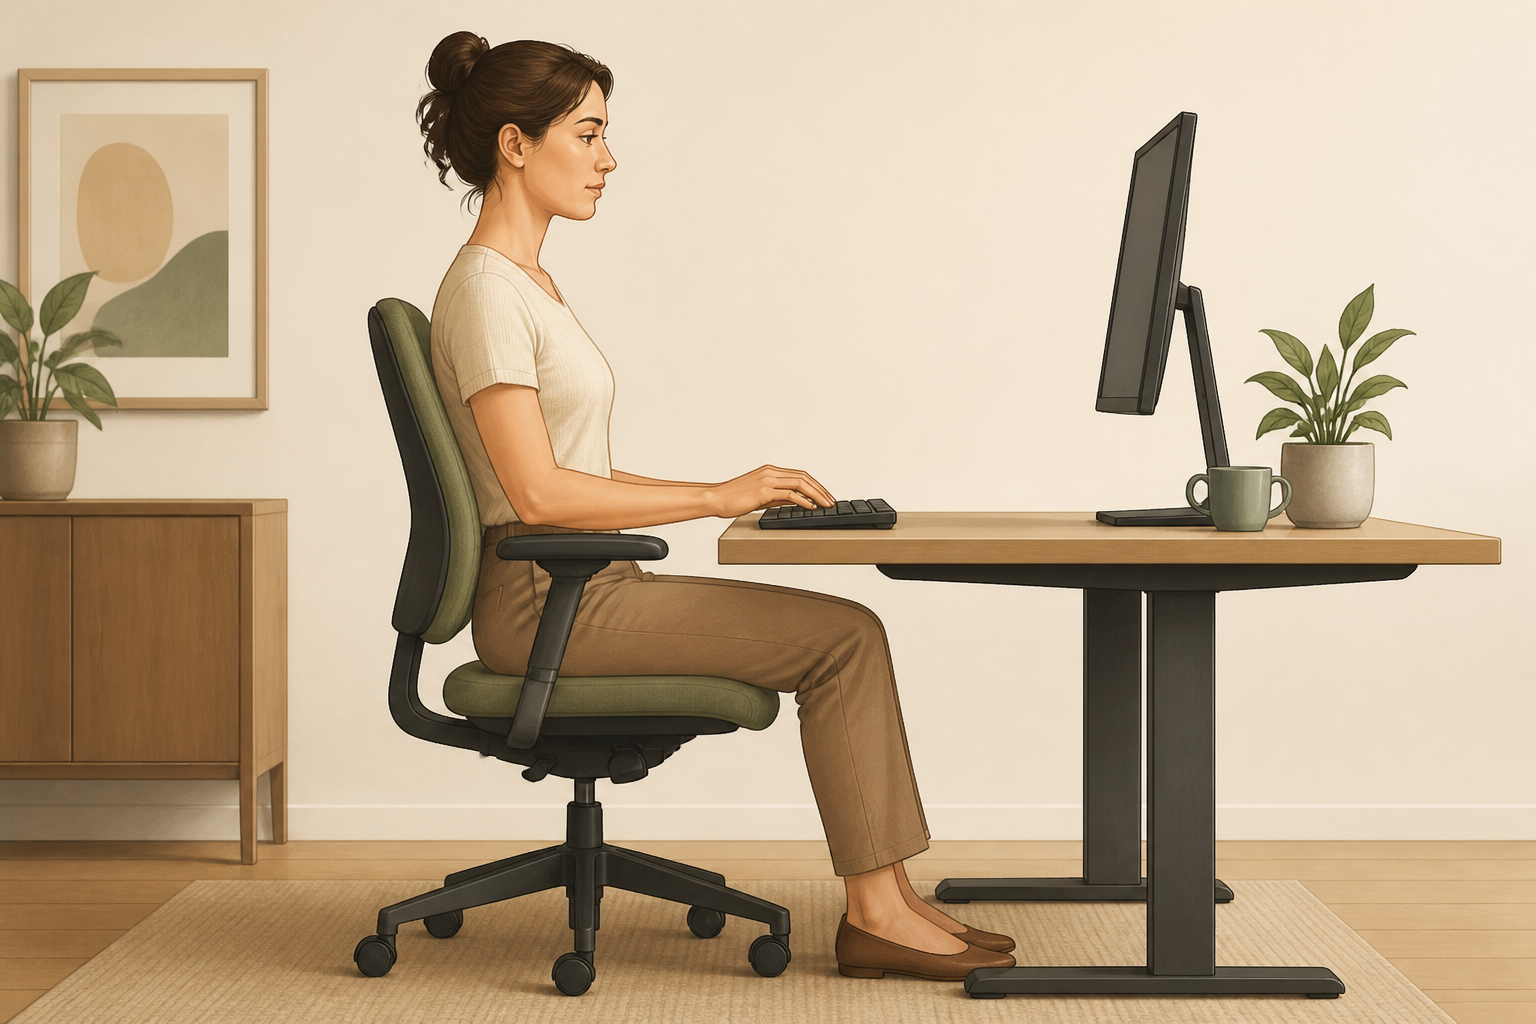
Set chair height so feet sit flat
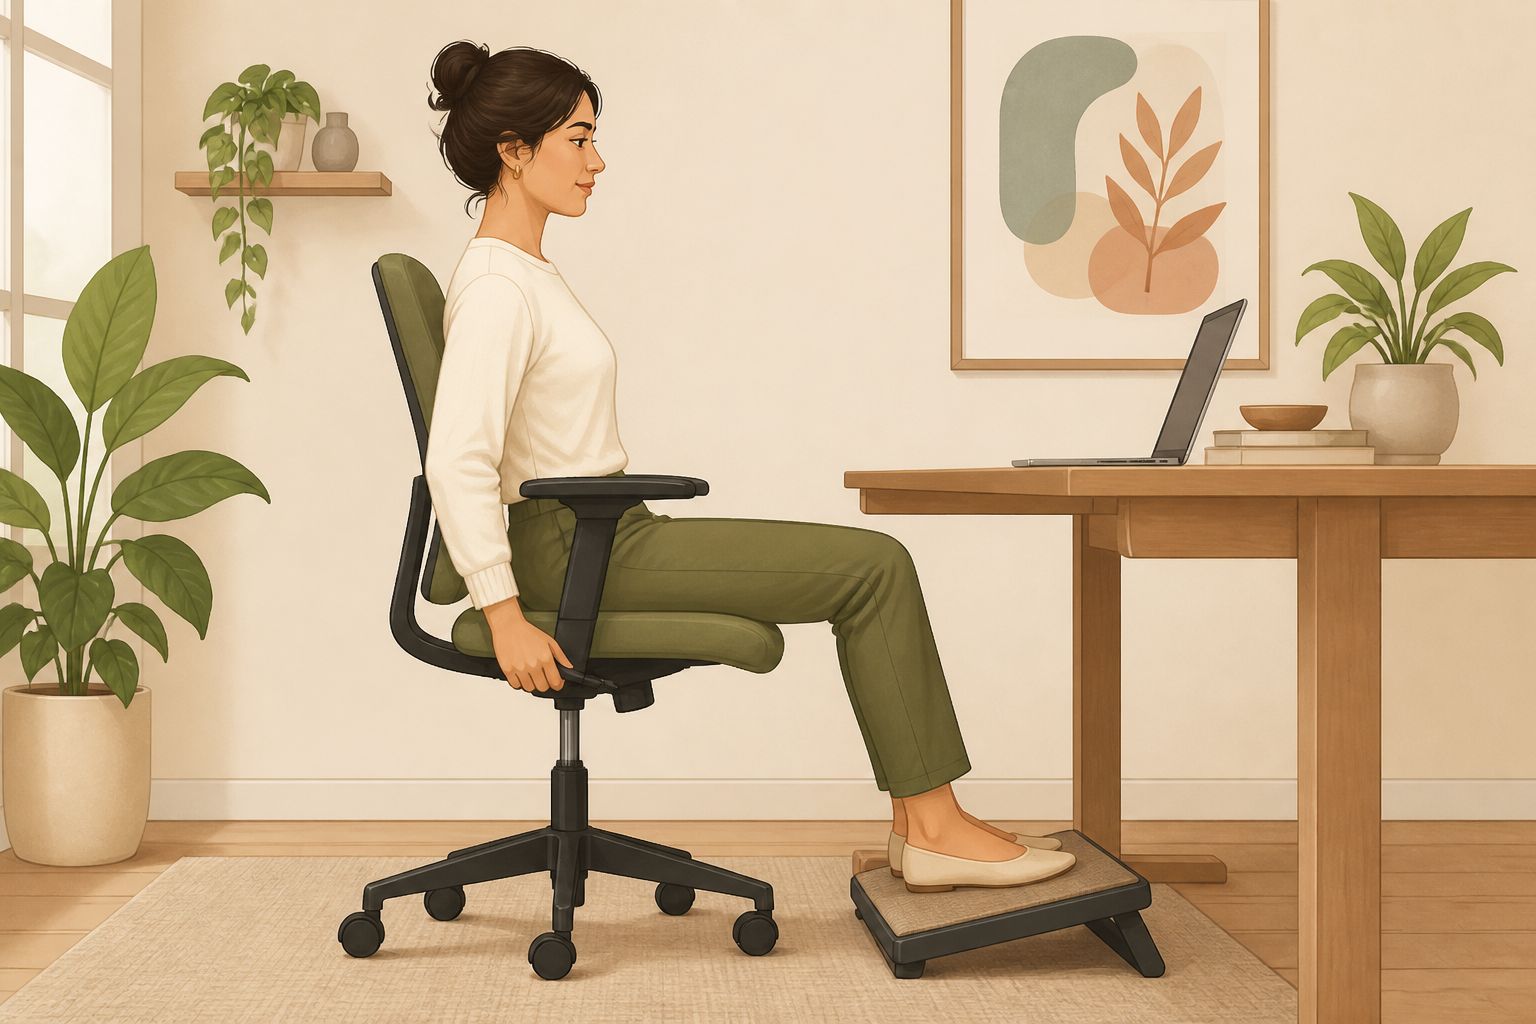
Raise or lower your seat so your feet rest flat on the floor and your knees form about a 90° angle (thighs roughly parallel to the floor). If your feet dangle, add a 5–10 cm footrest until knees are level. This is the foundation for comfortable alignment.
- 03
Lock lumbar support where your low back fits
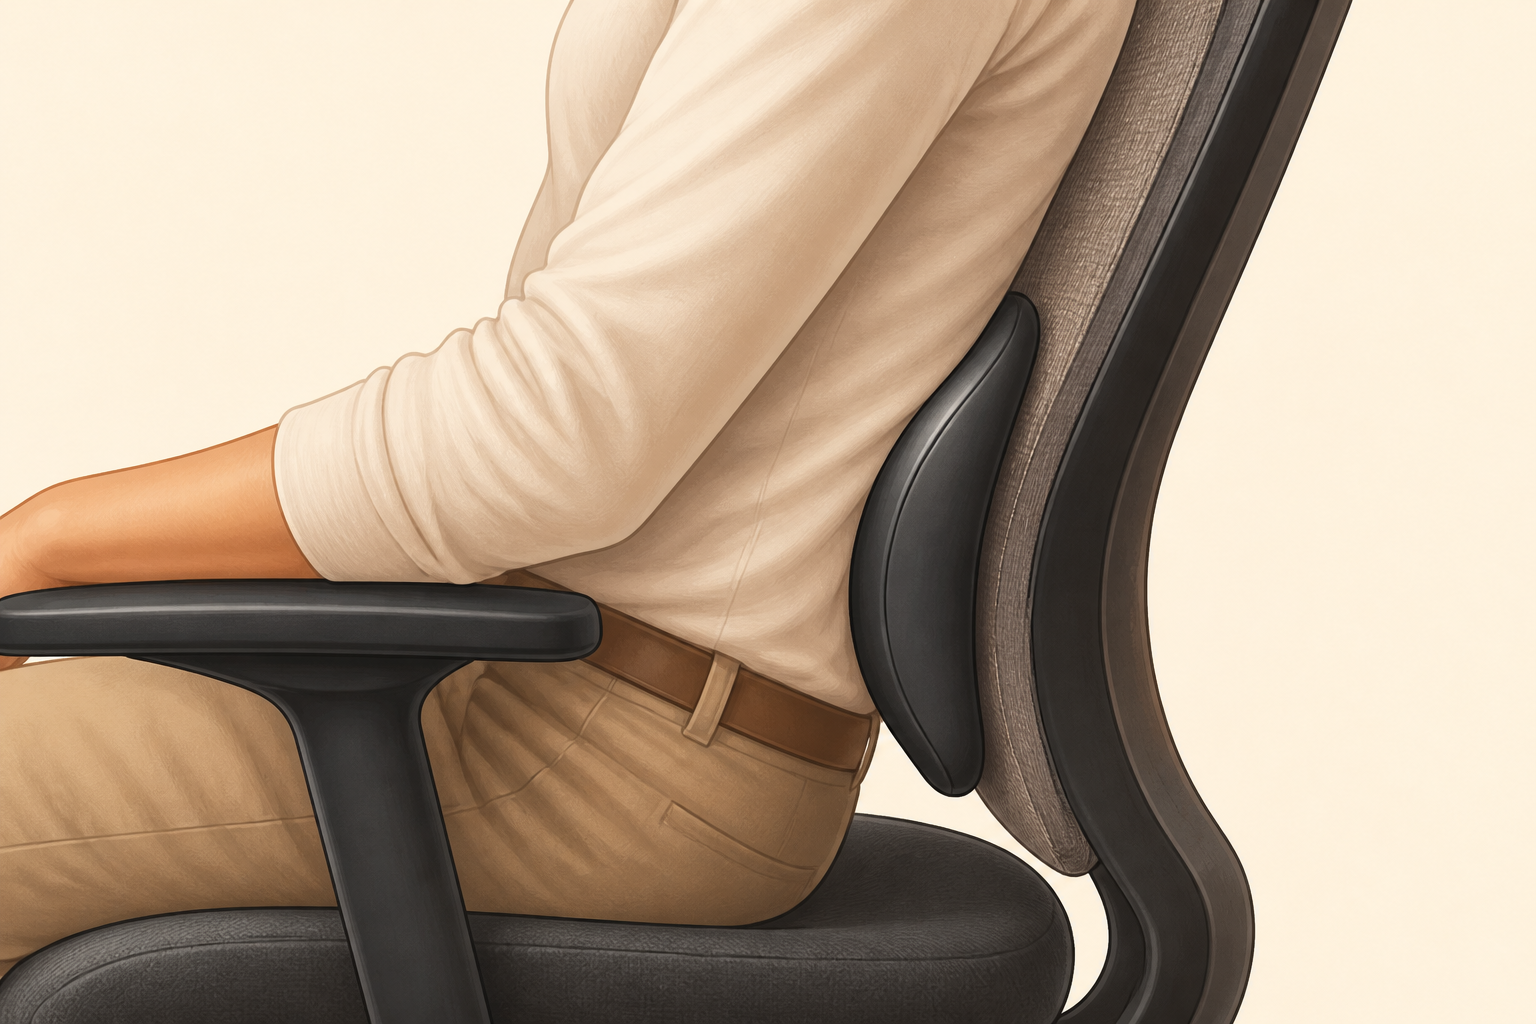
Slide your lower back against the chair and locate the curve of the lumbar support. Adjust it forward/back (or the chair's lumbar knob) until the support fills the small of your back comfortably — not pushing, just supporting the natural inward curve.
- 04
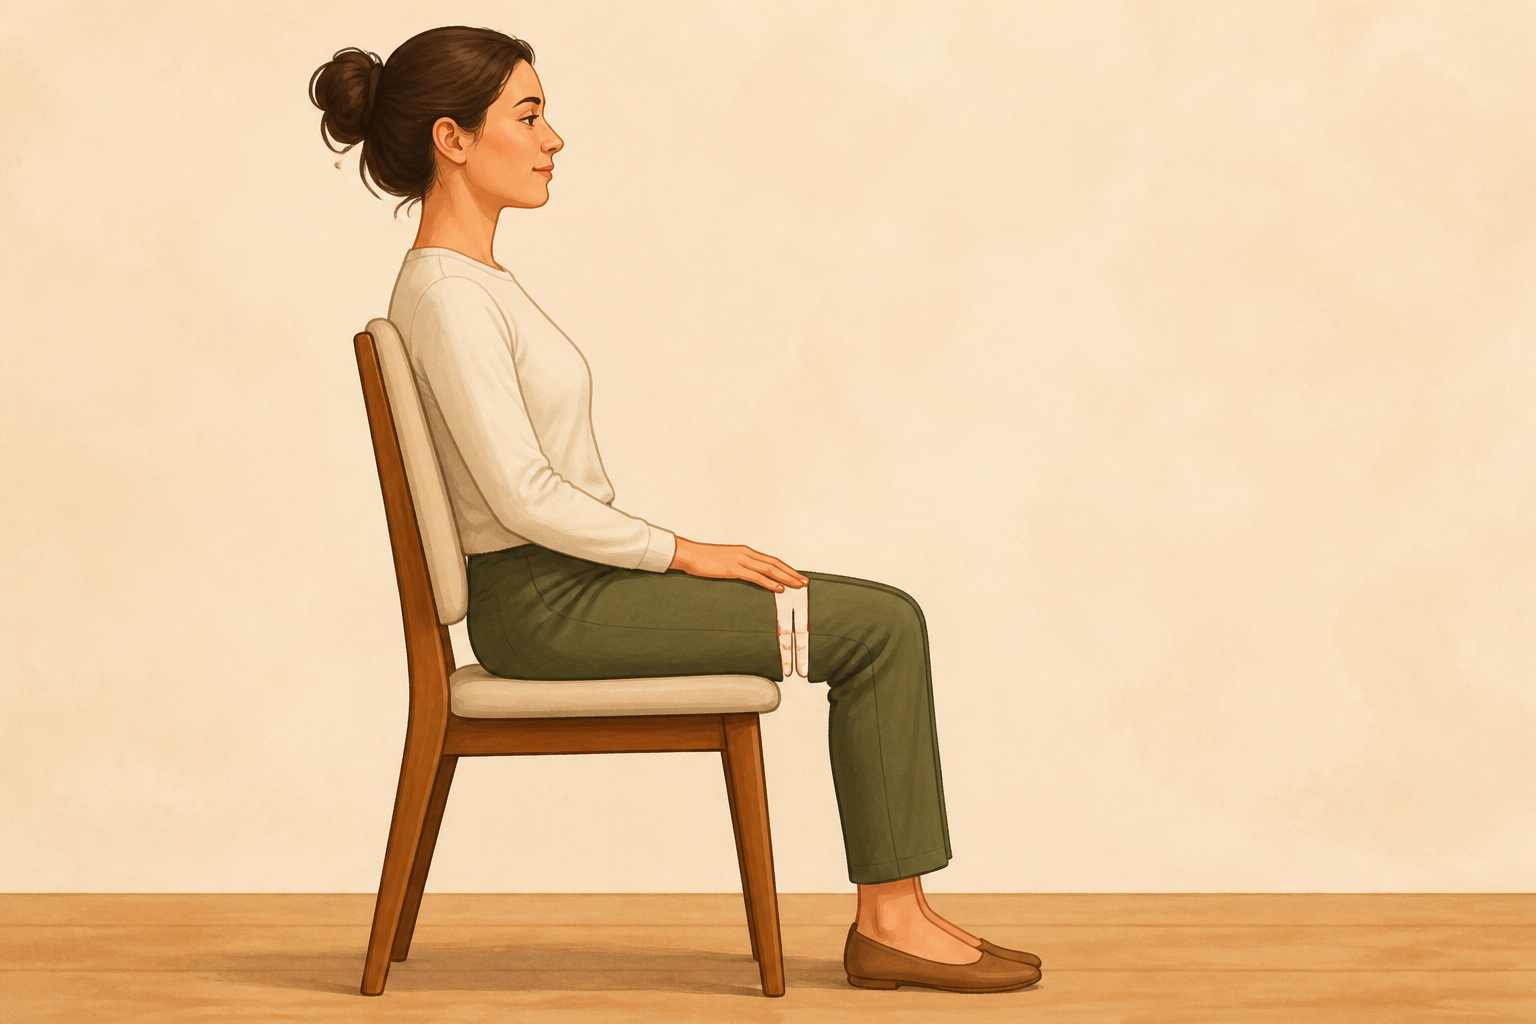
Set seat depth: two fingers rule
Slide fully back until your lower back meets the support, then check that roughly two finger-widths (about 4–5 cm) fit between the back of your knees and the seat edge. If your chair has an adjustable seat depth, use it; otherwise add a small cushion at the back to set distance.
- 05
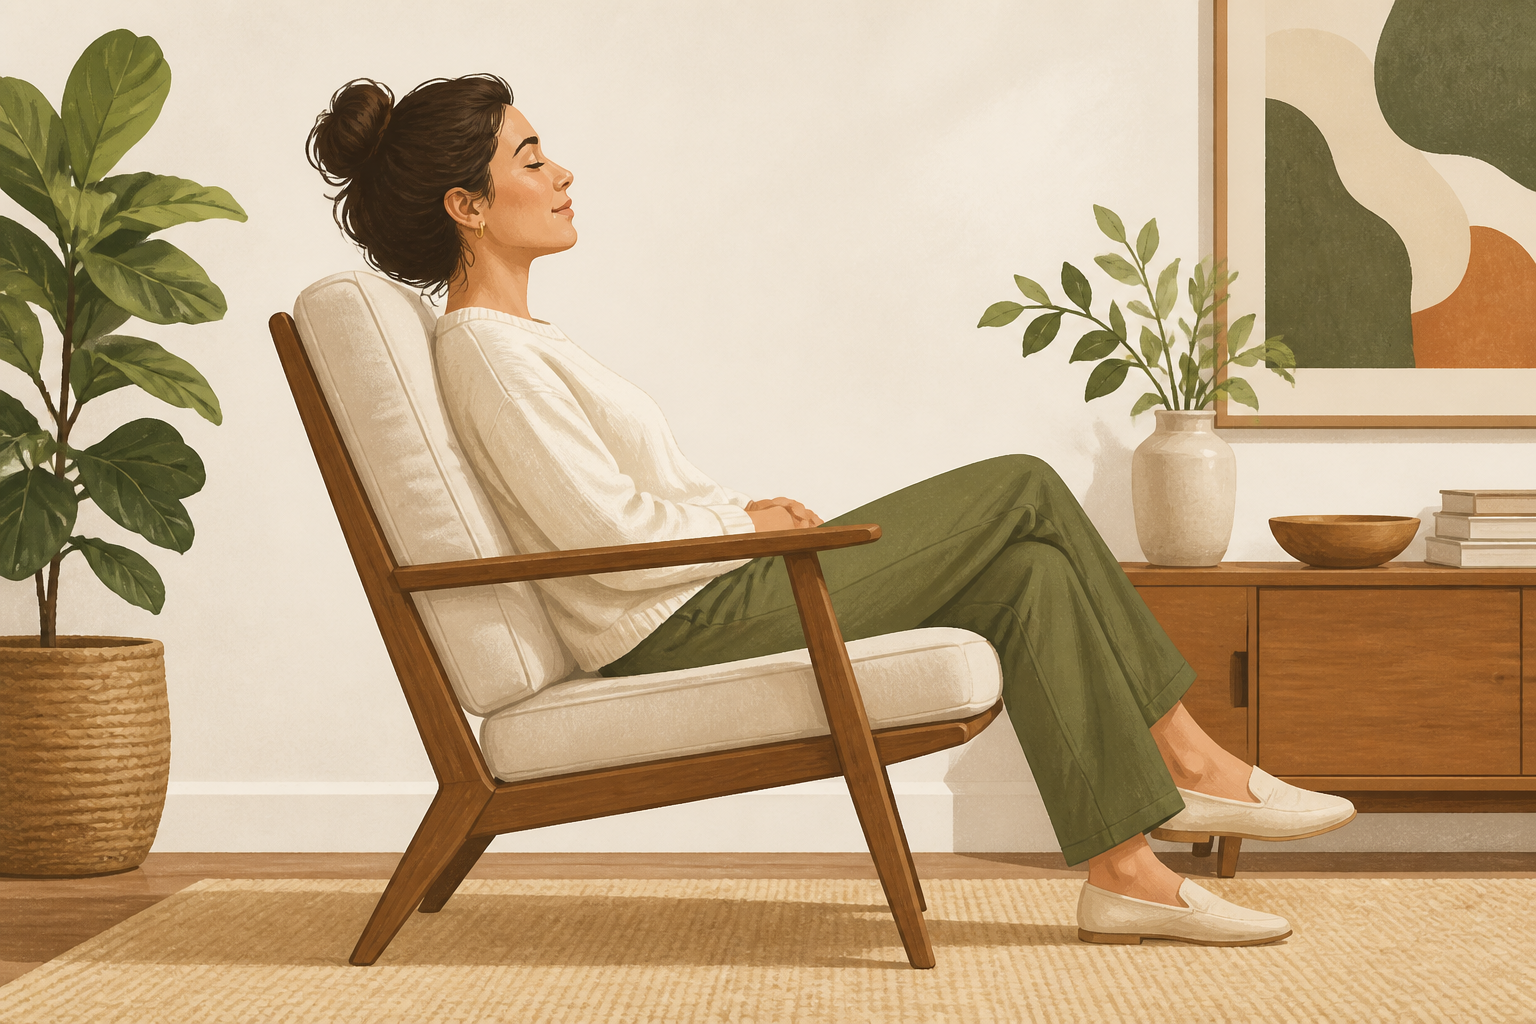
Tension and recline: slight tilt for long sessions
Set the backrest to a slight recline of about 100–110° and adjust the recline tension so it supports you when you lean back. A slight backward angle reduces spine compression and lets you sit without pushing forward into the screen all the time.
- 06
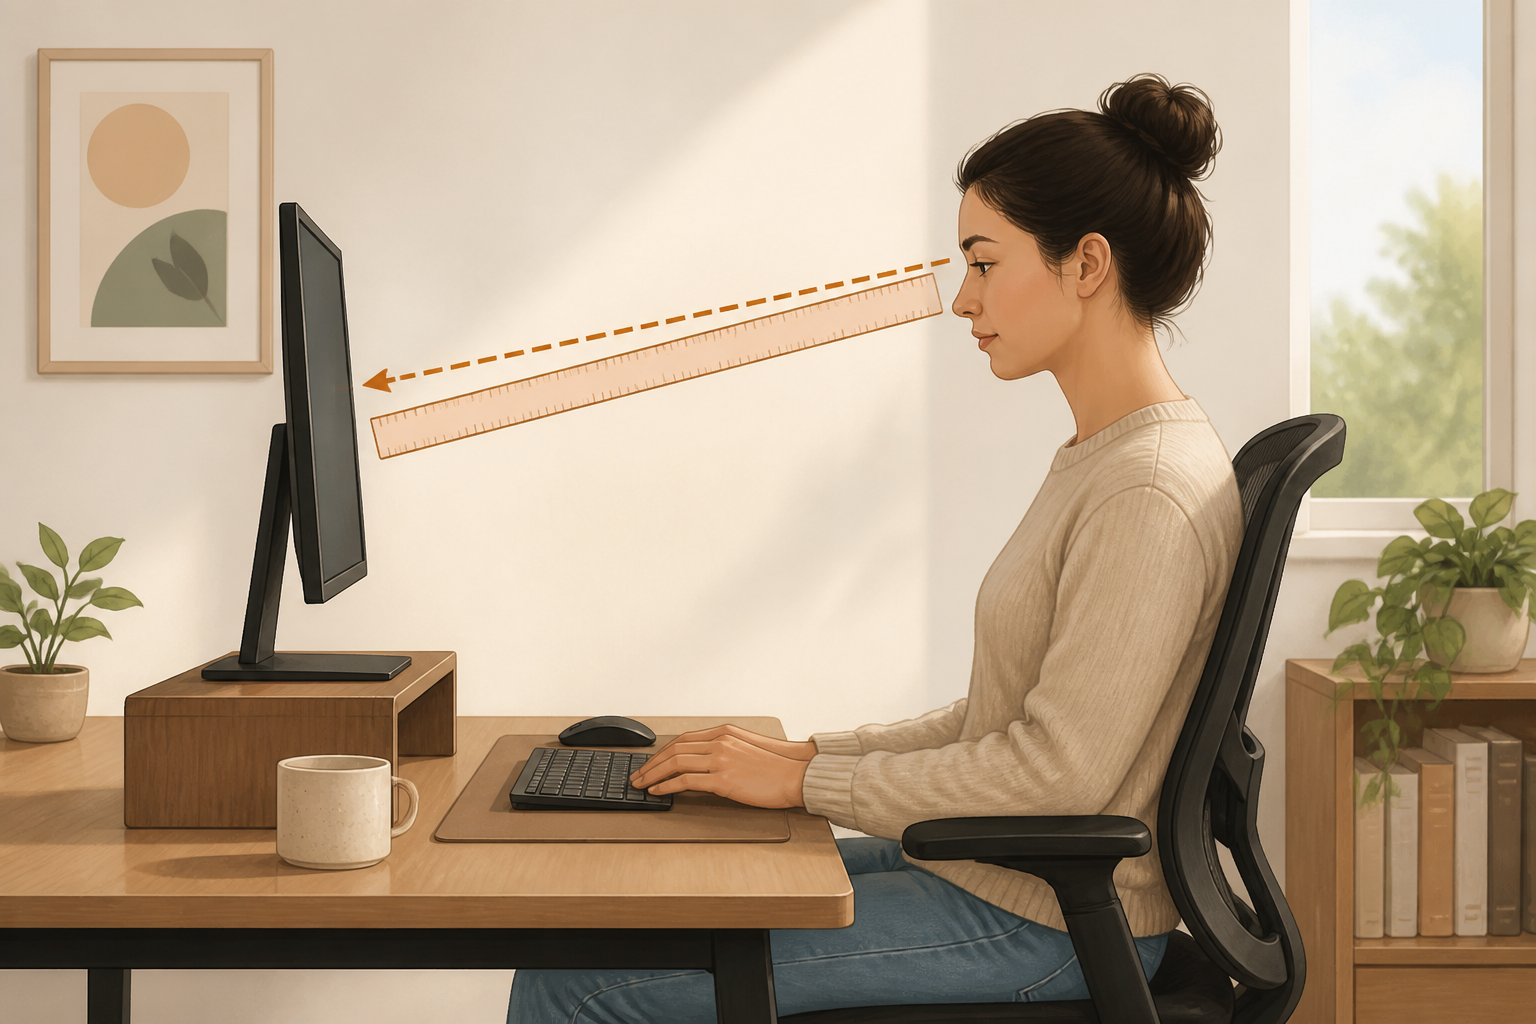
Position monitor height and tilt
Raise the monitor so the top third of the screen sits roughly at or just below eye level, causing a mild downward gaze of about 10–20 degrees. Place the screen about an arm's length away (50–70 cm / 20–28 in). Use a riser or stack of sturdy items if needed.
- 07
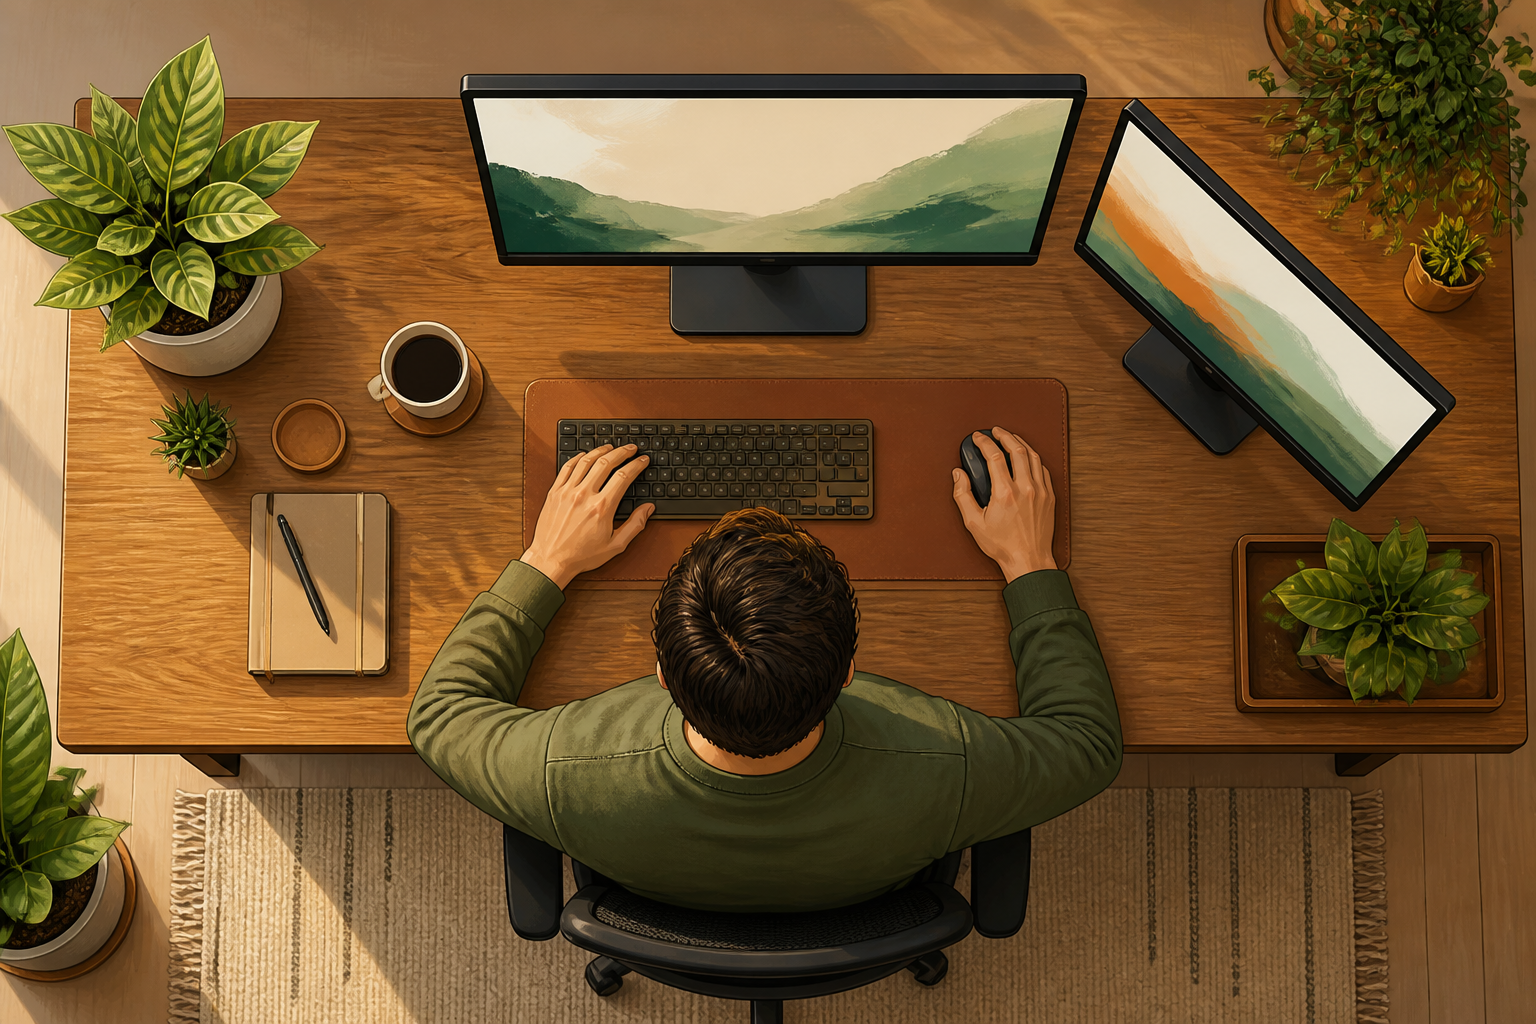
Center the primary content
Place your most-used monitor directly in front of your nose. If you use two screens, put the primary one centered and the secondary immediately adjacent, angled inward. Avoid turning your head repeatedly; aim for torso-facing work whenever possible.
- 08
Raise keyboard to elbow height
Set your keyboard height so your forearms are about parallel to the floor or angled slightly downward (0–15°) with elbows near 90°. If a keyboard tray helps you reach this position without lifting shoulders, use it; otherwise adjust chair height and re-check foot placement.
- 09
Keep the mouse close and level
Place the mouse directly beside the keyboard within 10 cm (4 in) of the typing area so you don’t overreach. The mouse surface should be the same height as the keyboard and allow your wrist to stay neutral; move your arm from the shoulder, not by bending the wrist sharply.

- 10
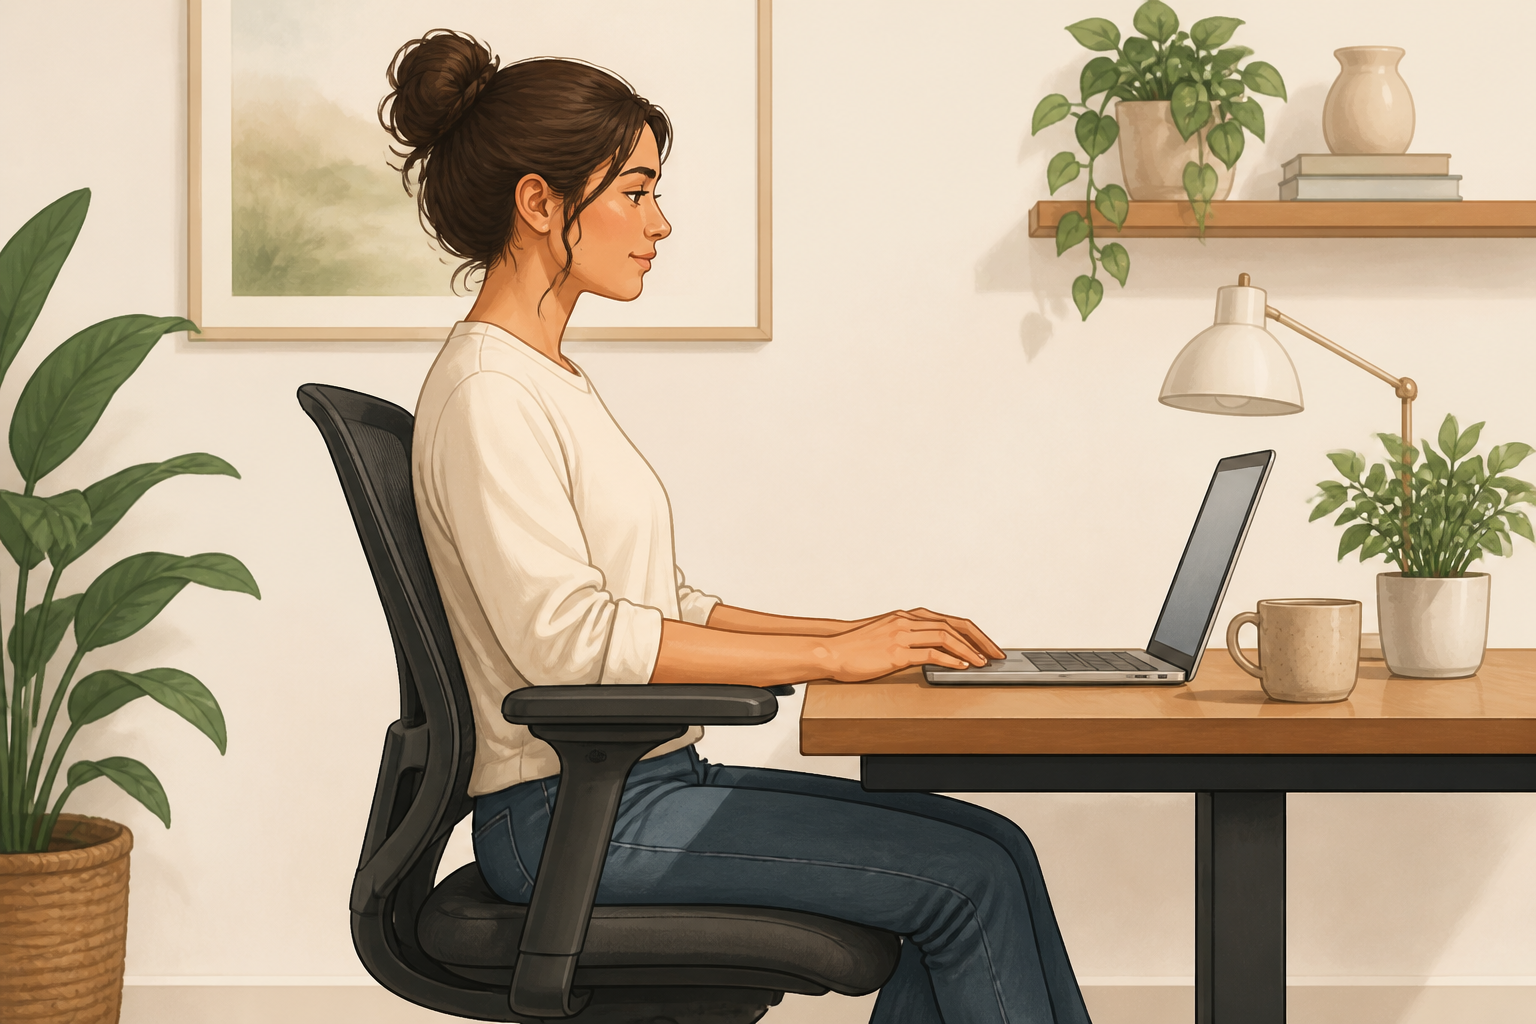
Adjust armrests for relaxed shoulders
Set armrests so they lightly support your elbows at about the same height as the desk surface, allowing shoulders to relax. They should not push your elbows outward or force your shoulders up. If armrests interfere with close desk access, tuck them slightly back or lower.
- 11
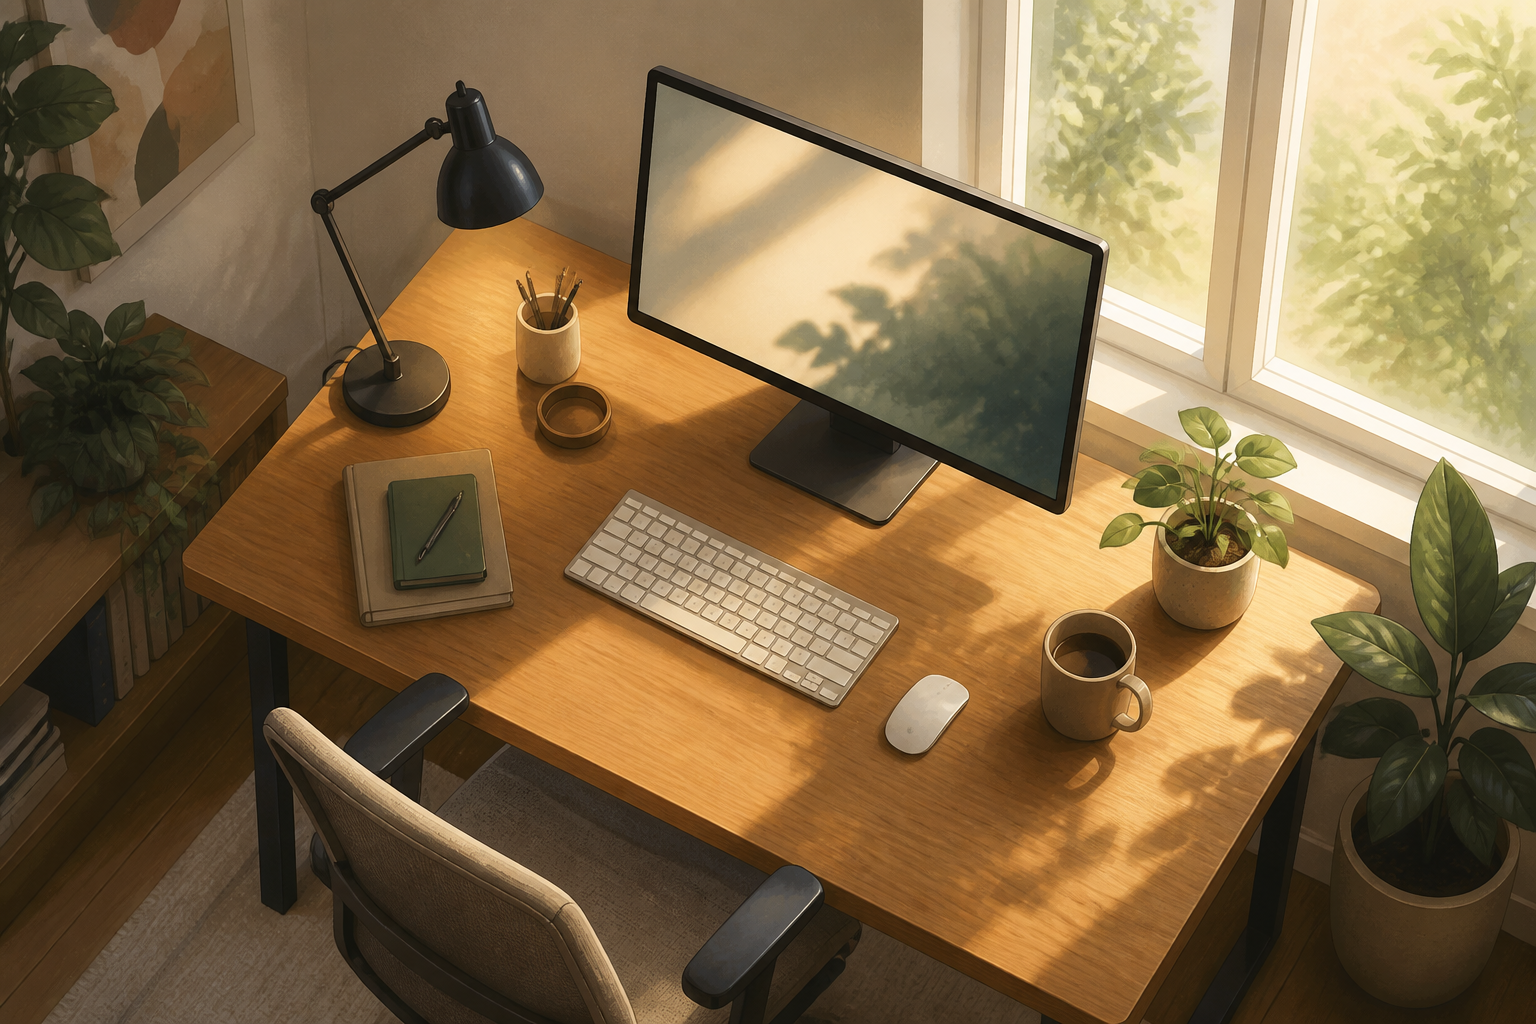
Tame lighting and reduce glare
Position task lighting to the side of your dominant hand to avoid screen reflections and shadowing. Angle the monitor perpendicular to windows when possible and reduce overhead glare. A small adjustable lamp placed to one side keeps the screen contrast comfortable.
- 12
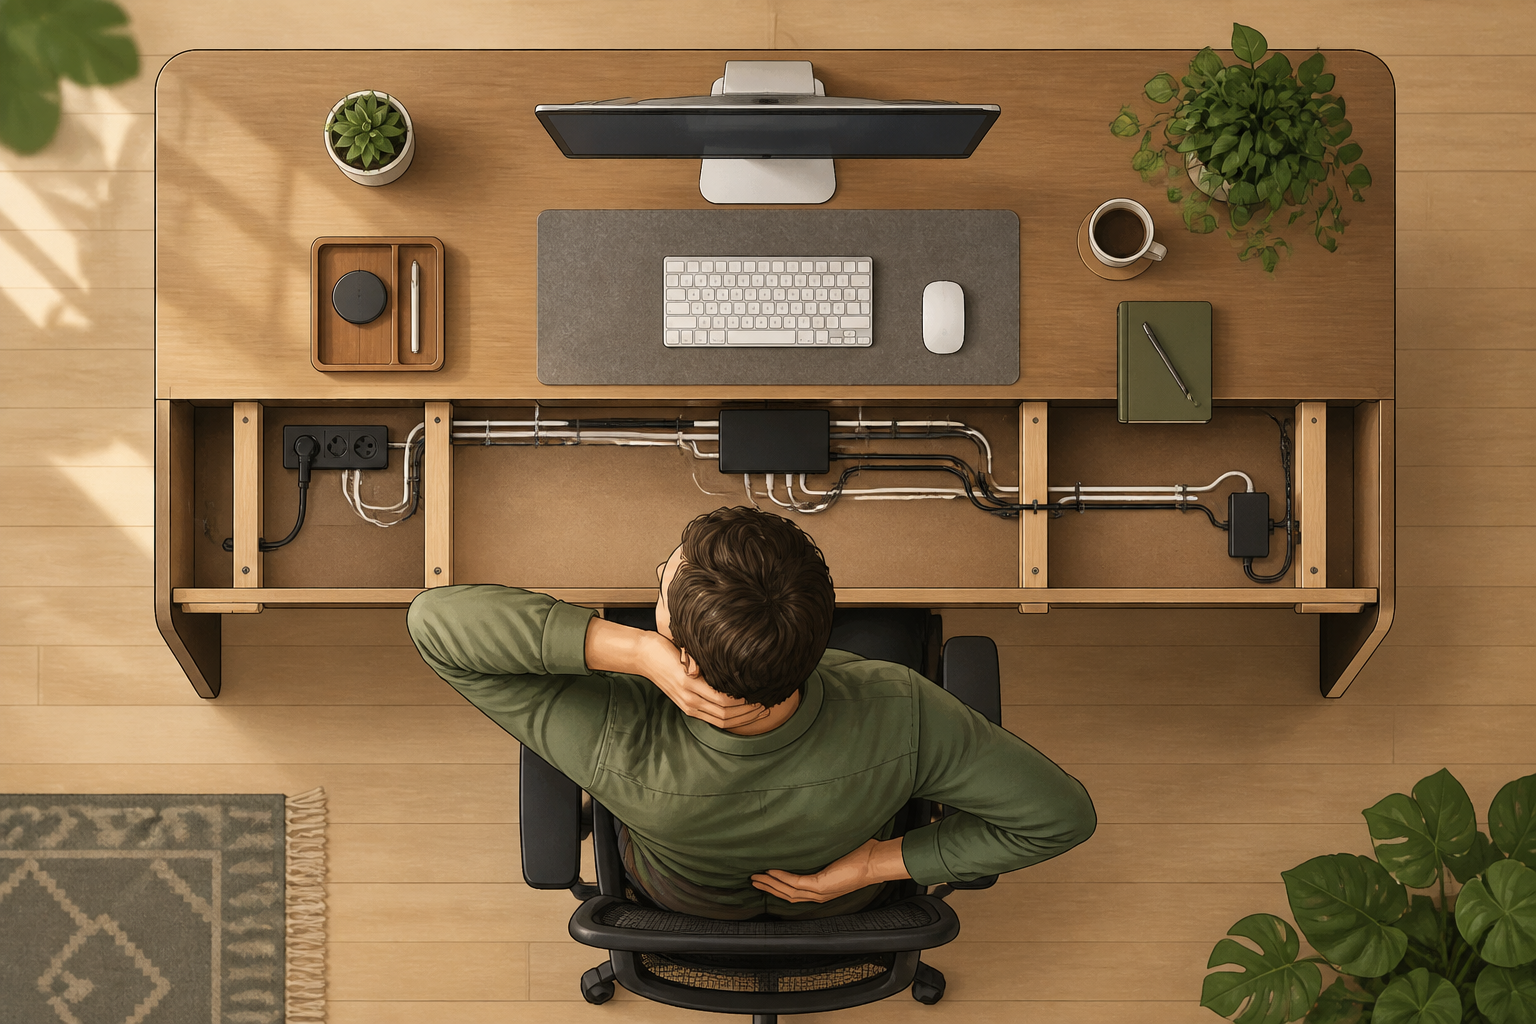
Finalize with cable tidy and a quick check
Route cables away from footspace, secure loose cords, and do a final movement check: sit, type for a minute, reach for the mouse, and tilt your head slightly. Make tiny adjustments until everything feels neutral: shoulders relaxed, wrists straight, and eyes looking at the screen without craning.
If this was useful
Try one of these next
Home & life Listicle
9 small upgrades that turn a boring office into a boss-level lair (ranked by impact and cost)
Ranked by impact-per-dollar: these nine affordable swaps—from a chair tweak to a statement desk tray—deliver the biggest boosts in comfort, focus, and aesthetics for the least cash. Each pick explains why it matters and how fast you’ll notice the difference.
Read article
Learning Listicle
Best music setups for focused fury: 6 soundtrack strategies that suit different work modes
A ranked guide to six music approaches—instrumental cinematic, lo-fi steady beat, natural soundscapes, tempo-synced playlists, curated silence cues, and noise-blocking ambient mixes—explaining when each helps concentration, how to set it up in broad strokes, and what kinds of tasks each suits. Ranking is based on versatility for sustained focus, minimal distraction risk, ease of control, and suitability across high- and low-arousal tasks.
Read article
Learning Listicle
Best Signs to Team Up with Capricorn at Work (Ranked by Productivity & Complementary Skills)
A pragmatic, slightly ecstatic guide to workplace pairings: which signs amplify a Capricorn's strengths on projects, who balances the bossy bits, and how to divvy tasks so both people win. Ranked by real-world workplace traits, not mysticism.
Read article
Bike & travel Listicle
Best Mini-Vacations for Capricorn Pairings, Ranked by Ease and Practical Pleasure
A travel-minded, grounded ranking of weekend-trip ideas that suit Capricorn + sign pairings: efficient nature escapes, city-getaways with good dining, and calm countryside stays. Ranked by how easy they are to plan, how comforting they feel to Capricorn practical tastes, and how likely both people will return home relaxed and satisfied.
Read article