Hobbies & crafts How-to
How to knit a sleek headband: a quick handmade gift a Capricorn will actually wear
A beginner-friendly knitting how-to in 12 ordered steps: choose yarn and needles, cast on, two simple stitches, finishing and tidy blocking. Produces a minimal, wearable piece that reads practical and thoughtful.
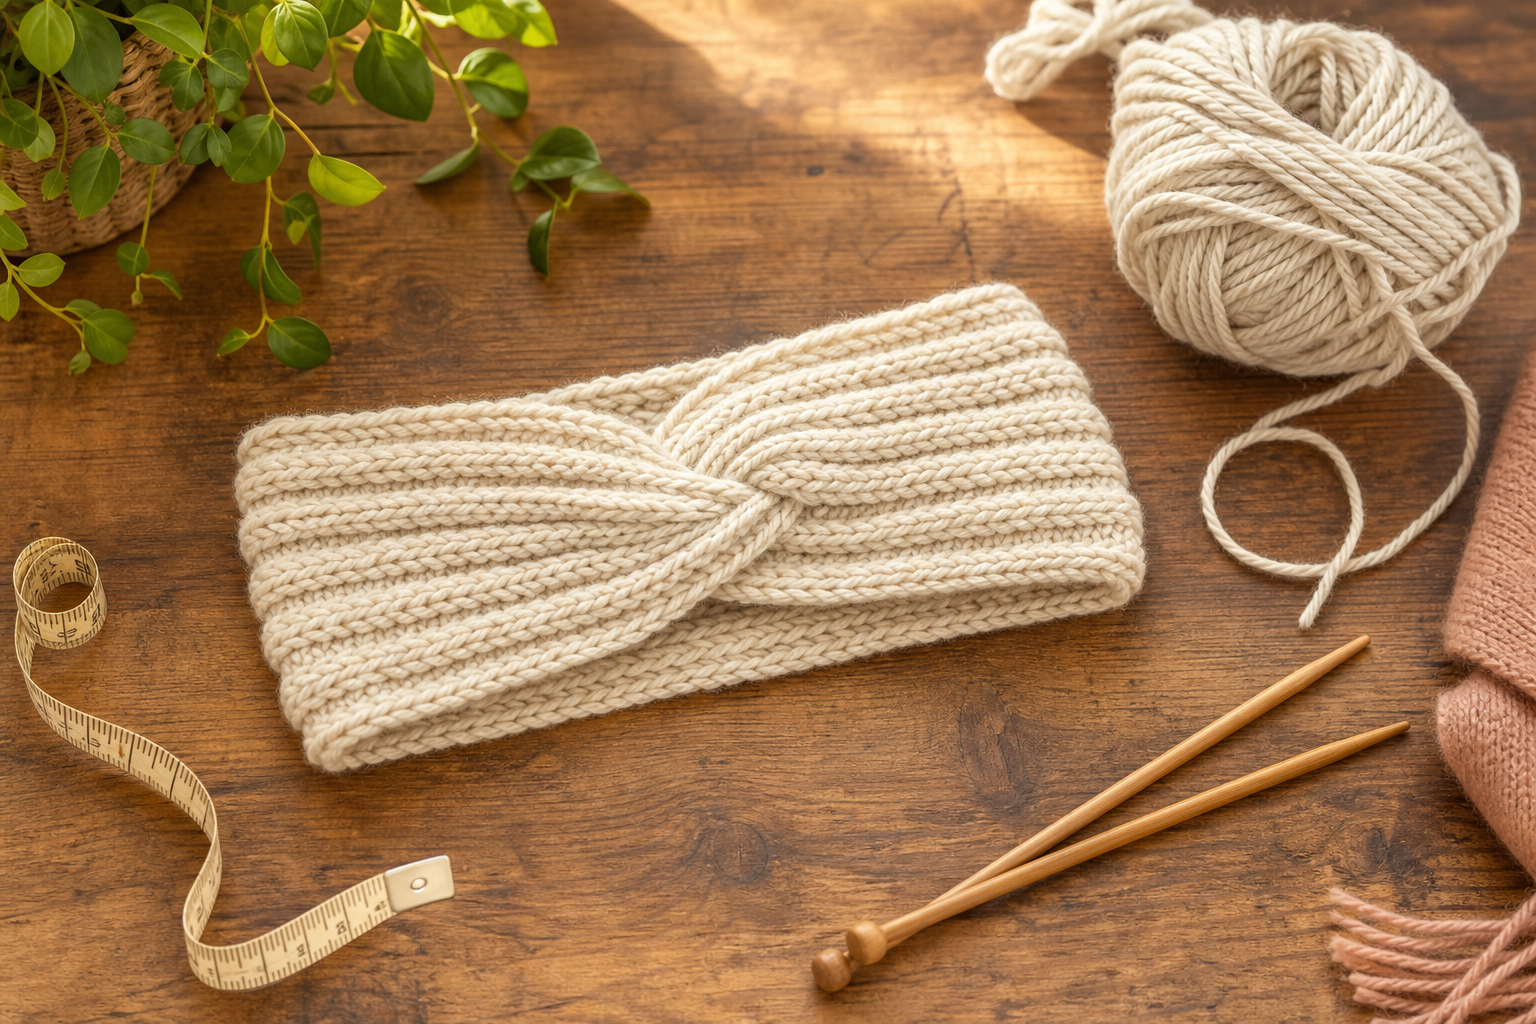
- 01
Gather your supplies
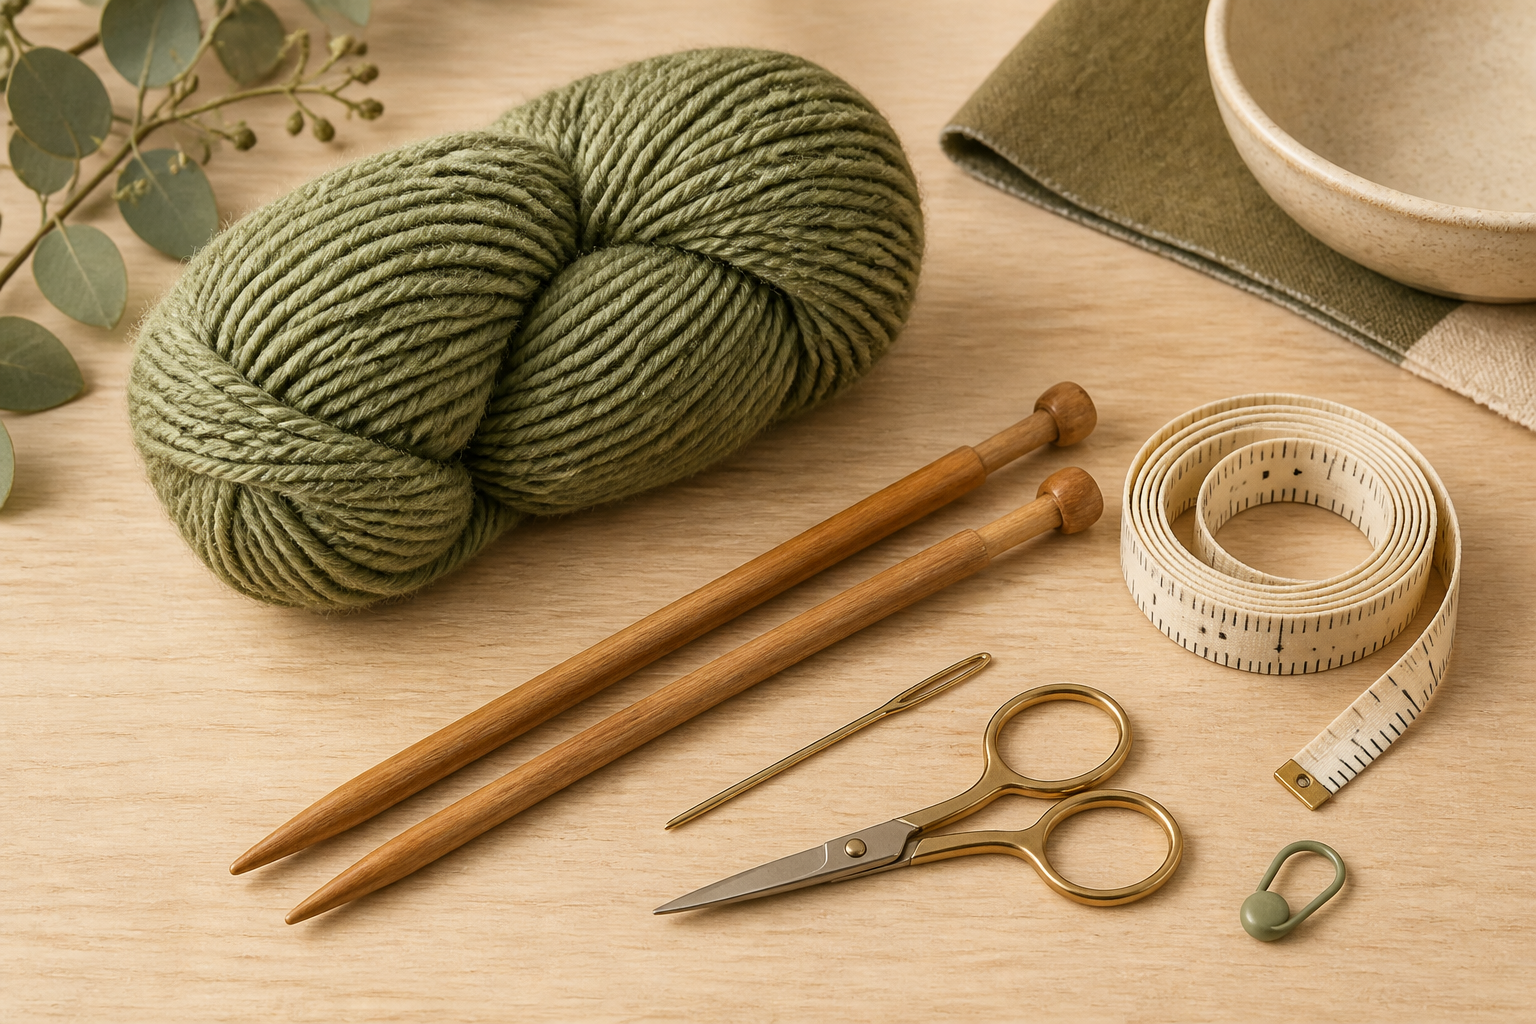
Collect one skein of worsted-weight yarn (a neutral or bold color), a pair of 5 mm (US 8) straight or circular needles, a tapestry needle, a measuring tape, a stitch marker, and scissors. Lay everything out where light and patience meet.
- 02
Measure the head for length
Wrap the measuring tape around the forehead where the headband will sit. Note the comfortable circumference and subtract 1 to 1.5 inches to allow stretch (example: for a 21-inch head, plan 19–20 inches finished). Write that target length down.

- 03
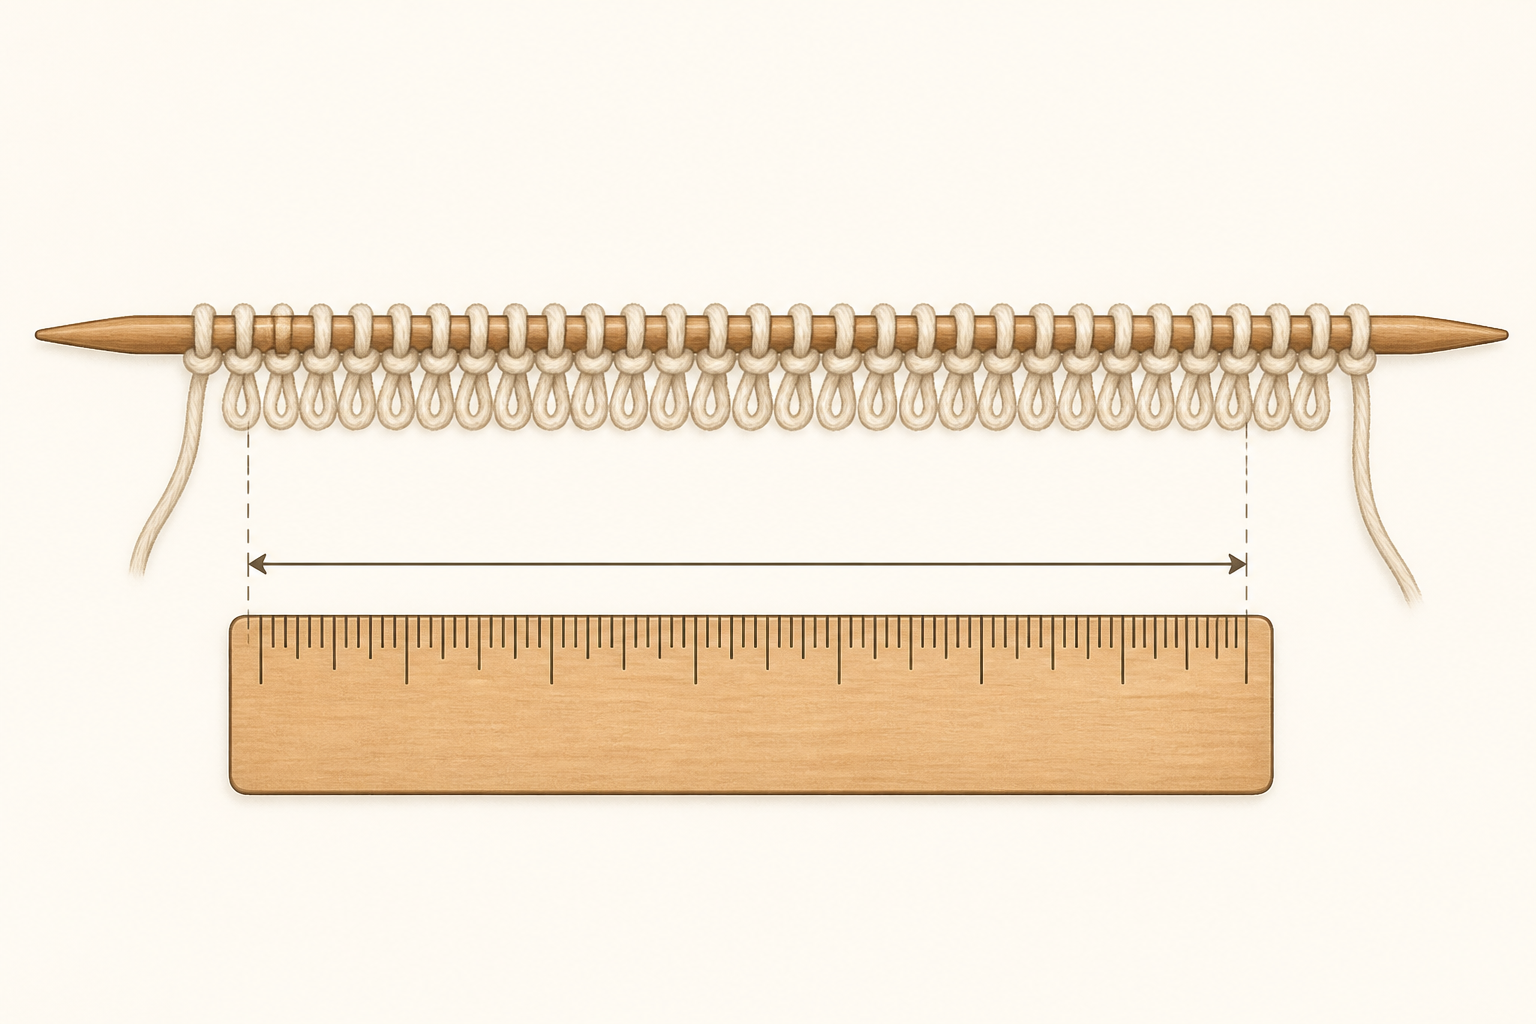
Decide width and stitch count example
For a sleek, 3.5–4 inch wide headband in worsted yarn on 5 mm needles, cast on an even 24 stitches as a reliable starting point. This yields a tidy width for most adults—adjust by 2-stitch increments to widen or narrow.
- 04
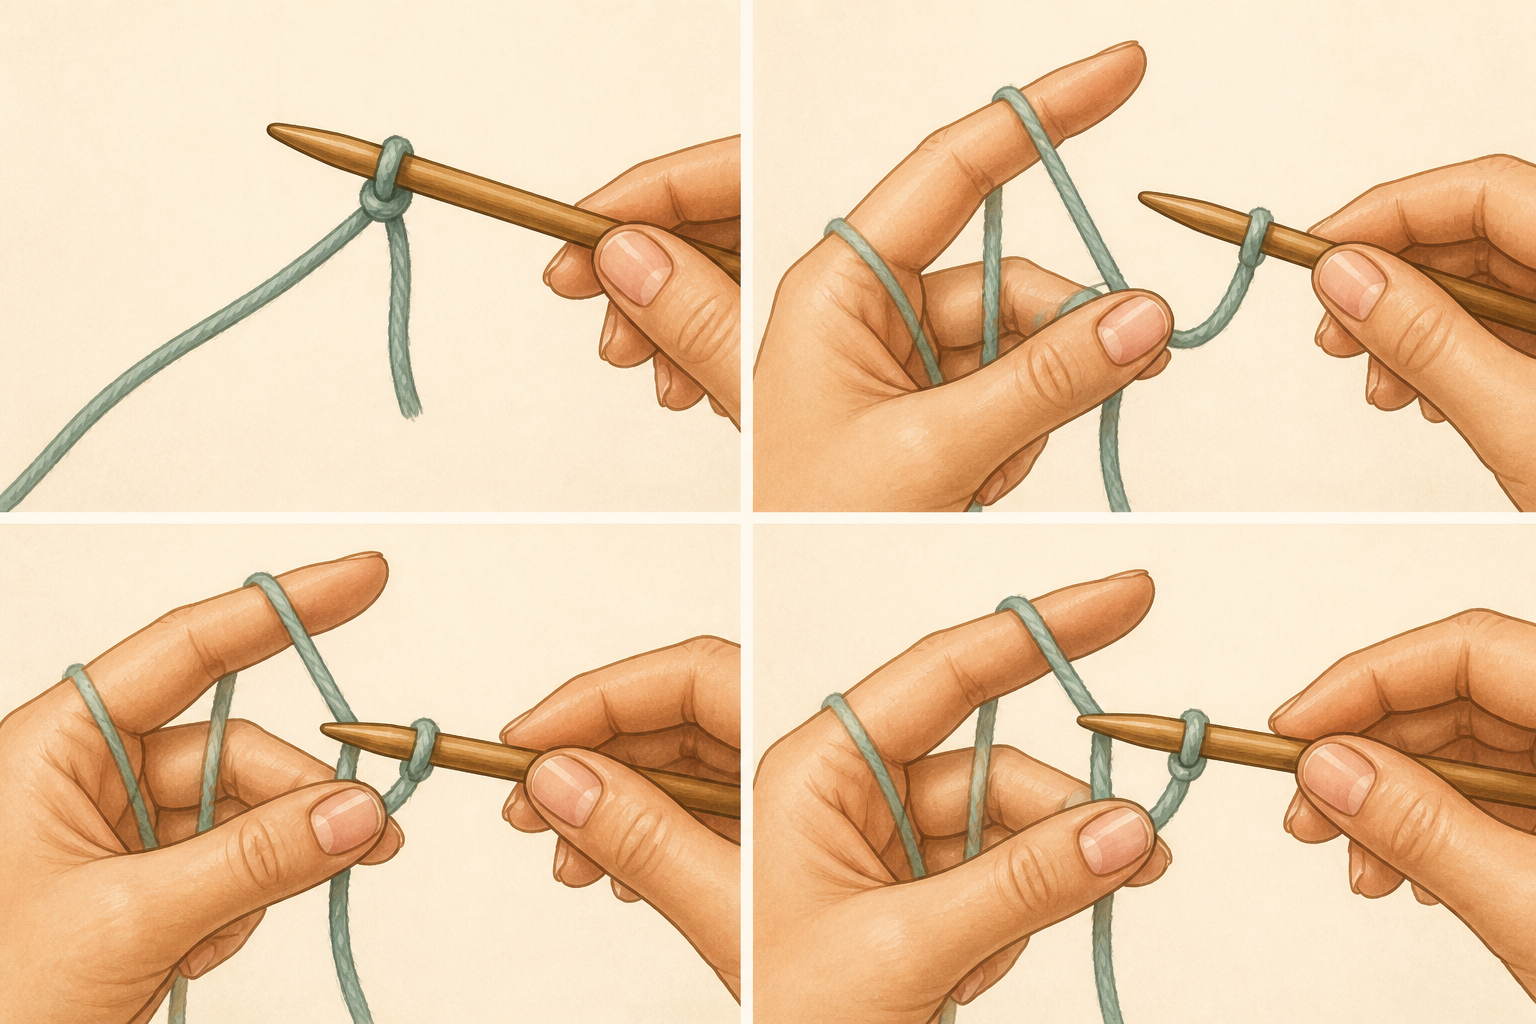
Cast on with the long-tail method
Estimate a tail about three times the width, make a slipknot and place it on the needle. Hold the needle in your right hand, tail over your left thumb, working yarn over your left index finger; insert the needle under the thumb loop, then over the index loop and through the thumb loop—repeat until 24 stitches are on the needle.
- 05
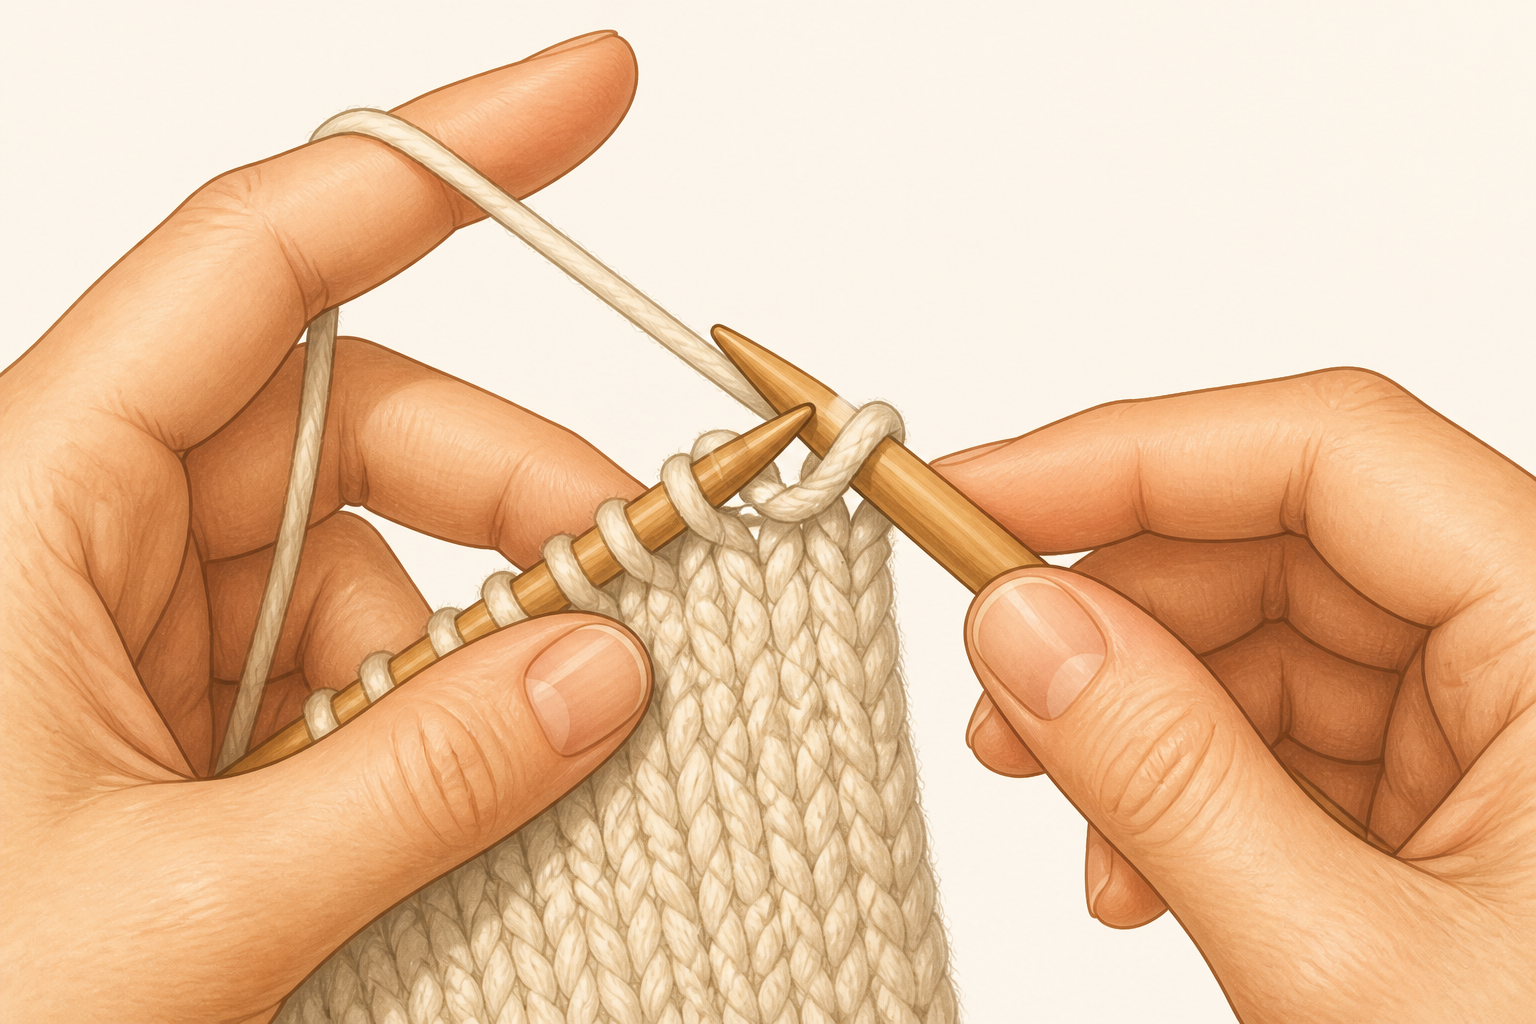
Learn the knit stitch
Hold the needle with the cast-on stitches in your left hand. Insert the right needle tip from left to right into the first stitch, wrap the working yarn around the right needle from back to front, pull that loop through to the front, and slip the original stitch off the left needle. That's a knit stitch—repeat to practice a few times.
- 06
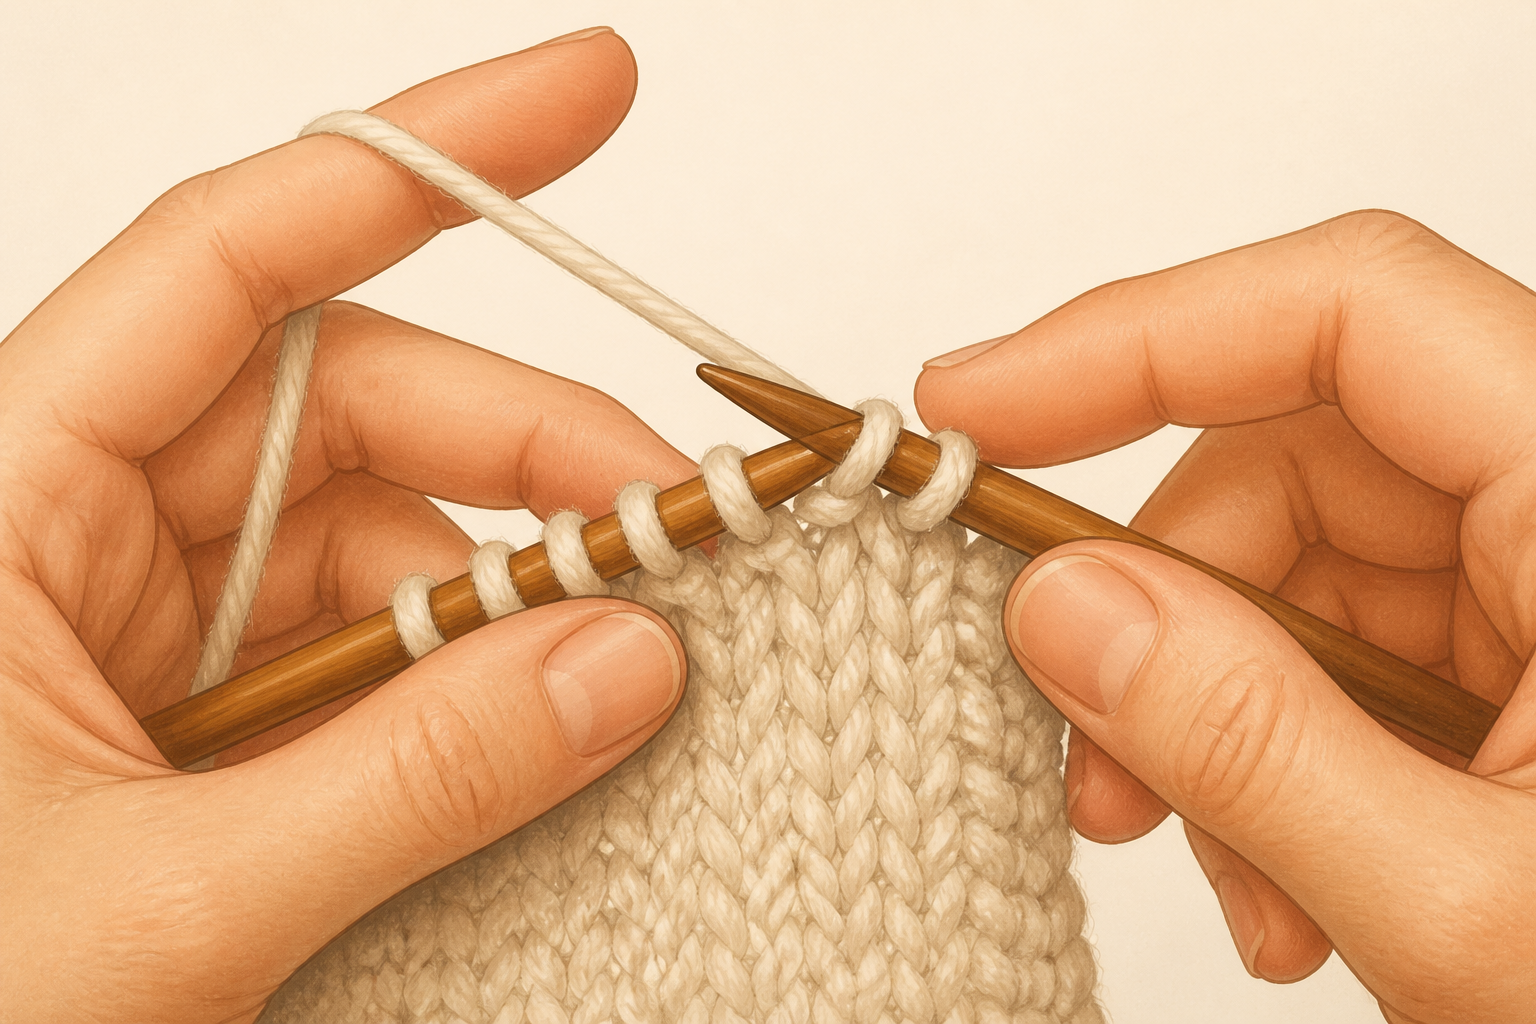
Learn the purl stitch
Bring the working yarn to the front. Insert the right needle tip from right to left into the front of the first stitch, wrap the yarn around the right needle from front to back, pull the new loop through towards you, and slip the original stitch off the left needle. That’s a purl stitch—practice until it feels natural.
- 07
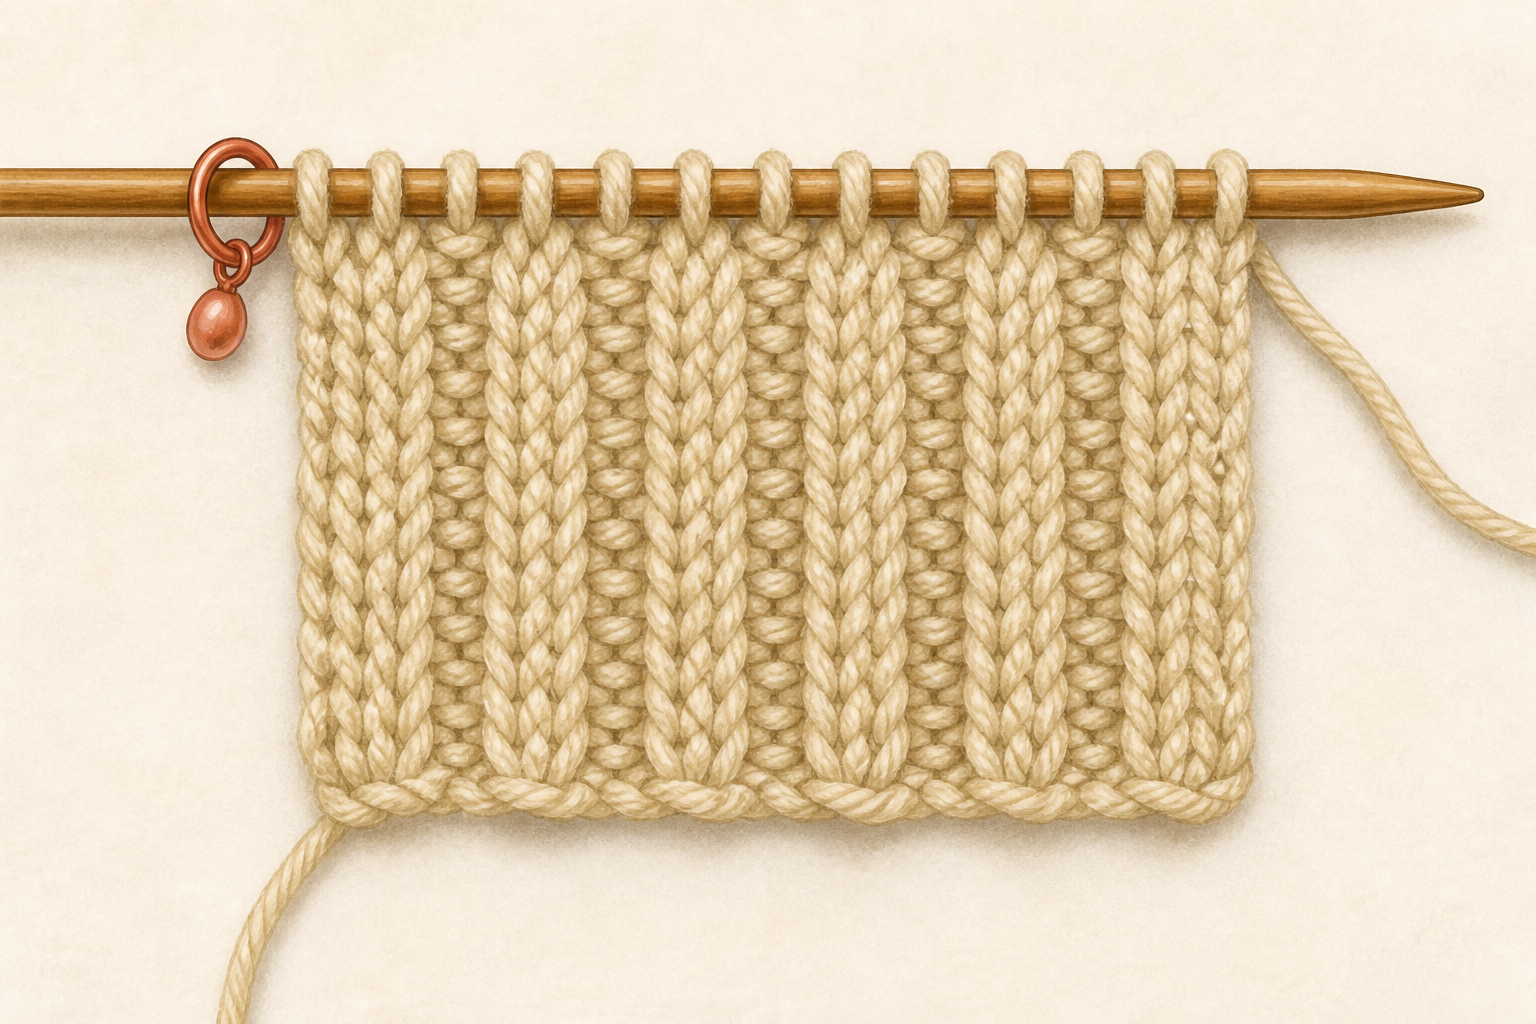
Begin 1x1 rib: knit 1, purl 1 across
Start the first row by knitting the first stitch, then purling the next, and repeat k1, p1 to the end. On the return row, always work each stitch as it appears—knit the knit stitches and purl the purl stitches—so the rib pattern stacks evenly.
- 08
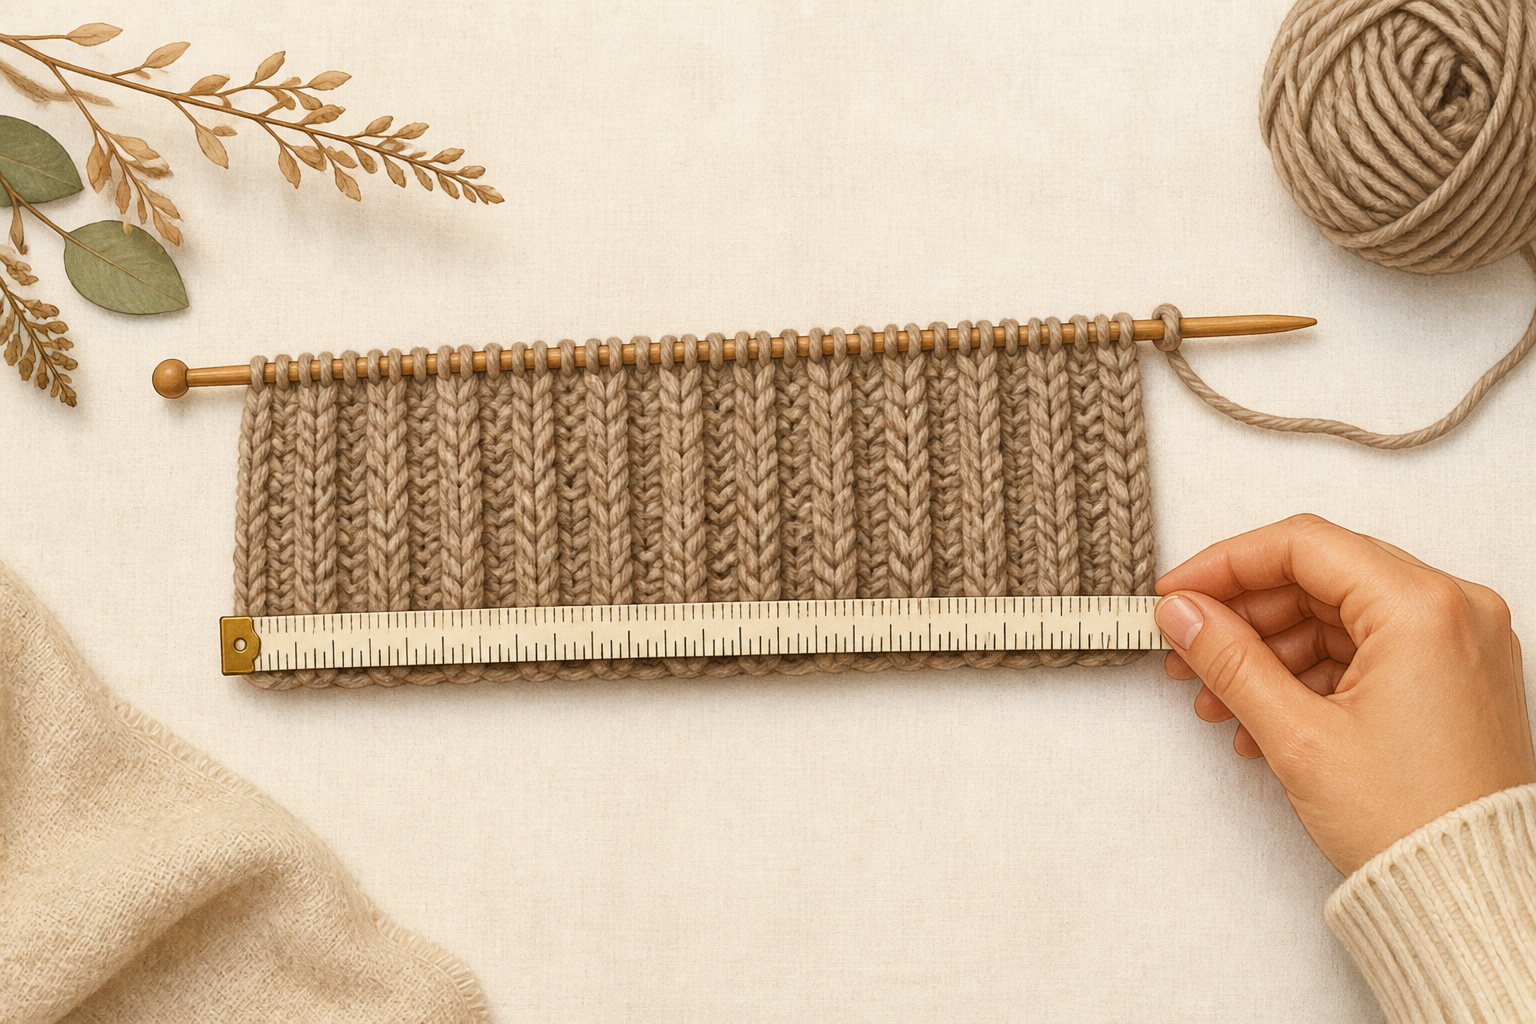
Continue knitting until the target length
Work the 1x1 rib in every row, stopping occasionally to lay the piece flat and measure. Knit until the piece measures your target length (example target ~19 inches); try it around your head for fit—this piece should stretch comfortably.
- 09
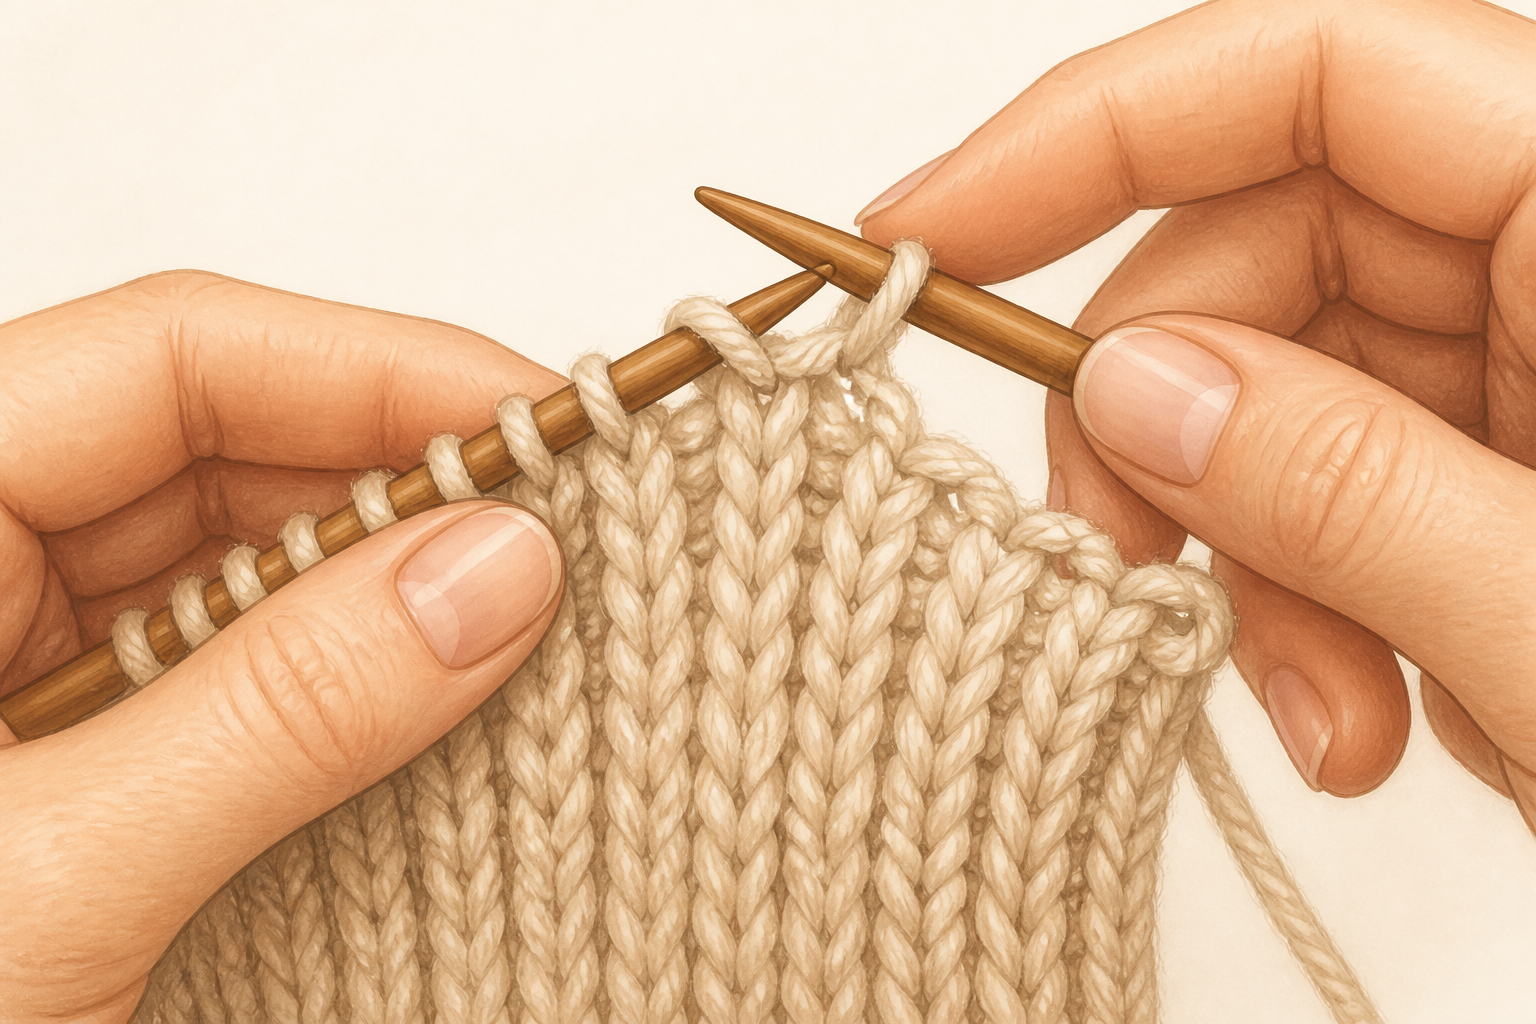
Bind off in pattern
To maintain stretch, bind off following the pattern: if the next stitch is a knit, knit it; if it's a purl, purl it. Then work the next stitch, lift the first stitch over the second to bind off. Continue across, always binding off as the stitches appear so the rib remains elastic.
- 10
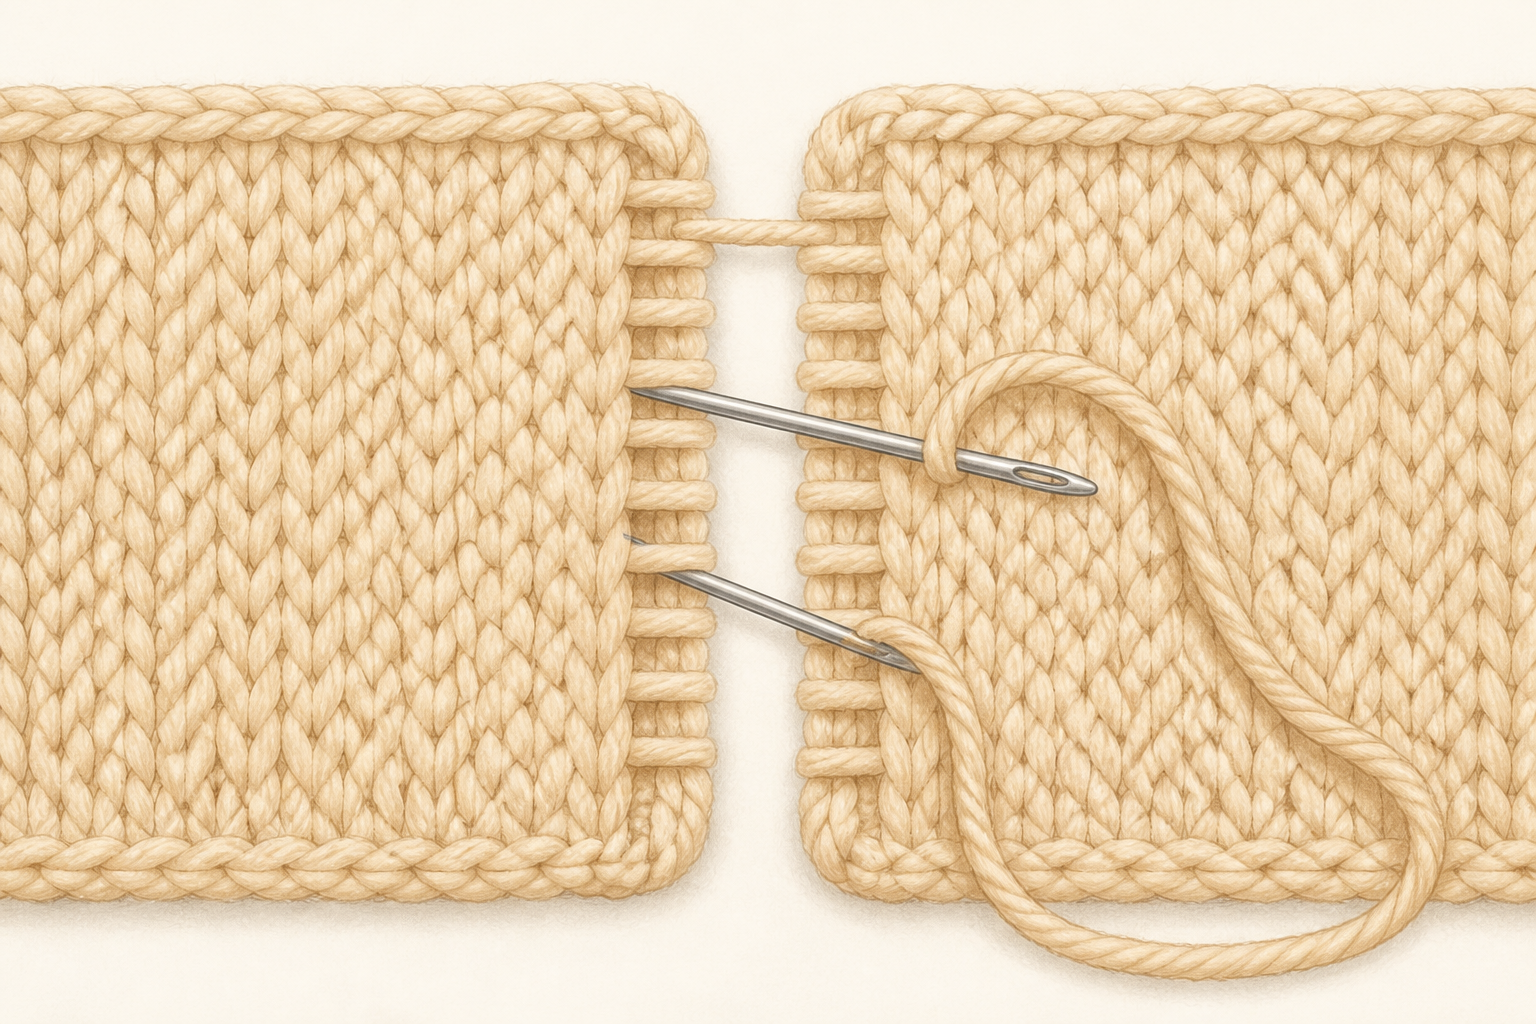
Seam the short ends with mattress stitch
Align the two short ends with right sides facing up and edges matched. Thread a tapestry needle and work mattress stitch by inserting the needle under the horizontal bar between the first and second stitches on one side, then the other side, alternating and pulling gently so the seam closes invisibly. Adjust tension for a flat seam.
- 11
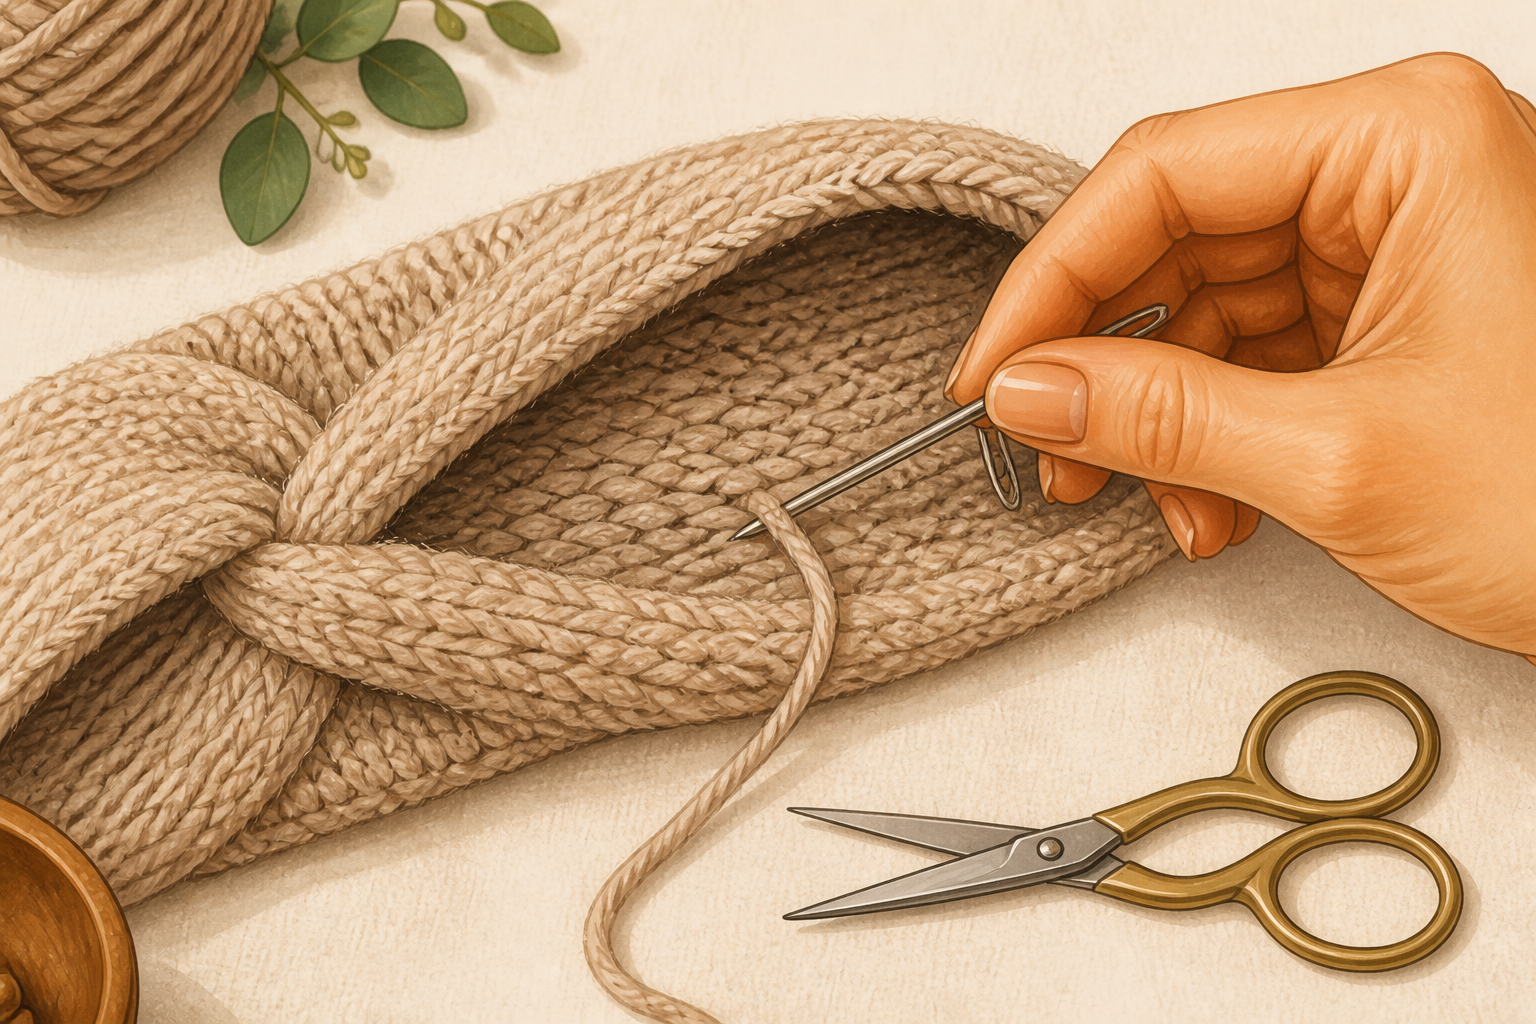
Weave in ends and tidy up
Thread tail yarn through the tapestry needle and weave it into the inside of the headband along several ribs for security; trim the excess close to the fabric. Repeat for the cast-on tail. Smooth any loose loops and check both sides for tidy finishing.
- 12
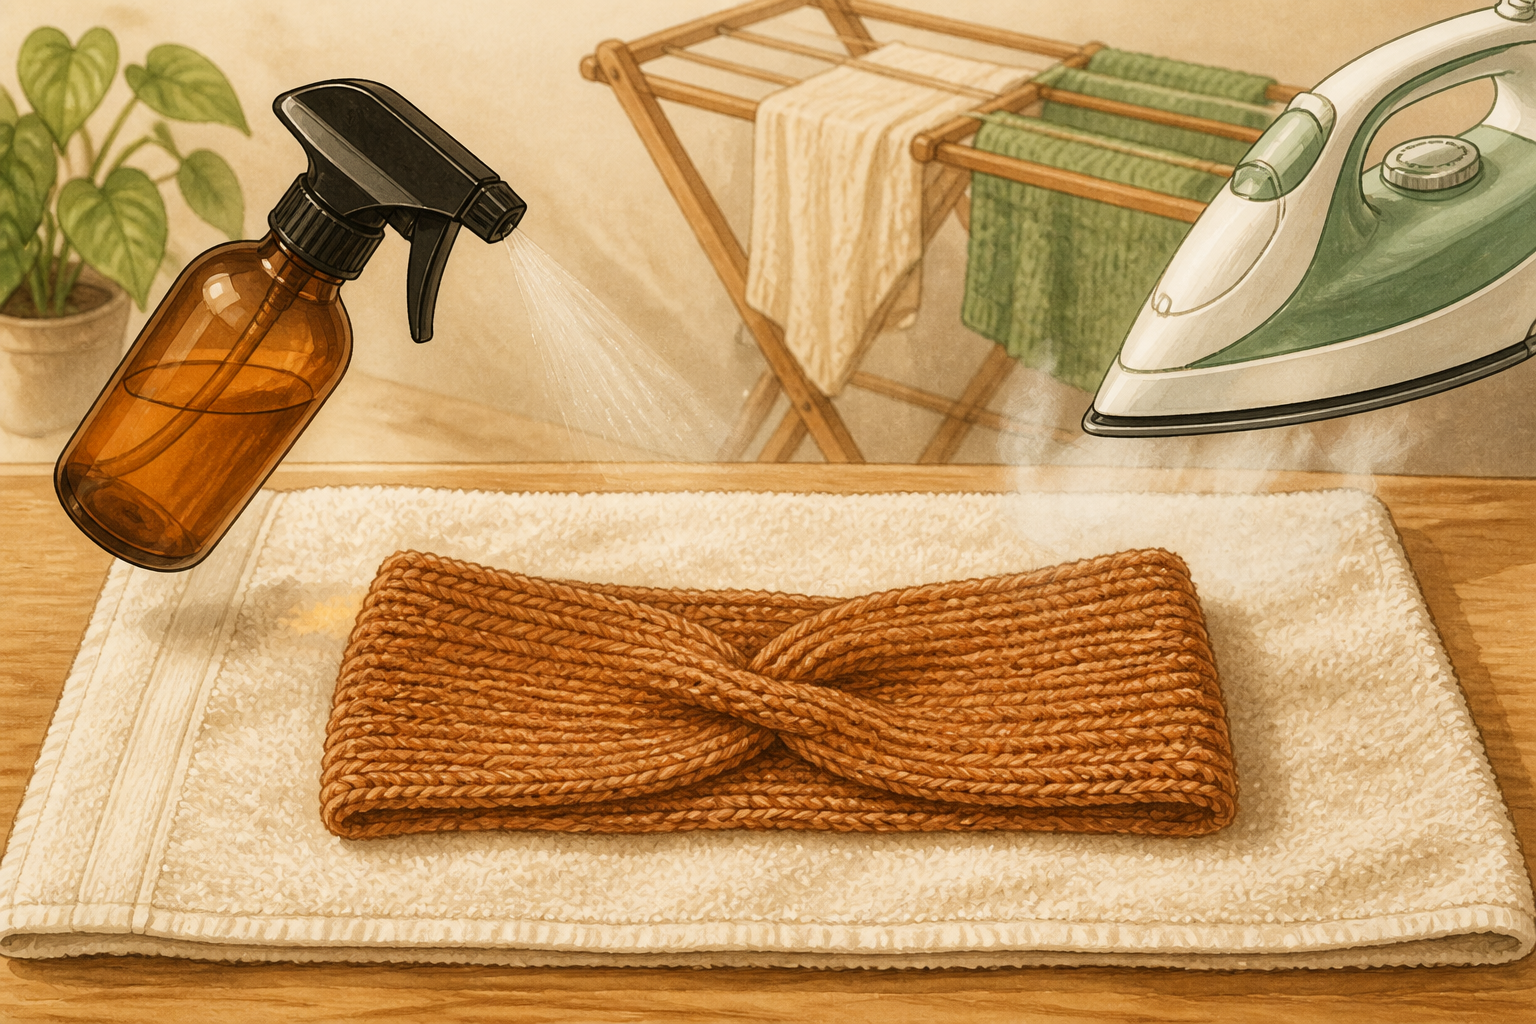
Block gently and final fit
Soak the headband in lukewarm water for 5 minutes, gently squeeze out excess water (no wringing), roll in a towel to remove more moisture, then lay flat and shape to final measurements. Let dry fully—alternatively, use a steam iron a few inches above the fabric to relax stitches. Try it on and tuck any remaining unevenness inside.
If this was useful
Try one of these next

Food & drink How-to
How to build a Spooky Low‑Carb Charcuterie Board (visual tricks, real keto options)
Assemble a Halloween‑ready charcuterie board that reads scary and stays low in carbs: cured meats, cheeses, olives, pickles, and low‑carb garnishes arranged for effect. Clear placement, proportion, and storage tips keep it photo‑ready and h
Read article
Food & drink How-to
How to make Keto Mummy Dogs (fathead dough wraps for spooky snacks)
Turn weeknight sausages into adorable, low‑carb mummies using a simple cheese‑and‑almond flour fathead-style dough. Step‑by‑step baking and assembly directions show how to roll, wrap, bake to golden, and add cute but edible 'eyes'—all safe, precise, and party-ready.
Read article
Food & drink Listicle
6 Low‑Carb Halloween Cocktail & Mocktail Mixers, Ranked for Flavor and Sugar‑Free Impact
A ranked round‑up of mixers, from sparkling herbal infusions to zero‑sugar syrups, chosen by flavor compatibility and minimal sugar impact for spooky drinks. Great for hosts who want dramatic drinks without hidden carbs.
Read article
Food & drink Listicle
7 Store‑Bought Keto Halloween Candy Swaps, Ranked
A practical, ranked list of easy supermarket swaps and prepackaged treats that keep carbs lower without feeling like punishment. Items are ordered by accessibility and overall keto‑friendliness so you can stock a candy bowl fast.
Read article