Learning
How to create a two-page bullet journal tracker spread in 30 minutes
Design and draw a reusable two-page tracker spread for one month’s habits or projects; the guide walks through layout, ruling, headers, and simple decoration in six to ten ordered steps.

- 01
Set a 30-minute timer and gather tools
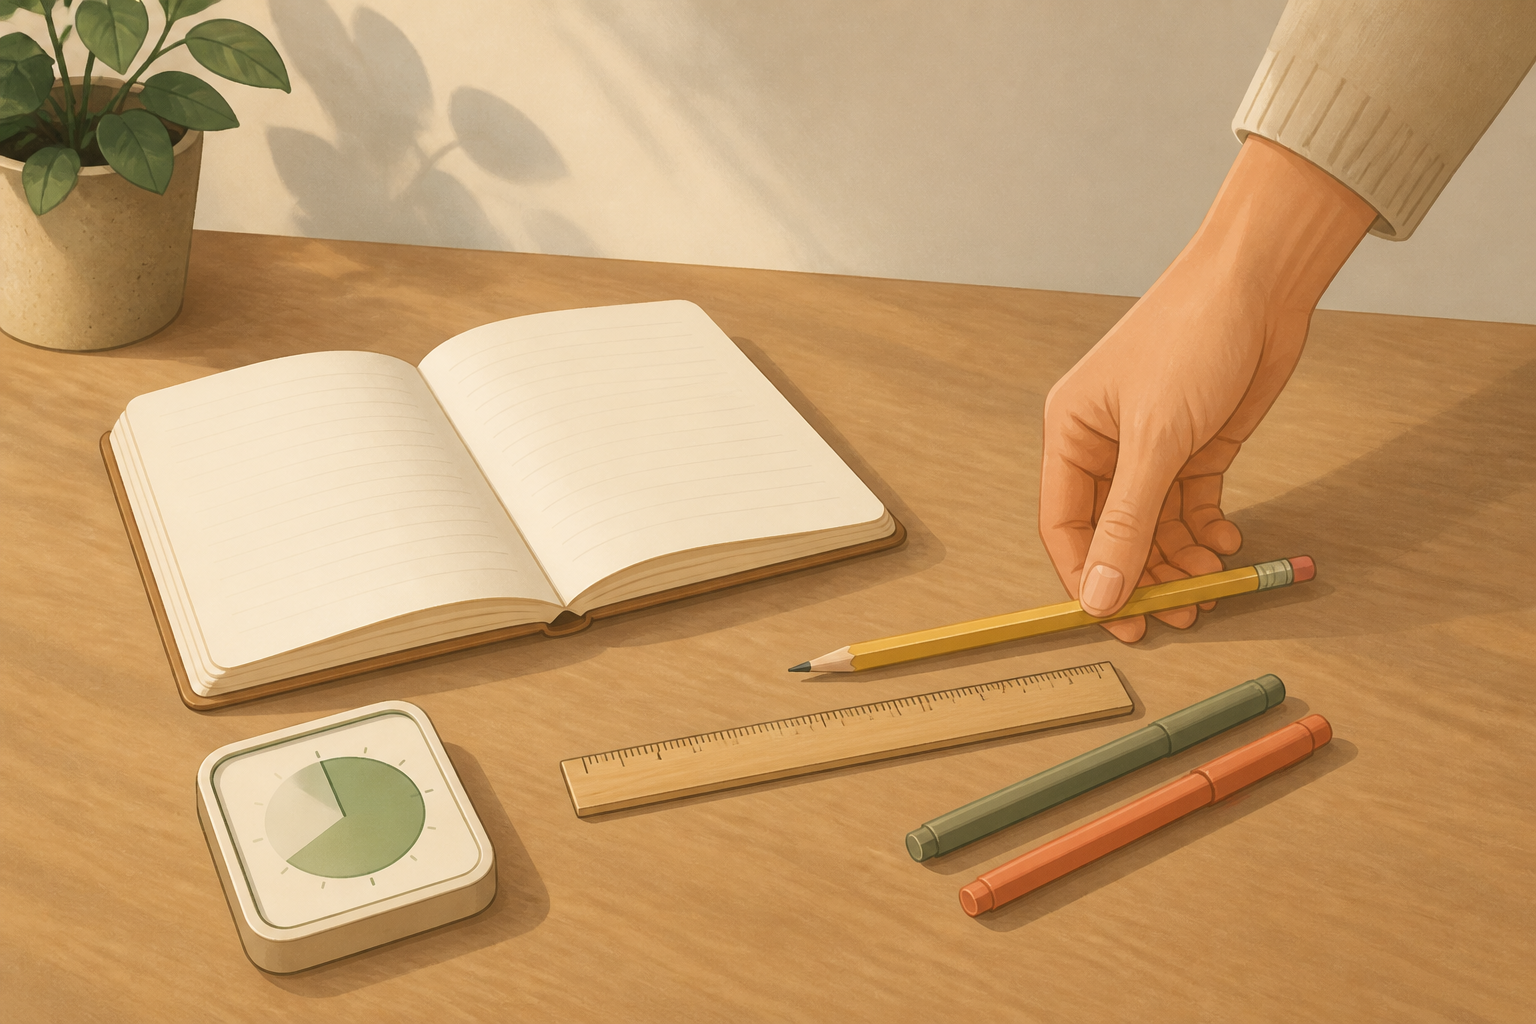
Start the timer for 30 minutes so you stay focused. Put a dot-grid or ruled notebook open to a spread, a pencil with eraser, a ruler, one black pen for final lines, and one or two colored pens or highlighters near you.
- 02
Decide what you’ll track this month
Choose a single month and pick 5–8 habits or project items to track—examples: practice, revision topic, water, or chapter progress. Write the chosen month and list of items on a scrap sheet so you can refer to it while drawing.

- 03
Map the spread: mark center and label area
Find the notebook’s center fold and lightly mark it with pencil. On the left page reserve a vertical strip about 6–8 dot columns wide for habit labels; on the right and remaining space make space for the daily grid spanning both pages so one row equals one habit.

- 04
Draw the columns for days across both pages
Using your ruler and pencil, lightly draw vertical column guides across the two pages—one column per day for the month (28–31 columns). If your notebook is dot-grid, use the dots to space columns evenly; leave a small outer margin so columns don’t touch the page edge.

- 05
Draw the rows for each habit
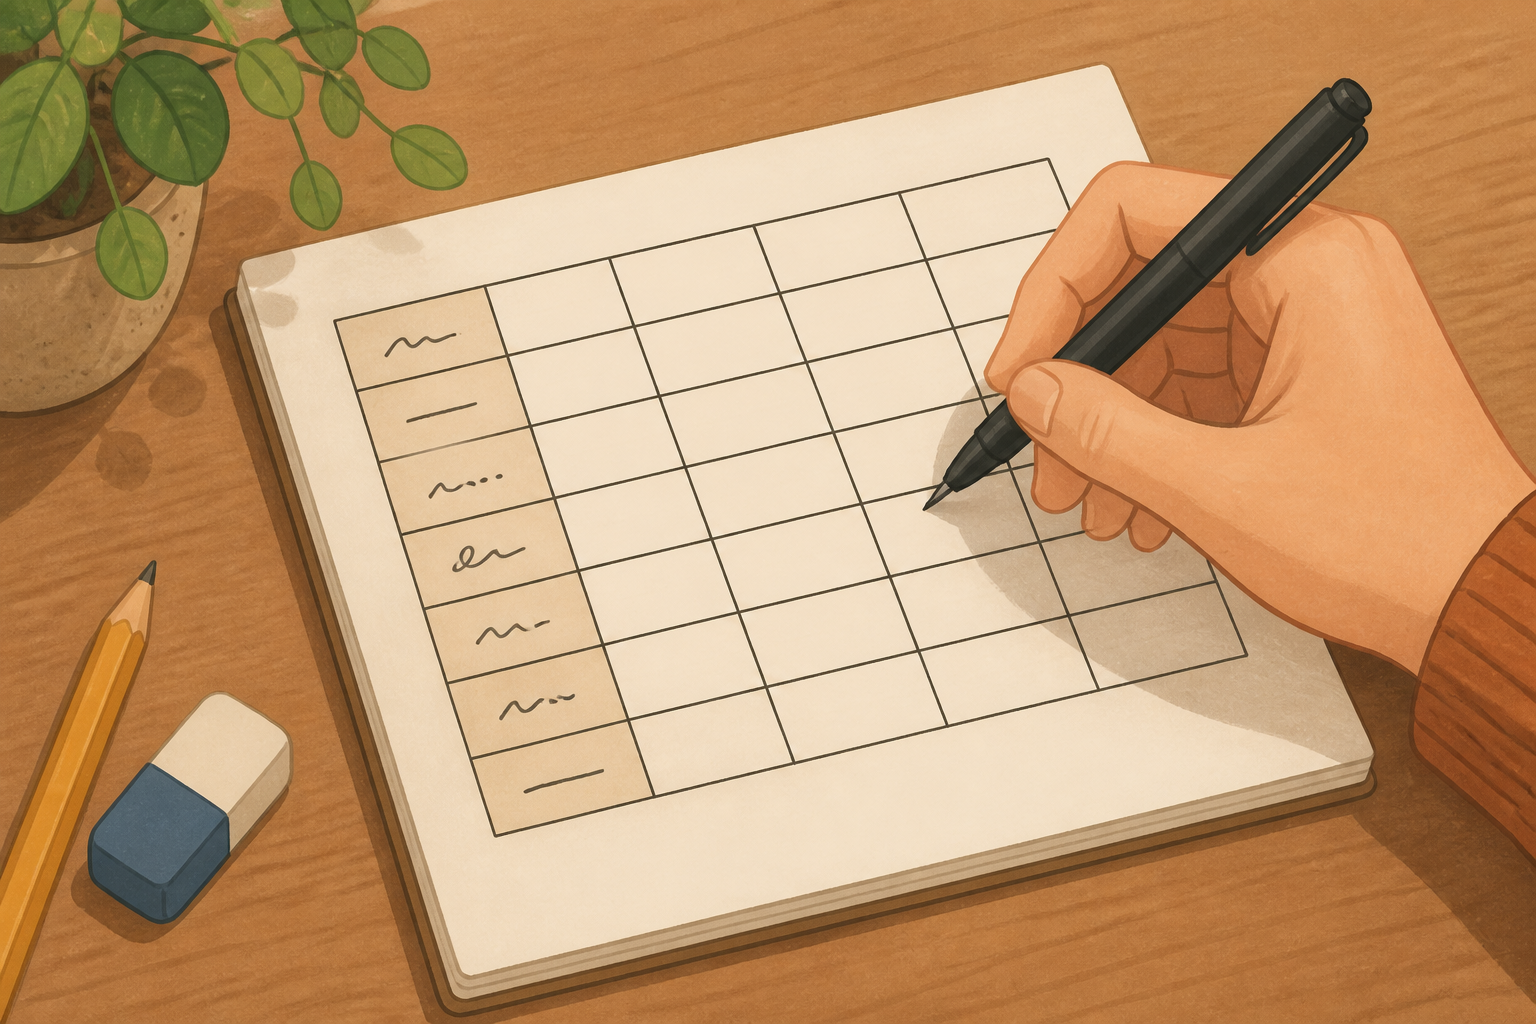
From the left label column move right and draw horizontal rows—one per habit from your list. Keep rows tall enough to fill a single line of dots or ruled lines so checking a day is easy. Use the ruler for straight lines and pencil first so you can adjust.

- 06
Add header area and day numbers
At the top edge of the grid leave a header band across both pages for the month name and day numbers. Lightly note the day numbers above each column (1–28/30/31) in pencil—small, centered marks above each column so the grid stays clean when you ink it.

- 07
Ink final lines and fill the labels
Once spacing looks right, trace the outer border, vertical column dividers, and horizontal rows with the black pen. In the left label column neatly write each habit or project item on its row. Erase remaining pencil guides gently after the ink dries.
- 08
Create a simple key and add color accents
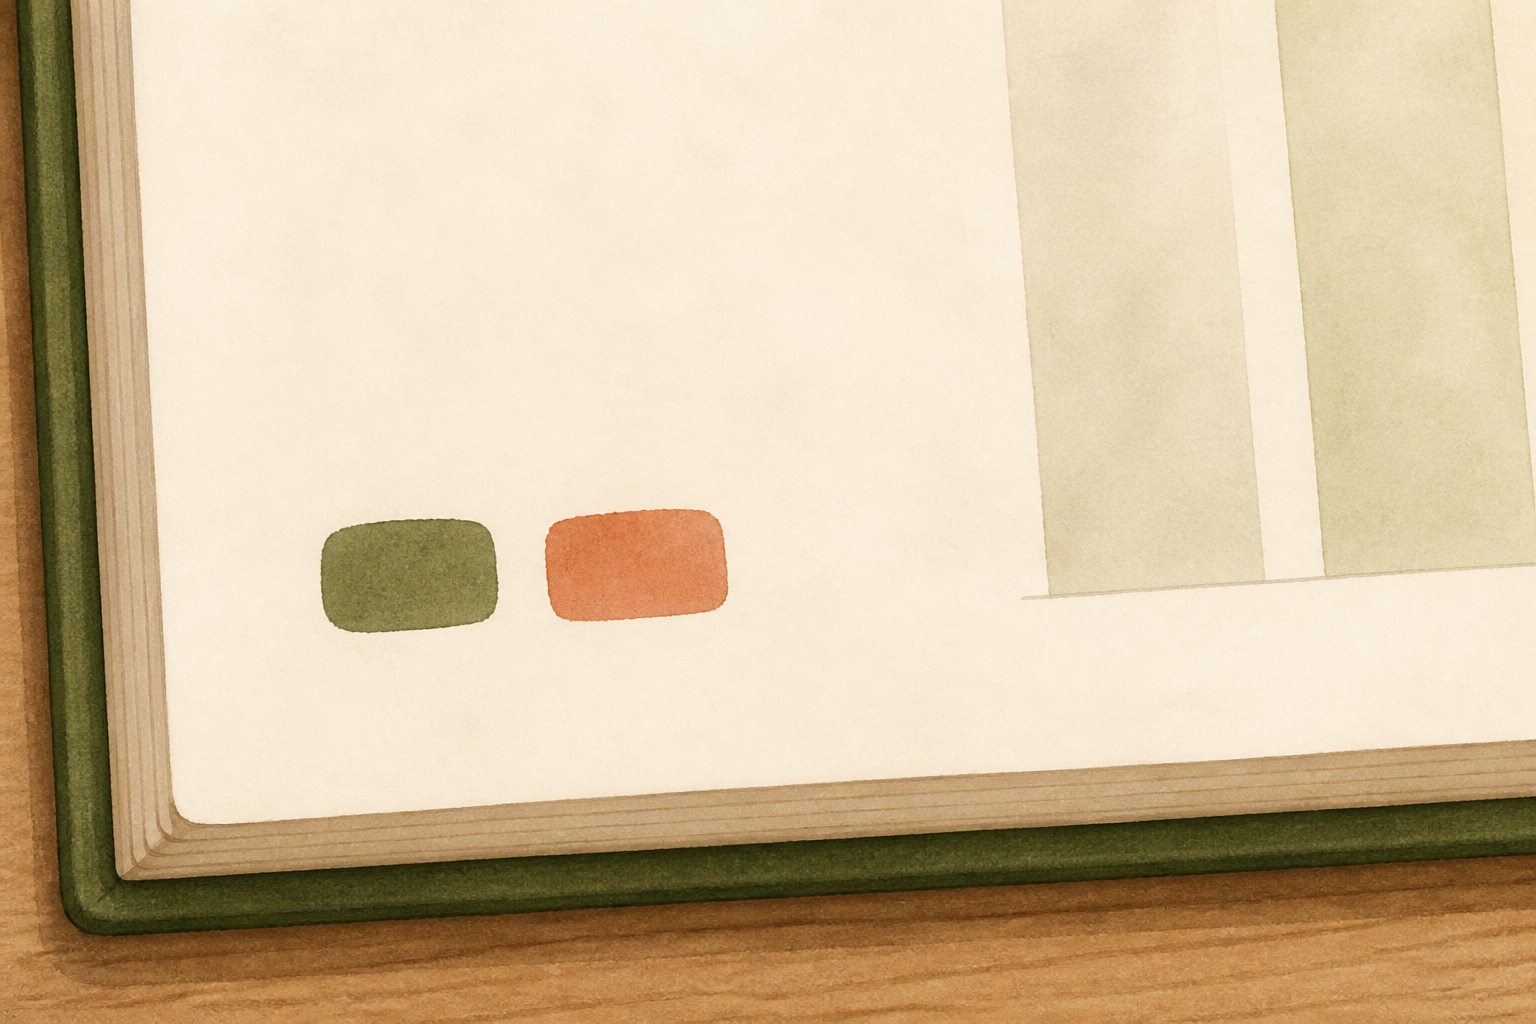
In a corner add a tiny key with one or two colored marks (for example: filled = done, dot = partial). Use one color to highlight weekends or important project milestones by lightly shading those columns. Keep decoration minimal so the tracker stays readable.
If this was useful
Try one of these next
Hobbies & crafts
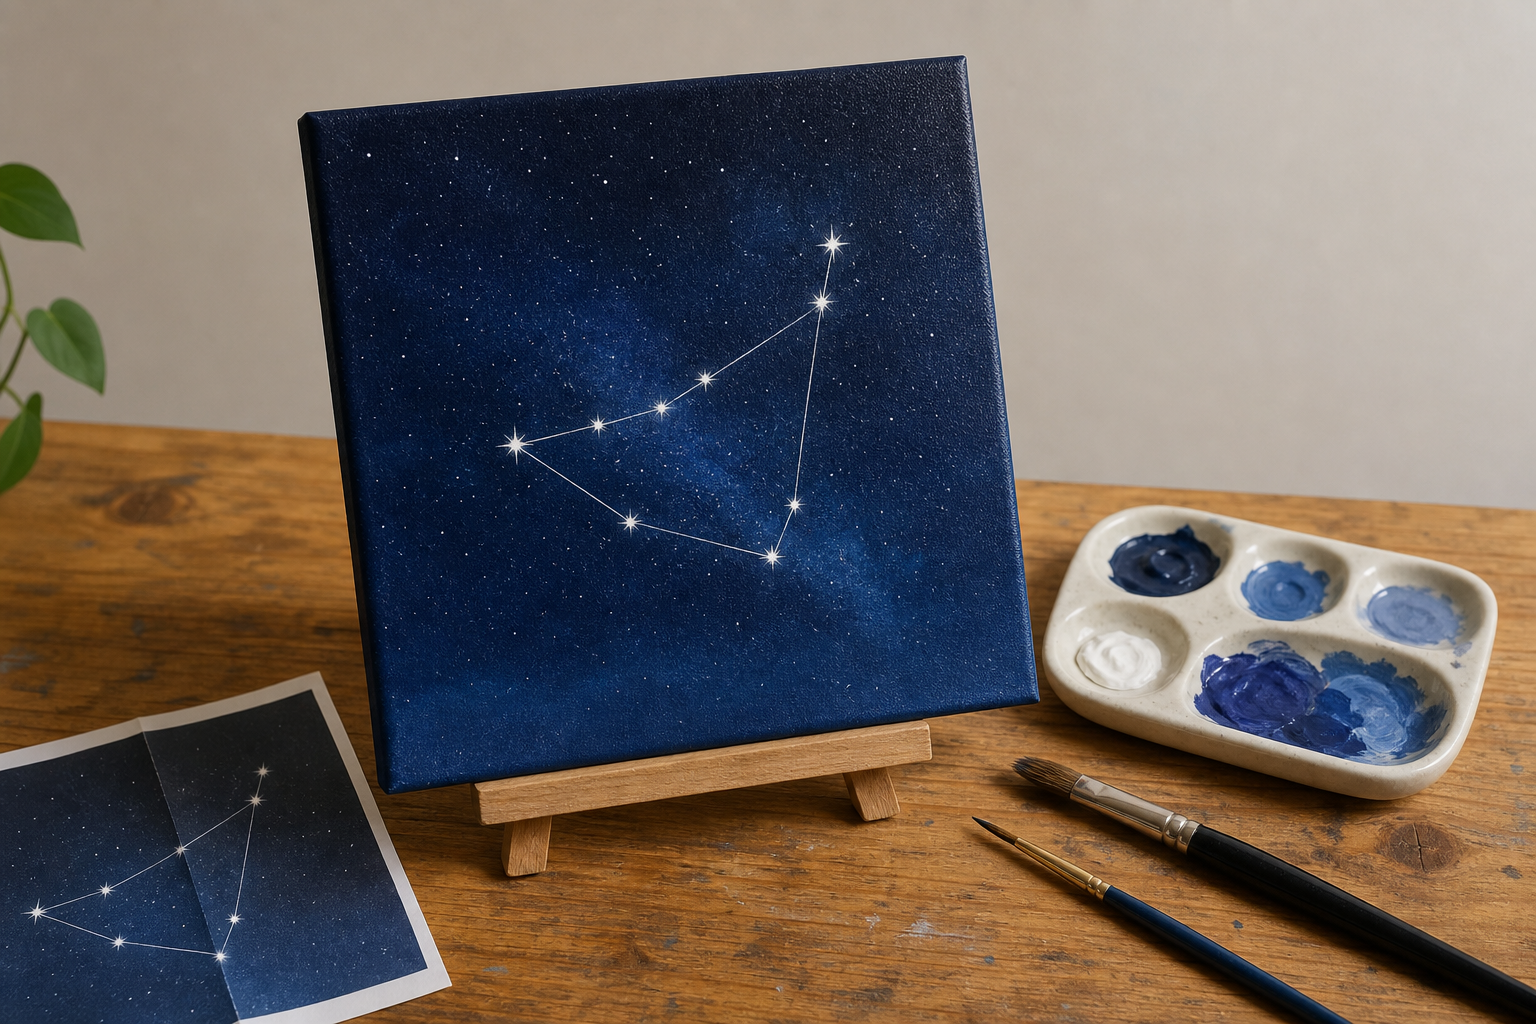
How to paint a Capricorn constellation mini canvas with acrylics
Complete a 6×6-inch acrylic painting of the Capricorn constellation on a small canvas—follow six to twelve steps for sketching, underpainting, adding stars, and sealing the finished piece.
Read the guide
Garden
How to propagate a snake plant division for a Capricorn-friendly workspace
Divide and repot a snake plant into a new container to create a second plant for your desk area—seven to twelve clear steps cover removing, dividing, potting, and initial watering.
Read the guide
Hobbies & crafts
How to fold a Capricorn-themed paper mountain goat bookmark
Turn a sheet of paper into a crisp, goat-shaped corner bookmark you can give or use during a planned chat. Includes clear fold diagrams and a final photo of the bookmark peeking from a book.
Read the guide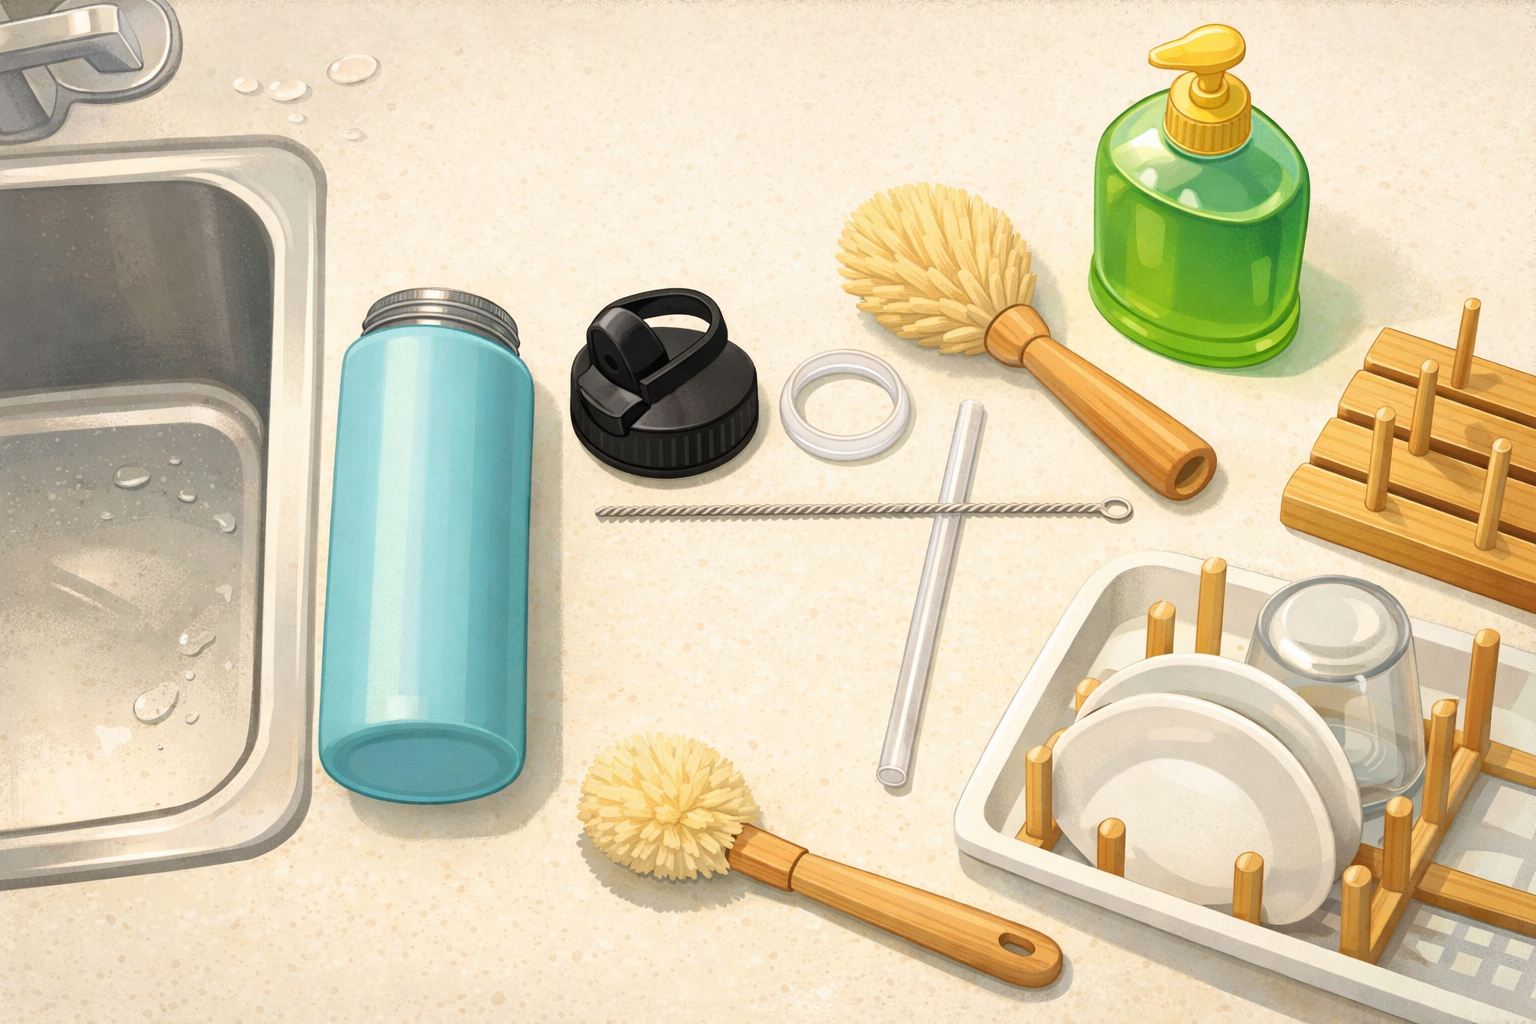
Home & life
How to clean and dry a reusable water bottle after a picnic
Disassemble the lid, clean threads and seals, wash the body, rinse thoroughly, and air‑dry so it doesn’t develop odours between countryside trips. Close‑ups show where residue hides and a quick drying rack setup.
Read the guide