Home & life
How to clean and dry a reusable water bottle after a picnic
Disassemble the lid, clean threads and seals, wash the body, rinse thoroughly, and air‑dry so it doesn’t develop odours between countryside trips. Close‑ups show where residue hides and a quick drying rack setup.
- 01
Gather simple cleaning tools
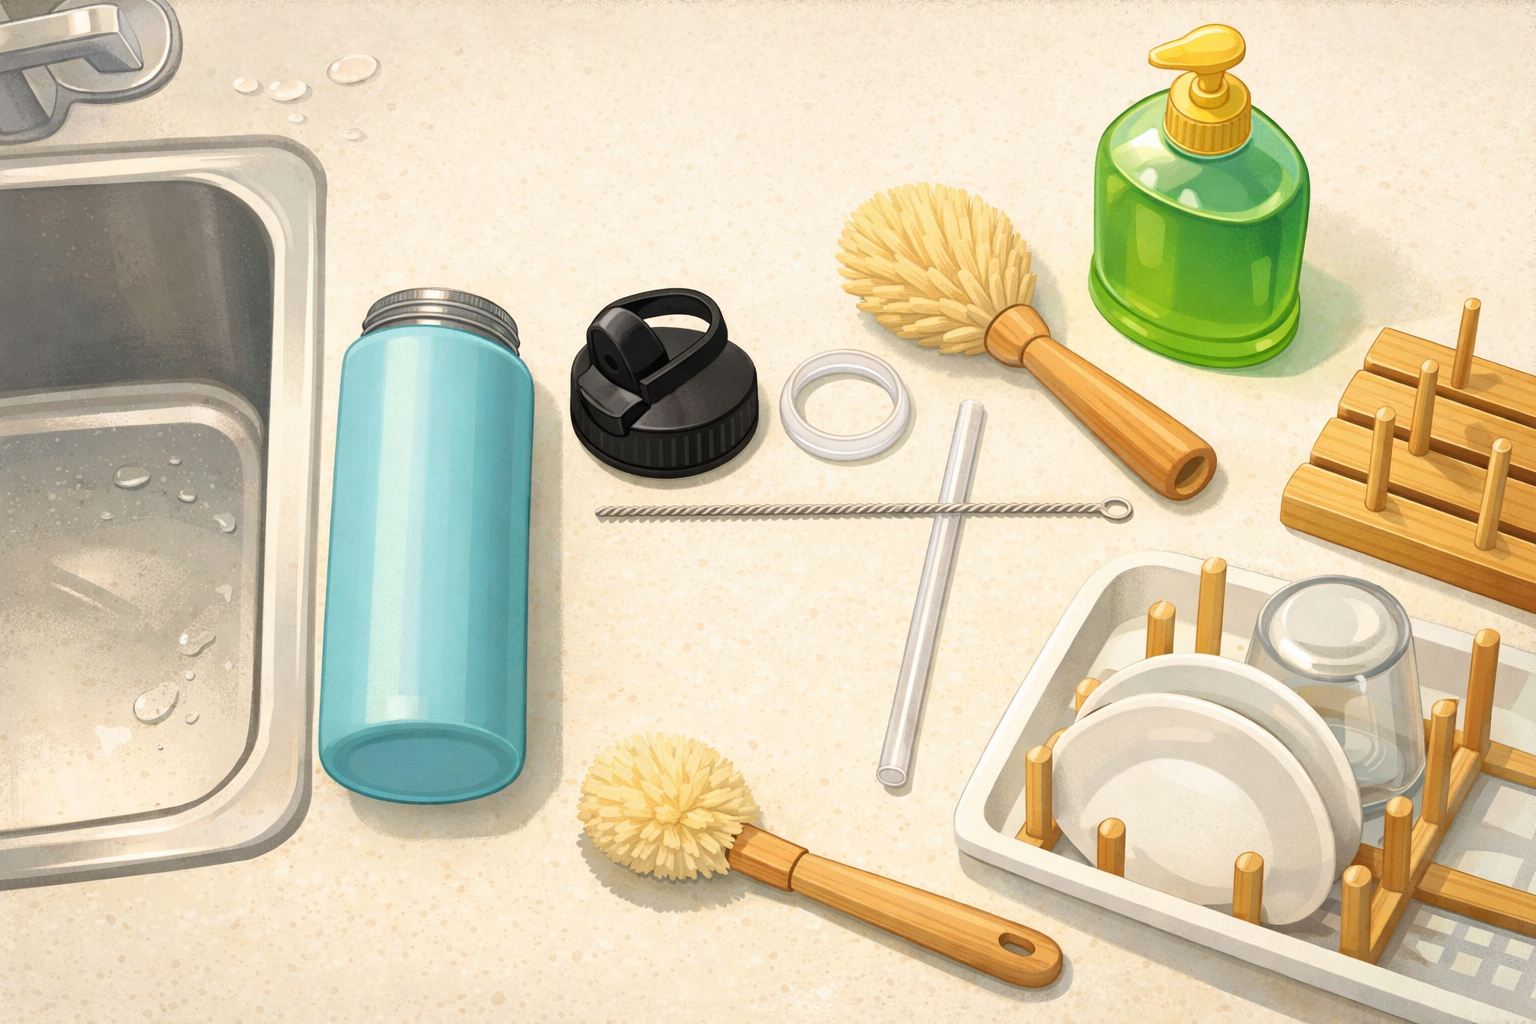
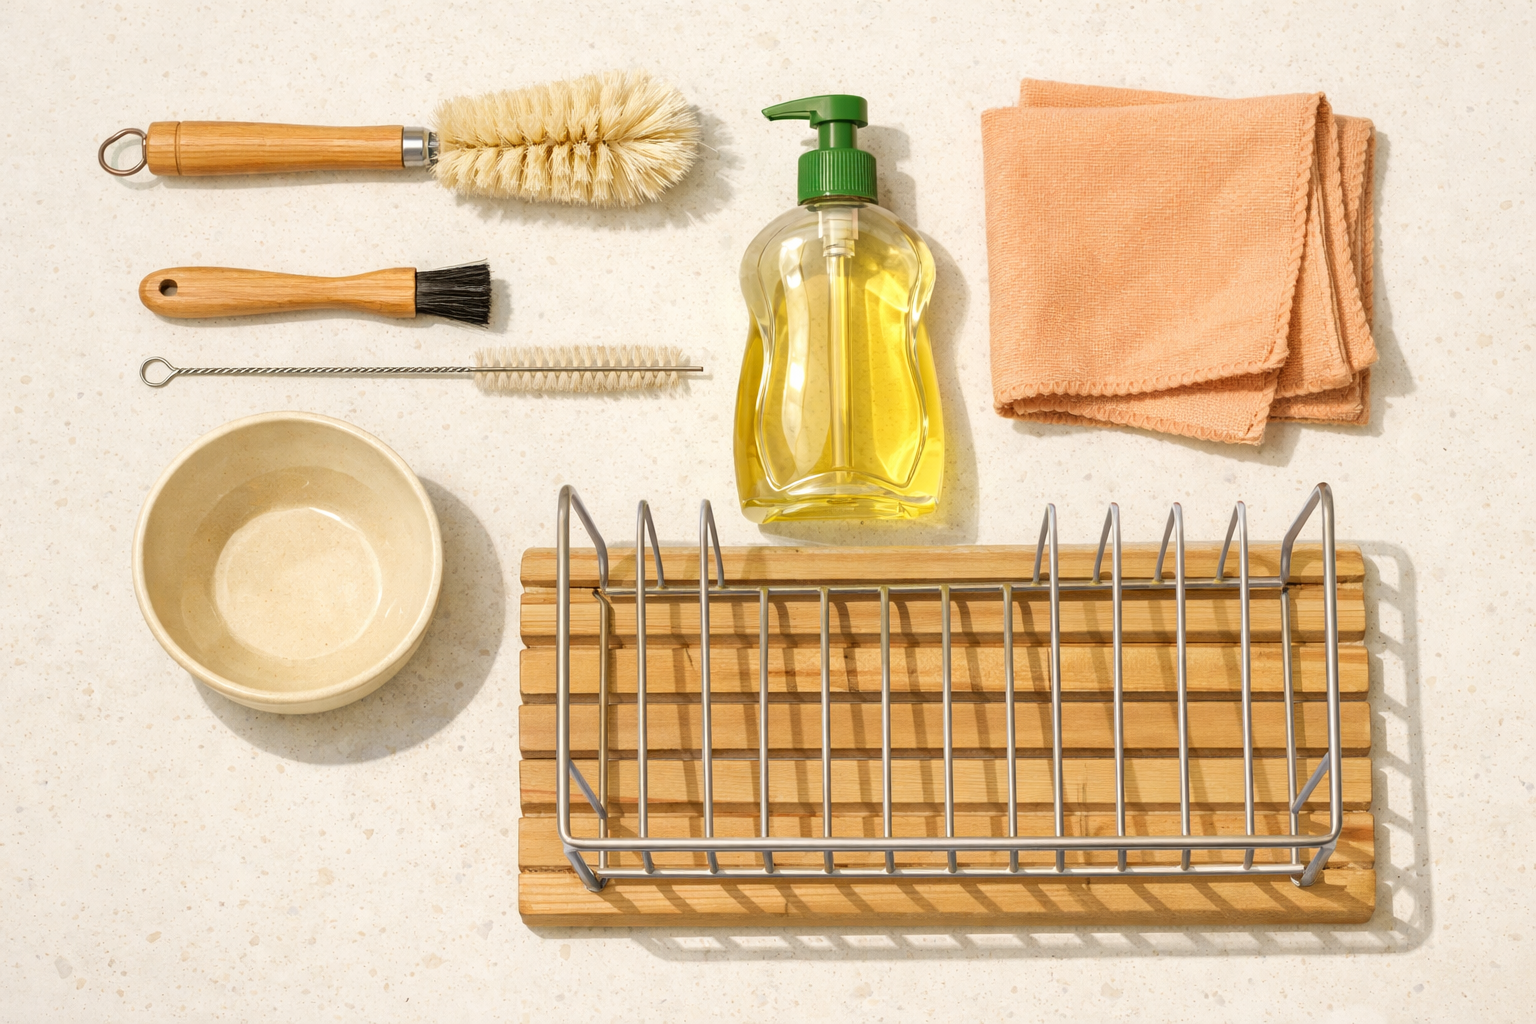
Set out mild dish soap, warm water, a bottle brush, a small detail brush (for threads and seals), a straw brush (if your lid has a straw or spout), a soft cloth or sponge, a clean dish towel, a small bowl for tiny parts, and a ventilated drying rack.
- 02
Empty and quick‑rinse the bottle
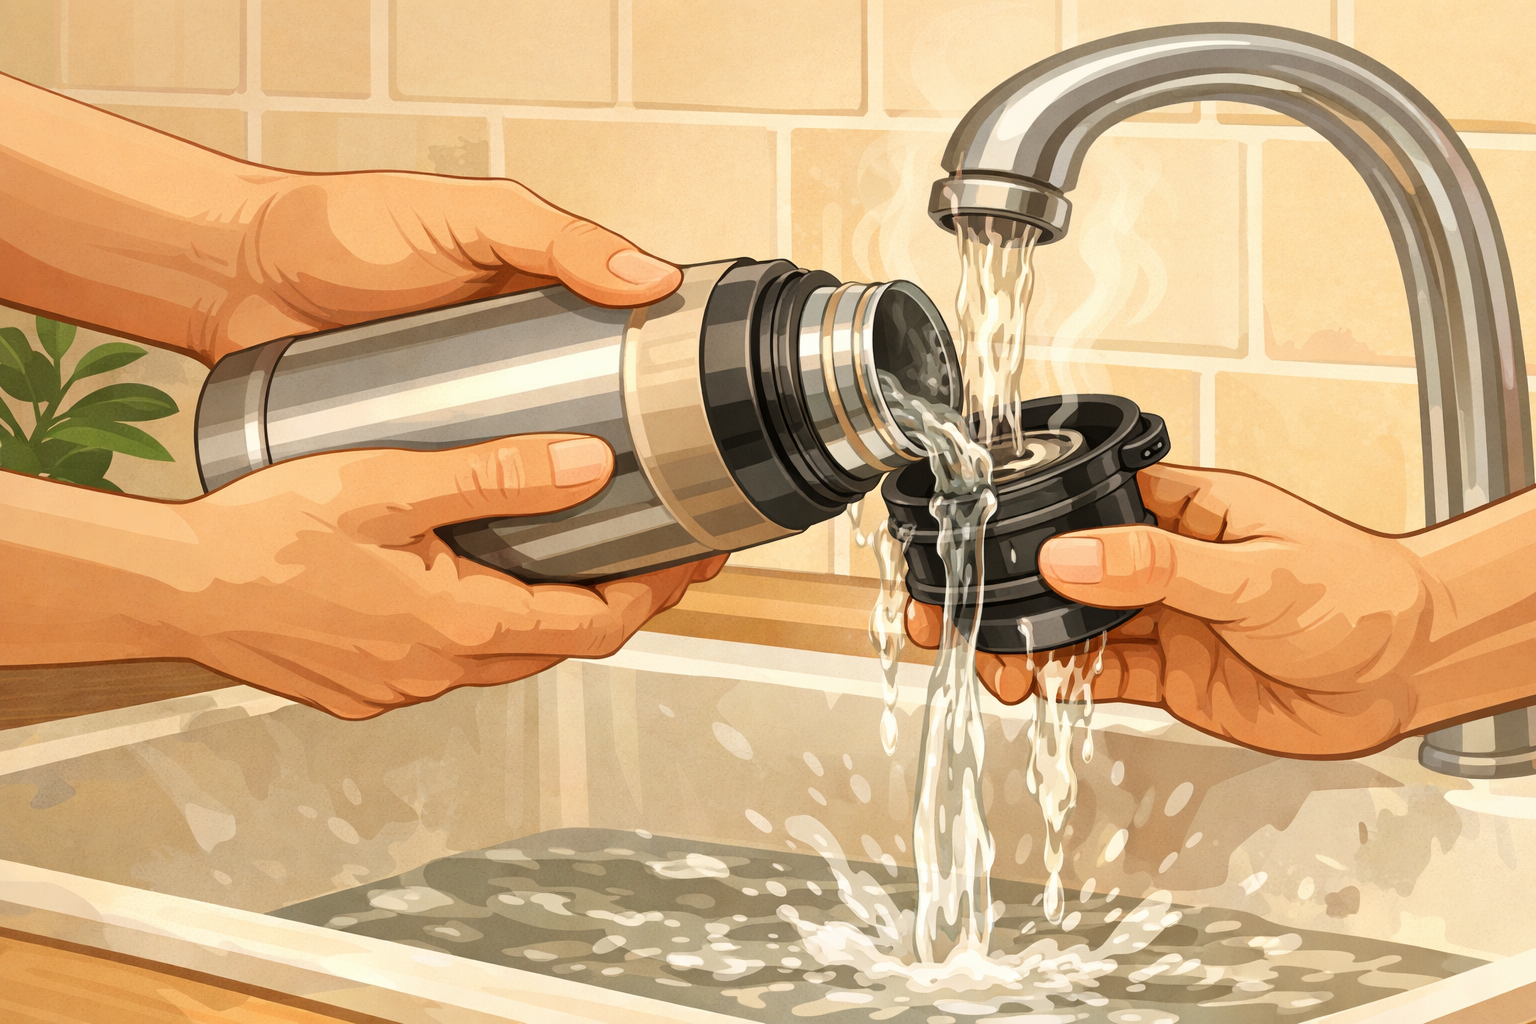
Remove the lid and pour out any leftover liquid or picnic crumbs. Rinse the bottle and lid under warm running water to dislodge loose residue so scrubbing will be easier.
- 03
Disassemble the lid and seals
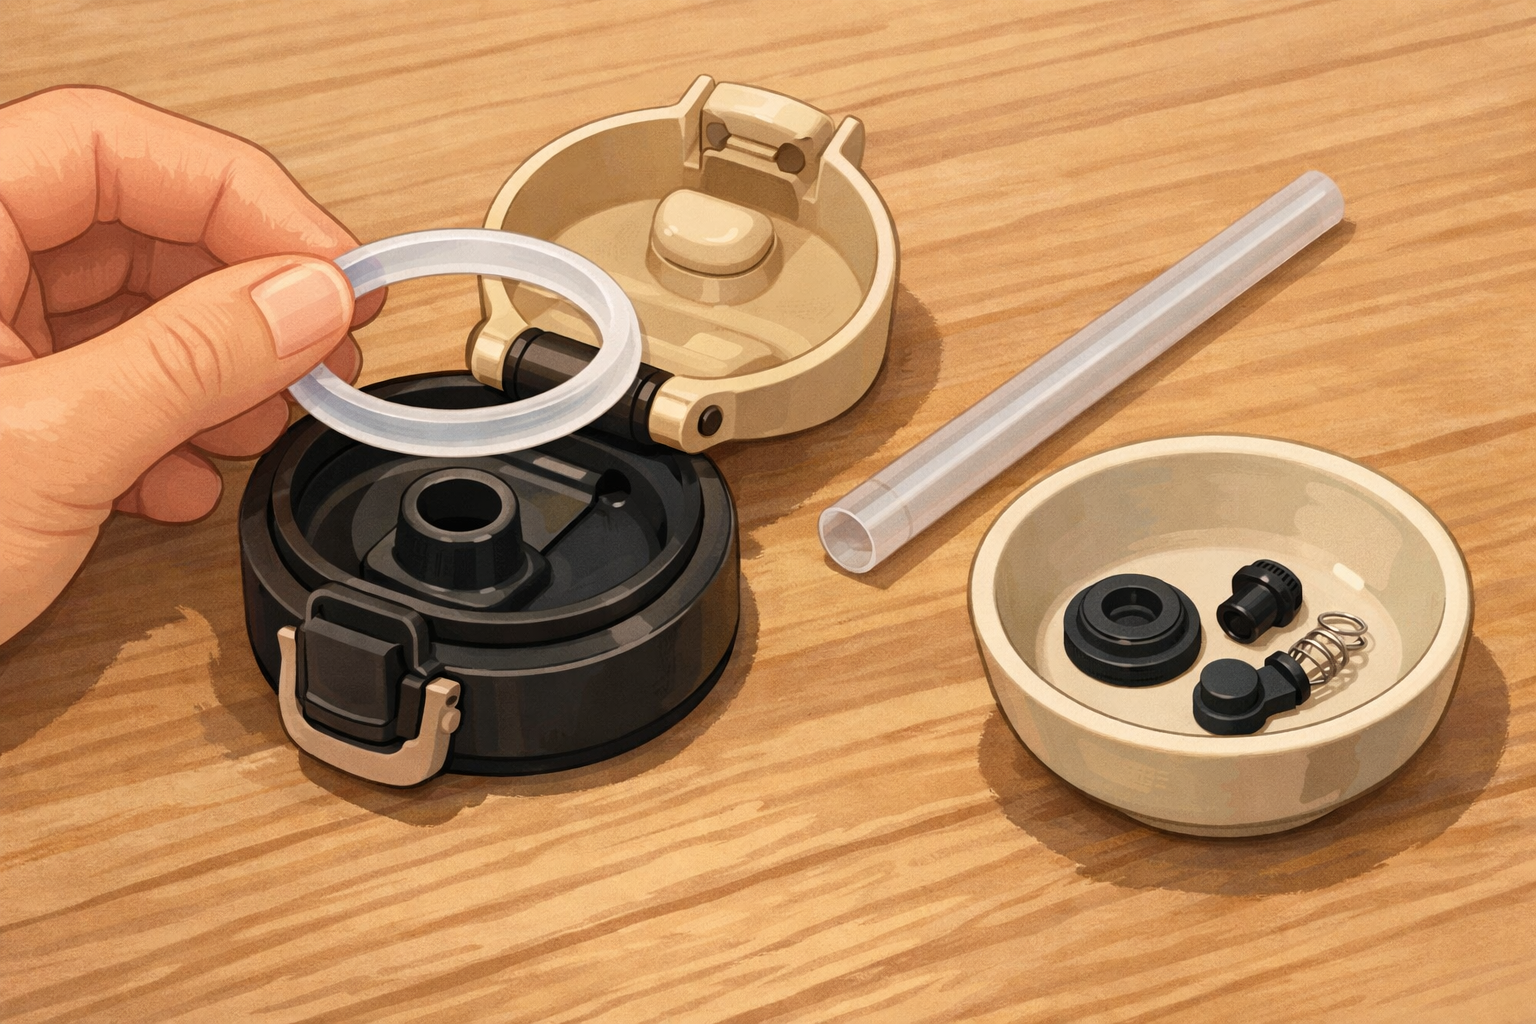
Take the lid apart so nothing traps moisture: pop out the removable gasket or O‑ring, detach any straw or flip spout, and separate any movable inserts. Place small parts in a bowl so they don’t roll away.
- 04
Soak small parts briefly
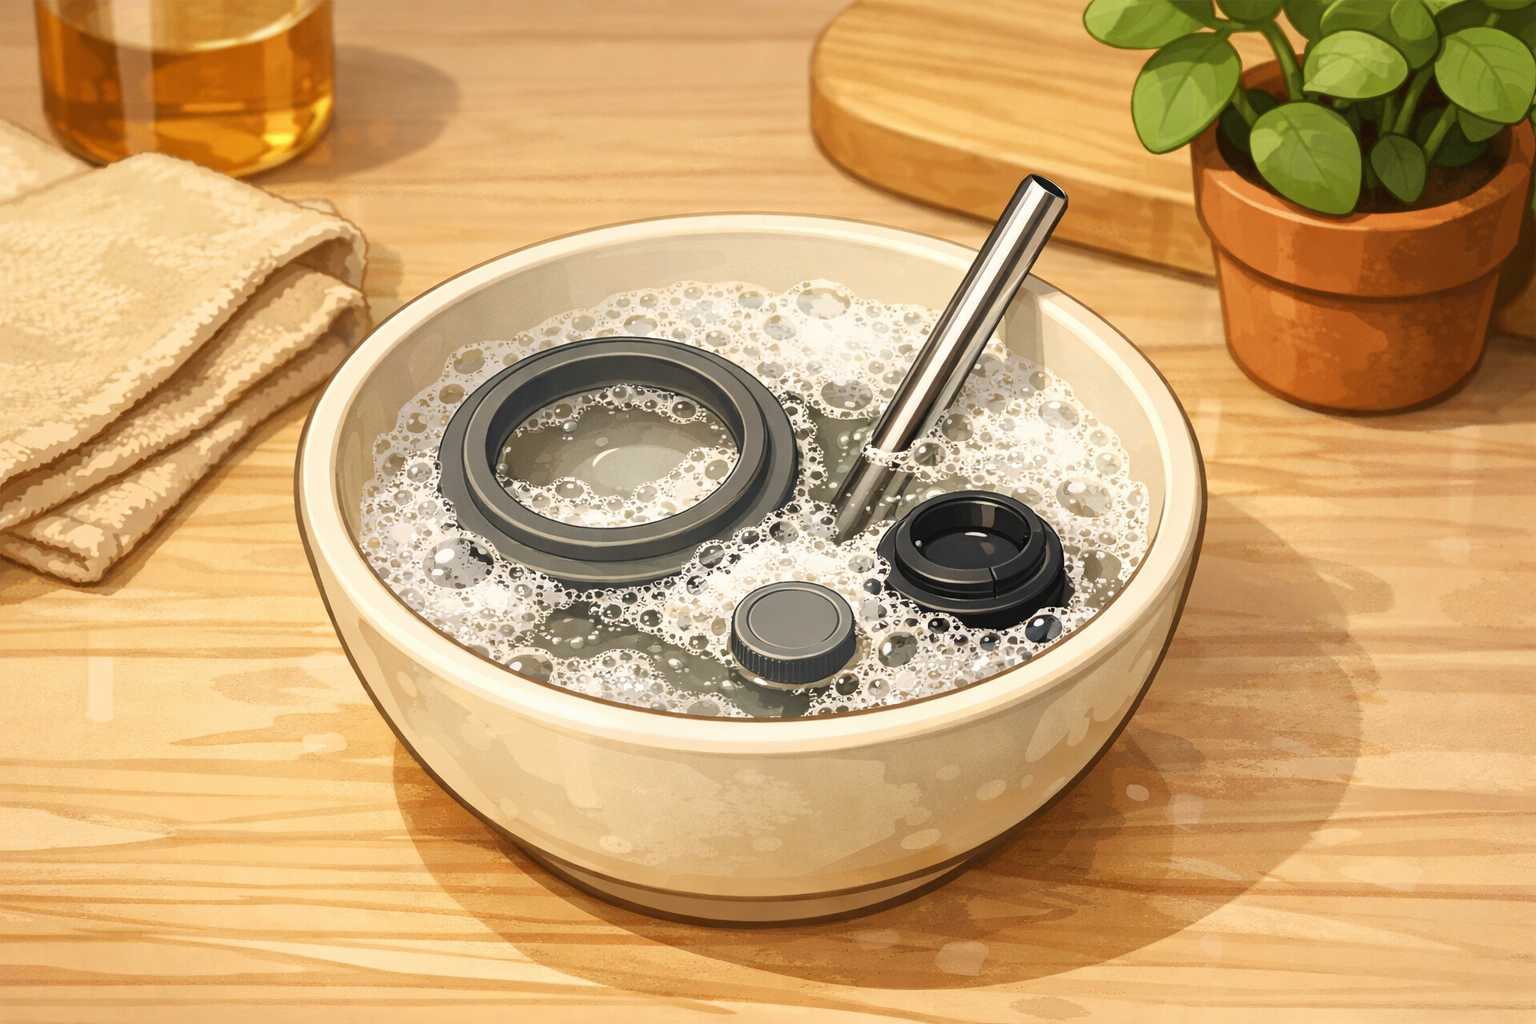
Fill the small bowl with warm, soapy water and drop in the gasket, straw, and tiny inserts. Let them sit briefly while you clean the larger pieces; soaking loosens residue in tight creases.
- 05
Scrub the cap and threads
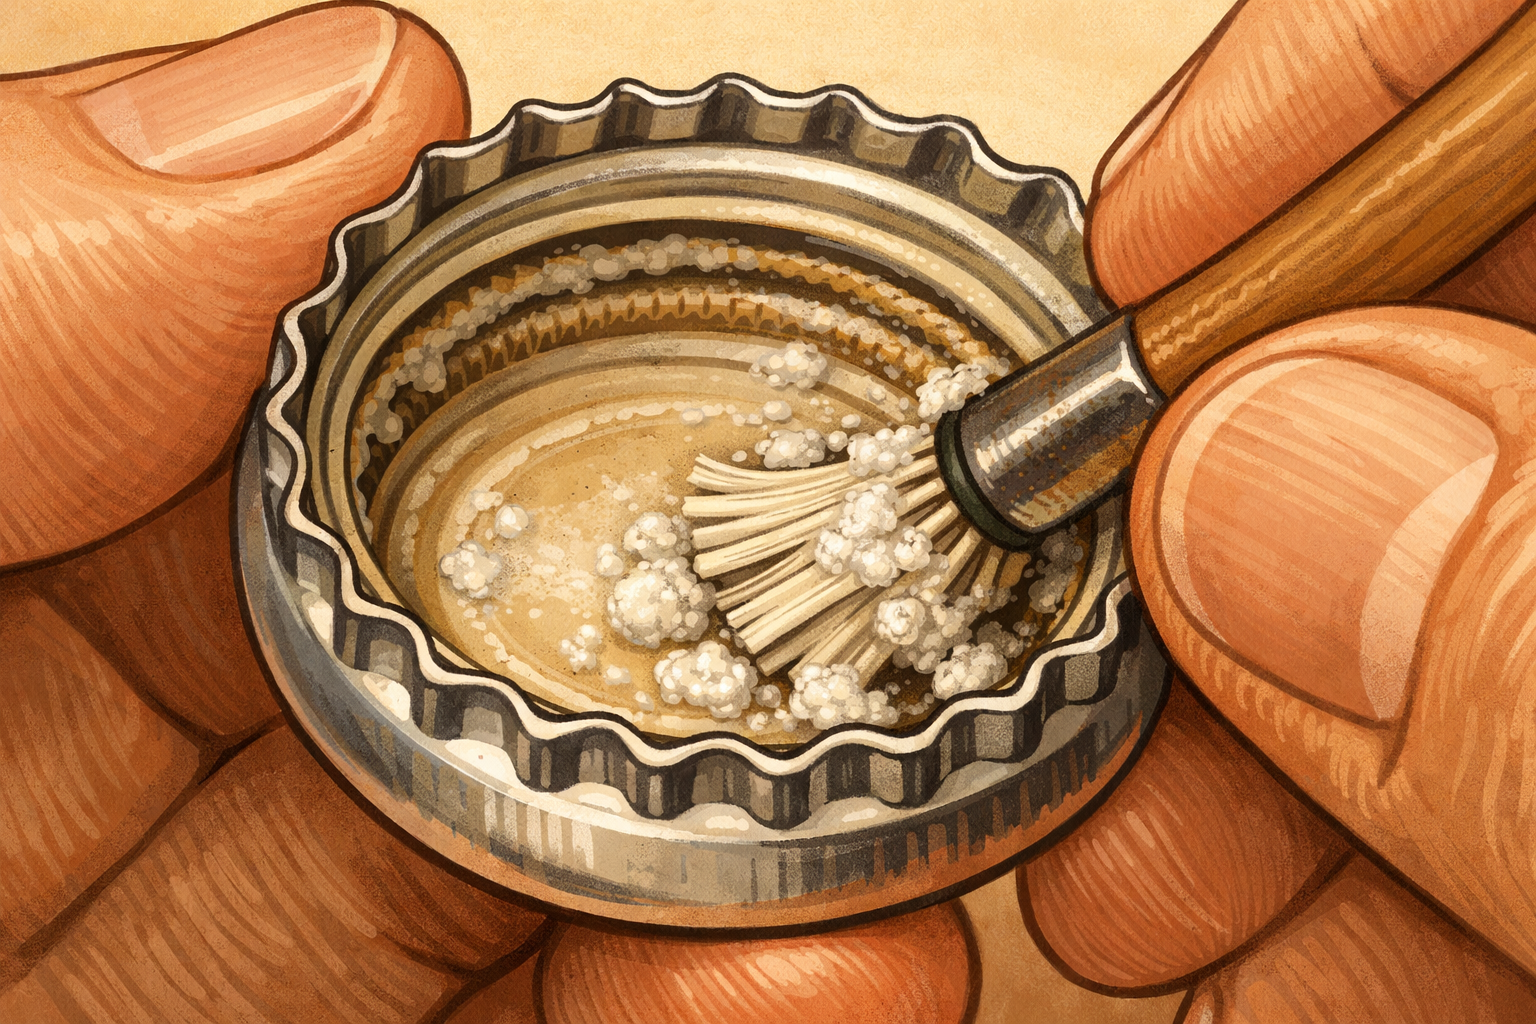
Apply a drop of dish soap to the detail brush and scrub the lid’s interior, exterior, hinge areas, and the drinking spout. Pay close attention to the threads and any grooves where grit and sugars tend to hide.
- 06
Clean the bottle interior
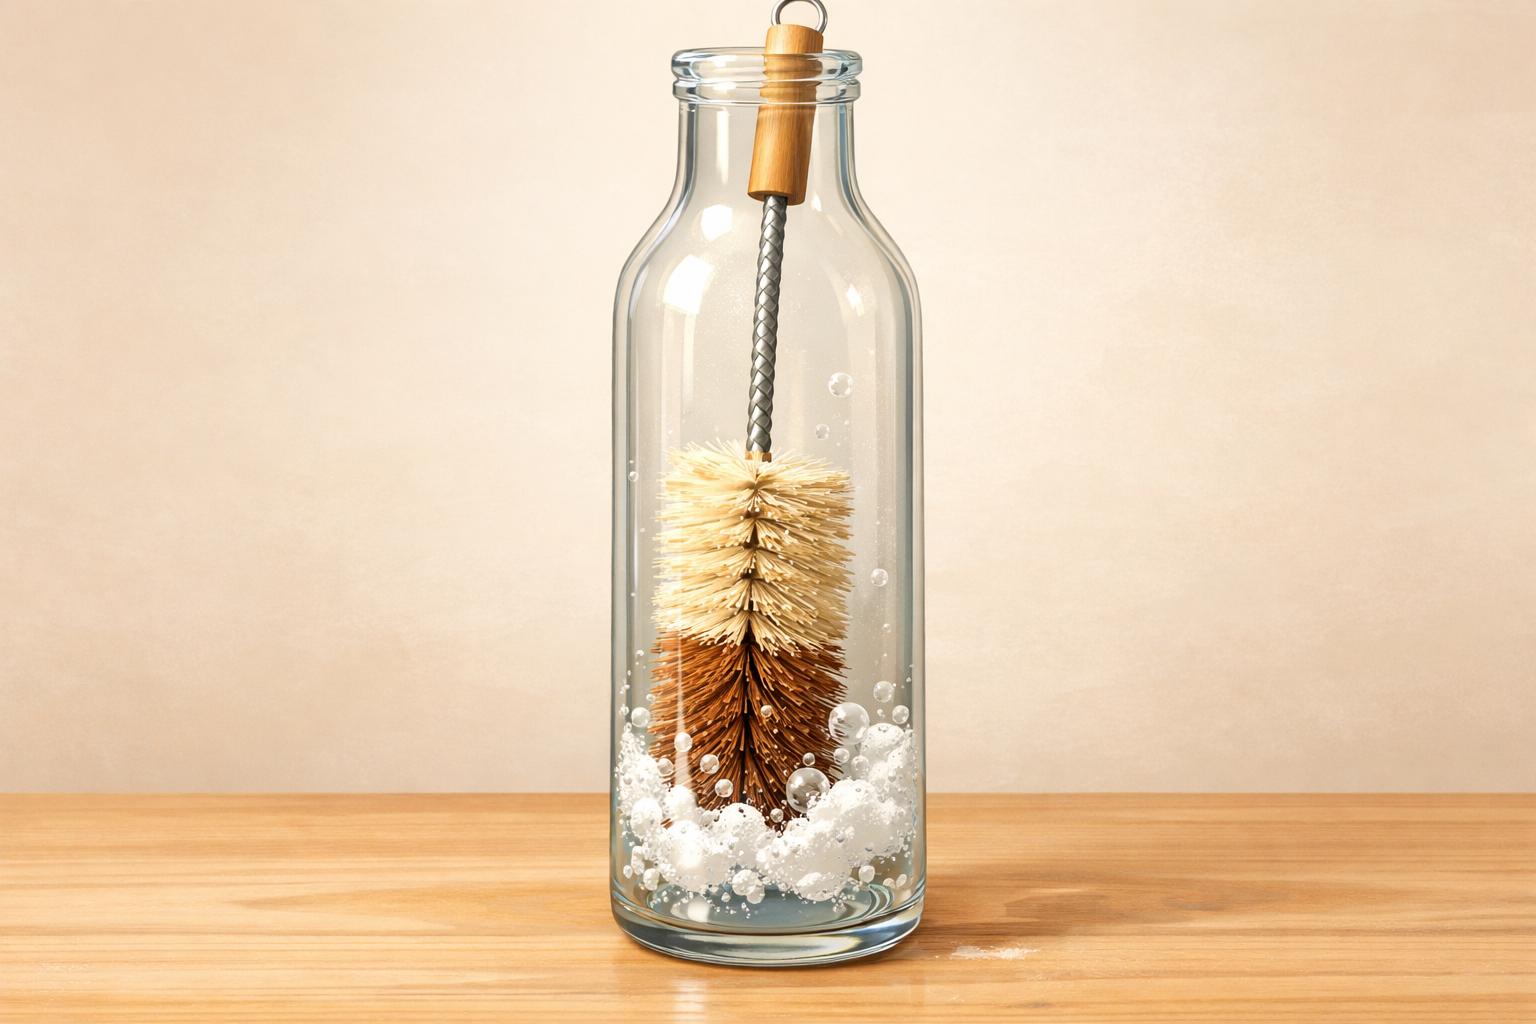
Add a little warm water and a small drop of dish soap to the bottle. Use the bottle brush to scrub the entire interior, reaching the base and any ridges. Rotate and move the brush up and down to remove film.
- 07
Detail the neck, threads, and exterior
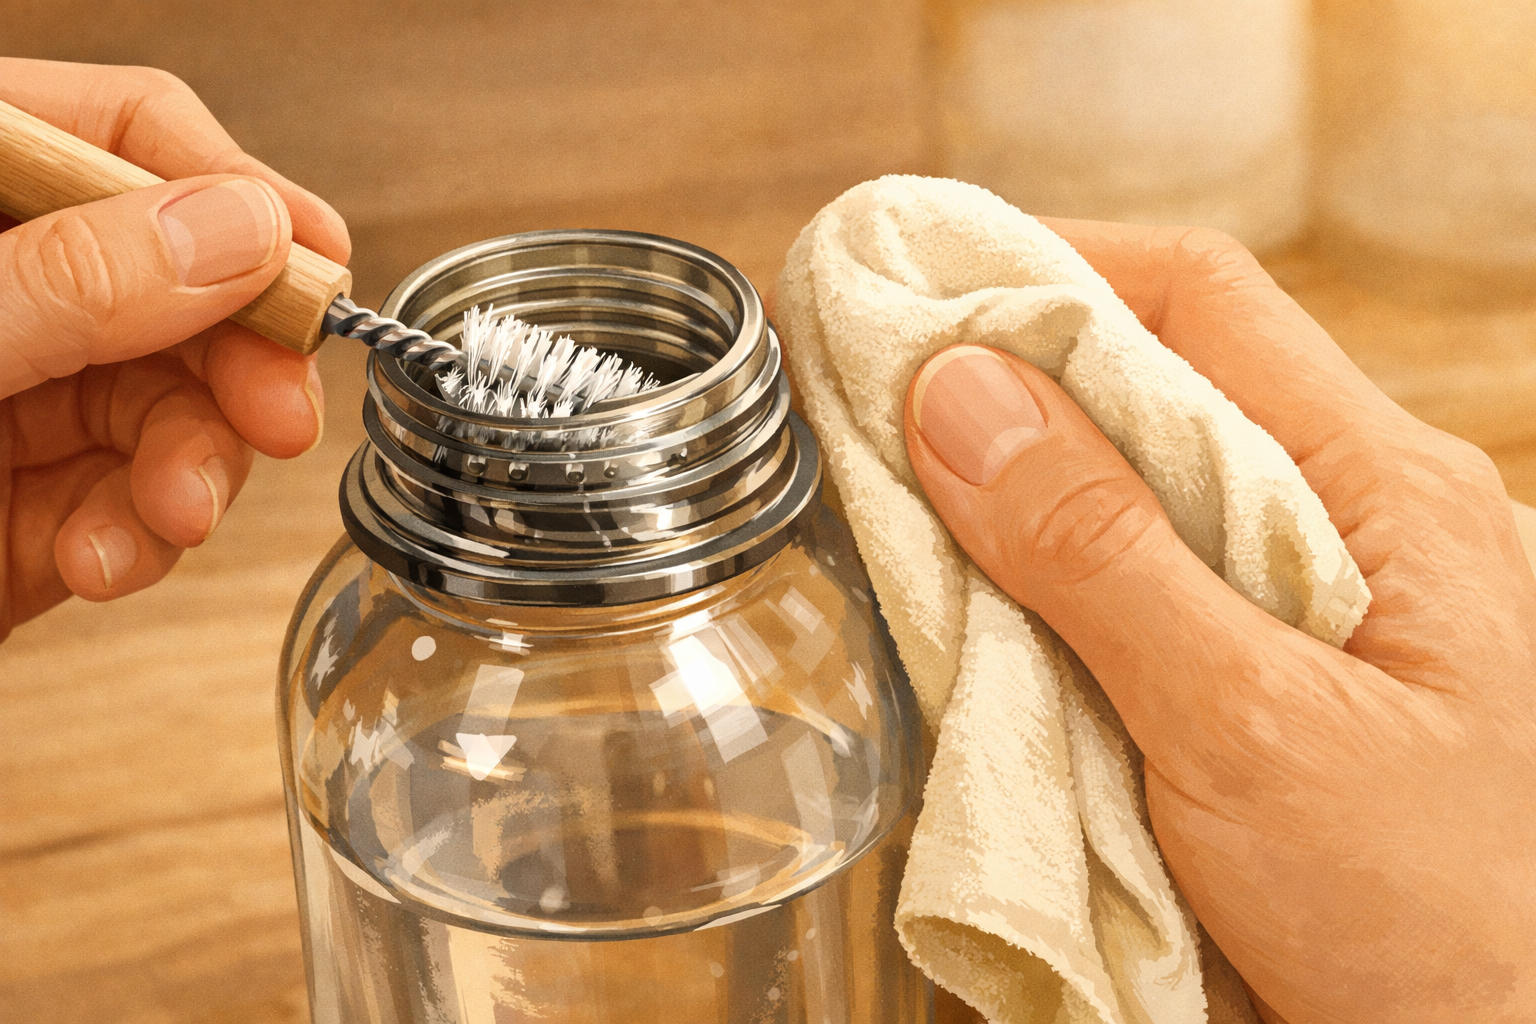
Use the small brush to clean around the bottle’s mouth, threads, and under the lip—these areas often trap grime. Wipe the exterior with a soft, soapy cloth, especially the base where dust collects.
- 08
Clean the soaked small parts
Remove the gasket, straw, and inserts from the soapy bowl. Run the straw brush through any tubes, and use the detail brush on gaskets and creases. Be gentle so you don’t stretch seals.
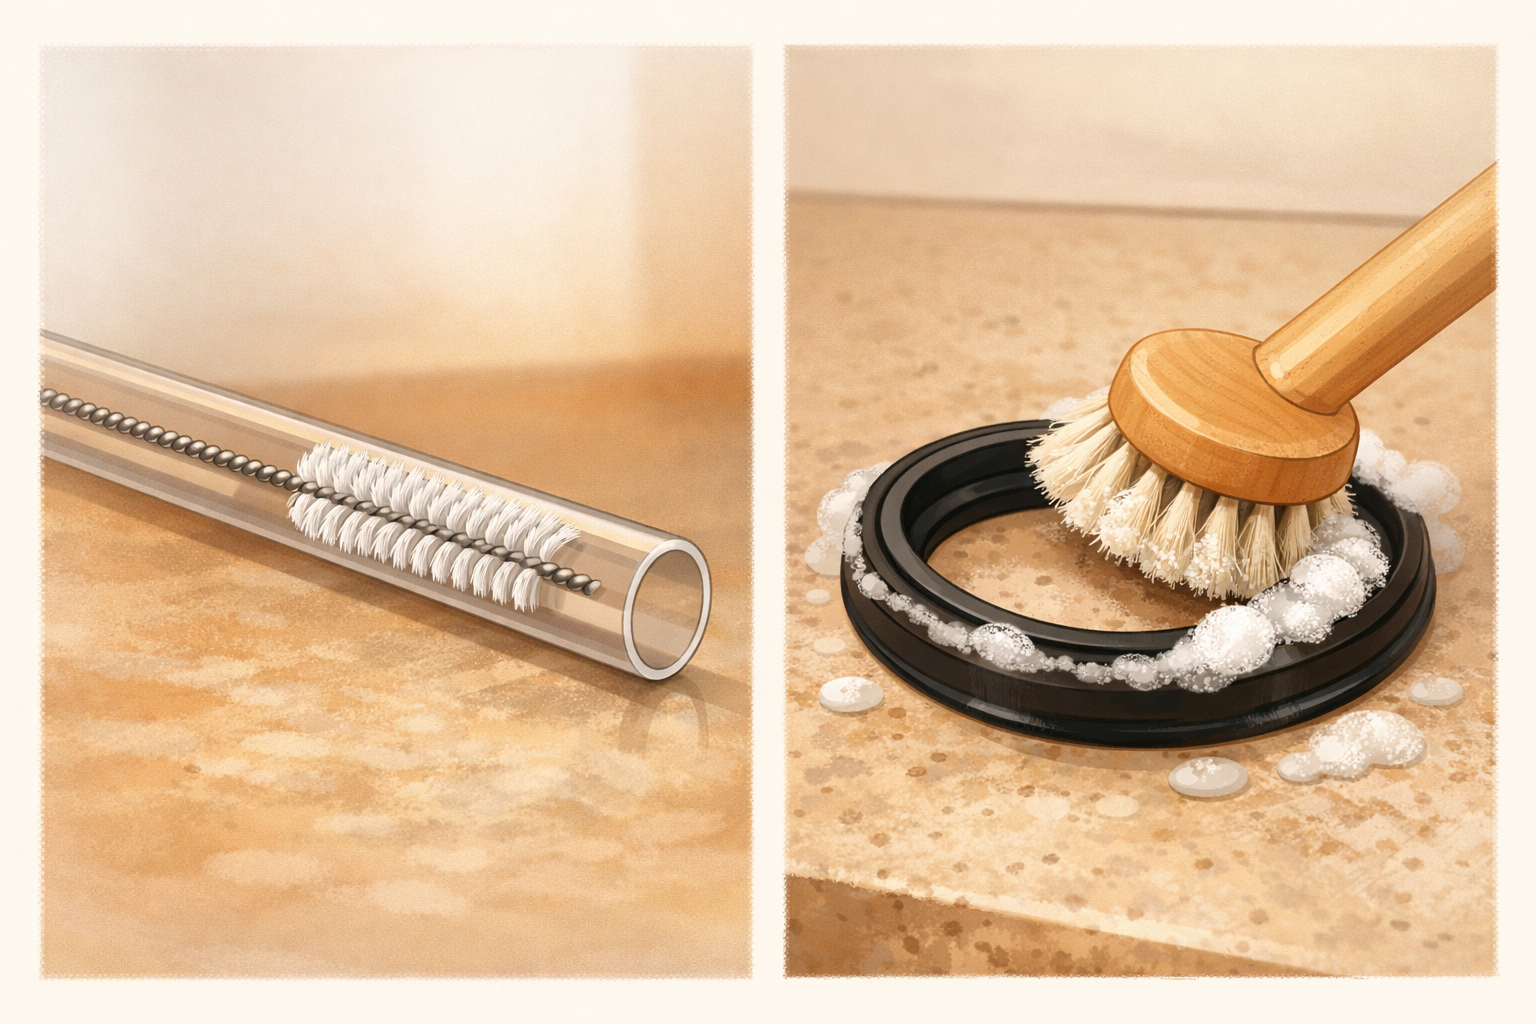
- 09
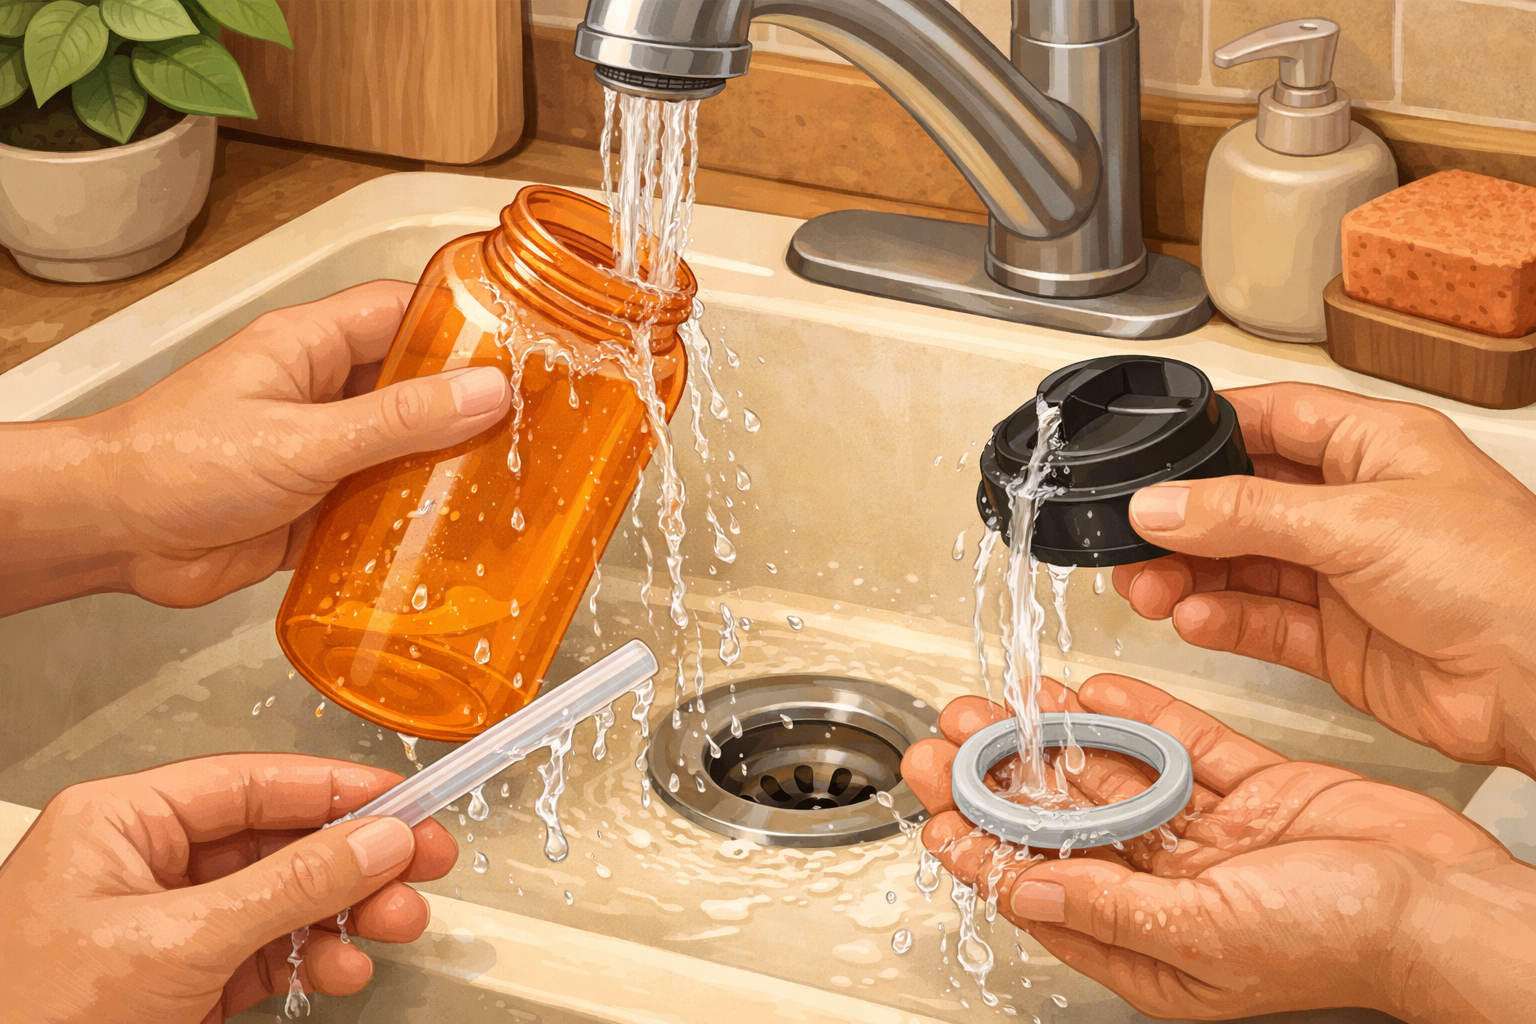
Rinse everything thoroughly
Rinse the bottle, lid, gasket, straw, and inserts under warm running water until no suds remain and the water runs clear. Check threads and crevices with your fingers to ensure all soap is gone.
- 10
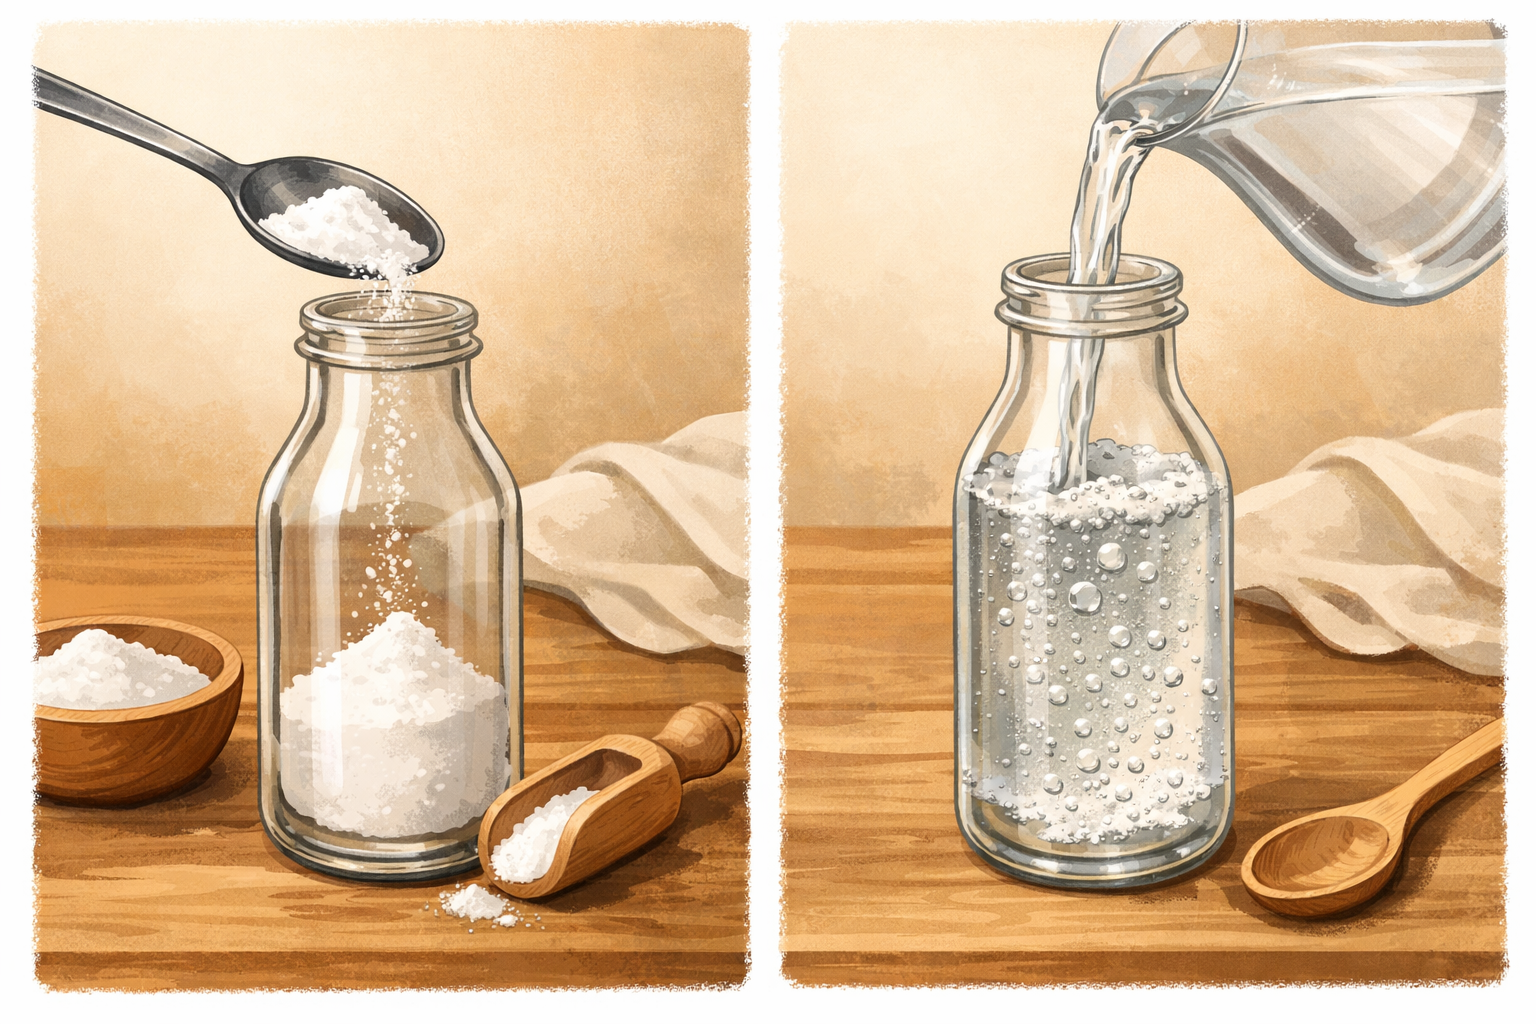
Optional: Deodorize lingering smells
If odours persist, sprinkle a little baking soda into the empty bottle, add warm water, shake, and let it sit briefly. Rinse thoroughly until the water is clear and scent‑free.
- 11
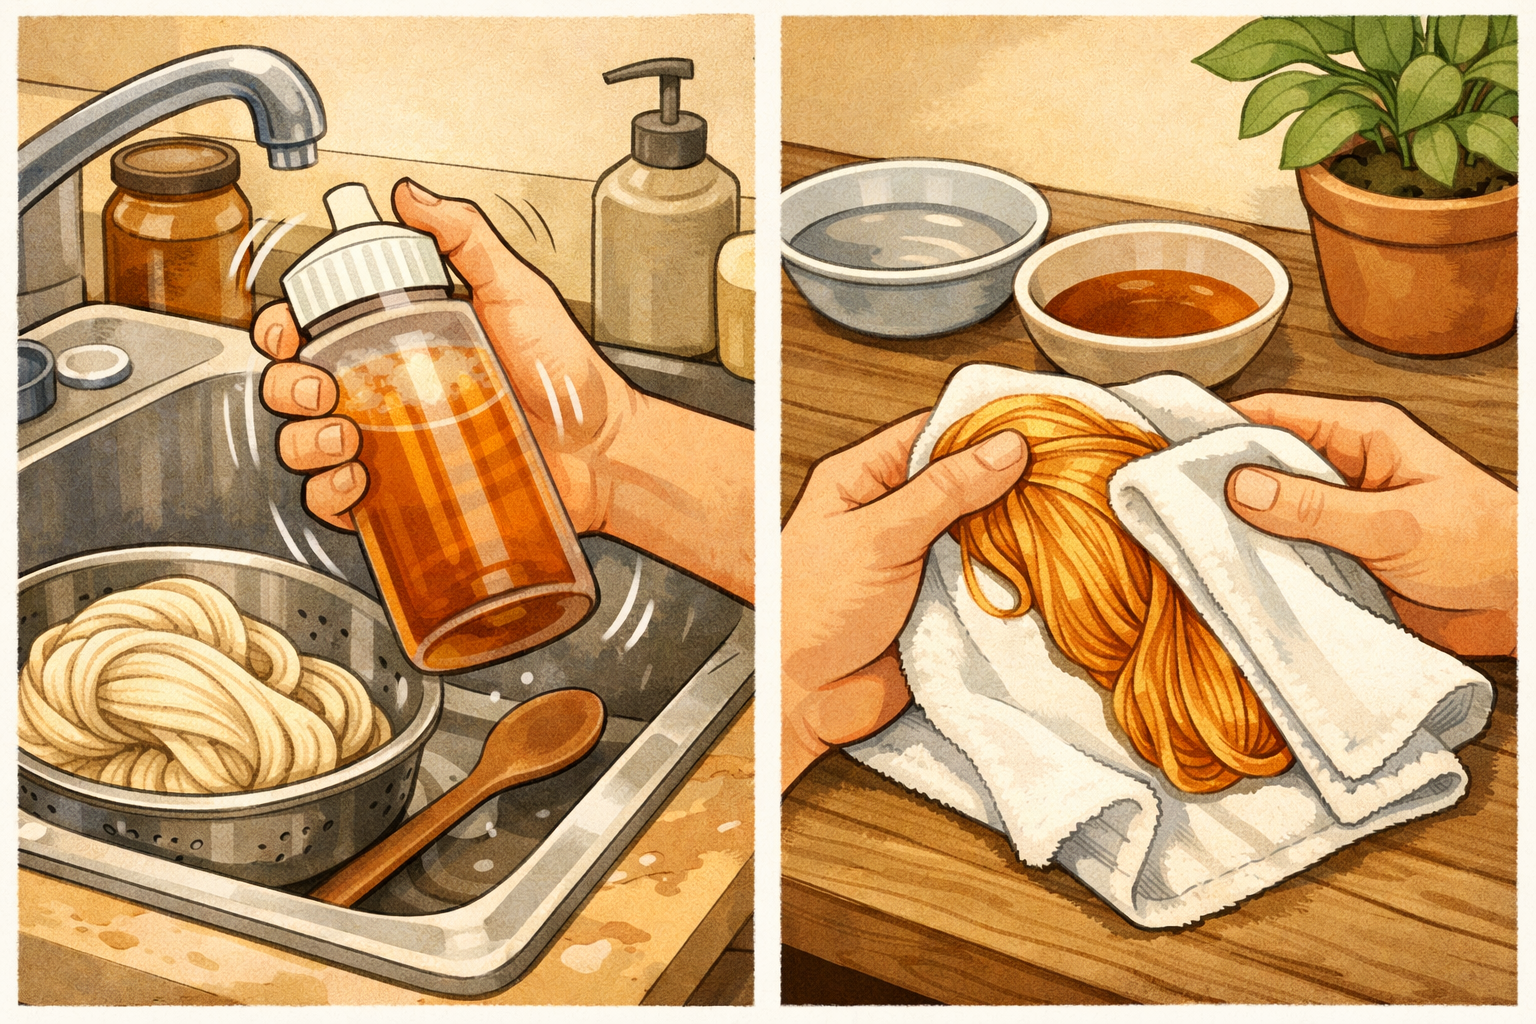
Shake out and wick away droplets
Give the bottle a few firm shakes over the sink to remove excess water. Use a clean dish towel to dab the mouth, threads, and the cap’s crevices so drying starts faster.
- 12
Air‑dry parts with airflow
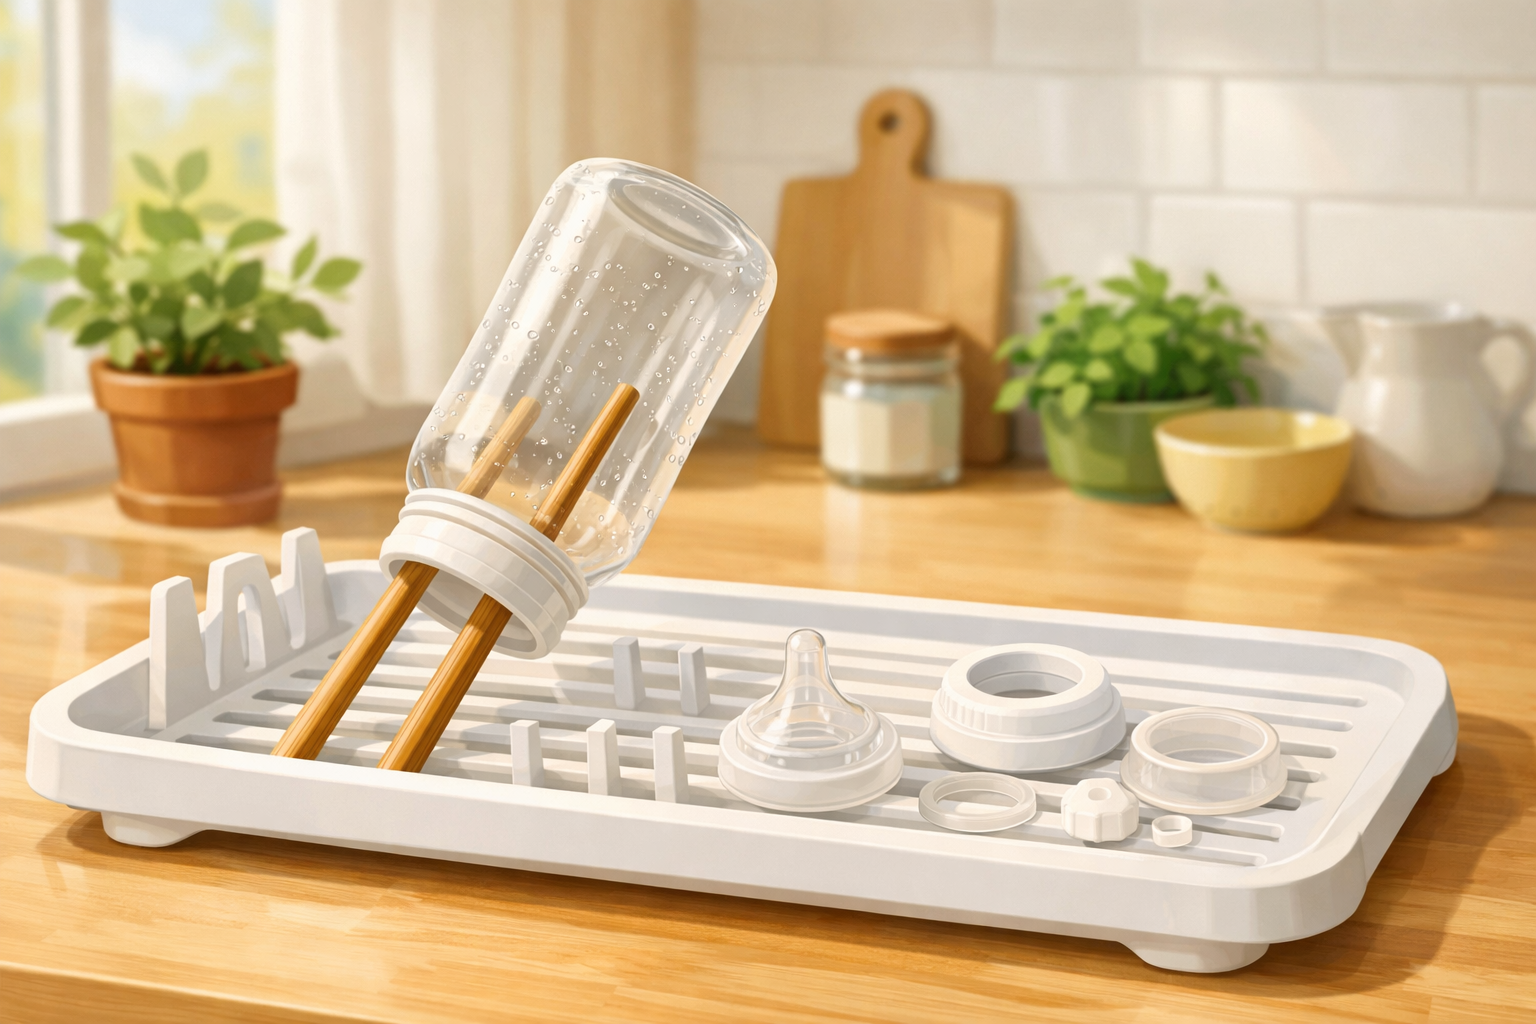
Set the bottle upside down at a slight angle on a drying rack so air can circulate—resting the mouth on two chopsticks or utensil handles works well. Spread the lid, gasket, straw, and inserts separately so all sides dry completely.
- 13
Reassemble and store ajar
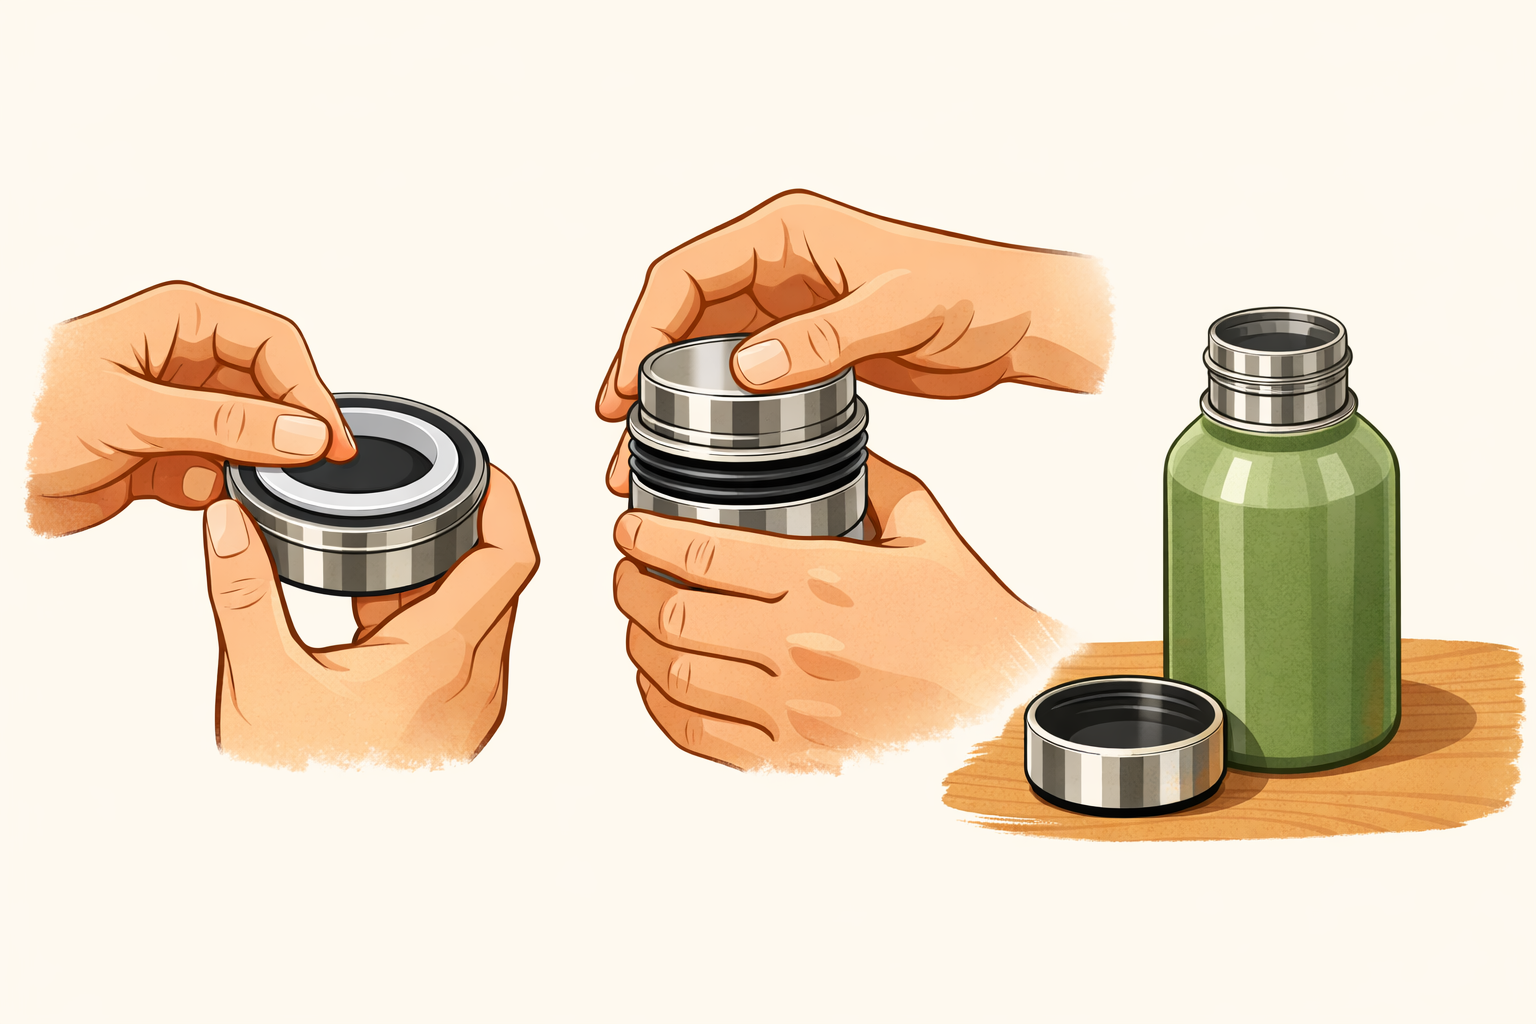
Once every part is fully dry, press the gasket back into its groove, reattach the straw or spout, and screw the lid on to check the fit. For freshness between trips, store the bottle with the lid off or slightly open to prevent musty odours.
If this was useful
Try one of these next

Hobbies & crafts
How to draw a standing penguin using teardrop shapes
Start with a tall teardrop for the body and small ovals for the head and feet. Add a simple beak and flippers with more teardrops, map the tuxedo belly, then refine the outline. Erase the guides and finish with light shading for roundness. Each step’s image overlays pale guide shapes and the darker final lines so you can see what to keep.
Read the guide
Hobbies & crafts
How to Tighten a Loose Buttonhole with Blanket Stitches
Reinforce stretched buttonholes by stitching a neat border that grips the button and prevents further fraying.
Read the guide
Home & life
How to clean muddy walking shoes after a countryside footpath
Knock off dried mud, brush seams, wipe uppers, clean outsoles, freshen insoles, and air‑dry so your shoes are ready for the next path. Photos show the order and which brushes or cloths to use.
Read the guide
Hobbies & crafts
How to Patch a Small Hole in Jeans by Hand
Stop fraying and extend wear by hand‑sewing a durable patch over or under a small denim hole with simple stitches.
Read the guide