Hobbies & crafts
How to fold a Capricorn-themed paper mountain goat bookmark
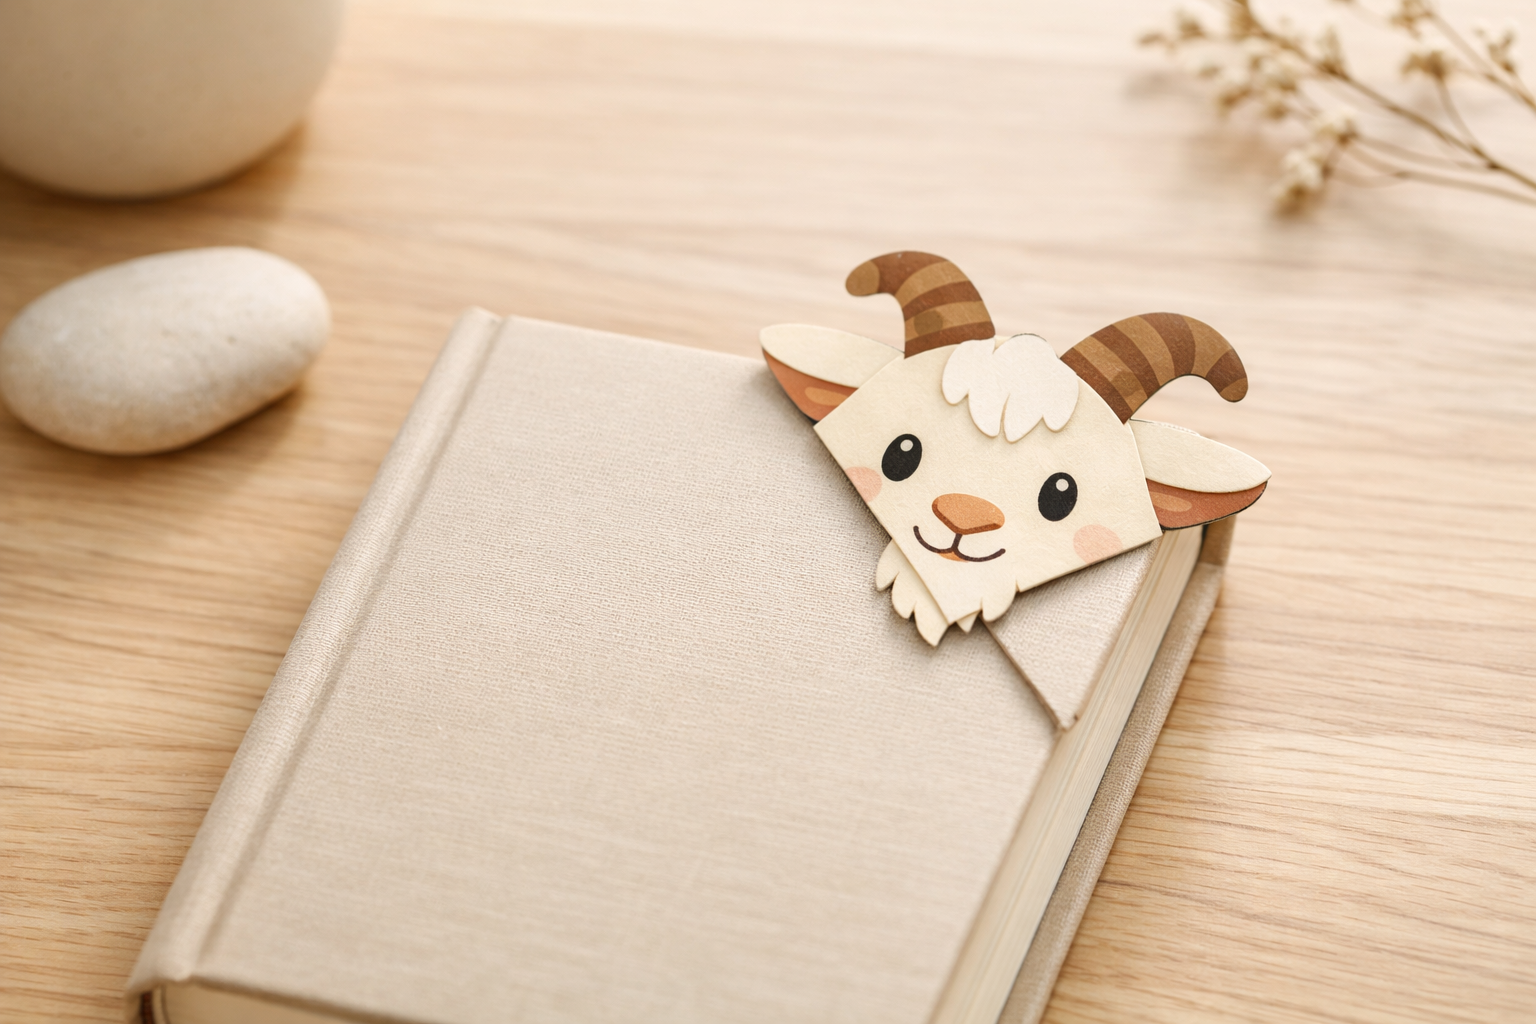
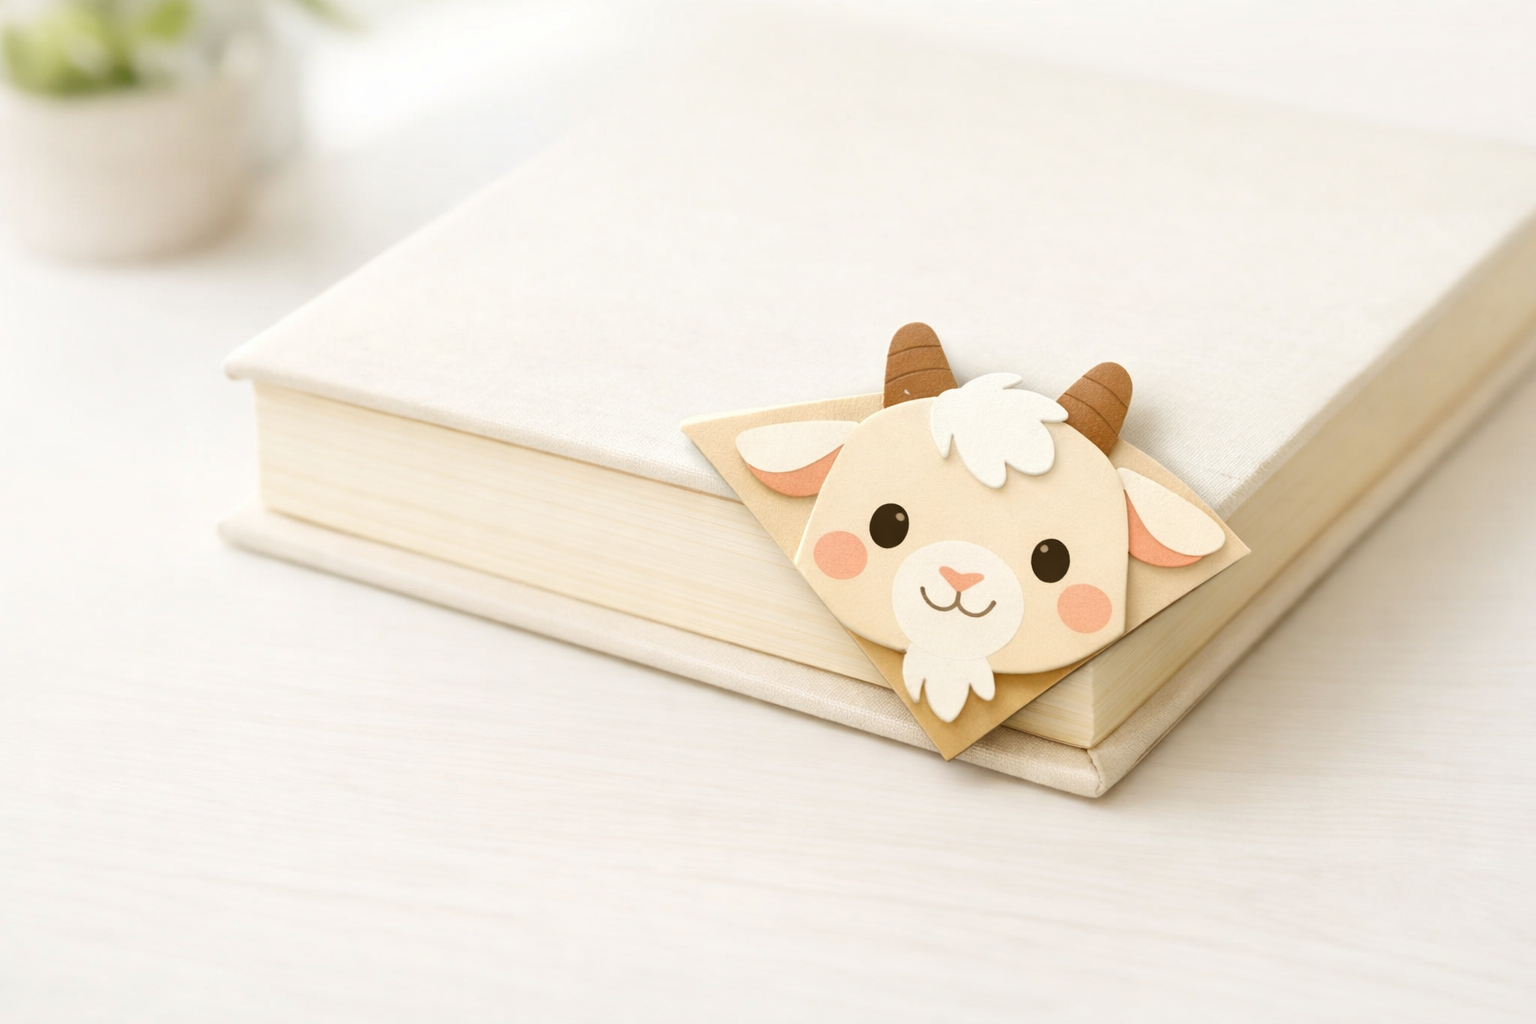
Turn a sheet of paper into a crisp, goat-shaped corner bookmark you can give or use during a planned chat. Includes clear fold diagrams and a final photo of the bookmark peeking from a book.
- 01
Make a square sheet
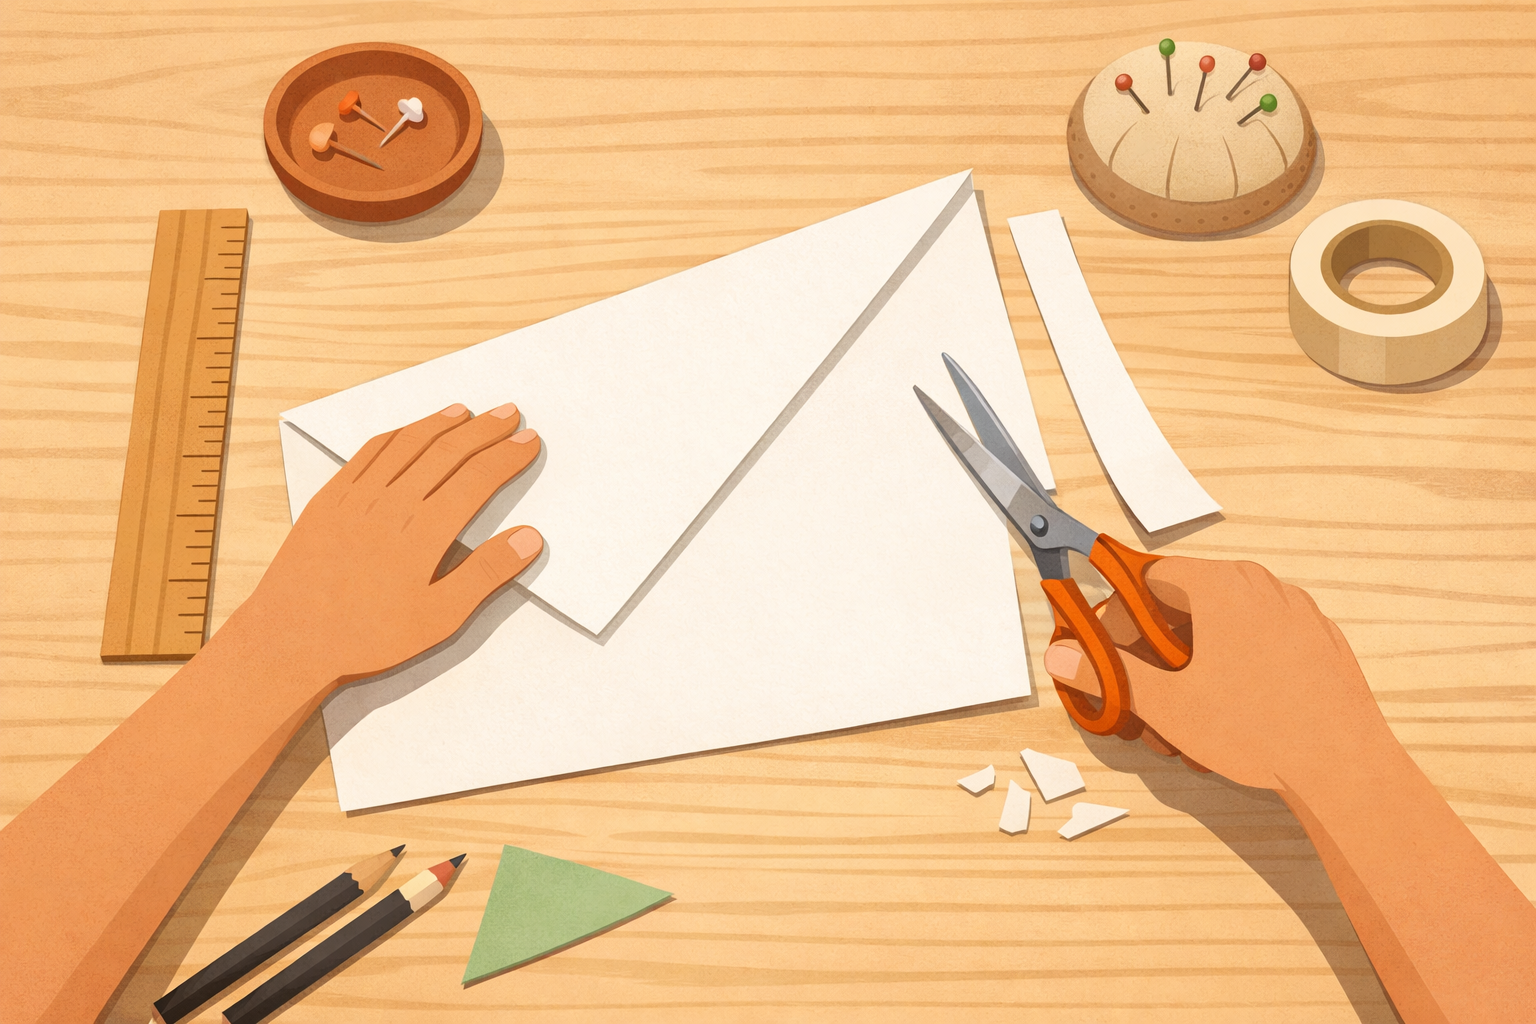
Use a square piece of thin paper. If you only have a rectangle, fold one short edge diagonally to meet the long edge to form a triangle, then trim off the extra strip to make a square. Place the square in front of you.
- 02
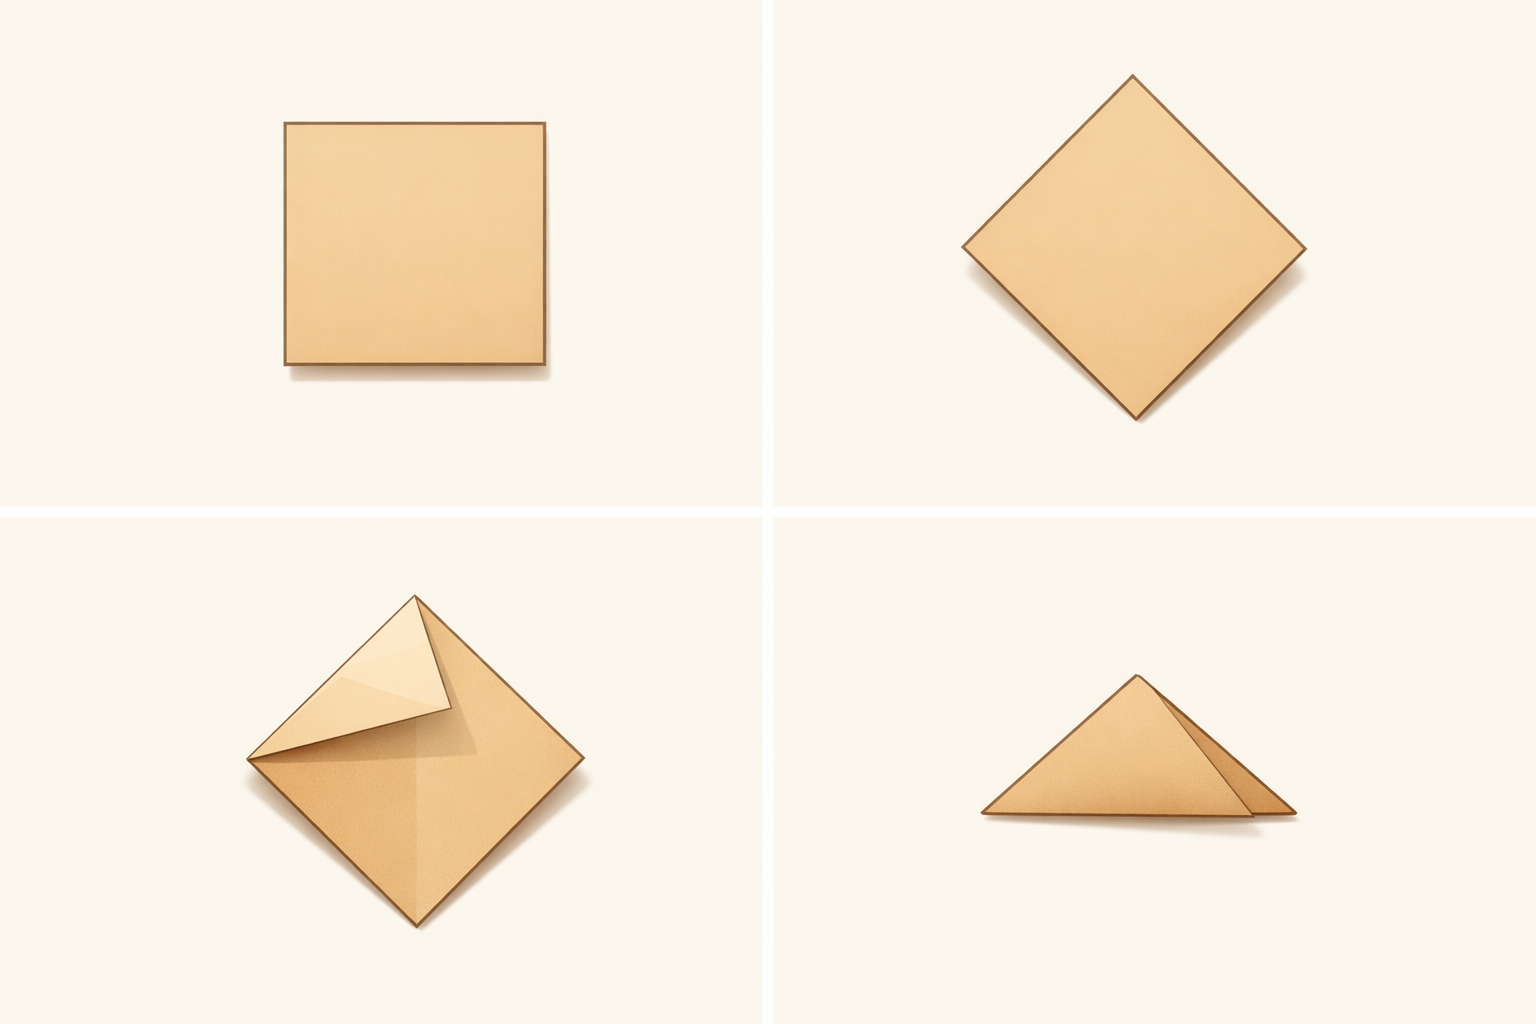
Fold the square into a triangle
Rotate the square so a corner points up, then fold it diagonally in half to make a triangle. Align edges and press the long fold sharply to set the base.
- 03
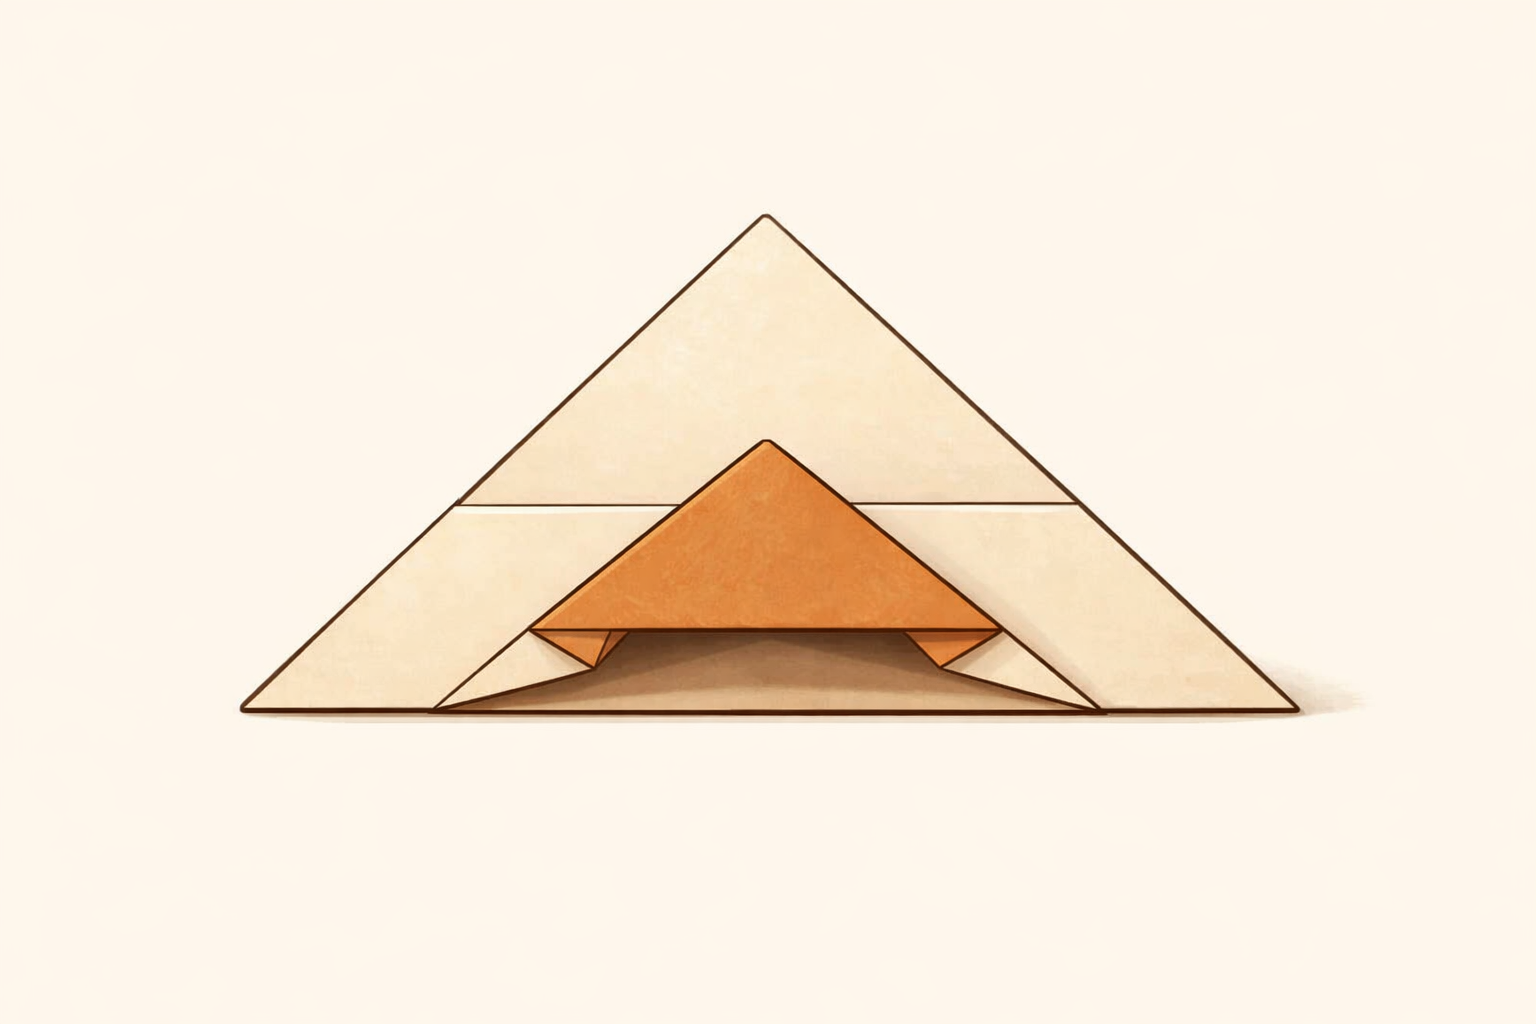
Create the corner pocket
With the long edge at the bottom, lift only the top layer of the triangle’s top point and fold that tip down to meet the center of the base. Press the small triangle flap flat—this makes the pocket opening.
- 04
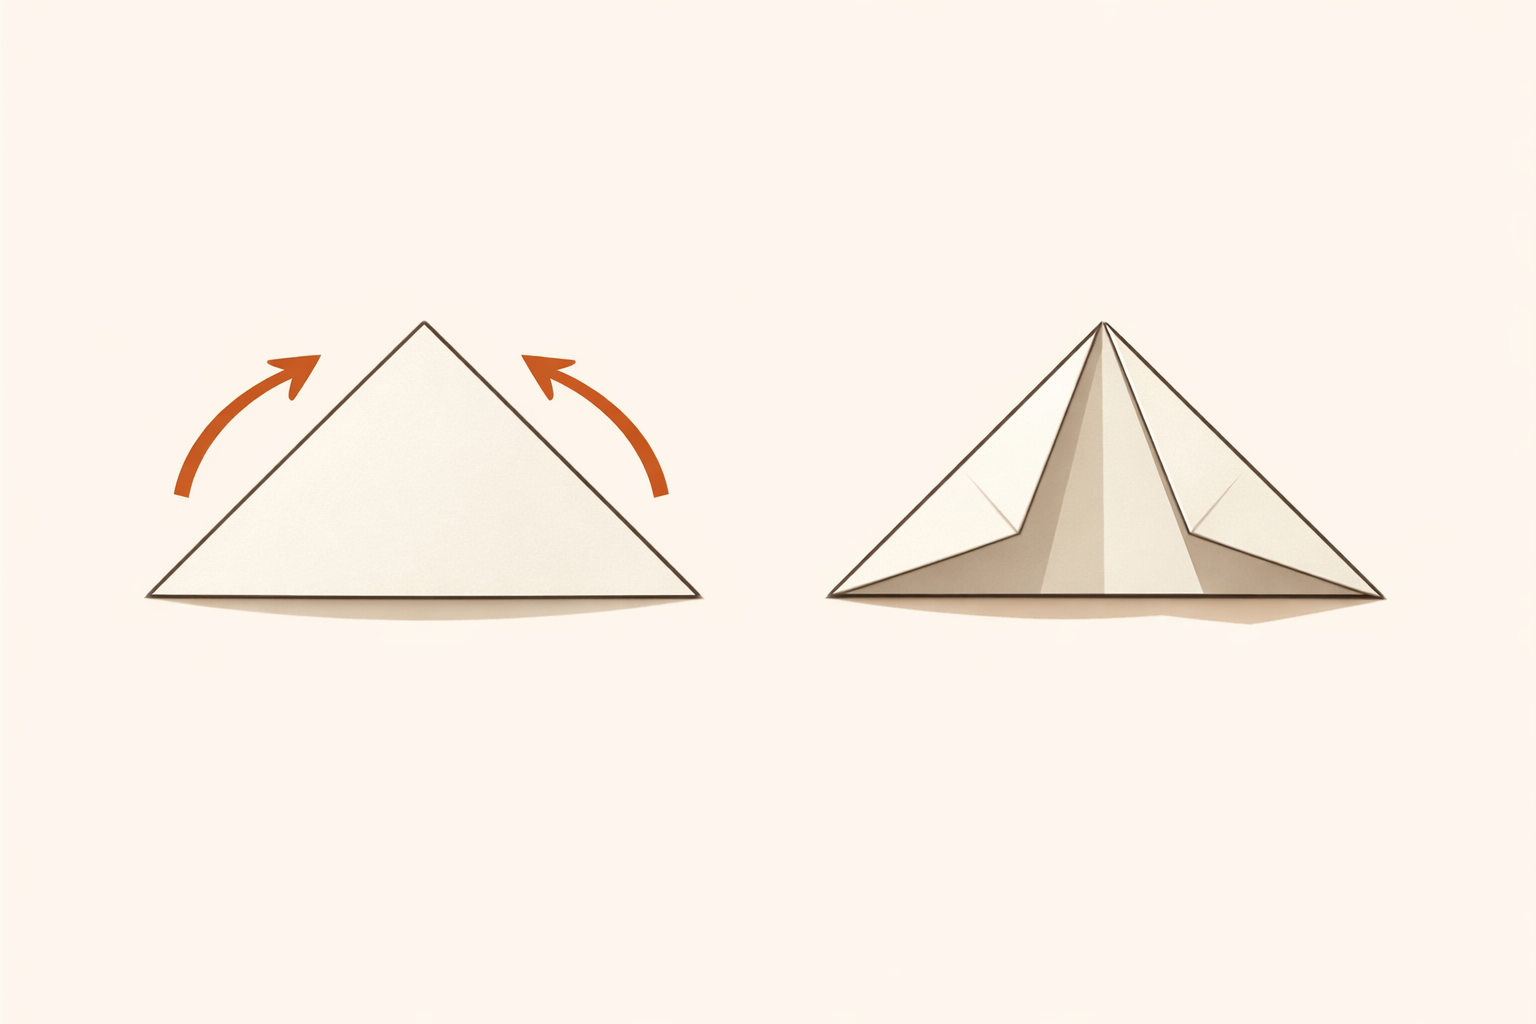
Fold side points up
Fold the left and right corners of the big triangle up so their tips touch the top point. Crease both folds firmly; these will become flaps that tuck in to shape the bookmark.
- 05
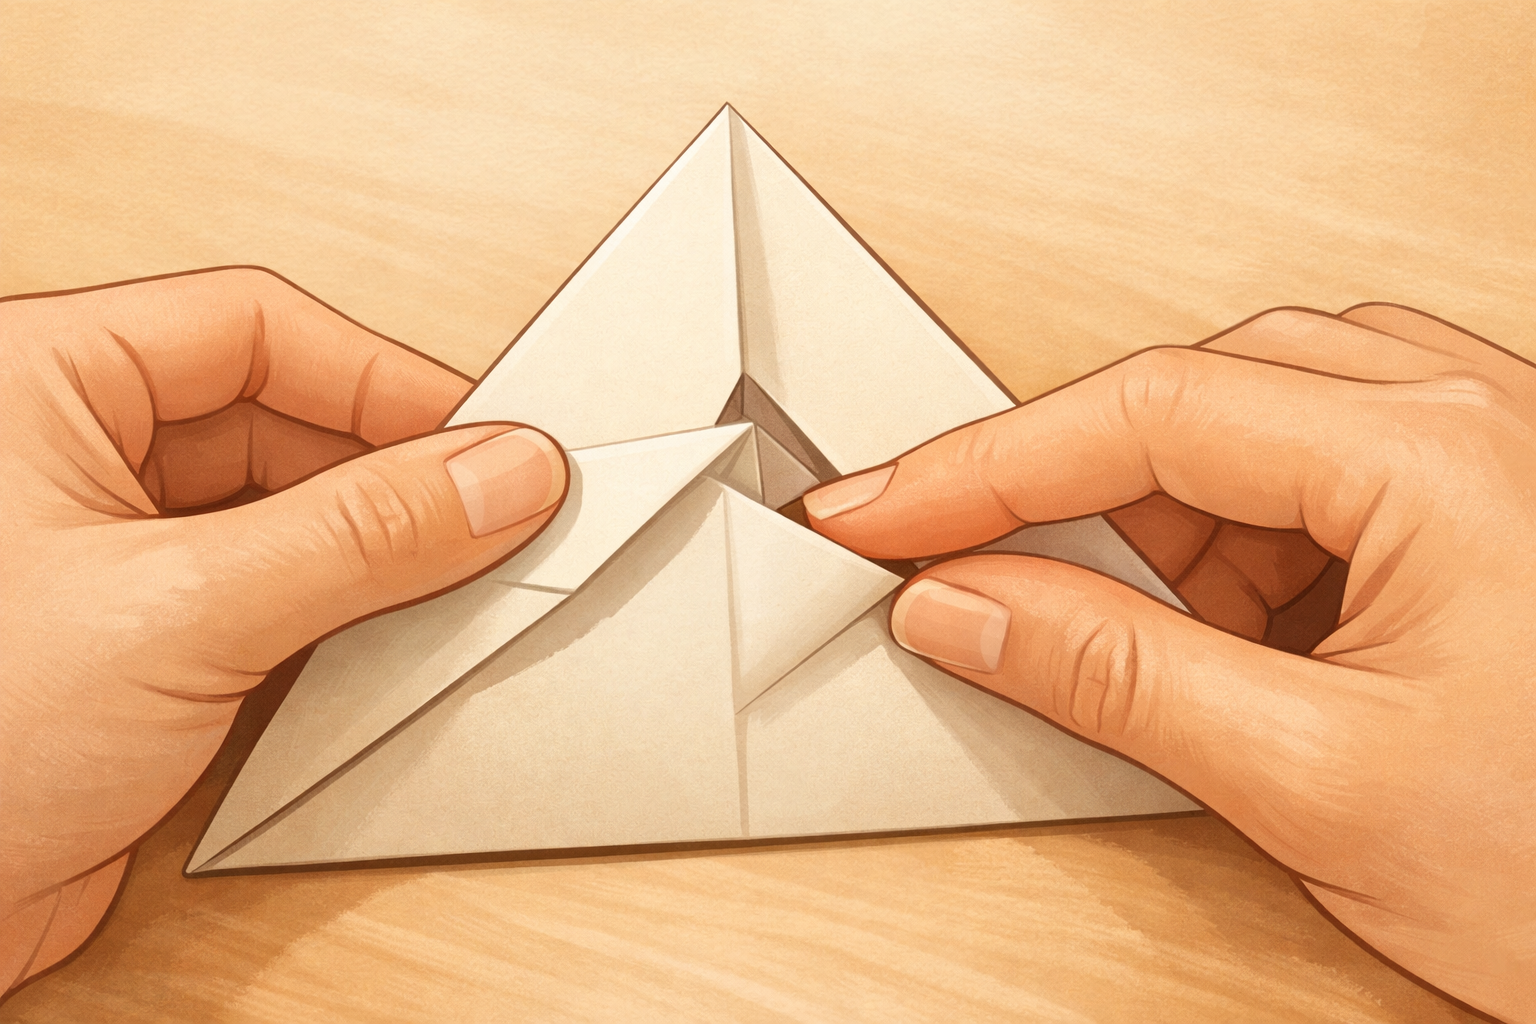
Tuck the flaps into the pocket
Open each side flap you just made and tuck its tip inside the pocket created in step 3. Smooth everything flat—now you have a sturdy corner sleeve that slides onto a book page.
- 06
Sharpen the edges
Run a fingertip along all folds to sharpen them. The open pocket should face you, with the closed point at the top—this triangle will be the goat’s face and head.

- 07
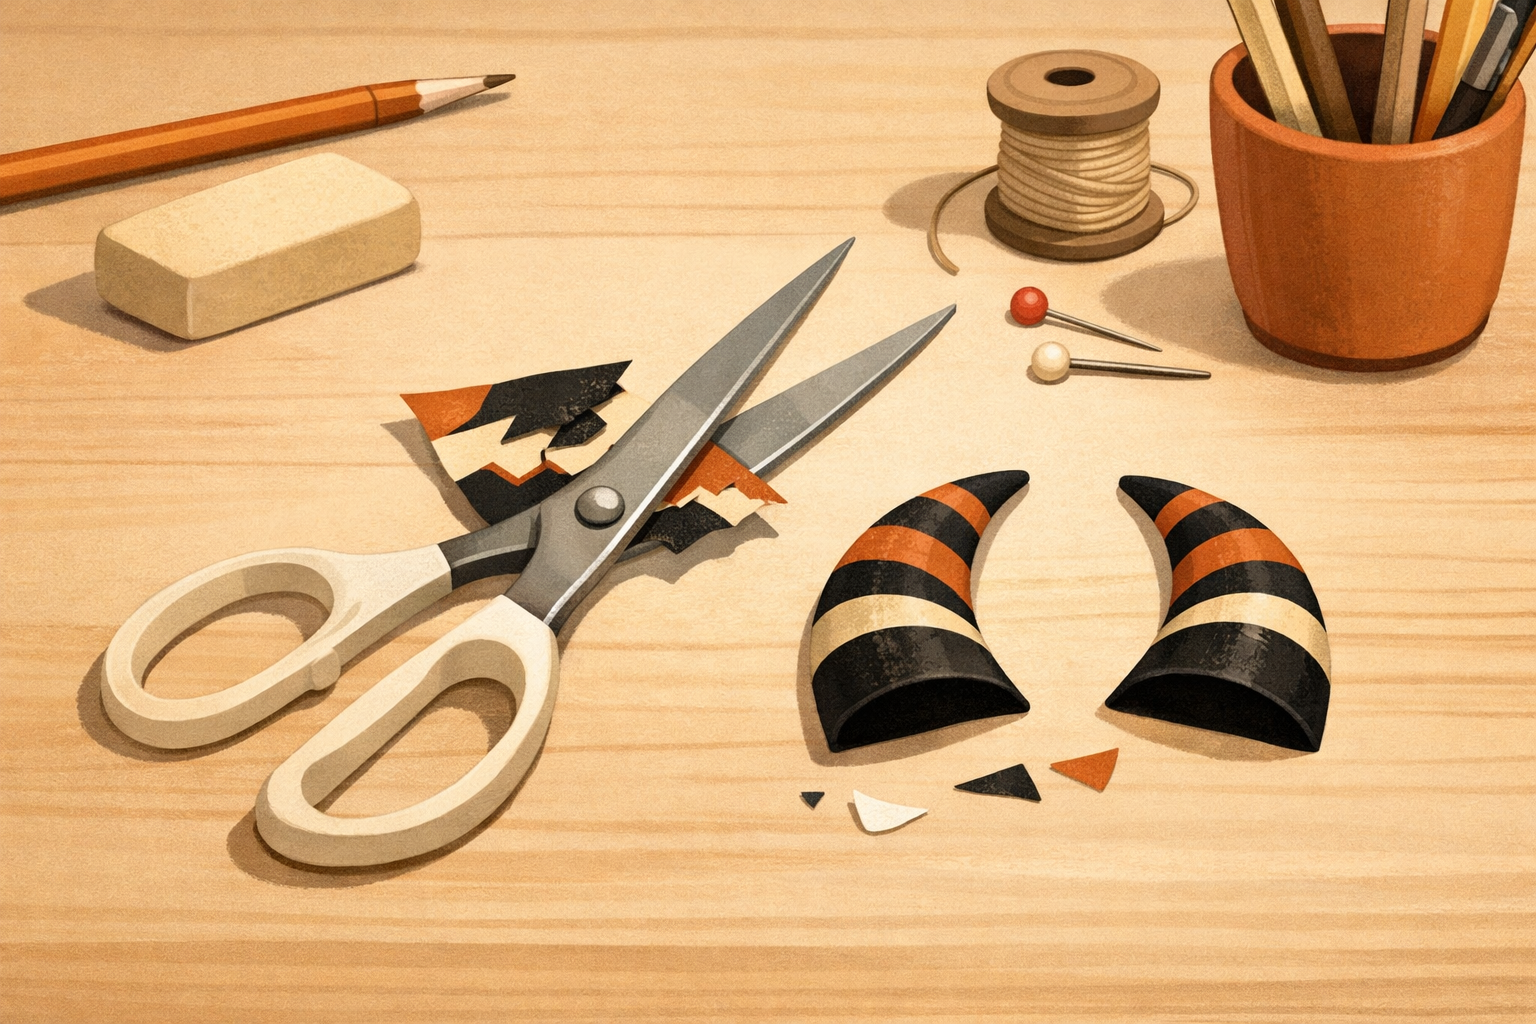
Cut two curved horns
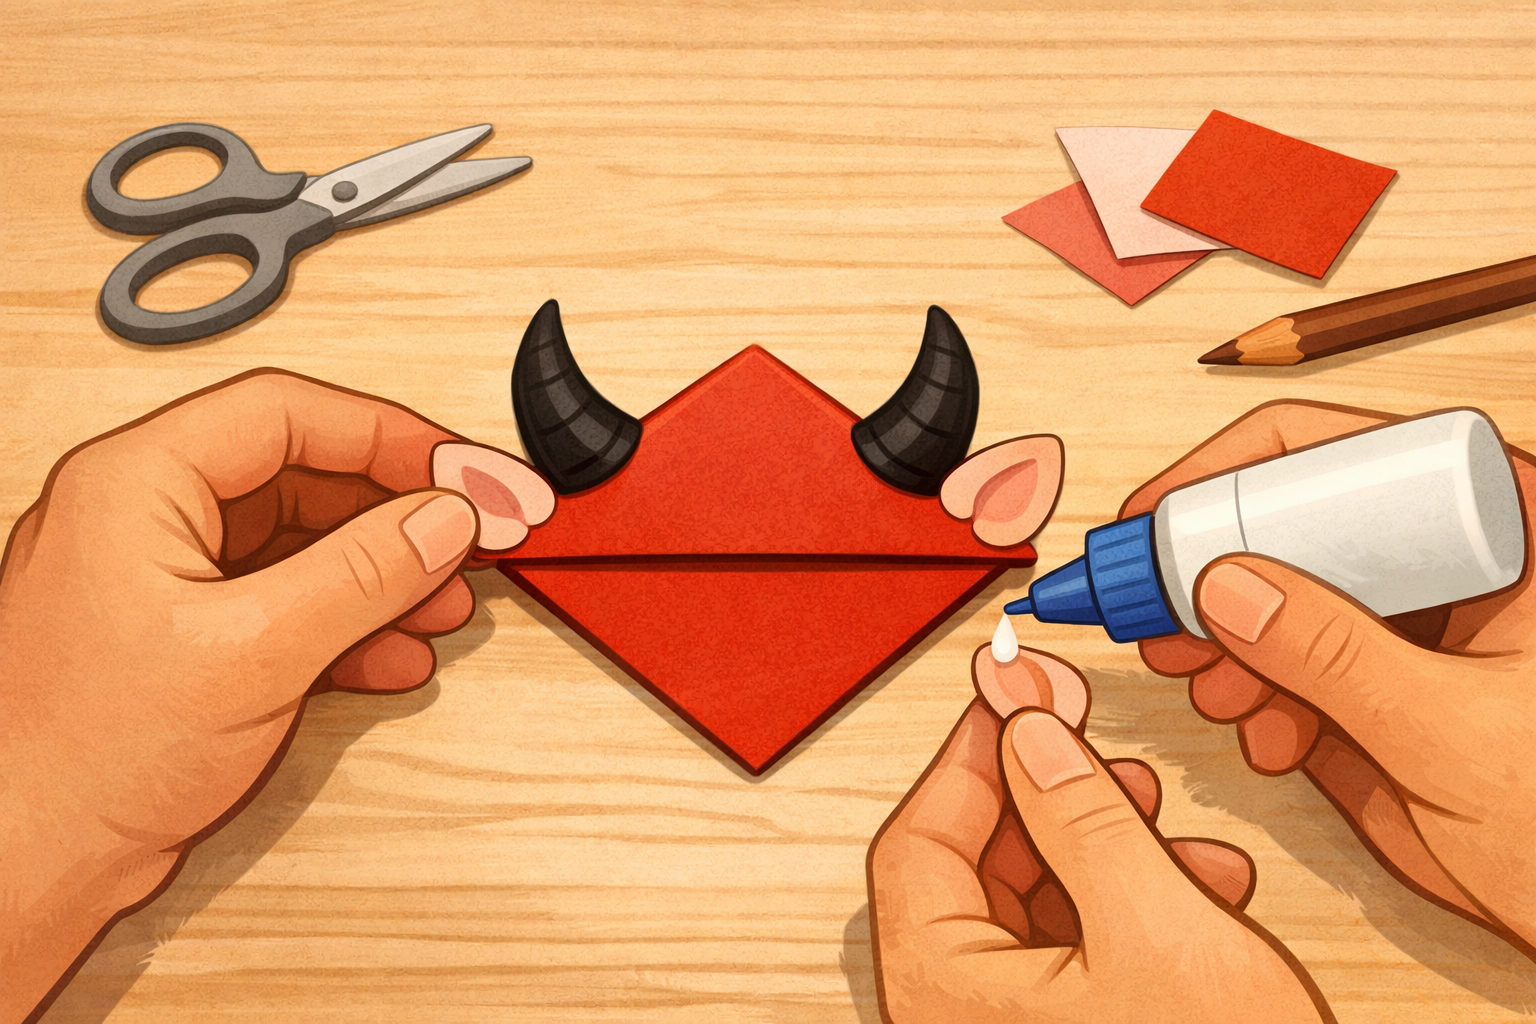
From a small contrasting scrap, cut two long, gently curved horn shapes (like mountain goat horns). Make them similar in size and mirror each other for a balanced look.
- 08
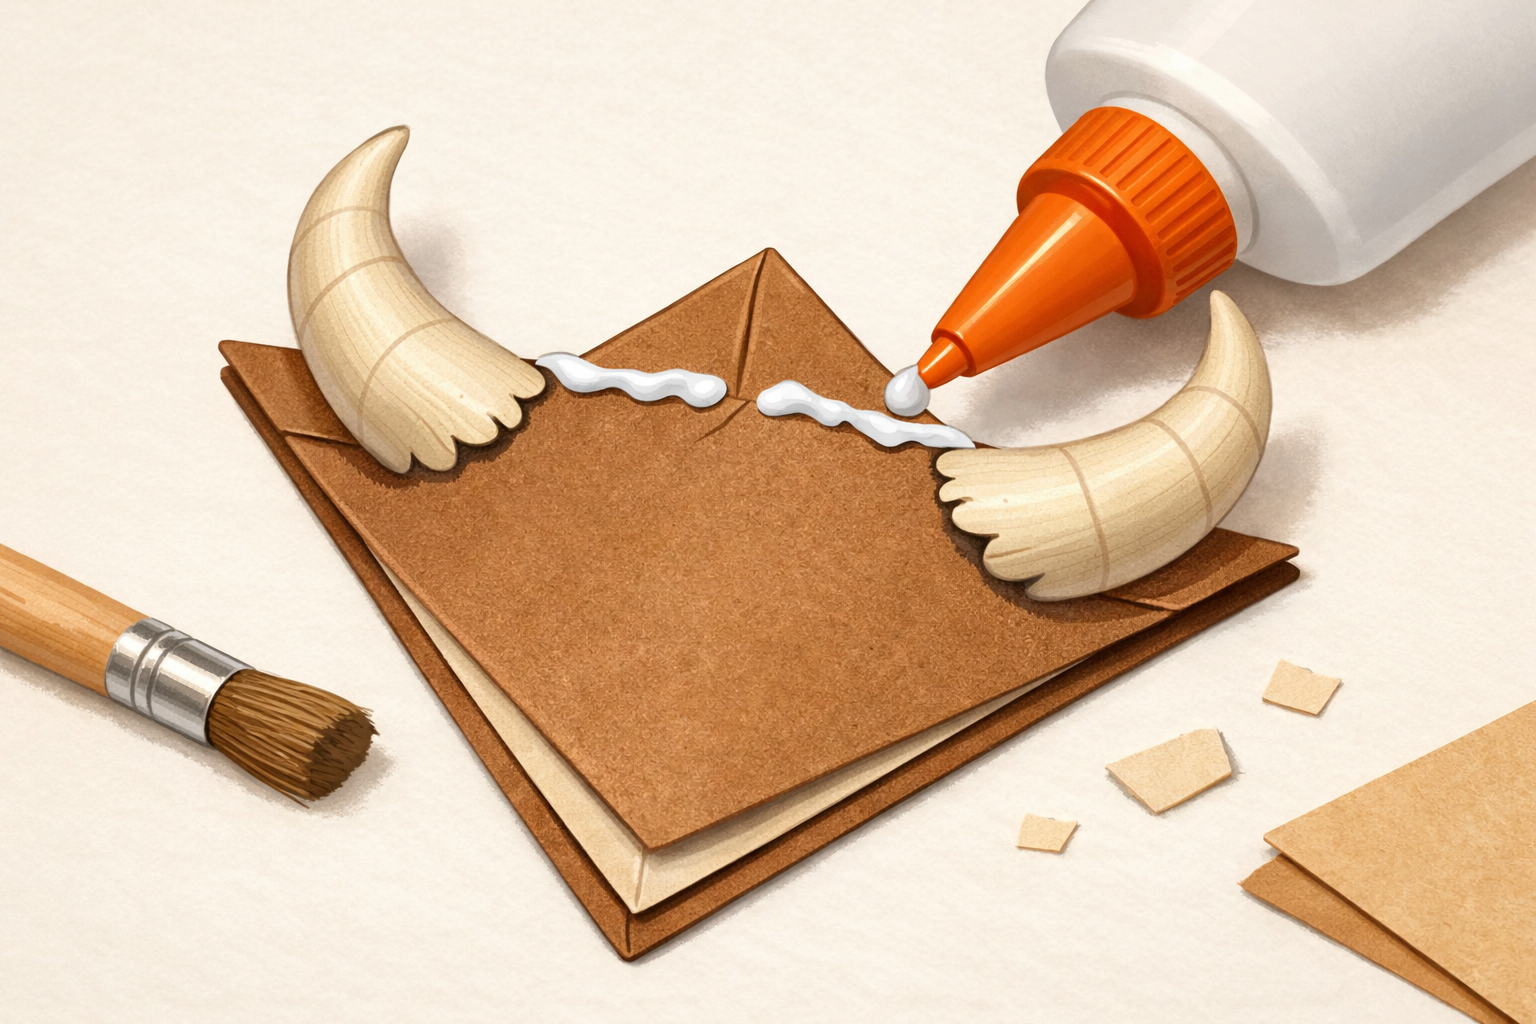
Glue horns behind the head
Flip the bookmark over and glue the horn bases to the back along the top point so the horns arc upward and outward. Let the glue set for a moment before handling.
- 09
Add small ears
Cut two small rounded triangles for ears. Glue them on the front, near the top sides of the triangle, slightly below the horn bases so they peek out naturally.
- 10
Draw the goat face and Capricorn touch
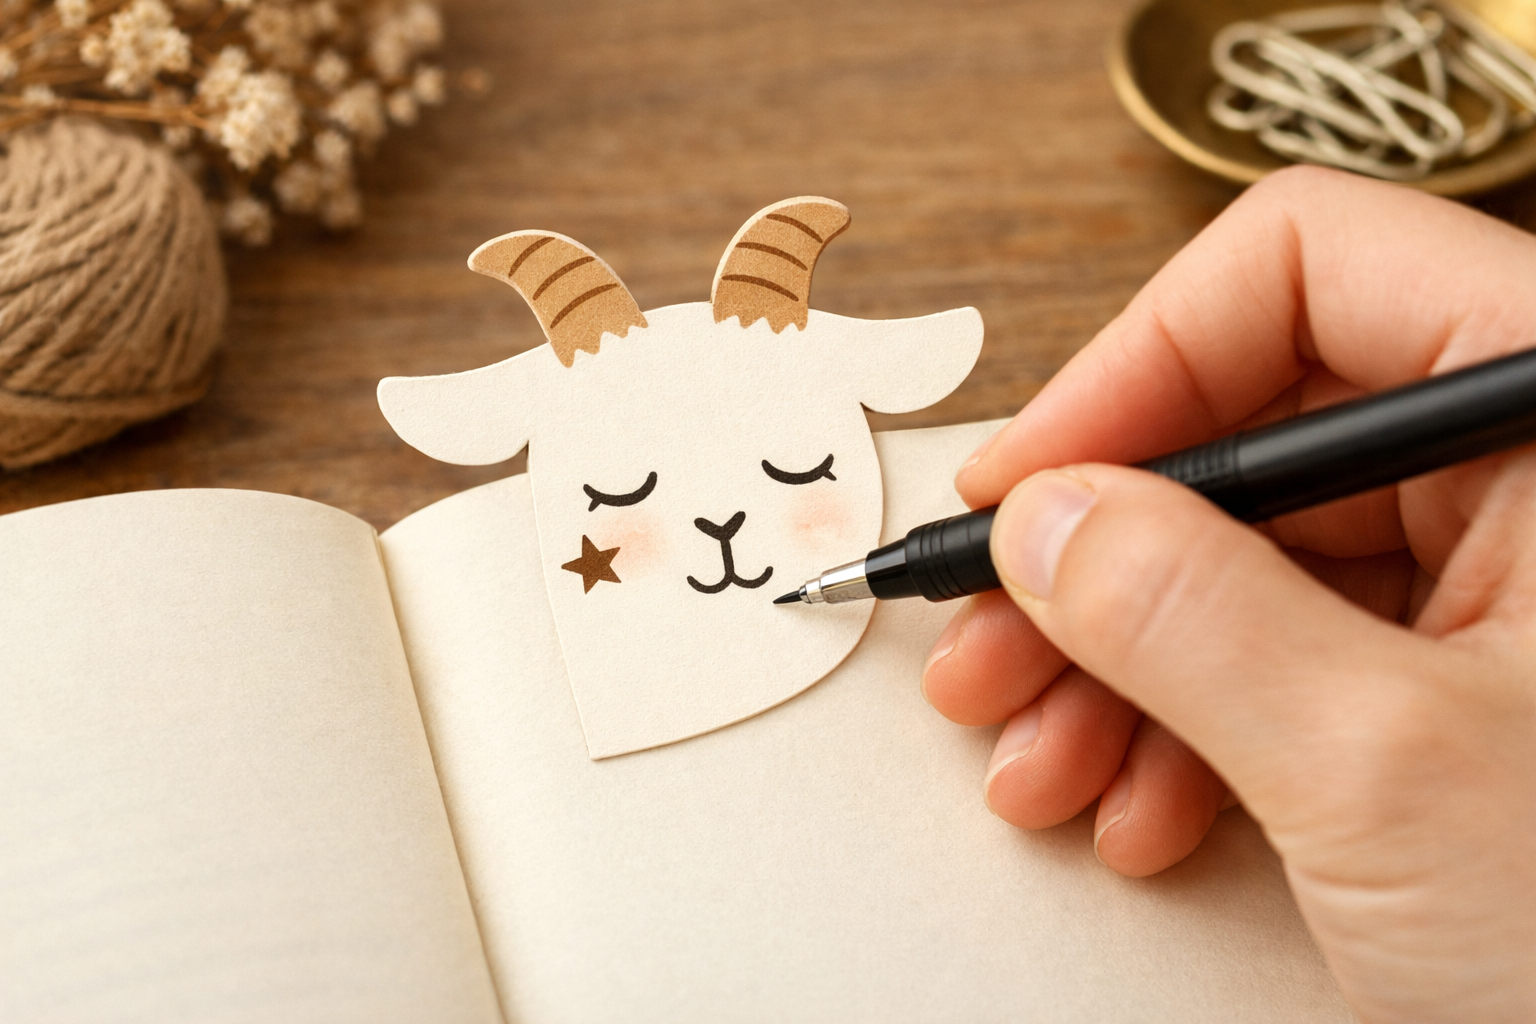
With a fine-tip pen, add eyes, a small nose and mouth near the tip, short lines on the horns for texture, and a tiny beard at the bottom edge. For a Capricorn nod, add a small star or the simple symbol near one corner.
- 11
Test it on a book corner
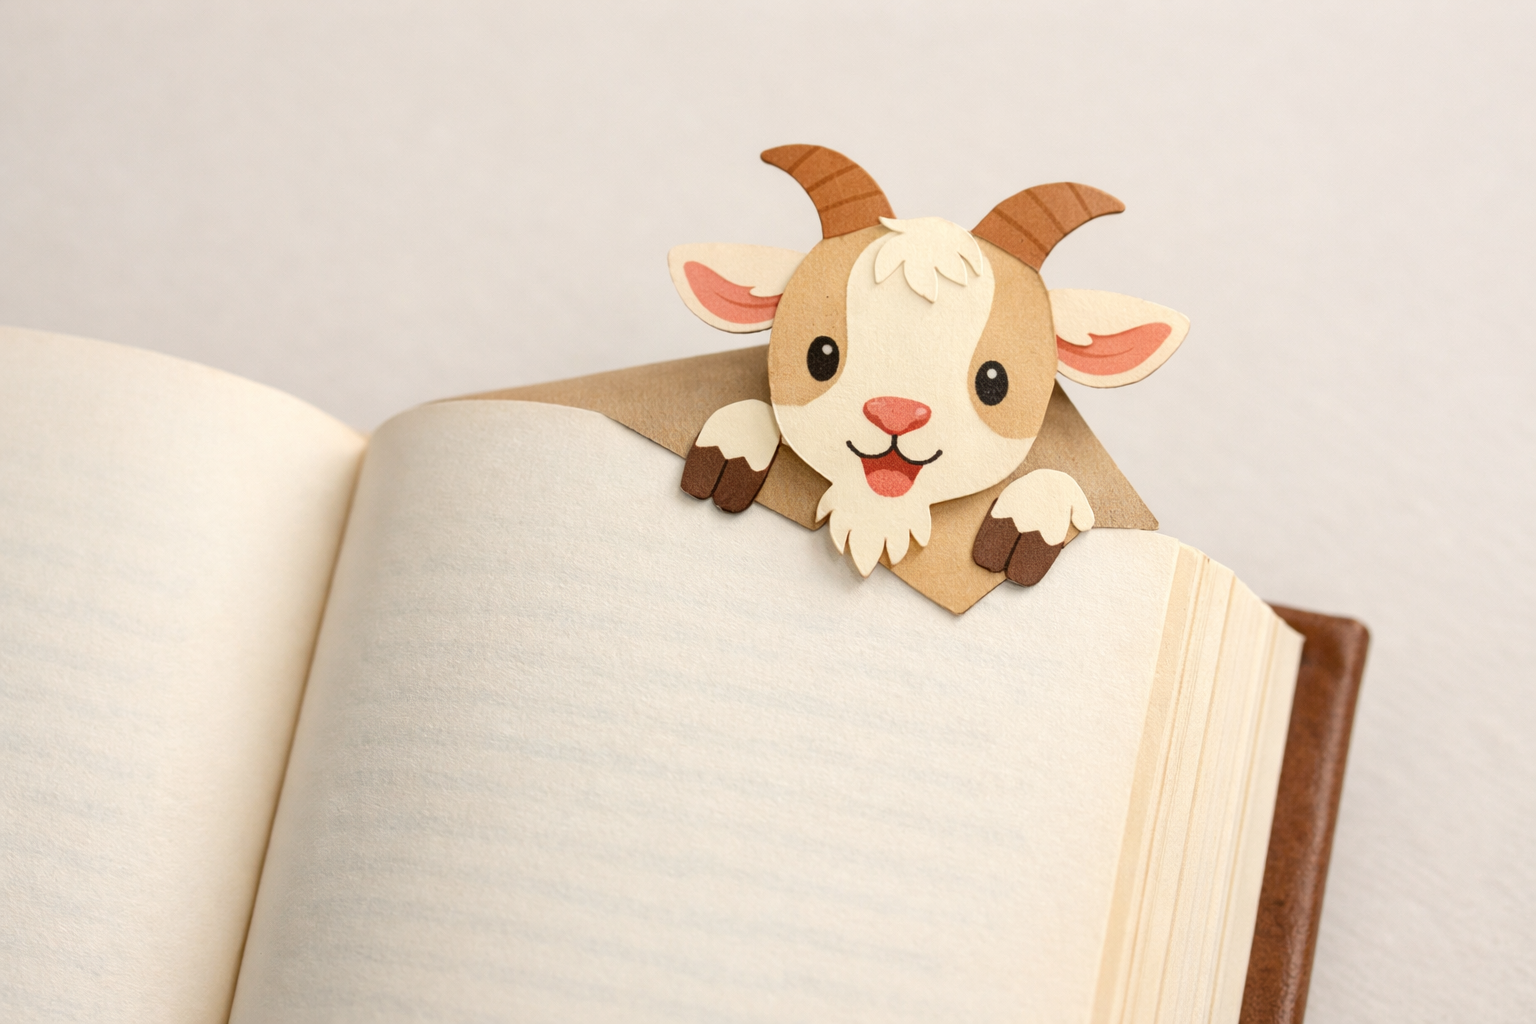
Slide the pocket over a book page corner. Ensure it sits flat and doesn’t snag; adjust horn placement or press creases again if needed for a snug, page-friendly fit.
- 12
Add a tiny beard tuft (optional)
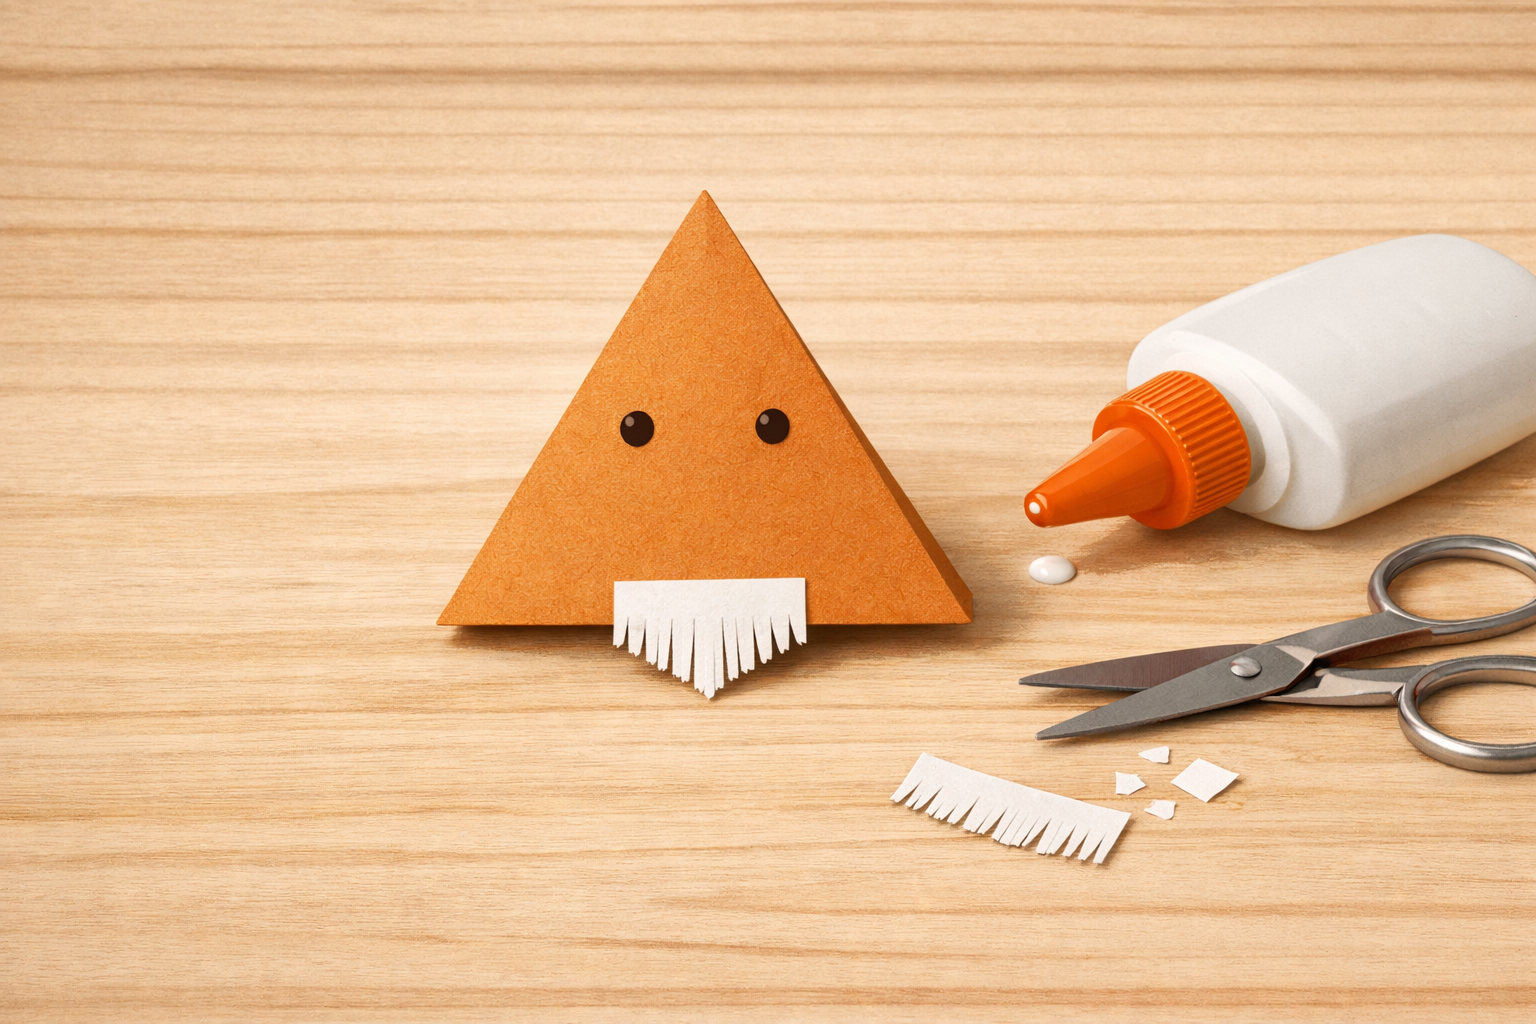
If you like, cut a small fringe piece and glue it to the underside of the bottom tip to suggest a beard without covering the page. Keep it short so it won’t catch when turning pages.
- 13
Show it off
Place the finished goat so it peeks from the corner of a closed book. Take a quick photo or set it aside to gift or spark a Capricorn-themed chat.
If this was useful
Try one of these next
Hobbies & crafts
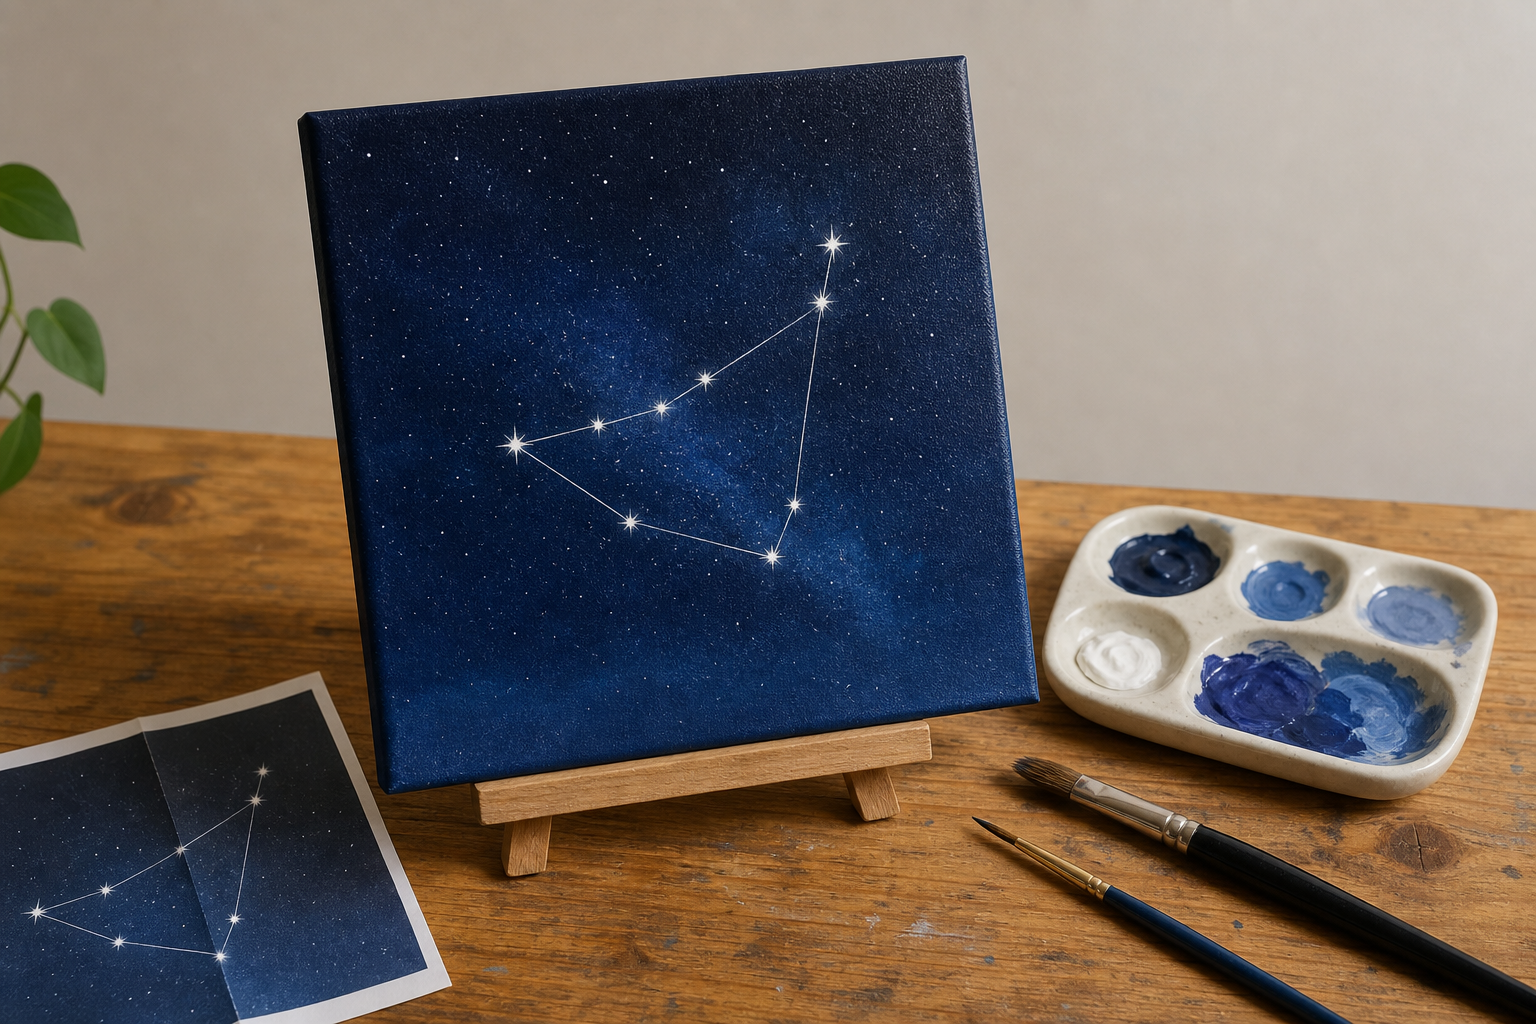
How to paint a Capricorn constellation mini canvas with acrylics
Complete a 6×6-inch acrylic painting of the Capricorn constellation on a small canvas—follow six to twelve steps for sketching, underpainting, adding stars, and sealing the finished piece.
Read the guide
Garden
How to propagate a snake plant division for a Capricorn-friendly workspace
Divide and repot a snake plant into a new container to create a second plant for your desk area—seven to twelve clear steps cover removing, dividing, potting, and initial watering.
Read the guide
Learning
How to create a two-page bullet journal tracker spread in 30 minutes
Design and draw a reusable two-page tracker spread for one month’s habits or projects; the guide walks through layout, ruling, headers, and simple decoration in six to ten ordered steps.
Read the guide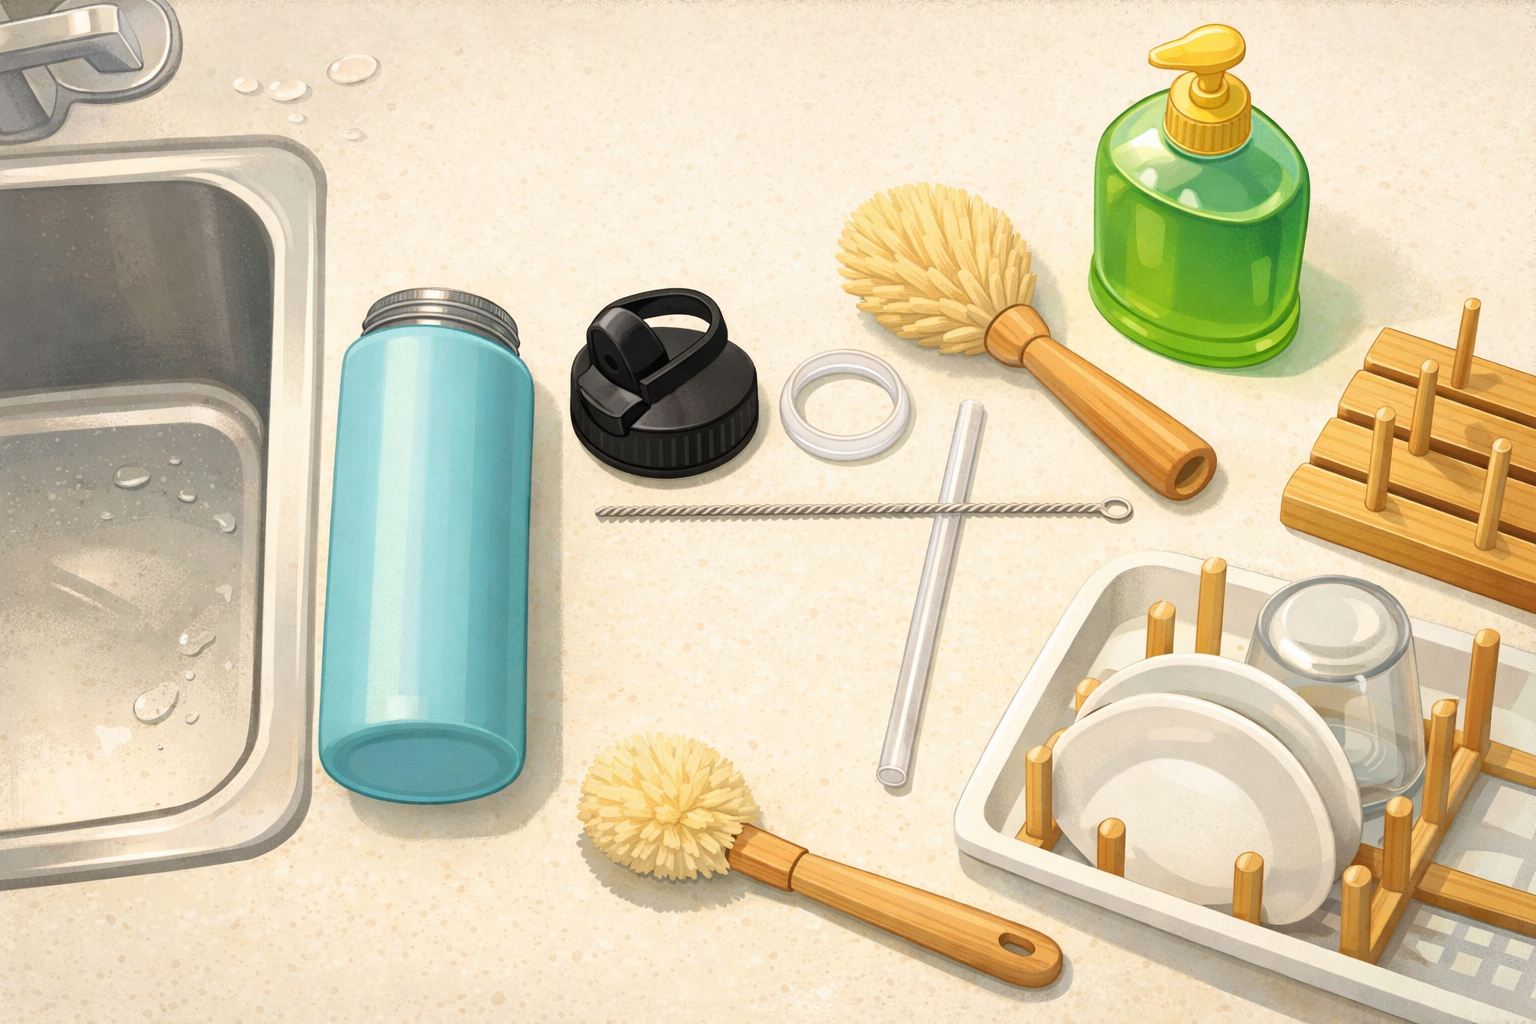
Home & life
How to clean and dry a reusable water bottle after a picnic
Disassemble the lid, clean threads and seals, wash the body, rinse thoroughly, and air‑dry so it doesn’t develop odours between countryside trips. Close‑ups show where residue hides and a quick drying rack setup.
Read the guide