Garden
How to propagate a snake plant division for a Capricorn-friendly workspace
Divide and repot a snake plant into a new container to create a second plant for your desk area—seven to twelve clear steps cover removing, dividing, potting, and initial watering.
- 01
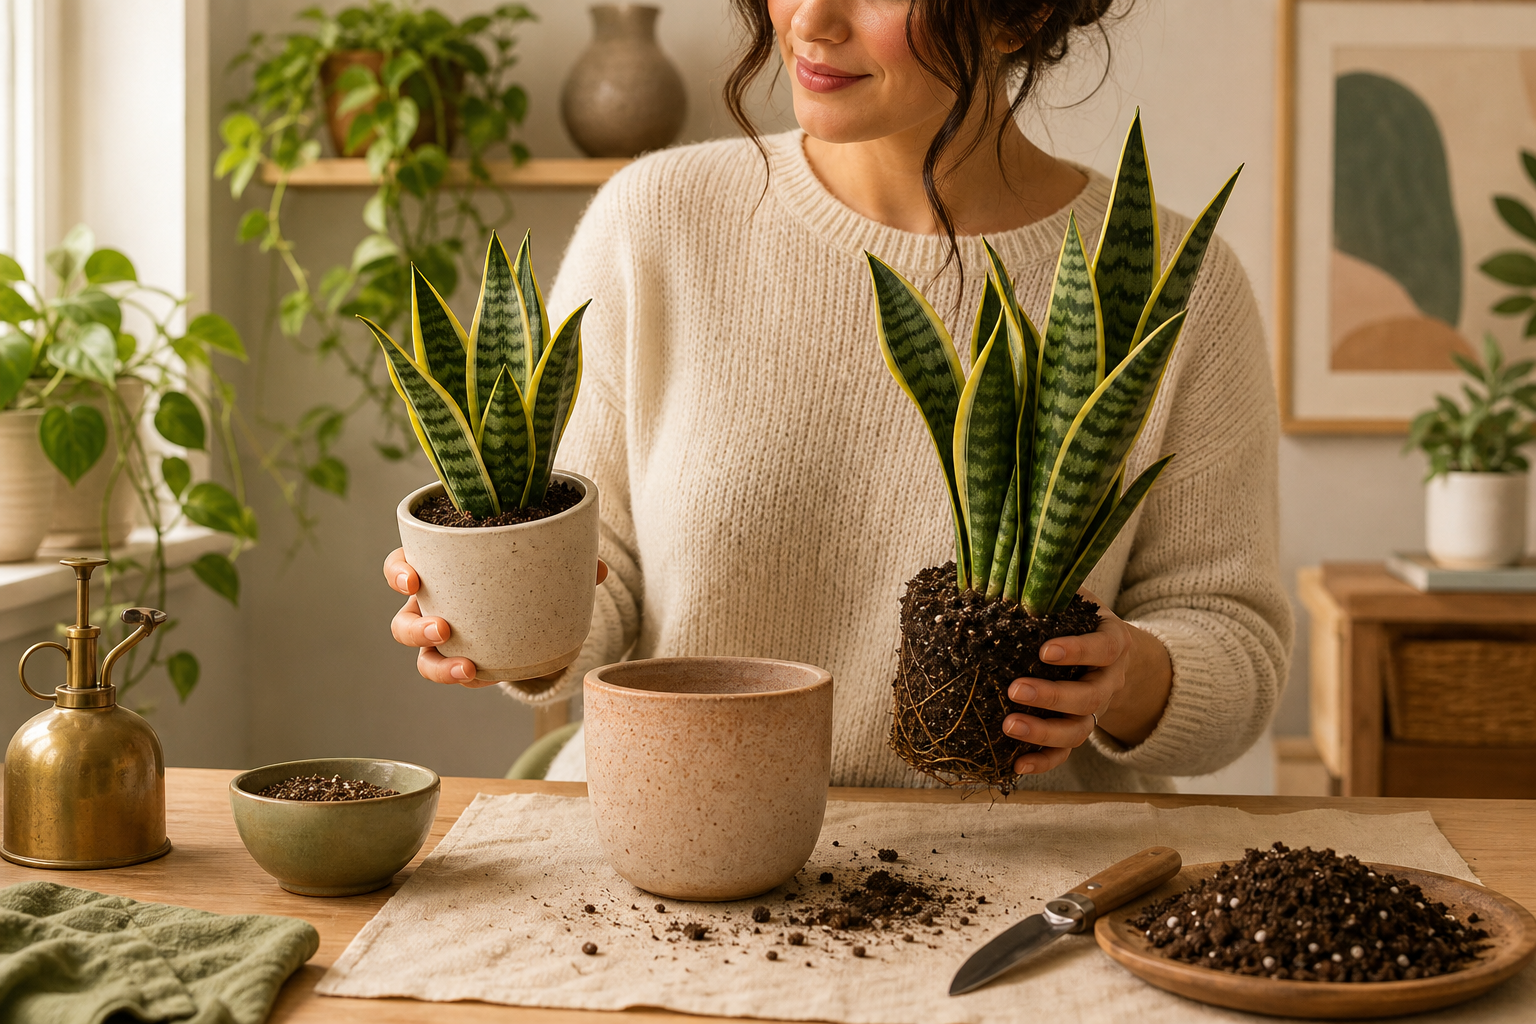
Choose your time and clear a workspace
Pick a well-lit table or counter you can easily clean; lay down newspaper or a washable tray to catch loose soil and roots. Gather the pot, potting mix, a clean sharp knife or shears, gloves, and a bowl of water for rinsing roots.
- 02
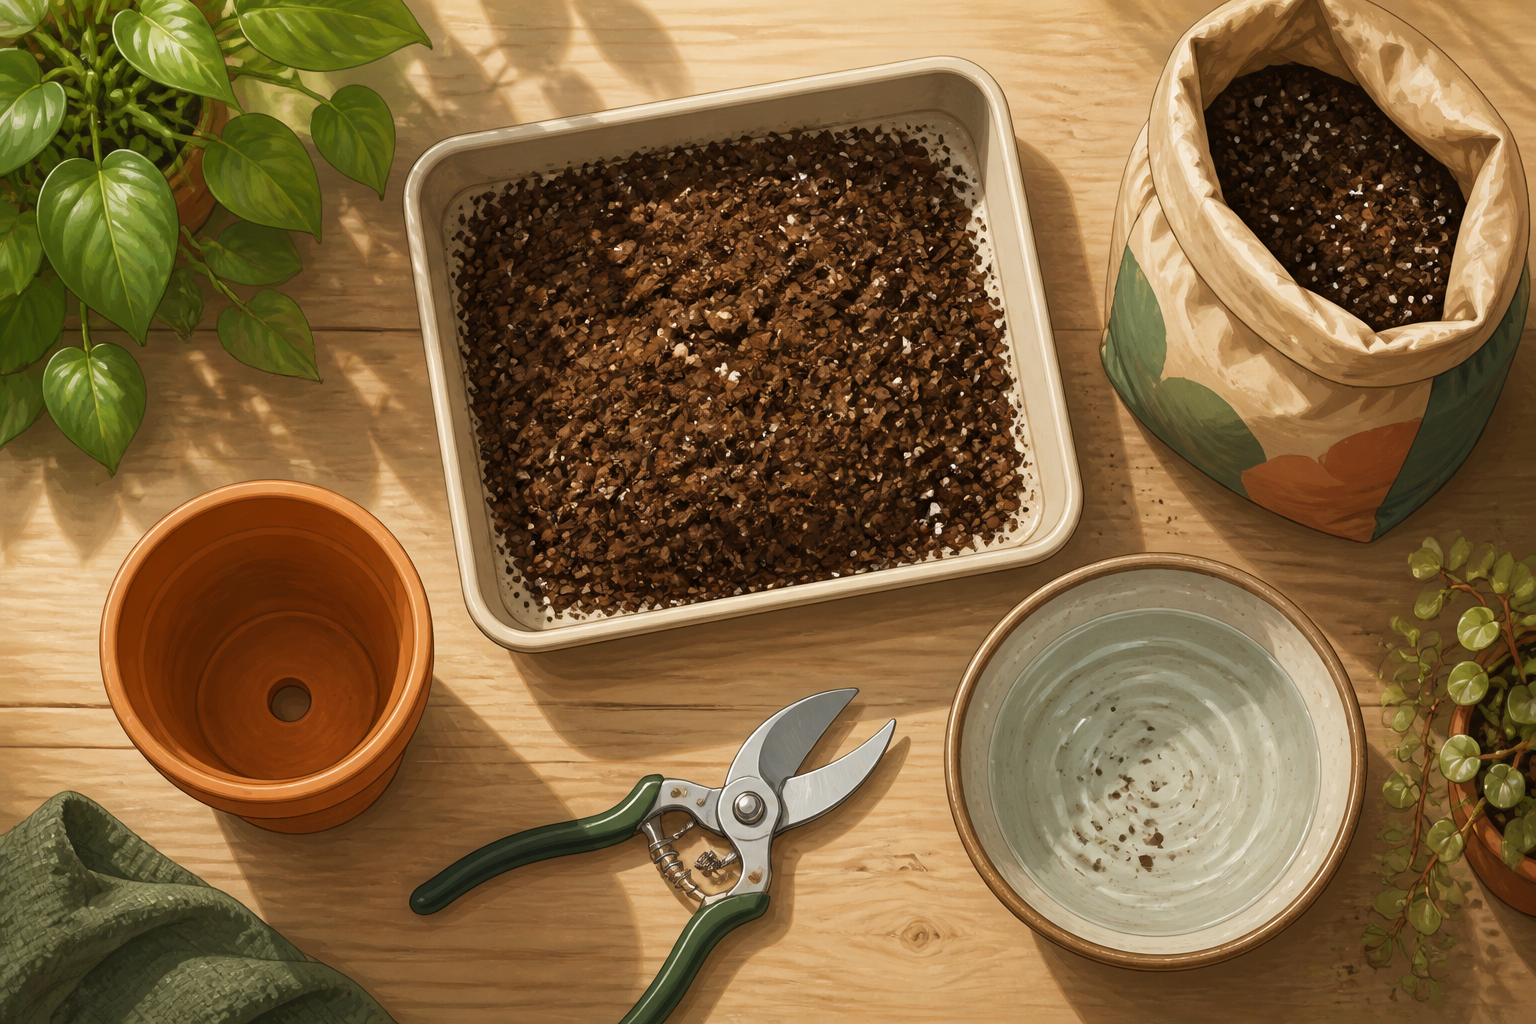
Lightly water the plant the day before
Water the snake plant lightly about 12–24 hours before dividing so the soil holds together enough to support the root ball but isn’t sodden. This makes removing the plant easier and reduces stress to the roots.

- 03
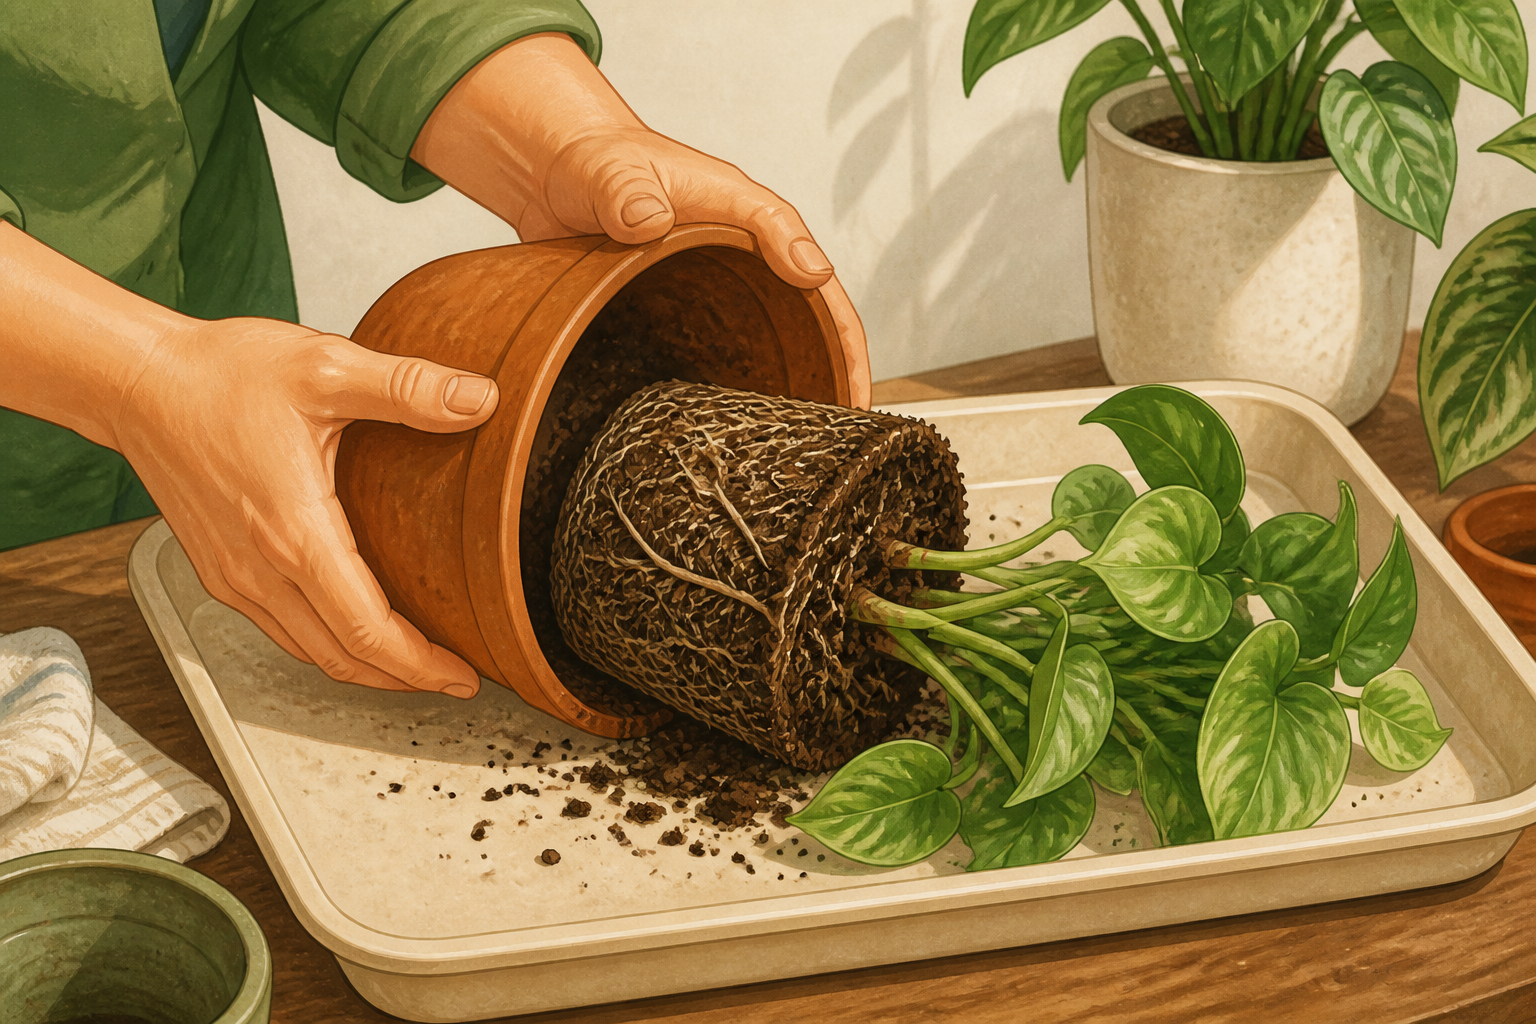
Remove the plant from its pot
Gently tip the pot on its side and support the plant at the base. Ease the root ball from the pot by squeezing the pot’s sides (if plastic) or tapping the rim if ceramic; avoid yanking the leaves. Place the root ball on the prepared tray.
- 04
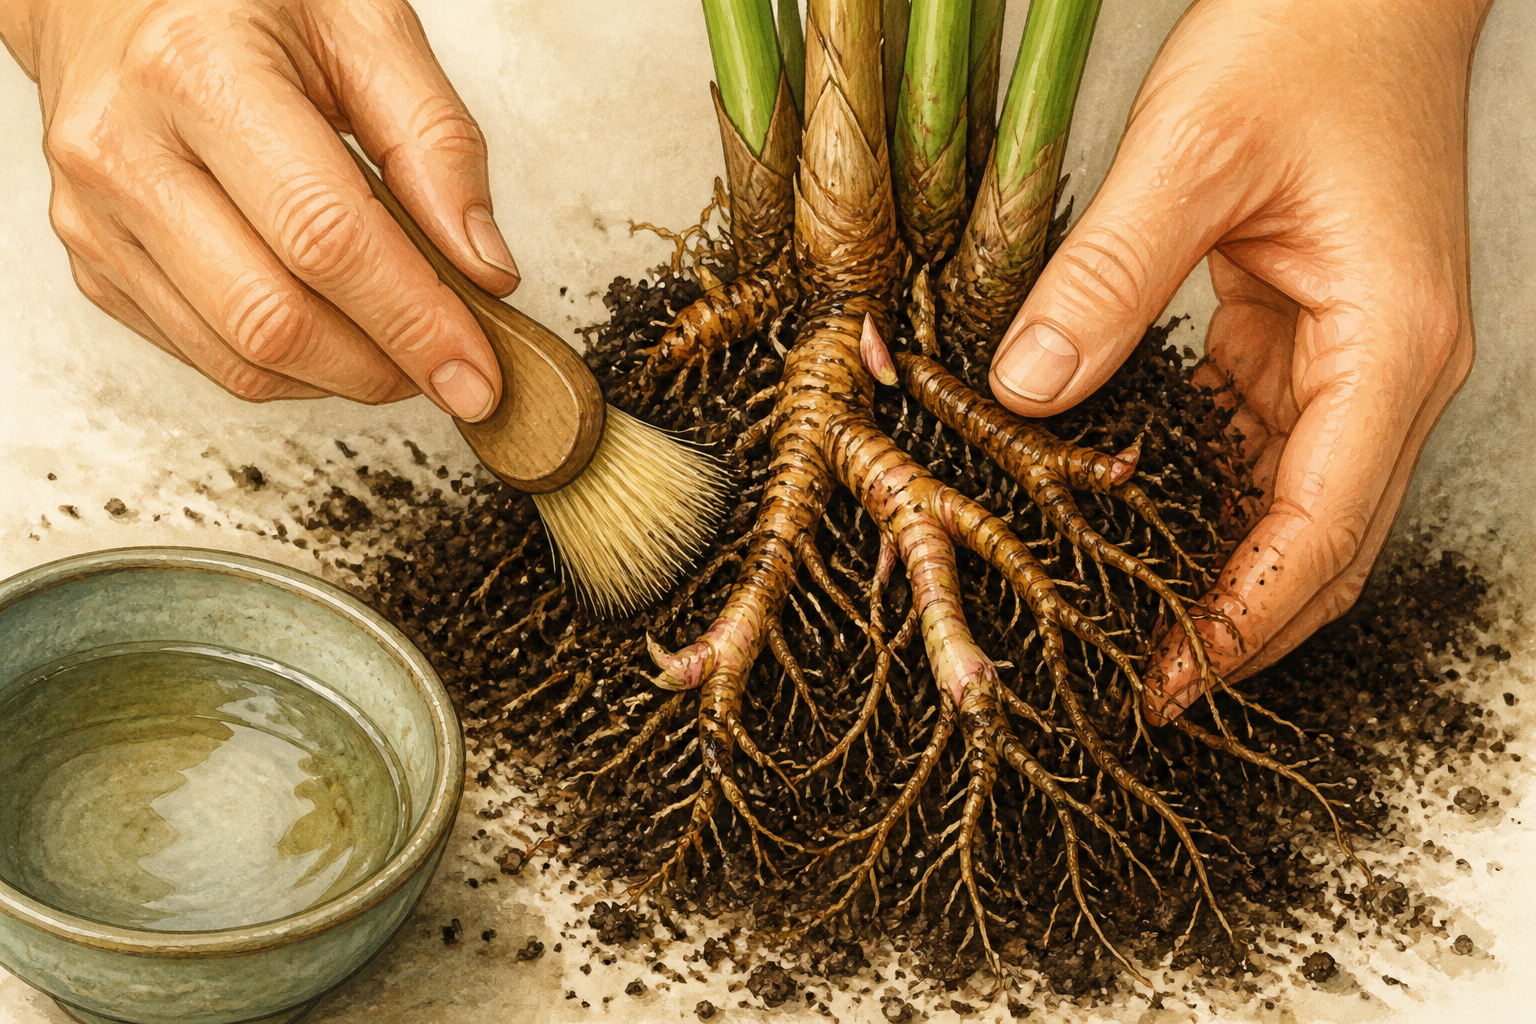
Brush or rinse away excess soil to expose rhizomes
Use your hands or a gentle stream of water over the tray to remove loose soil until you can see the thick rhizomes and root structure. Work carefully so you can spot natural division points where shoots and rhizomes separate.
- 05
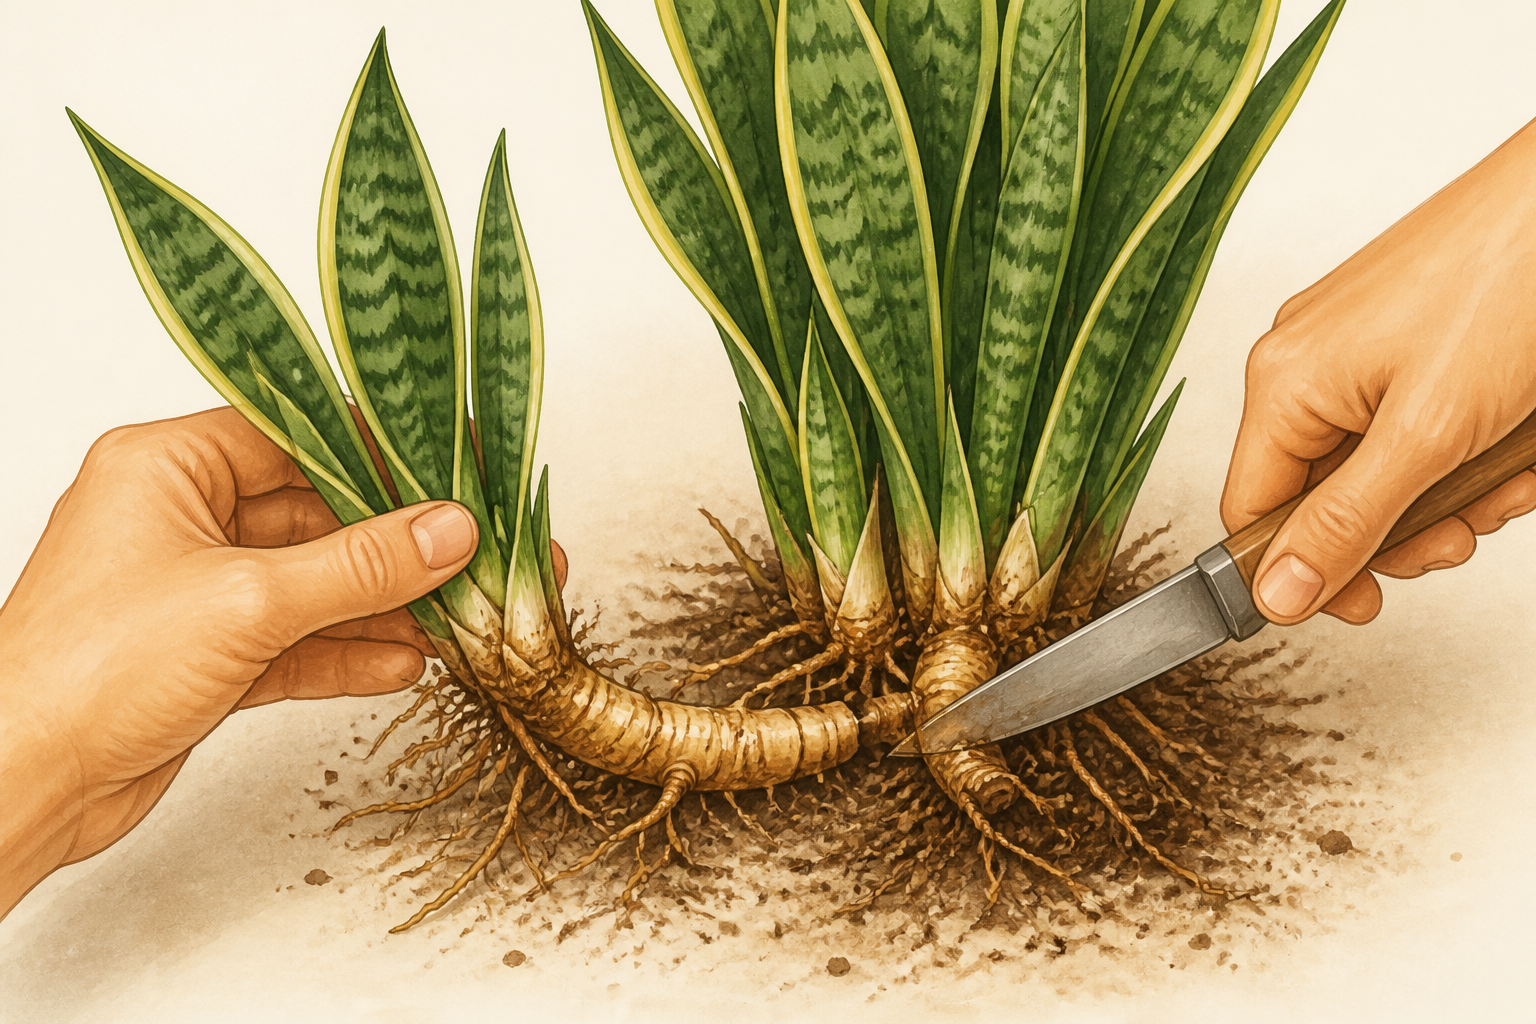
Separate the plant at natural divisions
Locate a section with its own set of leaves and rhizome. If sections pull apart by hand, gently separate them. For stubborn connections, use a clean sharp knife or shears to cut through the rhizome, keeping a small clump of roots attached to each division.
- 06
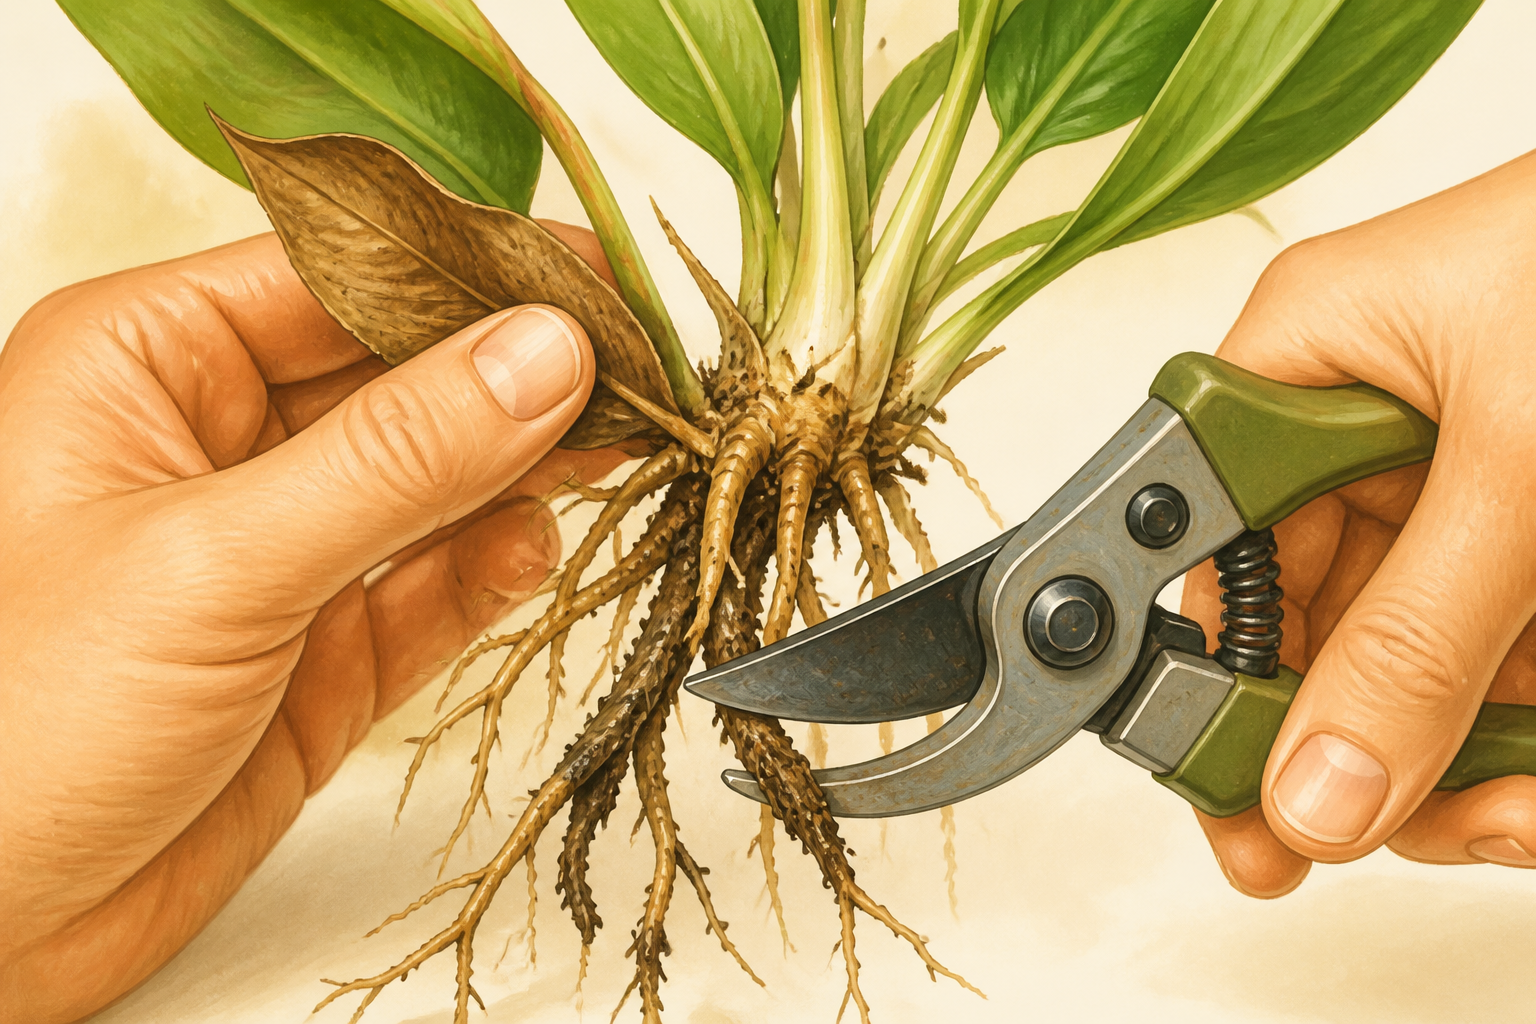
Trim damaged roots and old leaves
Inspect each division and trim away clearly dead or mushy roots and any yellowed leaves with the clean shears. Removing damaged material helps the new division focus energy on healthy root growth.
- 07
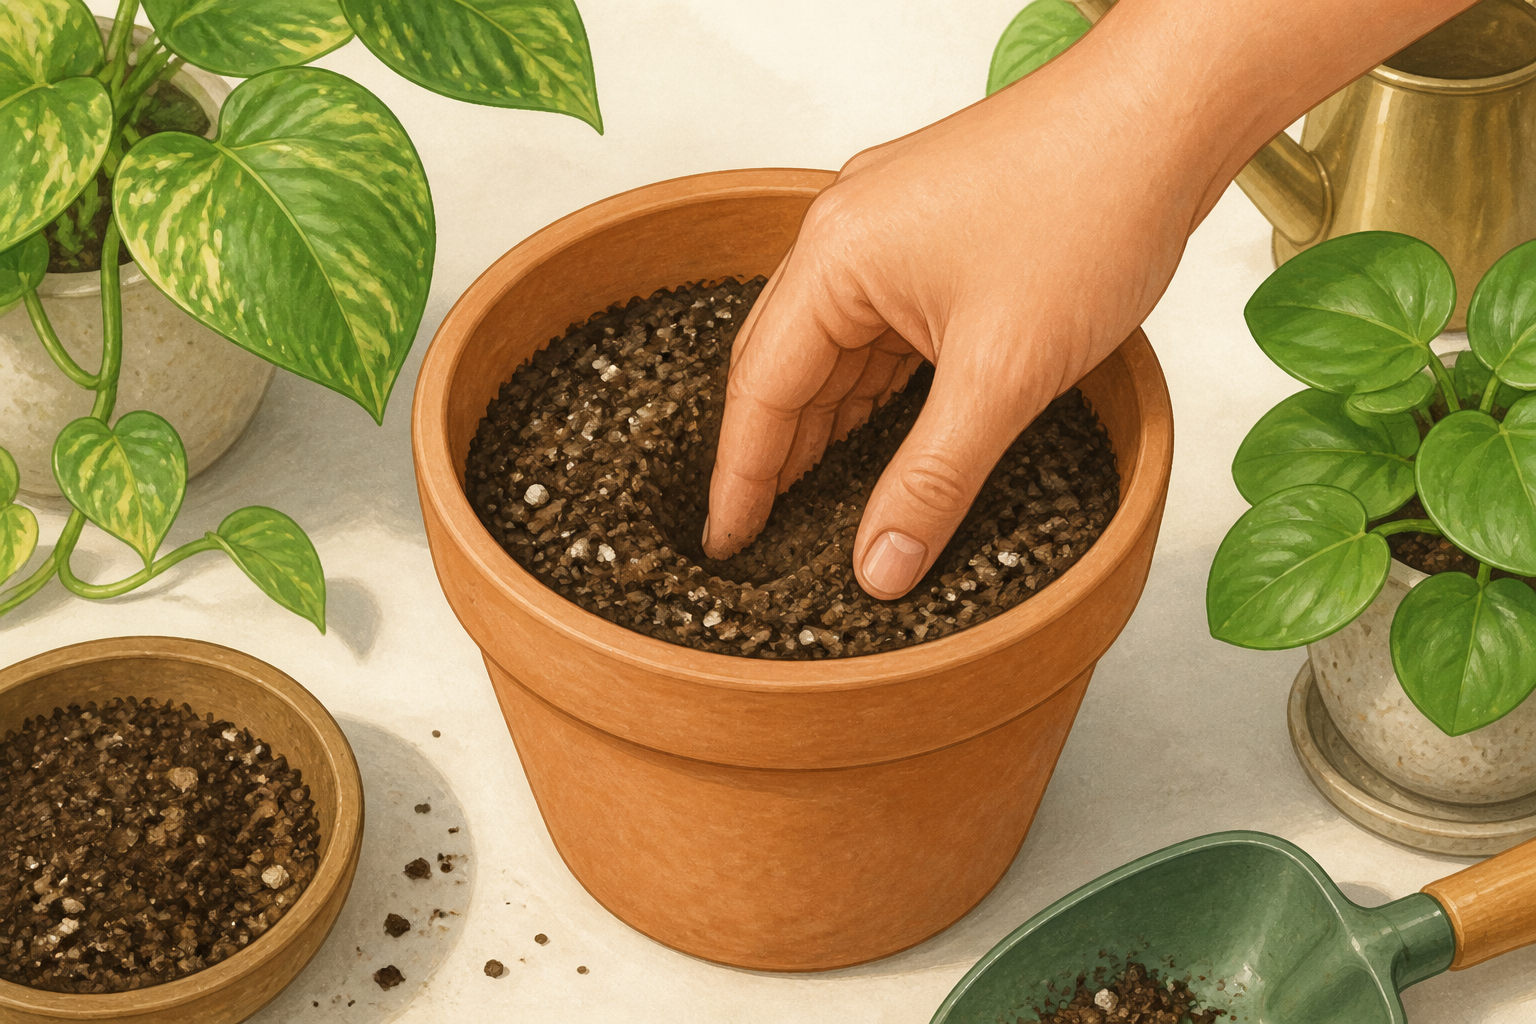
Prepare the new pot with fresh mix
Fill the new pot about one-third full with well-draining potting mix so the division will sit at the same soil level it had before. Ensure there is room for the roots without compacting them.
- 08
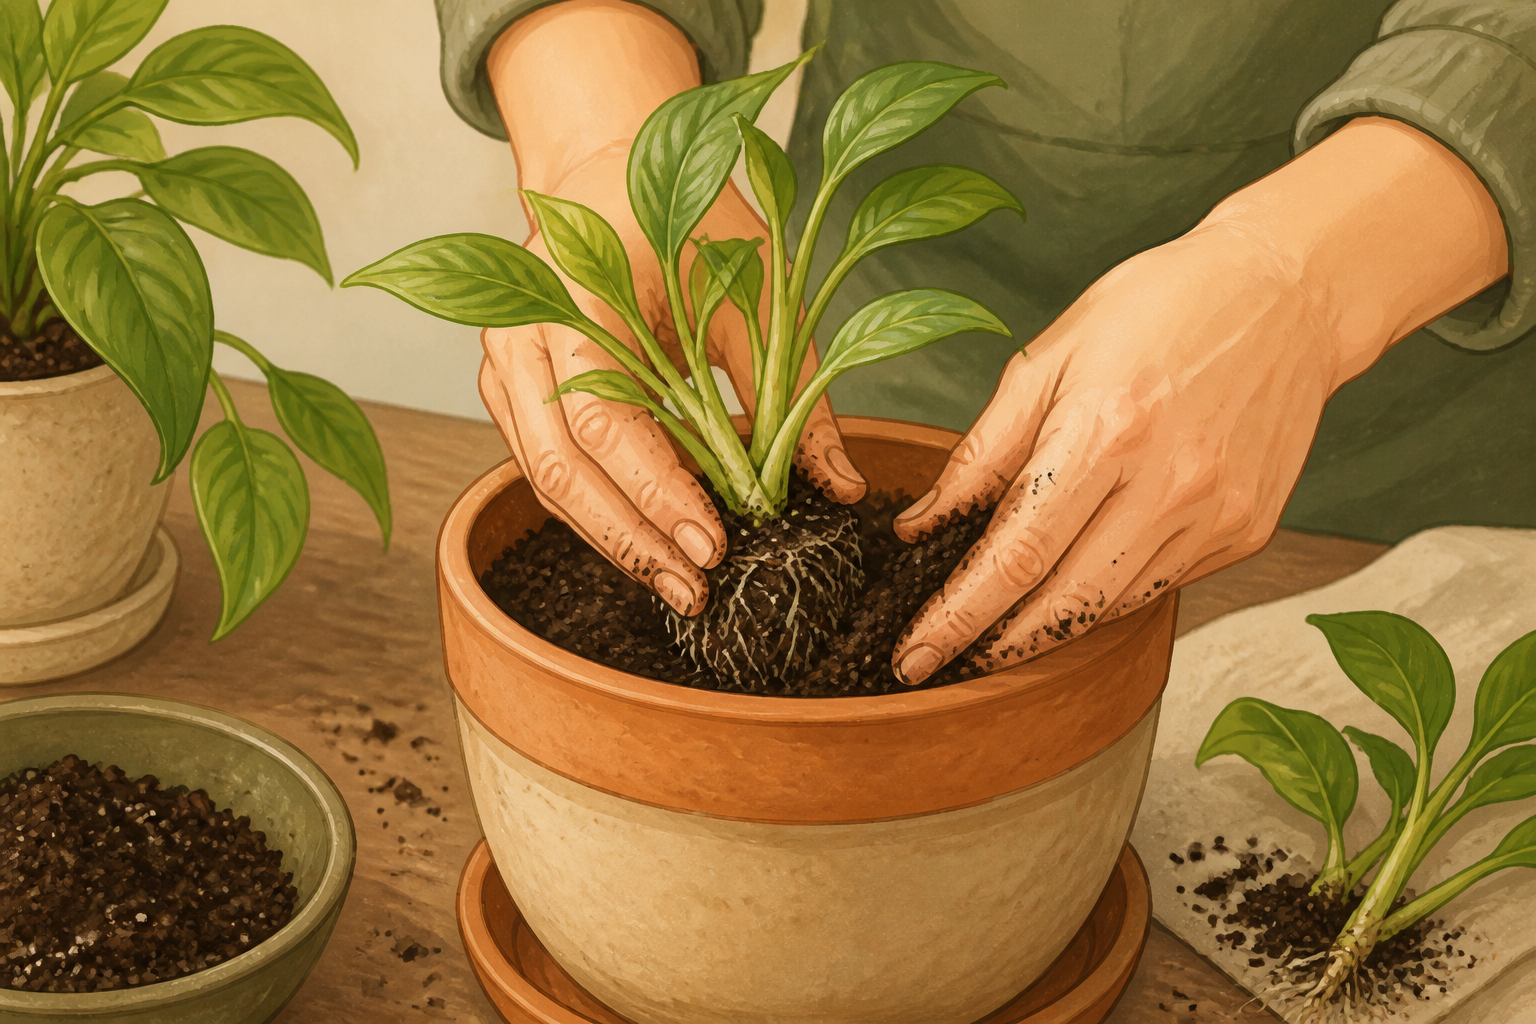
Place the division and backfill gently
Set the division in the pot so the top of its root ball sits slightly below the rim. Fill around the roots with mix, firming lightly with your fingers to remove air pockets while keeping the soil loose; do not press so hard that roots are compacted.
- 09
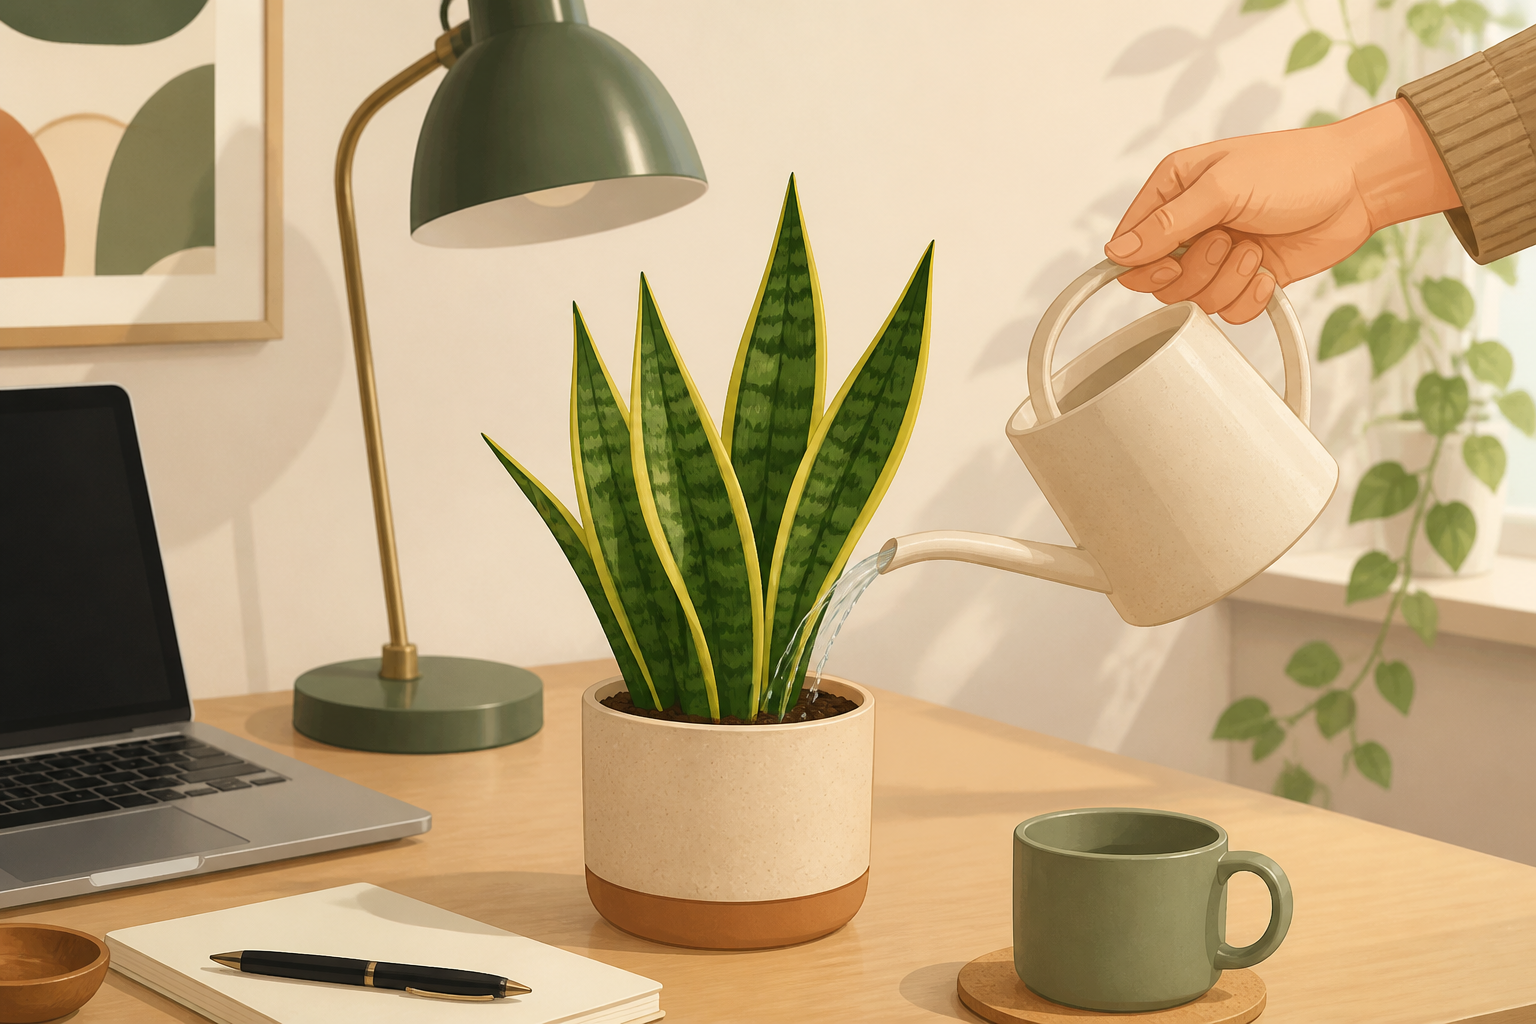
Water lightly and position on your desk
Water the newly potted division until the soil is evenly moist but not waterlogged; let excess drain. Place the pot in a stable spot on your desk with bright, indirect light and limited drafts—for a tidy, Capricorn-friendly feel, choose a neat corner or a simple stand.
- 10
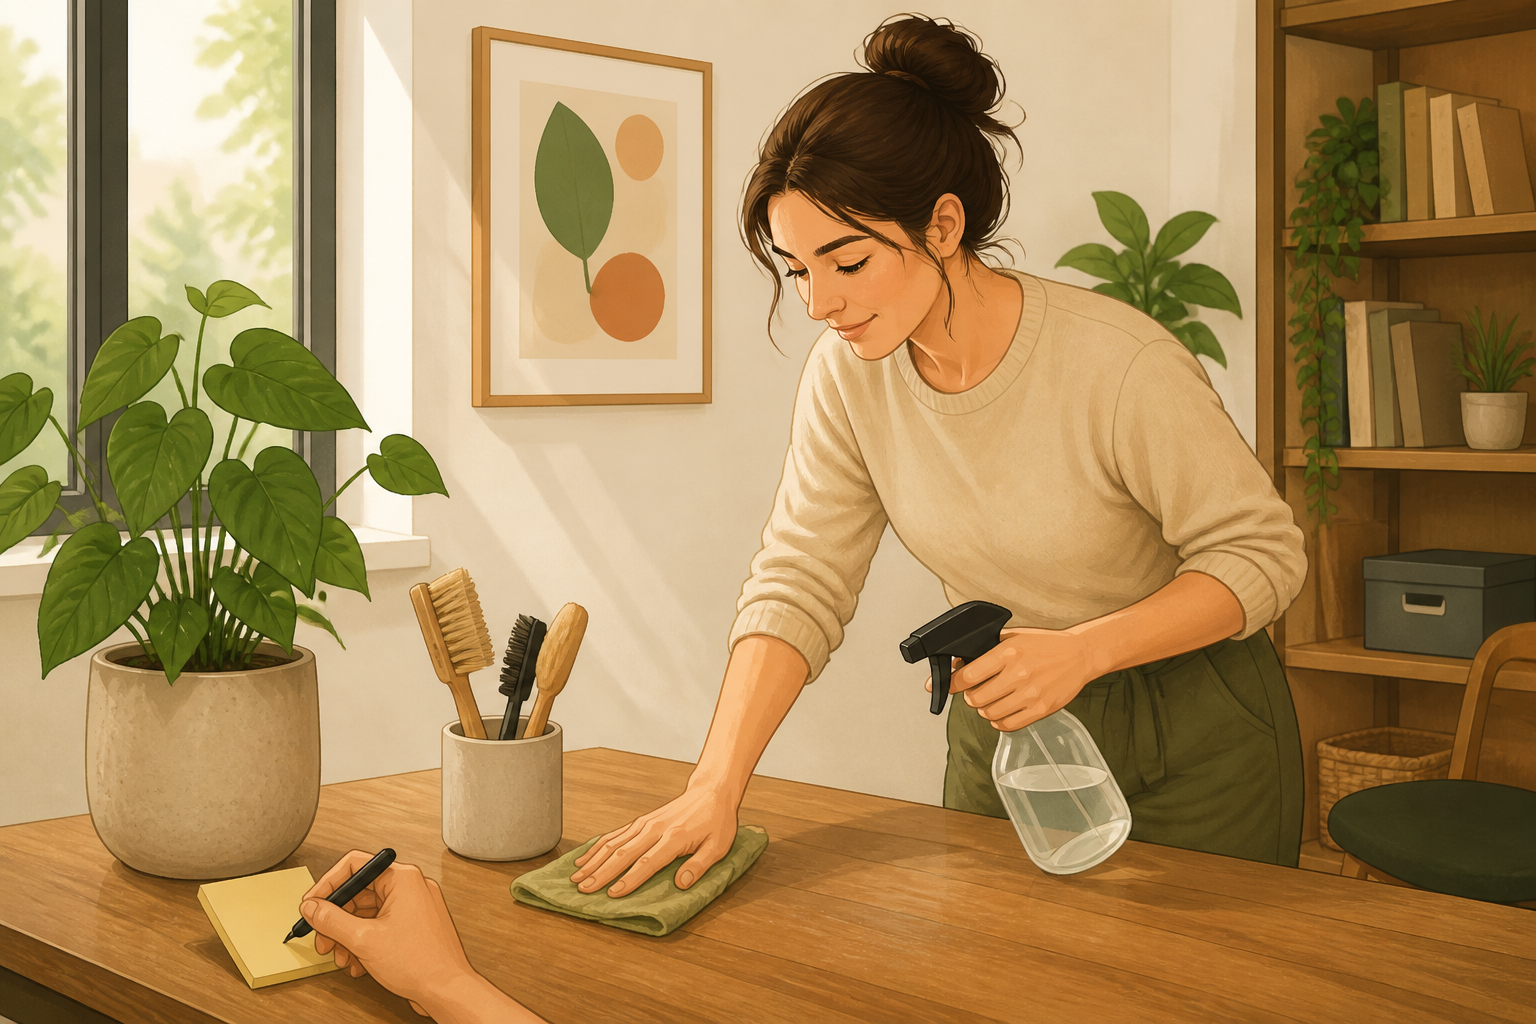
Clean up and note the date
Wipe tools and your workspace, remove debris, and label the pot or note the propagation date so you can track progress. Check the soil moisture in a week and thereafter water sparingly when the top inch of soil feels dry.
If this was useful
Try one of these next

Hobbies & crafts
How to paint a Capricorn constellation mini canvas with acrylics
Complete a 6×6-inch acrylic painting of the Capricorn constellation on a small canvas—follow six to twelve steps for sketching, underpainting, adding stars, and sealing the finished piece.
Read the guide
Learning
How to create a two-page bullet journal tracker spread in 30 minutes
Design and draw a reusable two-page tracker spread for one month’s habits or projects; the guide walks through layout, ruling, headers, and simple decoration in six to ten ordered steps.
Read the guide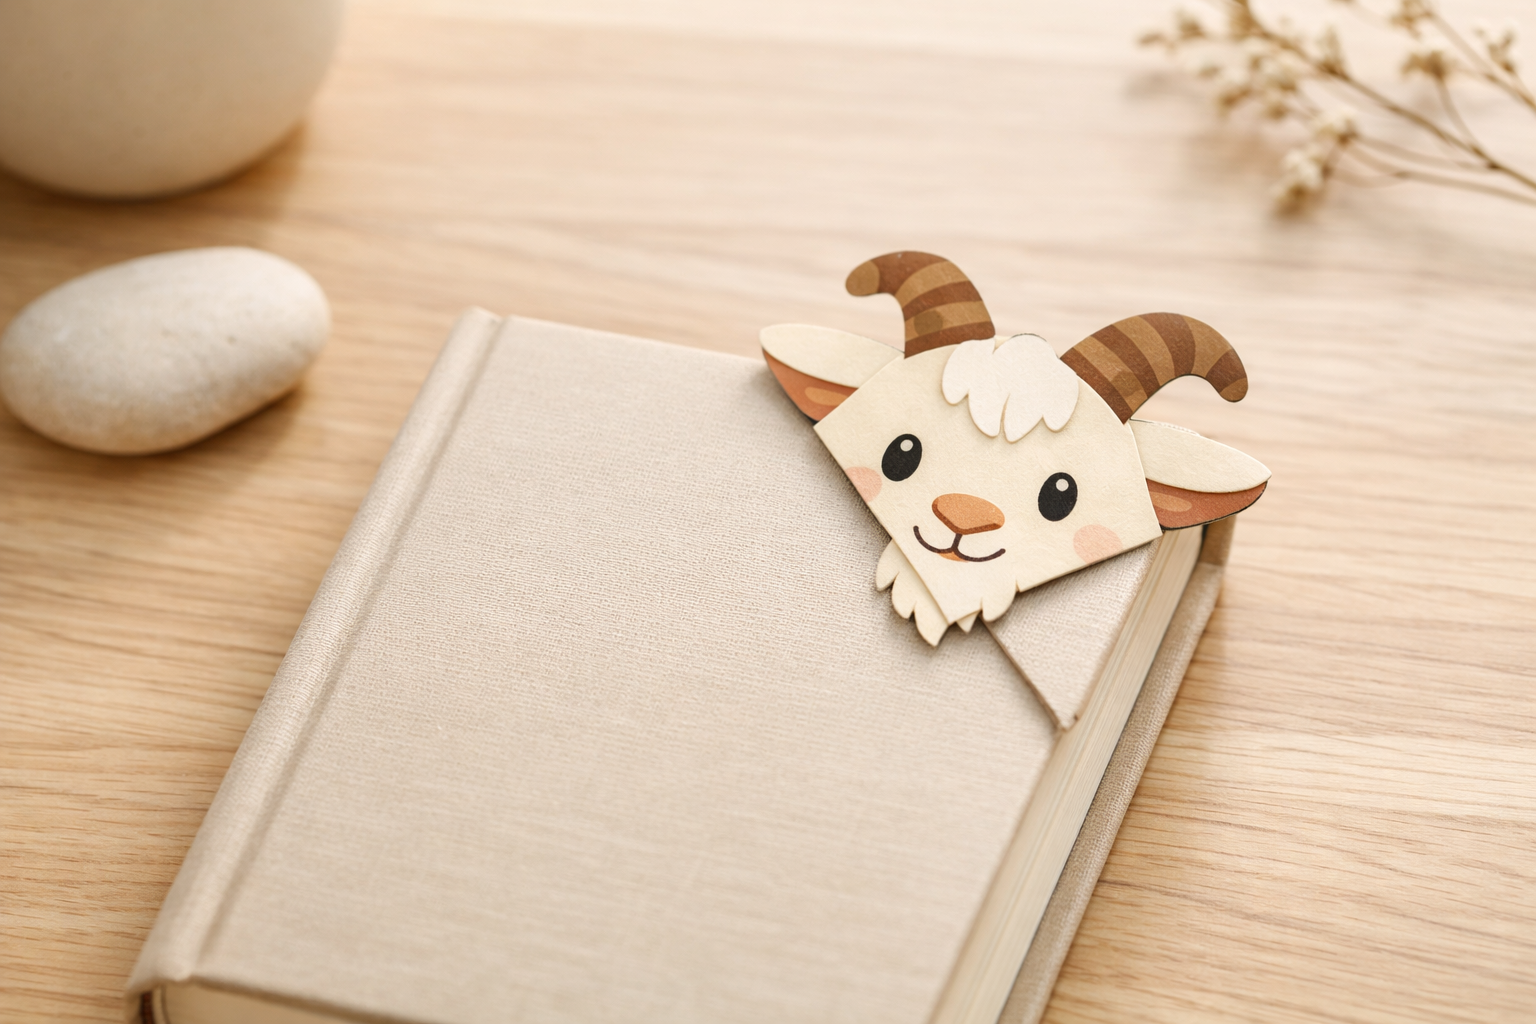
Hobbies & crafts
How to fold a Capricorn-themed paper mountain goat bookmark
Turn a sheet of paper into a crisp, goat-shaped corner bookmark you can give or use during a planned chat. Includes clear fold diagrams and a final photo of the bookmark peeking from a book.
Read the guide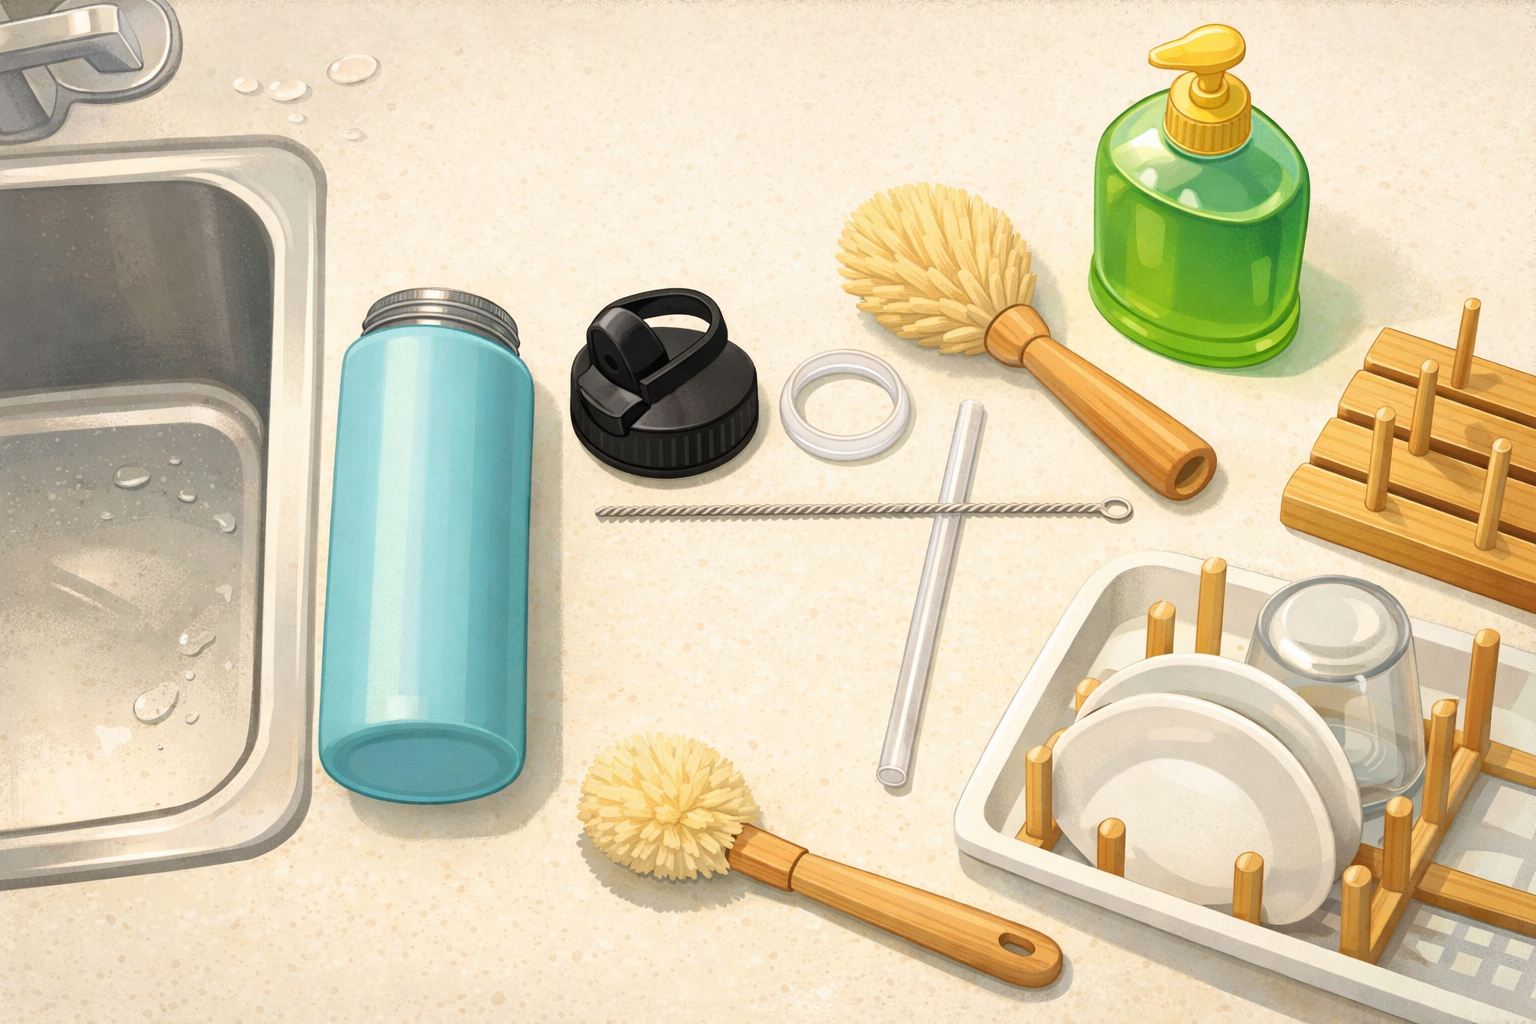
Home & life
How to clean and dry a reusable water bottle after a picnic
Disassemble the lid, clean threads and seals, wash the body, rinse thoroughly, and air‑dry so it doesn’t develop odours between countryside trips. Close‑ups show where residue hides and a quick drying rack setup.
Read the guide