Home & life How-to
How to apply a quick, natural concealer routine for men
Five-minute, low-drama steps to hide tired eyes, small blemishes and redness without looking like you're wearing makeup. This how-to focuses on product amounts, placement, blending tools and lighting checks so the result reads as skin — not
- 01
Gather your tools
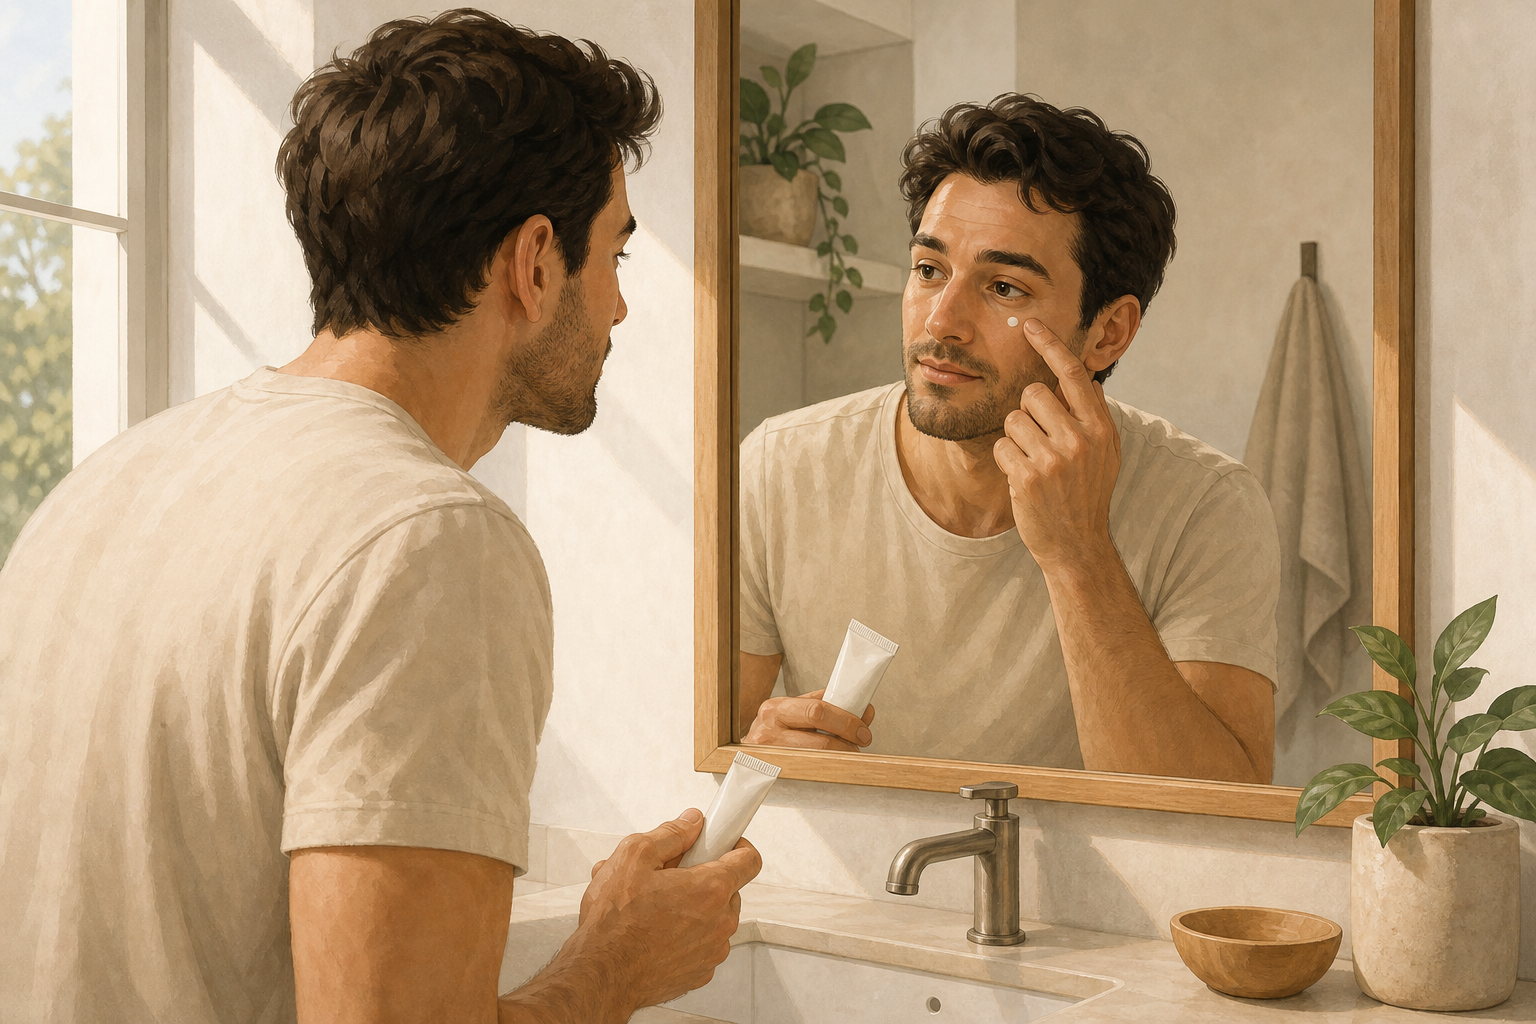
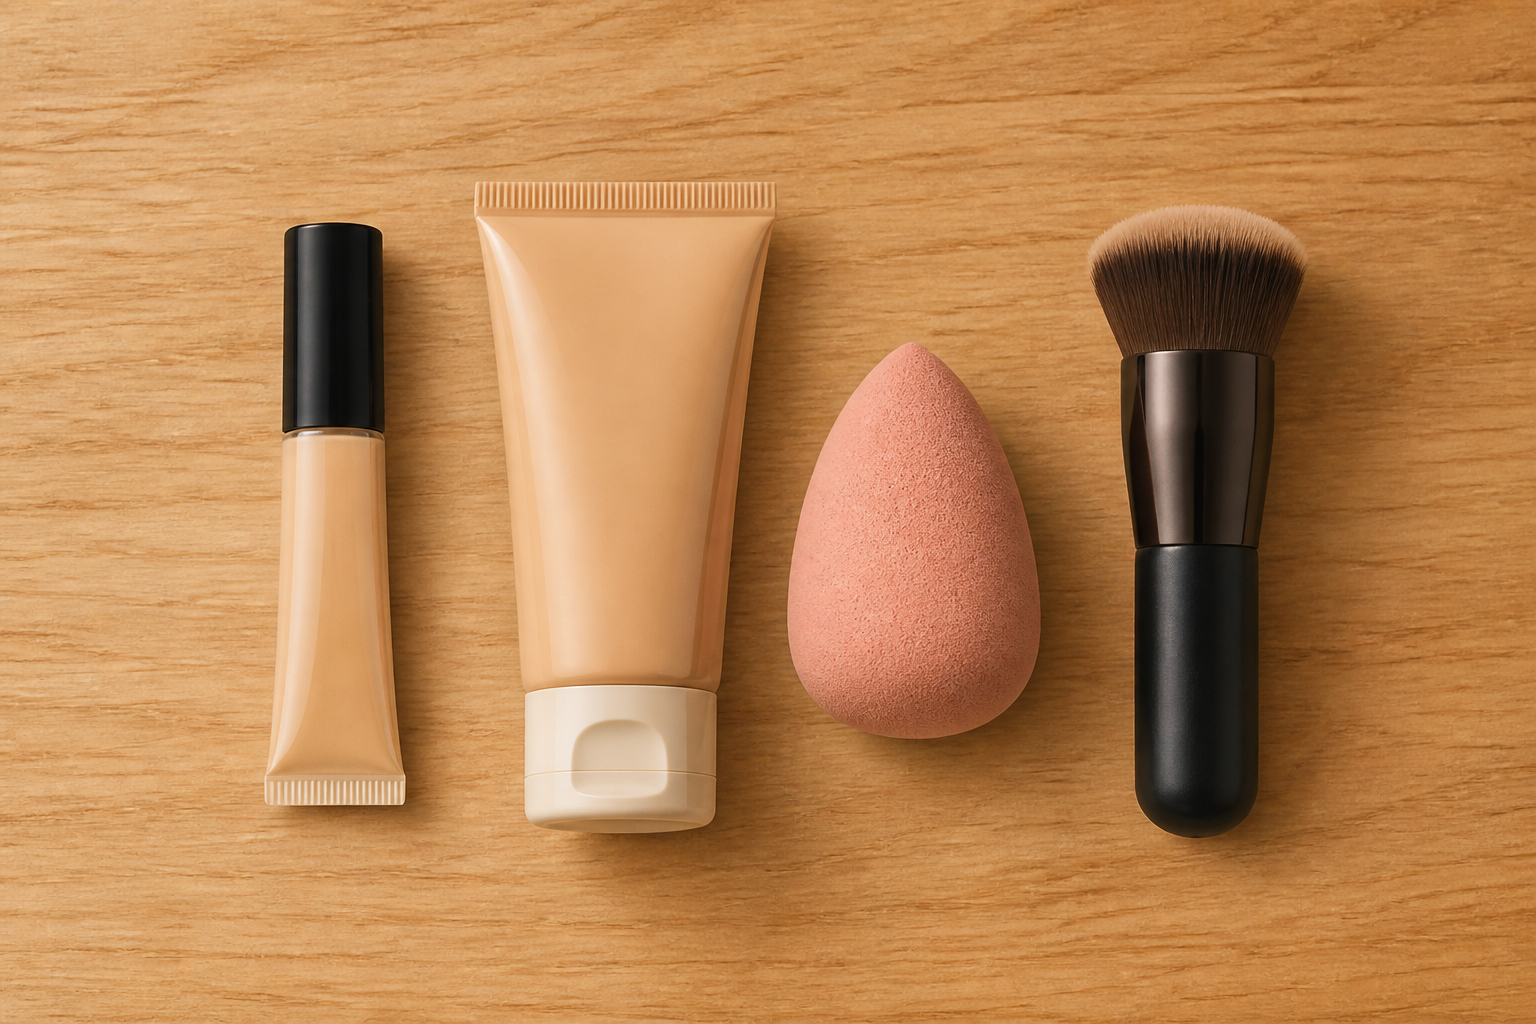
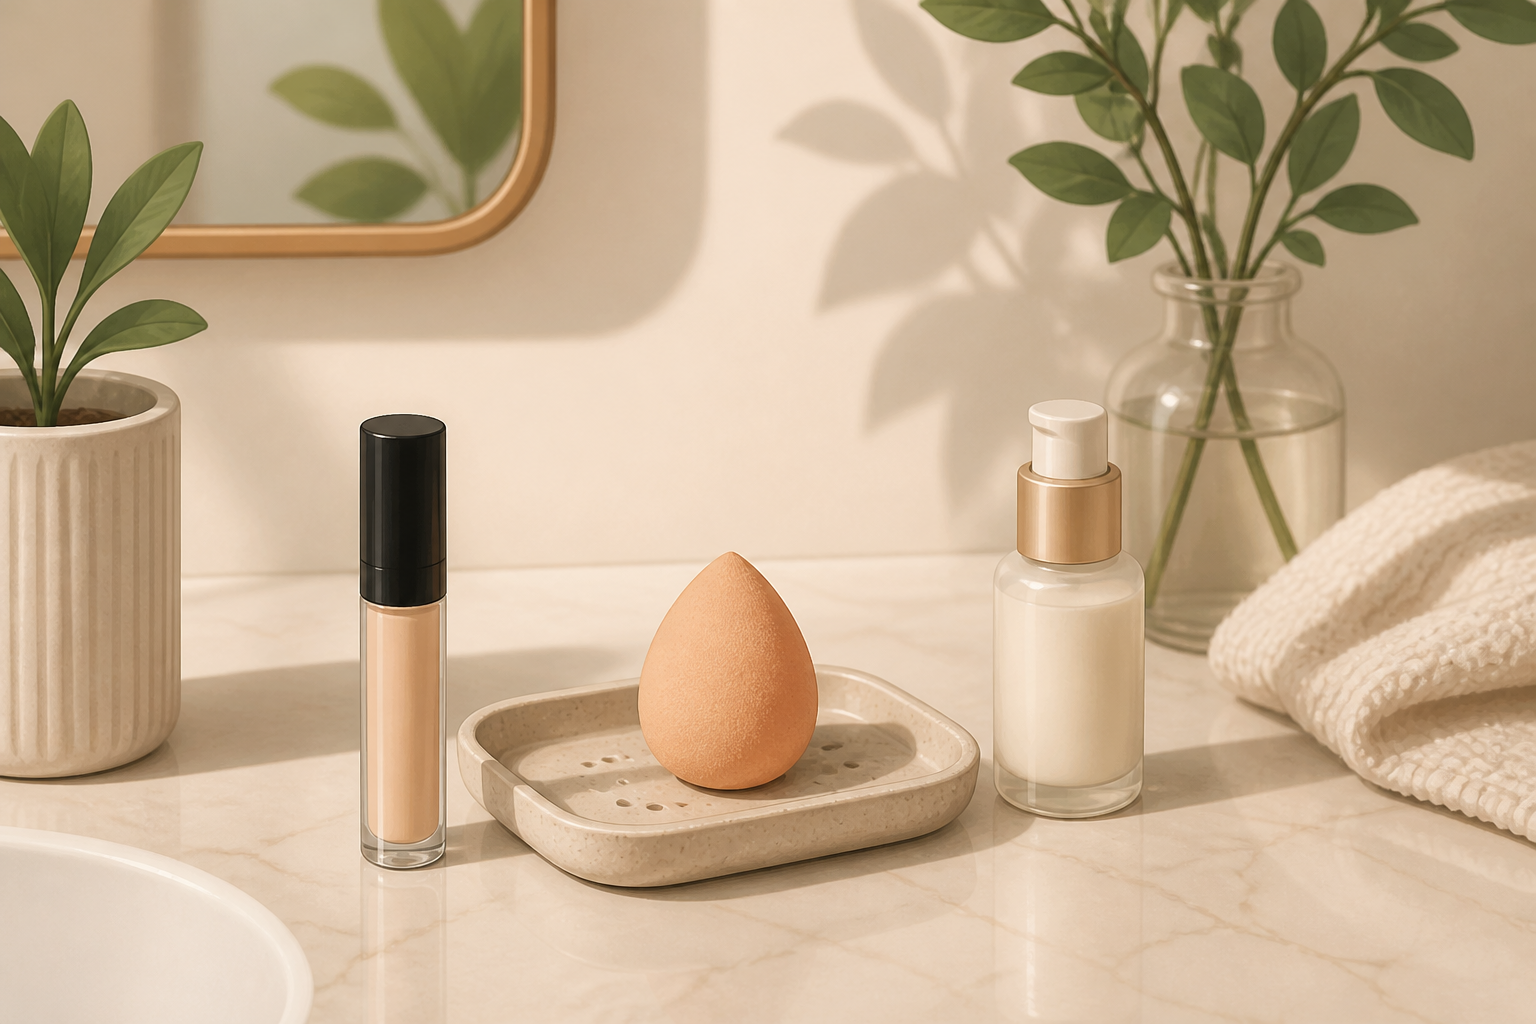
Stand at a well-lit mirror and collect a small tube of concealer, a lightweight tinted moisturizer or hydrating base (optional), and one of these blending tools: your ring finger, a small dense concealer brush, or a damp mini sponge. Having everything ready keeps this under five minutes.
- 02
Prep skin quickly
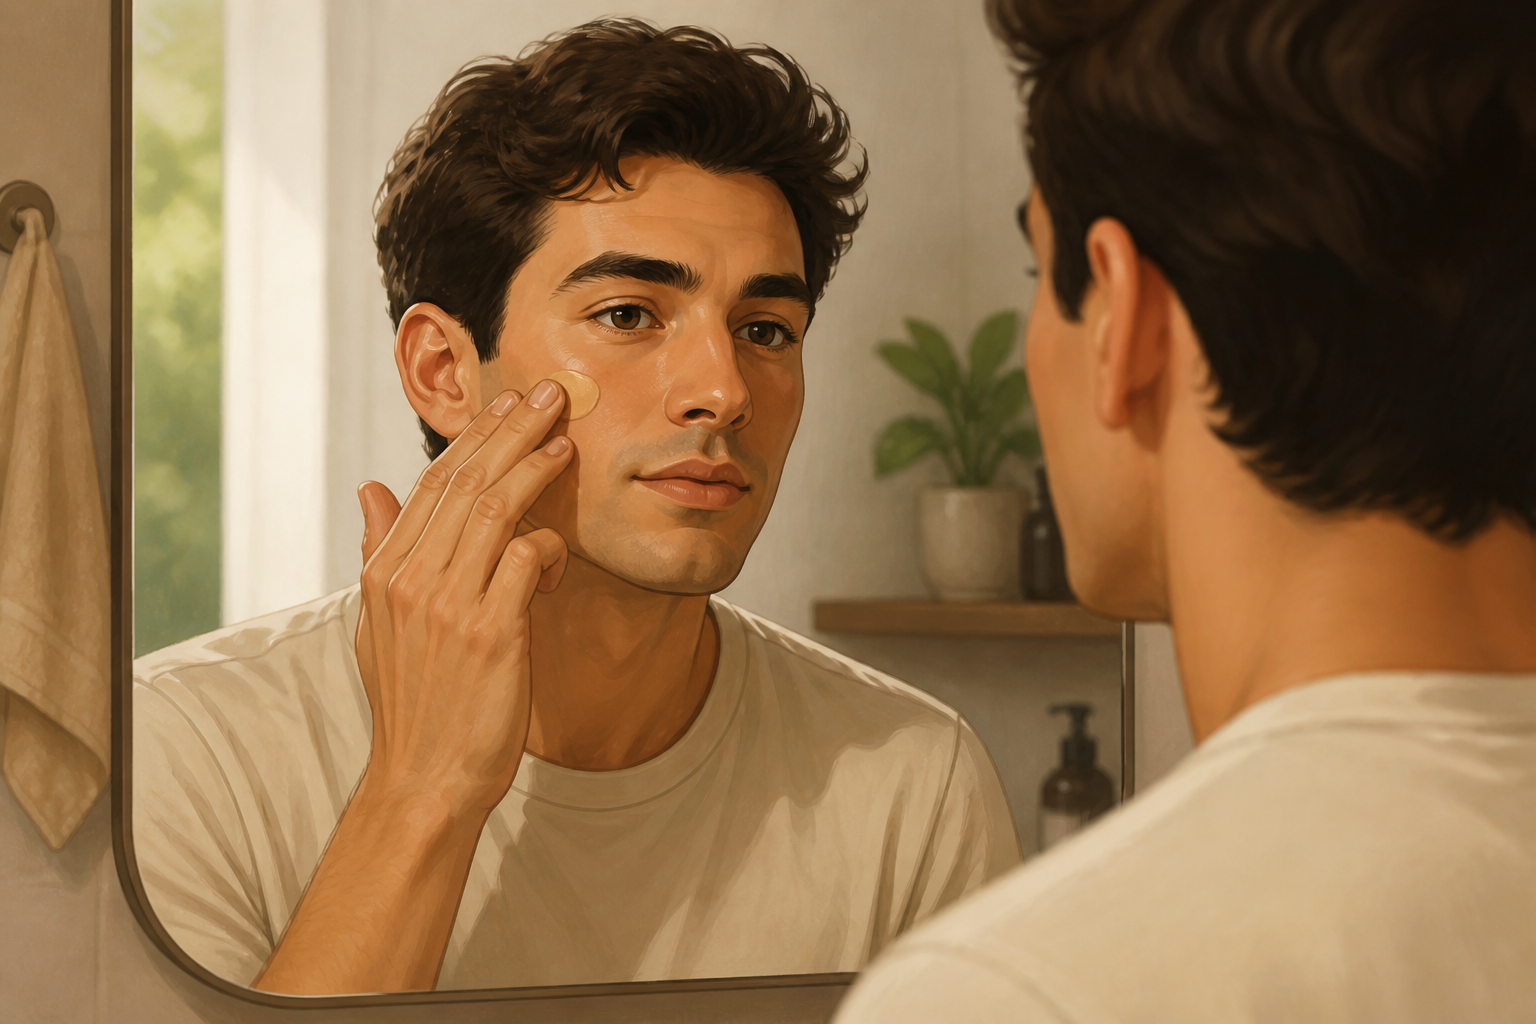
Wash or wipe your face if needed, then apply a light moisturizer or your tinted moisturizer in a dime-sized amount across the cheek and under-eye area. Wait about 20–30 seconds for it to absorb; this gives smoother blending without sliding.
- 03
Dispense a conservative amount
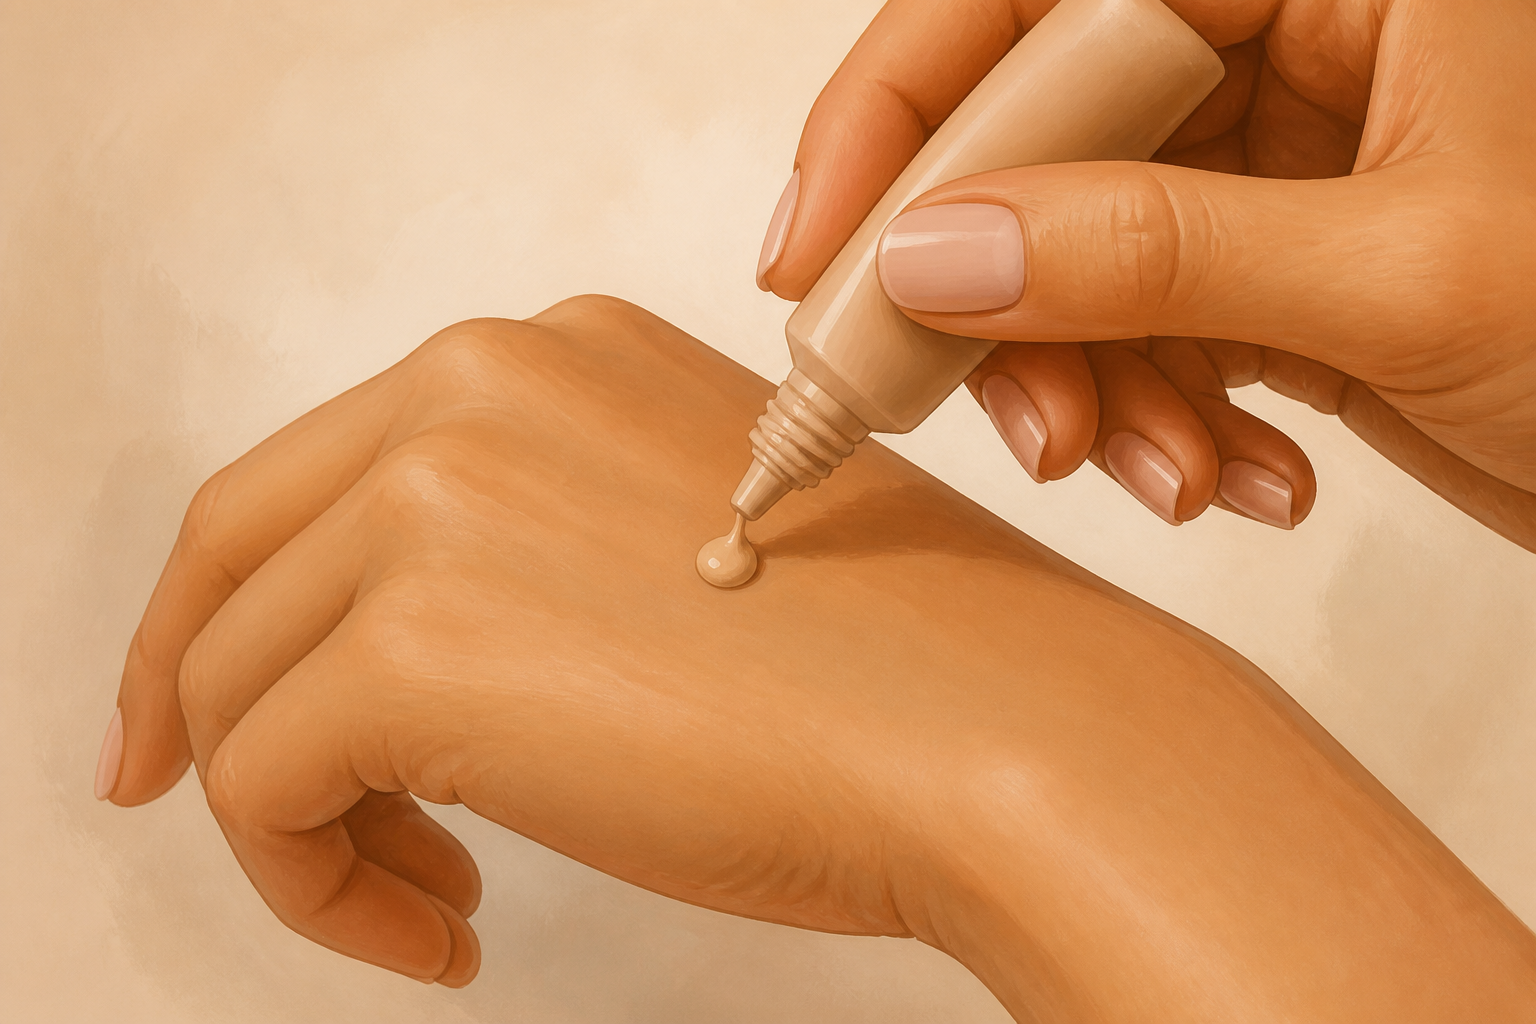
Squeeze a tiny amount of concealer onto the back of your hand: for under-eye coverage use a rice-grain to small pea-sized amount per eye; for a blemish, a dot about the size of a match head. You can always add more; start small.
- 04
Place product intentionally
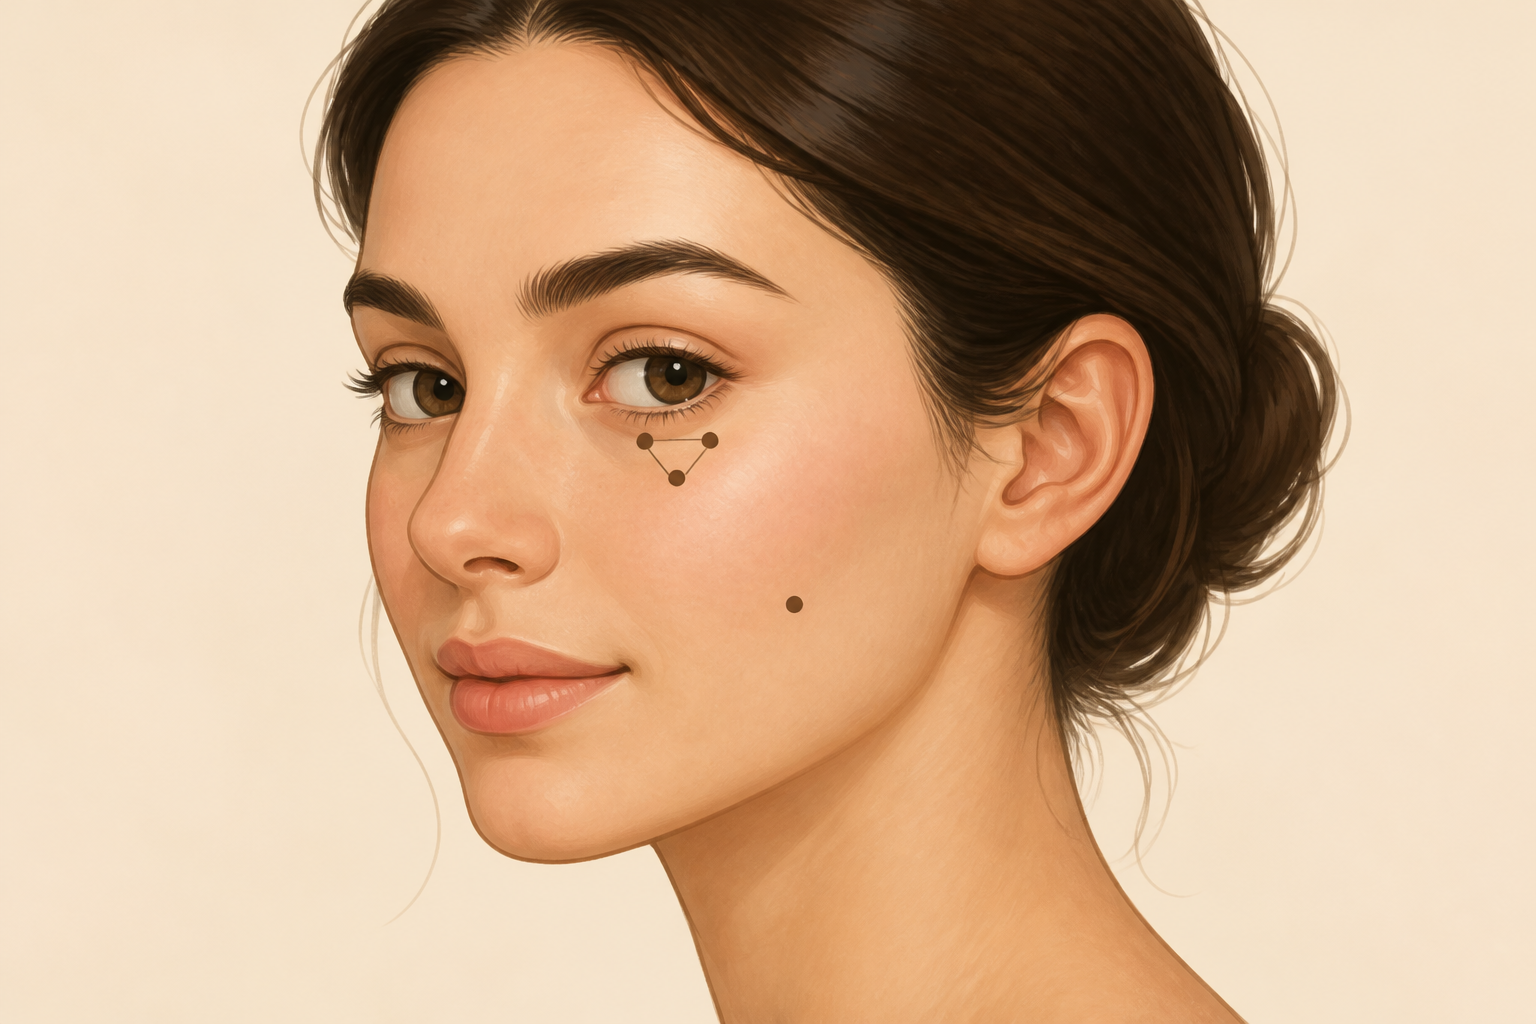
For under-eye shadows, place a thin line or 2–3 small dots of concealer in a shallow triangle under the eye, extending slightly toward the outer cheek (not all the way to the nose). For blemishes, dot directly on the center of the spot. Avoid painting broad swaths — concentrated placement reads more natural.
- 05
Blend with a press-and-roll motion
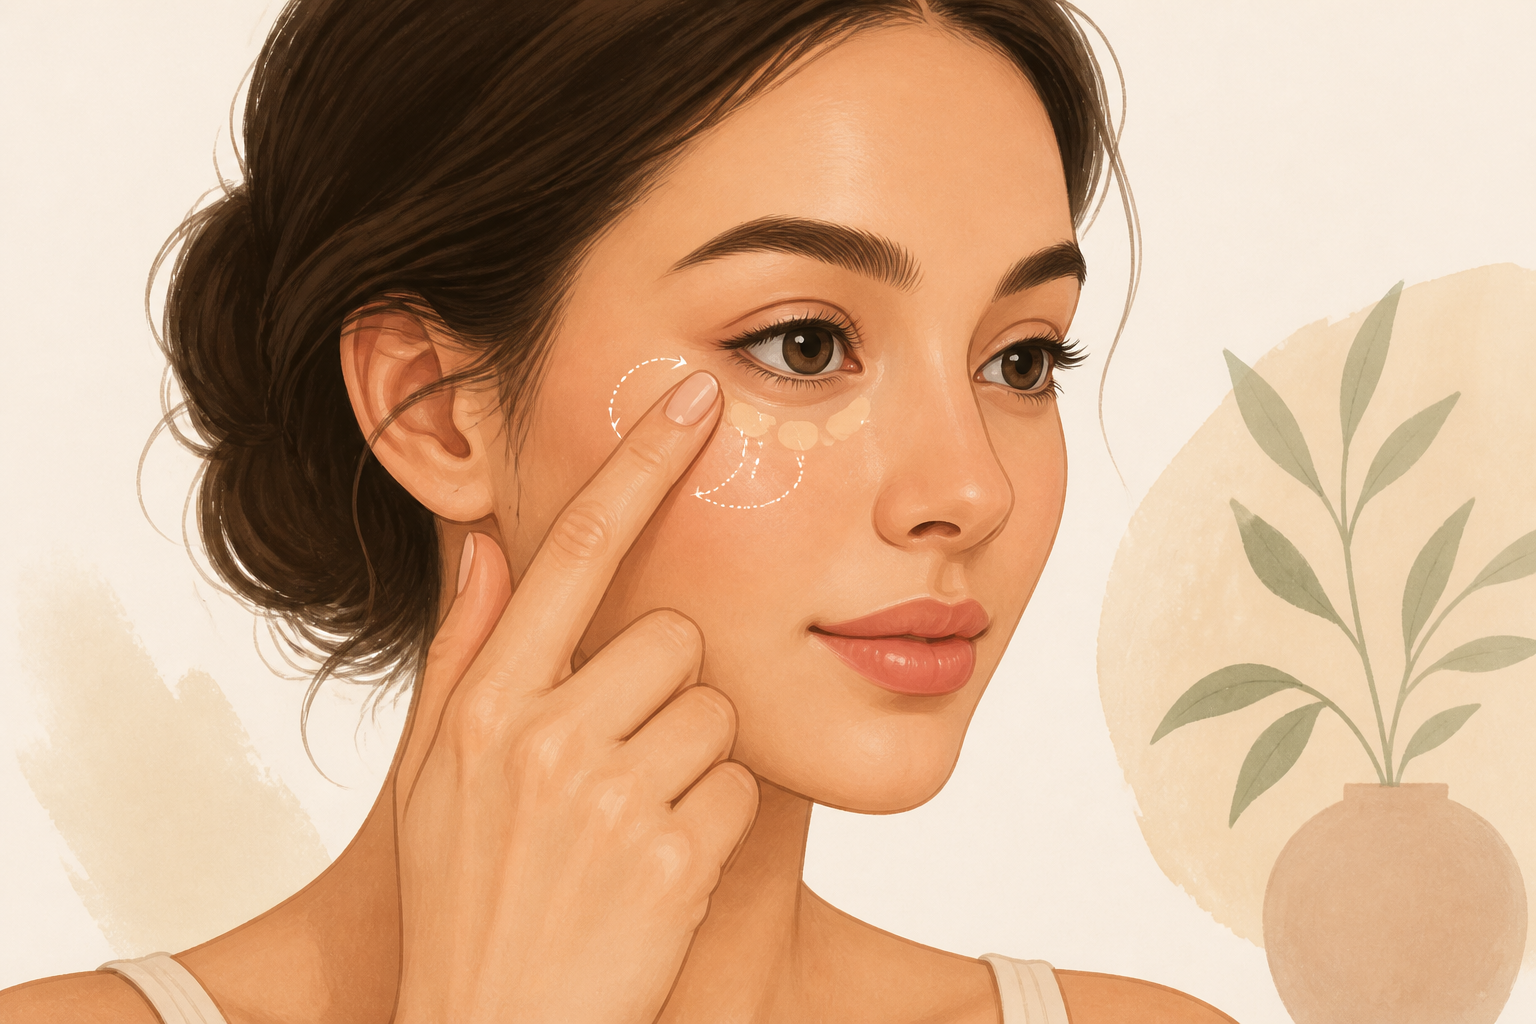
Use your ring finger (gentlest) or a small dense brush to press the concealer down into the skin with short, patting motions, then roll outward to blend edges. If using a sponge, dampen it, squeeze out excess water, then gently bounce to blend. Avoid long strokes that move product around unevenly.
- 06
Thin layers beat one thick coat
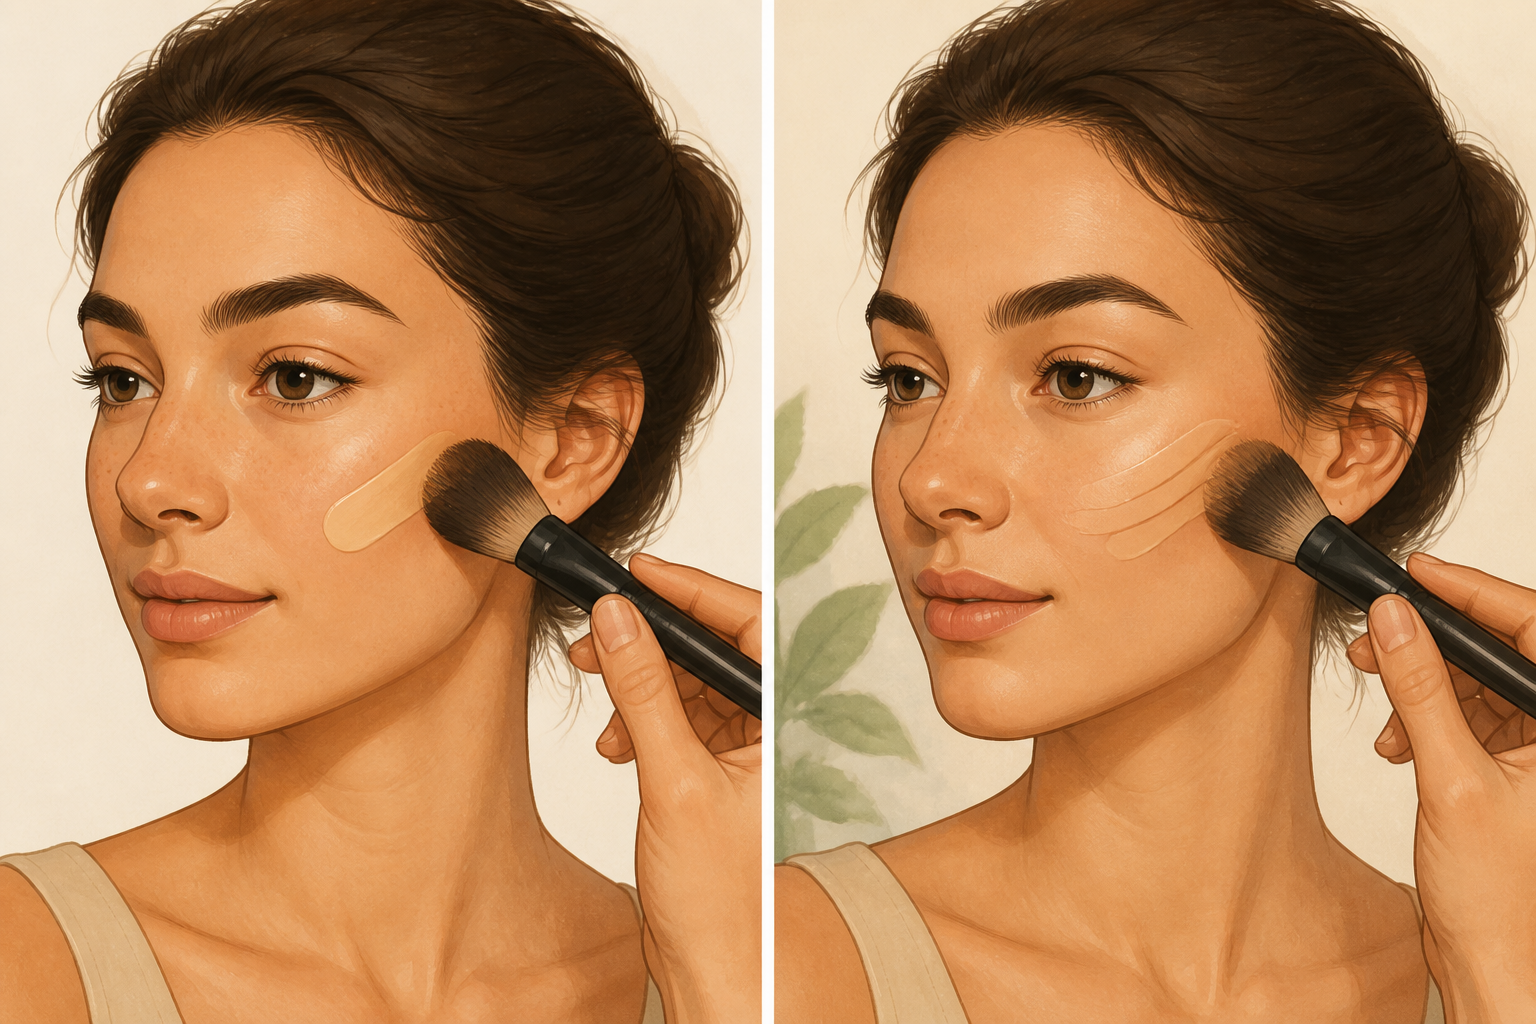
If coverage still looks needed, wait ten seconds and repeat with another very thin layer rather than adding a big blob. Build in thin layers until darkness or redness is softened — this prevents cakiness and keeps the finish skin-like.
- 07
Soften edges with the tinted base
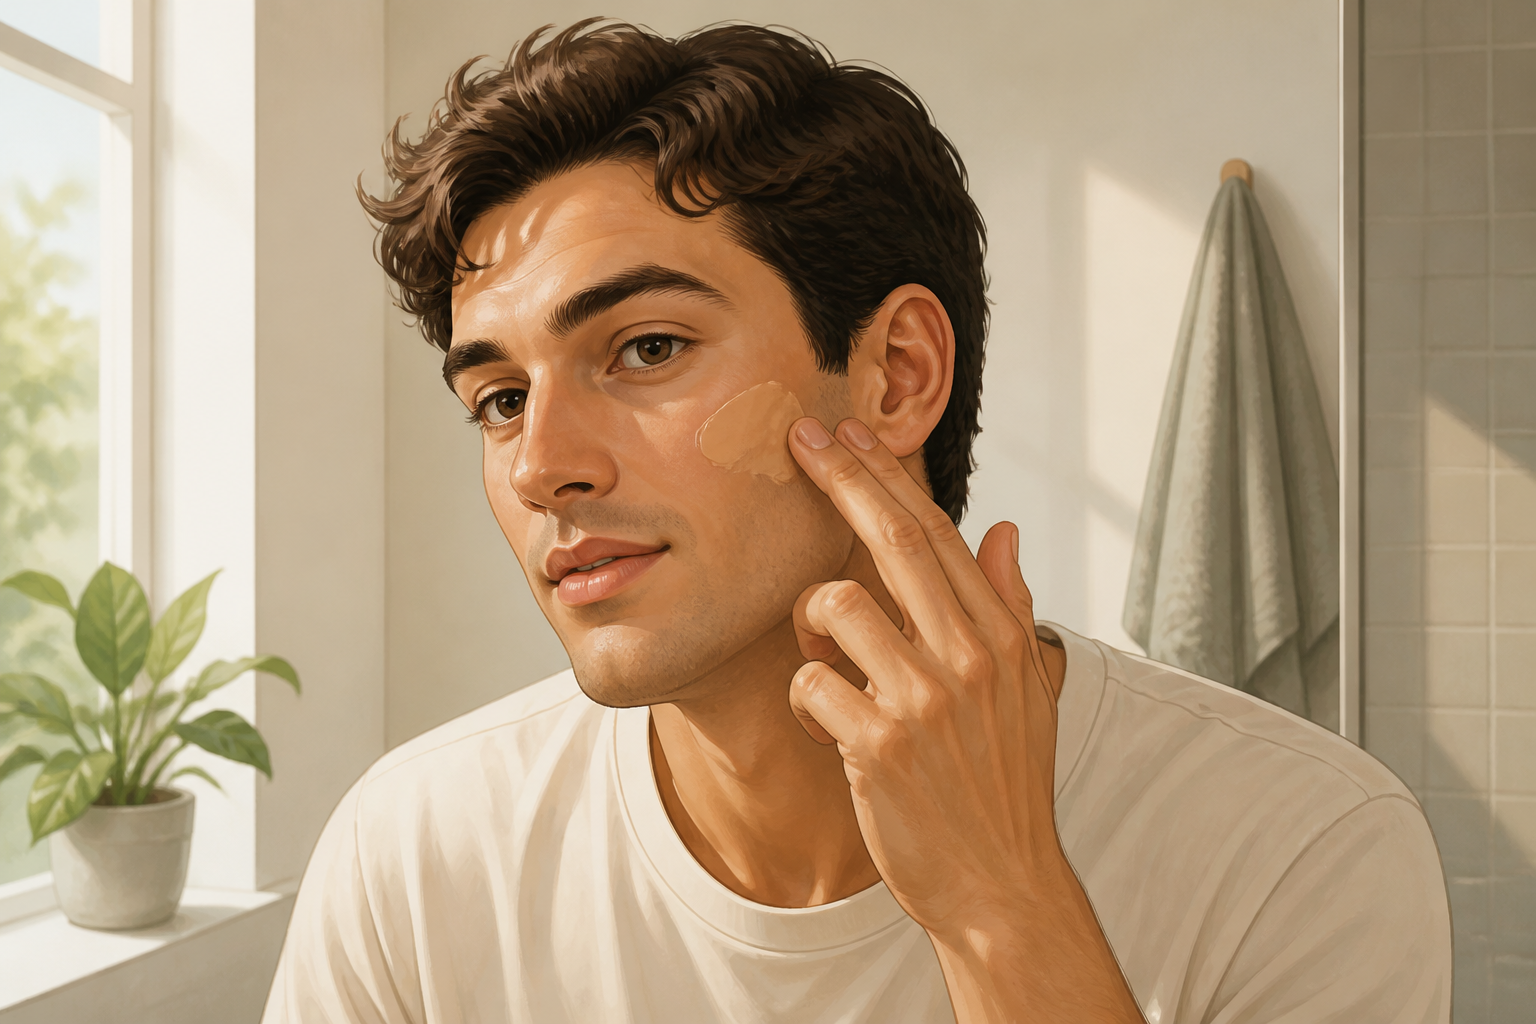
Lightly tap a tiny bit of the tinted moisturizer over the blended edges to meld tones between concealed spots and the rest of your skin. Use a clean finger or sponge and a feather touch to avoid disturbing coverage.
- 08
Set very sparingly if needed
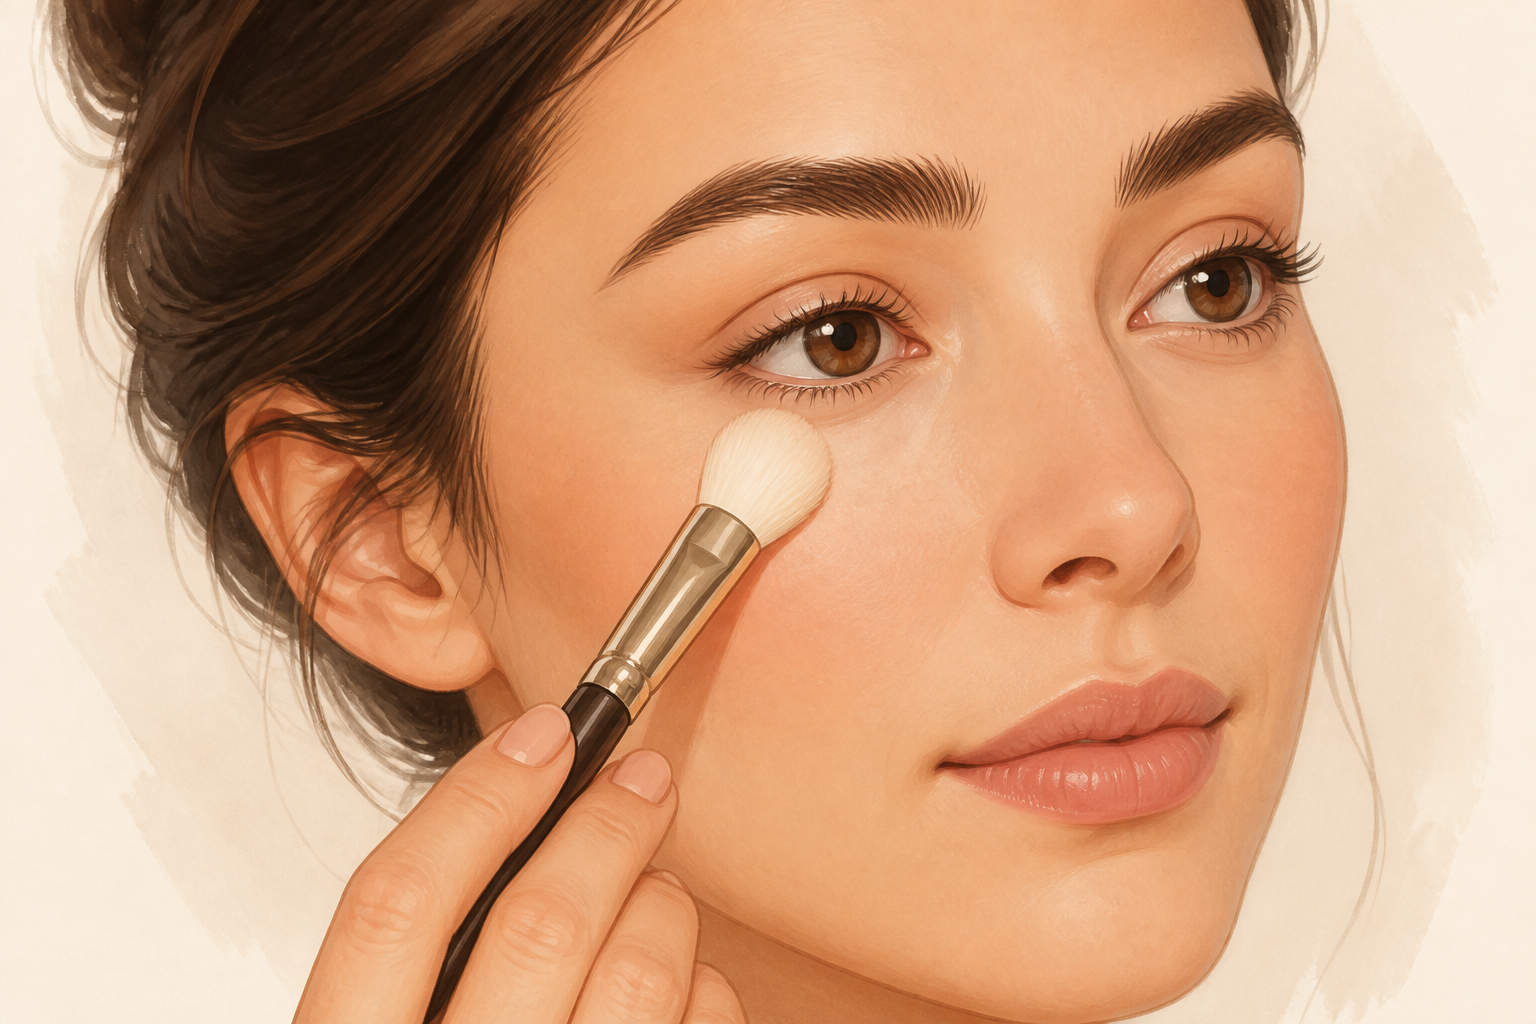
If you have oily skin or need longer wear, use a small fluffy brush and a tiny amount of translucent powder: tap the brush into the powder, knock off excess, and lightly press once under the eye and over blemishes. Too much powder makes texture obvious, so less is more.
- 09
Check in natural light and move
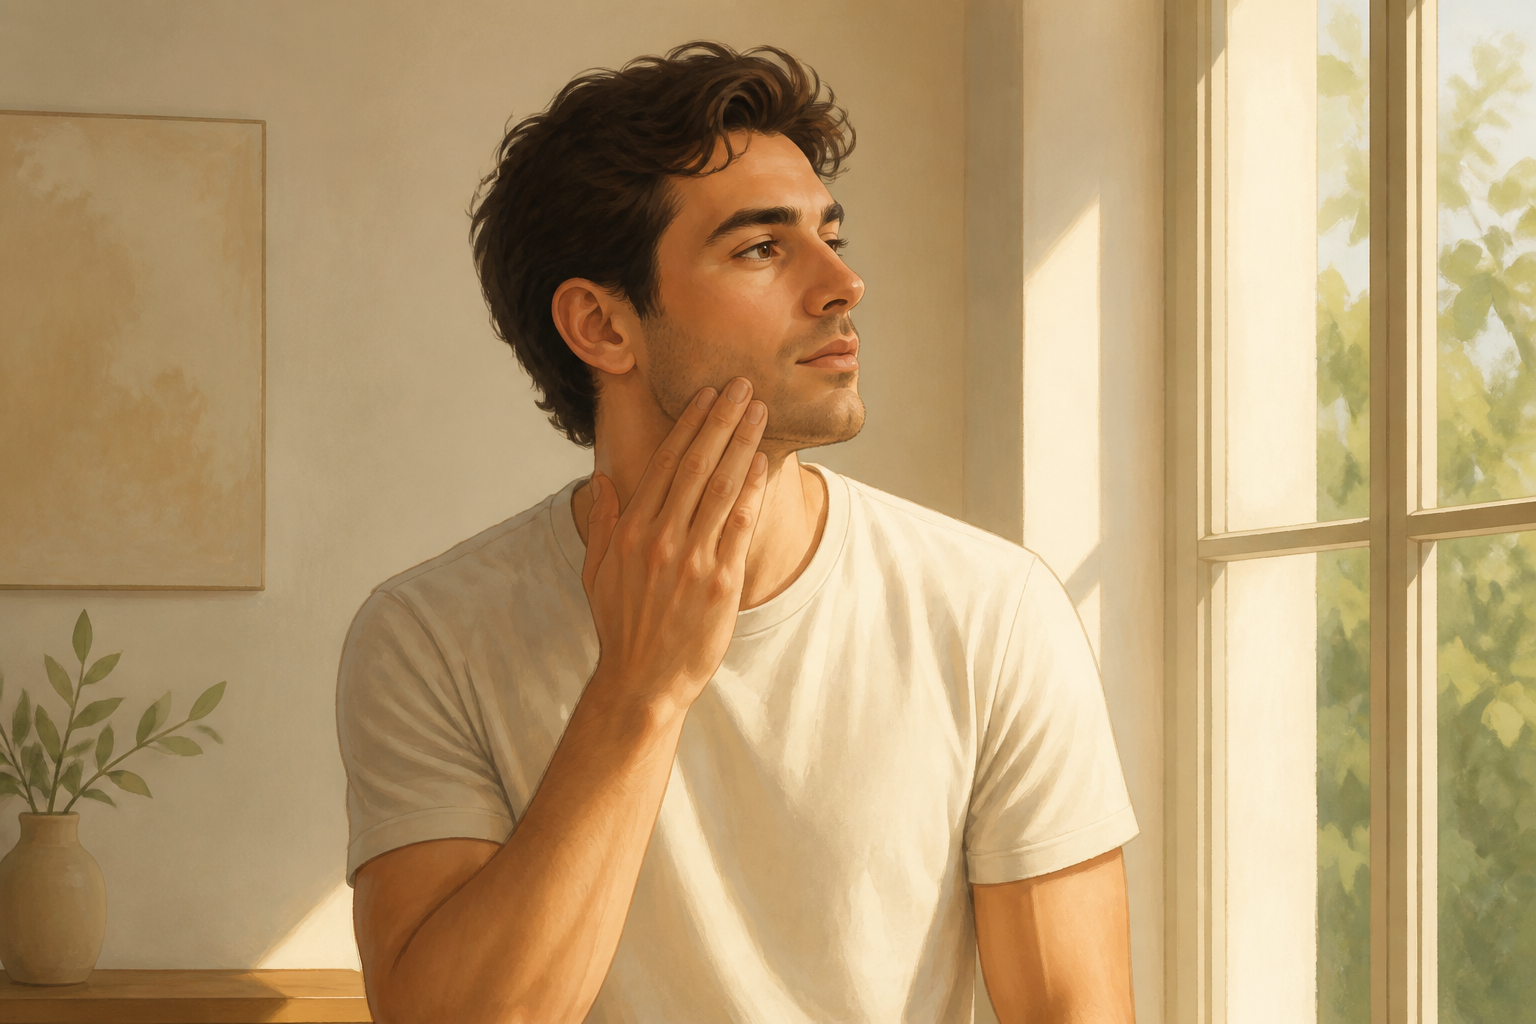
Step to a window or another natural-light source, face it, and look straight ahead with a neutral expression. Tilt your head slightly left and right to catch shadows. If a patch still reads, gently blend its edge; if it looks obvious, lightly buff with a clean finger or sponge.
- 10
Finish up and tidy tools
Wash your hands, close product lids, and store the concealer upright in a cool place. If you used a sponge or brush, rinse and let dry when you get home — keeping tools clean prevents skin issues and preserves coverage for next time.
If this was useful
Try one of these next
Home & life Listicle
6 makeup mistakes men make and exactly how to fix them, ranked by how obvious they are
A useful, mildly mischievous ranking of common slip-ups—too much product, mismatched shade, unblended edges, ignoring brows, shiny T-zone, skipping removal—with concrete fixes for each and a short test to confirm the problem is solved.
Read article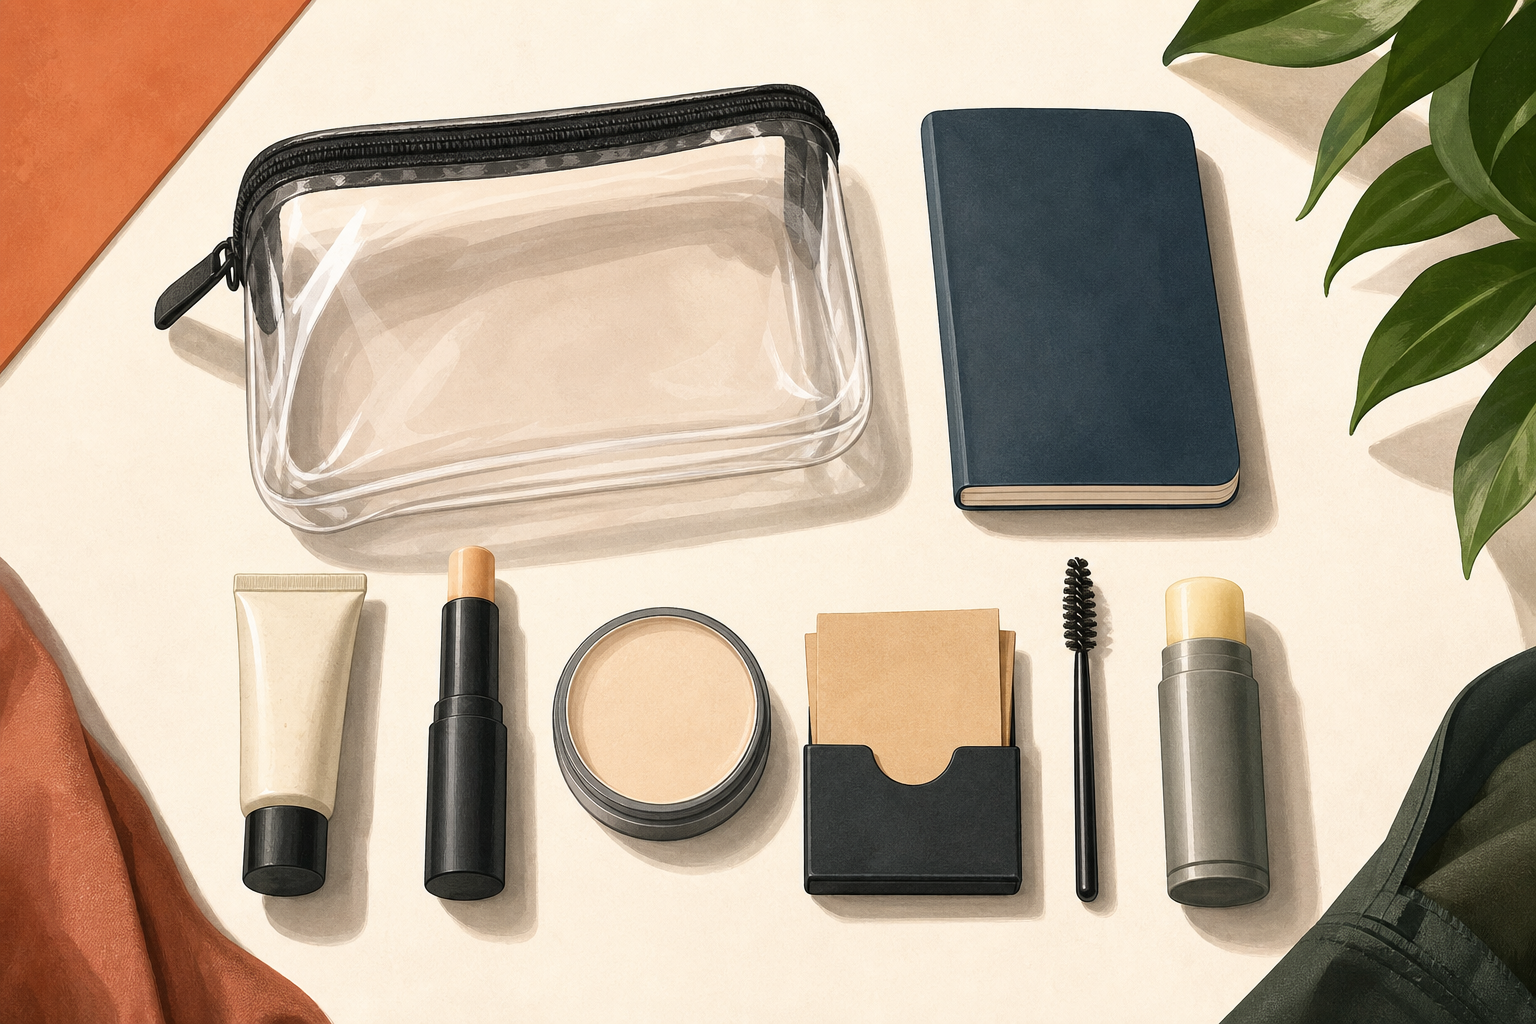
Bike & travel How-to
How to pack a minimalist men's makeup and grooming kit for a weekend trip
A compact packing how-to with an exact checklist, space-saving tips, and a suggested order of use so a 5–7 item kit covers shine control, blemishes, brows and camera prep. Includes TSA-friendly sizing notes and lightweight storage ideas.
Read article
Home & life Listicle
5 subtle makeup looks matched to real occasions
Five pragmatic, low-drama makeup moods—ranked from the quietest to the most camera-ready—matched to actual situations. Each entry explains which features to nudge and which to leave alone so your face reads right for work, a first date, a photoshoot, a night out, or a stage/presentation.
Read article
Hobbies & crafts Listicle
Portrait photography colour palettes by zodiac: clothing and background matches
A photographer-friendly list of flattering palettes for each sign that helps you pick clothing, background and prop colours to flatter skin tones and convey personality. Includes notes on lighting, contrast and simple swap options for
Read article