Food & drink How-to
How to craft zodiac-inspired cocktails with colour-forward garnishes (plus mocktail alternatives)
A safe, creative how-to that focuses on using coloured syrups, layered pours and vibrant garnishes to create cocktails (and non-alcoholic versions) that read like a palette for your sign. Emphasis on visual technique, safe garnishing and,
- 01
Pick your zodiac palette
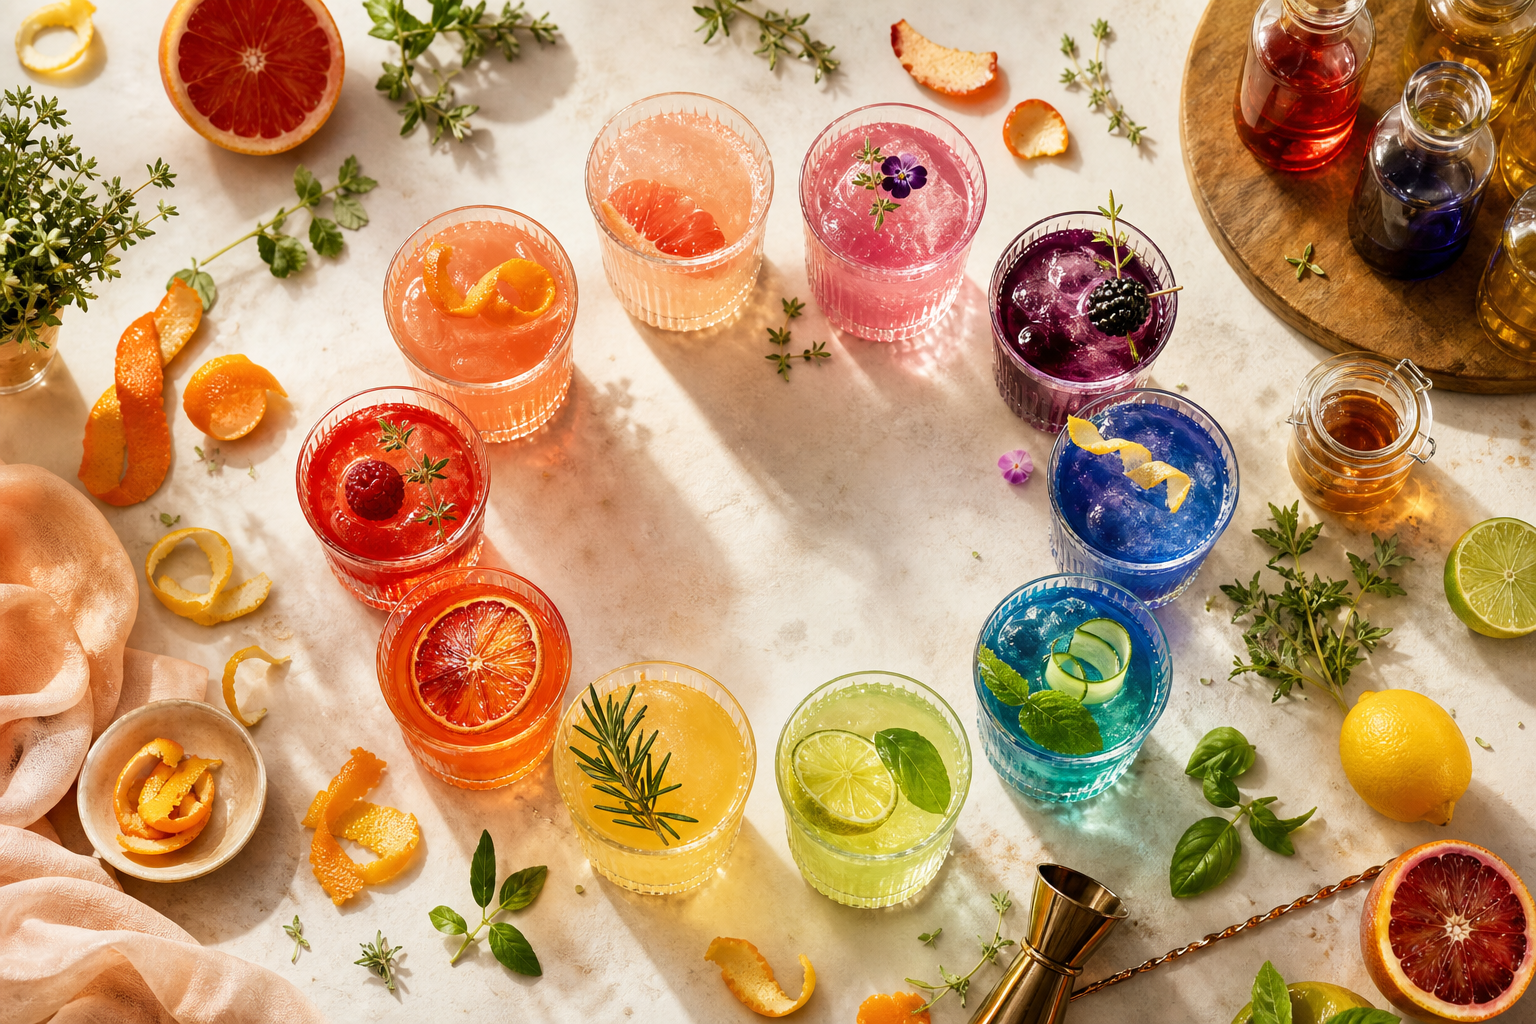
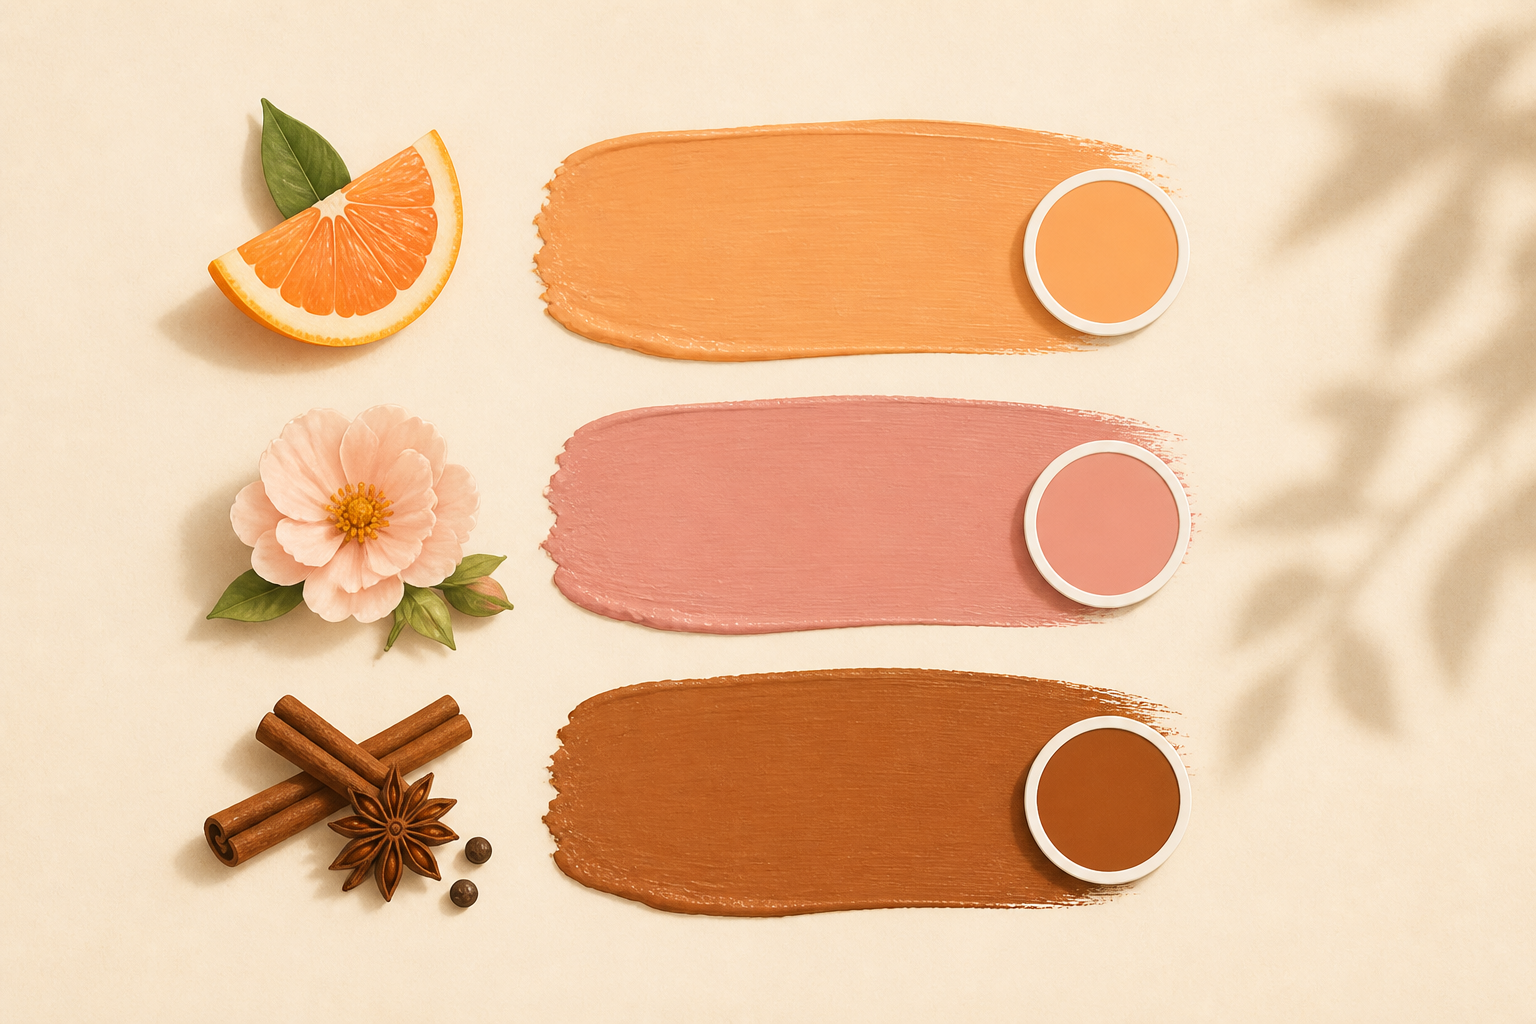
Decide on 2–3 dominant colours for the sign (e.g., Leo: gold + sunset orange; Aquarius: indigo + teal). Pair each colour with a simple flavour family (citrus, floral, earthy, spicy) so visuals and taste agree. Write the two colours on a small note to guide syrup and garnish choices.
- 02
Gather safe tools and ingredients
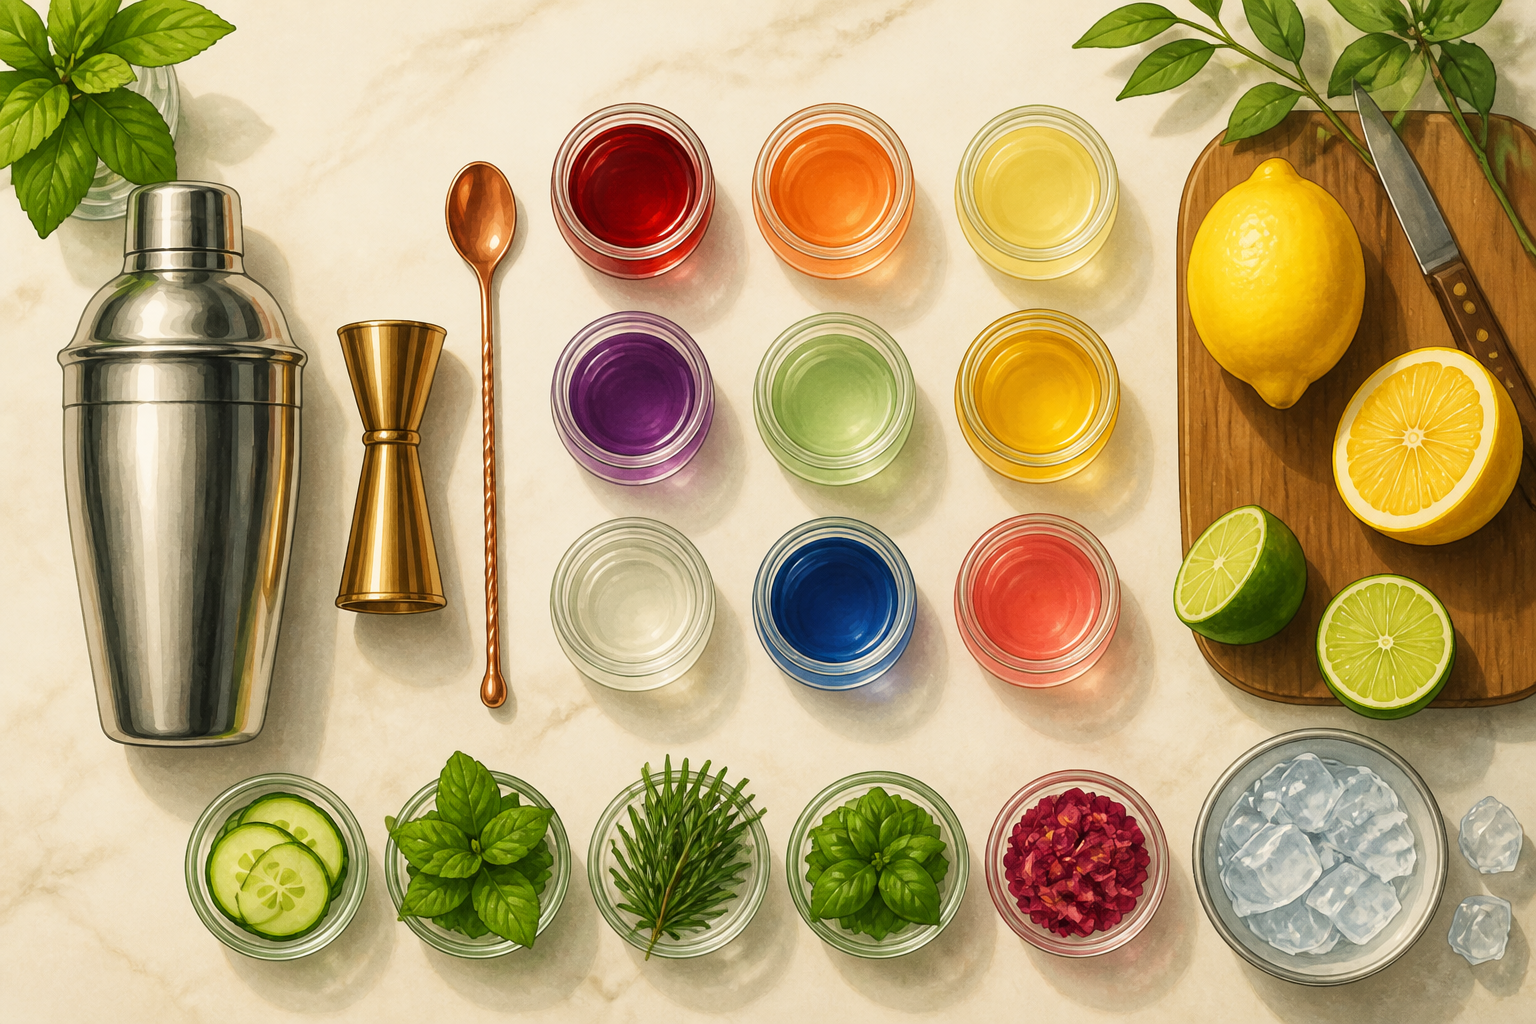
Collect these essentials: a shaker or mixing glass, bar jigger, bar spoon, small sieve, ice trays, citrus peeler or knife, and plain toothpicks. For syrups and mixers buy or make: plain simple syrup (1:1), hibiscus or grenadine (reds), butterfly pea syrup (blue), fresh citrus, soda or tonic, herbs and edible flowers. Check labels and guest allergies before use.
- 03
Make small-batch colored syrups
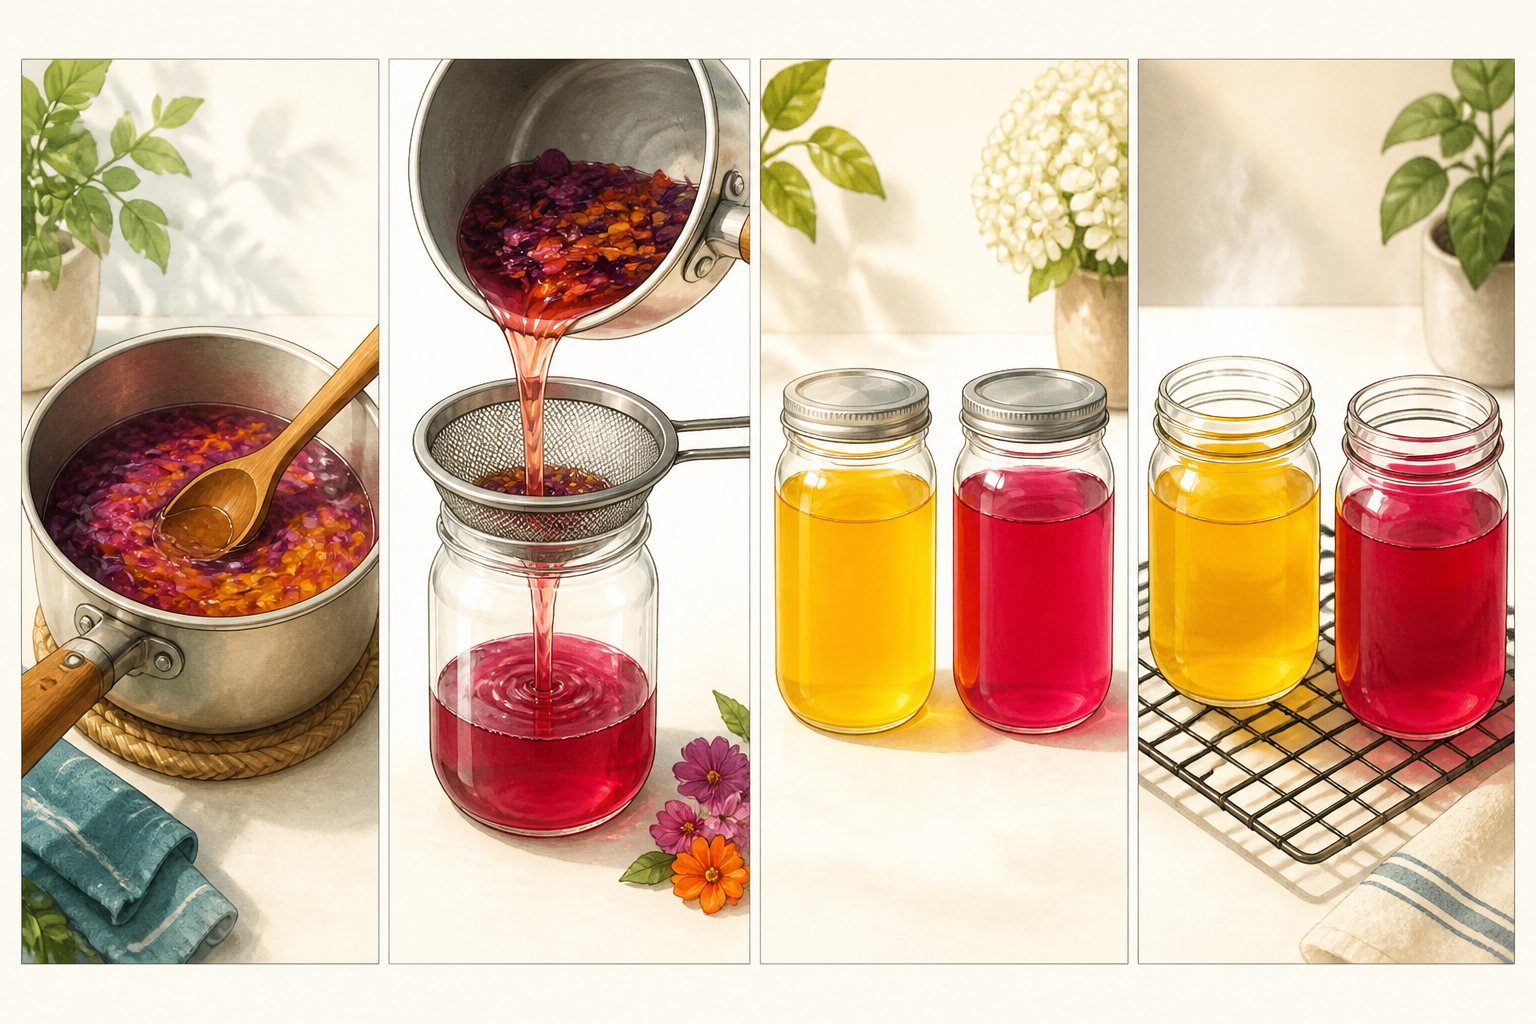
For each syrup: combine 1 cup water and 1 cup granulated sugar in a saucepan and warm until the sugar dissolves. Add about 1–2 tablespoons dried petals (hibiscus for magenta, butterfly pea for blue) or 1/4 cup pure pomegranate juice for a red syrup, steep 5–10 minutes, then strain and cool. Store refrigerated in a jar for up to 2 weeks.
- 04
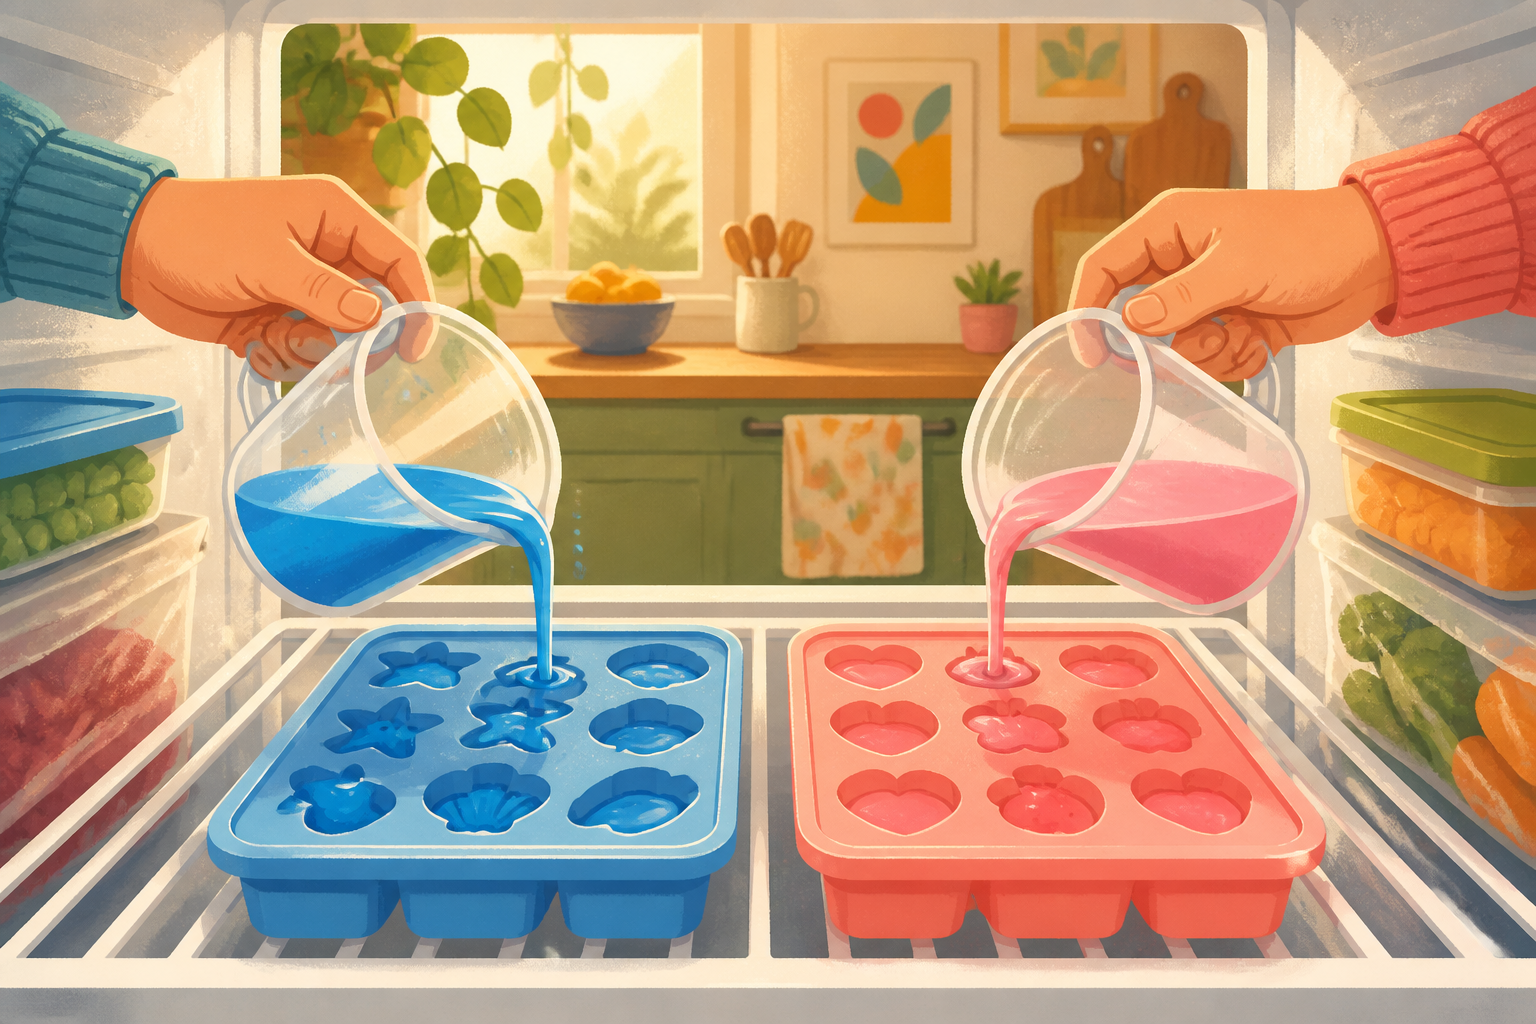
Freeze colour-focused ice
Fill silicone trays with filtered water or lightly-diluted fruit juice for transparency. For strong pops, freeze small amounts of syrup in separate trays to make colored ice cubes or spheres. Use these to maintain colour without diluting the whole drink quickly. Freeze at least 6 hours until solid.
- 05
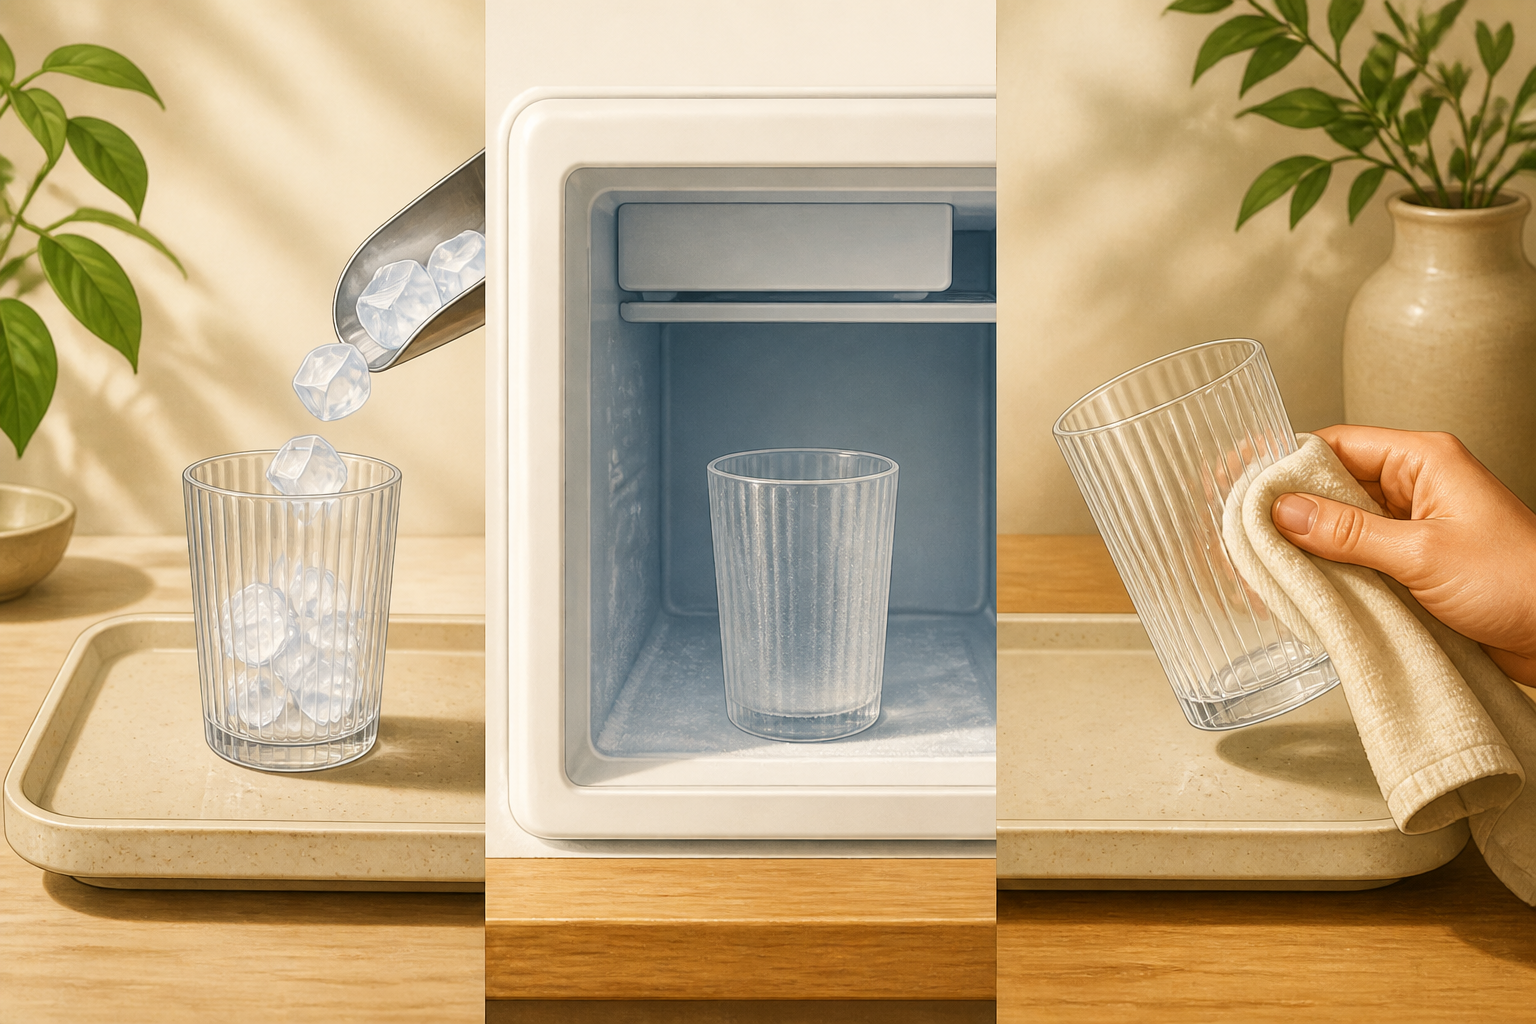
Chill and prep glassware
Place glasses in the freezer for 5–10 minutes or fill with ice while you build other elements. Cold glass holds layers and colours crisper. Wipe the rim dry before adding garnishes to help them stick cleanly.
- 06
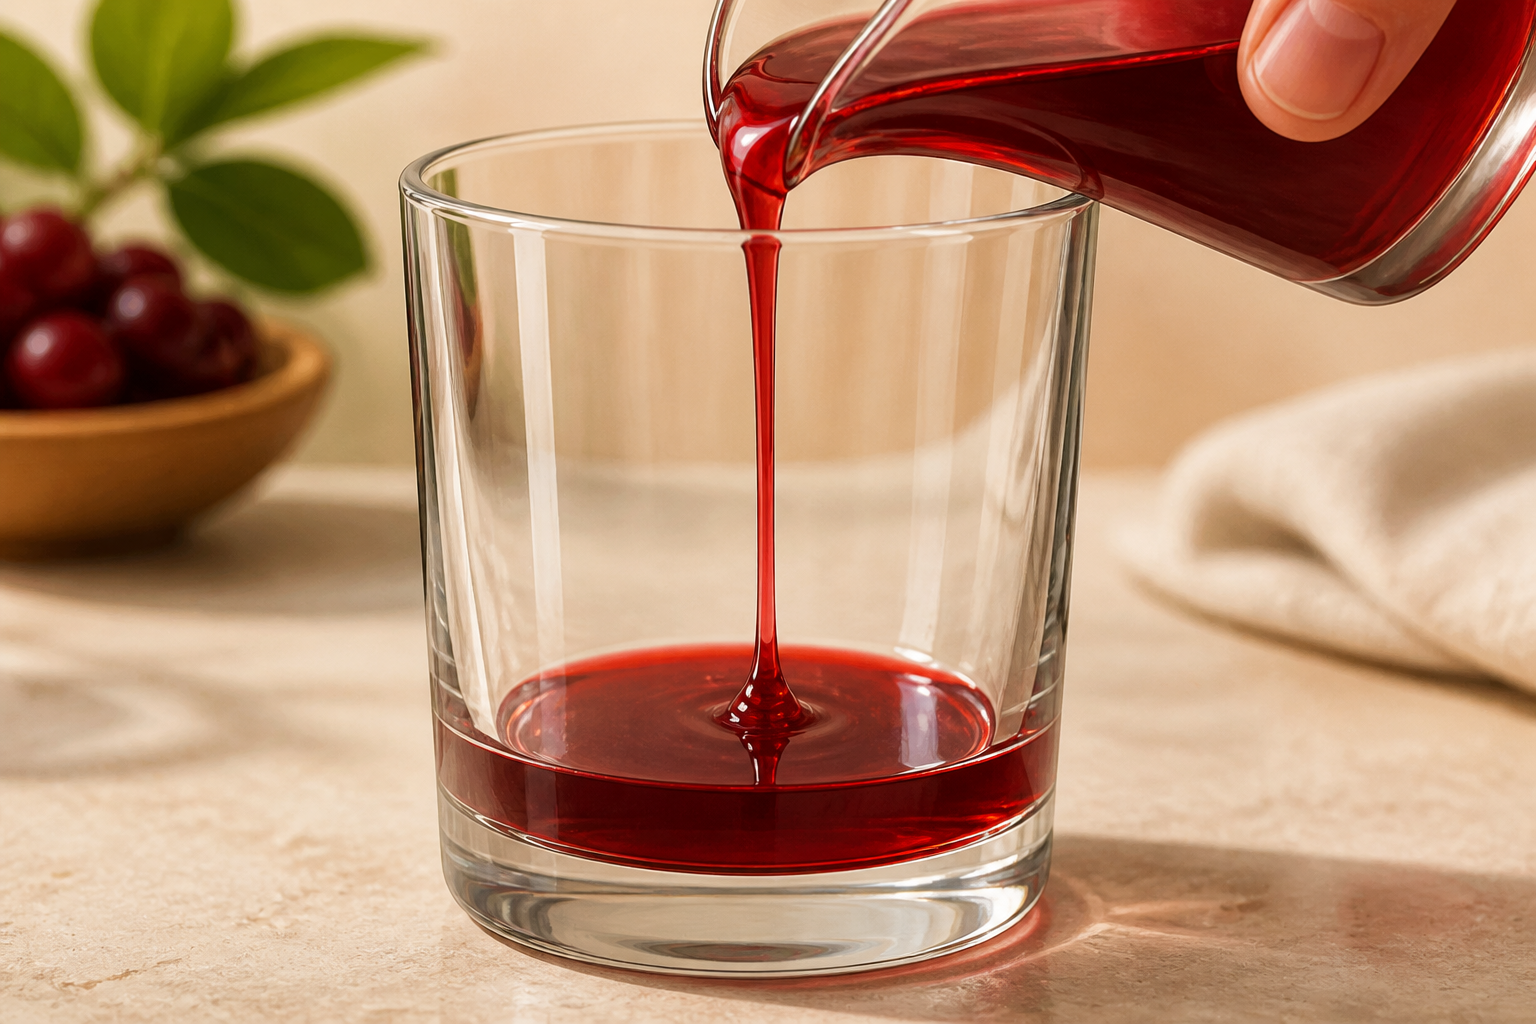
Create a syrup base layer
Pour 1/4–1/2 oz of the heaviest coloured syrup into the bottom of the chilled glass (measure with a jigger). Dense syrups sink and anchor a layered look. Keep the syrup amount small so the drink still tastes balanced—this is about colour first, sweetness second.
- 07
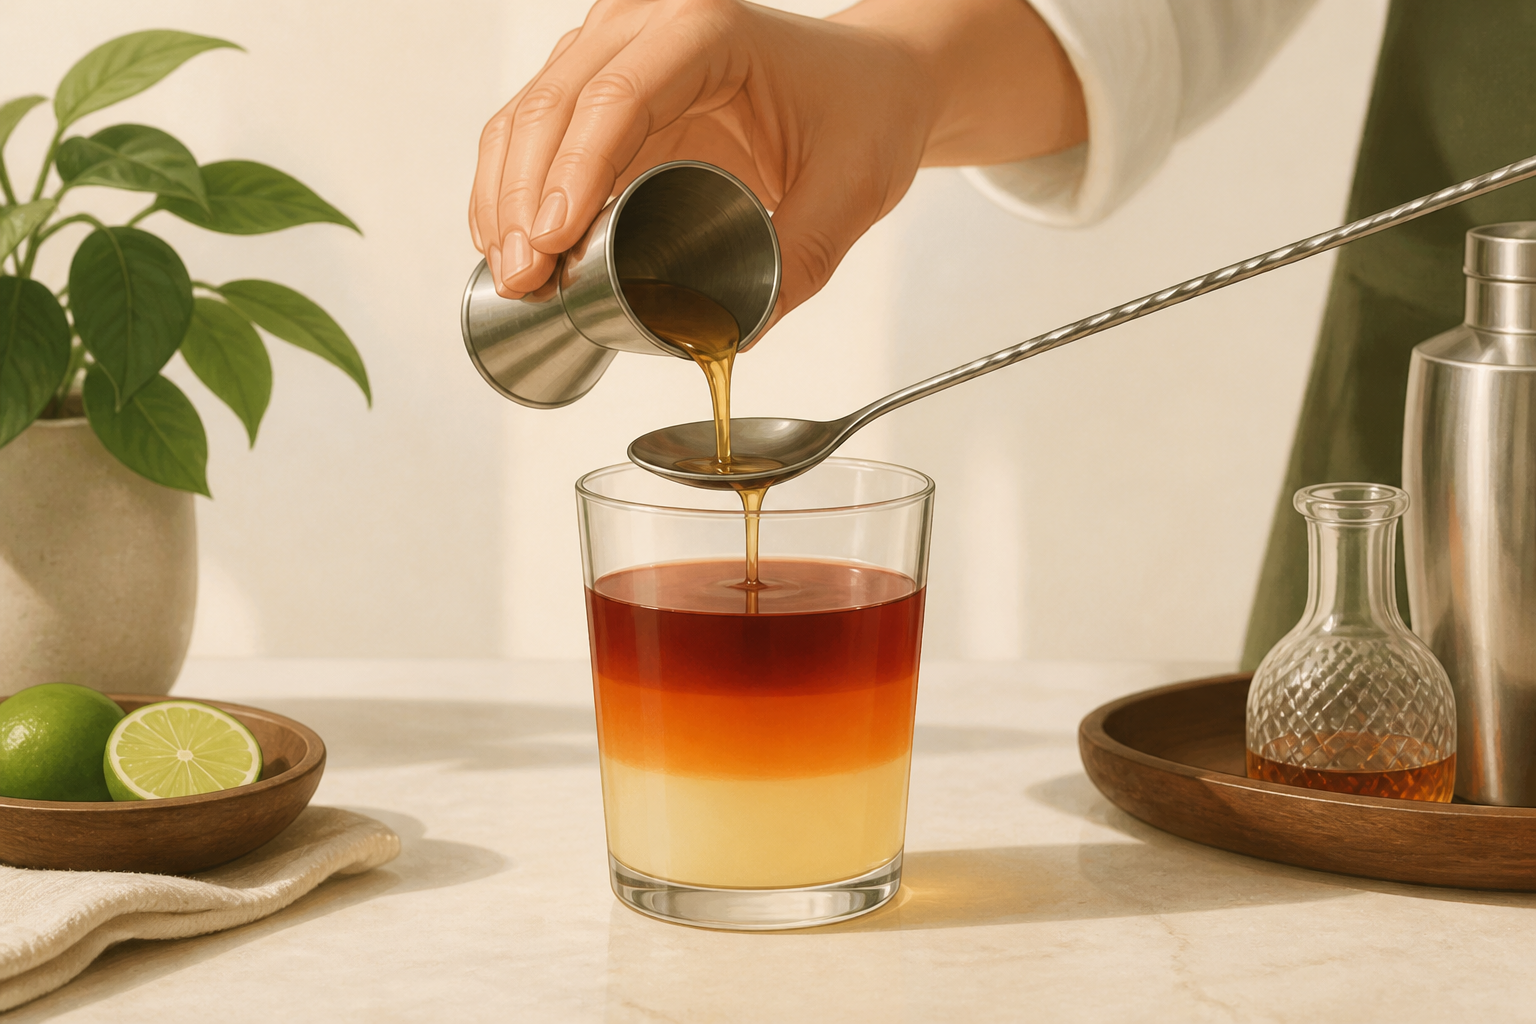
Layer by weight for smooth gradients
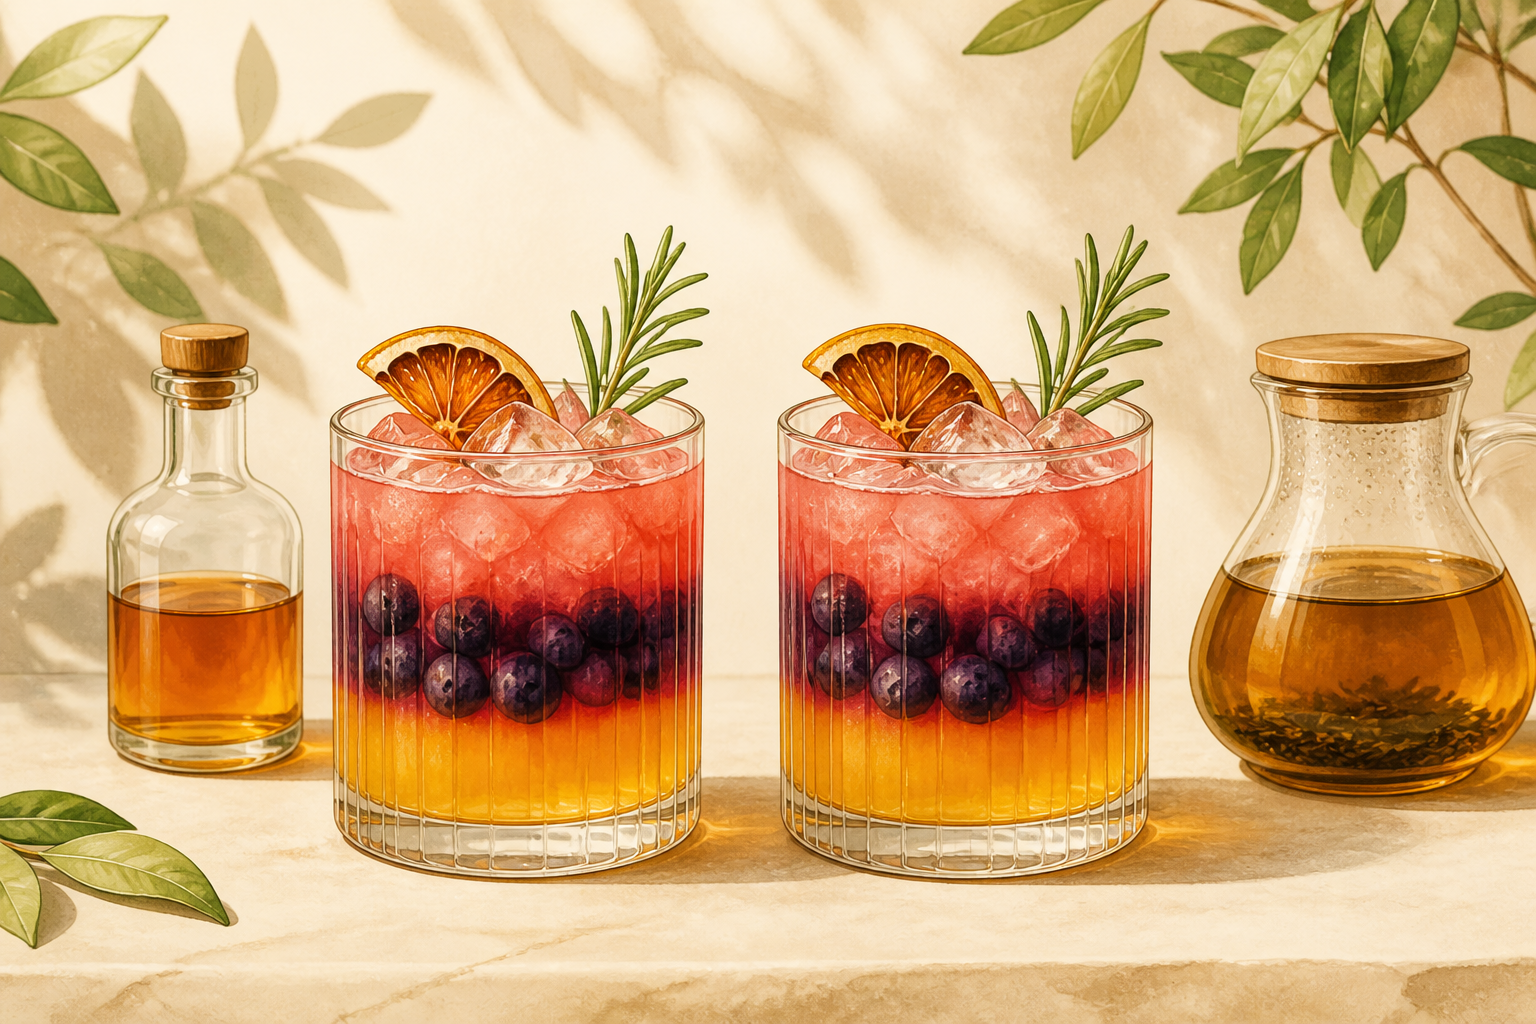
Use the slow-pour method: fill a mixing glass with the next liquid (e.g., juice + spirit or soda), then pour gently over the back of a bar spoon onto the base layer so it floats rather than mixes. Typical proportions: 1.5 oz spirit (or swap below), 3/4 oz citrus, top with 1–2 oz soda. Practice once or twice—slow pouring is the secret to a clean gradient.
- 08
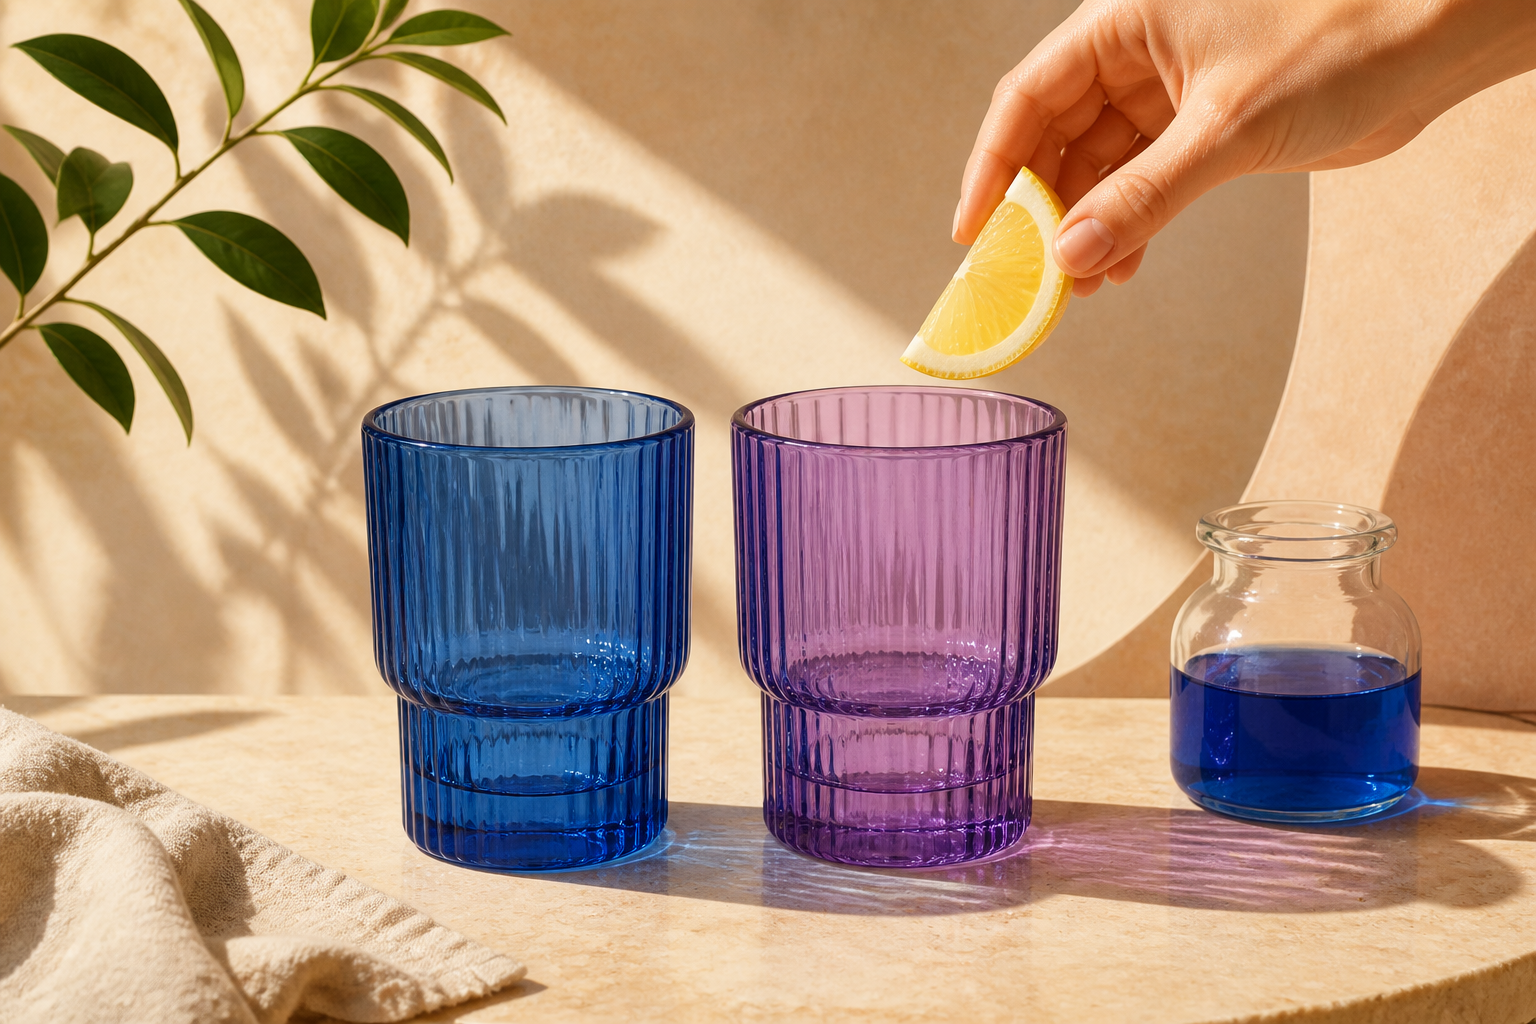
Use butterfly pea for a live colour trick
If you used butterfly pea syrup (deep blue), build your drink without acid. At service, add a small squeeze of lemon or a splash (about 1/4 oz) at the last moment to shift it to purple/pink. Offer the citrus on the side so guests can choose the change. This makes an interactive, safe reveal.
- 09
Assemble garnishes safely and strategically
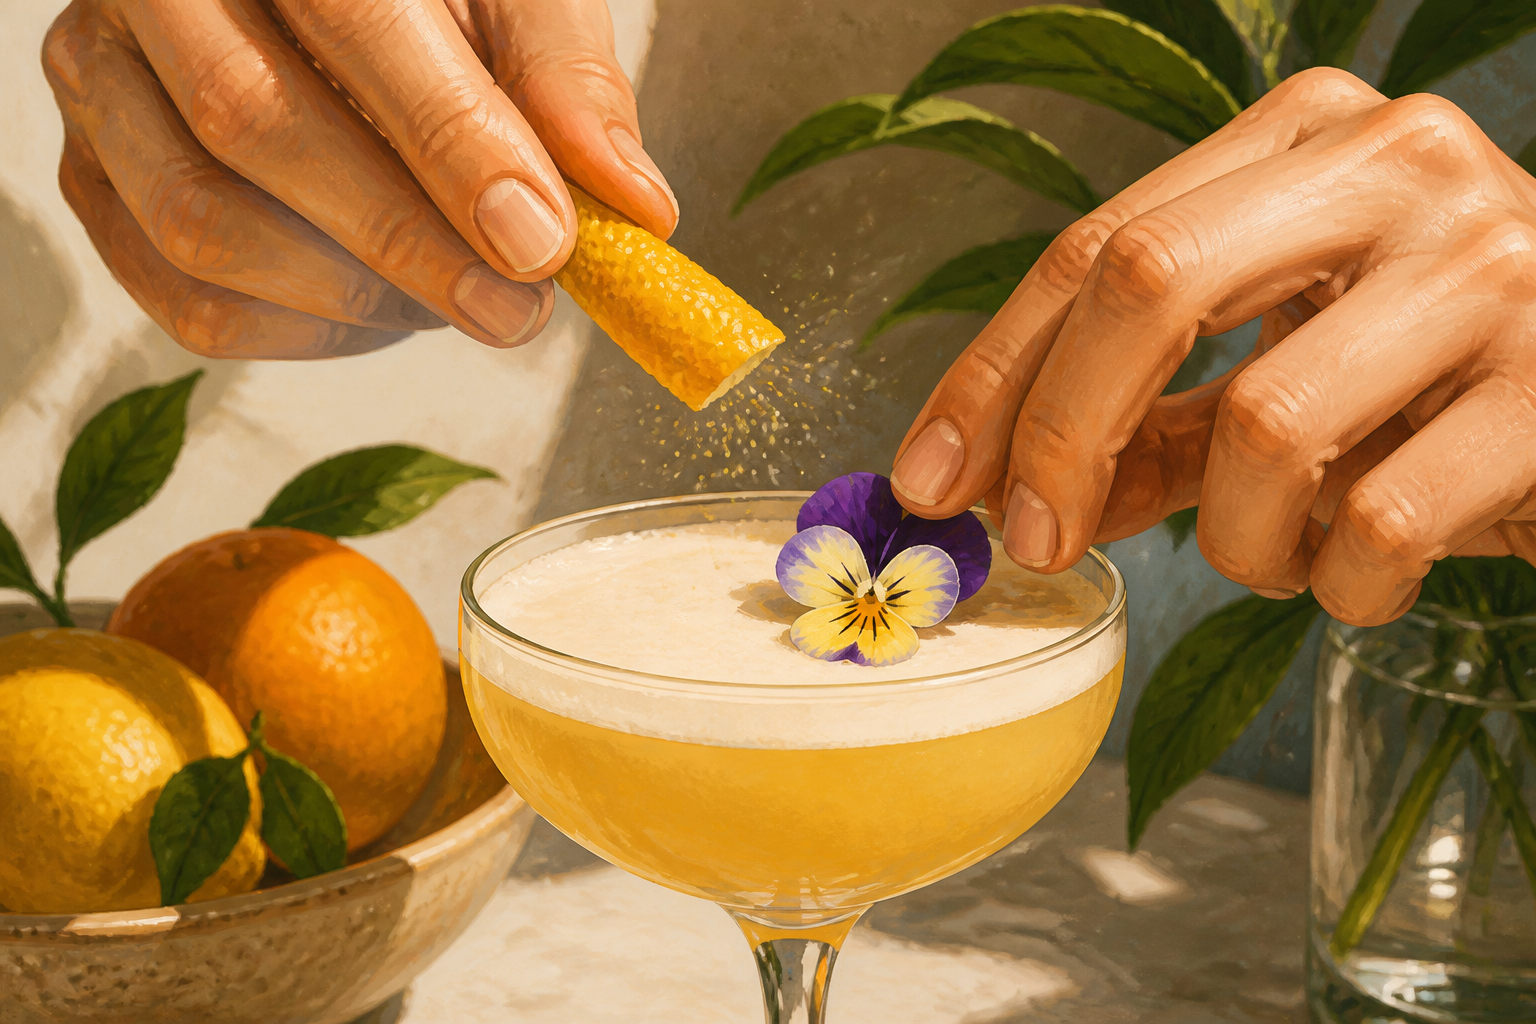
Choose one focal garnish (a citrus twist, a single edible flower, or a herb sprig) and one small accent (microgreens, a dot of syrup). Rinse herbs and flowers and pat dry. For twists, hold peel over the drink and give a single firm snap to release oils before resting the peel on the rim. Secure skewers so they don’t hang over the glass edge dangerously.
- 10
Mocktail swaps: keep the palette, lose the spirit
Replace each 1.5 oz spirit with 1.5 oz strong-brewed tea (e.g., oolong or rooibos), kombucha, or a botanical non-alc mixer and add 1–2 oz soda for lift. Keep the same syrup doses and layering technique: colour, then heavier juice/tea, then soda. Offer the citrus on the side to let guests control acidity.
- 11
Finish, inspect, and serve with a flourish
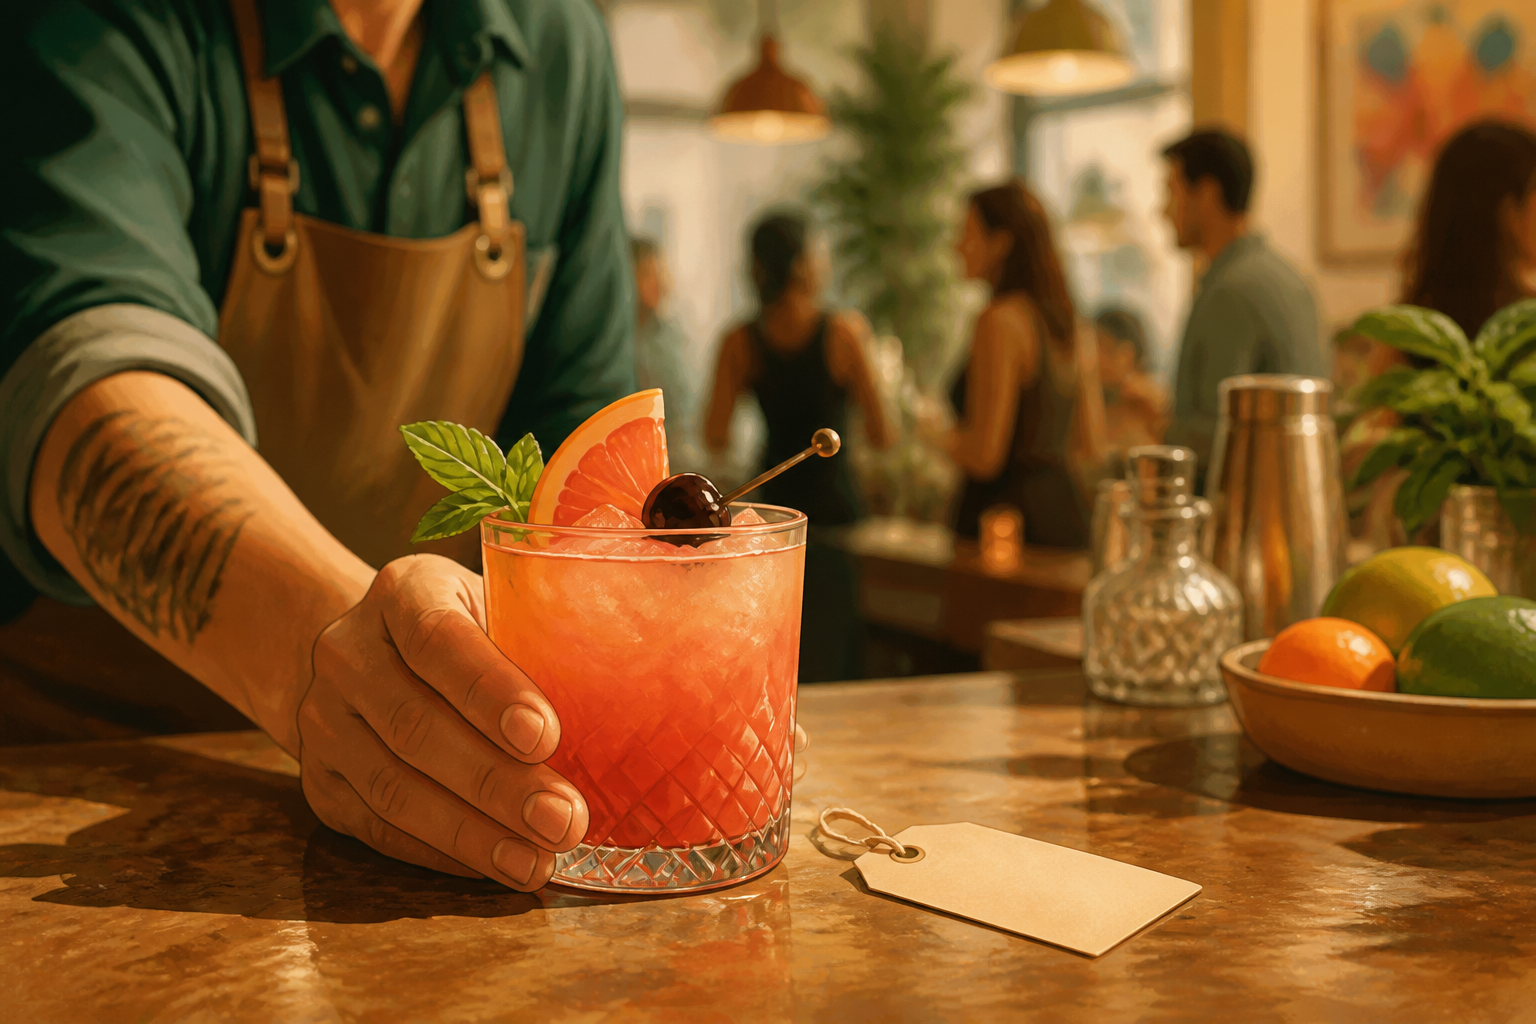
Wipe any drips from the glass edge, ensure garnishes sit safely, and present with a small note stating whether it’s alcoholic or non-alcoholic. Serve immediately so coloured ice and layers are at their freshest. Smile wildly and let guests watch the optional color-change flourish if you used butterfly pea.
If this was useful
Try one of these next
Home & life Listicle
6 makeup mistakes men make and exactly how to fix them, ranked by how obvious they are
A useful, mildly mischievous ranking of common slip-ups—too much product, mismatched shade, unblended edges, ignoring brows, shiny T-zone, skipping removal—with concrete fixes for each and a short test to confirm the problem is solved.
Read article
Bike & travel How-to
How to pack a minimalist men's makeup and grooming kit for a weekend trip
A compact packing how-to with an exact checklist, space-saving tips, and a suggested order of use so a 5–7 item kit covers shine control, blemishes, brows and camera prep. Includes TSA-friendly sizing notes and lightweight storage ideas.
Read article
Home & life Listicle
5 subtle makeup looks matched to real occasions
Five pragmatic, low-drama makeup moods—ranked from the quietest to the most camera-ready—matched to actual situations. Each entry explains which features to nudge and which to leave alone so your face reads right for work, a first date, a photoshoot, a night out, or a stage/presentation.
Read article
Hobbies & crafts Listicle
Portrait photography colour palettes by zodiac: clothing and background matches
A photographer-friendly list of flattering palettes for each sign that helps you pick clothing, background and prop colours to flatter skin tones and convey personality. Includes notes on lighting, contrast and simple swap options for
Read article