Home & life How-to
How to paint a zodiac color-block accent wall (measuring, taping, finishing)
A step-by-step guide to choosing complementary zodiac hues, mapping a color-block layout, prepping the wall, taping crisp lines and doing the tidy edge work so your accent wall reads like a gallery piece rather than a colour spill.
- 01
Pick 2–3 zodiac colors and finishes
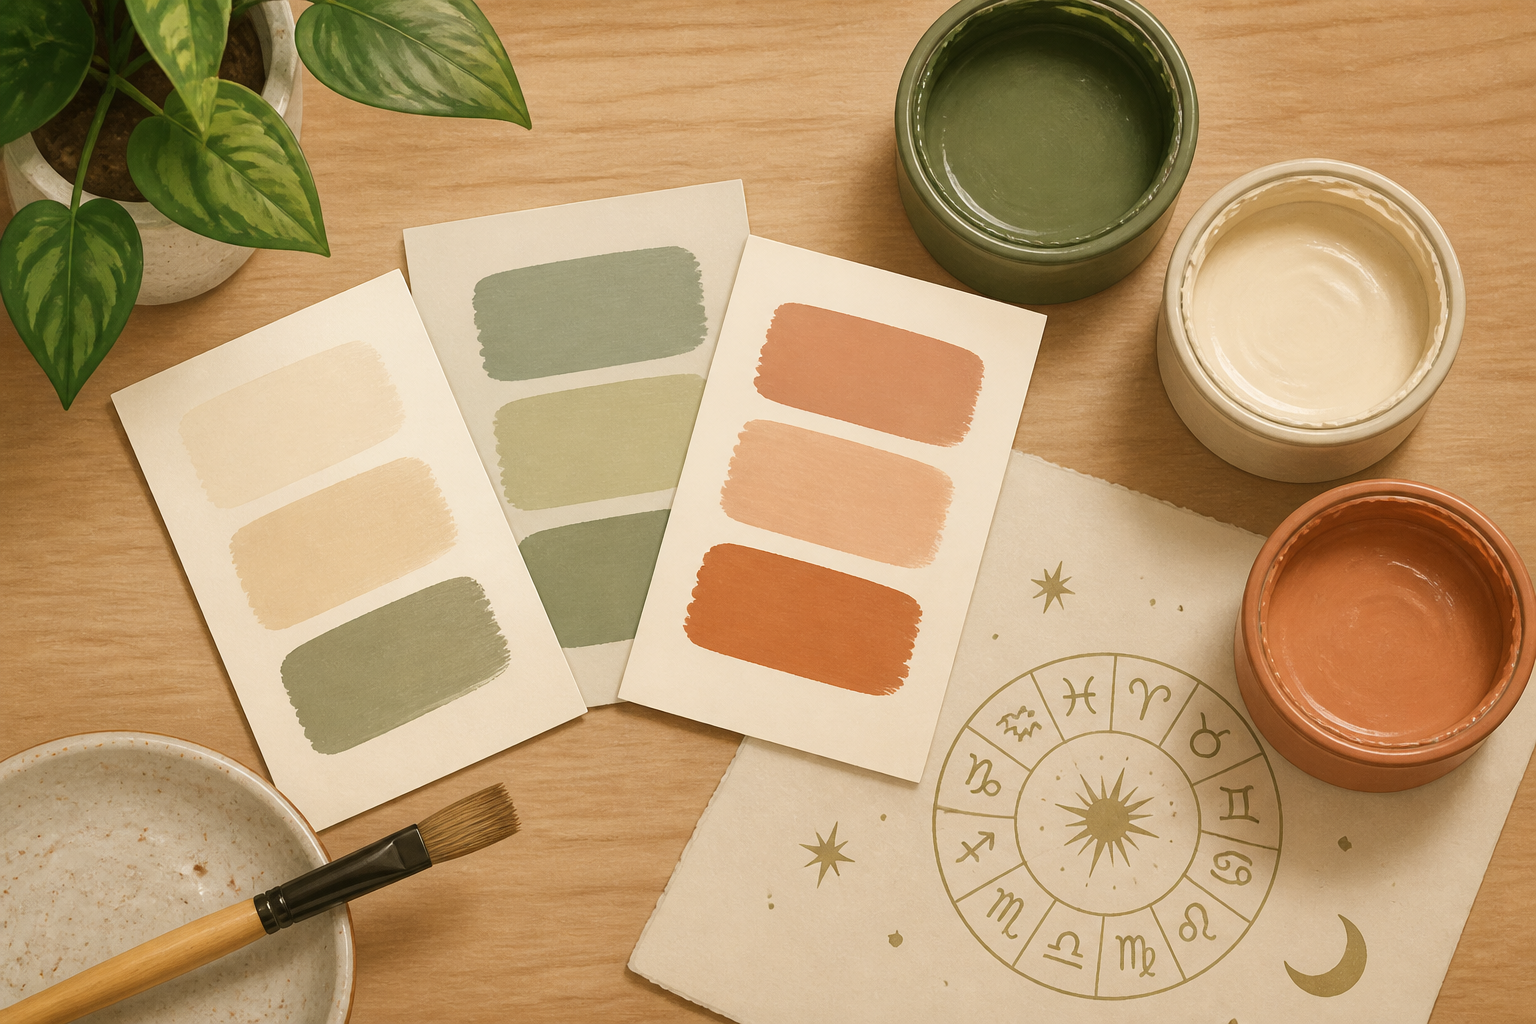
Decide on the zodiac palette and limit yourself to two or three hues so the wall reads deliberately, not chaotic. Choose one dominant color and one or two accents (e.g., warm Mars red + cool Mercury teal), and pick finishes: satin for high-traffic durability or eggshell/matte for low sheen. Buy small sample pots if you’re unsure.
- 02
Test paint samples on boards
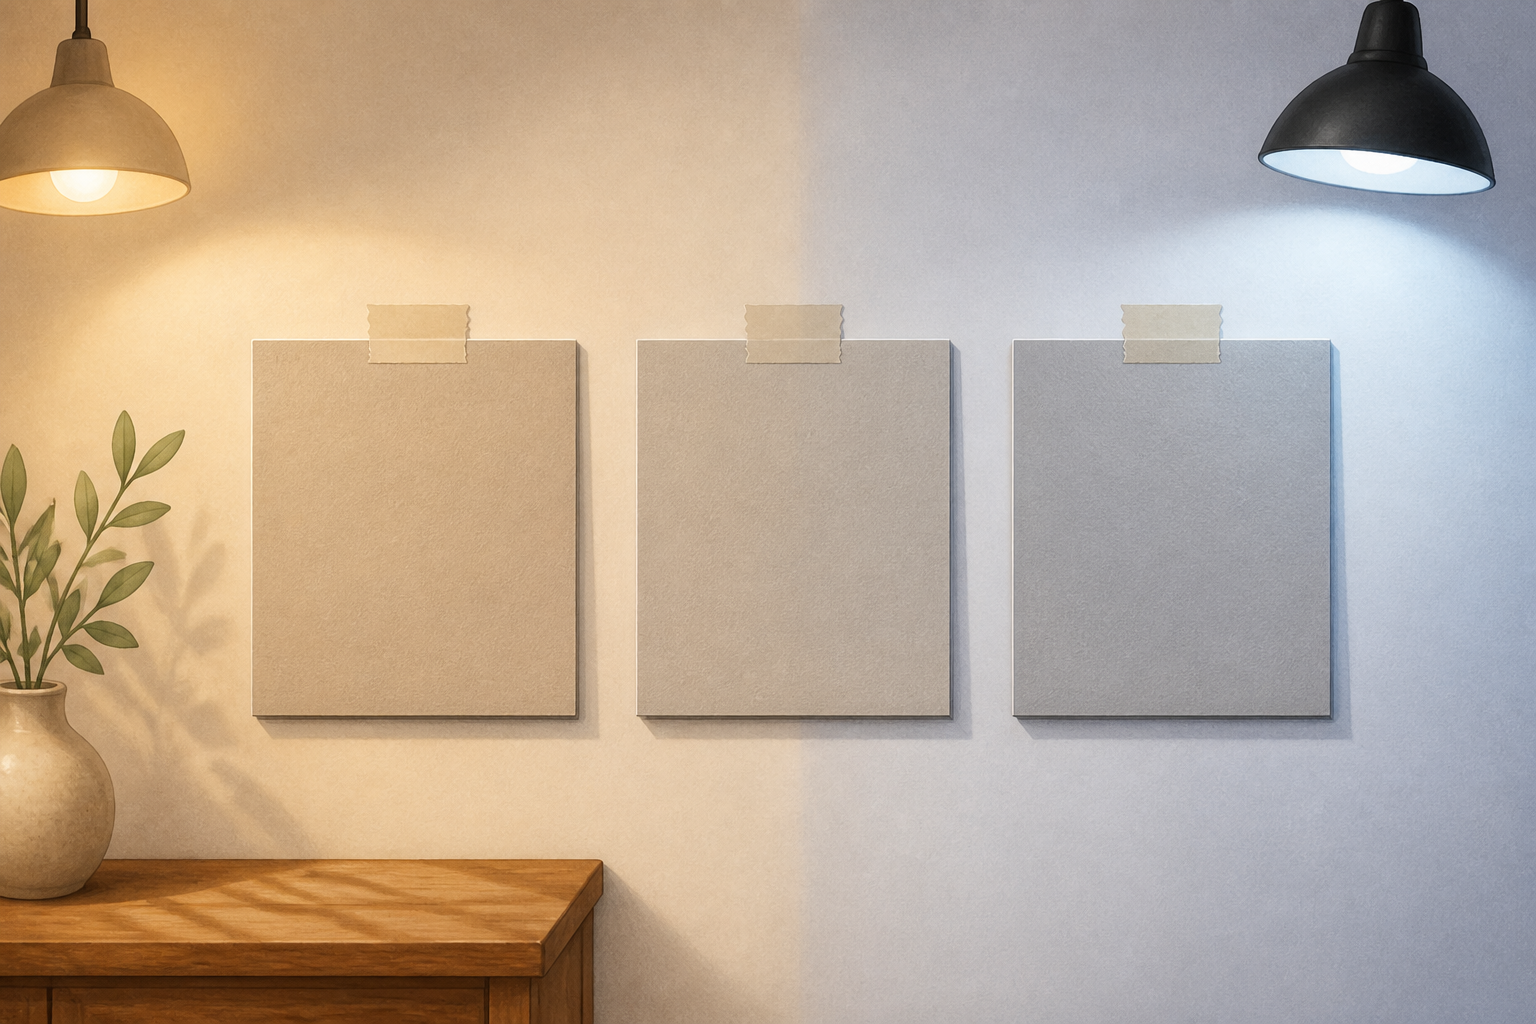
Brush each sample onto a small primed foam board or cardboard (12 x 12 inches). Tape the boards to the wall where the accent wall will be and view at morning and evening light. Let samples dry fully before judging color and sheen.
- 03
Measure the wall and choose a grid
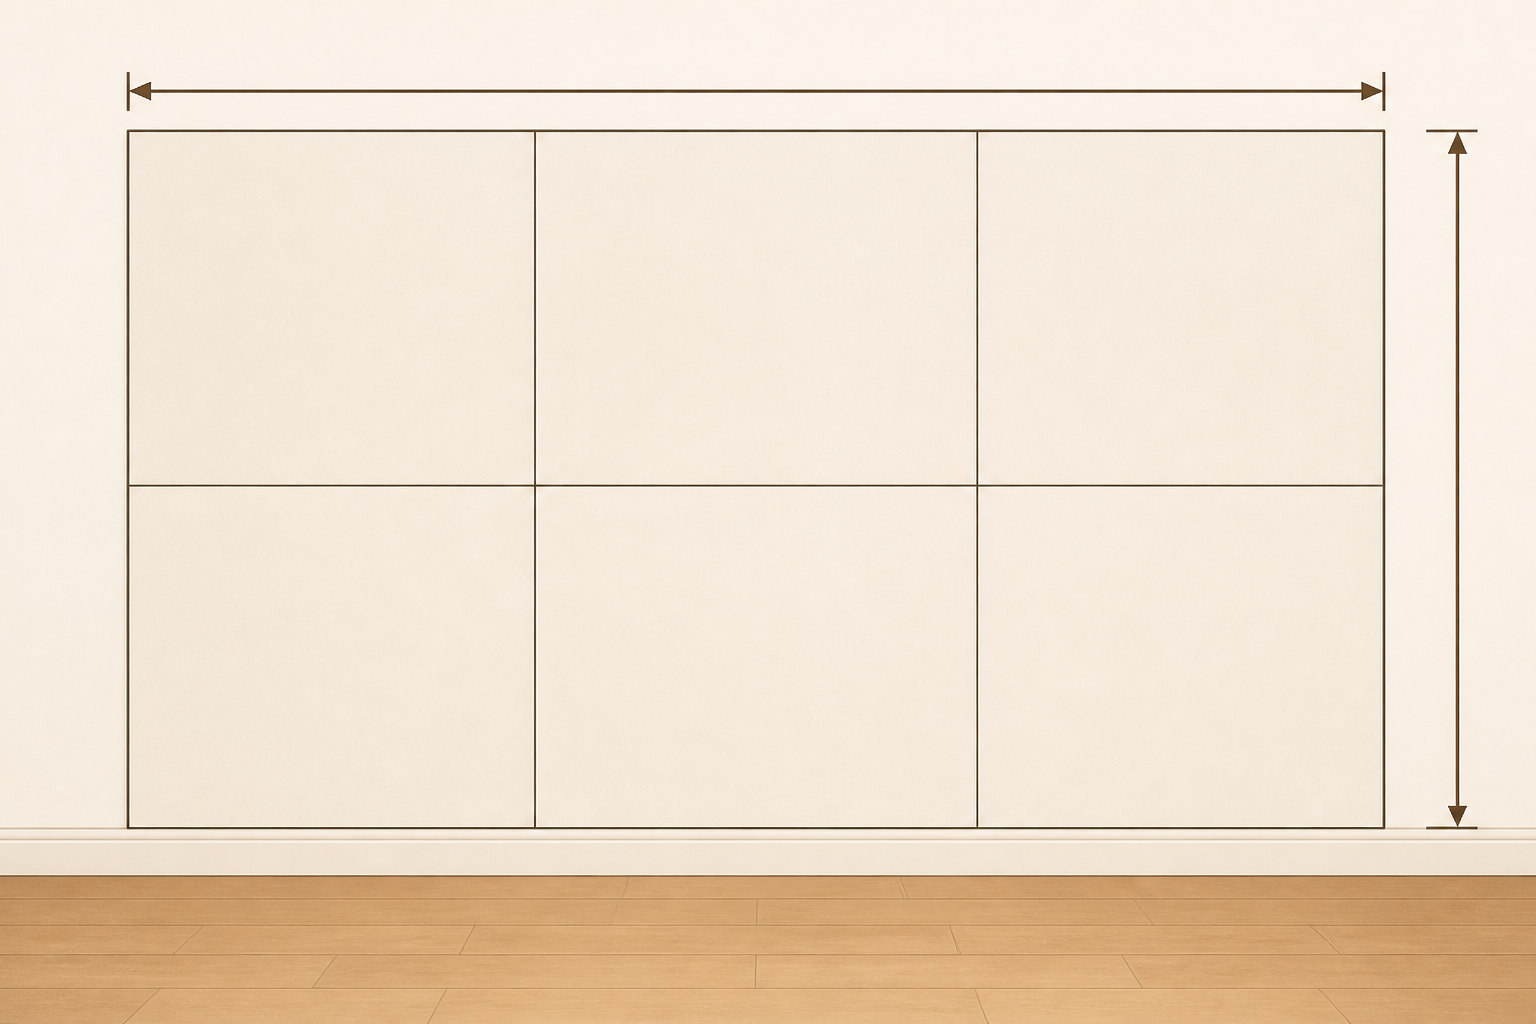
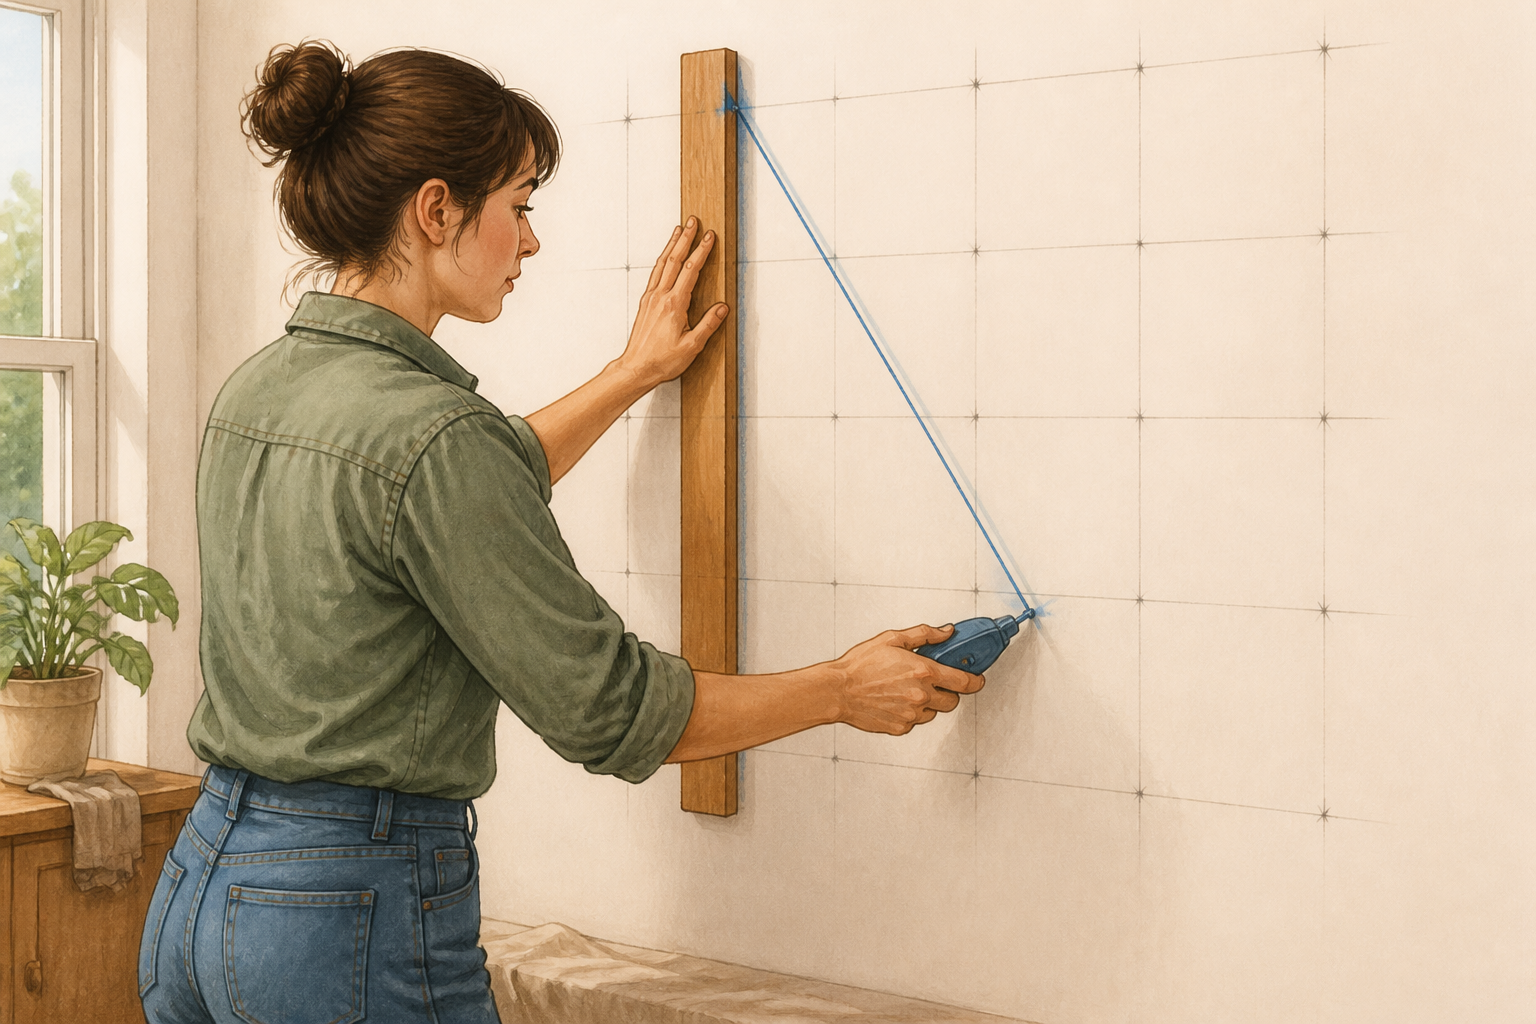
Measure wall width (W) and height (H). Choose how many columns (C) and rows (R) you want—common schemes are 3x2 or 4x3. Calculate block width = W ÷ C and block height = H ÷ R; write these numbers down and round to the nearest 1/8 inch for tape placement.
- 04
Sketch the layout and mark key points
Transfer the grid to the wall with light pencil marks at the top and bottom for vertical lines and left/right for horizontal lines. Use a straightedge or chalk line to connect marks. Mark where each color block will go so you can tape in sequence.
- 05
Prep the surface and protect the room
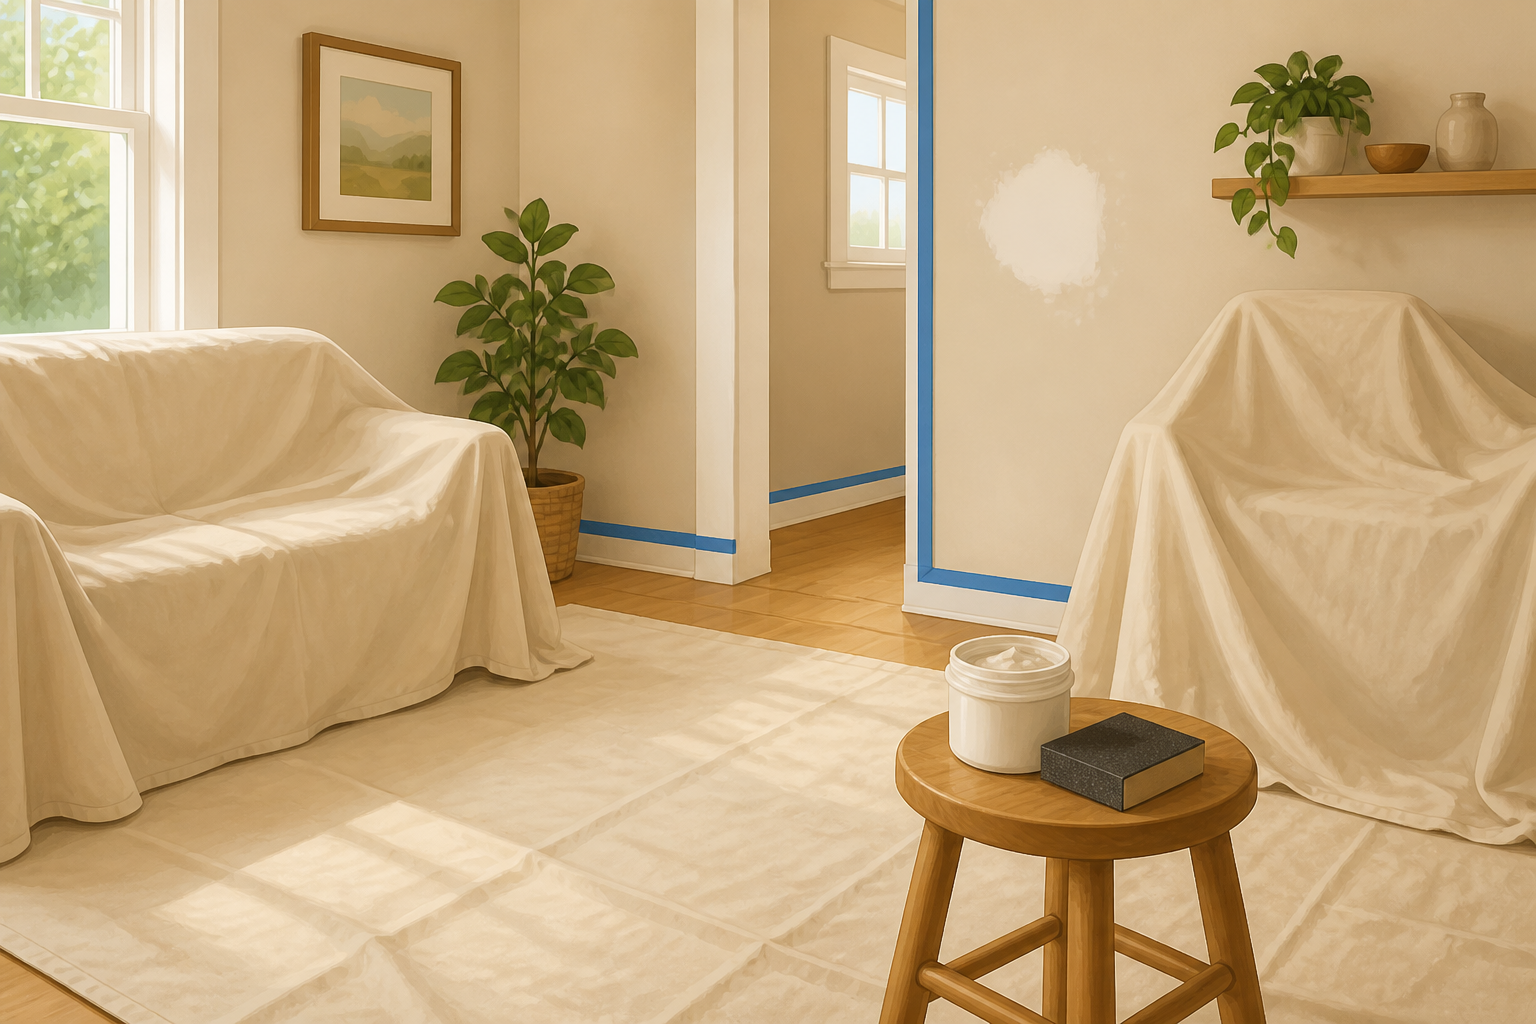
Clean the wall with a damp cloth to remove dust, fill nail holes with spackle and sand smooth once dry. Remove outlet covers and hardware. Lay canvas drop cloths to protect floors and furniture, and use painter's tape along baseboards and trim for protection. Open windows or run fans for ventilation.
- 06
Prime any stained or new drywall sections
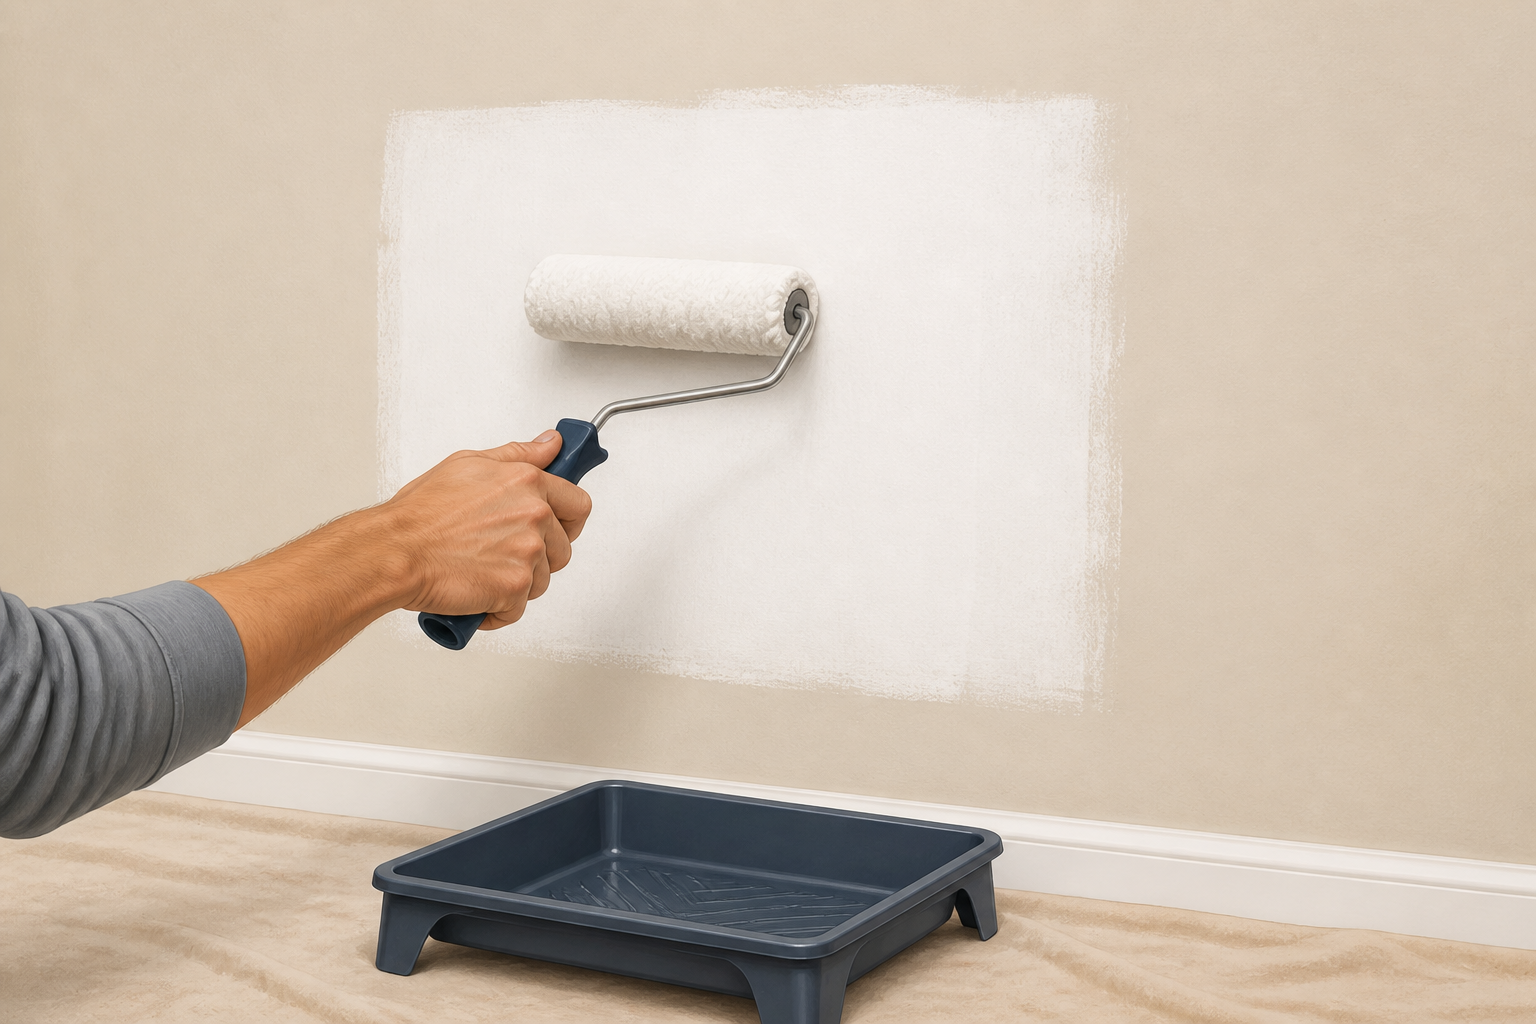
If the wall had repairs, stains, or is fresh drywall, apply a coat of primer only where needed and let it dry. This prevents uneven absorption and keeps color true across blocks. If priming, wait the recommended time on the primer label before moving on.
- 07
Mix and label each paint container
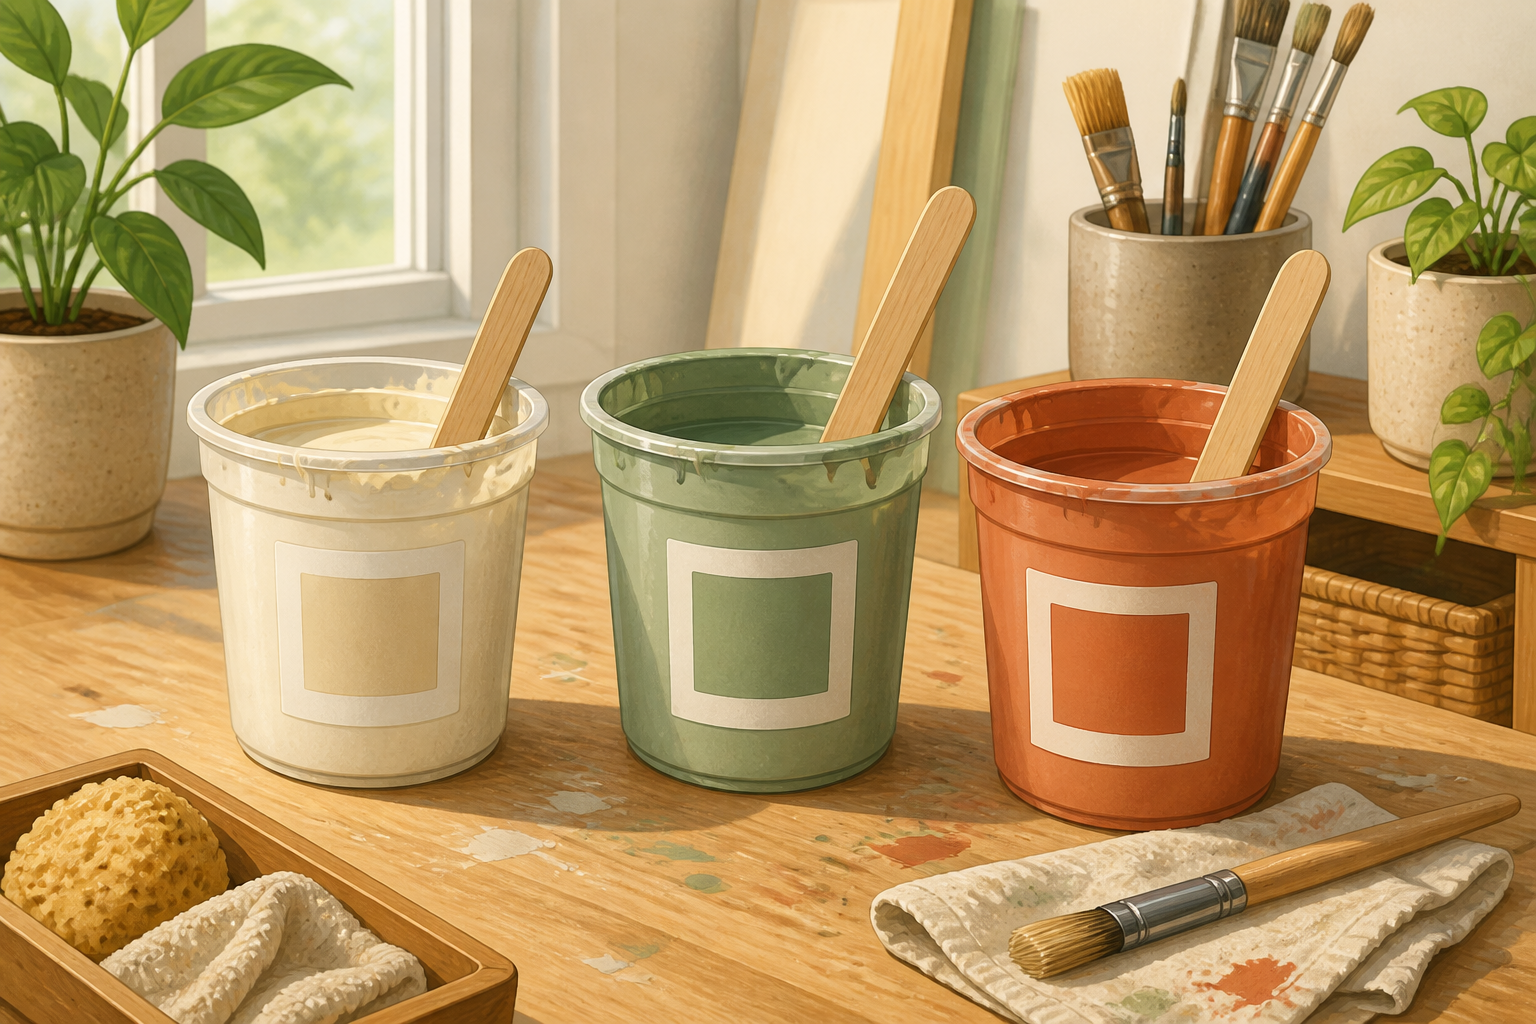
Stir each paint thoroughly and pour into small containers or trays for easy access. Label each container with which grid block it belongs to (use removable tape on the pot). Keep brushes and rollers designated by color to avoid cross-contamination.
- 08
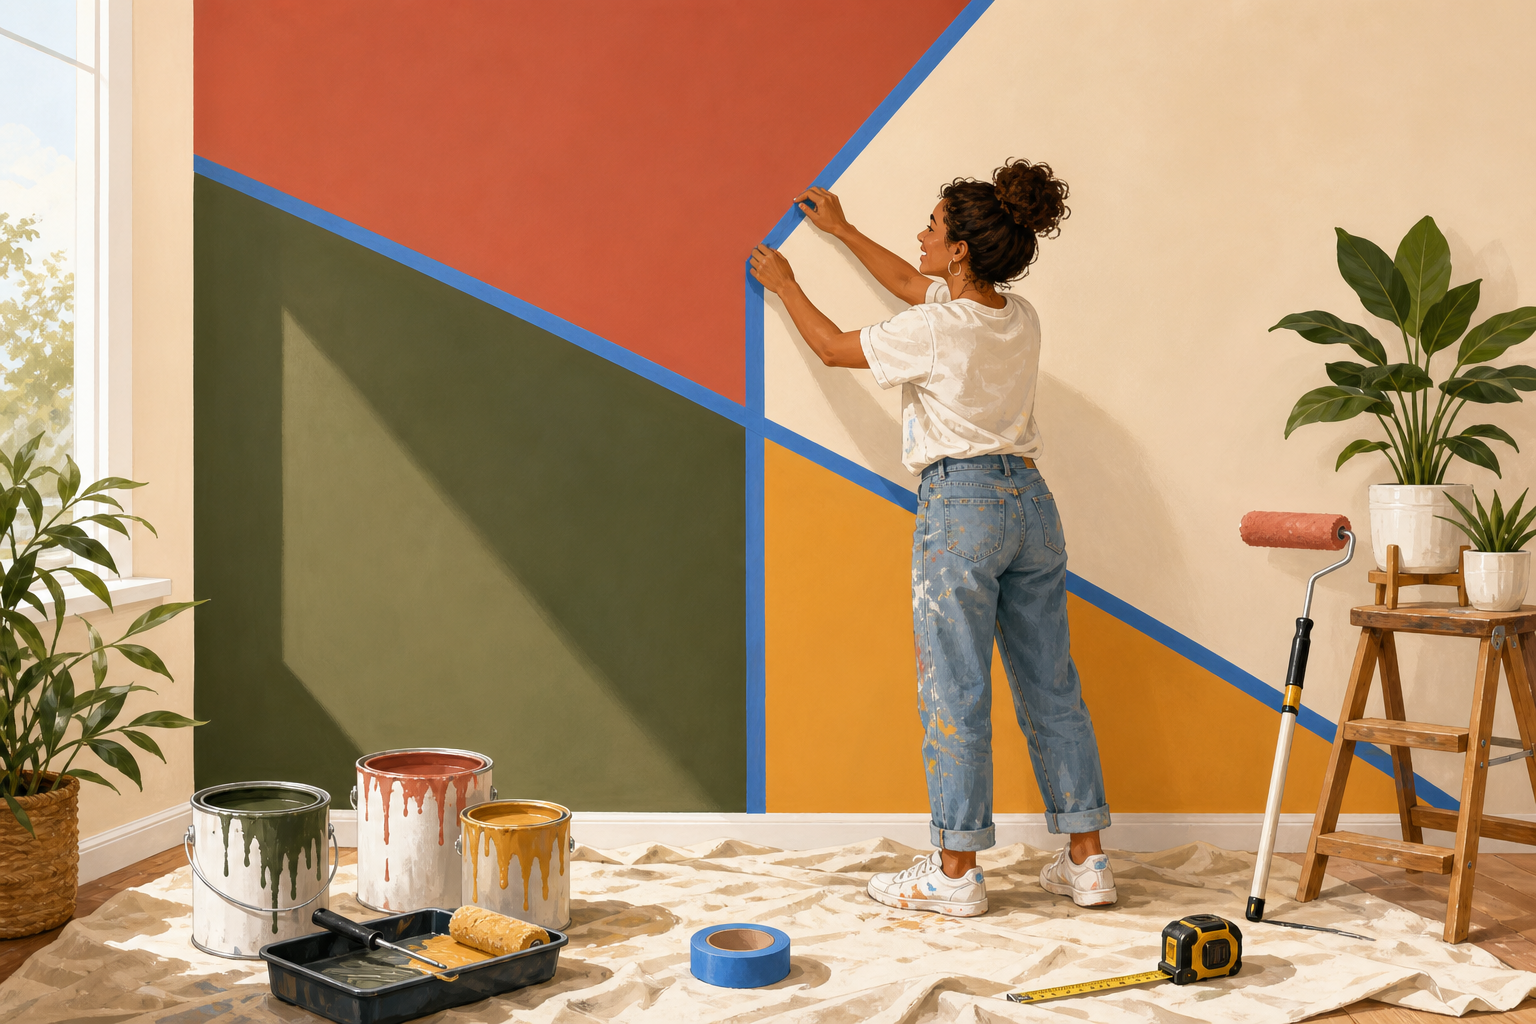
Apply painter’s tape along pencil guidelines
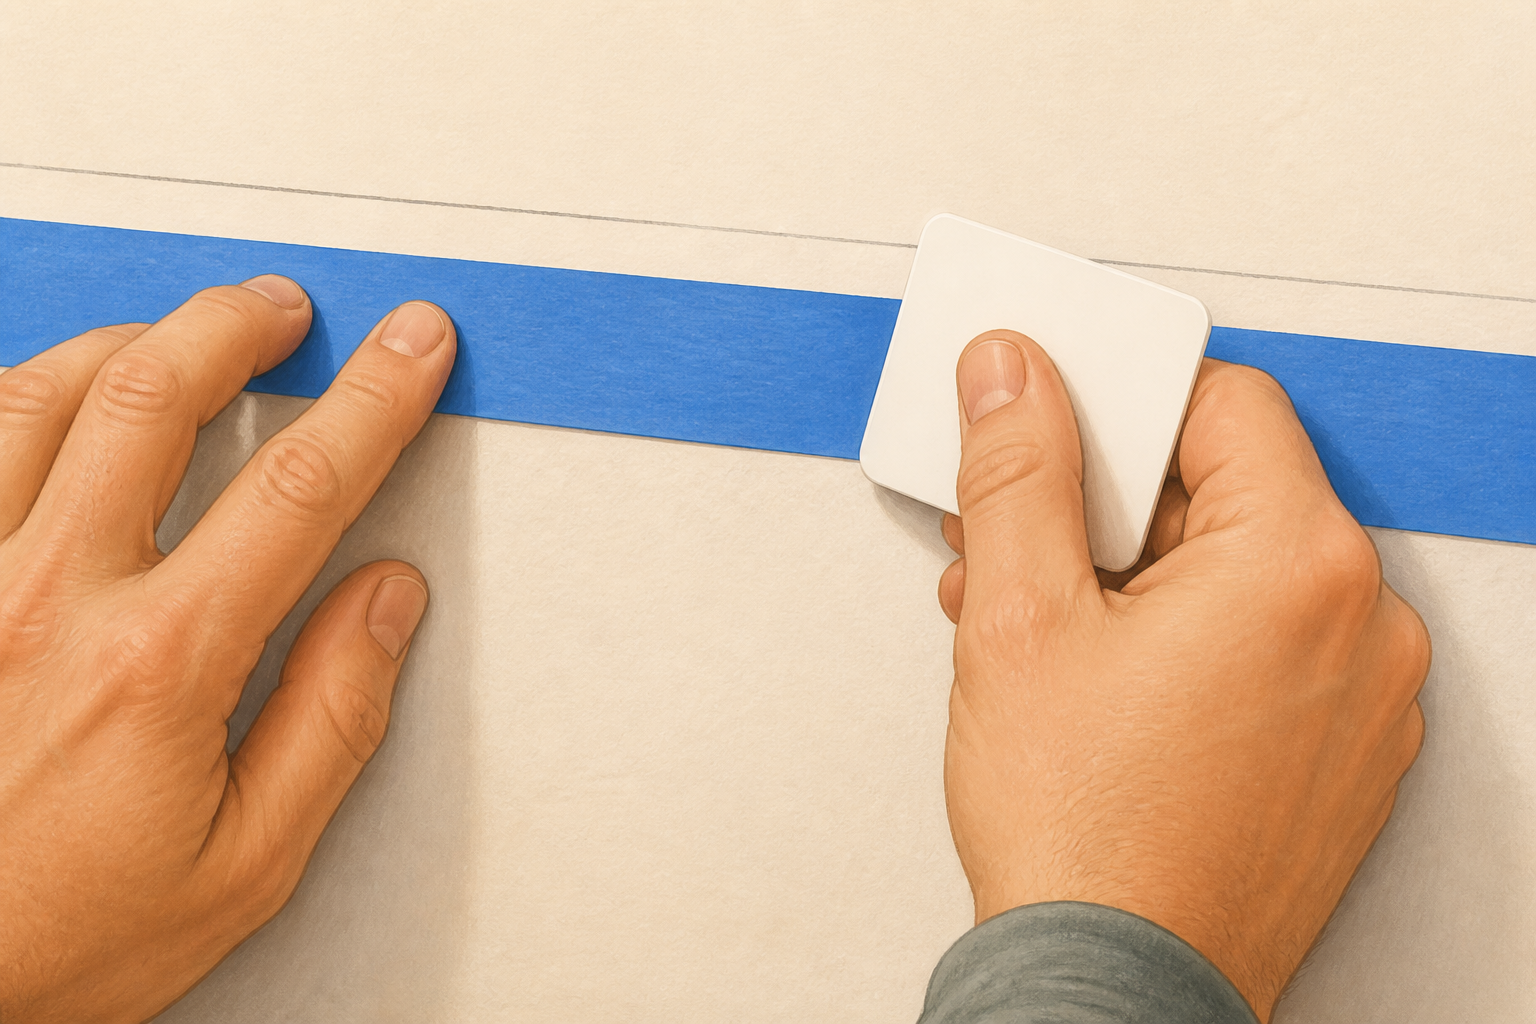
Run painter's tape along each pencil line with the tape overlapping on the side that will not be painted, so the exposed edge sits tight to the area to be painted. Press tape edges down firmly with a plastic card or putty knife to ensure adhesion and a crisp line.
- 09
Seal the tape edge with the base/primer color
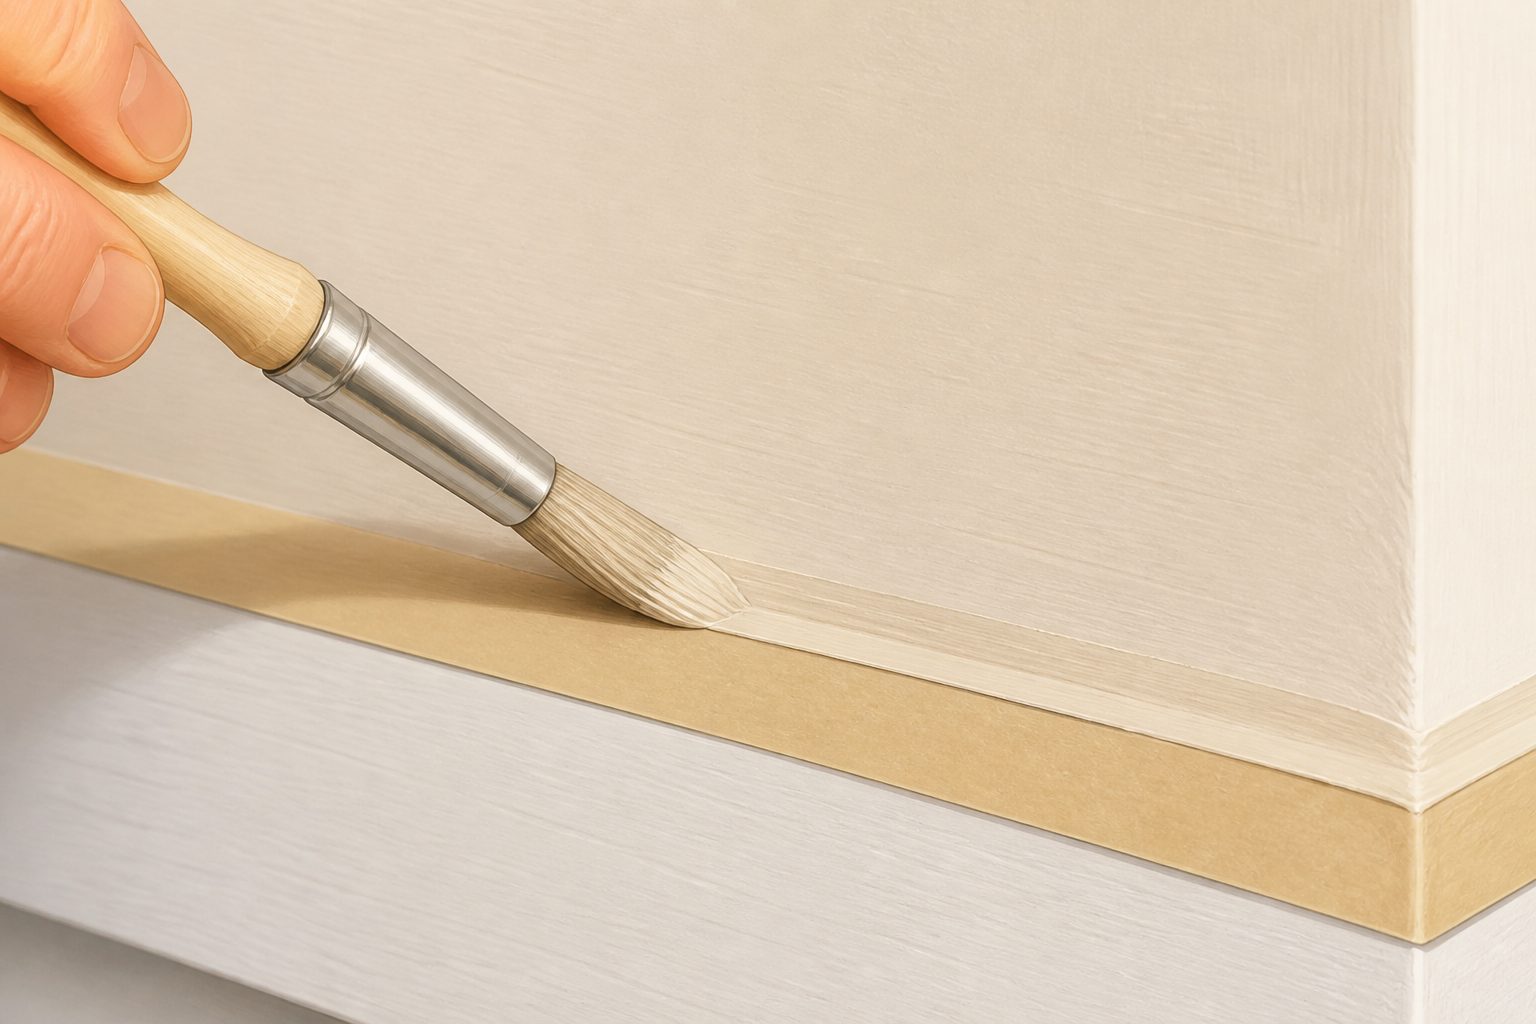
Lightly paint a thin coat of the wall's base or primer color along the tape edge inside each block and let it dry. This seals small gaps and prevents the new color from bleeding under the tape—especially useful when adjacent blocks are high-contrast.
- 10
Cut in block edges with an angled brush
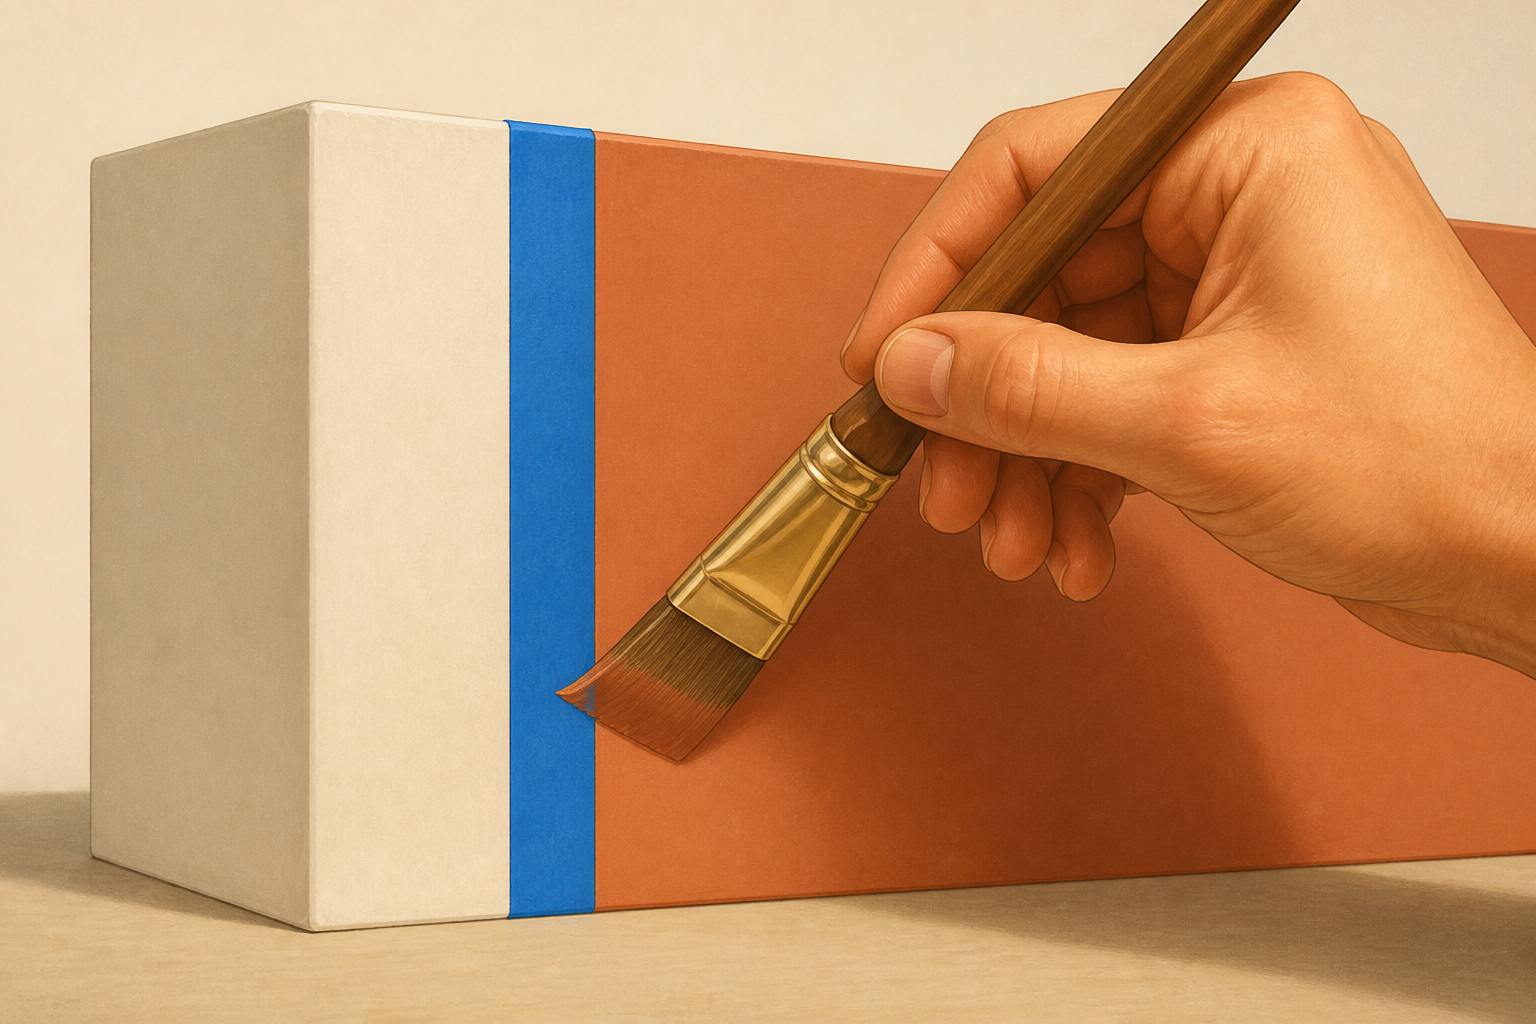
Use a 1–2 inch angled sash brush to 'cut in'—paint the paint-to-tape edge from the taped edge toward the center of the block with short, controlled strokes. Keep these edge coats relatively thin to avoid squeezing paint under the tape.
- 11
Roll the main areas with even coats
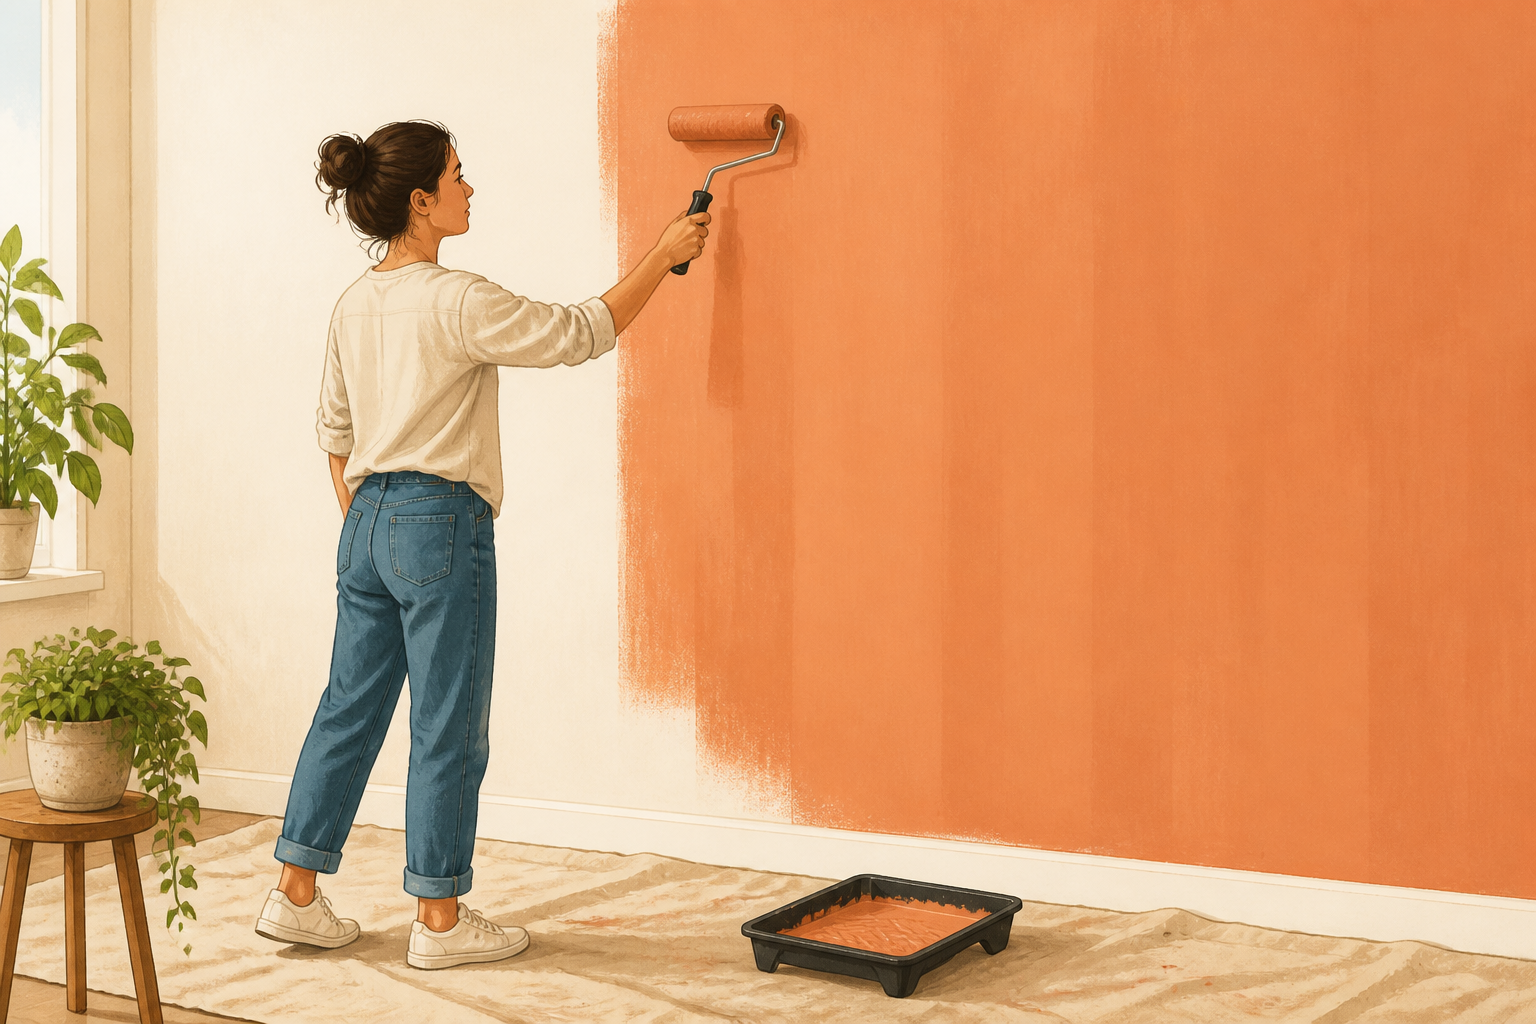
Use a 9-inch roller (or size matched to block scale) with the recommended nap for your paint. Work in a W or M pattern to distribute paint then back-roll to smooth. Apply one even coat, let it dry as directed, then apply a second coat if needed.
- 12
Remove tape and finish edges carefully
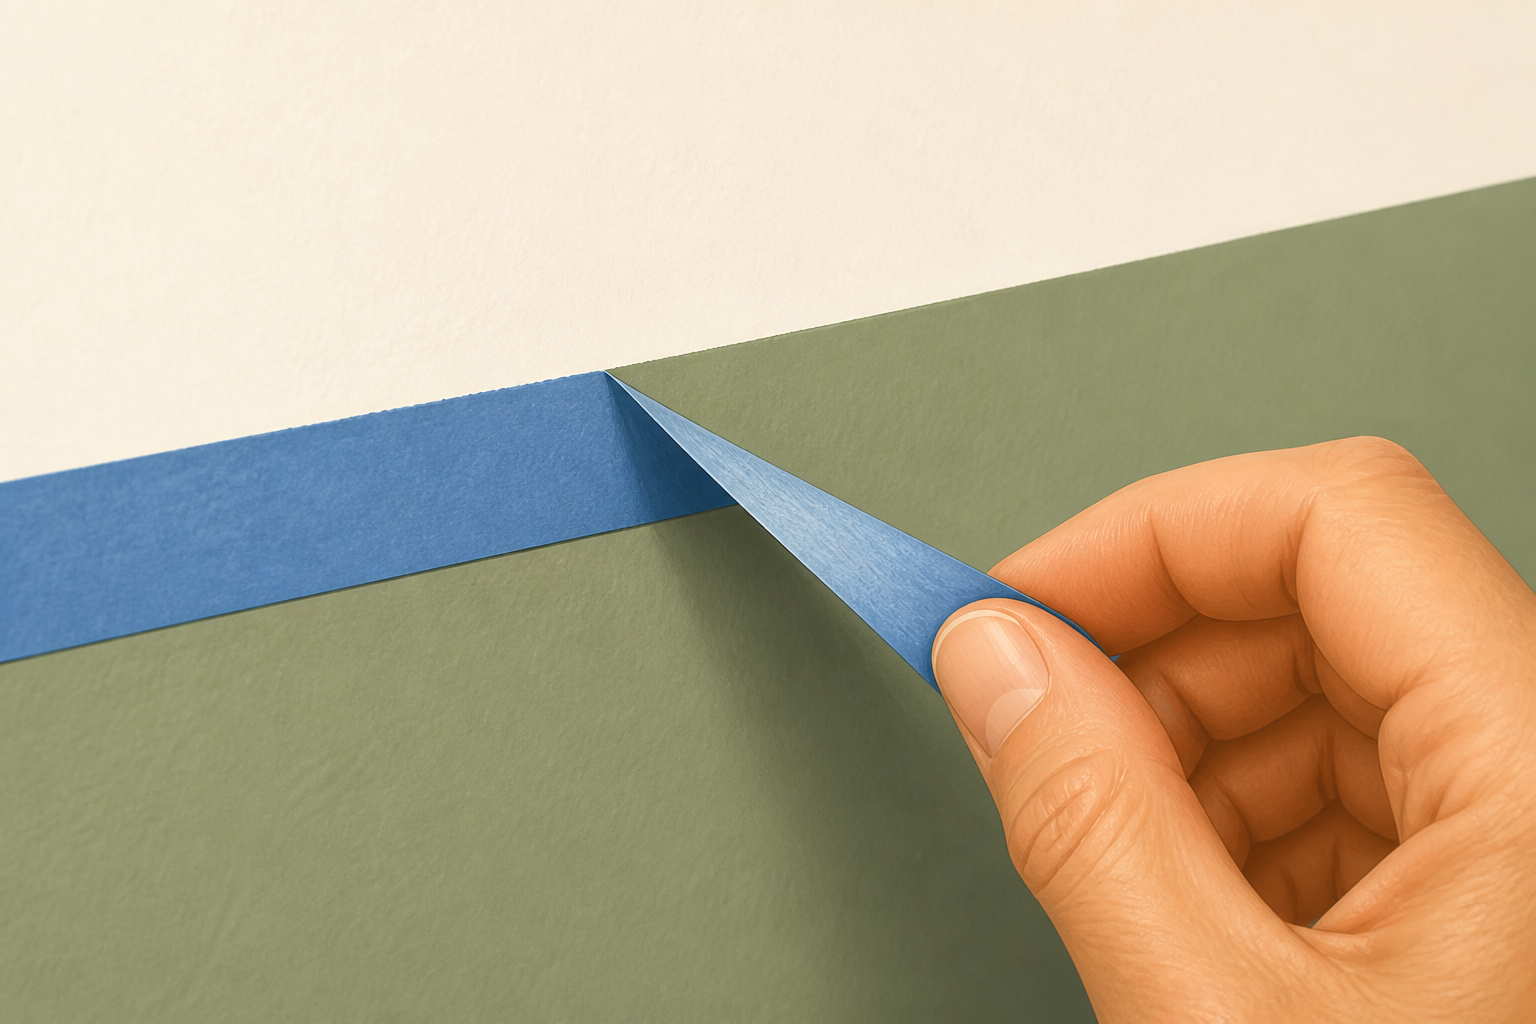
When the paint is dry to the touch but not fully cured—usually within 15–60 minutes of the final coat depending on paint—pull tape back slowly at a 45-degree angle away from the paint. If paint has fully dried and resists, score the tape edge with a utility knife before removing to avoid peeling.
- 13
Do small touch-ups and final clean-up
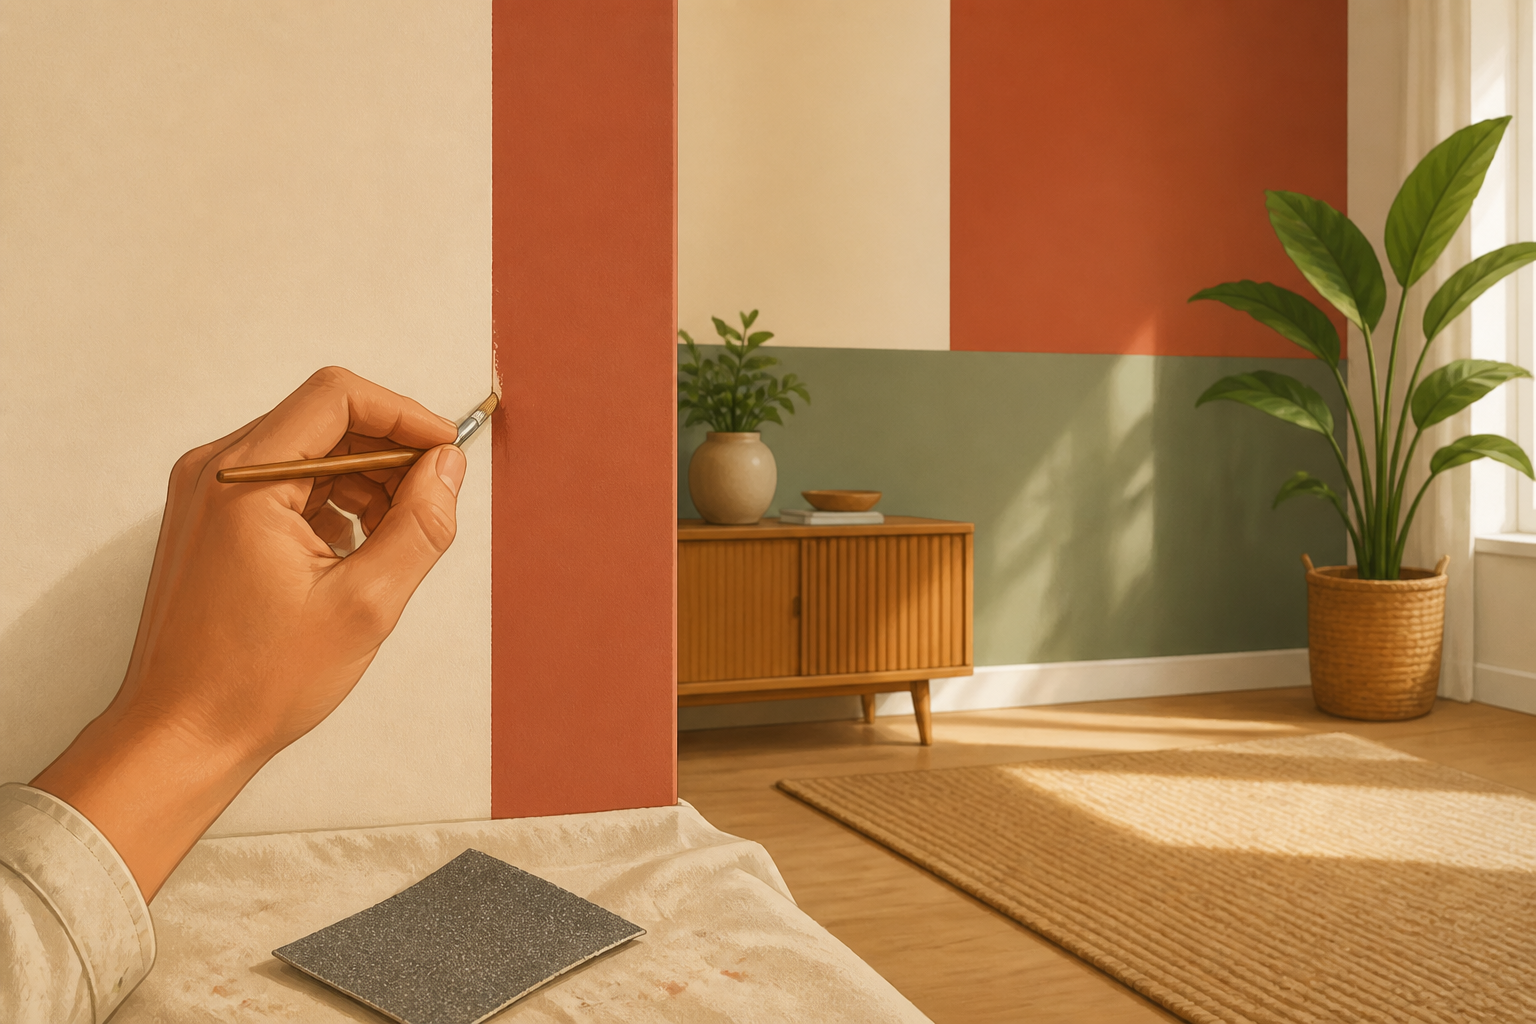
Use a small artist brush for tiny bleeds or gaps and lightly sand any raised ridges with fine-grit sandpaper if necessary, then spot-coat. Reinstall outlet covers and remove drop cloths once paint is dry. Enjoy your zodiac-inspired gallery-style accent wall!
If this was useful
Try one of these next
Home & life Listicle
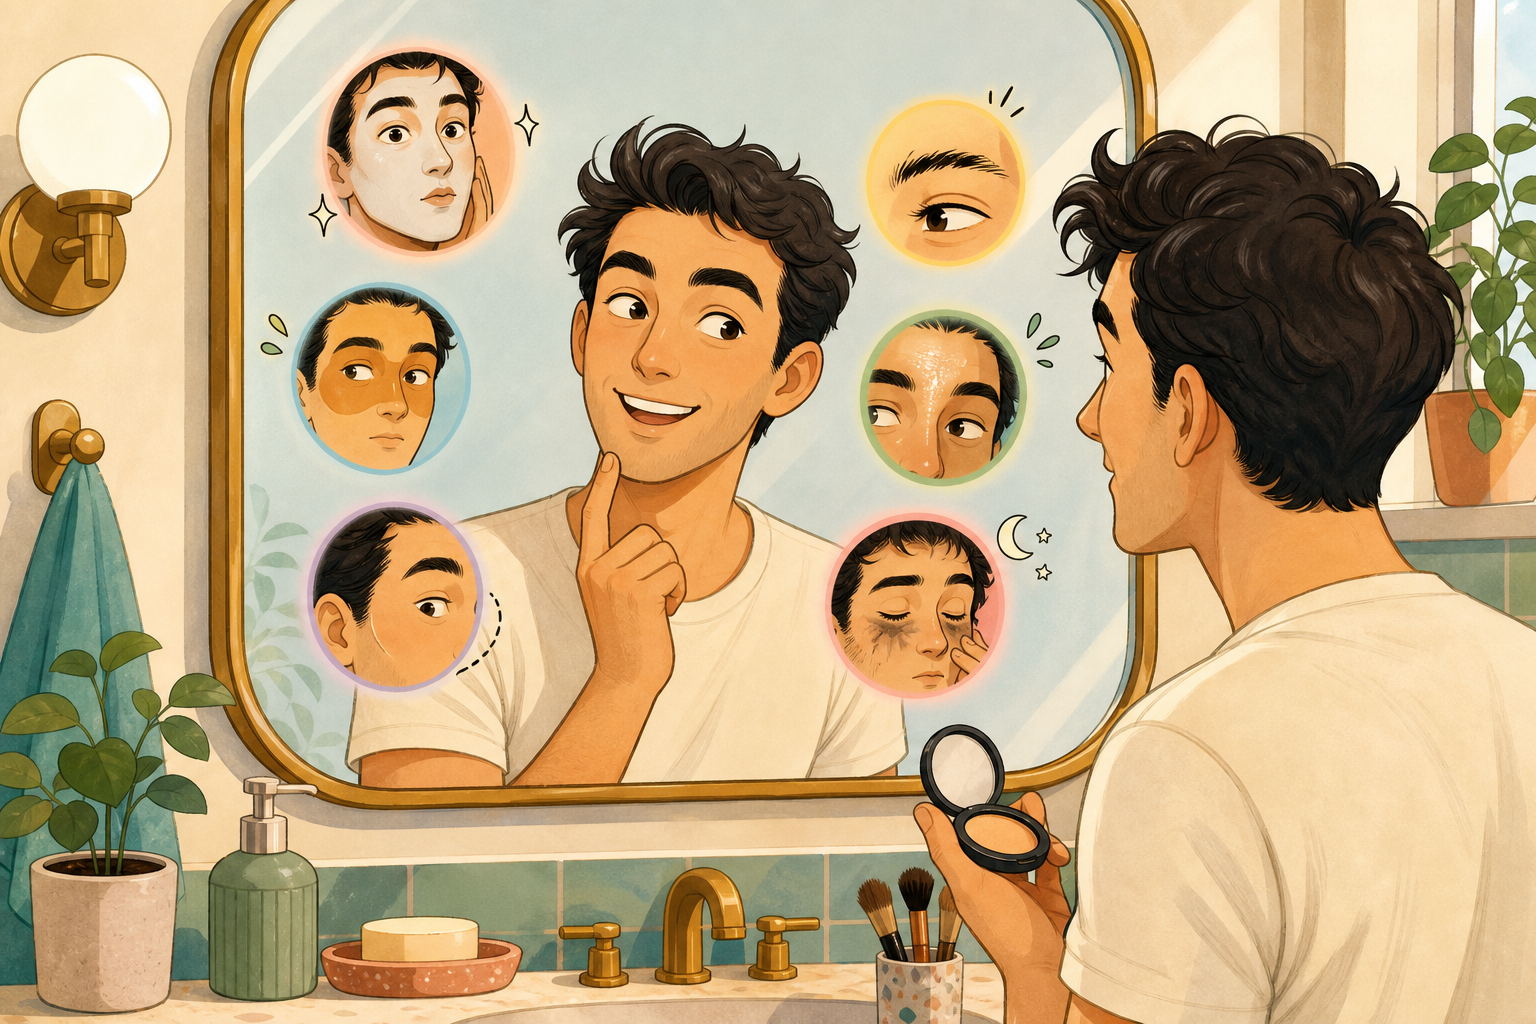
6 makeup mistakes men make and exactly how to fix them, ranked by how obvious they are
A useful, mildly mischievous ranking of common slip-ups—too much product, mismatched shade, unblended edges, ignoring brows, shiny T-zone, skipping removal—with concrete fixes for each and a short test to confirm the problem is solved.
Read article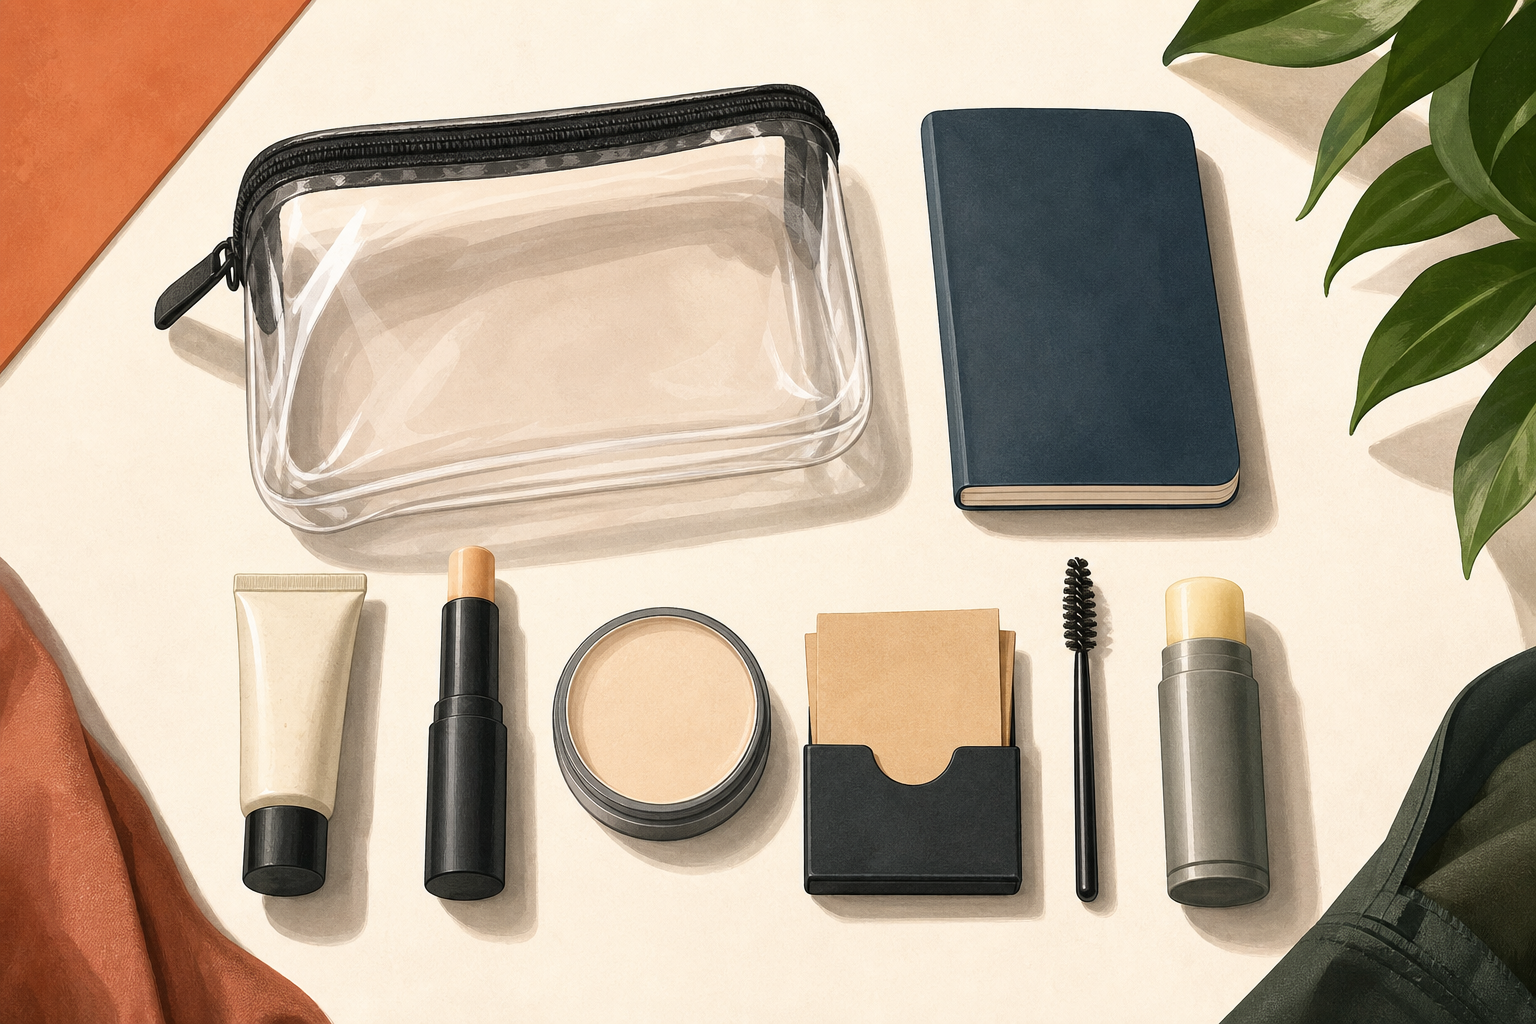
Bike & travel How-to
How to pack a minimalist men's makeup and grooming kit for a weekend trip
A compact packing how-to with an exact checklist, space-saving tips, and a suggested order of use so a 5–7 item kit covers shine control, blemishes, brows and camera prep. Includes TSA-friendly sizing notes and lightweight storage ideas.
Read article
Home & life Listicle
5 subtle makeup looks matched to real occasions
Five pragmatic, low-drama makeup moods—ranked from the quietest to the most camera-ready—matched to actual situations. Each entry explains which features to nudge and which to leave alone so your face reads right for work, a first date, a photoshoot, a night out, or a stage/presentation.
Read article
Hobbies & crafts Listicle
Portrait photography colour palettes by zodiac: clothing and background matches
A photographer-friendly list of flattering palettes for each sign that helps you pick clothing, background and prop colours to flatter skin tones and convey personality. Includes notes on lighting, contrast and simple swap options for
Read article