Bike & travel How-to
How to pack a minimalist men's makeup and grooming kit for a weekend trip
A compact packing how-to with an exact checklist, space-saving tips, and a suggested order of use so a 5–7 item kit covers shine control, blemishes, brows and camera prep. Includes TSA-friendly sizing notes and lightweight storage ideas.
- 01
Assemble the compact 6-item checklist
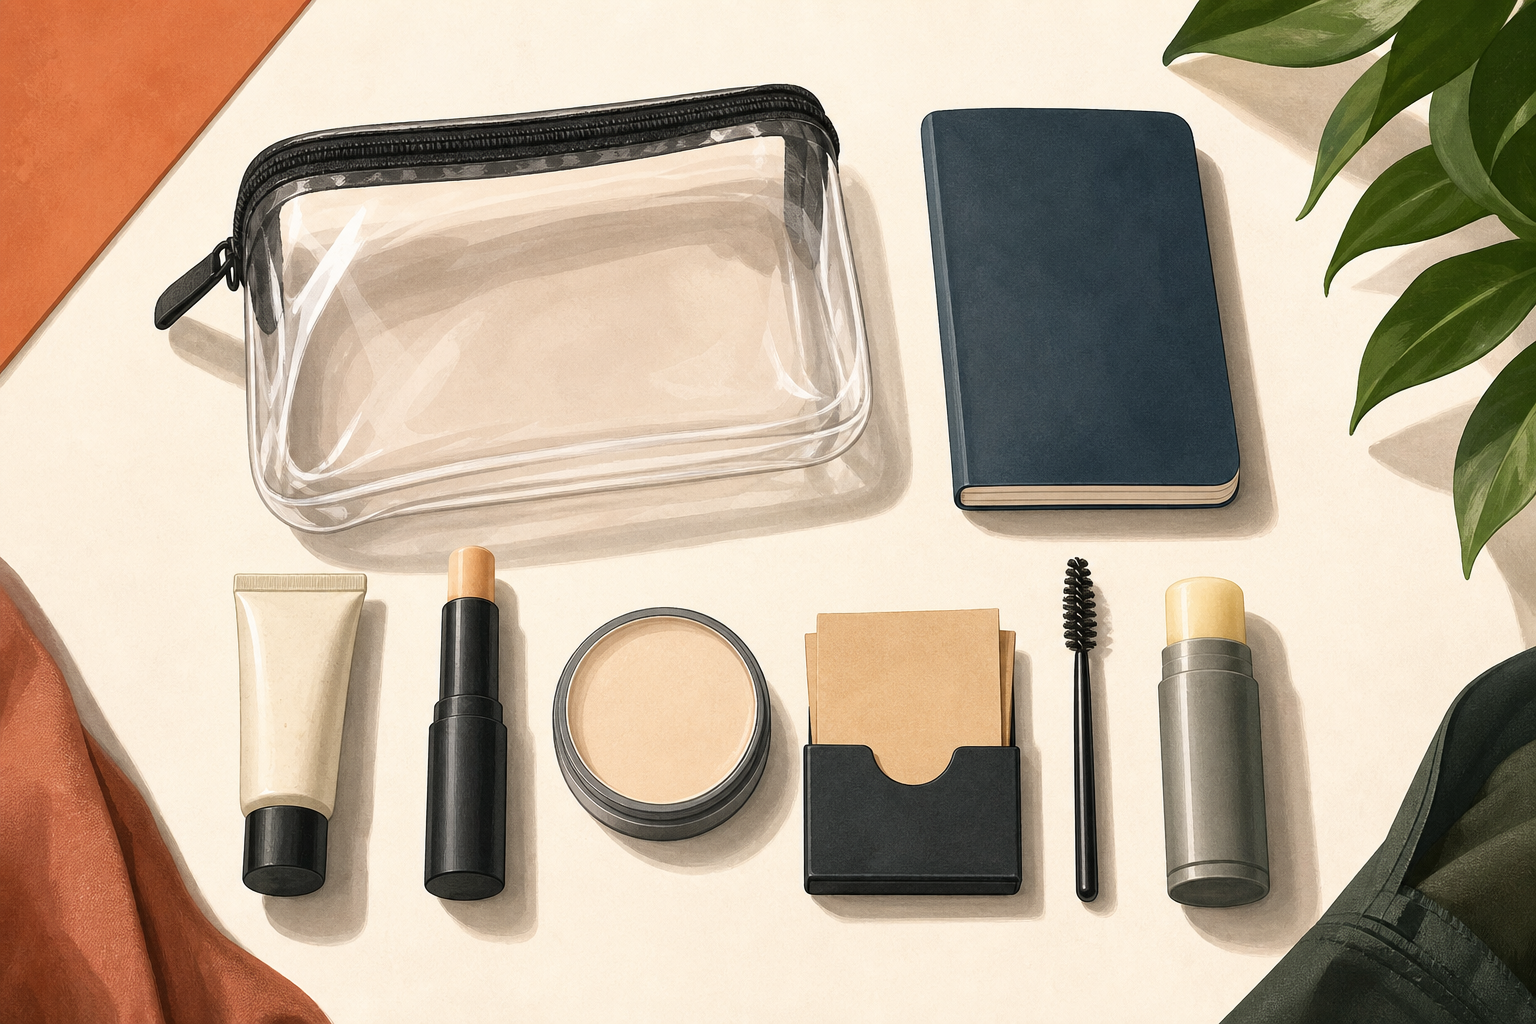
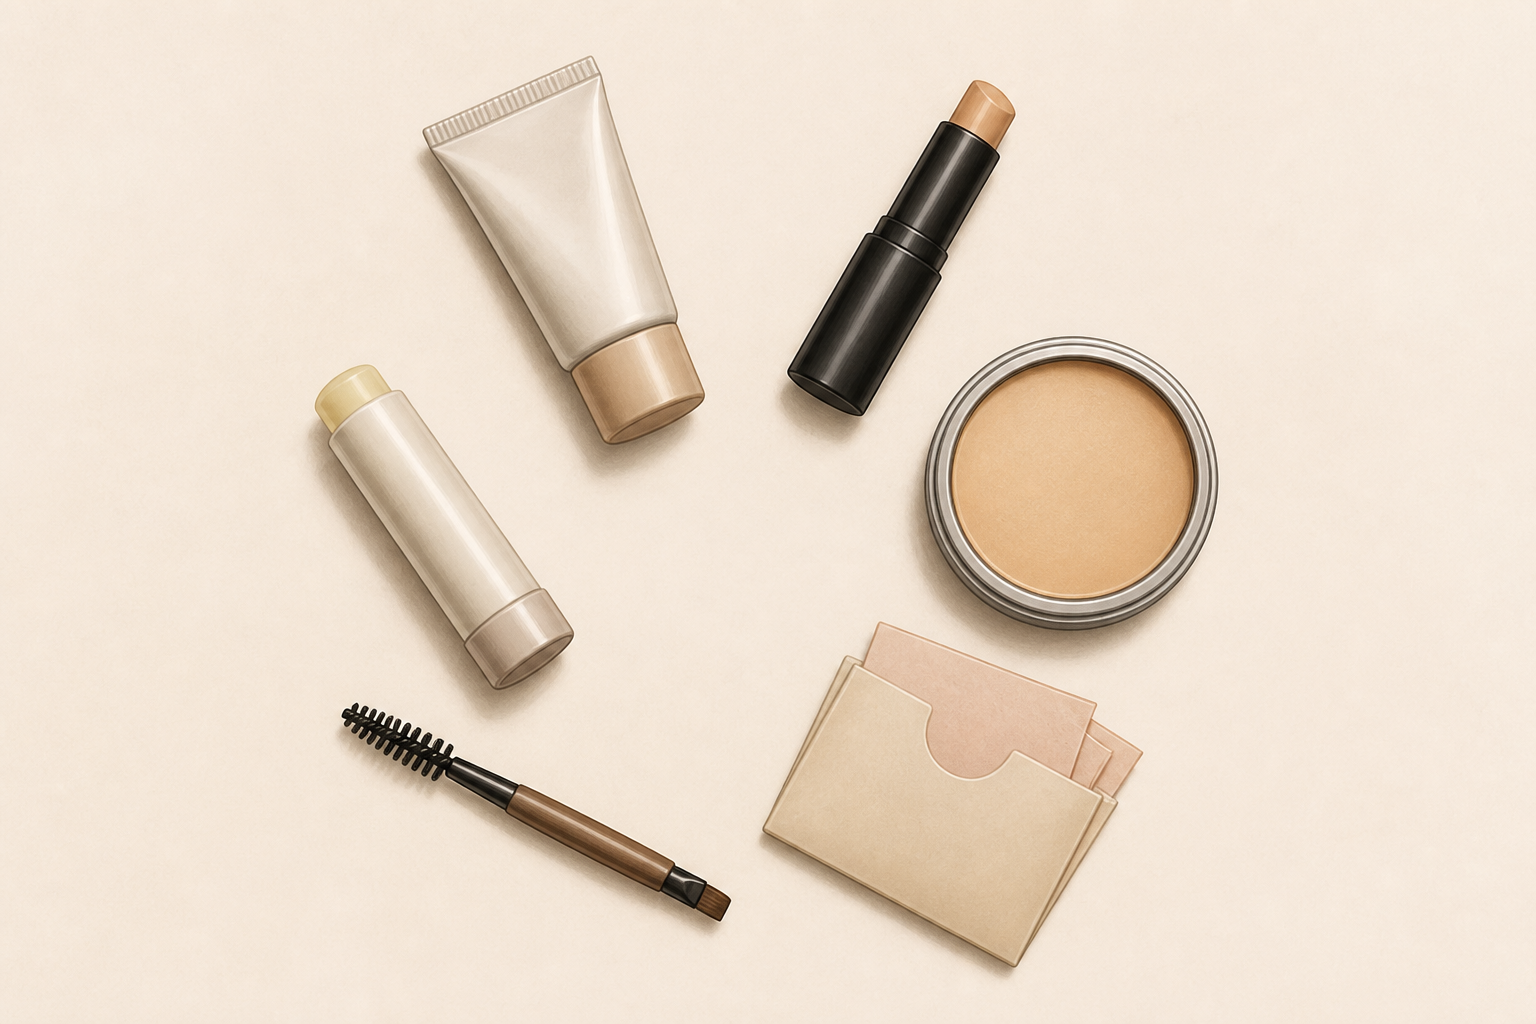
Lay out exactly six items: 1) tinted moisturizer or BB cream in a travel tube (≤30 ml), 2) solid concealer stick, 3) small translucent powder or pressed mini, 4) blotting papers, 5) clear brow gel or mini brow pencil with spoolie, and 6) multipurpose balm stick (lips/cuticles). These six cover shine, spots, brows and camera prep while staying tiny.
- 02
Choose the right pouch
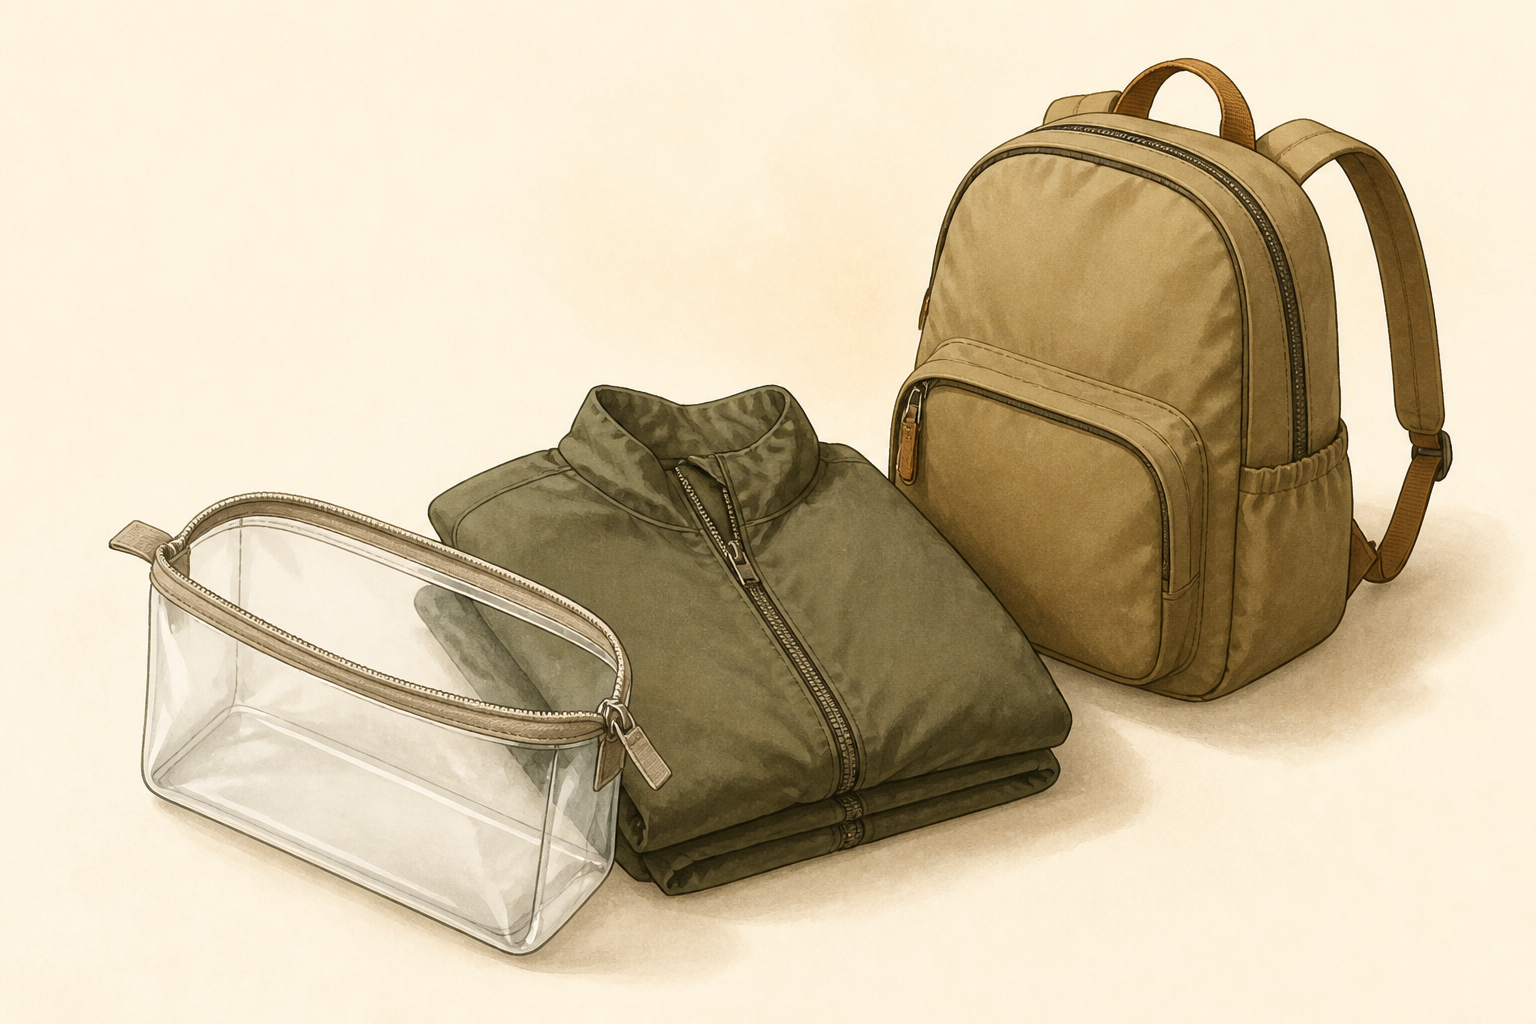
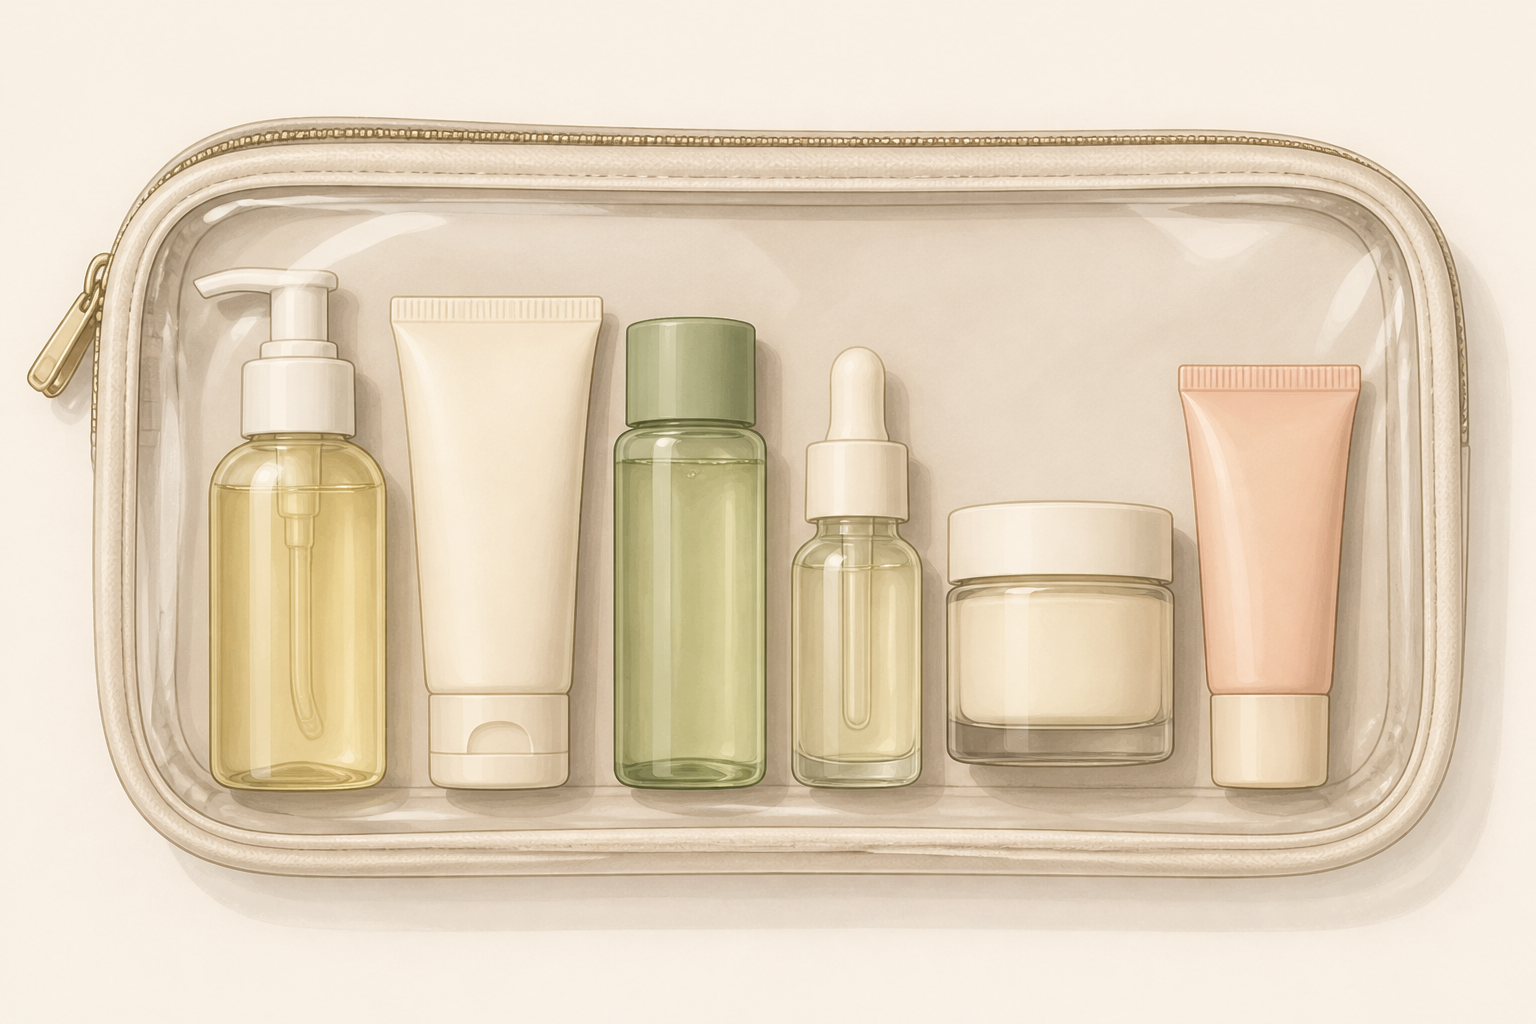
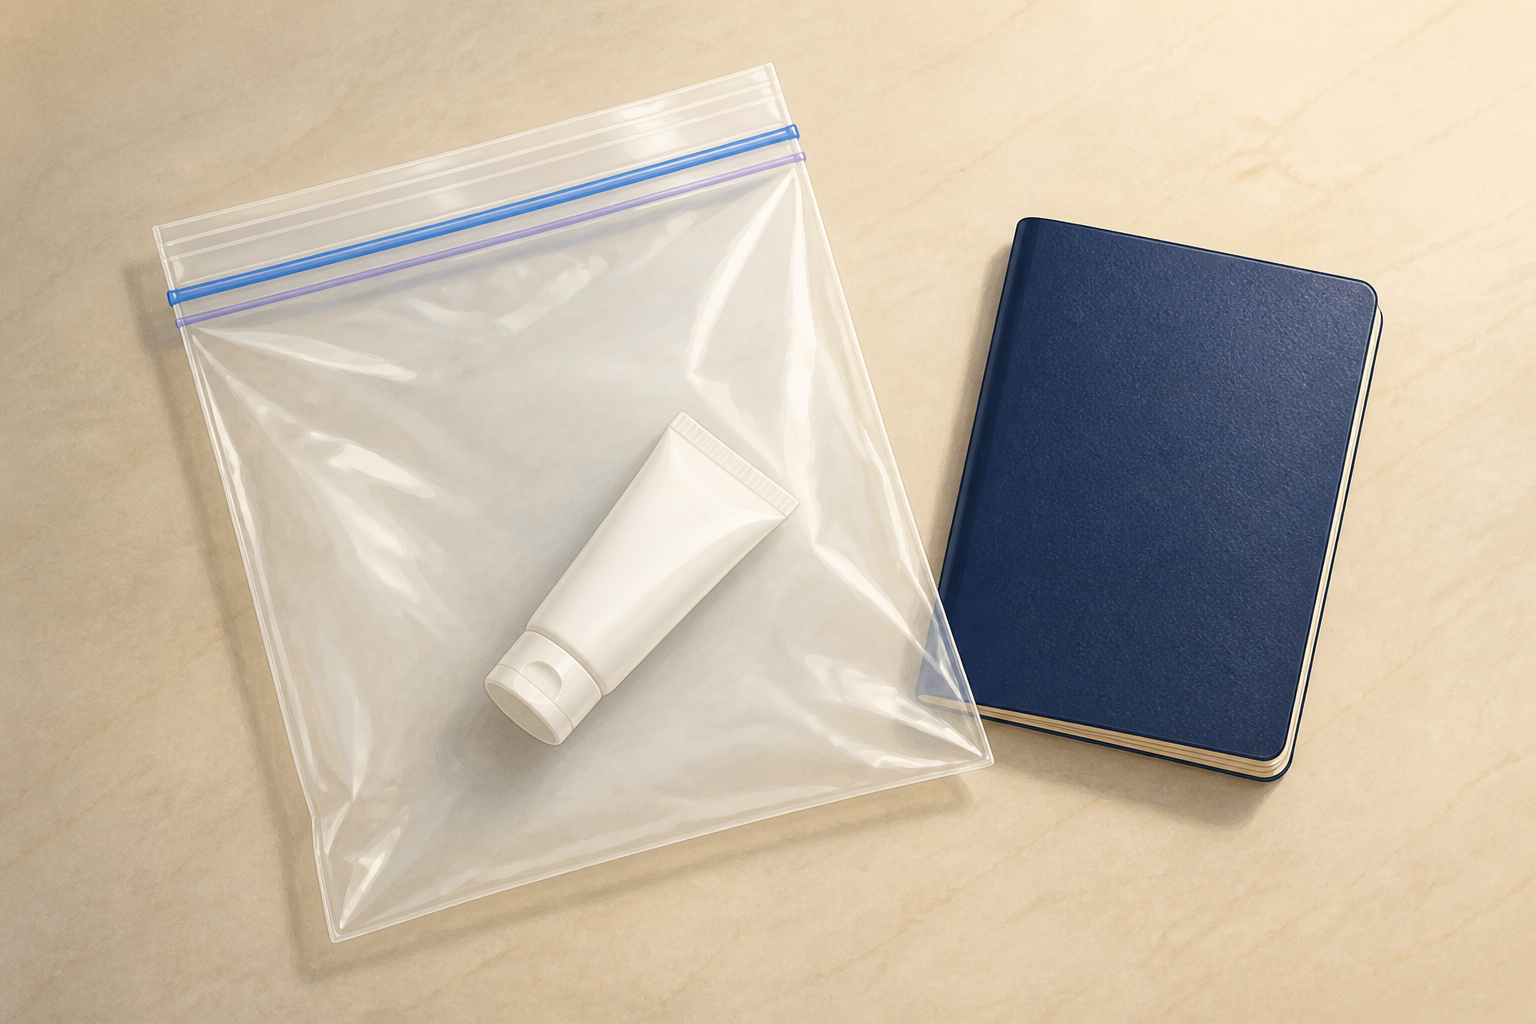
Pick a clear 1-quart zip pouch or a slim clear zippered travel bag that fits into a jacket pocket; transparency speeds through TSA and helps you see supplies at a glance. Make sure the pouch closes fully and will sit flat in your carry pocket or handlebar bag.
- 03
Replace bulky bottles with travel-size or solid versions
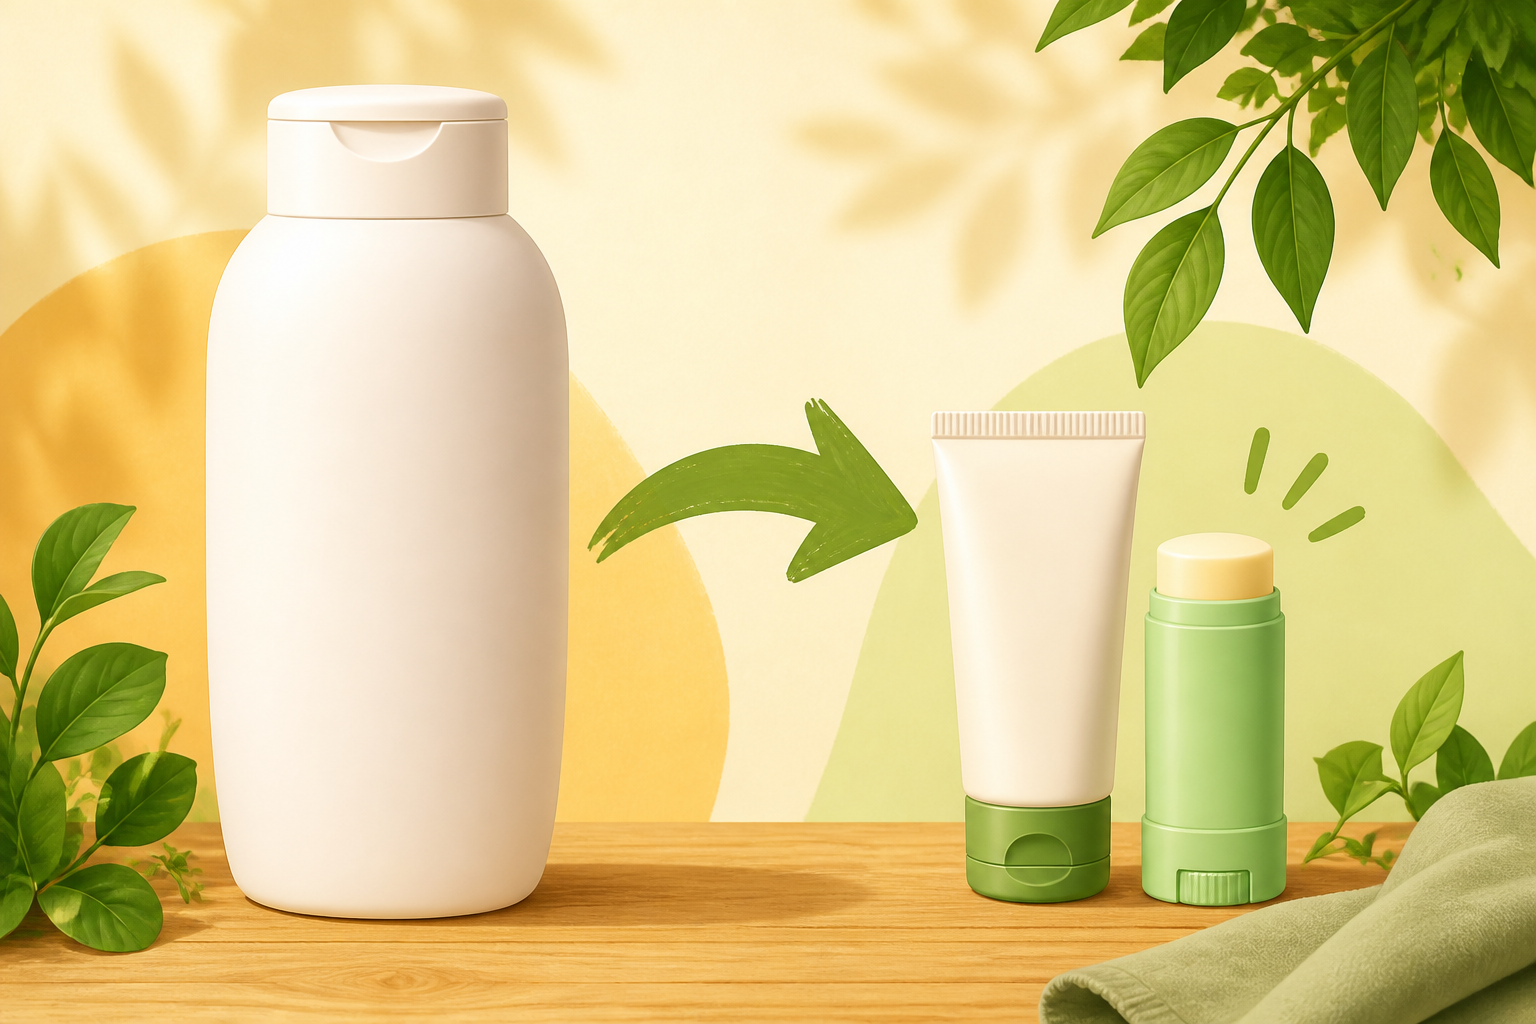
Swap large containers for small travel tubes (10–30 ml) or solid formats: transfer tinted moisturizer into a small squeeze tube, choose a concealer stick instead of a pot, and pick a pressed powder mini. Use a clean mini spatula or the product’s applicator to decant; don’t overfill—leave a little headspace so caps close securely.
- 04
Organize items in application order inside the pouch
Place items in the pouch in the order you’ll use them: balm at the top (preps skin), tinted moisturizer, concealer, brow tool, powder, then blotting papers. This keeps your routine logical and lets you grab what you need in sequence without rummaging.
- 05
Secure lids and double-bag creams
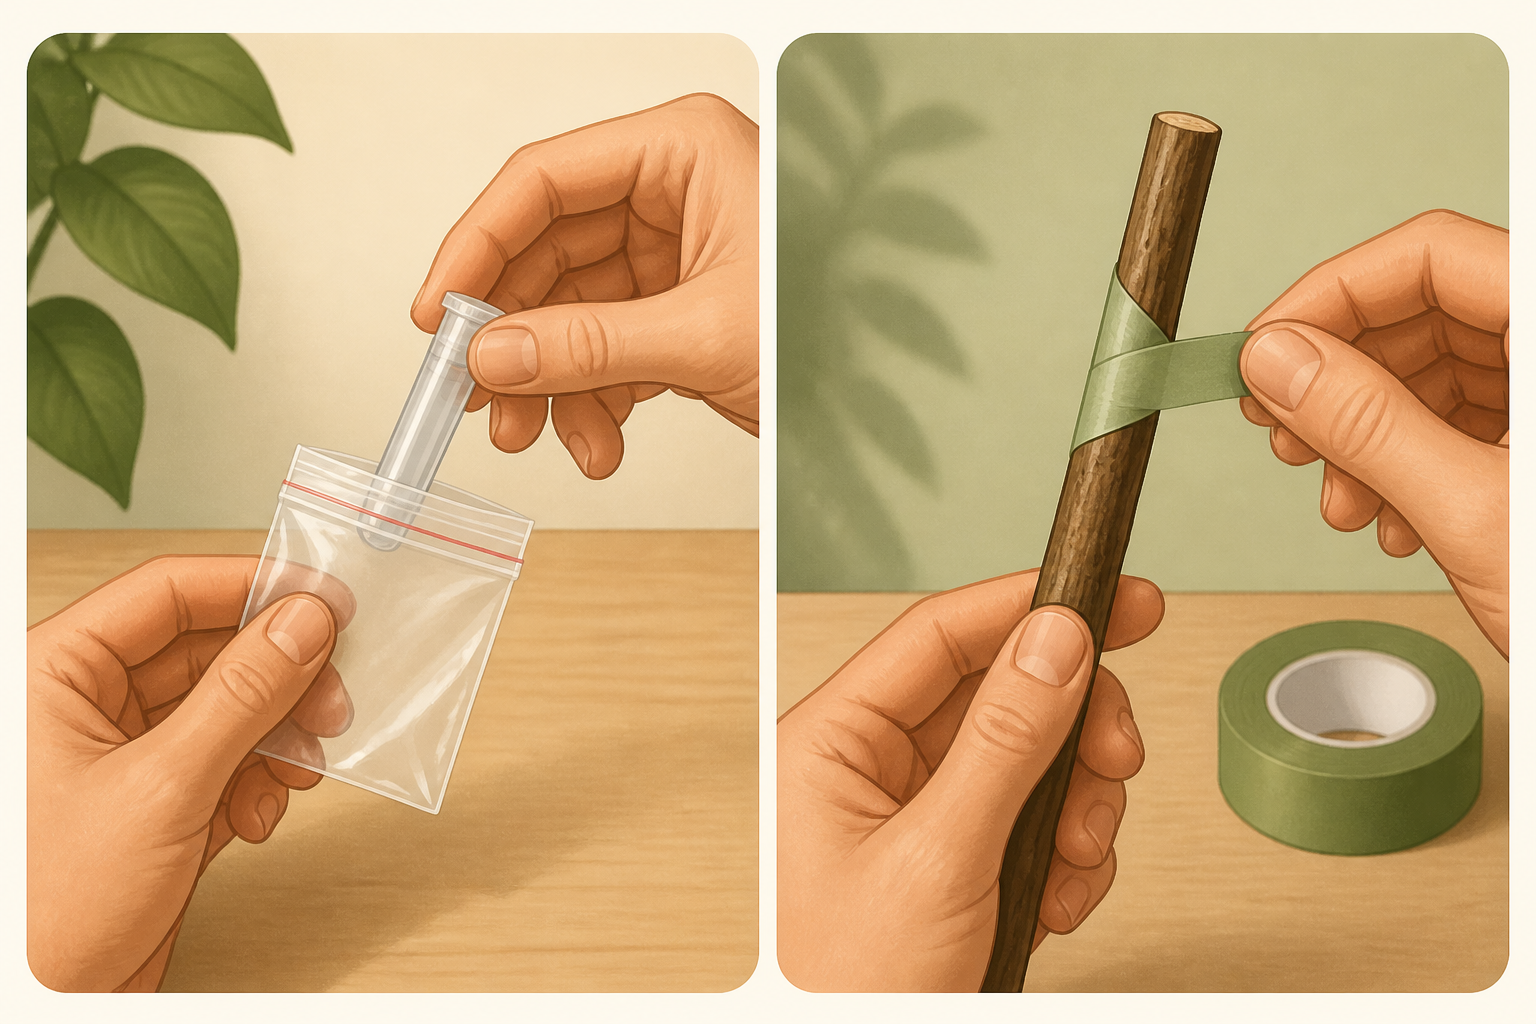
Prevent drama: tape down screw caps with a single wrap of surgical tape or place any small tubes in an extra mini zip bag inside the pouch. Solid sticks and powders can go unbagged; liquids and creams get the double-bag treatment to stop leaks ruining your clothes.
- 06
Include one compact tool and protect it
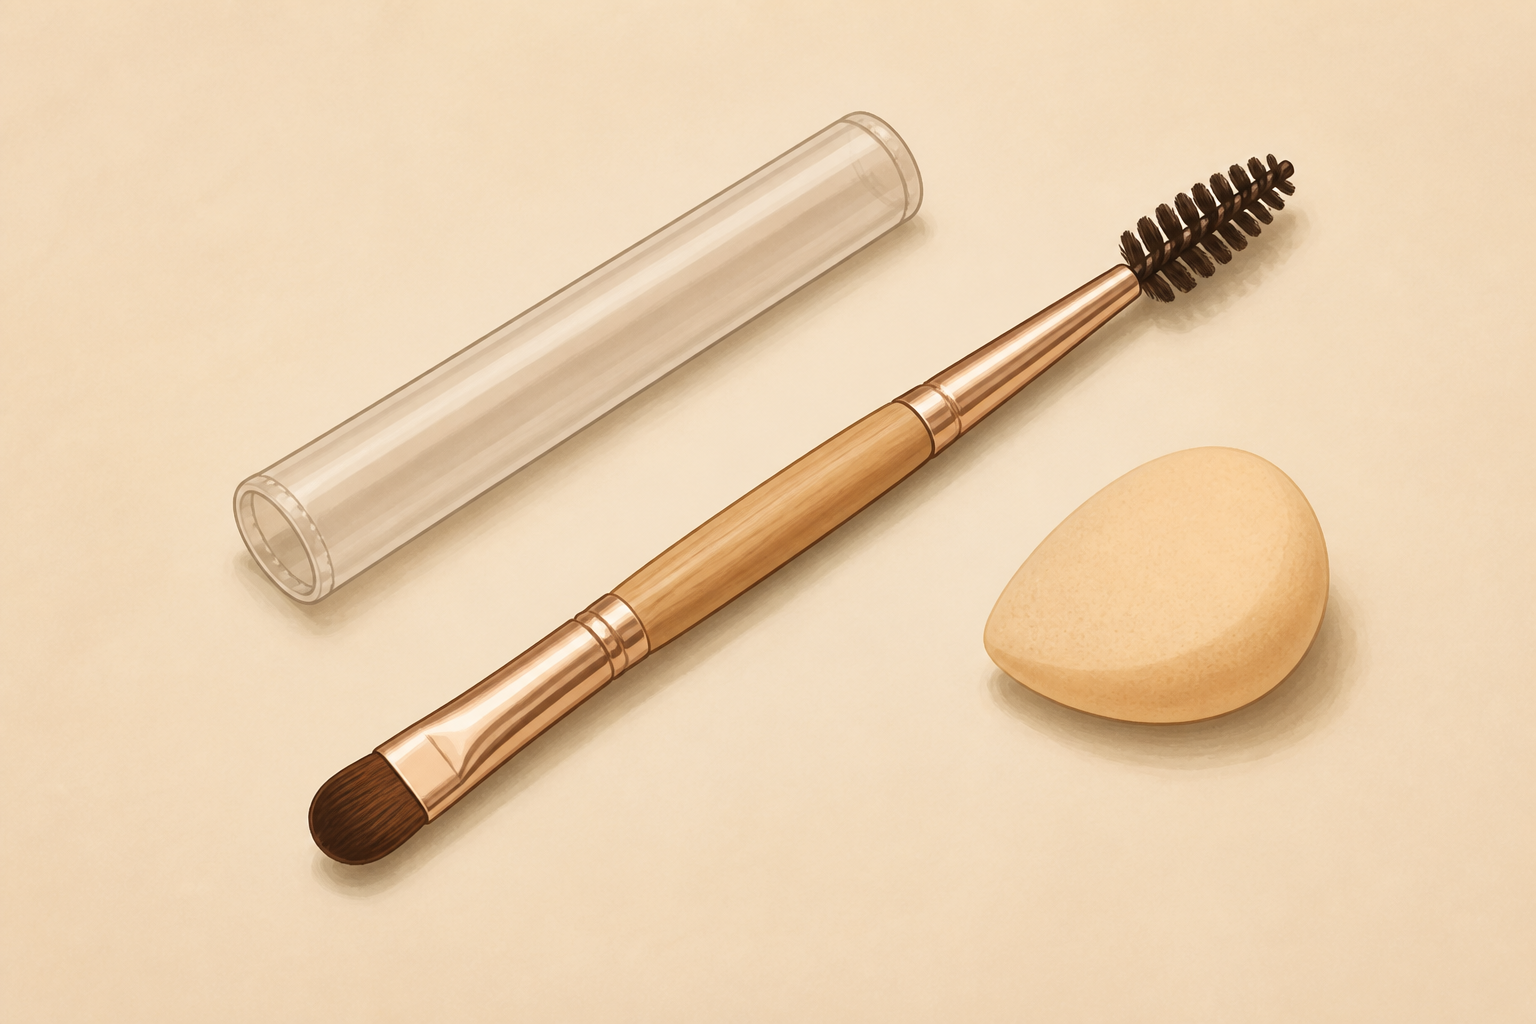
Pick one multipurpose tool: a tiny dual-ended brush with a spoolie and angled tip or a small cosmetic sponge. Slip it into a protective sleeve or the pocket of your pouch so bristles don’t rub product onto other items.
- 07
Pack to save space—strip the extras
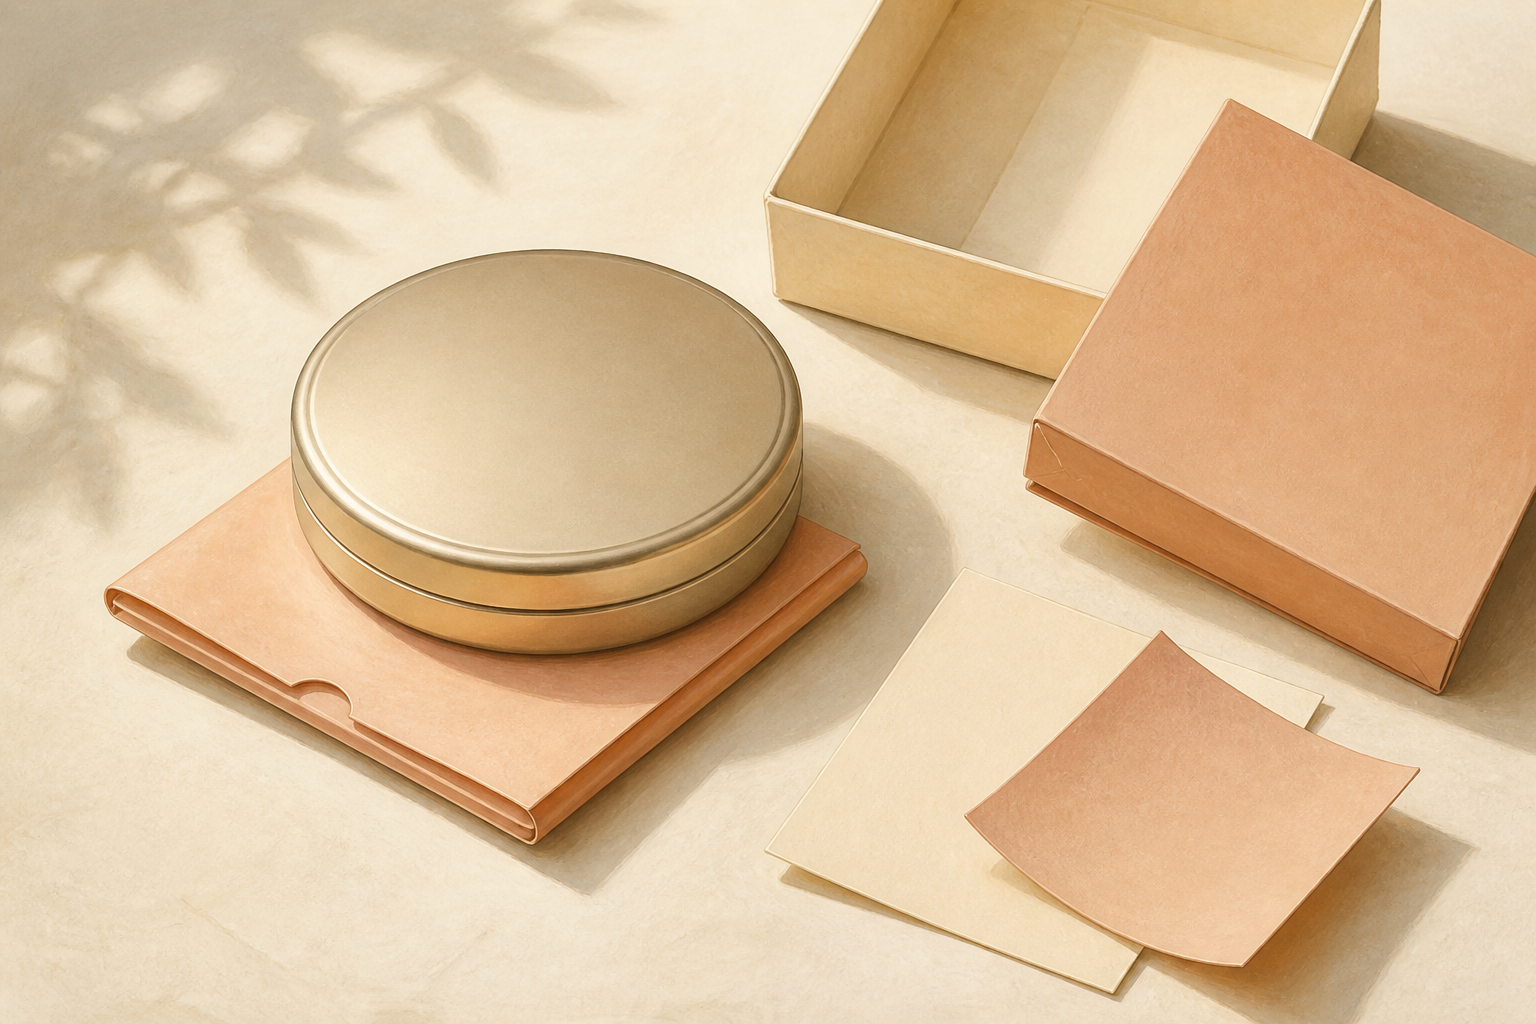
Remove outer boxes, discard excess leaflets, and use single-purpose items only—if your balm doubles as lip and cuticle care, leave the extra lip balm at home. Nest small items (blotting papers flat under the powder tin) to shave millimeters and weight.
- 08
Pack for quick access when you bike or commute
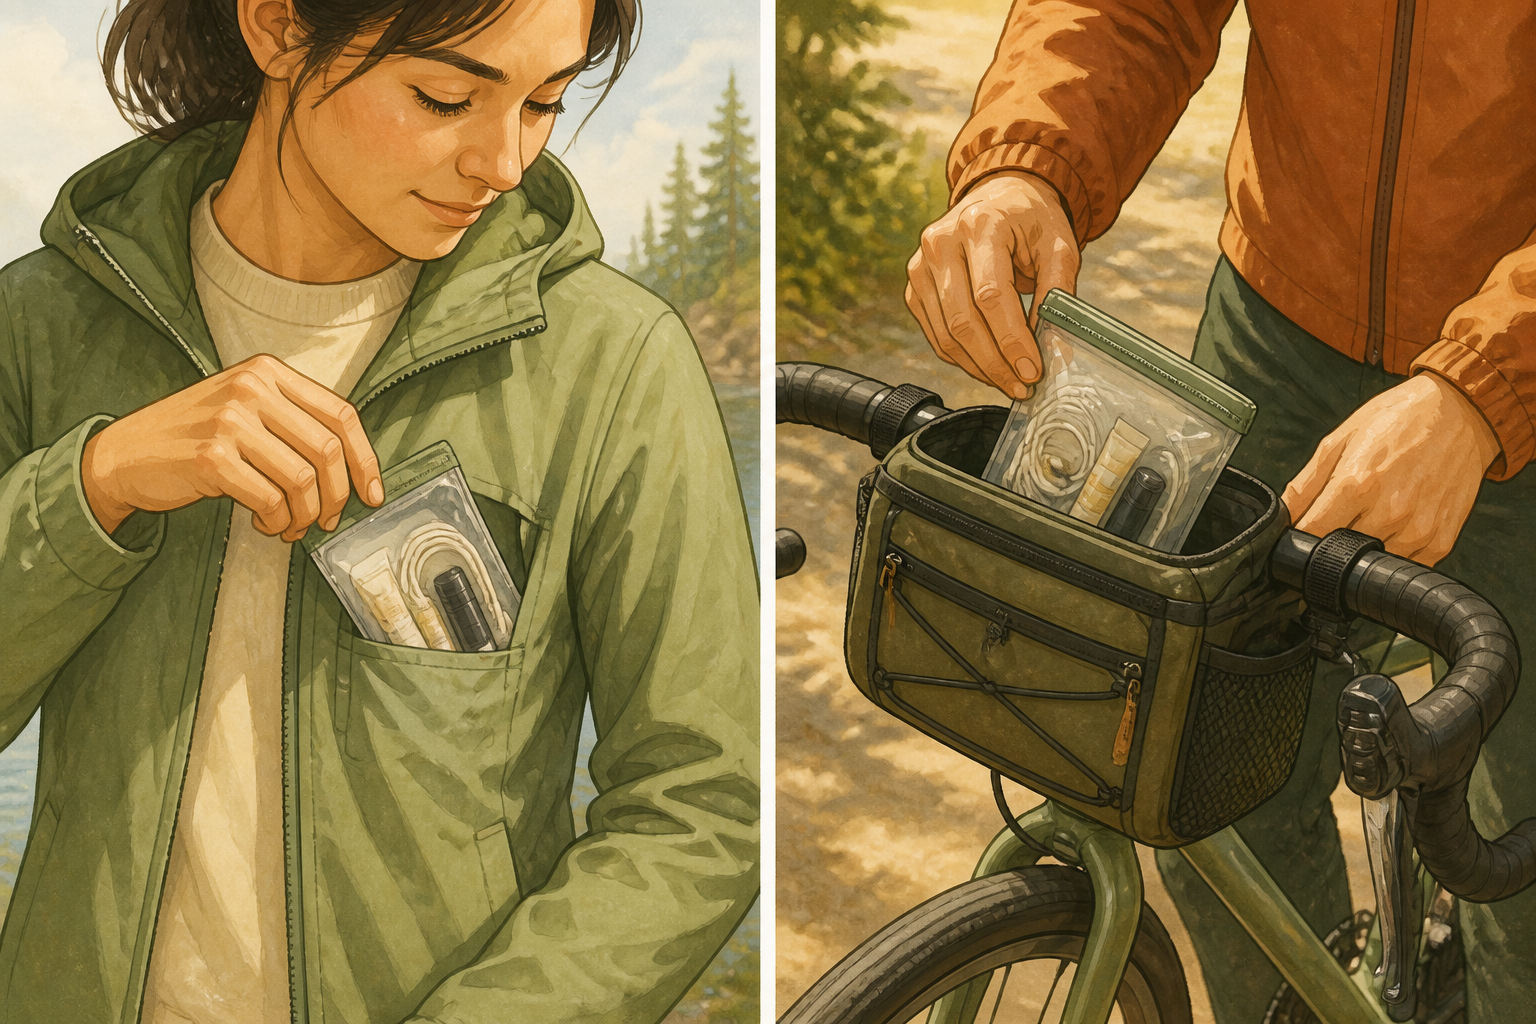
Stow the pouch in an accessible pocket (top of handlebar bag or an inside jacket pocket) so you can touch up without unpacking your bag. If you ride, secure the pouch in a waterproof sleeve or between layers to avoid moisture exposure.
- 09
Follow this 6-step morning application order
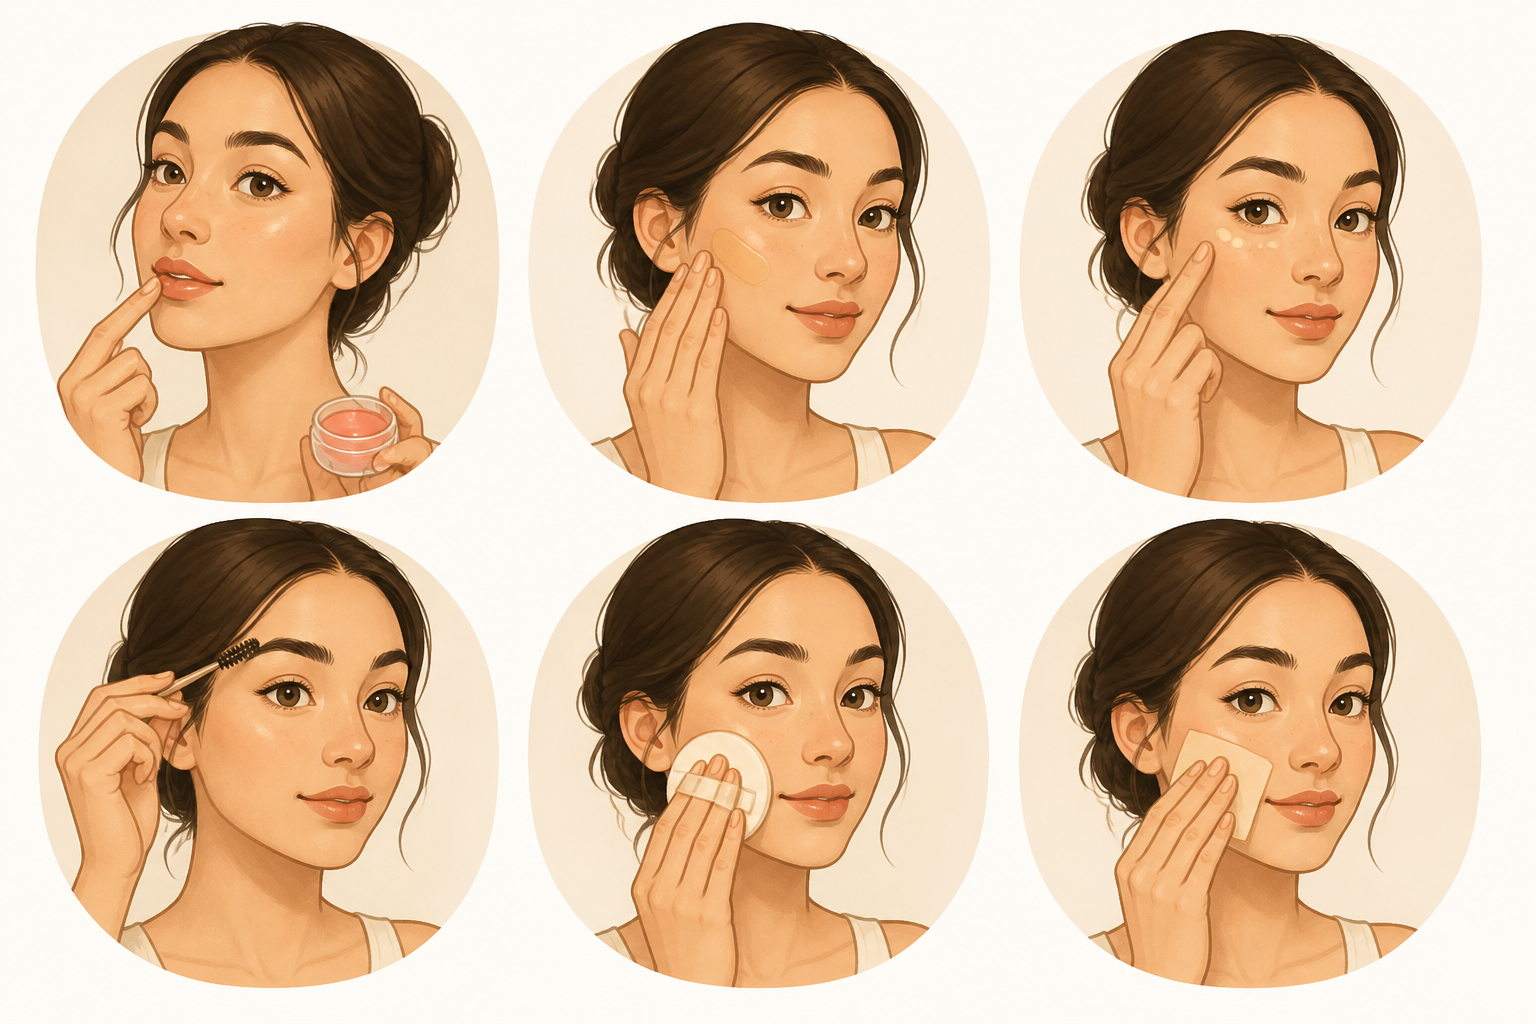
At your mirror: 1) apply the balm to lips and any dry patches, 2) smooth a pea-sized amount of tinted moisturizer across the face with fingers, 3) dab concealer only where needed and gently blend, 4) brush brows with clear gel or fill lightly with pencil, 5) set the T-zone and camera-prone areas with a light press of powder, and 6) use blotting papers mid-day for shine—no mirror acrobatics required.
- 10
Make it TSA-friendly every time
Place any tube or liquid ≤100 ml (3.4 fl oz) into the clear 1-quart bag and present it at security; keep solids like concealer sticks and balm in your carry-on but outside the liquids bag for quick access. If you prefer, swap any borderline liquid for a solid alternative to skip liquid rules entirely.
- 11
Quick test-run and refill notes
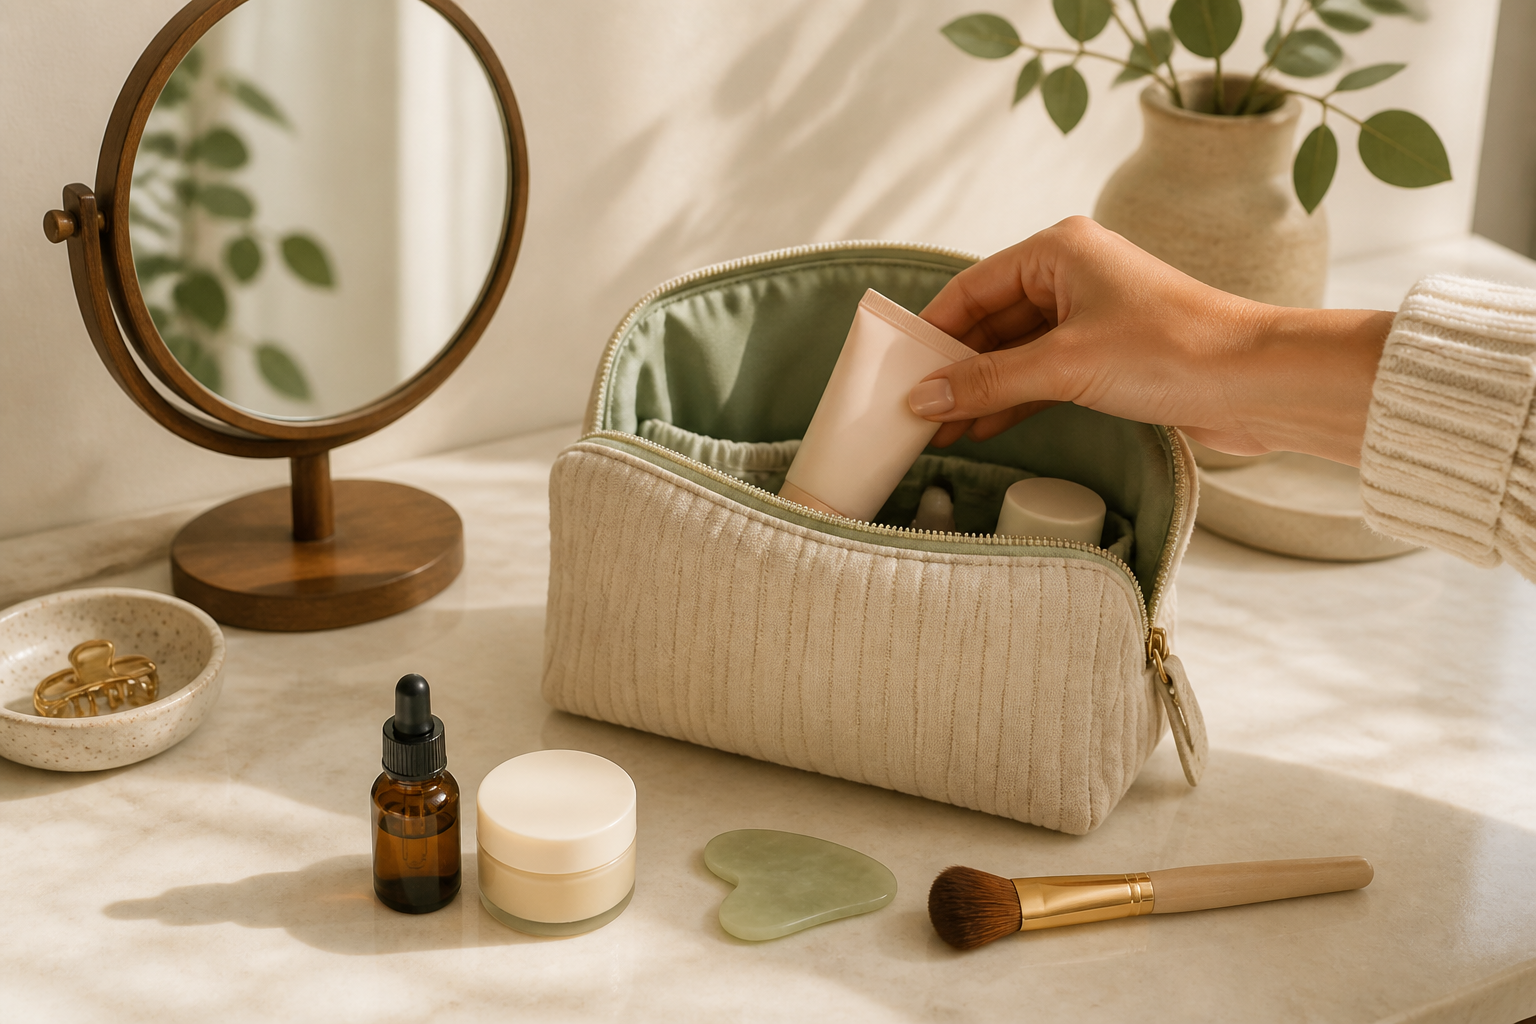
Before leaving, run the six-item routine once at home to confirm amounts and tools; if you used too much tinted moisturizer, decant less next time. For the return, wipe down tube threads, reseal the pouch, and consolidate half-empty products so you’re ready for the next trip.
If this was useful
Try one of these next
Home & life Listicle
6 makeup mistakes men make and exactly how to fix them, ranked by how obvious they are
A useful, mildly mischievous ranking of common slip-ups—too much product, mismatched shade, unblended edges, ignoring brows, shiny T-zone, skipping removal—with concrete fixes for each and a short test to confirm the problem is solved.
Read article
Home & life Listicle
5 subtle makeup looks matched to real occasions
Five pragmatic, low-drama makeup moods—ranked from the quietest to the most camera-ready—matched to actual situations. Each entry explains which features to nudge and which to leave alone so your face reads right for work, a first date, a photoshoot, a night out, or a stage/presentation.
Read article
Hobbies & crafts Listicle
Portrait photography colour palettes by zodiac: clothing and background matches
A photographer-friendly list of flattering palettes for each sign that helps you pick clothing, background and prop colours to flatter skin tones and convey personality. Includes notes on lighting, contrast and simple swap options for
Read article
Home & life Listicle
7 multitasking makeup and grooming products for men, ranked for simplicity
A ranked list of seven versatile, low-effort items (tinted moisturizer, clear brow gel, color-correcting concealer, etc.) chosen for how many problems each solves and how easy they are to use. Practical pros/cons and a one-line best-use tip
Read article