Learning
How to Make DIY Flashcards That Actually Stick
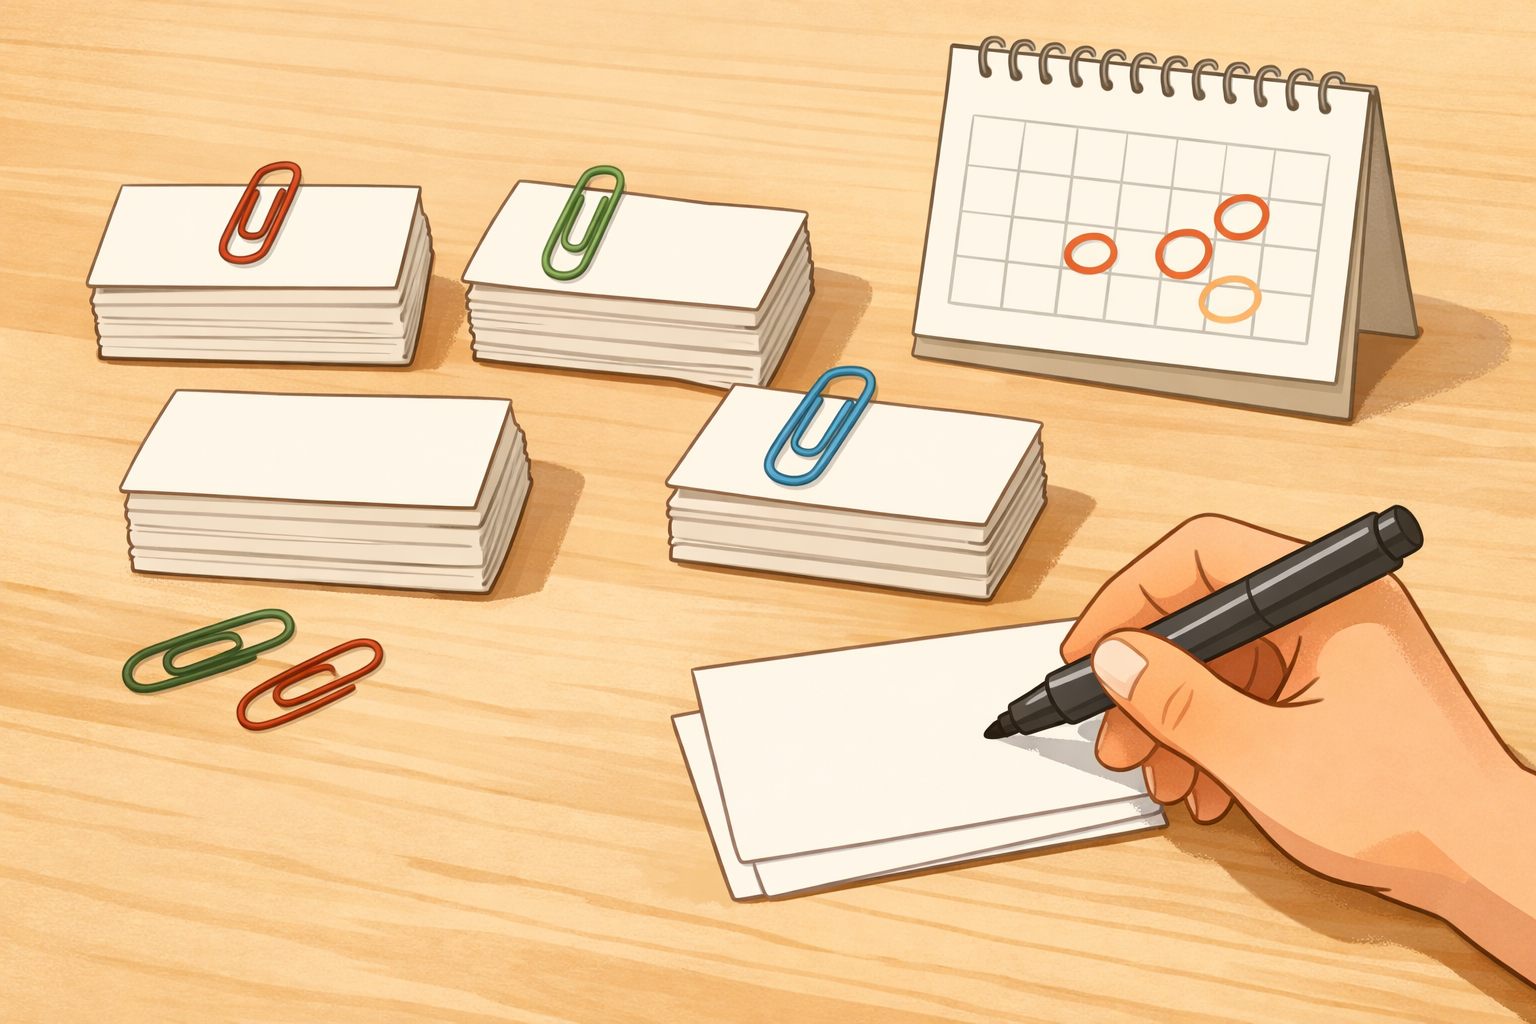
Create clear, one-word-per-card flashcards with a picture or example phrase, sort them into “know,” “review,” and “learn” piles, and revisit them on a simple spaced schedule to make what you study easier to remember.
- 01
Pick one focused topic
Choose a narrow theme for your first set (for example, 20–30 related vocabulary words or key terms from one chapter). A tight scope keeps cards consistent and easier to review together.

- 02
Gather simple tools
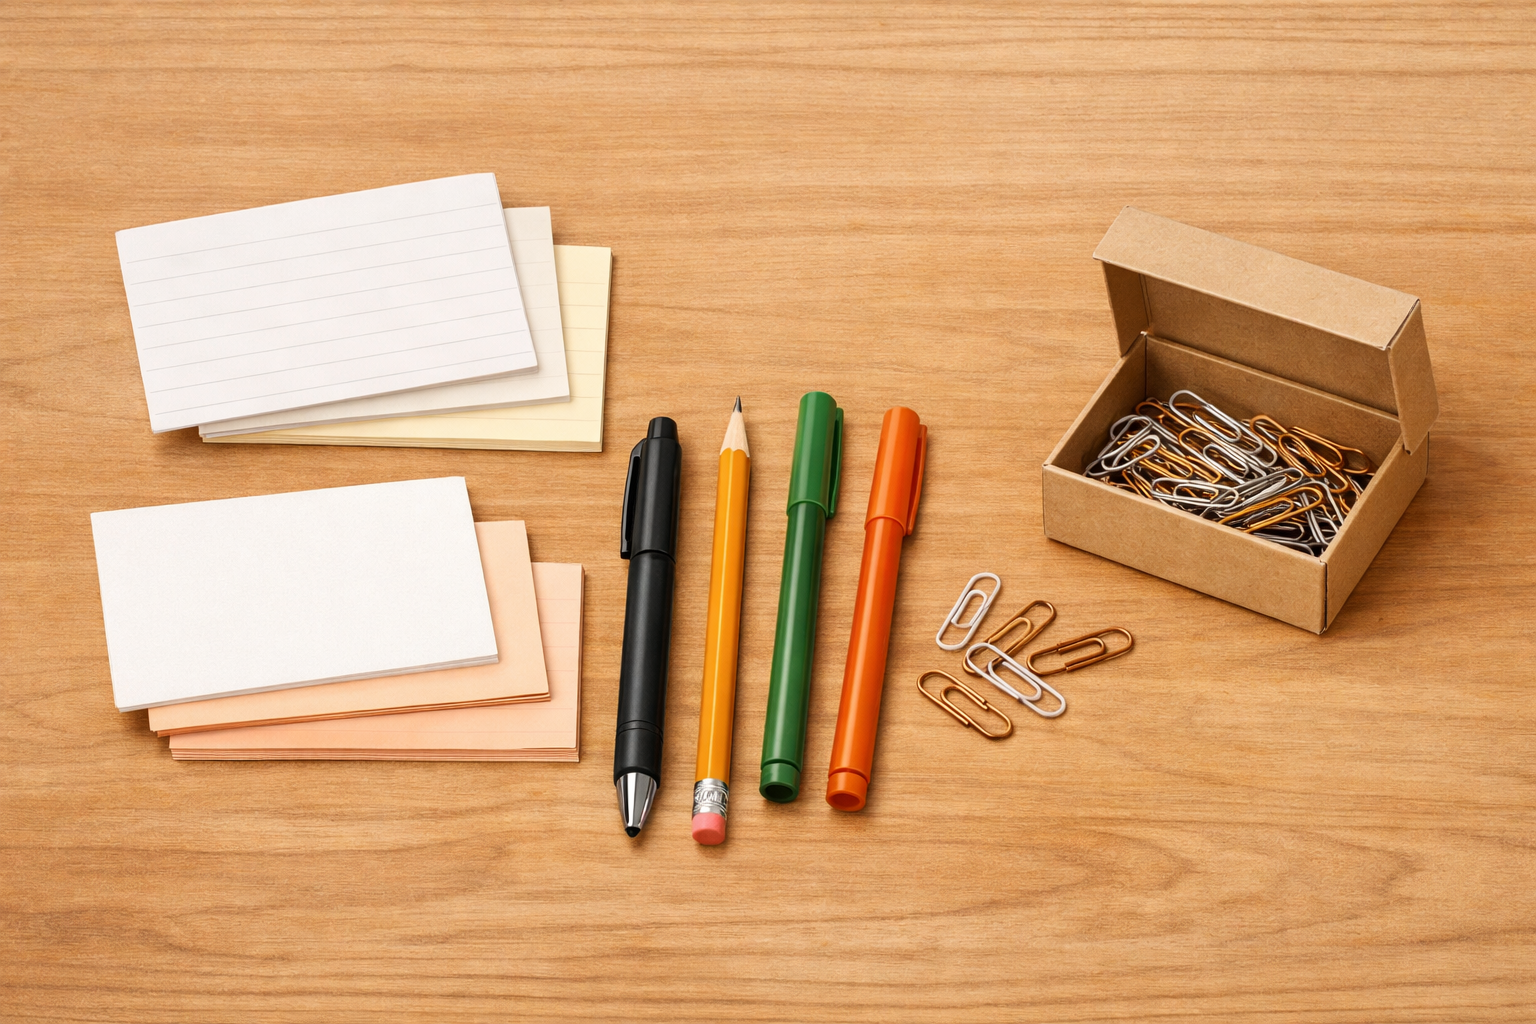
Use blank index cards, a fine-tip dark pen for the main term, a pencil for drafts, colored pens or a highlighter for cues, and paperclips or dividers to group piles. Keep everything in a small box or banded bundle.
- 03
Decide your card layout
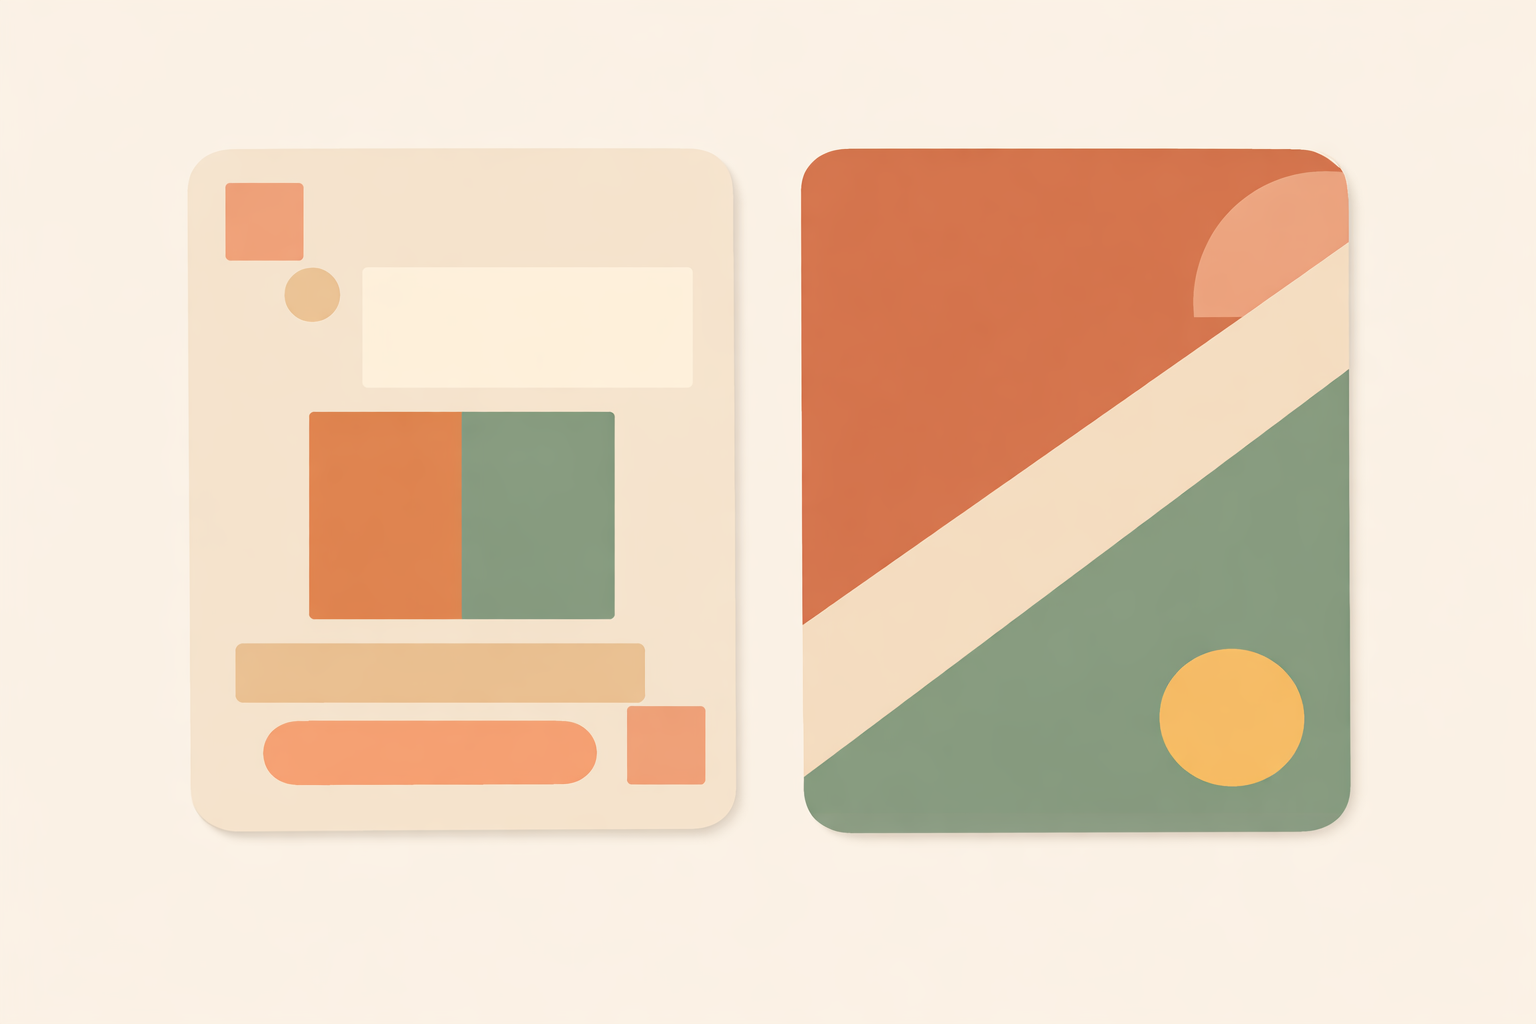
Keep one side for the prompt (front) and the other for help (back). Use a consistent spot for each element so your eyes know where to look every time.
- 04
Write one clear term on the front
Put just one word, symbol, or question on the front. Make it large and bold so you can read it at a glance without squinting or guessing.
- 05
Add a picture or example on the back
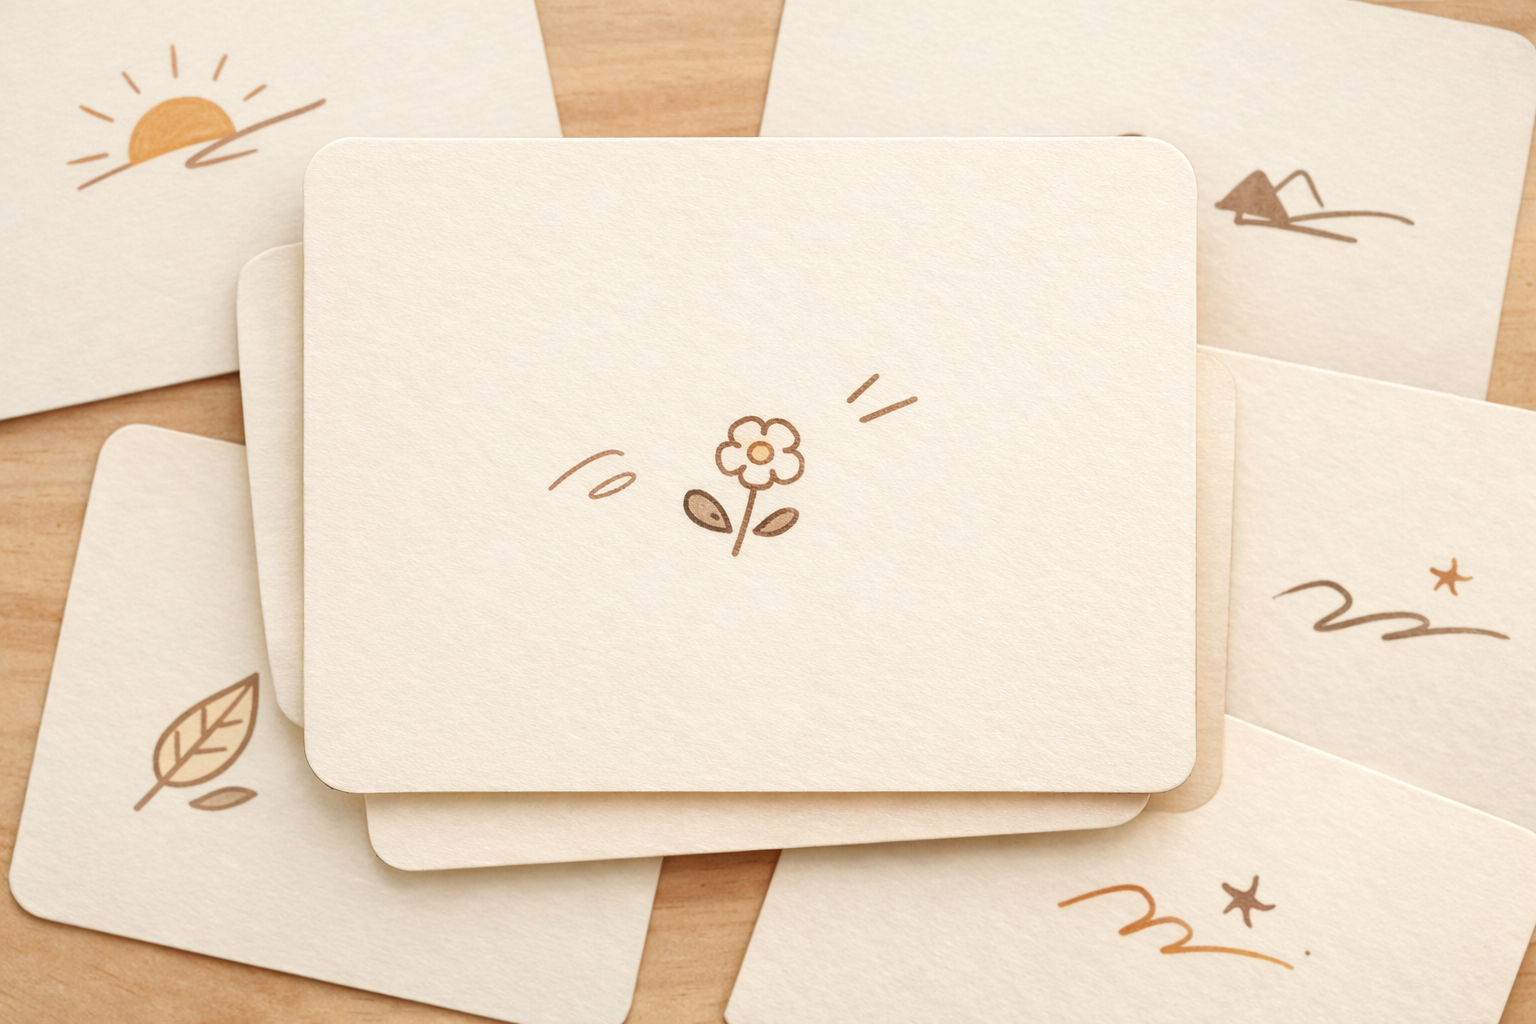
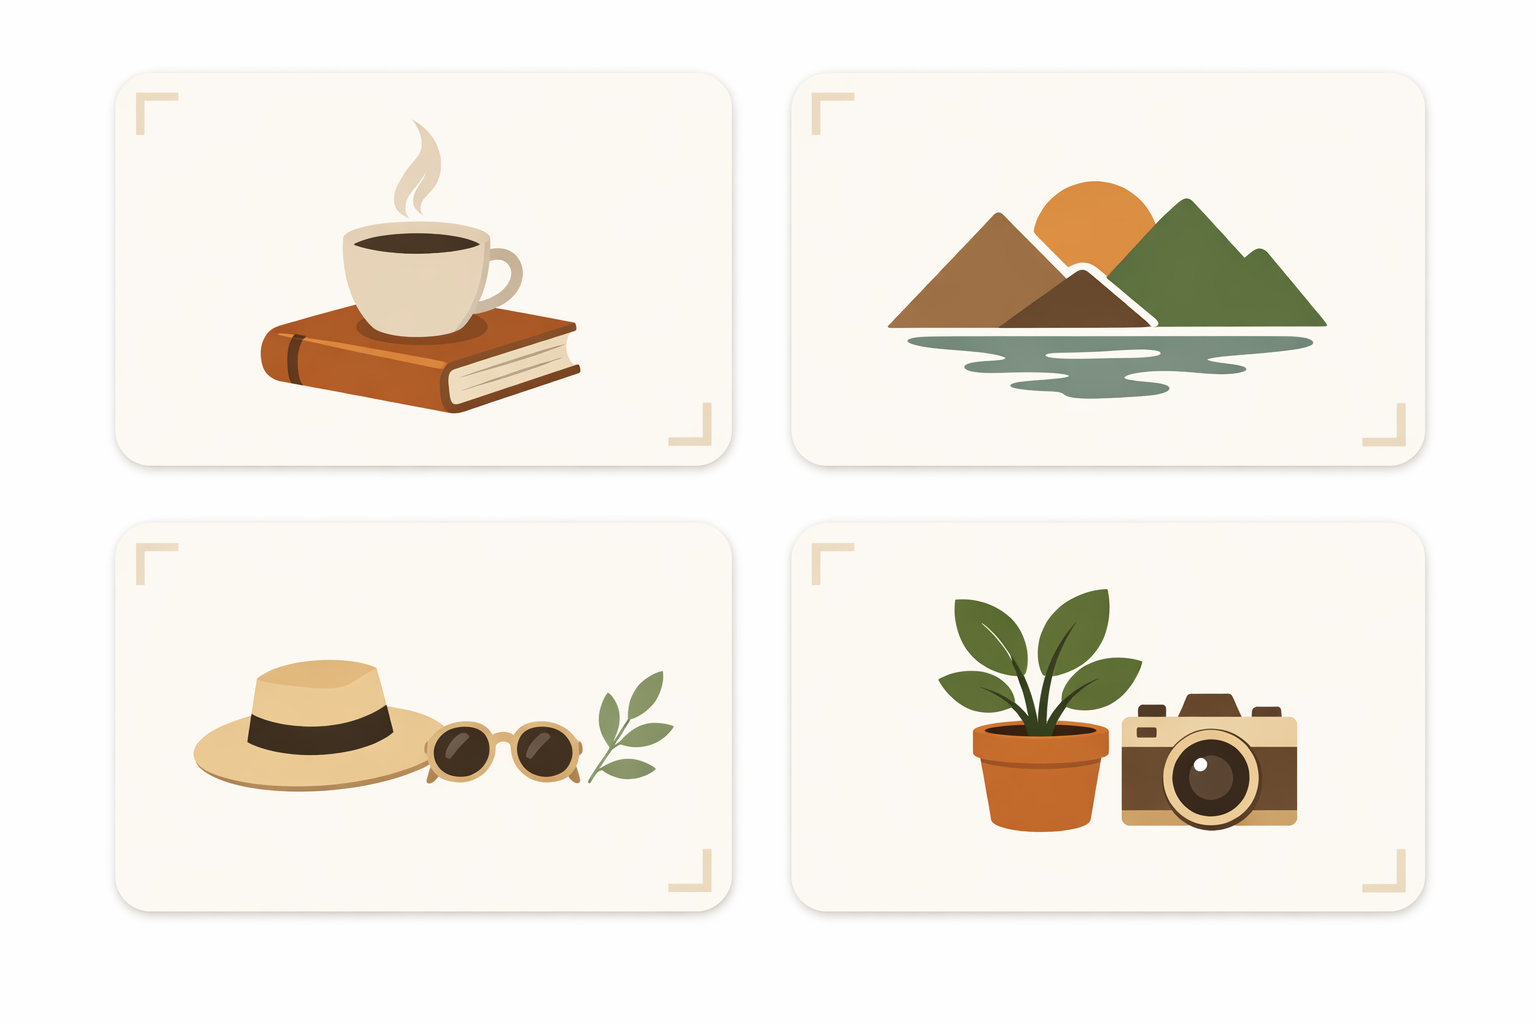
On the back, include a short definition plus either a tiny sketch or an example phrase. The picture or phrase anchors the idea in a concrete way without clutter.
- 06
Keep it clean and readable
Use dark ink for the term and light color only for gentle cues (like topic color). Leave generous white space. If handwriting is hard to read, print clearly or use block letters.
- 07
Make a small starter batch
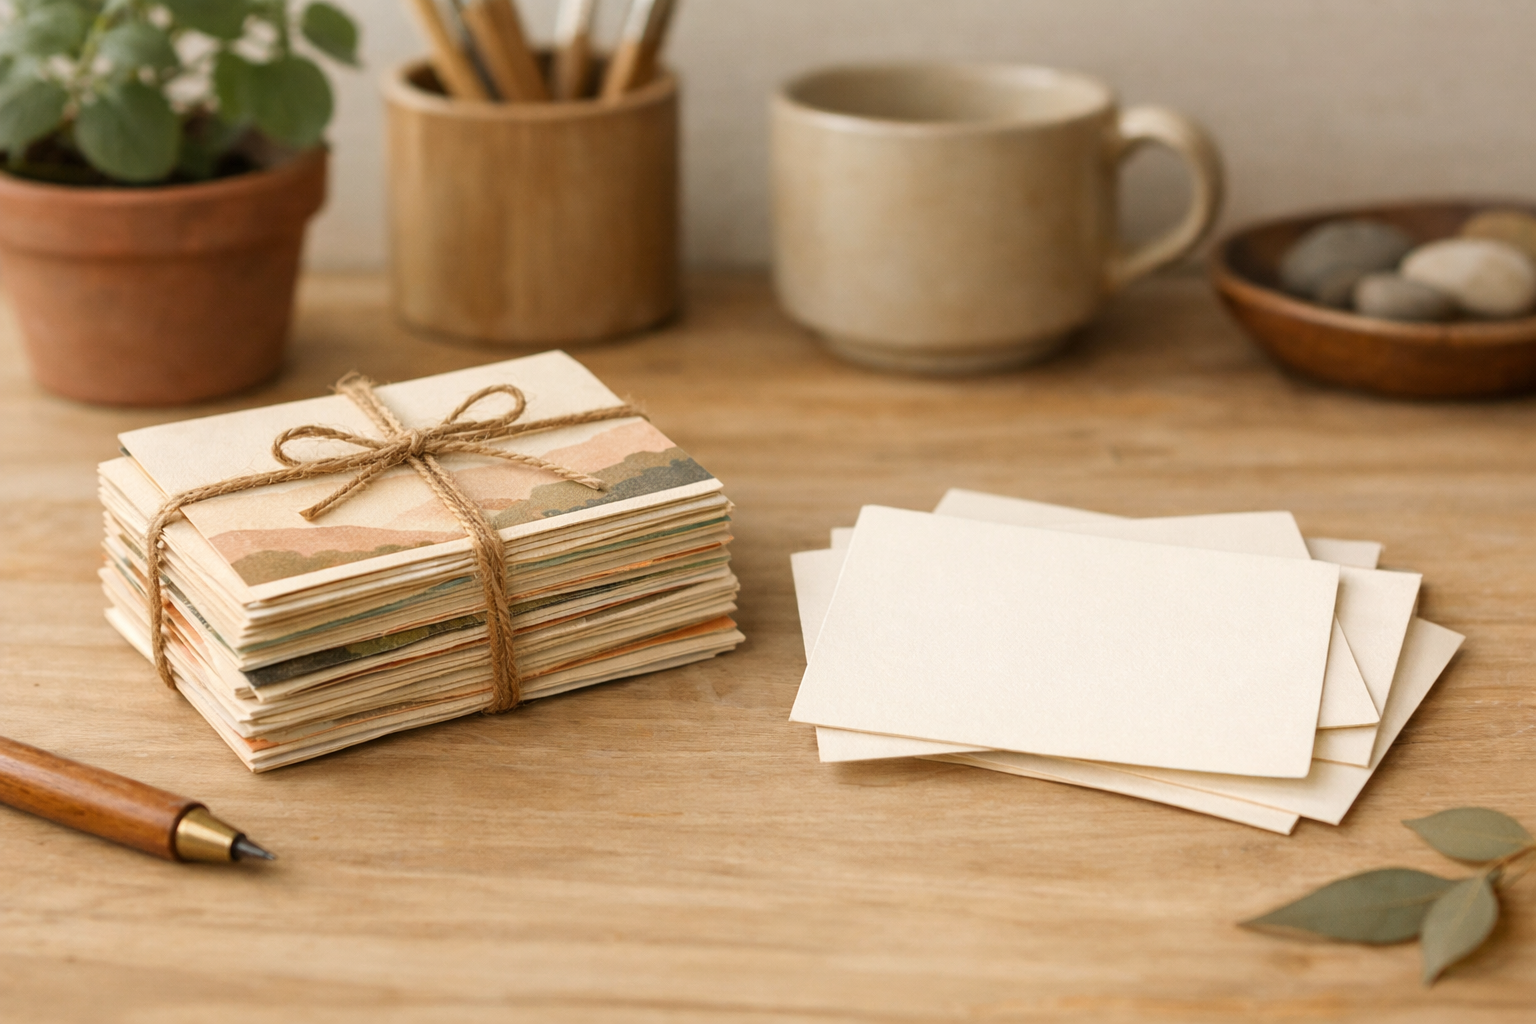
Create a first batch you can review in a single short session. Stop when the writing quality slips; it’s better to have a few excellent cards than many messy ones.
- 08
Test yourself once and sort into three piles
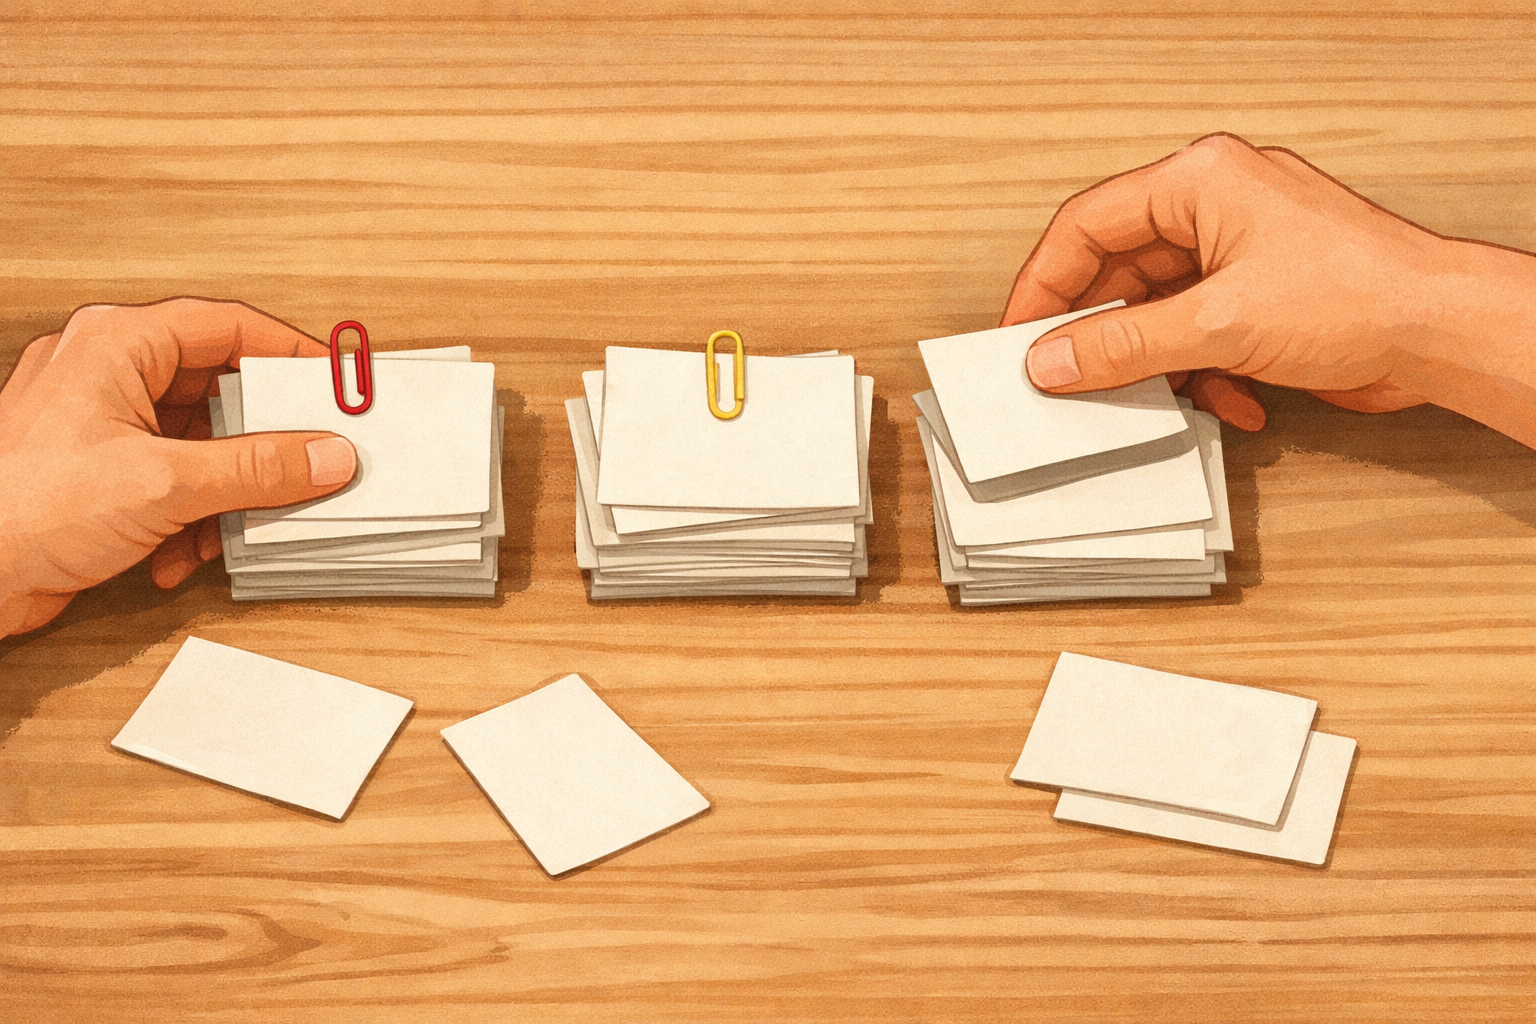
Go through the batch front-first. Say the answer before turning the card. Sort into three piles: Learn (missed), Review (hesitant), and Know (easy and quick). Be honest and consistent.
- 09
Plan a simple spaced schedule
Revisit Learn cards the same day, then the next day. Review cards come back later in the week. Know cards cycle back less often. If a card feels hard, move it to a more frequent pile.
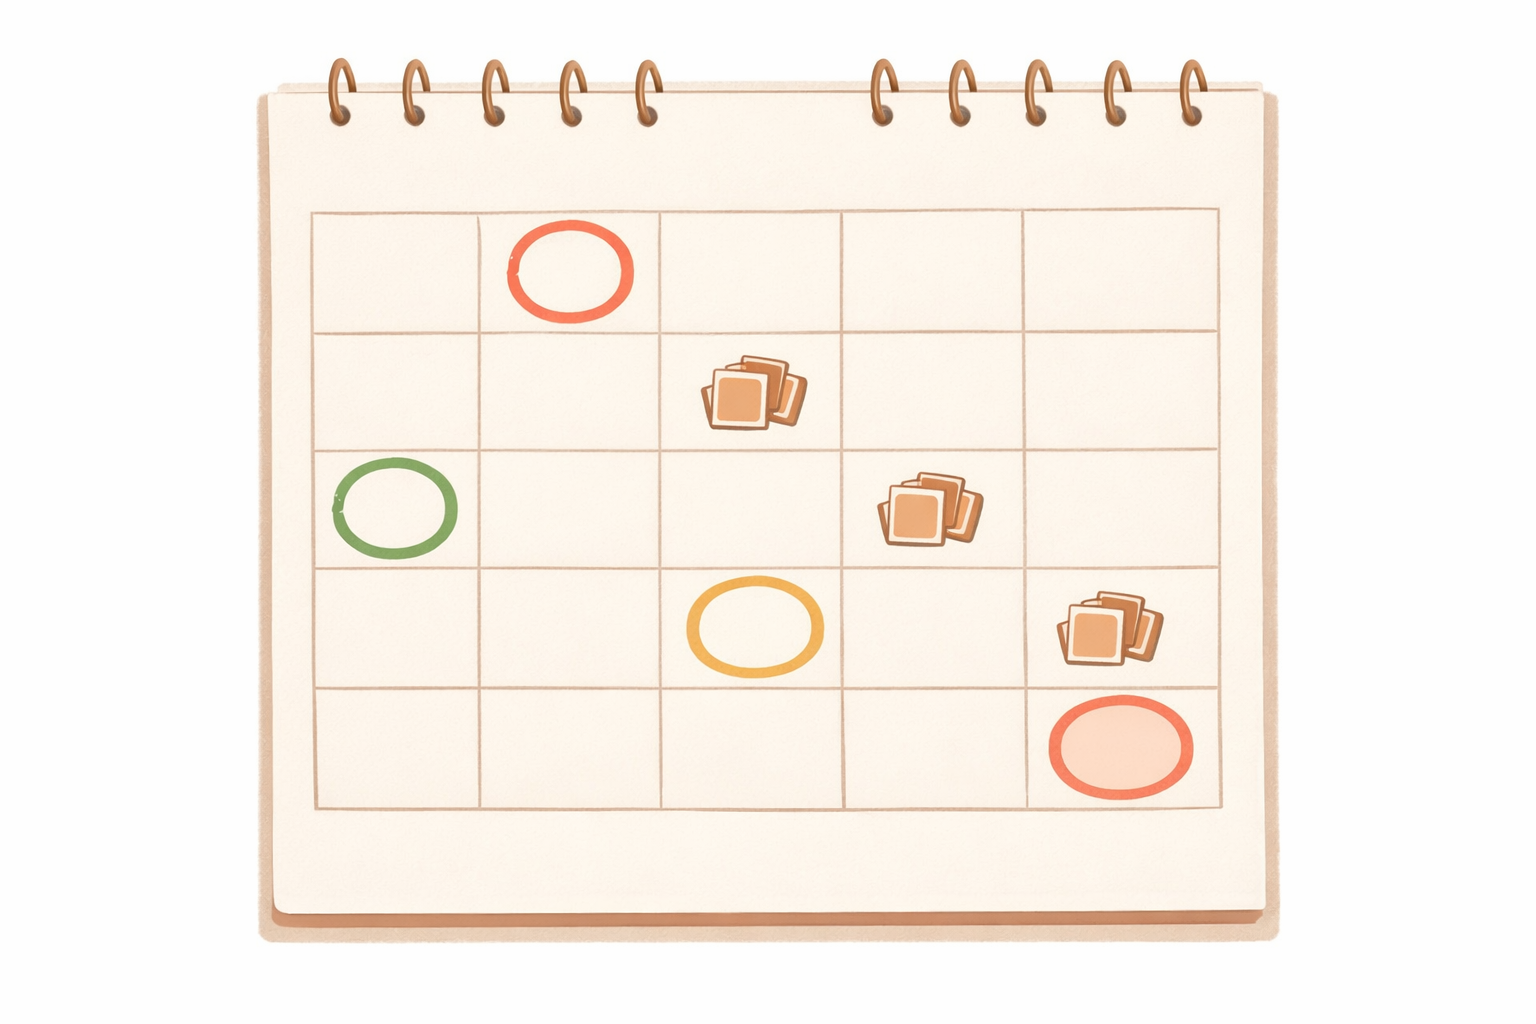
- 10
Set up an easy storage system
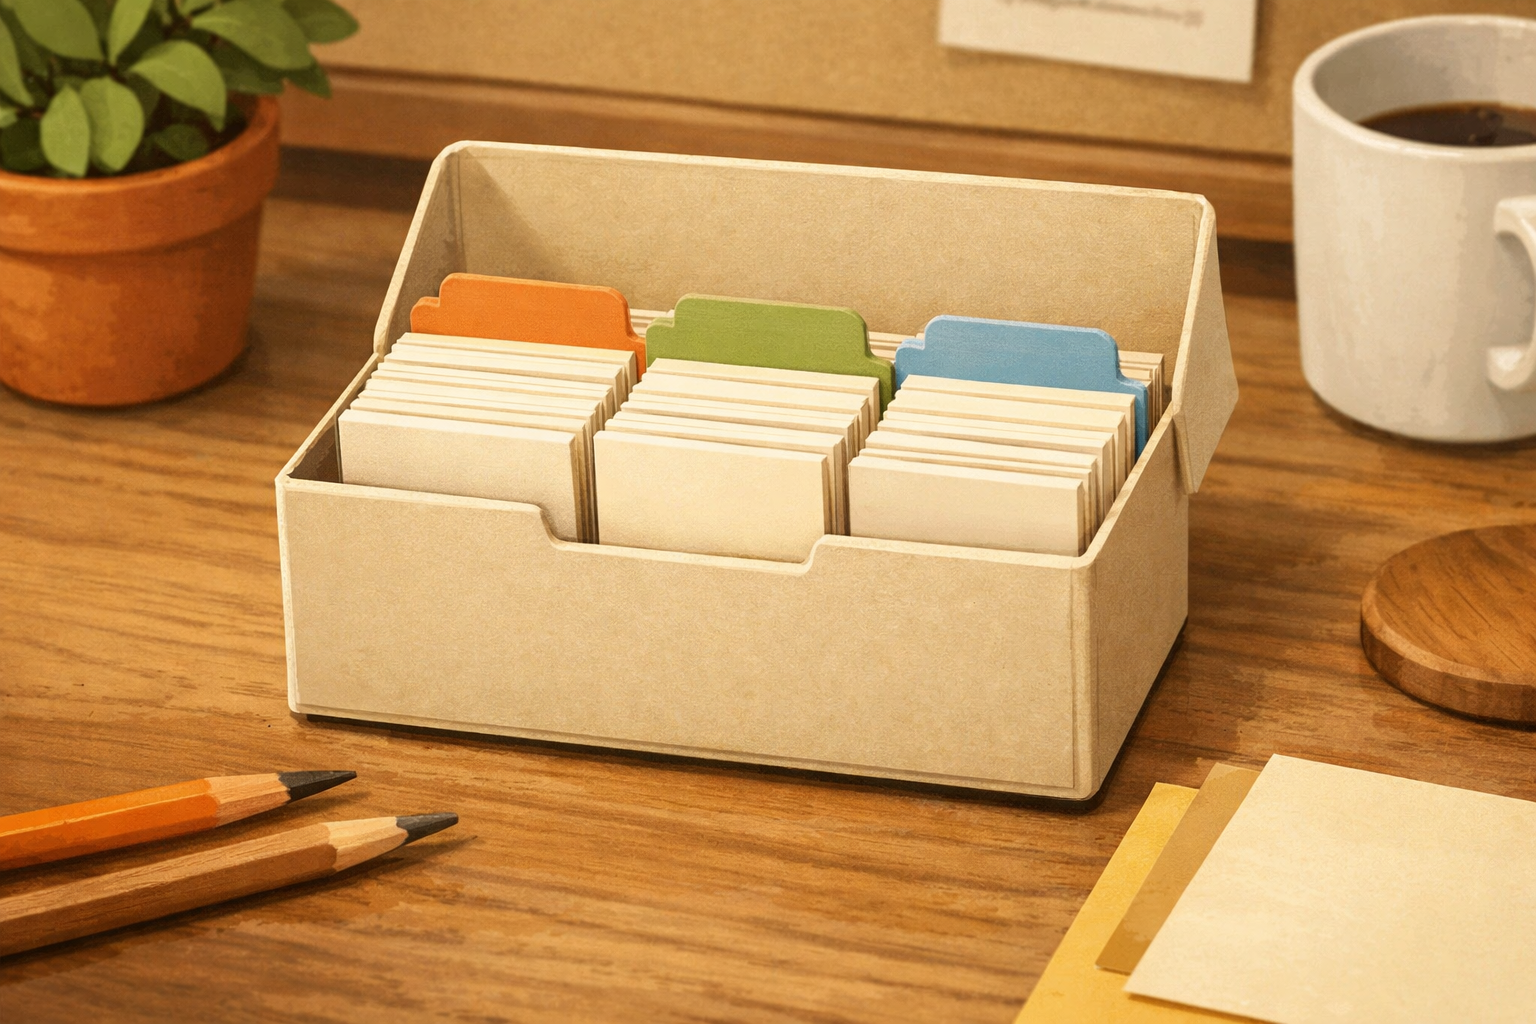
Create three sections in a box or with rubber-banded groups: Learn (frequent), Review (occasional), and Know (infrequent). Move cards forward or back based on how confidently you recall them.
- 11
Run short, focused sessions
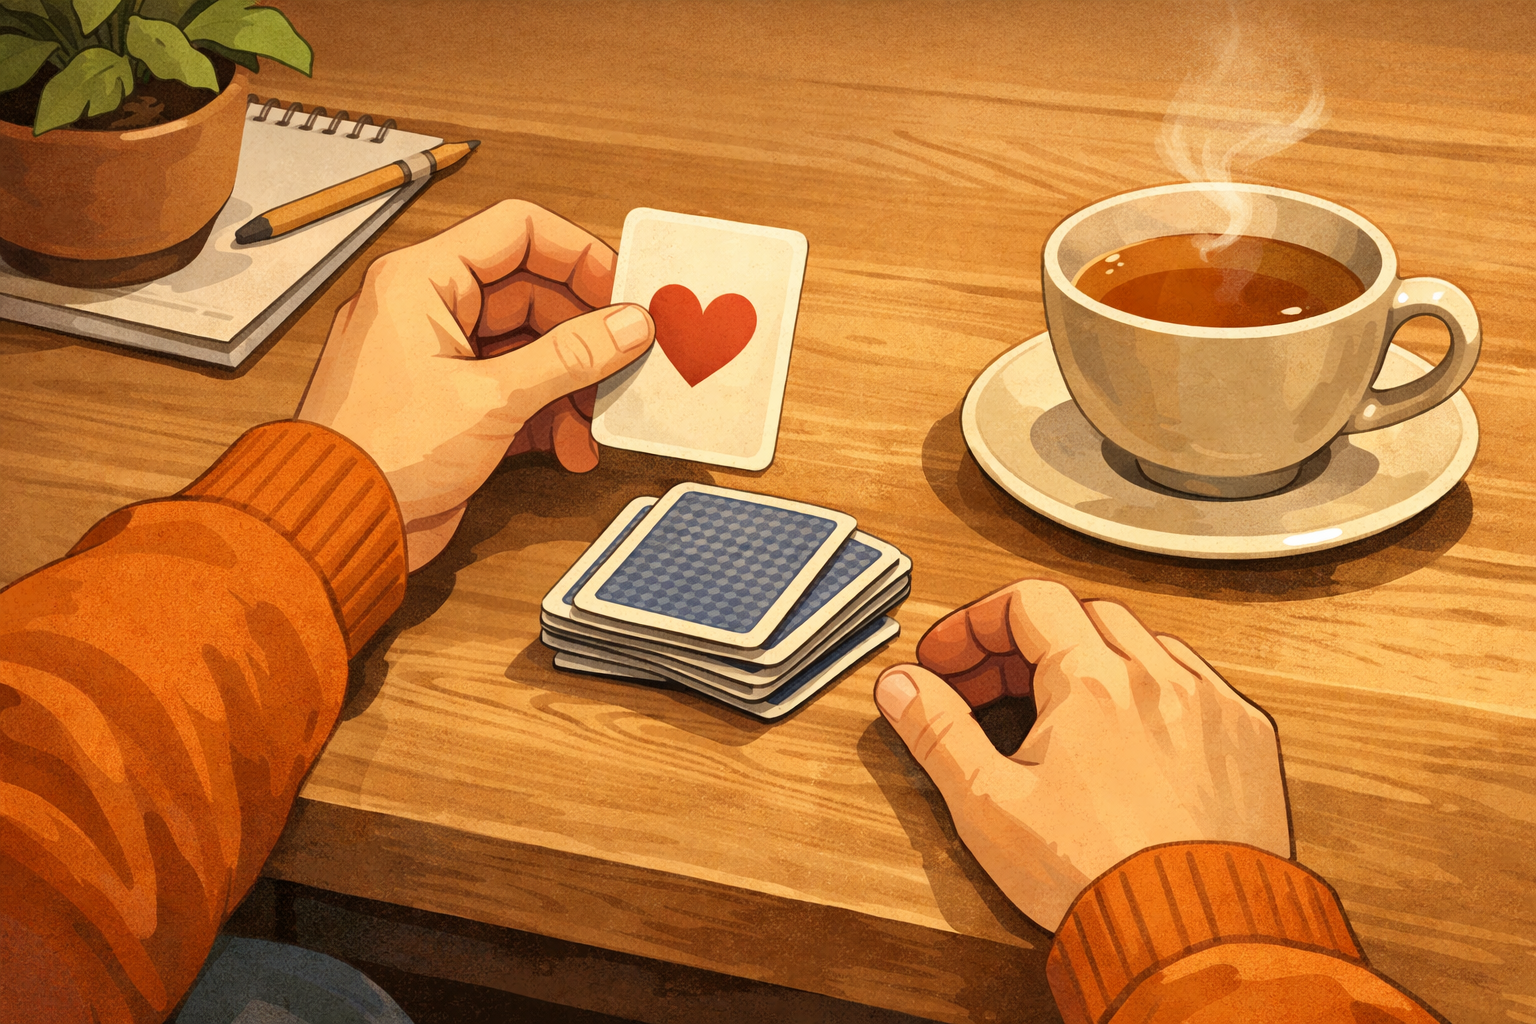
Shuffle each pile. For each card, look at the front, answer out loud or in writing, flip to check, and re-file it. Mix in quick breaks between piles to stay fresh.
- 12
Maintain, refresh, and retire
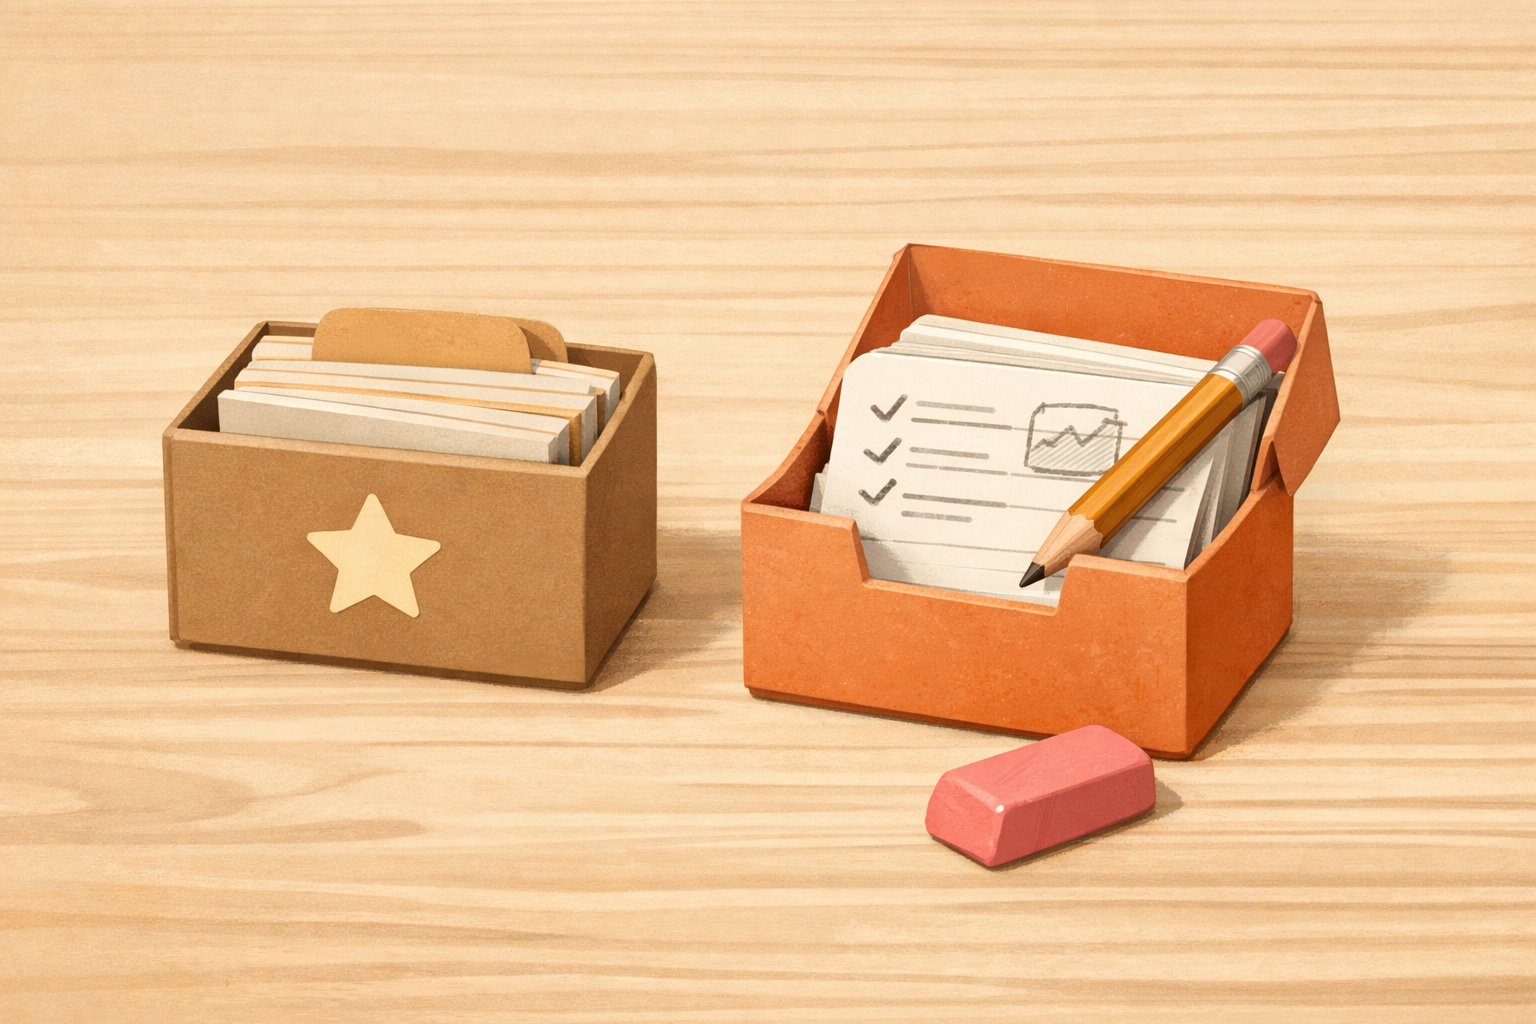
When a Know card stays easy across several returns, archive it. If a card keeps failing, rewrite it clearer or split it into two simpler cards. Add new cards gradually and keep piles balanced.
If this was useful
Try one of these next

Bike & travel
How to Practice Small‑Talk Phrases Before a Trip
Build short scripts for greetings, ordering, and asking directions, record yourself and repeat, and pack a pocket card with 10 go‑to lines you can say smoothly.
Read the guide
Hobbies & crafts
How to Learn a Song in a New Language (Even If You’re Not Musical)
Choose a slow, clear song, look up the lyrics and mark unknown words, loop the chorus to memorize pronunciation, and sing along softly to lock in sounds and phrases.
Read the guide
Learning
How to Set Up a 15‑Minute Daily Language Routine You Can Keep
Pick a consistent time, split 15 minutes into review, new words, and quick speaking, and track progress with a simple checklist so you build momentum without burning out.
Read the guide
Home & life
How to Label Your Home to Learn Everyday Words
Use small sticky notes to label 30–50 common items (door, window, cup), say each word aloud during chores, and rotate labels weekly to steadily expand vocabulary.
Read the guide