Making & Mischief How-to
How to craft a sacrificial name‑tag that soaks up all applause and awkward praise
Five to ten clear craft steps to build a glittering decoy badge designed to draw compliments, applause and the 'you did great' nods—materials list, attachment hacks and three diversion lines to mutter while you melt into chips.
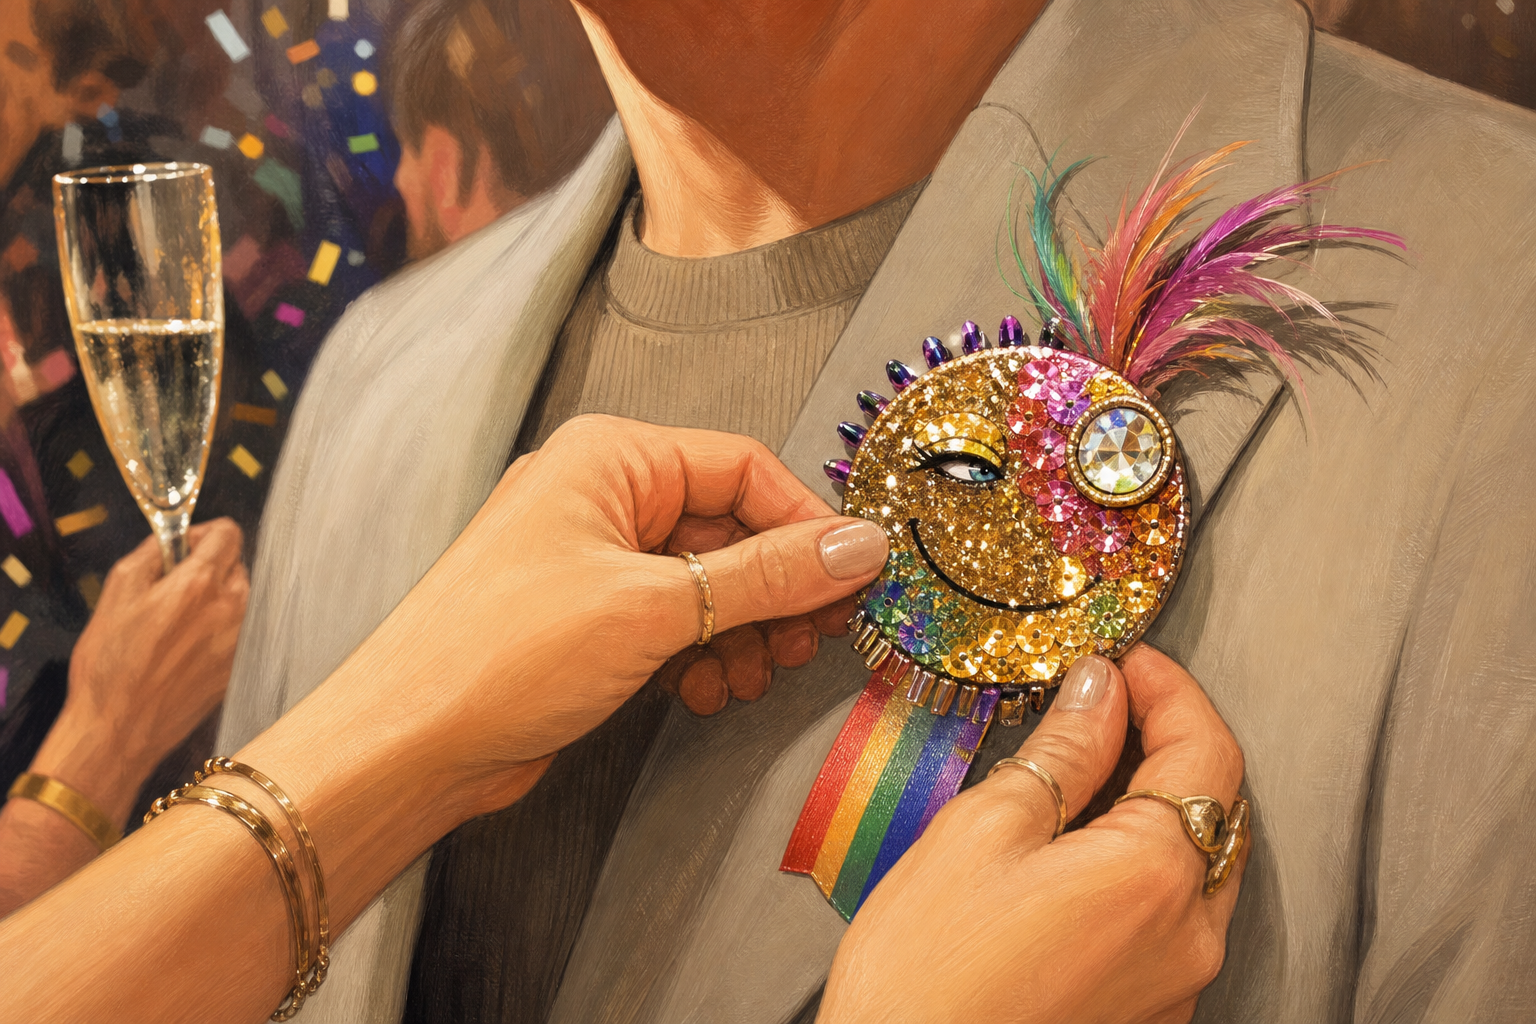
- 01
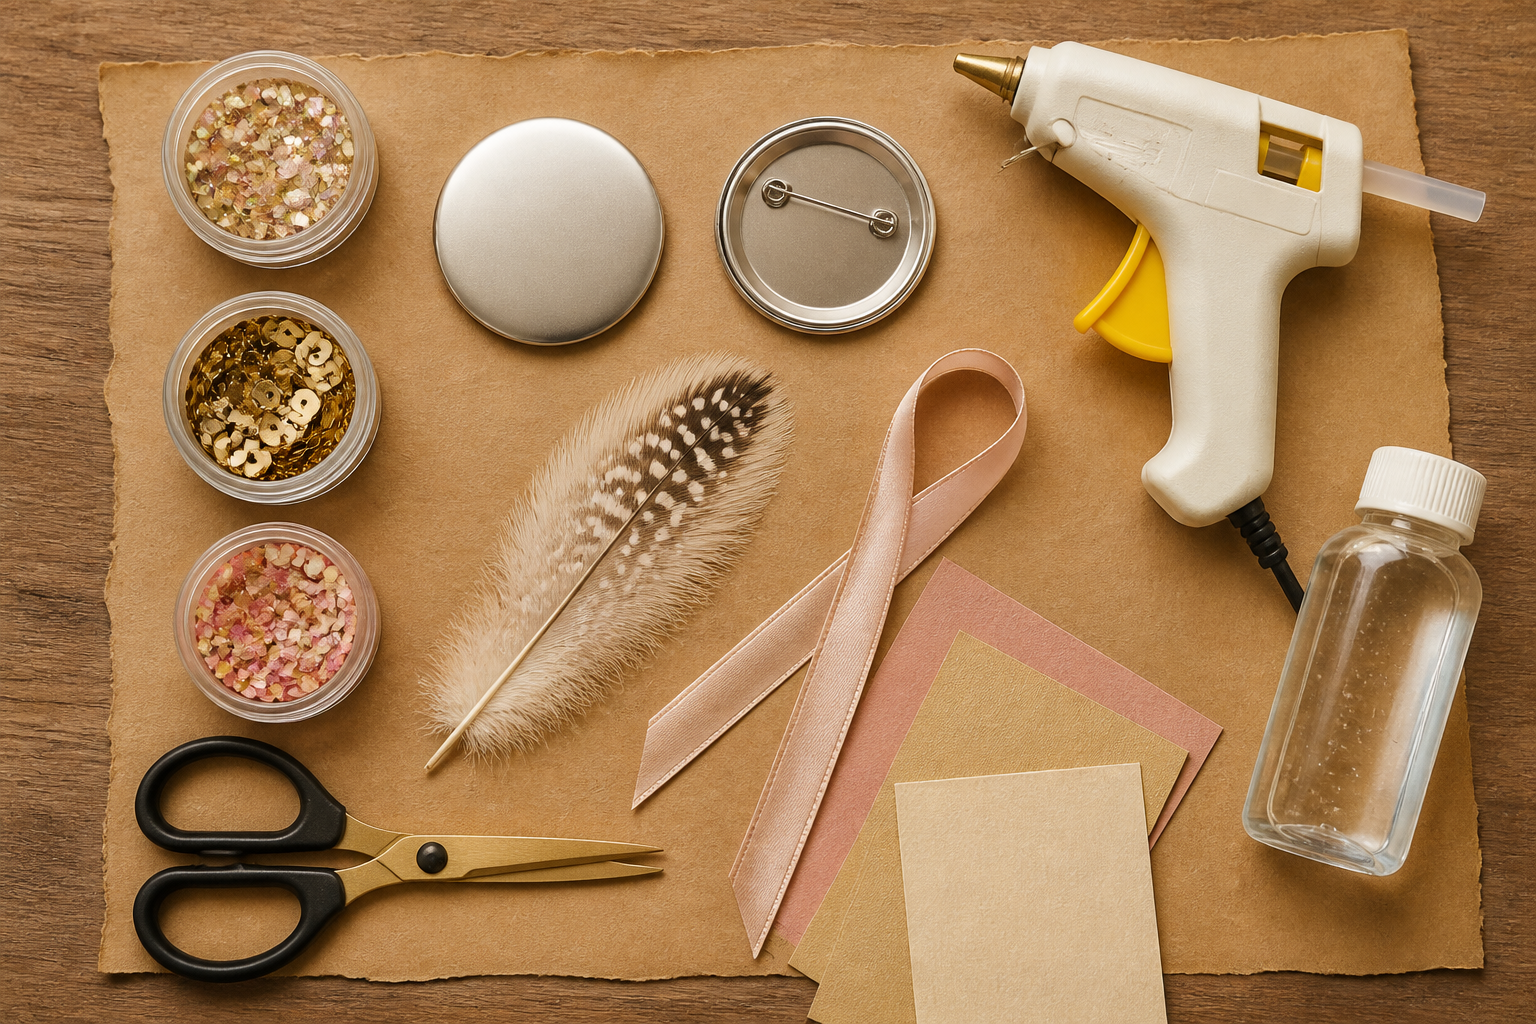
Assemble your sacrificial altar (materials)
Gather a round badge blank or 3–4 inch felt disc, a brooch pin or magnetic backing, clear-drying craft glue, a hot glue gun, chunky glitter and small sequins, a short length of narrow ribbon, a mini feather or tassel, and a clear sealer (Mod Podge or spray). Lay everything out on scrap paper so glitter fallout is contained.
Keep a scrap of sturdy cardstock and scissors handy for reinforcement and a damp cloth for quick glue wipes.
- 02
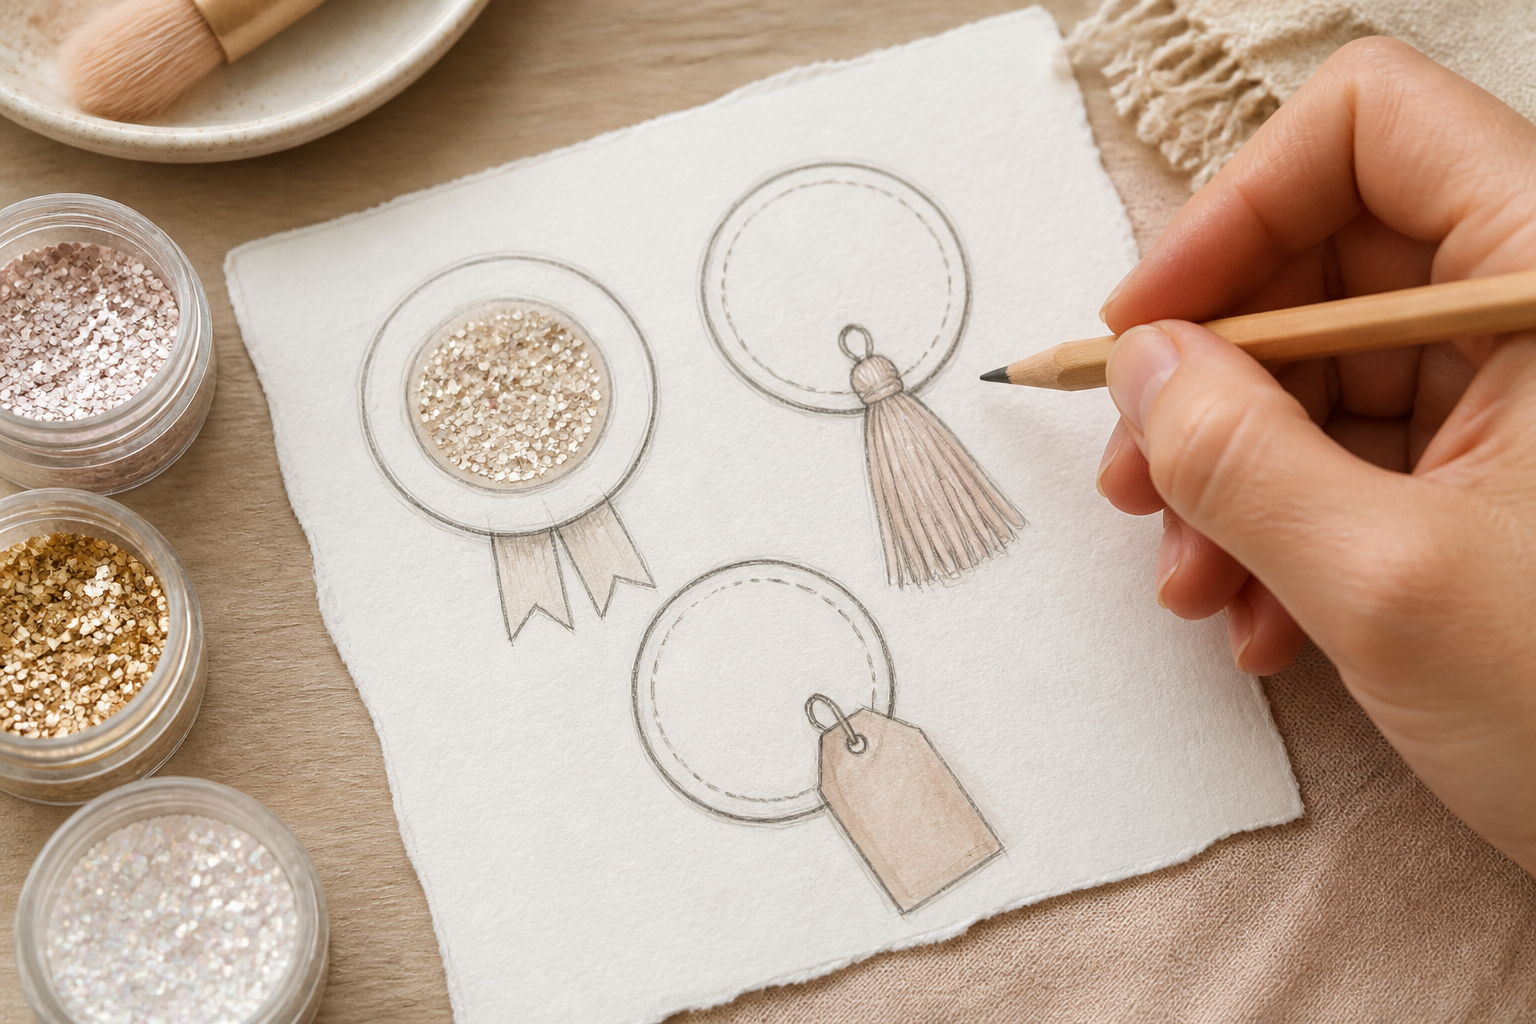
Design the attention-magnet layout
Decide where the visual focal point will sit — center for a glitter sunburst, off-center for a tassel or feather. Sketch the plan on scrap paper and choose one dominant texture (glitter, sequin cluster, or feather) so the eye locks onto the decoy instantly.
If you want a verbal bait line, prepare a tiny cardstock tag with a short phrase like 'Applause Receptacle' to tuck under embellishments, but do not make reading it necessary for the attention to land on the badge.
- 03
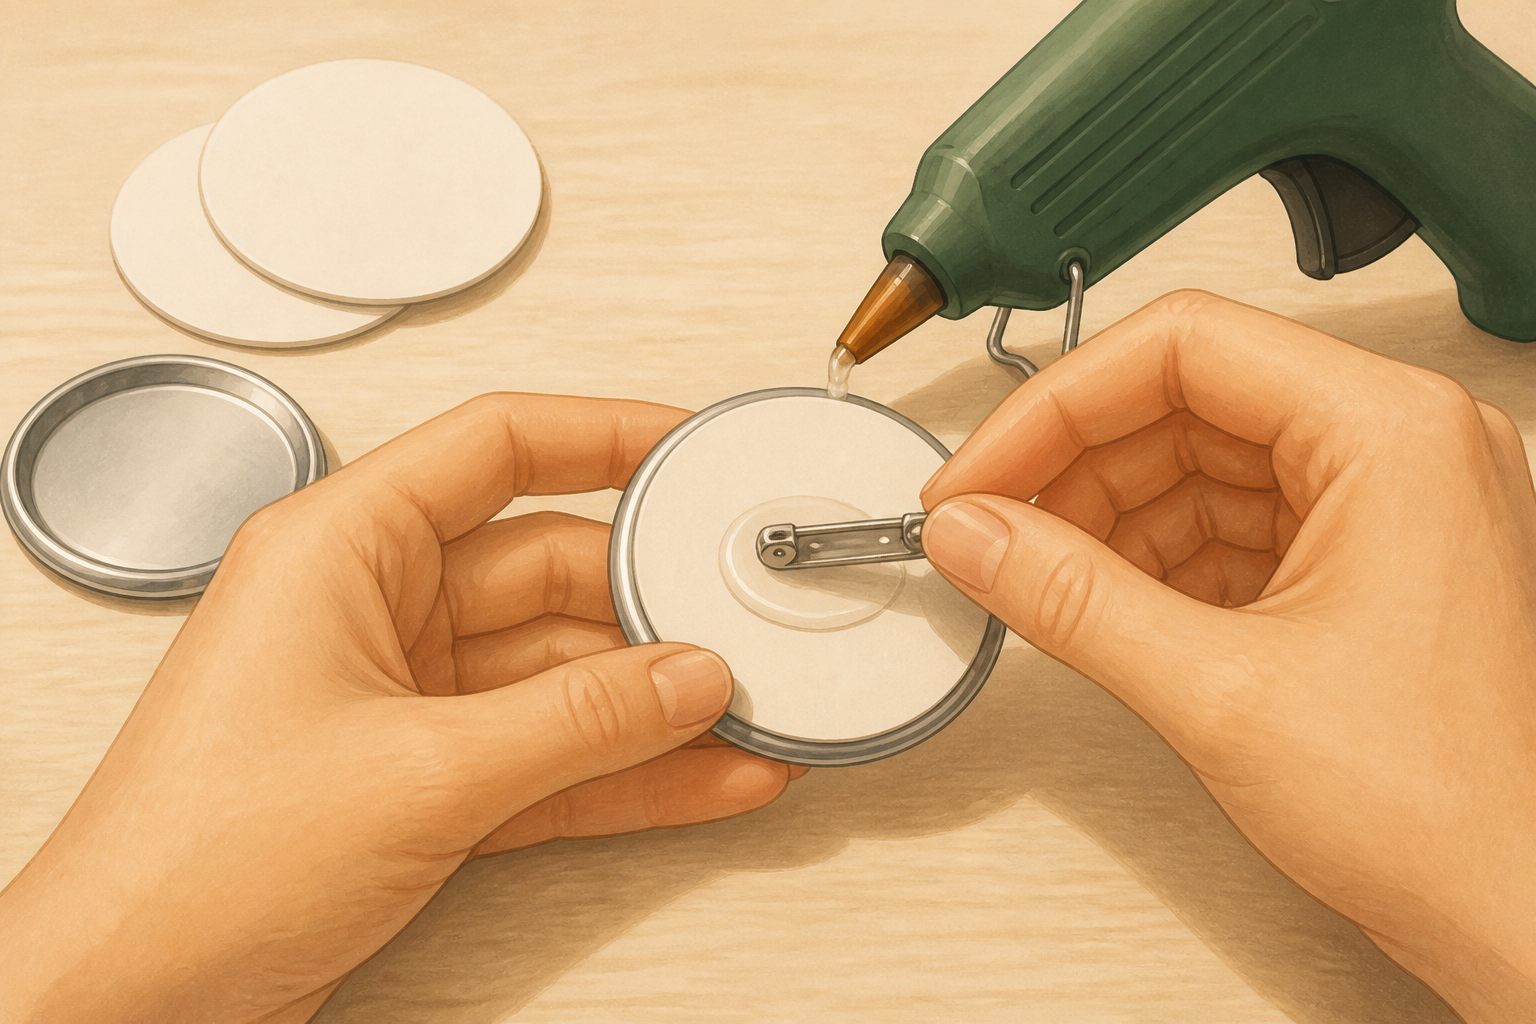
Reinforce the base and attach the pin
Cut a cardstock disc the same size as the badge and glue it to the badge back with hot glue to create a rigid platform. Press the brooch pin into the hot glue while still tacky, hold until cool, and add a second dab of glue around the metal base for extra insurance.
If you prefer magnets, instead glue a 1–1.5 inch adhesive magnetic disc to the center of the cardstock instead of a pin; reinforce with hot glue around the edges.
- 04
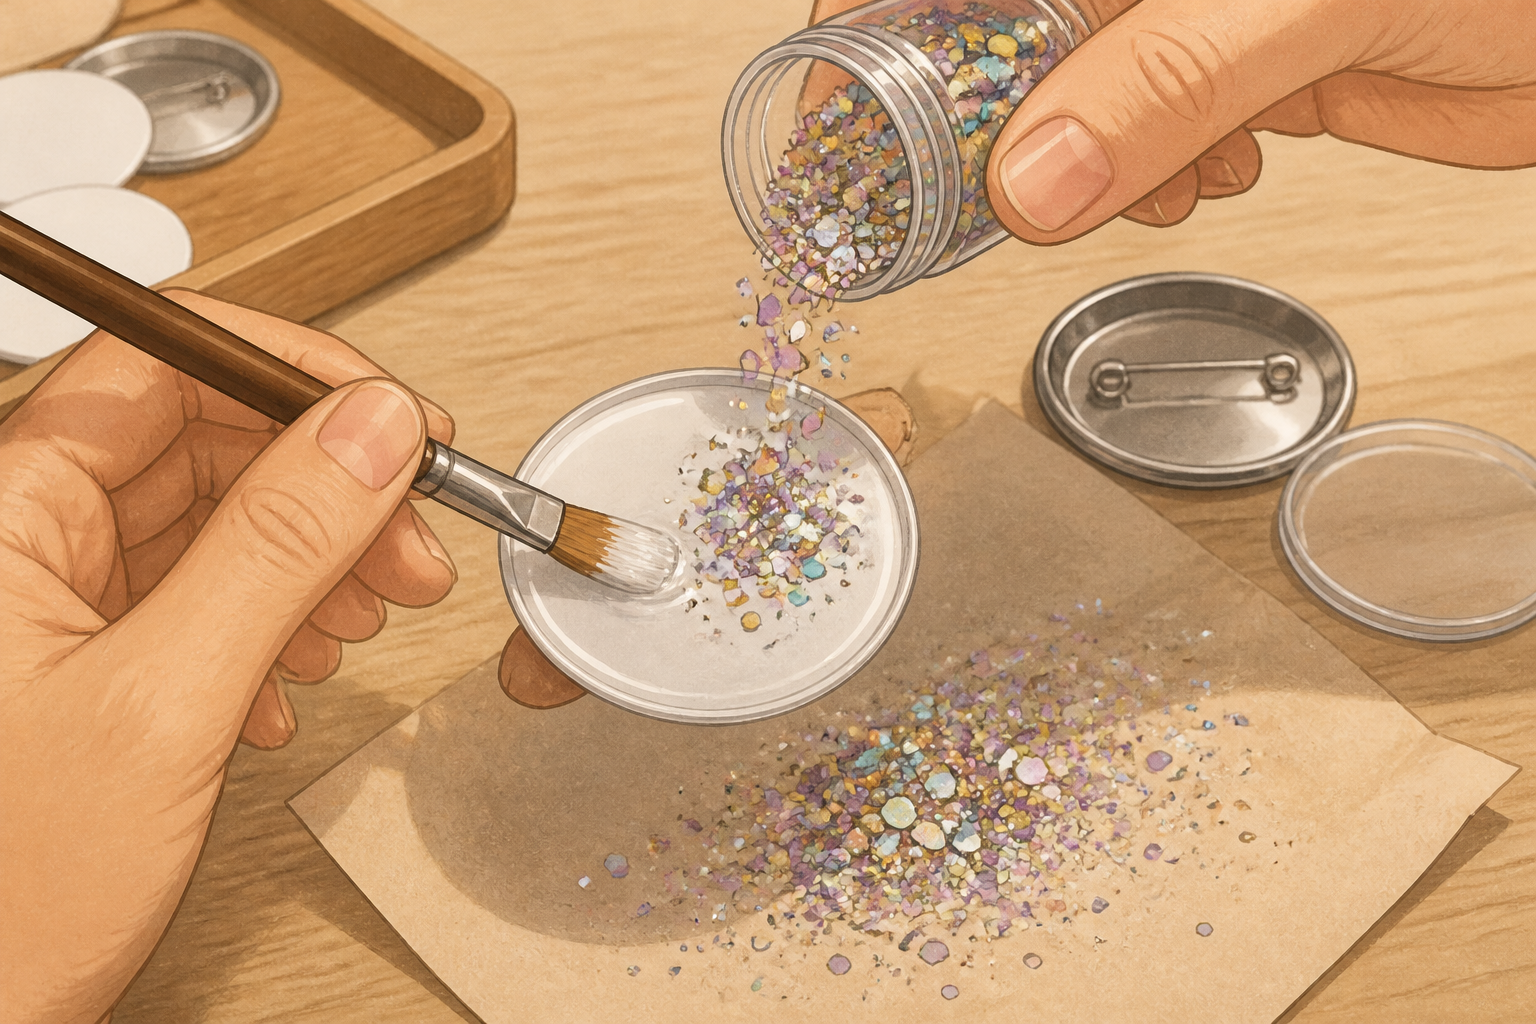
Lay down your first glitter field
Brush a thin even coat of clear-drying craft glue on the badge front in the area you want glittered, then sprinkle the chunky glitter generously and press lightly so it adheres. Shake off excess onto scrap paper and repeat in layers until coverage looks luxuriously chaotic.
Work in small zones so glue doesn’t dry before you press glitter; use tweezers to place larger sequins precisely onto the still-wet glue.
- 05
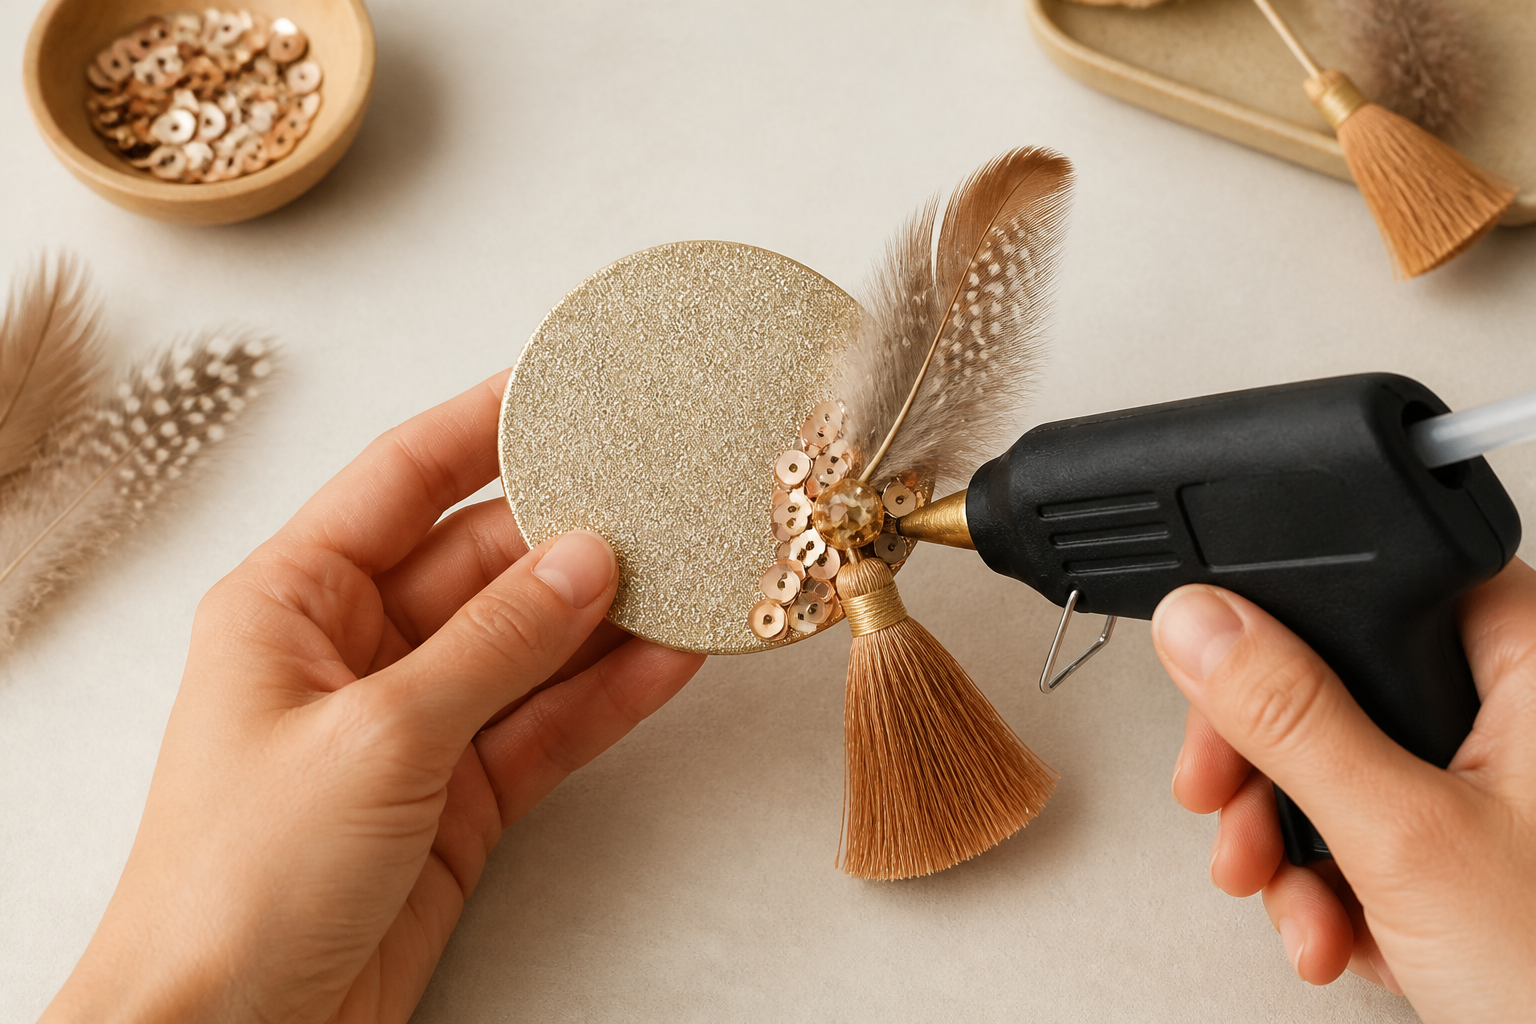
Affix the three-dimensional focal
Hot-glue the feather, tassel or tiny pompom slightly off-center so it becomes the conversational spike. Use a small dab of glue under the base and press for 10 seconds; add a ring of sequins around the join to disguise the glue and create sparkle continuity.
If you want extra theatrics, glue a short ribbon loop under the focal point so it flutters subtly as you move.
- 06
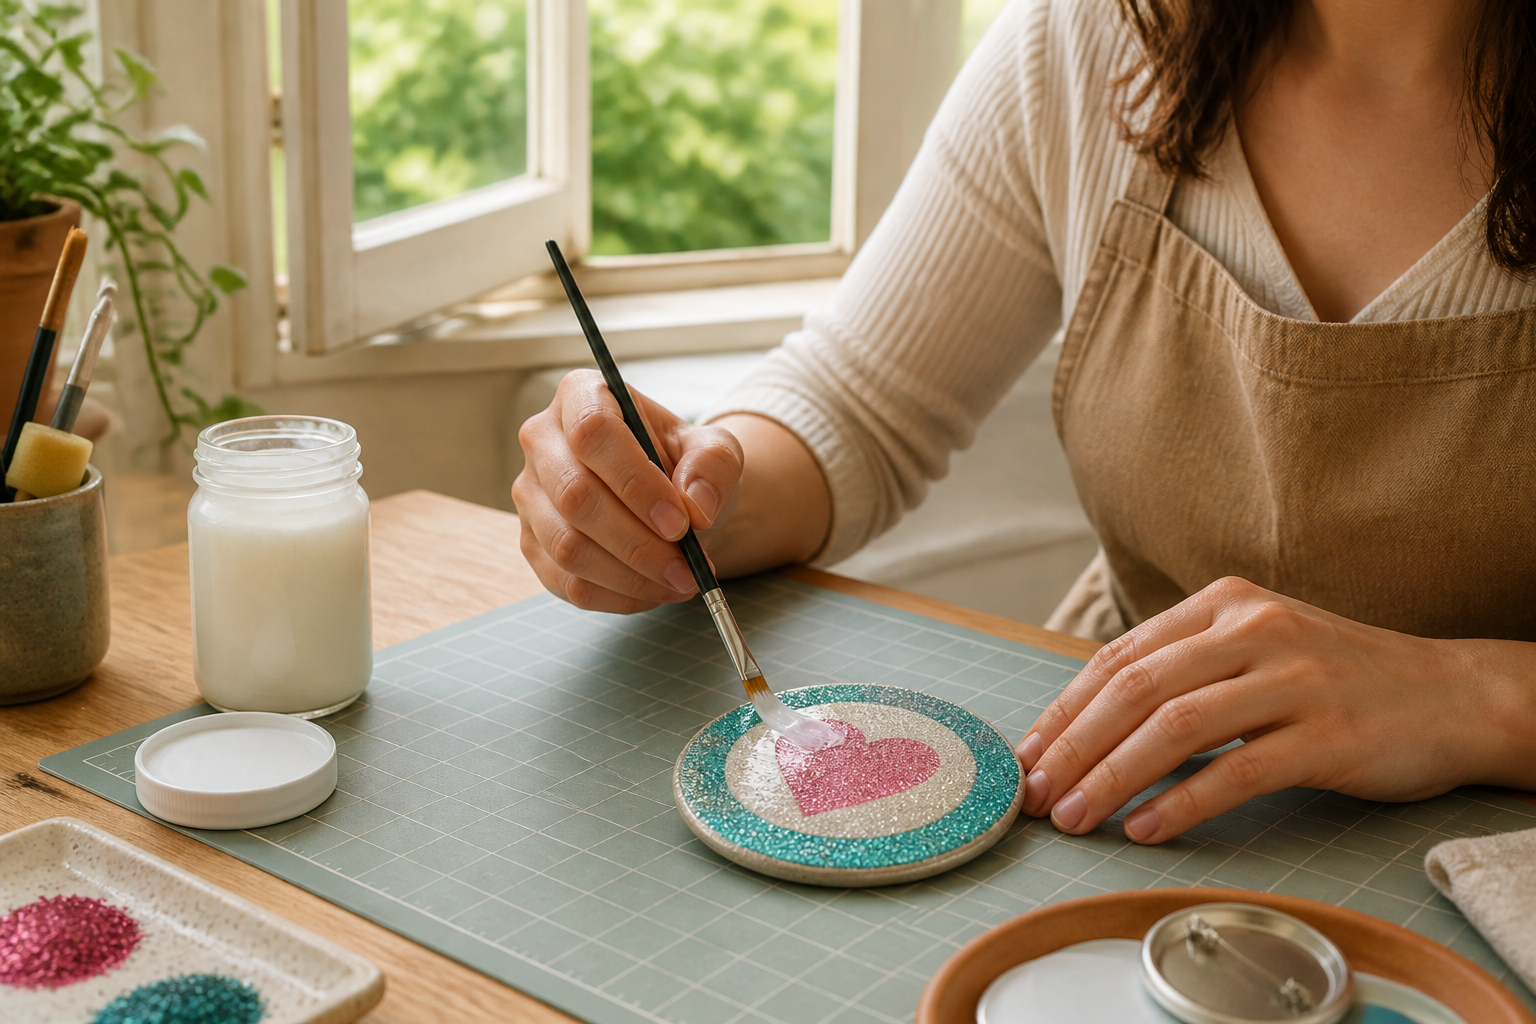
Seal the glitter so the applause survives the evening
Once glue and embellishments are fully dry, brush a thin layer of Mod Podge or spray a light coat of clear sealer over the glitter to lock it in place. Work outside or in a ventilated area and follow the sealer's directions — multiple thin coats beat one heavy coat.
Allow full cure time before handling (check product label) so you don't slough glitter onto your best shirt at first wear.
- 07
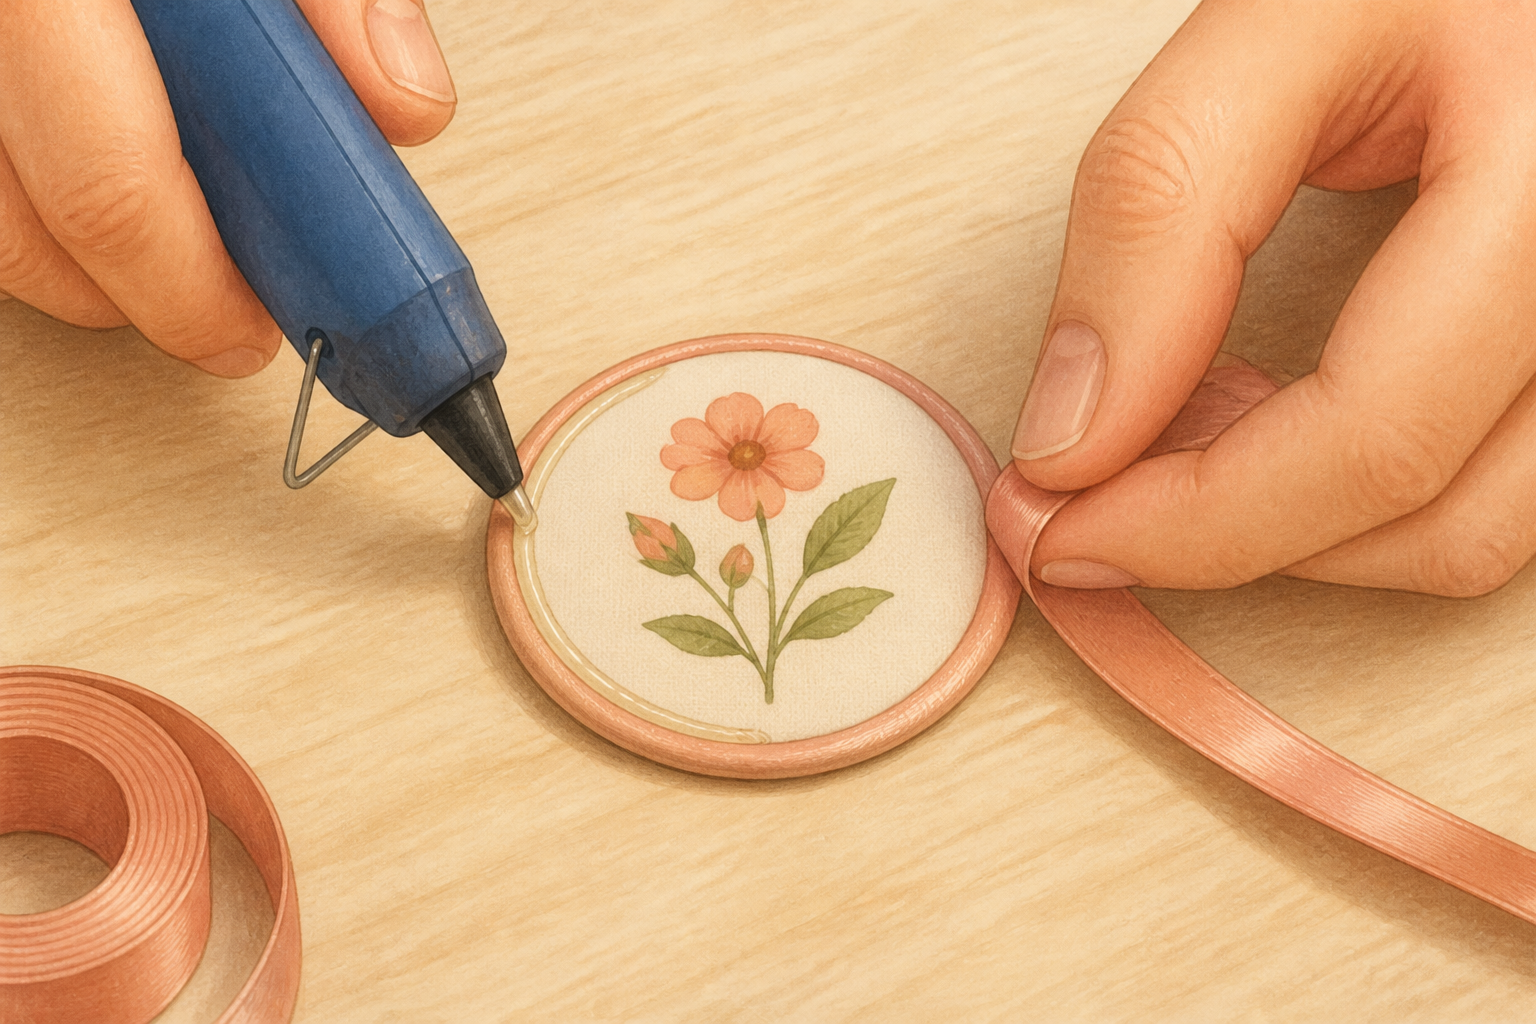
Give the edges and backing a professional flourish
Trim any stray glitter flakes and run a narrow bead of hot glue around the badge edge, then press a thin ribbon over the bead to sheath the rim. This hides rough edges and catches light like a tiny frame.
On the back, glue a second cardstock disc to fully bury the pin base and write a tiny fake honorific (optional) in pencil to amuse anyone who peeks behind the badge.
- 08
Attachment hacks and strategic wearing
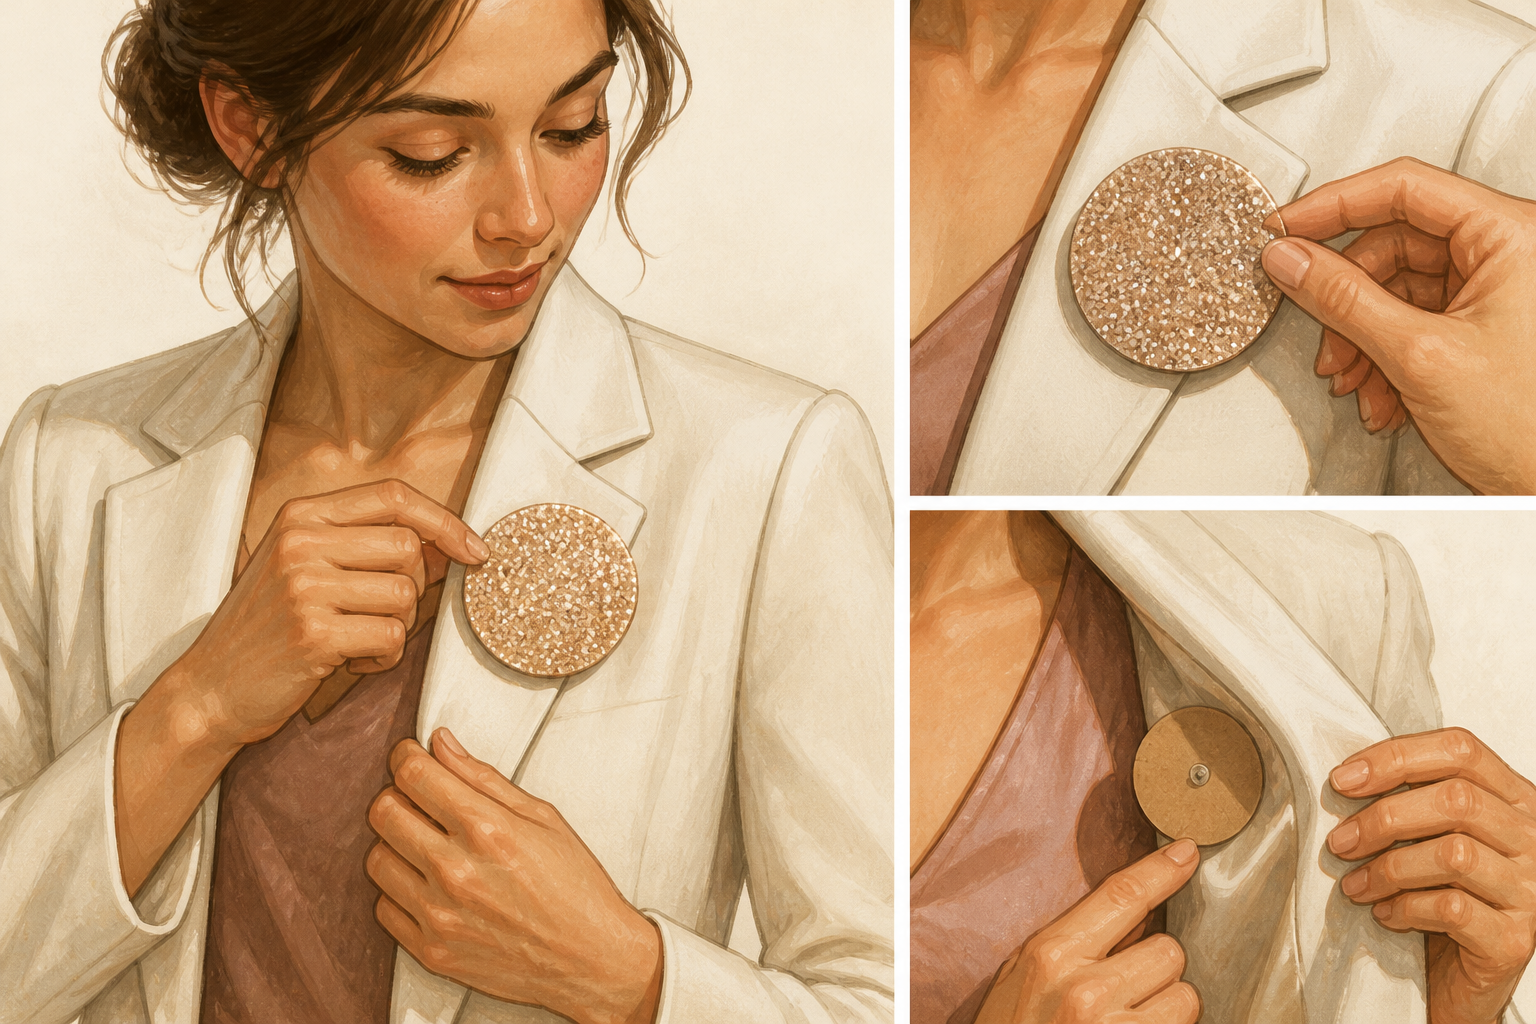
Position the pin high on your lapel or chest pocket so the badge faces eye level; tilt it slightly outward so it catches direct sight-lines. If using a magnetic backing, place the magnet on the inside fabric directly behind the badge and tuck a small piece of cardboard between magnet and fabric for stability.
To guarantee diversion, wear the badge on the less-expected side (right lapel if people assume left), so onlookers have to pivot and look directly at you to admire it.
- 09
Deliver the three diversion lines while you melt into chips
When the compliment avalanche begins, grant the attention and deploy one of these soft-diversion lines in a low, grateful voice: 'Oh no, you’re being too kind — this one’s the theatrical understudy.' Repeat as needed with slight variations. Then smile and drift away toward the snack table or chaise lounge with the serene posture of someone whose job just concluded.
Alternate lines: 'I commissioned this specifically to distract from my public shamelessness,' or 'Take it — it craves applause. I’m allergic.' Use a small courteous bow or a hand gesture toward the badge to make the transfer theatrical.

If this was useful
Try one of these next

Making & Mischief How-to
How to stage a solo, two‑minute award ceremony and exit the room like a monarch
A 6–10 step ritual: design a ridiculous award, rehearse a 30‑second speech, cue a punctual applause, accept and bow out—includes printable certificate template and timing notes so you leave before questions start.
Read article
Making & Mischief Listicle
7 carving tools ranked by how dramatically they will ruin your shirt
A hilarious, honest ranking of seven tools — from pumpkin saws to spoons — grading mess, dignity lost, safety, and the exact theatrical flourish each tool adds to your carving montage.
Read article
Social Survival How-to
How to host a Fact‑Tea: dunk claims, read sources and embarrass a manifesto politely
Turn a viewing party into a live fact-checking salon: five simple steps to prepare claim cards, brew suspicious tea, time answers, compare sources and award polite biscuit-based verdicts so every dubious Reform UK line gets a proper dunking
Read article
Social Survival Deep Dive
The stair-by-stair compliment: an anatomy of praise that persuades a Capricorn
Compliments are not spontaneous confetti; they are tiny negotiations. This deep dive breaks praise into three rehearsable treads—validation, utility, forecast—and explains why that architecture persuades a pragmatic, status-conscious person (the Capricorn archetype). Readable theory, timing maps, sample scripts and a single illustrated “compliment choreography” show how to make praise feel earned instead of gratuitous.
Read article