Making & Mischief How-to
How to make a tactical nameplate that announces your friend's nickname (desk diplomacy)
Ten ordered steps to craft an acrylic desk plate: font choices for passive charm, laser-alike DIY cutting, adhesive tips, placement dos and don'ts and a tiny plaque etiquette guide.
- 01
Declare the nickname and its diplomatic rank
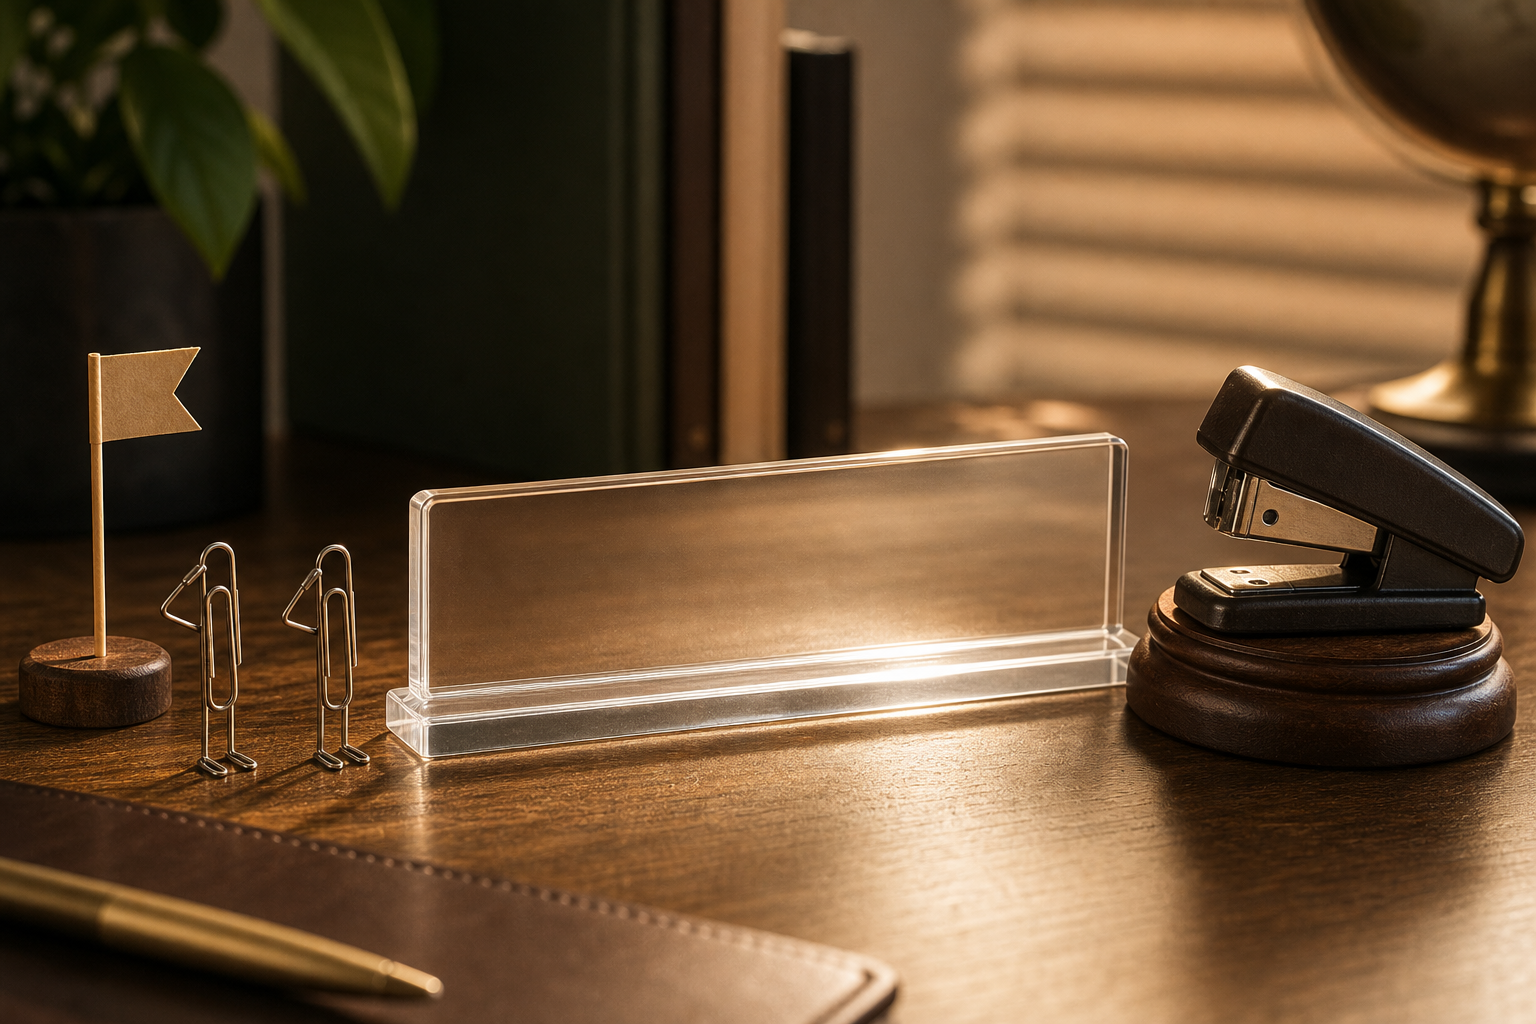
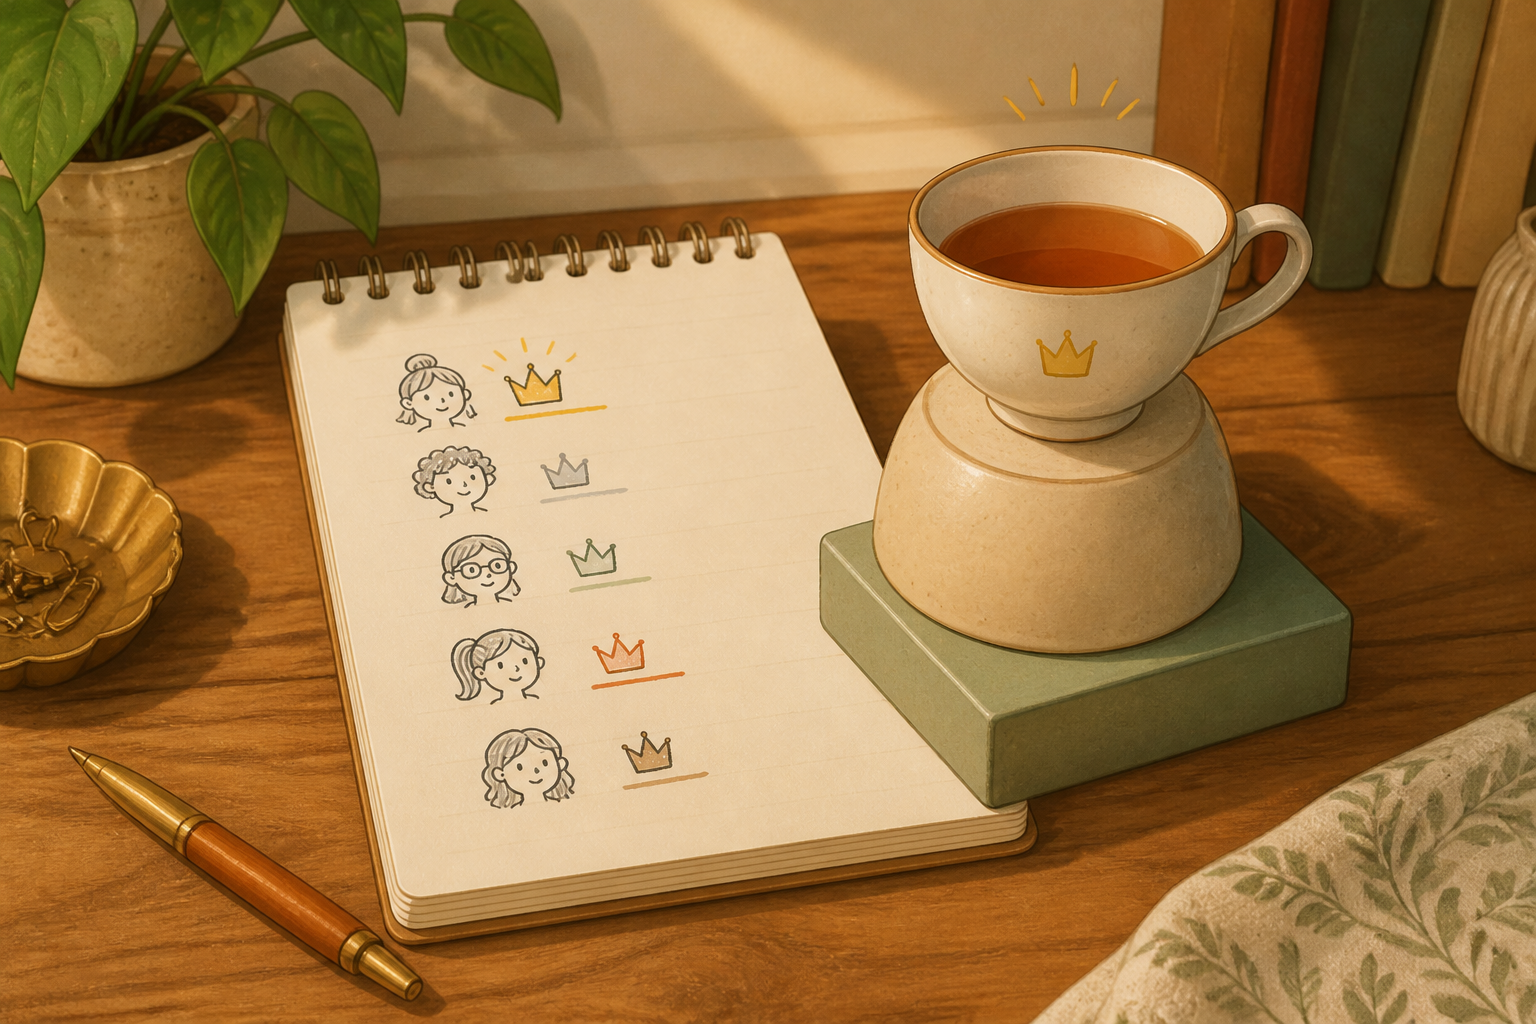
Write the exact nickname you will engrave. Decide tone: passive charm (for office whispering), blunt authority (for desk dominance), or ceremonial nonsense (for maximum spectacle). Keep it short — 2–12 characters — so the letters remain readable at a desk-friendly size.
- 02
Pick the plate dimensions and materials
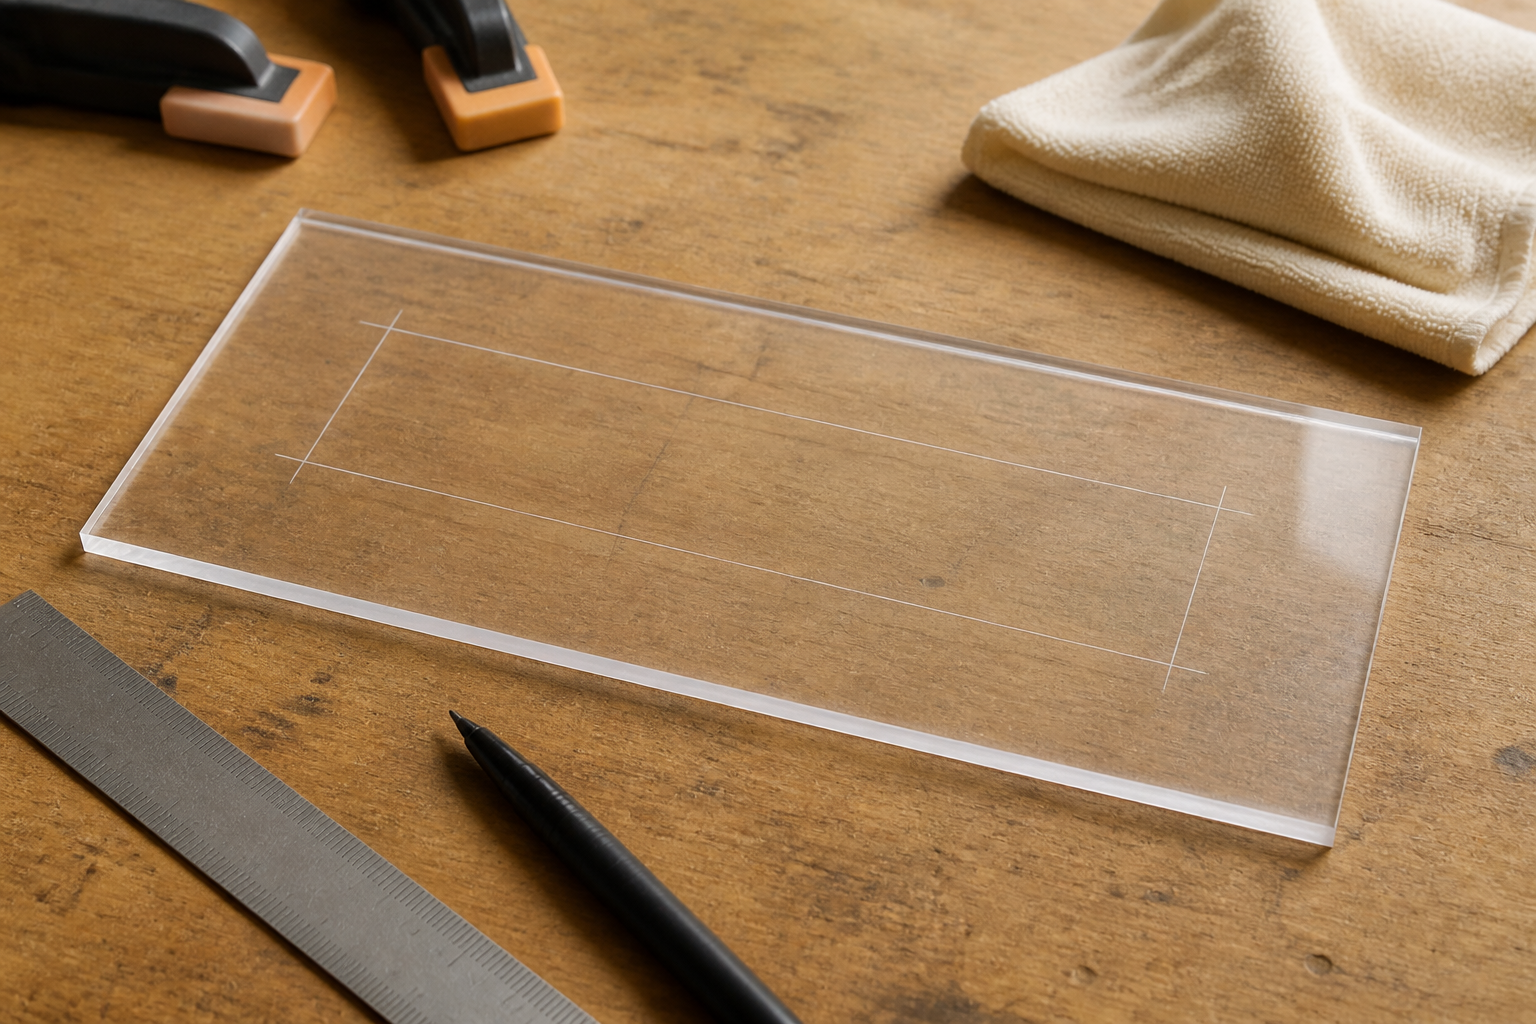
For a classic look, cut one 8" × 2.5" (20 × 6 cm) rectangle from clear acrylic sheet 1/8" (3 mm) thick. This size fits most desks and reads from arm’s length. If you want more presence, go 10" × 3" on 3 mm or 1/4" (6 mm) for heavy prestige. Gather a ruler, permanent marker, clamps and non-marring padding to protect the acrylic.
- 03
Choose the font for passive charm
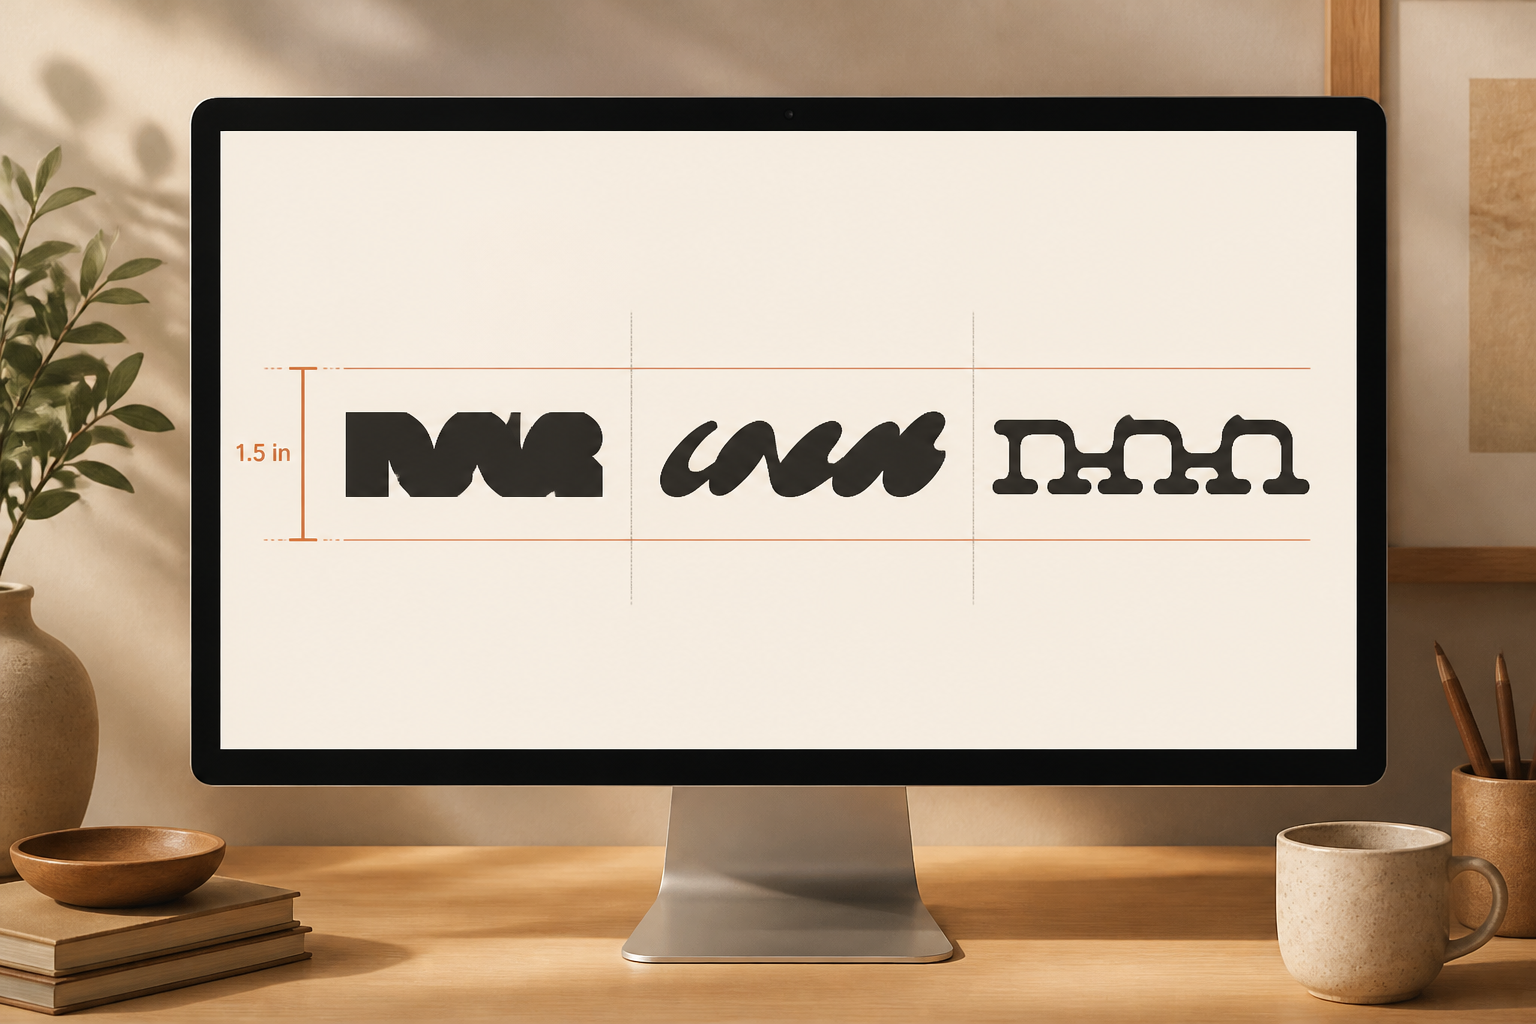
Pick one font from a short ranked list: 1) Futura or Avenir (understated, confident), 2) Garamond Italic (softly aristocratic), 3) Monospace like Courier (dry, conspiratorial). Set your nickname to a capitalized first letter plus lowercase or all caps depending on tone. For an 8" plate, aim for letter height around 1.0–1.5 inches (25–38 mm) for short names, with 2–3 mm spacing between letters.
- 04
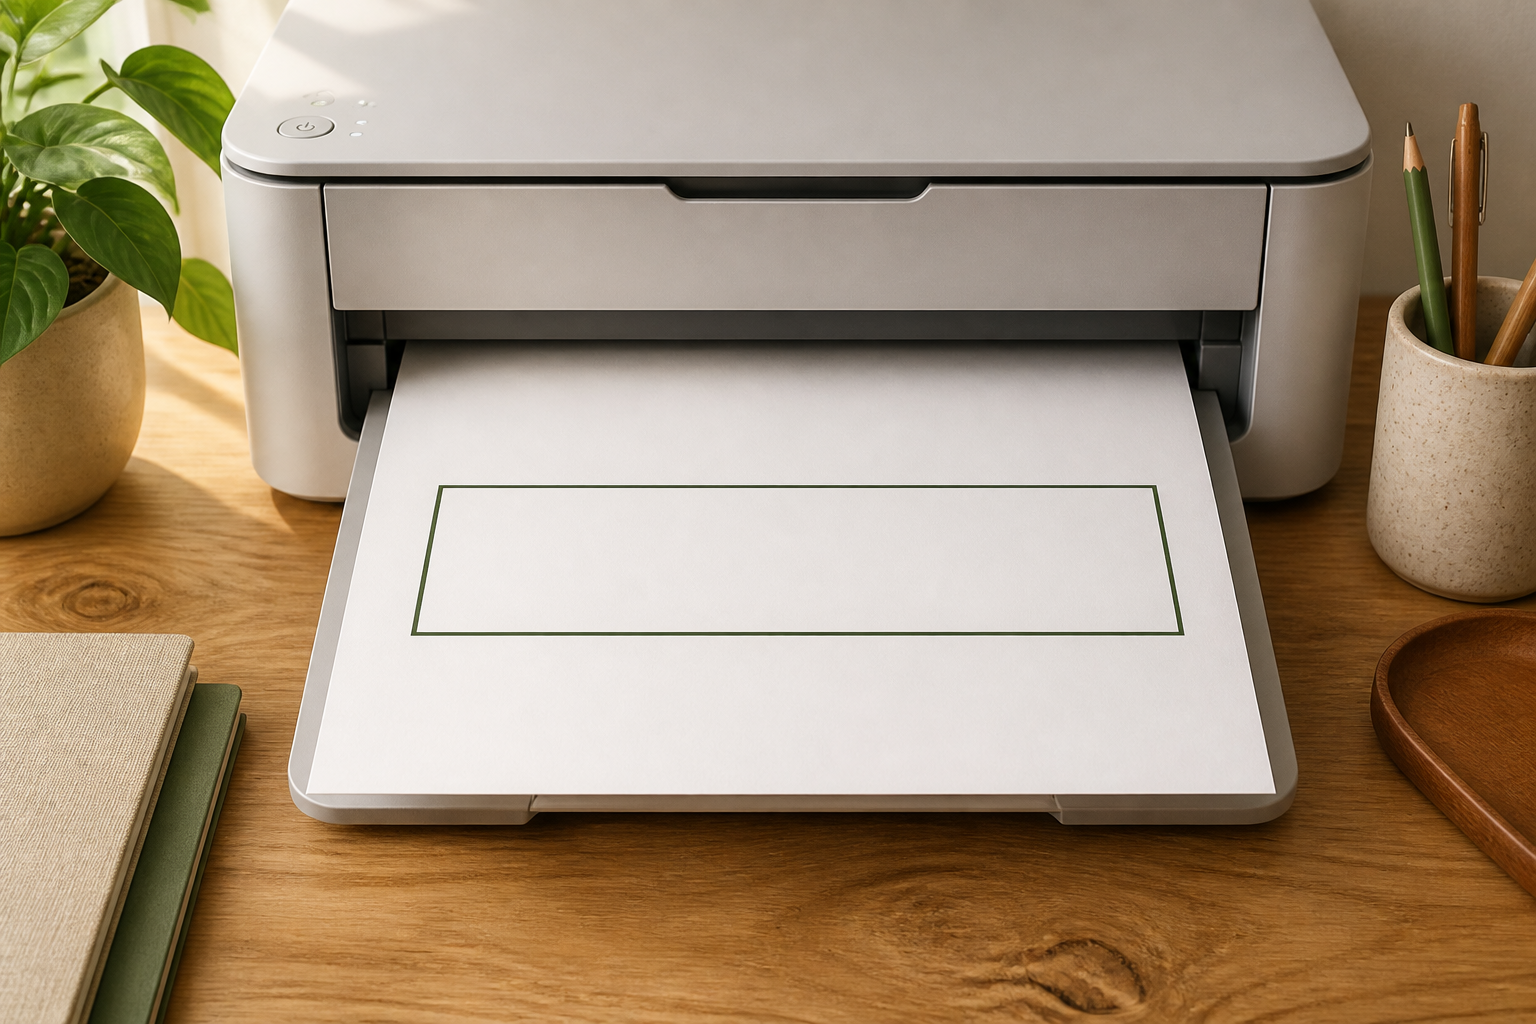
Create and print a paper template
On your computer, place the nickname at the chosen size and center it inside an 8" × 2.5" artboard. Print at 100% scale on a sheet of paper. If you plan to cut vinyl letters, print the design normally. If you will score and snap the acrylic to make a negative silhouette, mirror the design so cutouts read correctly from the top.
- 05
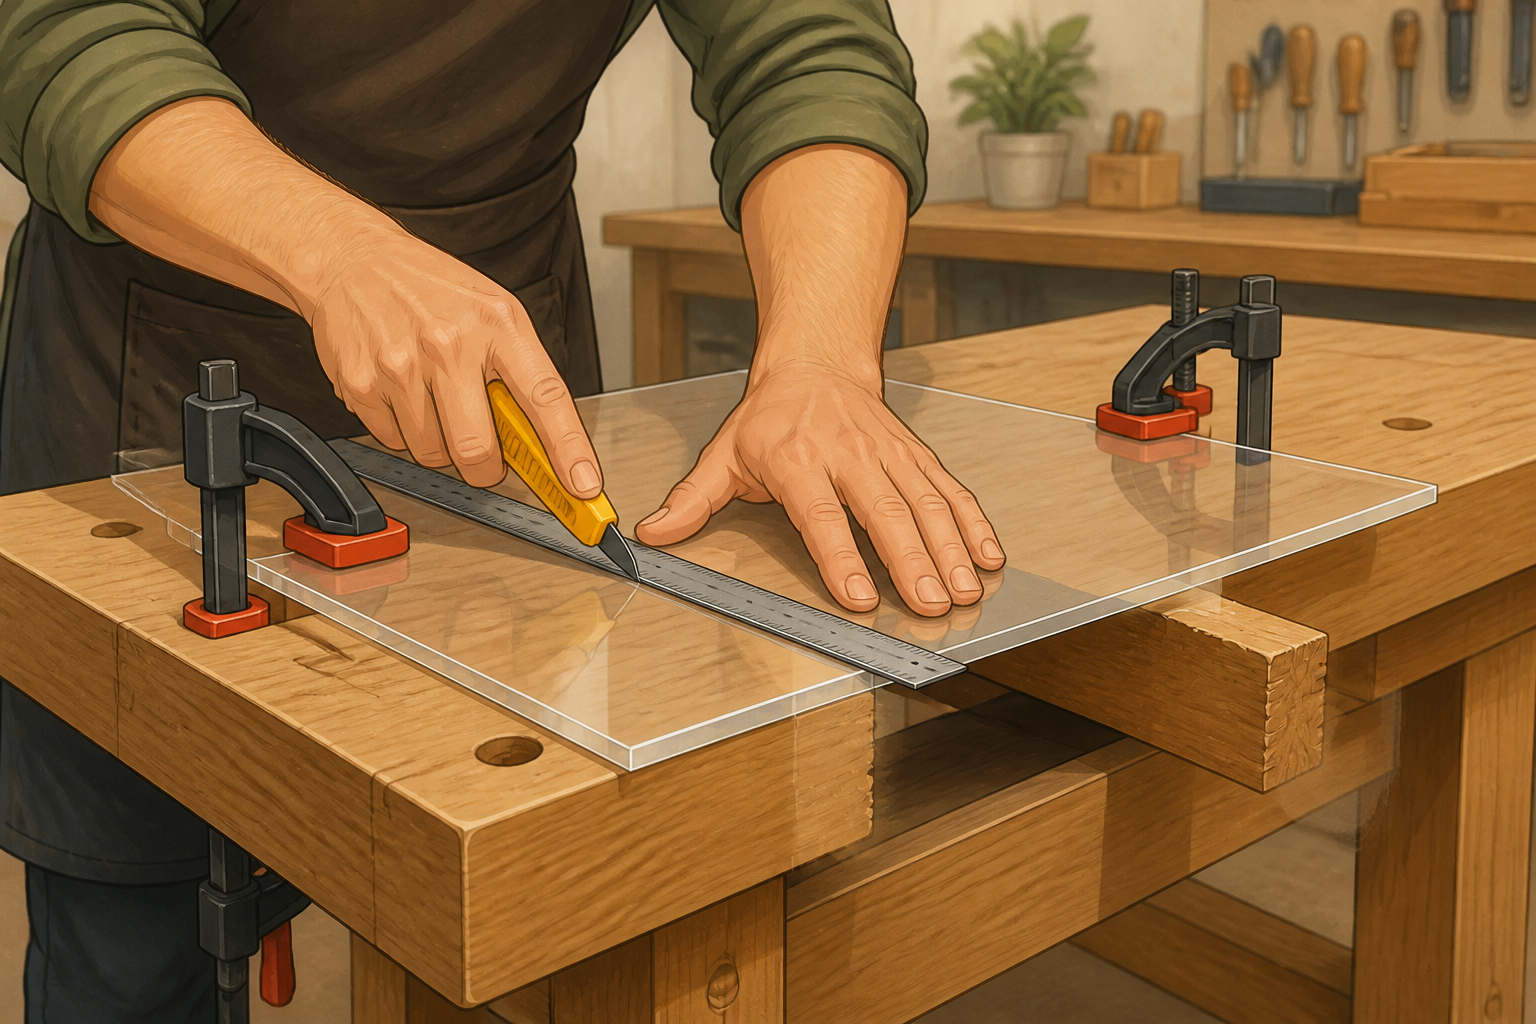
Cut the acrylic like a laser (scoring and snapping)
Clamp the acrylic sheet to a straight edge over padded supports so the marked rectangle overhangs a gap. Using an acrylic scoring tool or a sharp utility knife, score the cut line along a ruler with steady, repeated passes—apply even pressure and make 20–40 passes until you feel the blade bite. Flip and score the other side. Position the scored line over the gap and press down the overhanging section to snap it cleanly. For internal curves or non-rectangular plates, use a jigsaw with a fine-tooth plastic blade and cut slowly, supporting the acrylic to prevent chipping.
- 06
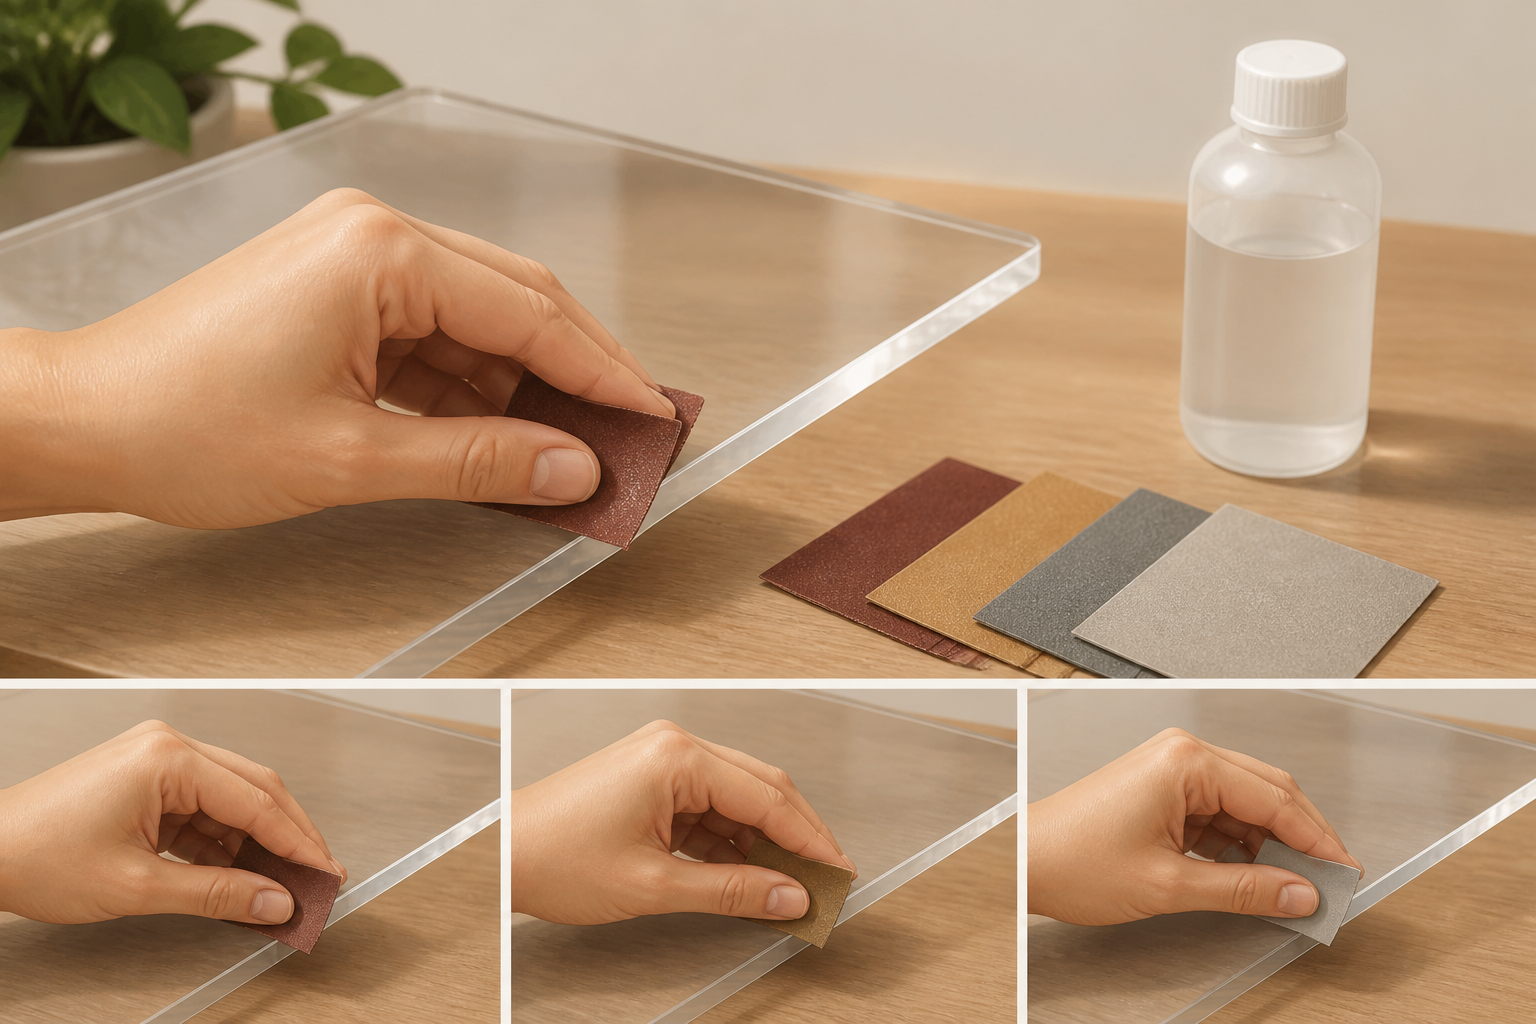
Smooth the edges for gloss and safety
Sand the freshly cut edges starting with 120 grit, then 320, then 600 grit waterproof sandpaper held wet for a smoother finish. Keep strokes along the length of the edge. Finish by buffing with a soft cloth and a tiny dab of plastic polish if you want a near-polished bevel. Remove dust with a lint-free cloth and isopropyl alcohol.
- 07
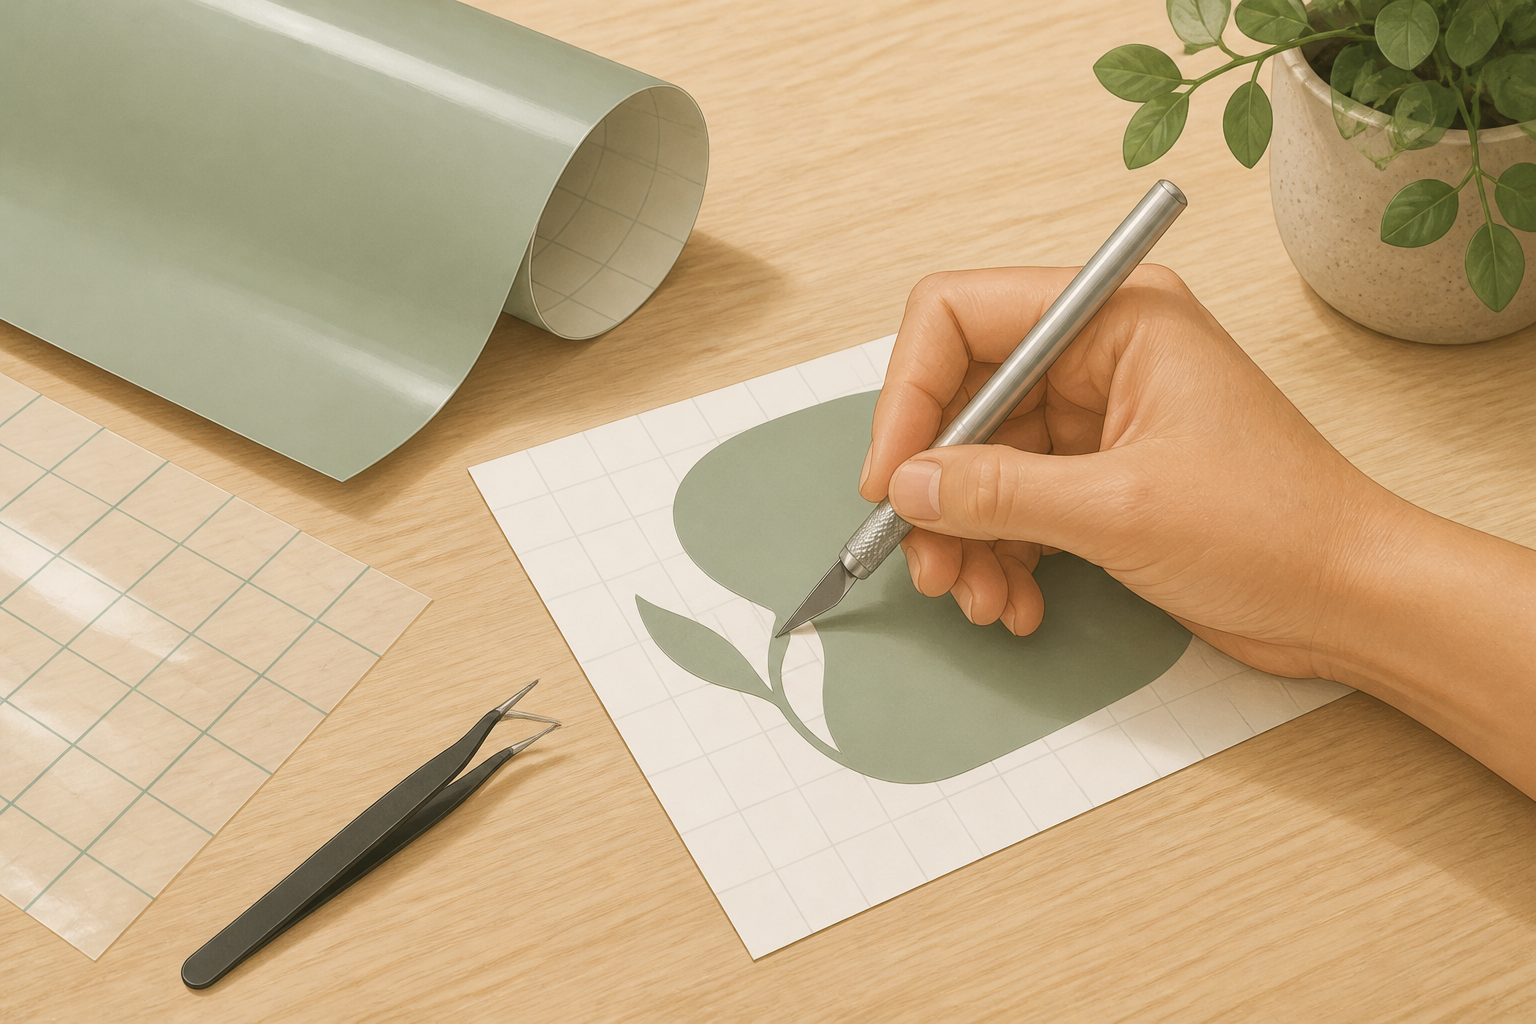
Cut and apply vinyl letters (the faux-engraved look)
Place adhesive vinyl over your printed template and use an X-Acto knife to cut along the letter outlines as a stencil; for clean shapes, press gently and make several shallow passes. Alternatively, cut letters freehand on a self-adhesive vinyl sheet using scissors for simple shapes. Peel the negative or transfer the letters using transfer paper or low-tack tape, then carefully place each letter onto the cleaned acrylic surface, pressing from the center outward to avoid bubbles. Use tweezers for small details.
- 08
Secure the plate feet and tactical hardware
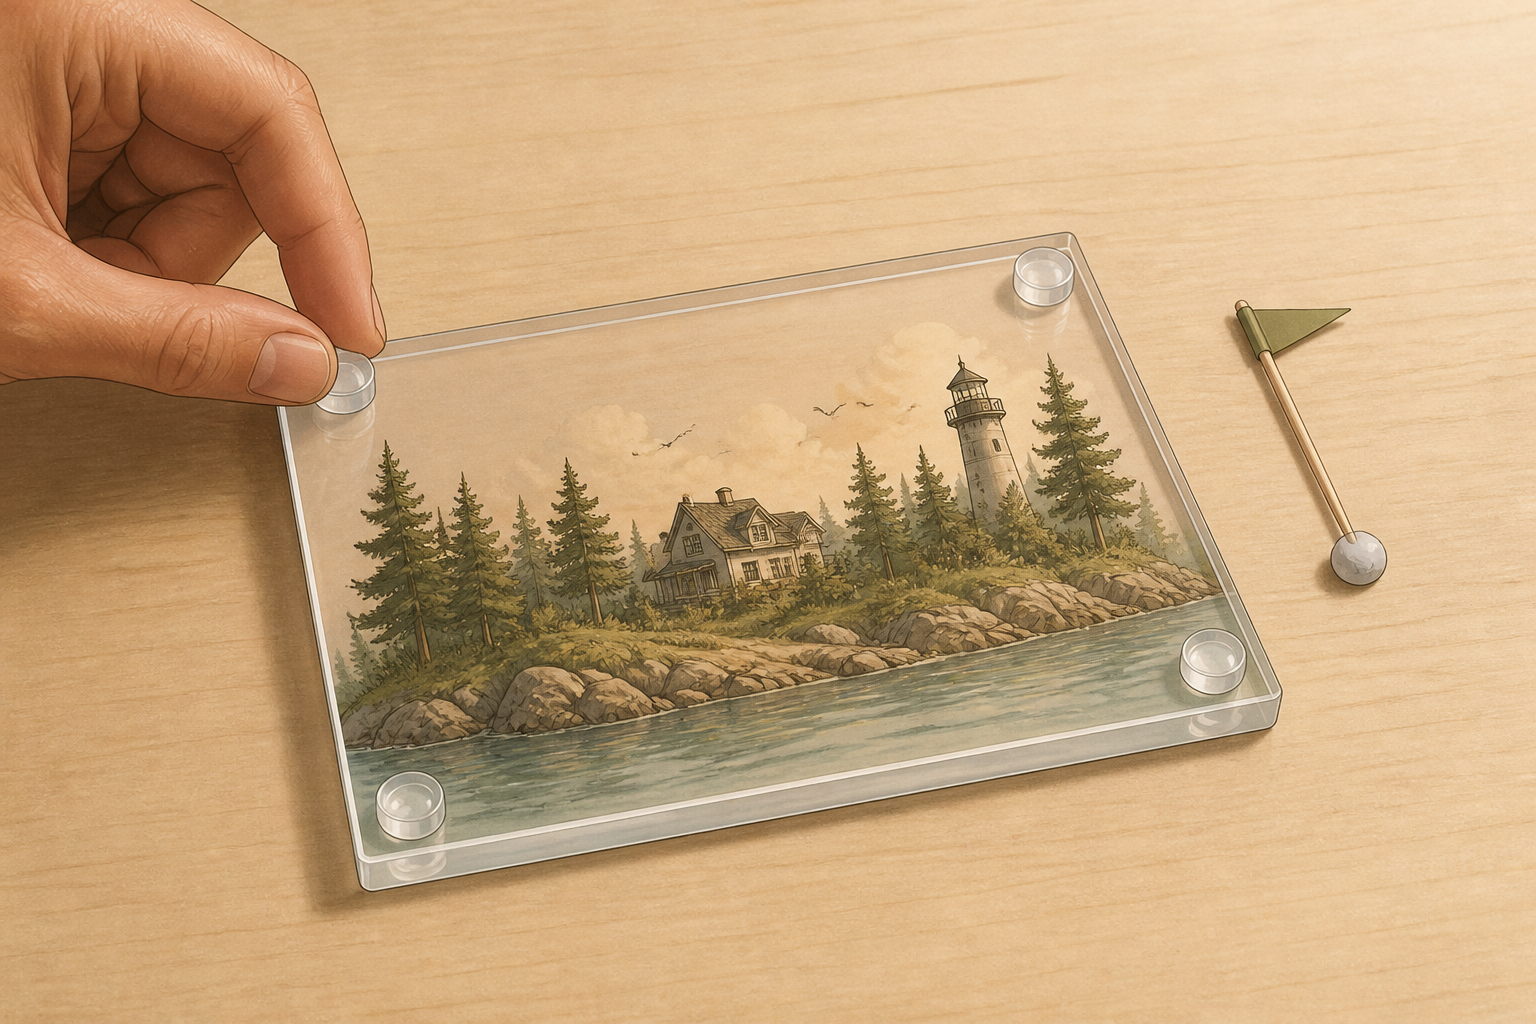
Attach four clear silicone bumpers or small double-sided foam pads to the underside corners to lift the plate about 2–3 mm. If you want a ceremonial flag or tiny ornament, glue a toothpick-mounted paper flag to the back center with a small dab of removable adhesive or poster putty so it is removable and won’t damage the desk.
- 09
Polish, inspect, and add the final diplomatic flourish
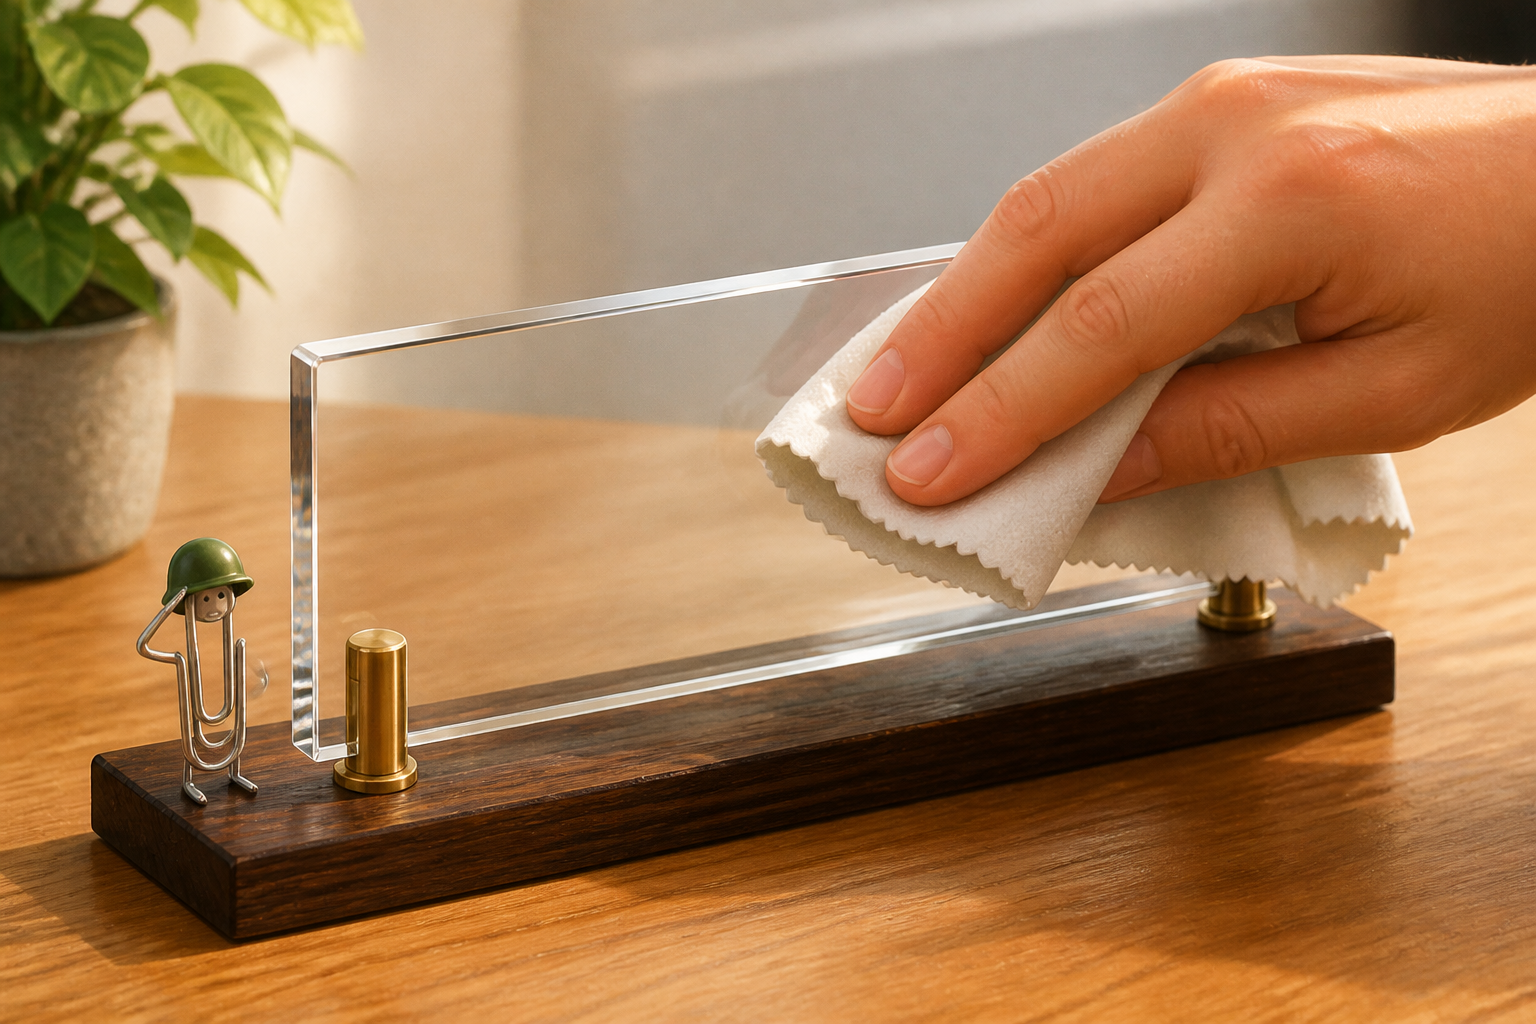
Wipe the top surface with isopropyl alcohol and a lint-free cloth to remove fingerprints. Inspect alignment from standing and sitting height to confirm readability. Attach a tiny ceremonial element — a single paperclip 'soldier' at the corner or a miniature paper pennant — but keep it minimal so the nickname remains the star.
- 10
Deploy the plate: etiquette for desk diplomacy
Place the plate centered on the far edge of the desk facing visitors, or at the inner right corner for a more private whisper. When presenting it to your friend, make a short speech: state the nickname, its rank and the plate’s intended use (advisory, ceremonial, or permanent). If they decline, accept gracefully and remove any permanent adhesive — diplomacy matters. If accepted, photograph for the official archives.

If this was useful
Try one of these next

Social Survival Deep Dive
5 funeral rites for outdated group chats you should perform with an LLM
Five theatrically different ceremonies (the Quiet Archive, the Flame Emoji Burial, the Roast & Release) with exact AI prompts and a script so you can ceremonially retire group threads nobody replies to anymore.
Read article
Domestic Chaos Deep Dive
13 AI prompts that will produce progressively more theatrical family nicknames
Thirteen ordered prompts that escalate from affectionate to operatic (’Mum’, ‘General of the Tea’, ‘Duchess of Leftover Pizza’), with usage notes and staging tips so you can debut each nickname at the perfect awkward family dinner.
Read article
Making & Mischief Listicle
7 carving tools ranked by how dramatically they will ruin your shirt
A hilarious, honest ranking of seven tools — from pumpkin saws to spoons — grading mess, dignity lost, safety, and the exact theatrical flourish each tool adds to your carving montage.
Read article
Domestic Chaos Deep Dive
The fidget’s manifesto: how tiny objects staged a coup in boardrooms and living rooms
An illustrated history of fidgets as behavioral theatre: why certain textures soothe, the etiquette of silent spinning, and how to assemble a household fidget cabinet that converts anxiety into plausible productivity.
Read article