Hobbies & crafts
How to Replace a Missing Hook‑and‑Eye on Skirts or Pants
Position and sew on a new hook and eye to restore a clean, reliable closure at the waistband or neckline.
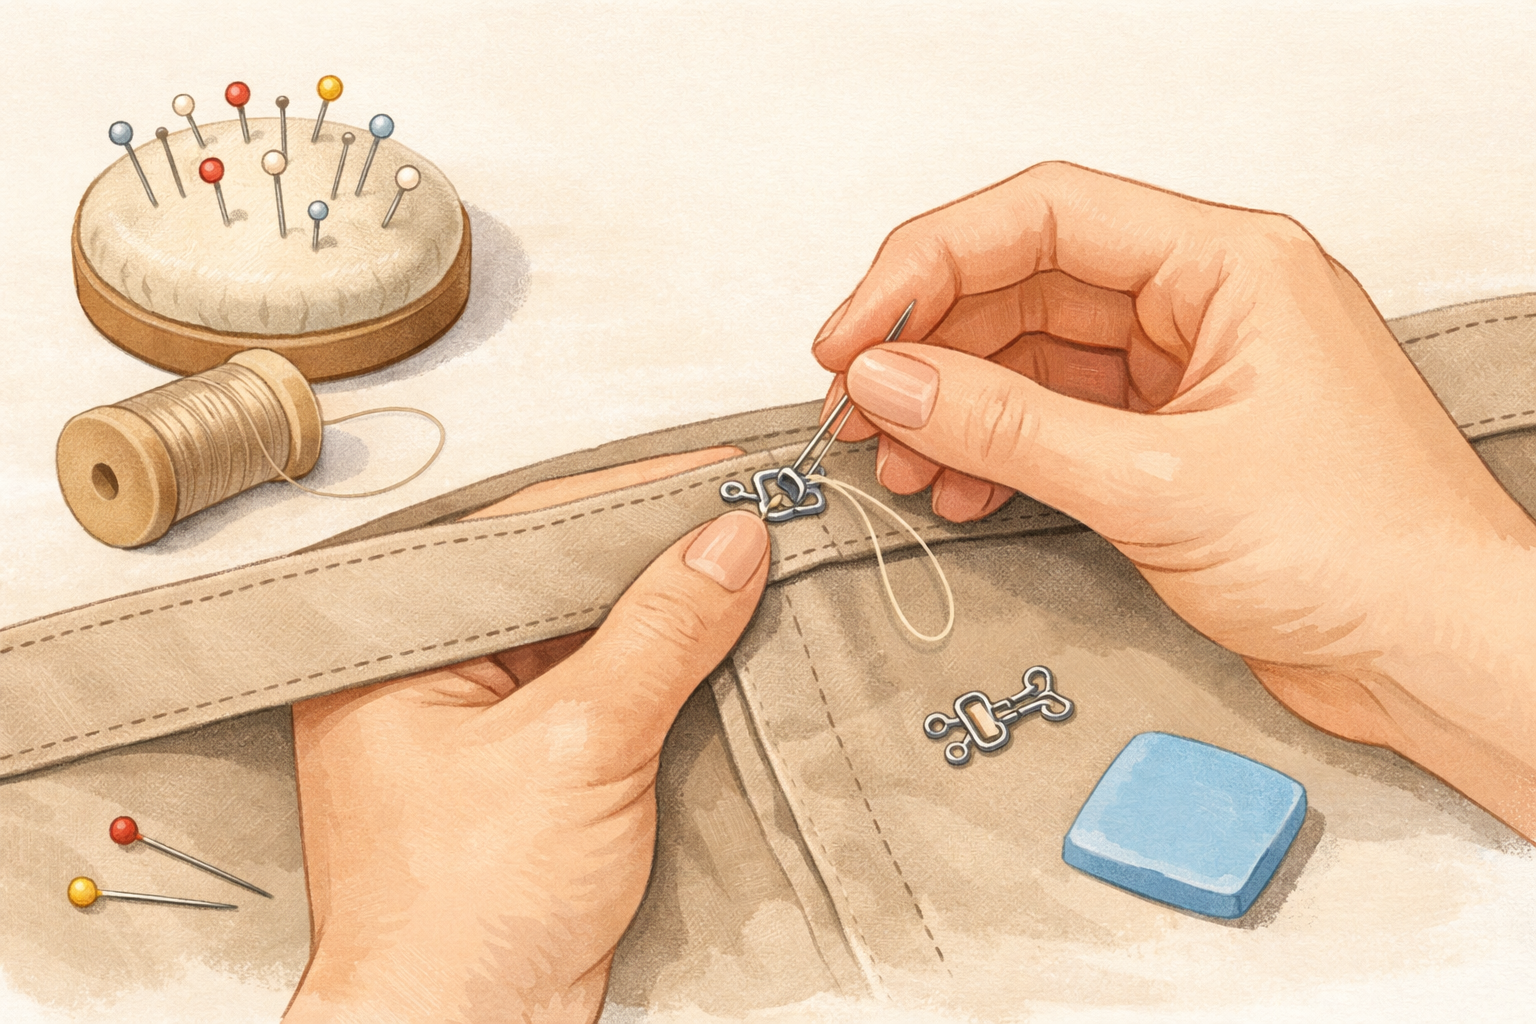
- 01
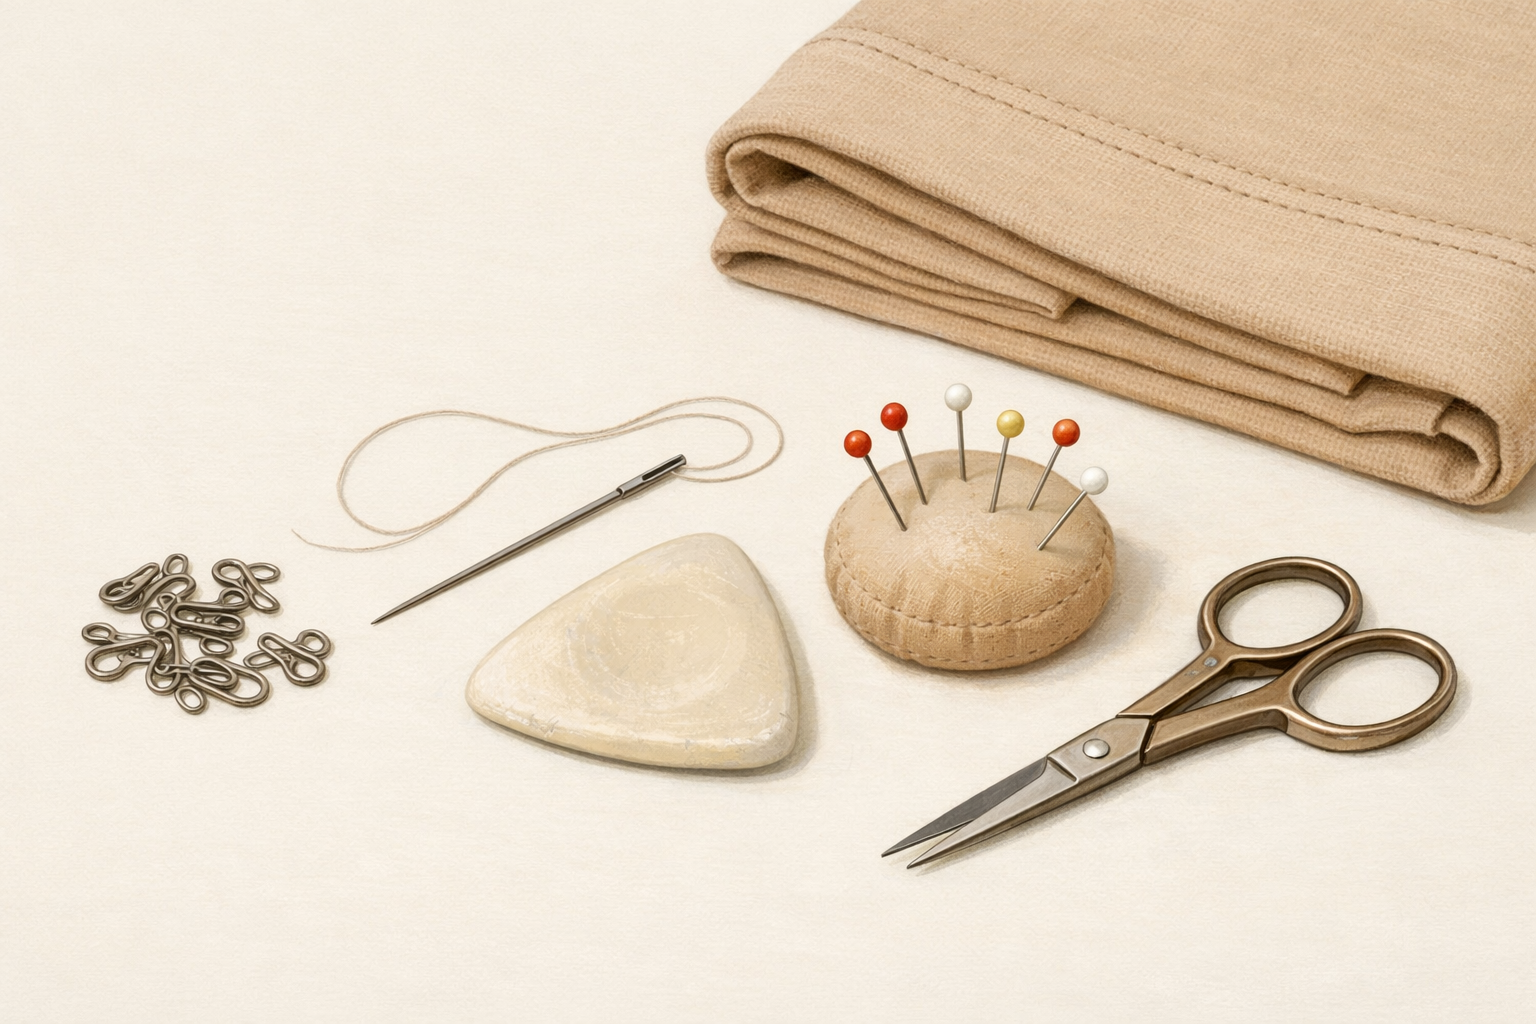
Gather your supplies
You’ll need a matching hook-and-eye set, hand-sewing needle, all-purpose thread that blends with the fabric, fabric marking chalk or a removable fabric pen, a few pins or small clips, and small scissors. Clear a flat, well-lit surface to work on.
- 02
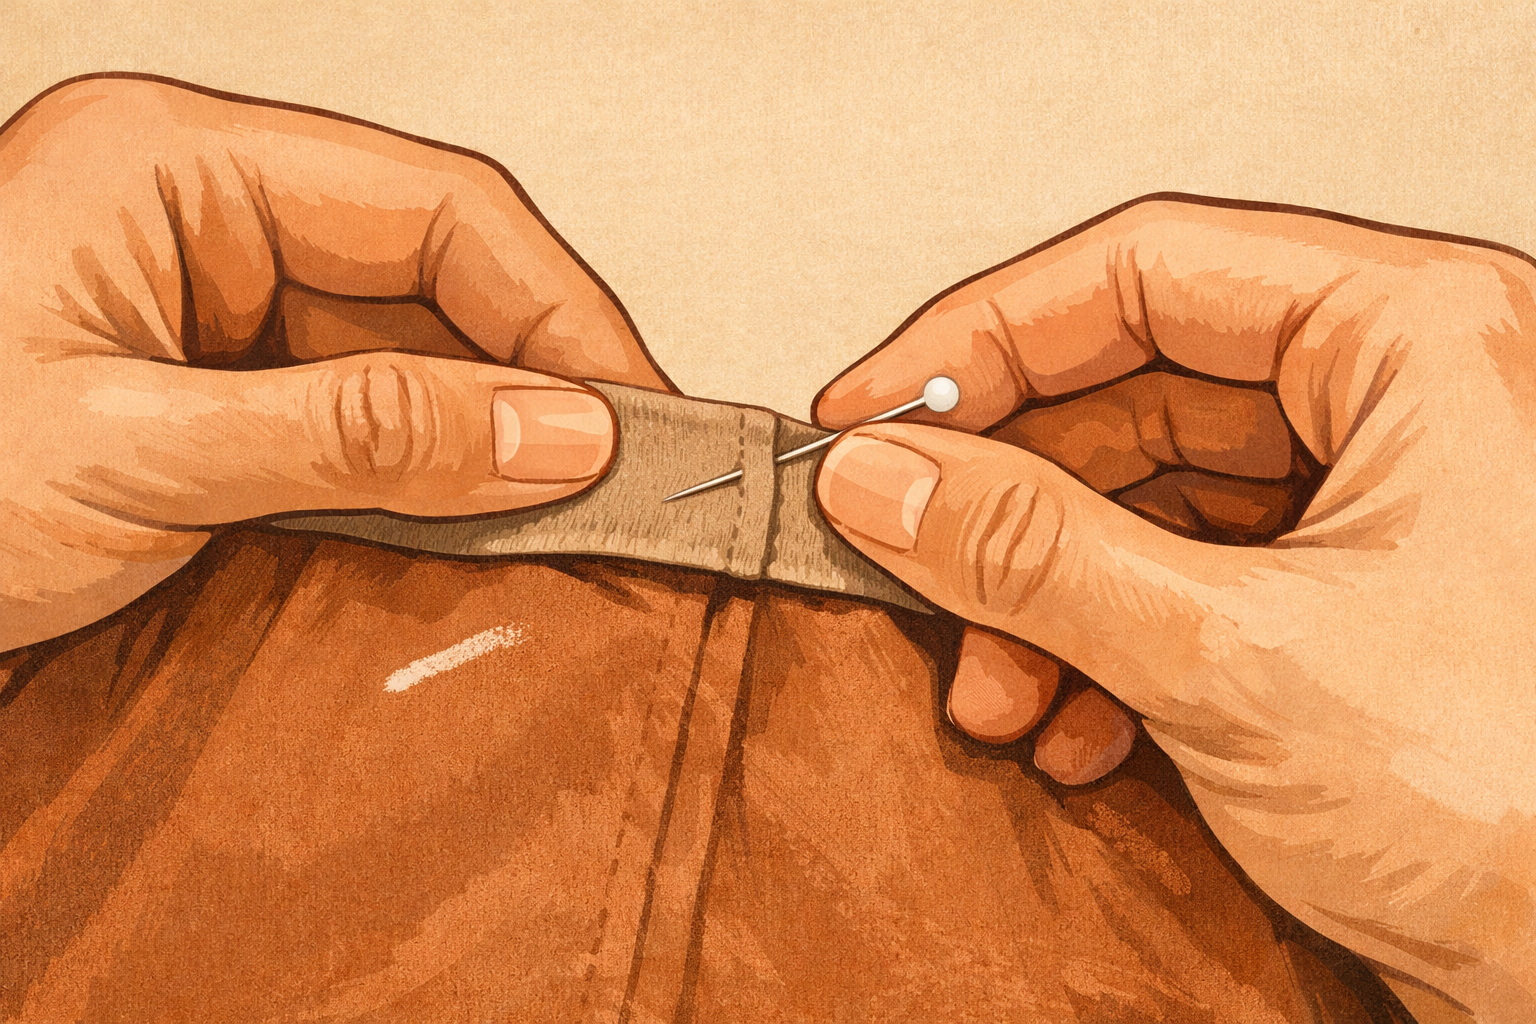
Check the overlap and mark the spot
Close the waistband (or neckline) with your fingers so it looks the way you want it to sit. Slide a pin straight through both layers where you want the closure to hold. Open the layers and mark the tiny pin points on each side with chalk to guide placement.
- 03
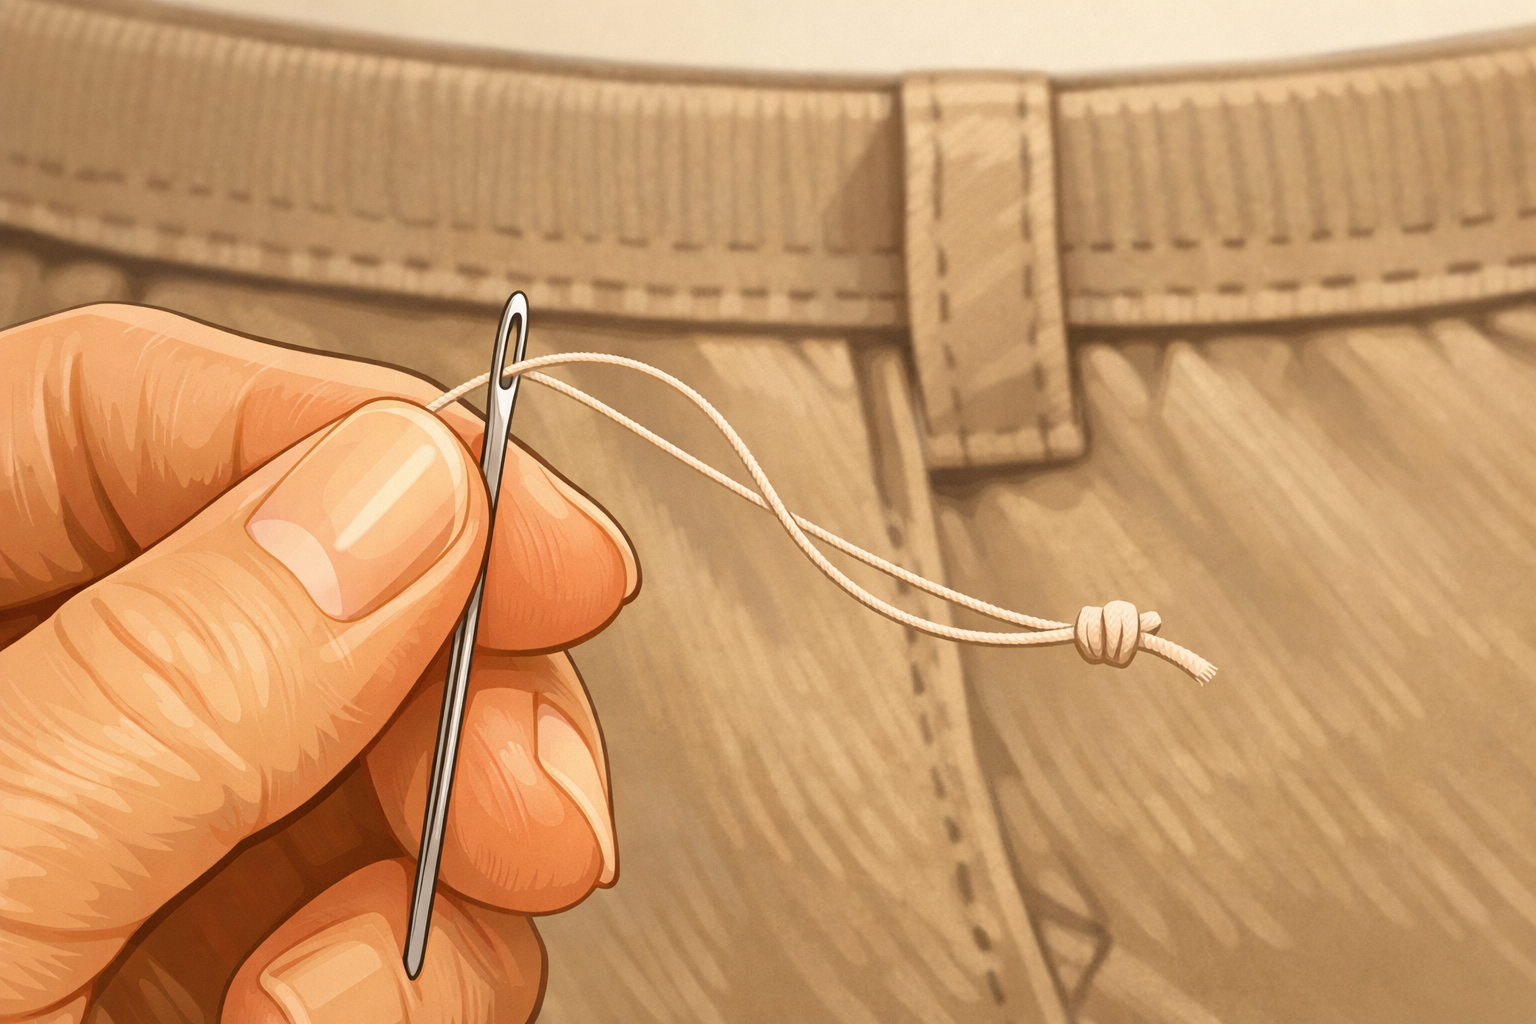
Thread and anchor your needle
Cut a comfortable length of thread, thread your needle, and tie a small knot at the end. If your fabric is delicate or thick, double the thread for strength. Start from the inside of the waistband to help hide the knot.
- 04
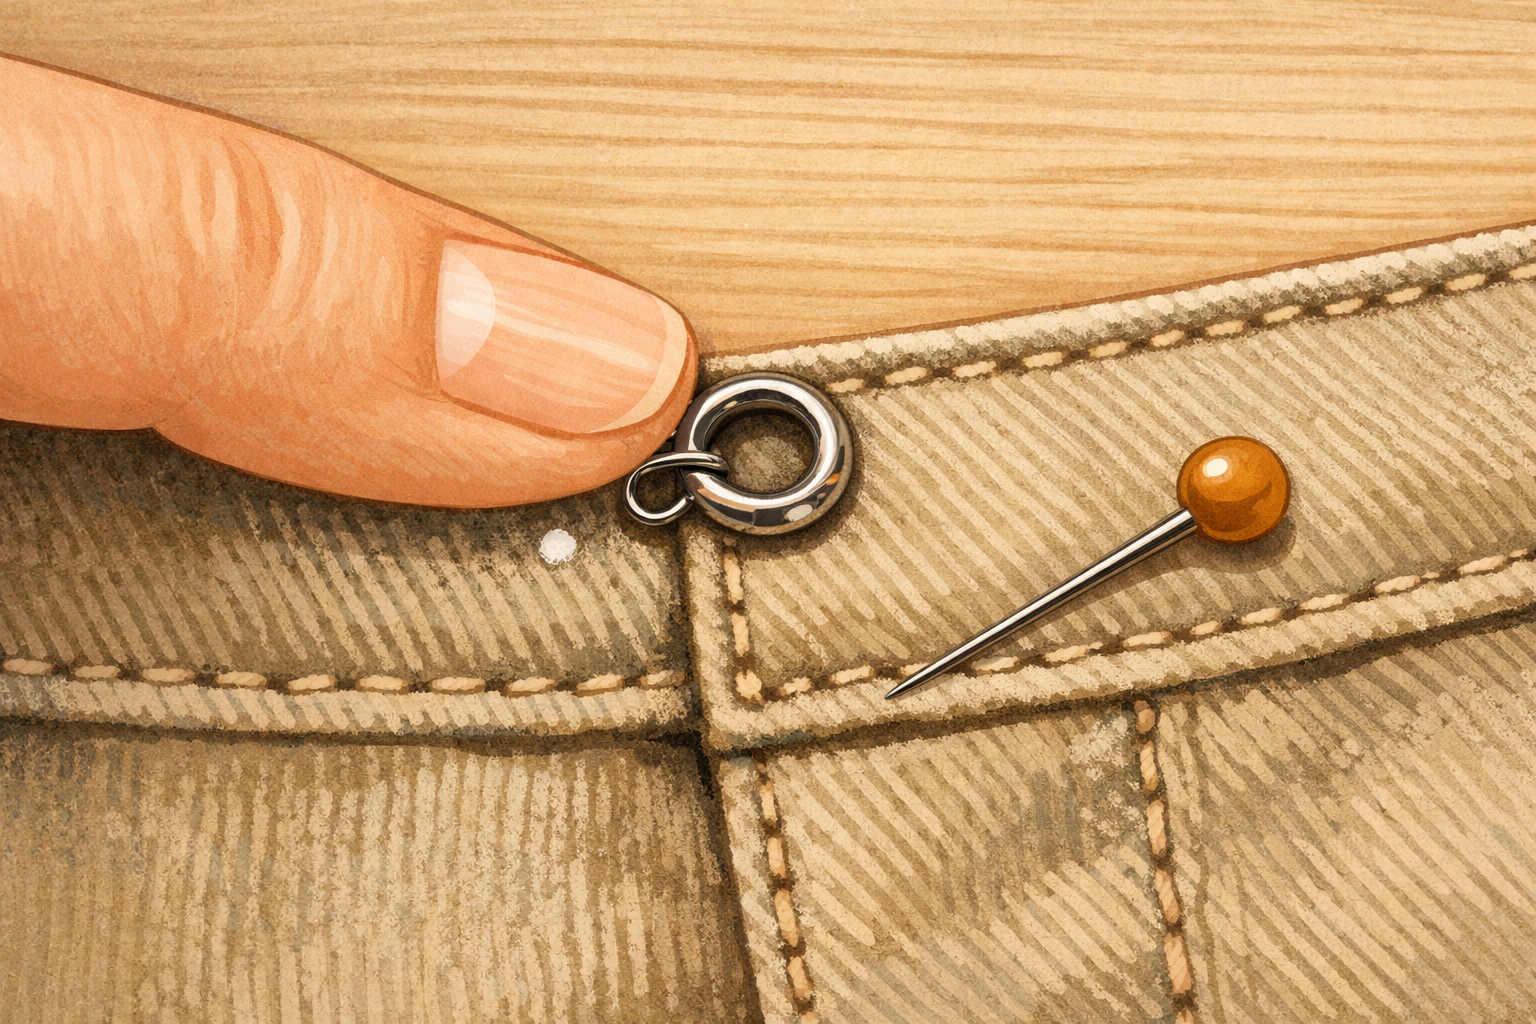
Position the eye piece first
Place the eye on its marked side so the loop sits right at the fabric edge, allowing the hook to catch without peeking when closed. Hold it steady with a pin or your finger so it doesn’t shift as you begin sewing.
- 05
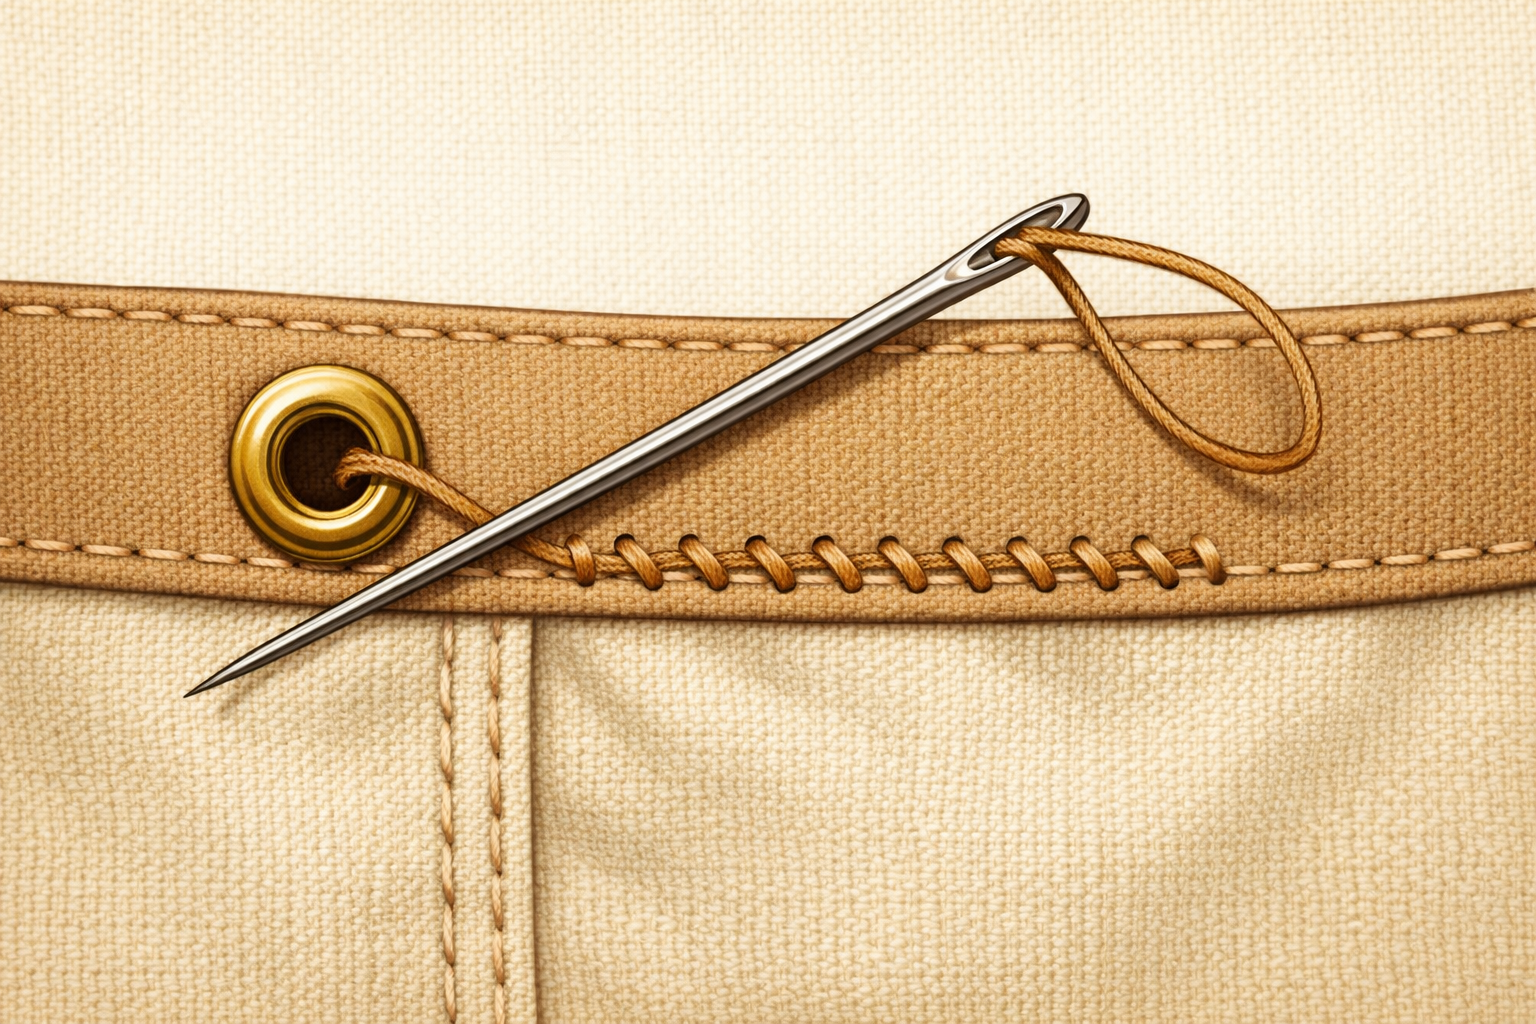
Stitch the eye securely
Sew small, tight stitches through each hole or bar on the eye’s base, passing through the sturdy waistband area. Keep stitches close together and snug. If possible, catch inner layers so stitches are less visible on the outside.
- 06
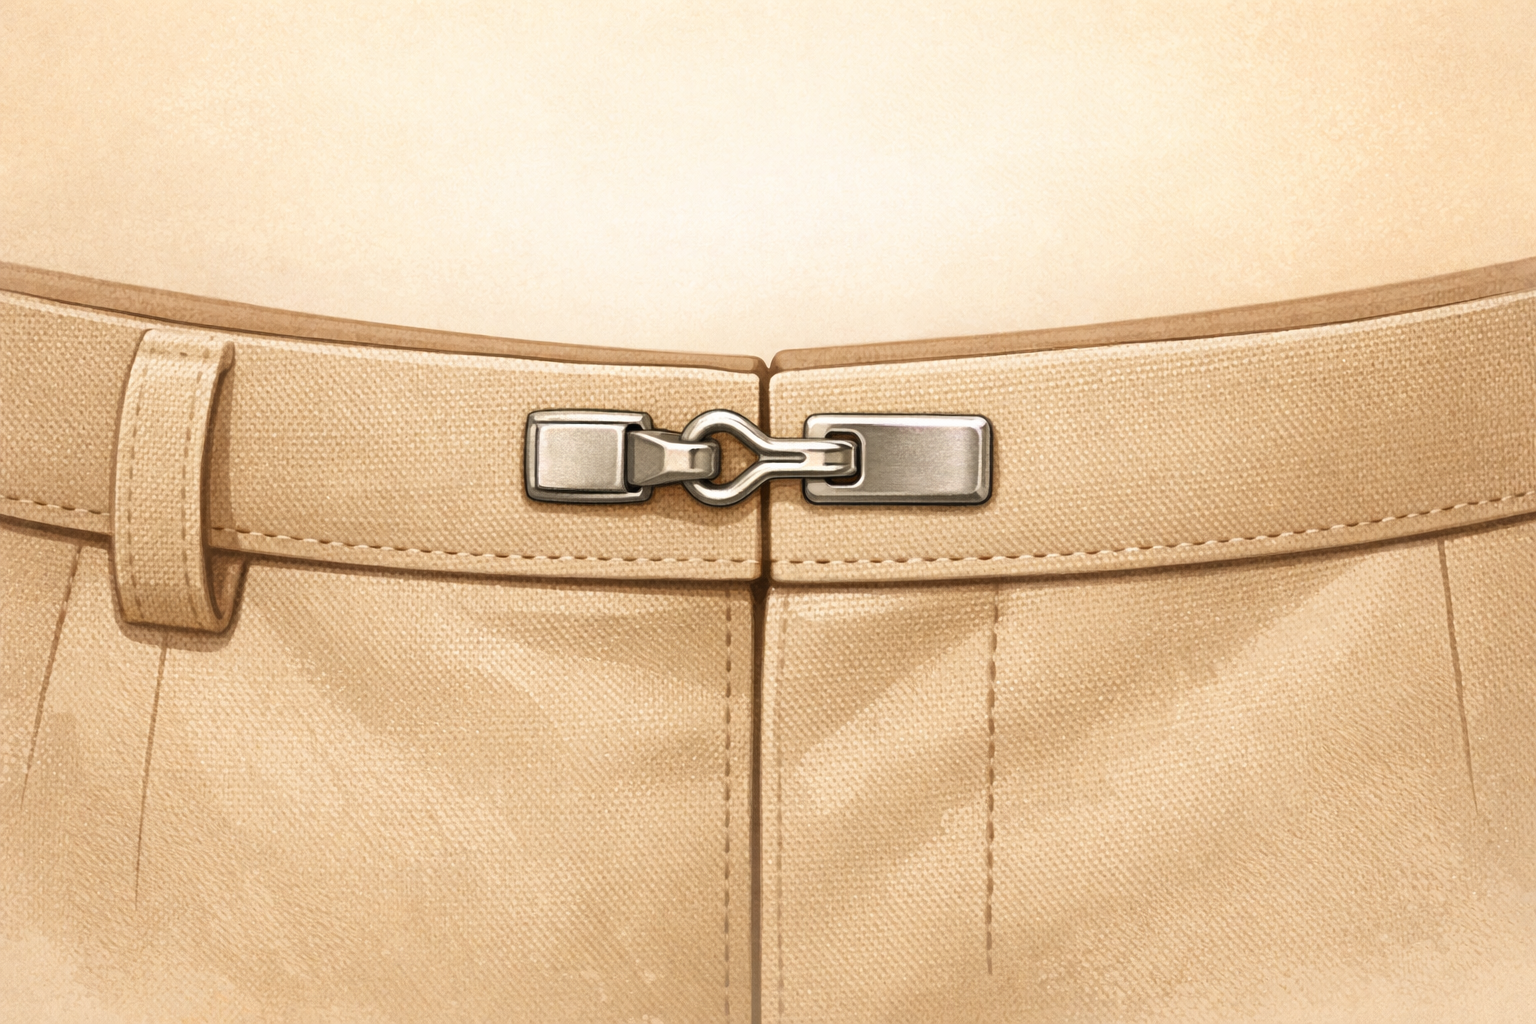
Place and align the hook
Hook the new hook into the sewn eye and let the garment relax closed. Pivot the hook’s base flat against the opposite side right on your mark. Check that the edges meet cleanly and the hardware stays hidden when closed.
- 07
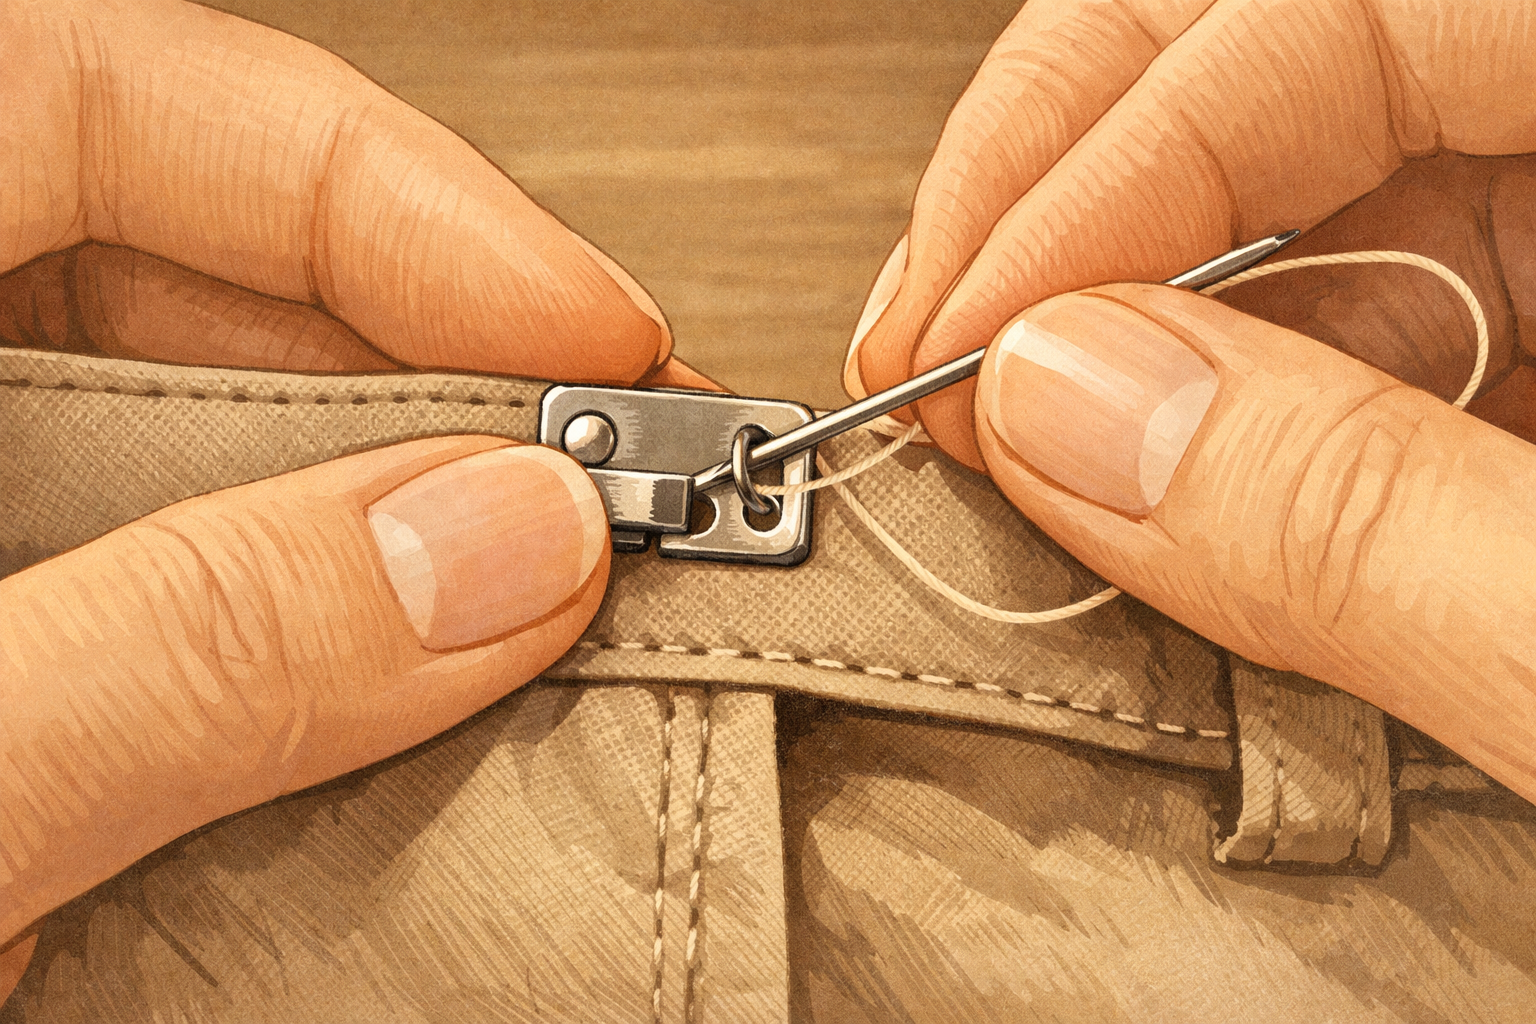
Sew down the hook base
Hold the hook in place and stitch through each hole or bar on its base with small, firm stitches. Keep tension even so the hook doesn’t twist. Avoid catching the very outer layer if you want a nearly invisible look on the outside.
- 08
Lock your thread and hide the tail
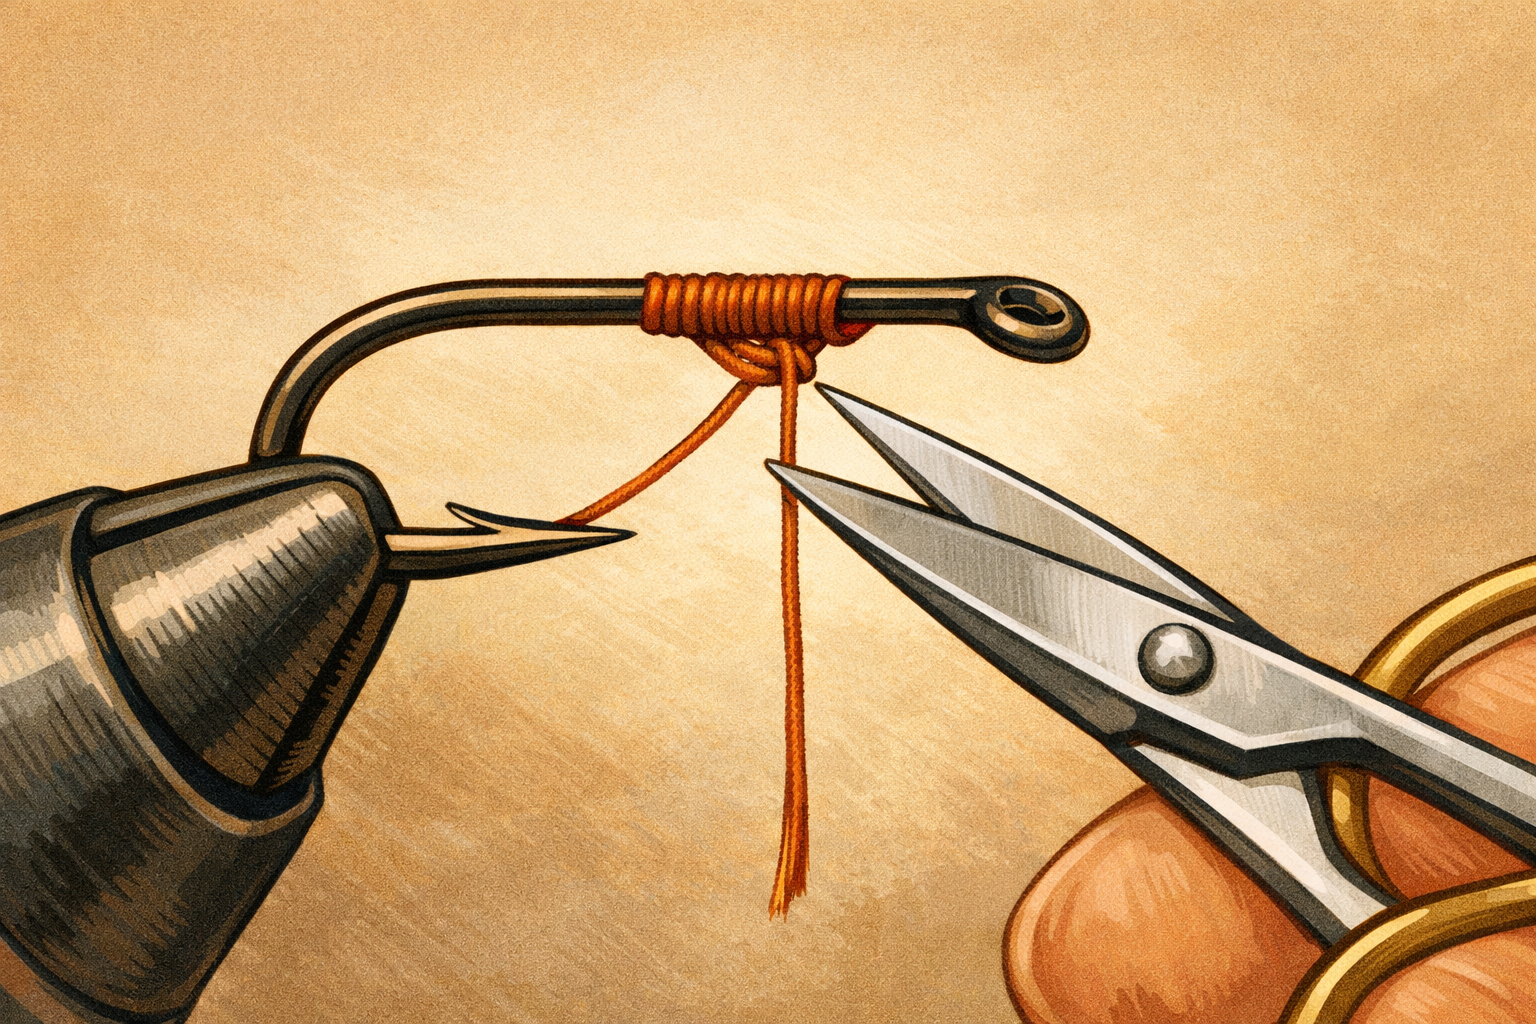
After sewing the last hole, take a couple of tiny securing stitches under the hardware base, tie a discreet knot, and tuck the thread tail beneath nearby stitches before trimming. This helps prevent unraveling and keeps ends out of sight.
- 09
Test and fine-tune the closure
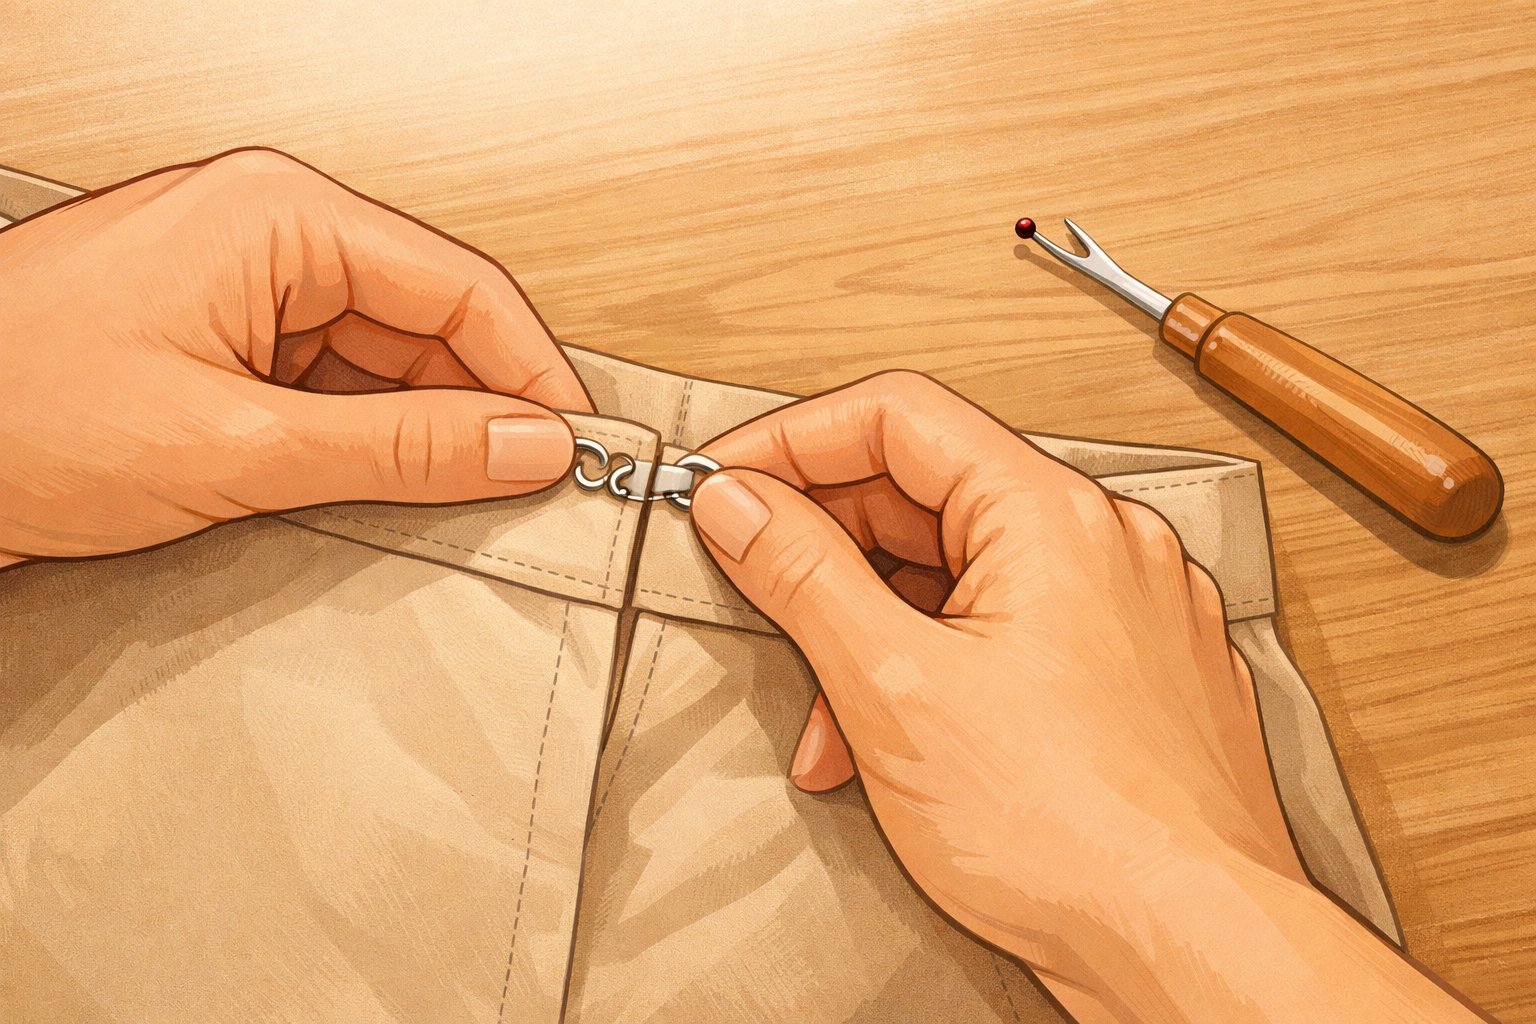
Close the hook and eye and give a gentle tug. If the edges pull apart or don’t line up, remove the stitches carefully with a seam ripper or small scissors and reposition. A slight shift can make the closure sit flush and look tidy.
- 10
Trim threads and smooth the area
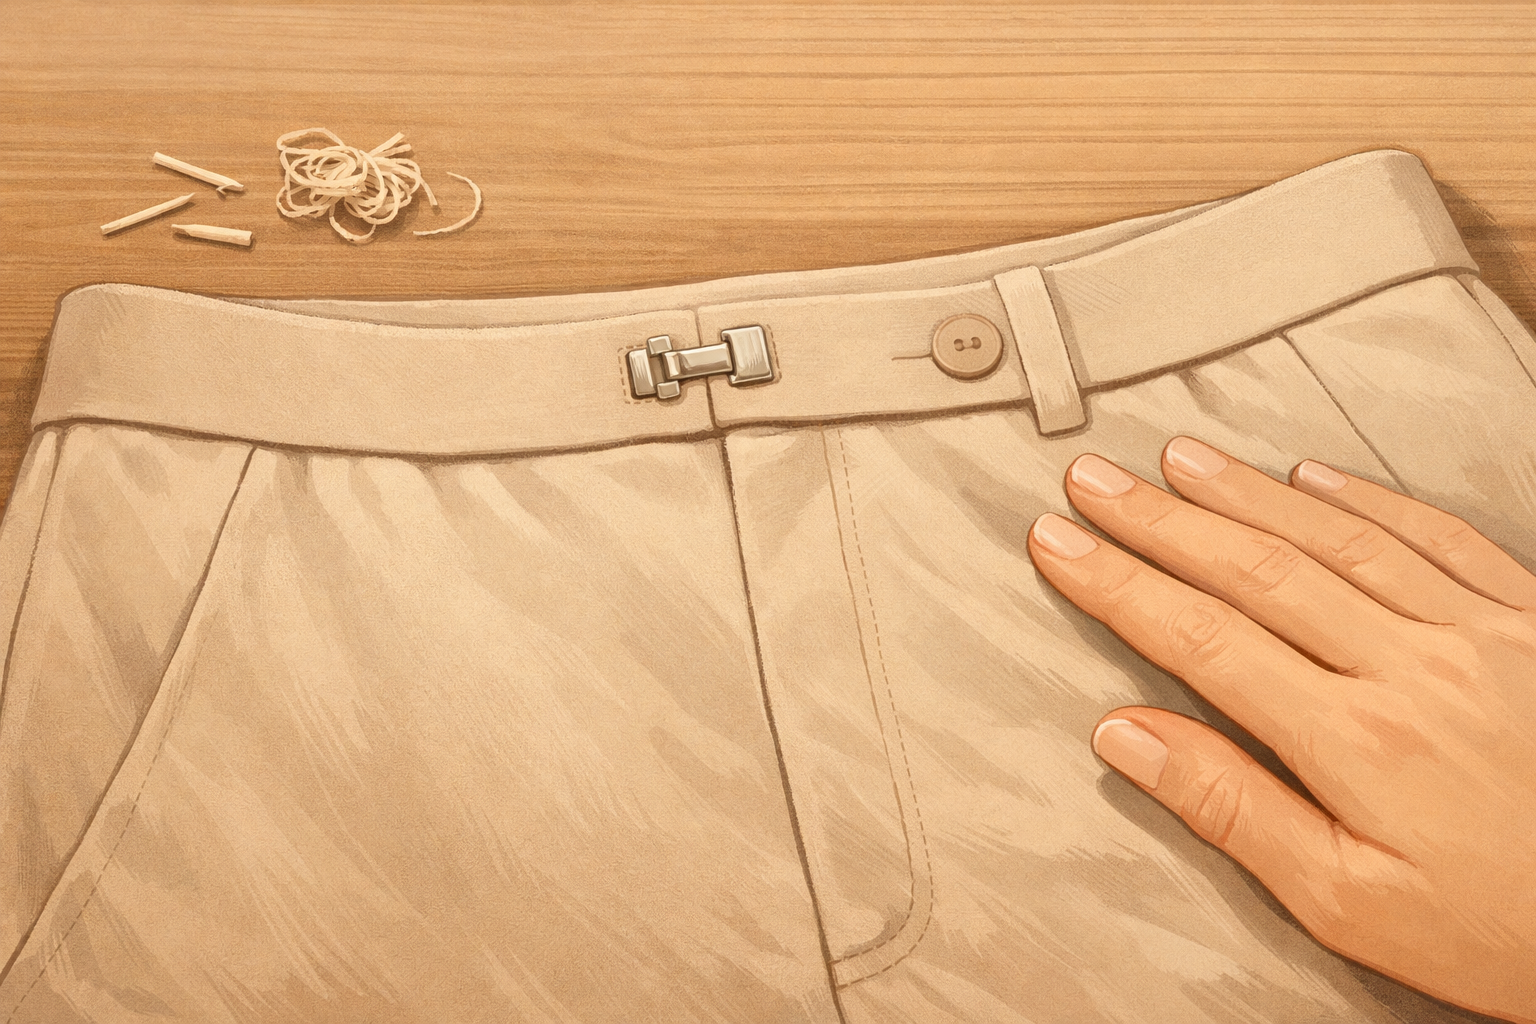
Clip any stray threads and smooth the waistband with your hand. If the fabric is rumpled, a light press with a pressing cloth can help, but it isn’t required. Store spare hooks and eyes in your sewing kit for future quick fixes.
If this was useful
Try one of these next
Home & life
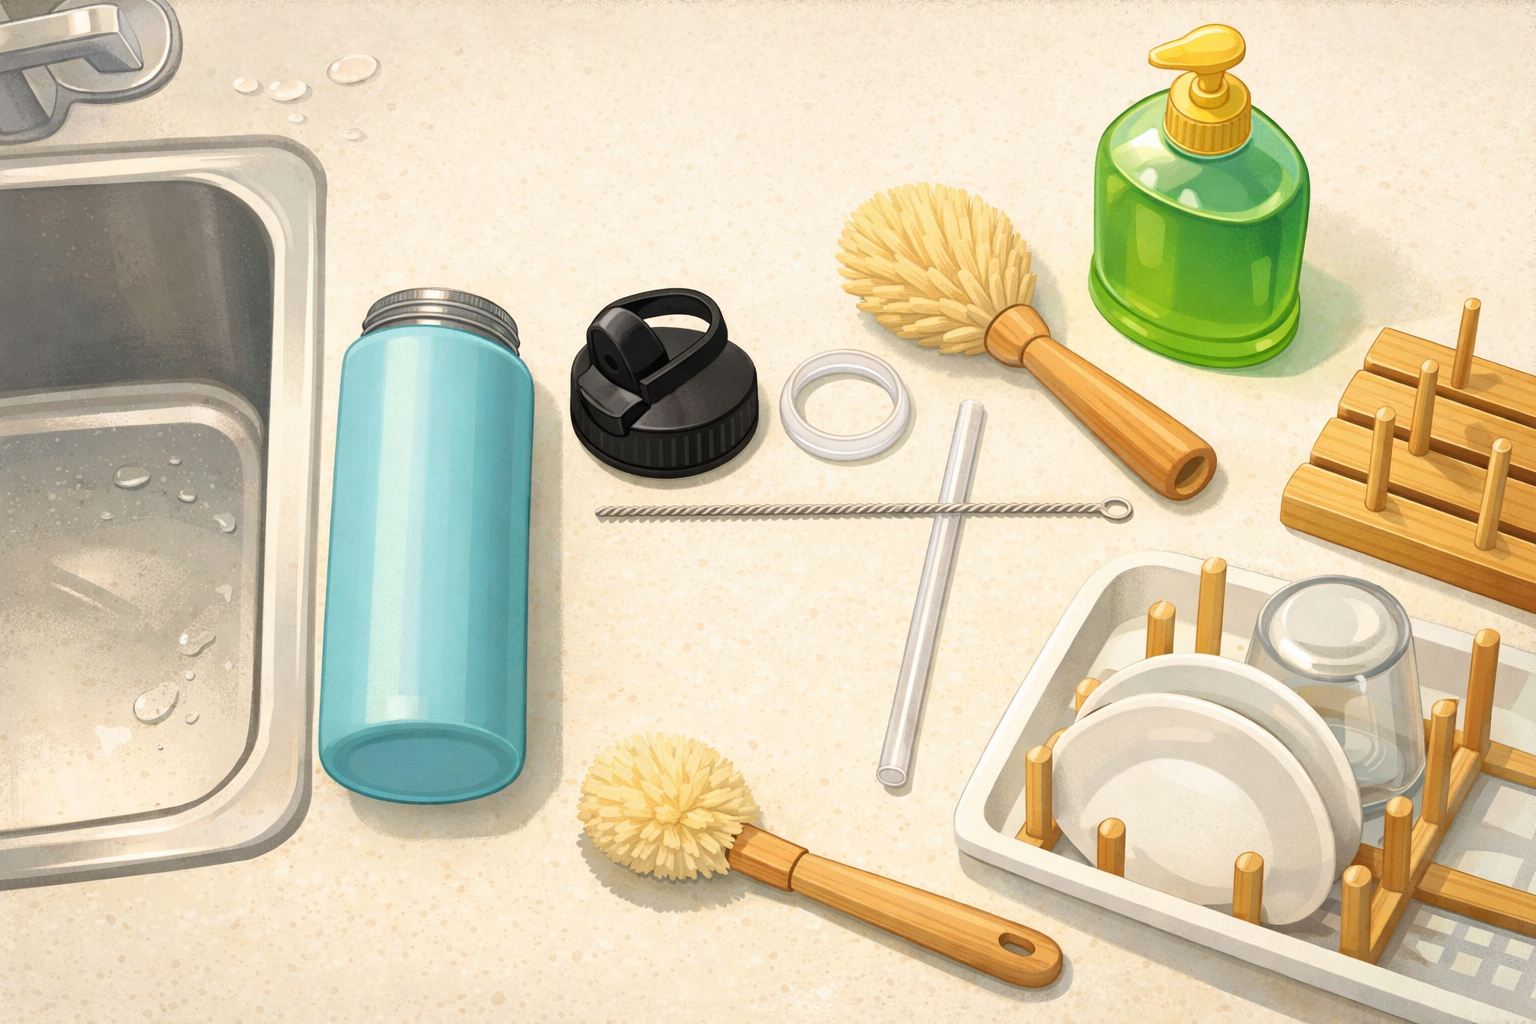
How to clean and dry a reusable water bottle after a picnic
Disassemble the lid, clean threads and seals, wash the body, rinse thoroughly, and air‑dry so it doesn’t develop odours between countryside trips. Close‑ups show where residue hides and a quick drying rack setup.
Read the guide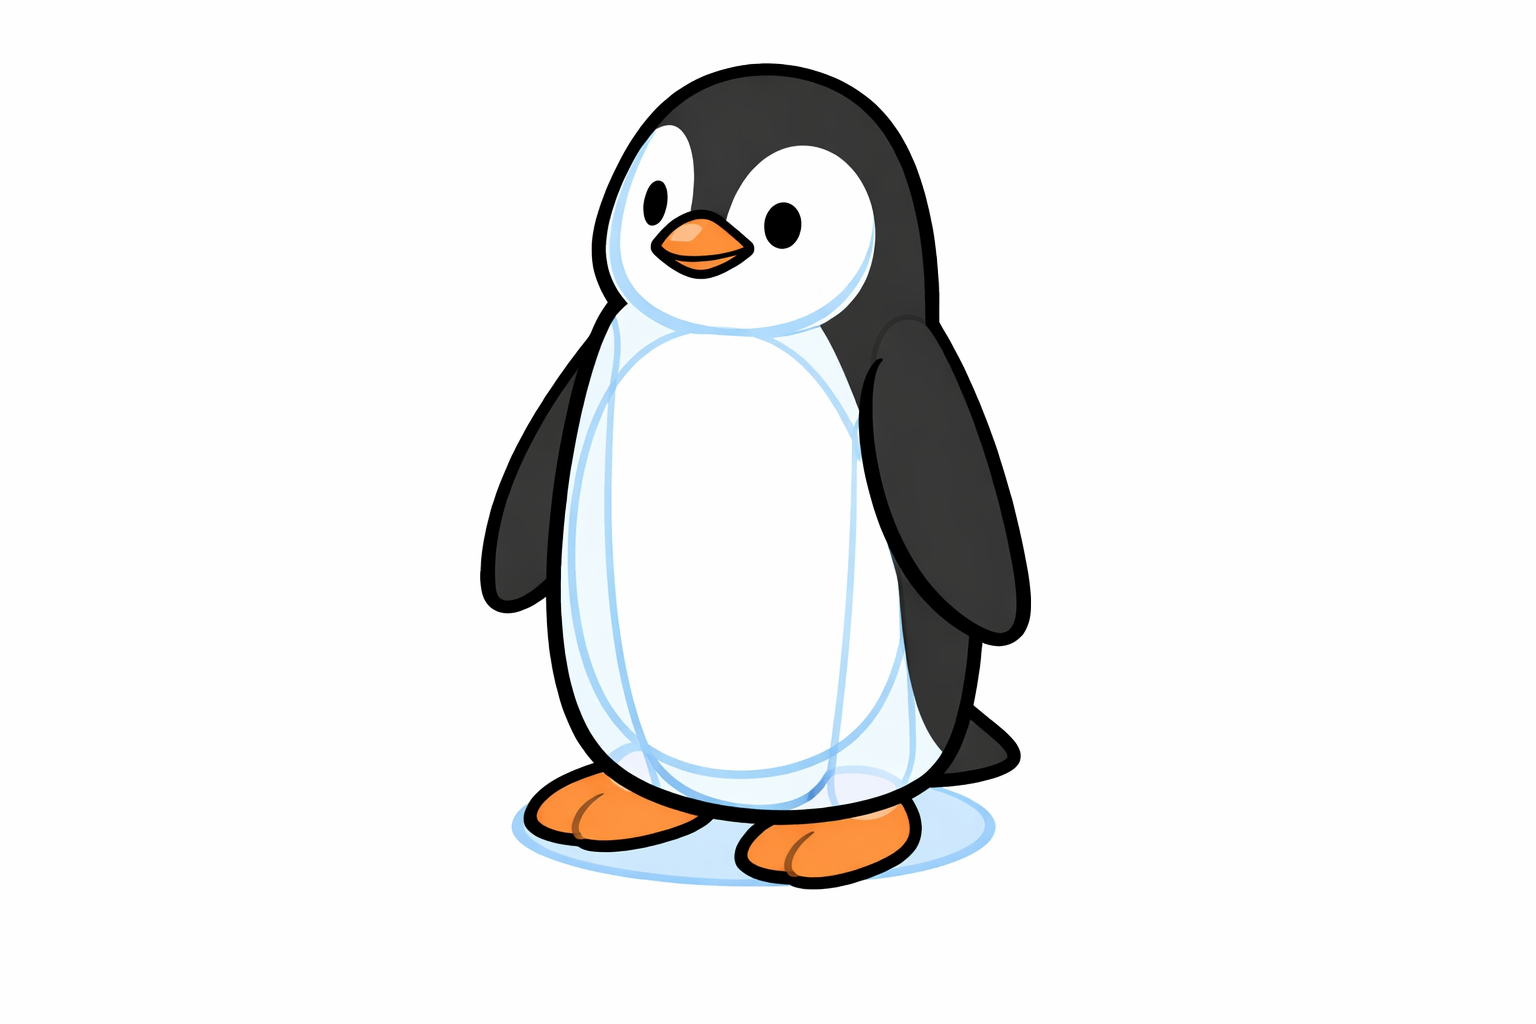
Hobbies & crafts
How to draw a standing penguin using teardrop shapes
Start with a tall teardrop for the body and small ovals for the head and feet. Add a simple beak and flippers with more teardrops, map the tuxedo belly, then refine the outline. Erase the guides and finish with light shading for roundness. Each step’s image overlays pale guide shapes and the darker final lines so you can see what to keep.
Read the guide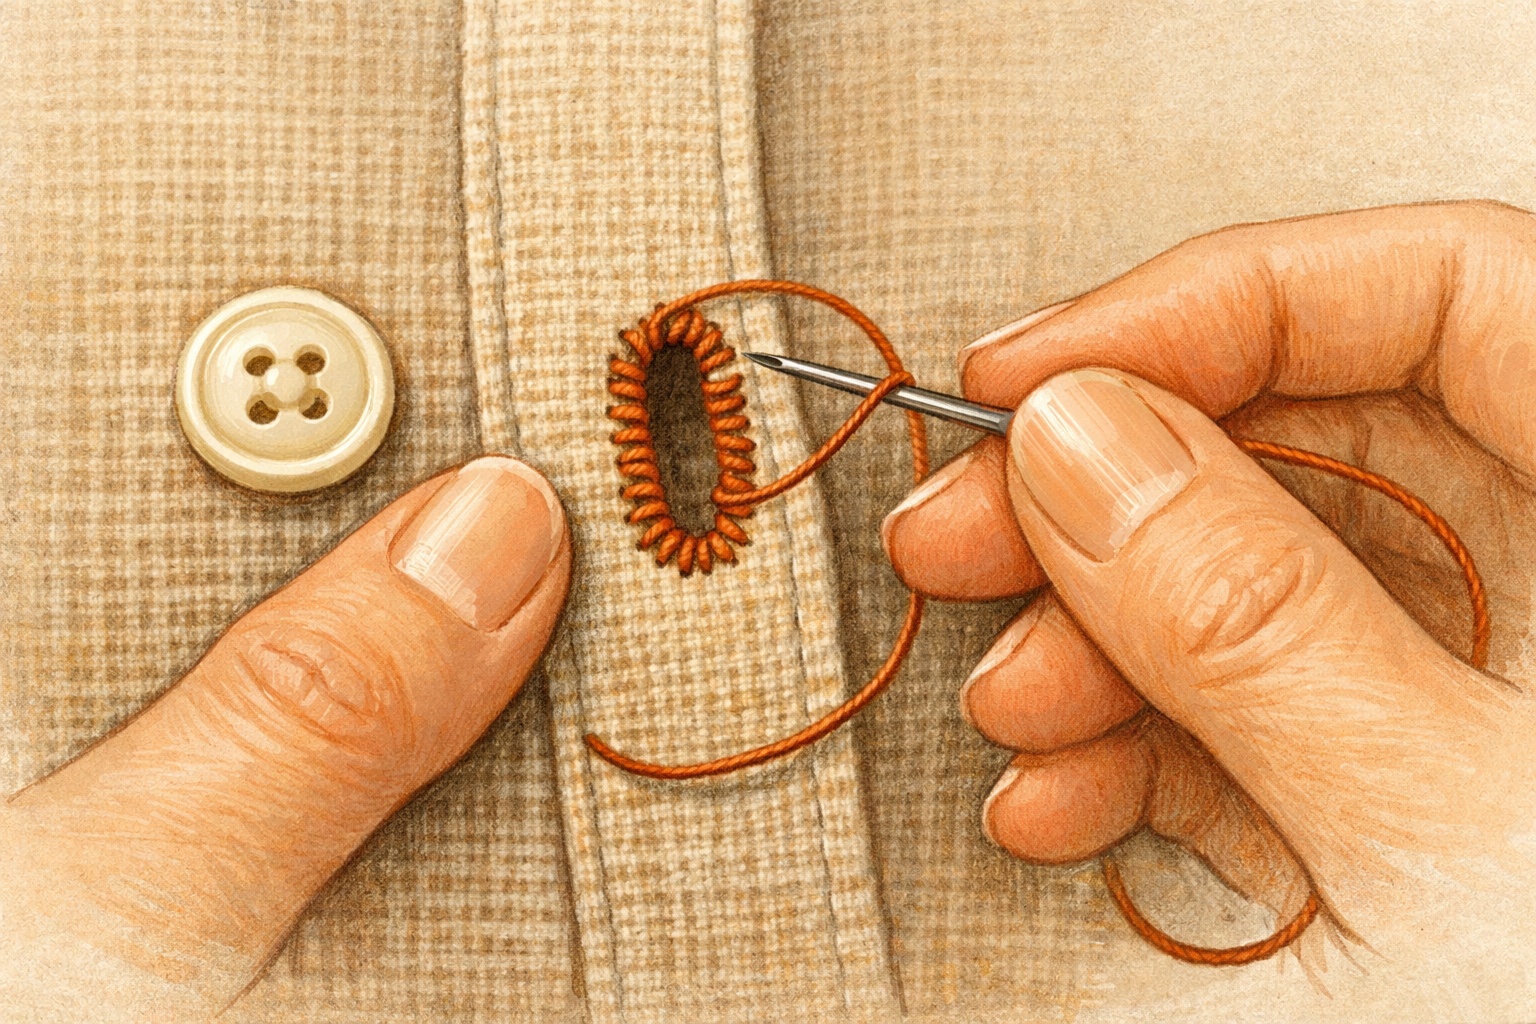
Hobbies & crafts
How to Tighten a Loose Buttonhole with Blanket Stitches
Reinforce stretched buttonholes by stitching a neat border that grips the button and prevents further fraying.
Read the guide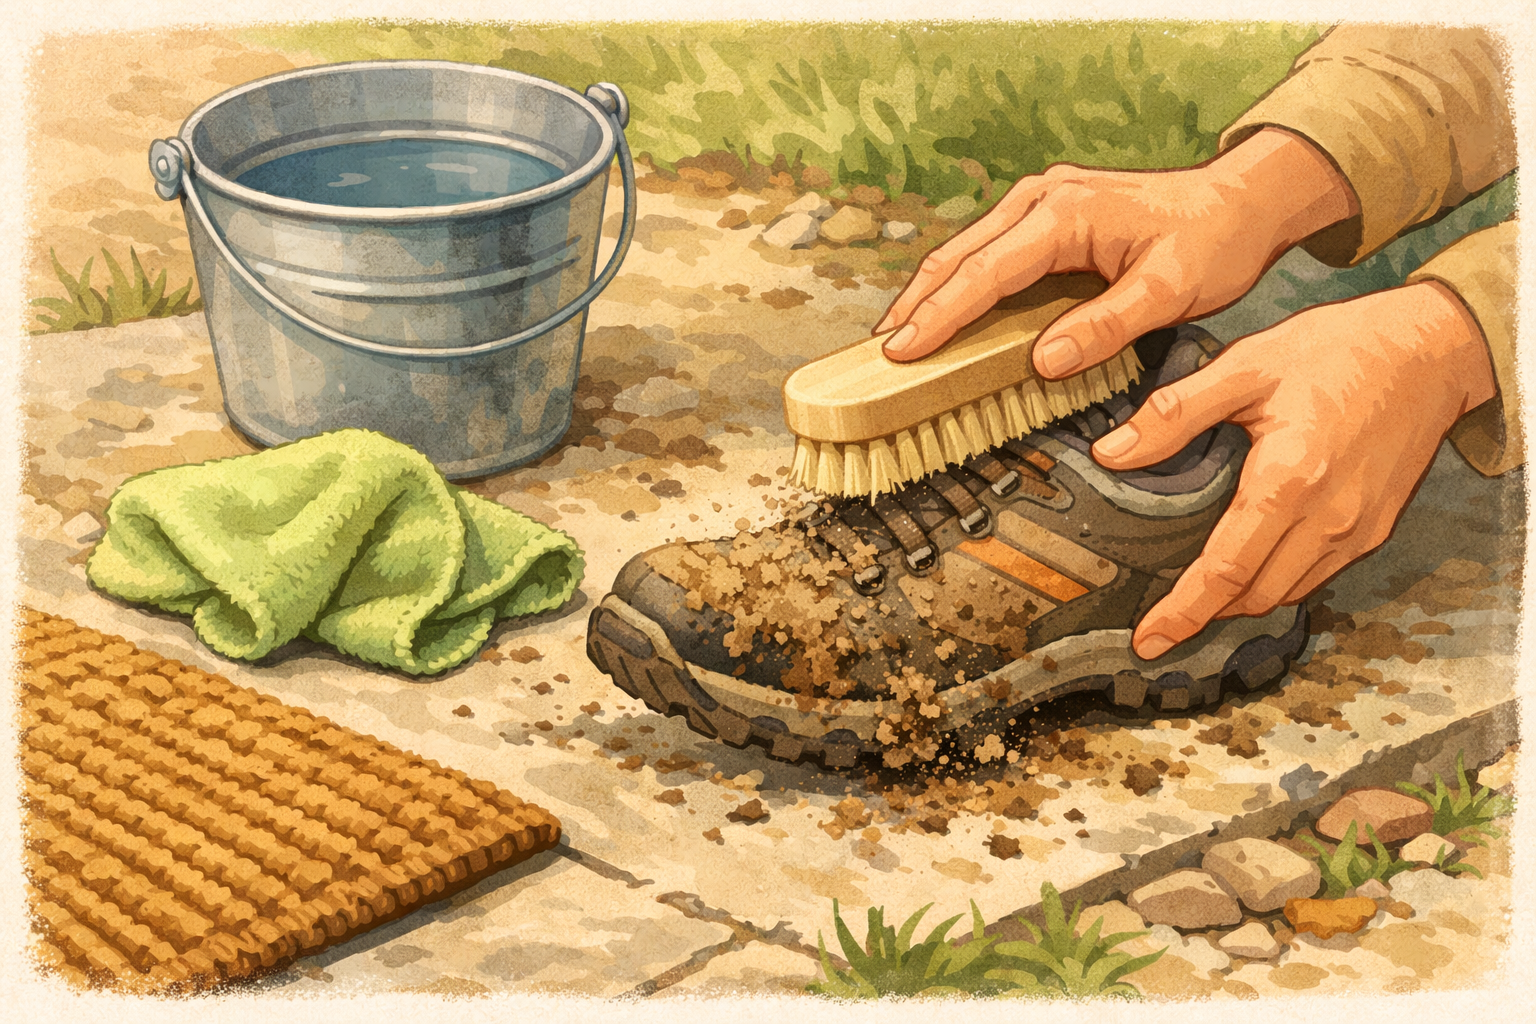
Home & life
How to clean muddy walking shoes after a countryside footpath
Knock off dried mud, brush seams, wipe uppers, clean outsoles, freshen insoles, and air‑dry so your shoes are ready for the next path. Photos show the order and which brushes or cloths to use.
Read the guide