Hobbies & crafts
How to make a leaf‑rubbing bookmark to remember a woodland walk
Pick a fallen leaf, make a clean crayon rubbing onto paper, back it with card, trim, and add a tassel. Illustrations show leaf placement, rub direction, and a neat way to finish the edges.
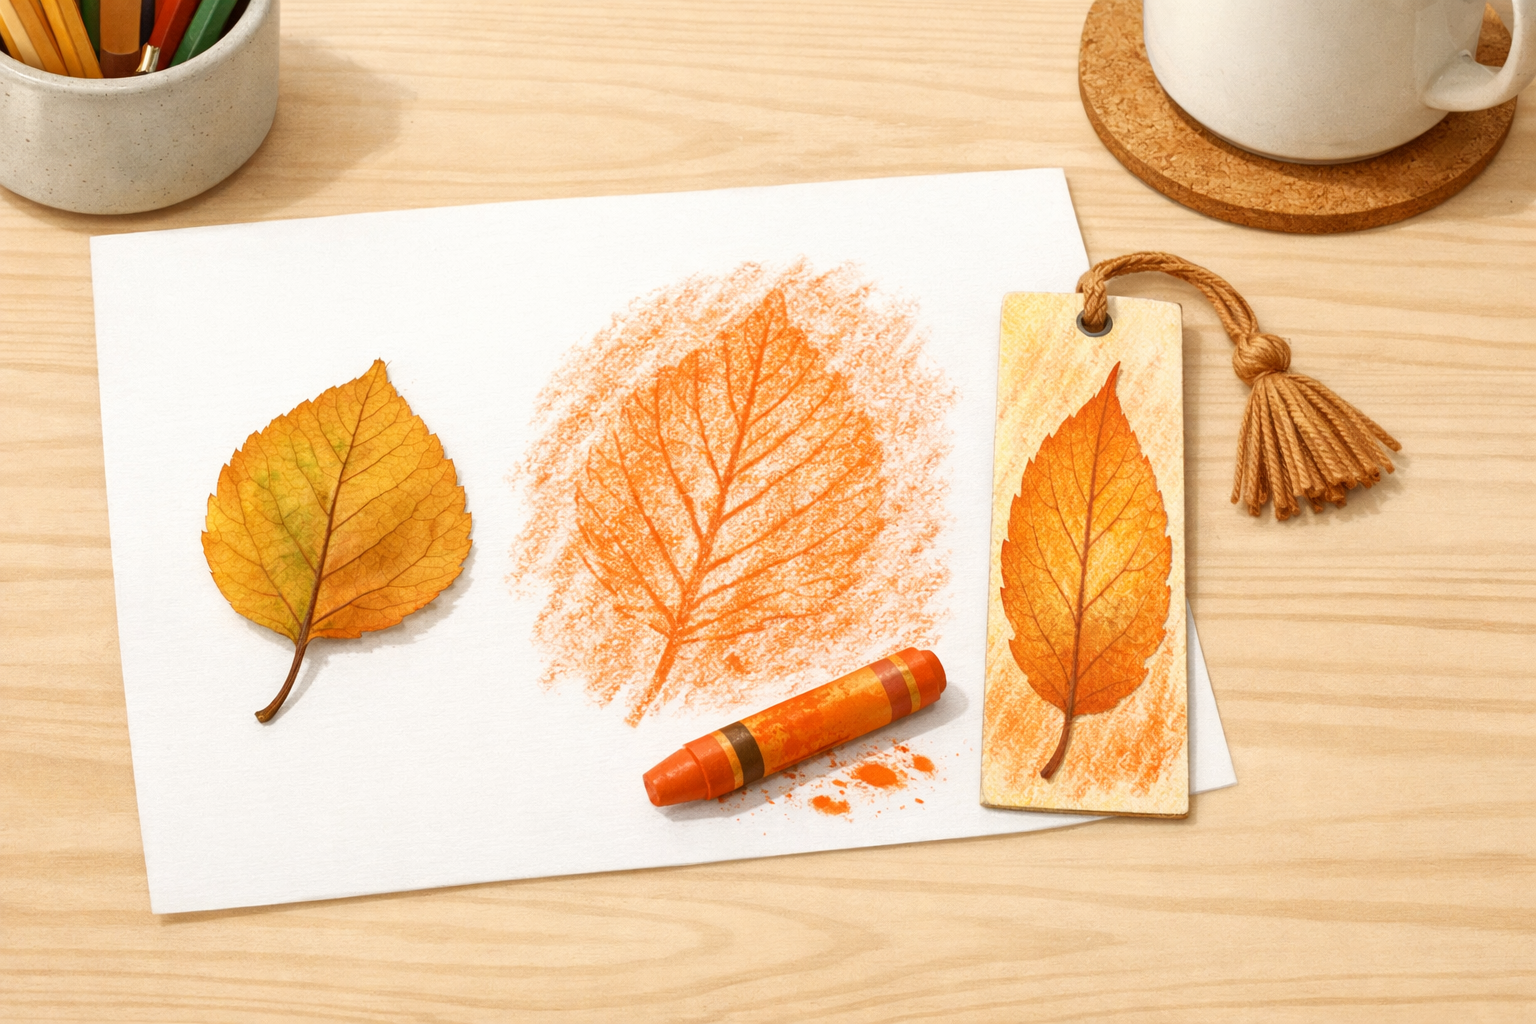
- 01
Gather a leaf and simple supplies
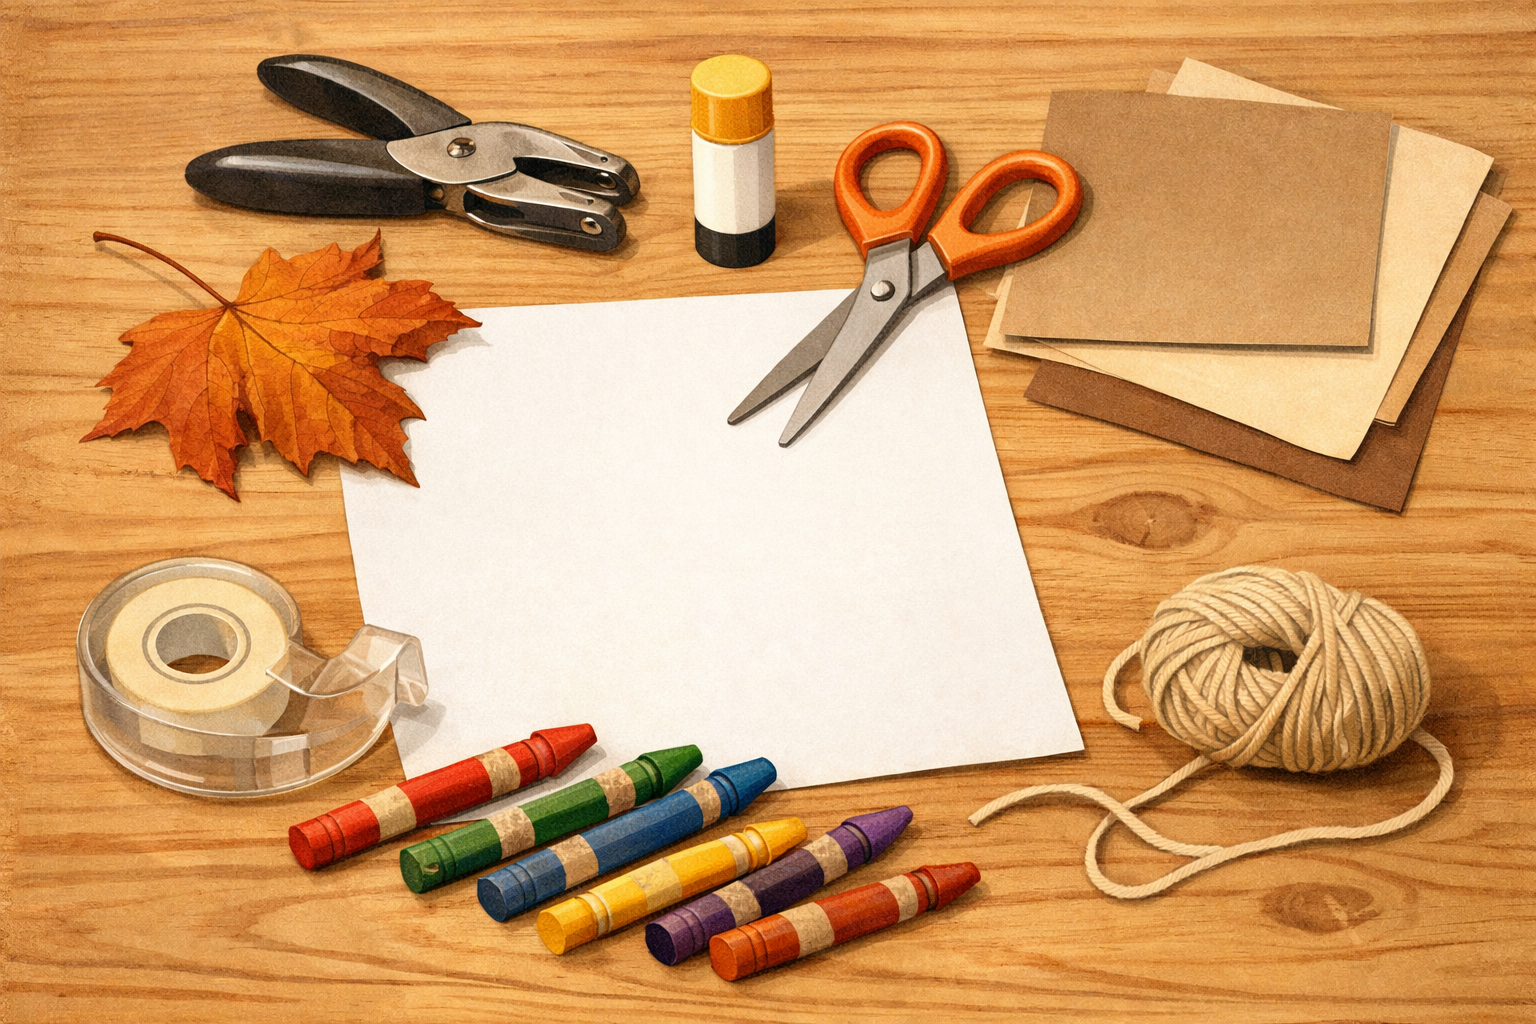
Pick a clean, fallen leaf from your walk (one with visible veins works best). At home, set out plain white paper, crayons (paper wrappers removed), a glue stick, a piece of thin card for backing, scissors, clear tape (optional), a hole punch, and yarn or string for a tassel.
- 02
Clean and briefly press the leaf
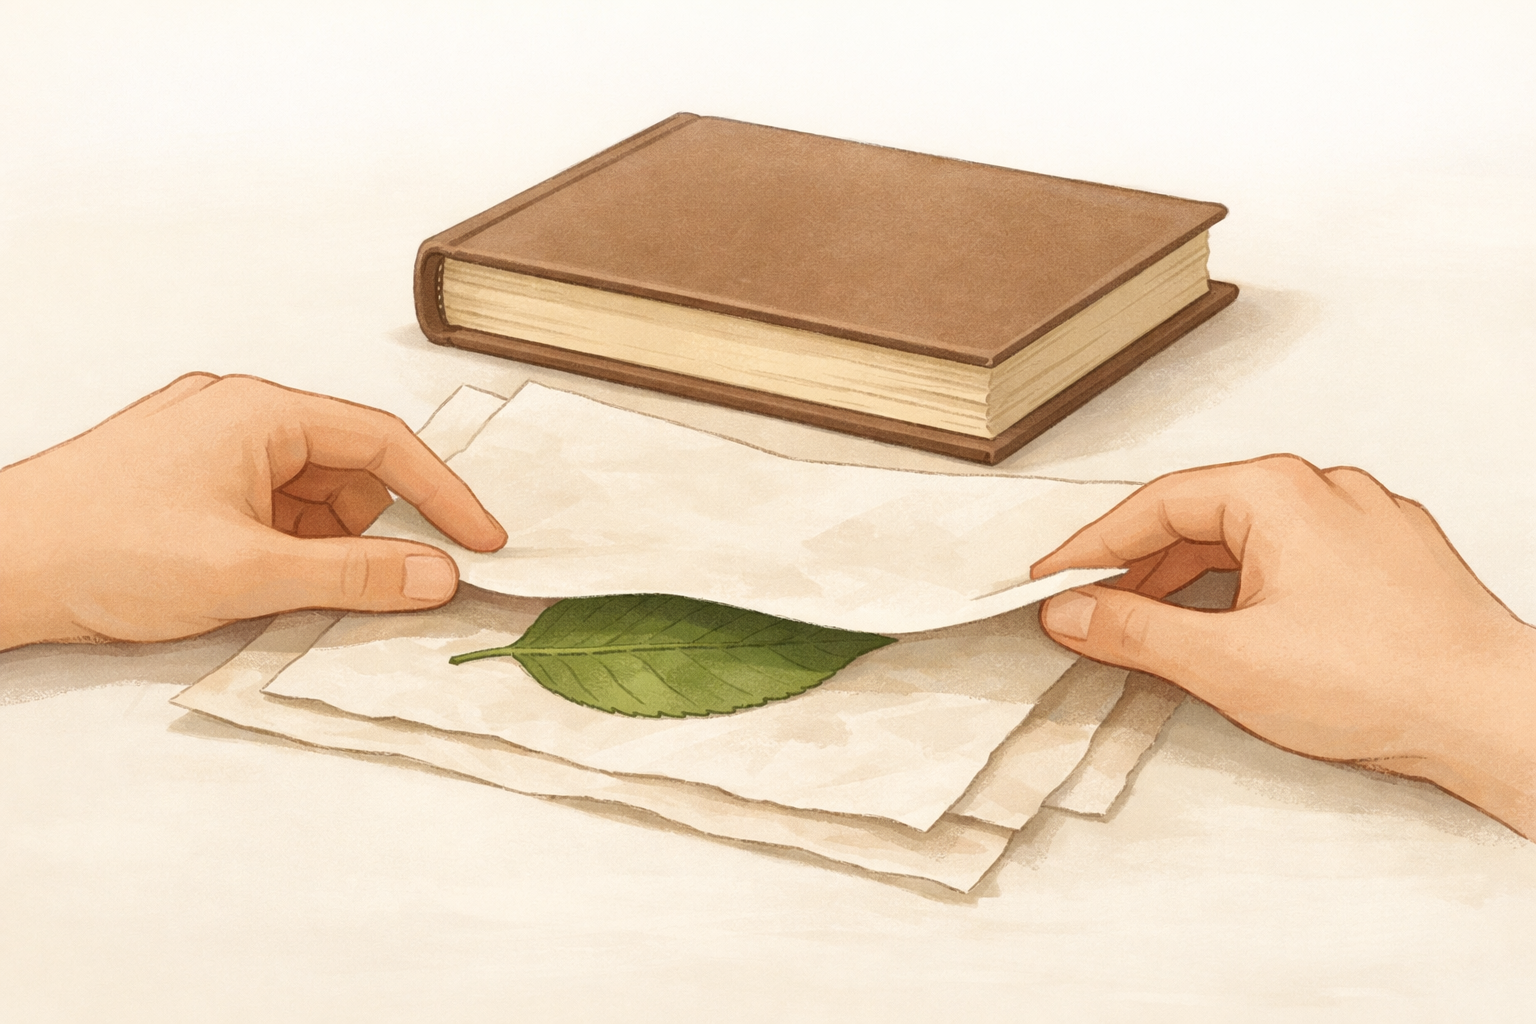
Gently brush off dirt. If the leaf curls, place it between two sheets of scrap paper and rest a book on top while you set up. You want it flat but still flexible, not brittle.
- 03
Prepare the paper and crayon
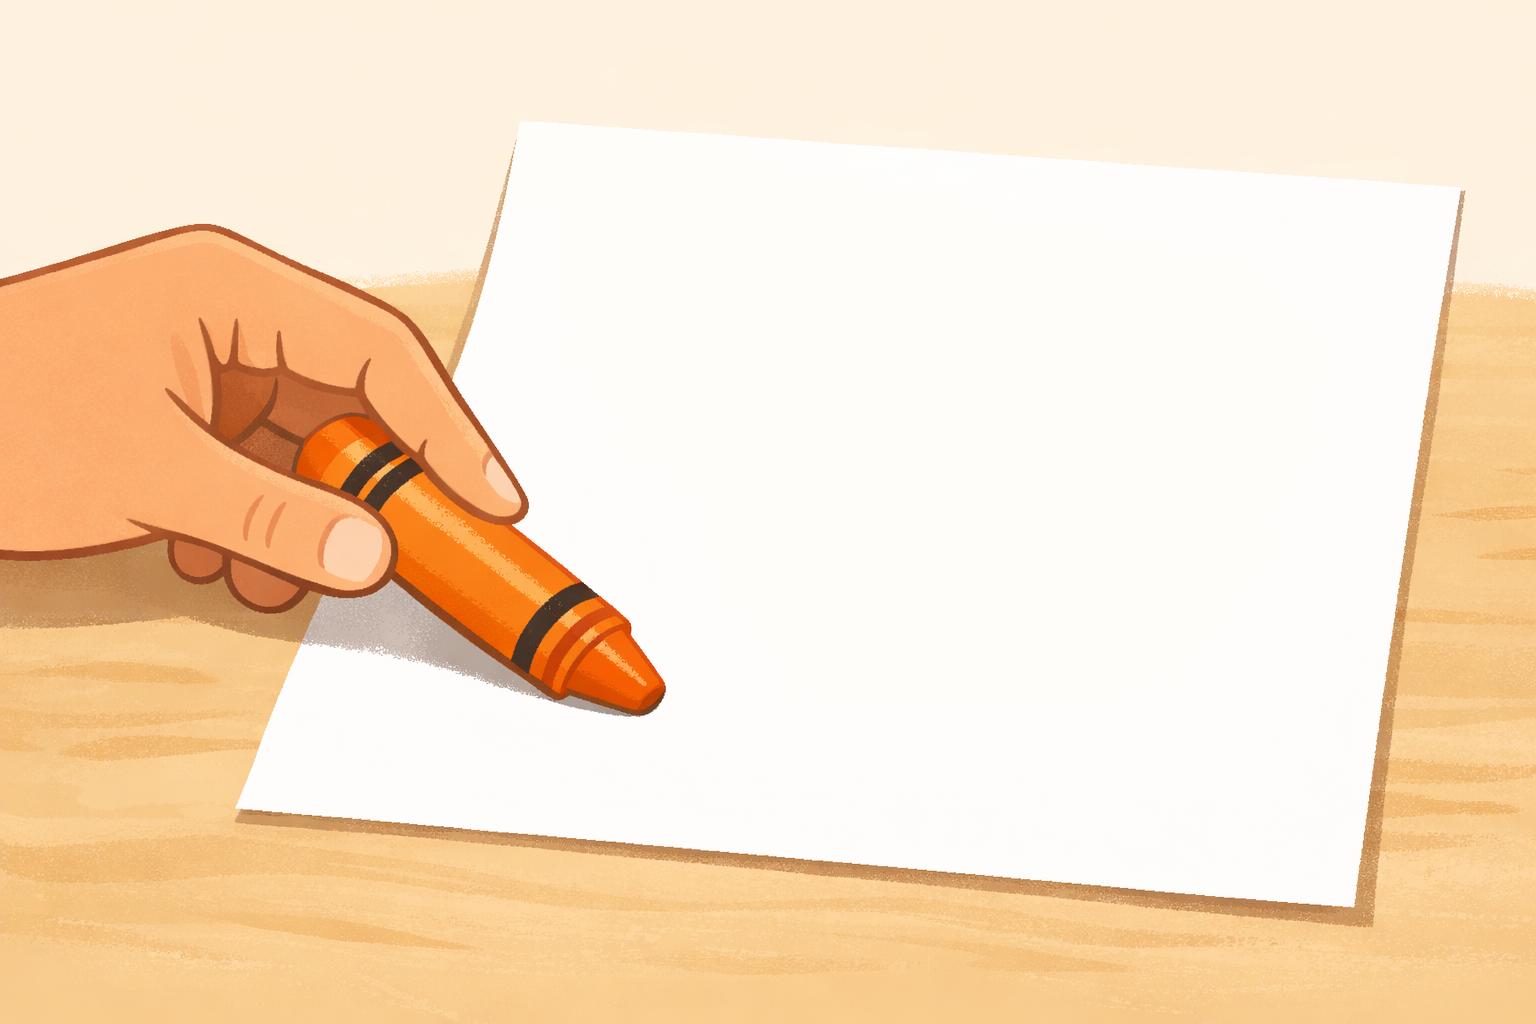
Lay a sheet of white paper on your table. Choose a crayon color that contrasts with the leaf. Hold the crayon on its side so a broad surface will touch the paper; this helps the texture appear evenly.
- 04
Place the leaf vein‑side up
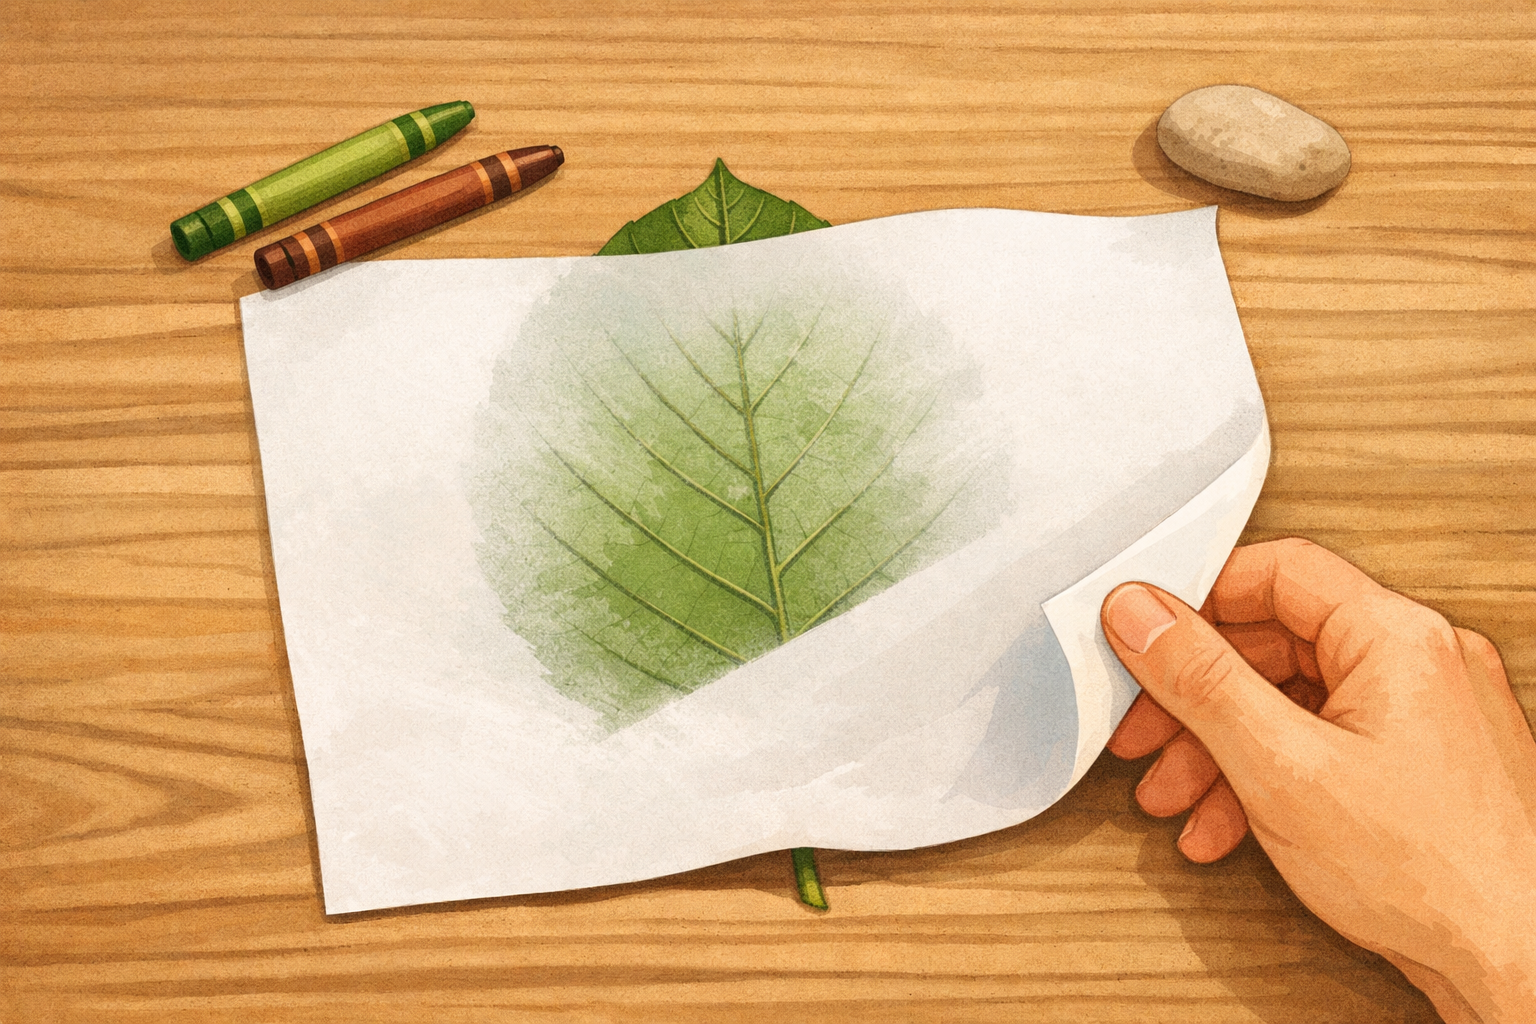
Set the leaf on the table with its veiny underside facing up. Smooth it flat. Carefully lay the white paper over the leaf so it doesn’t shift; hold a paper corner lightly with one hand to keep everything steady.
- 05
Rub gently in one direction
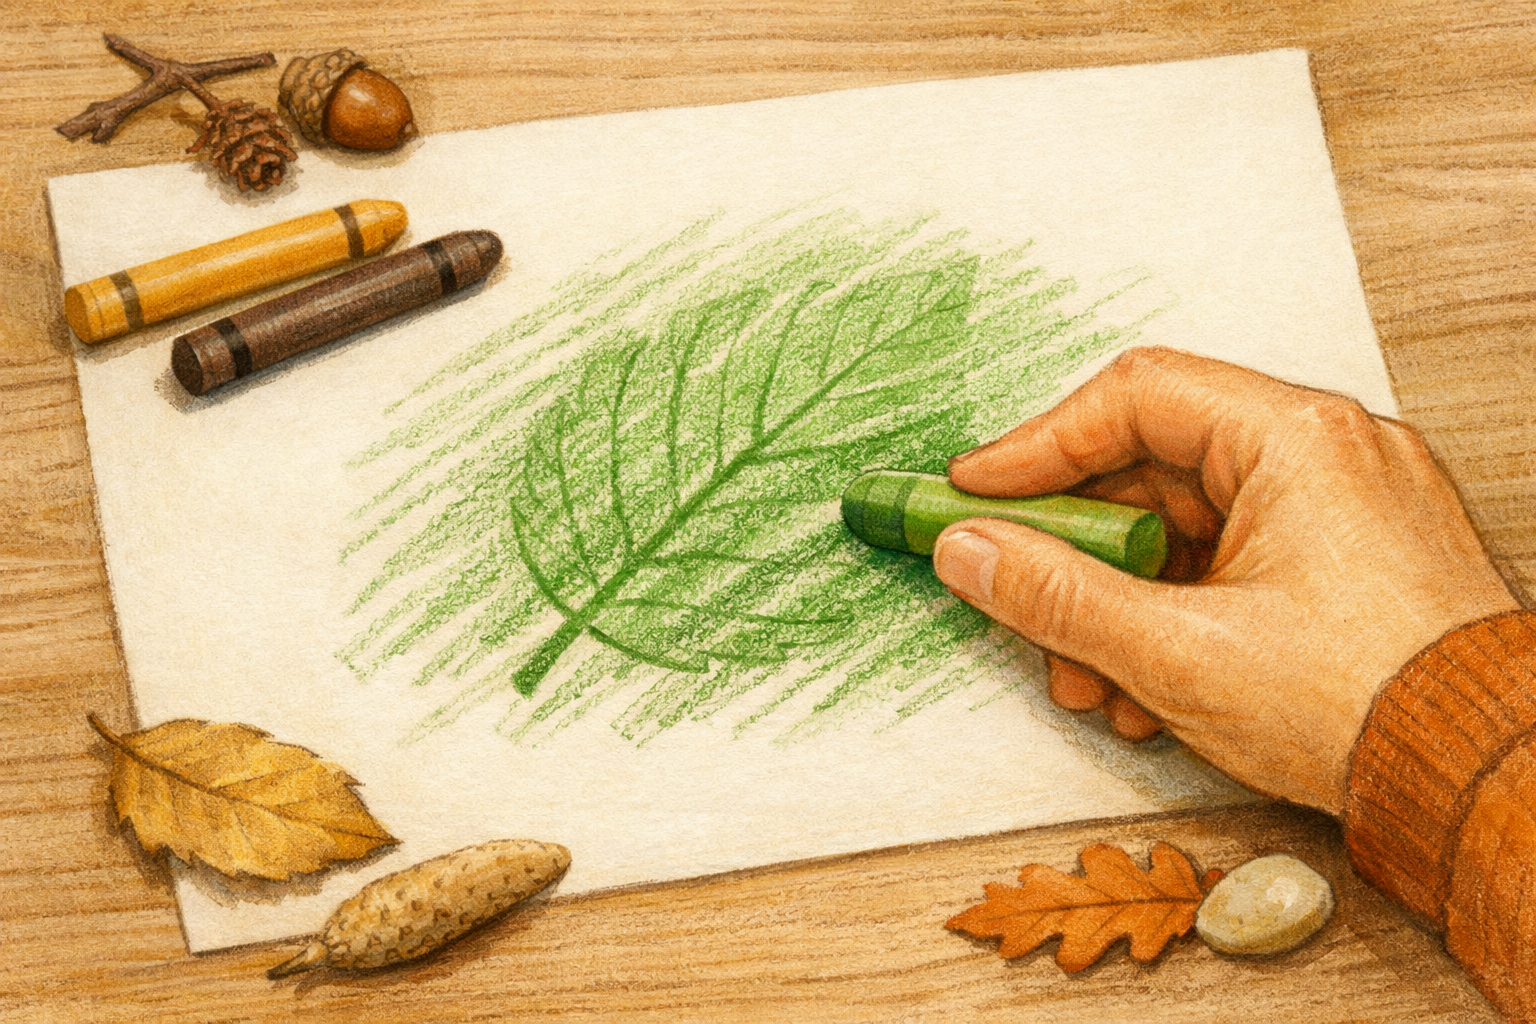
Using the crayon on its side, rub lightly across the area where the leaf sits, moving in one smooth direction. Increase pressure a little at a time until the leaf’s outline and veins appear clearly without tearing the paper.
- 06
Fill in and tidy the print
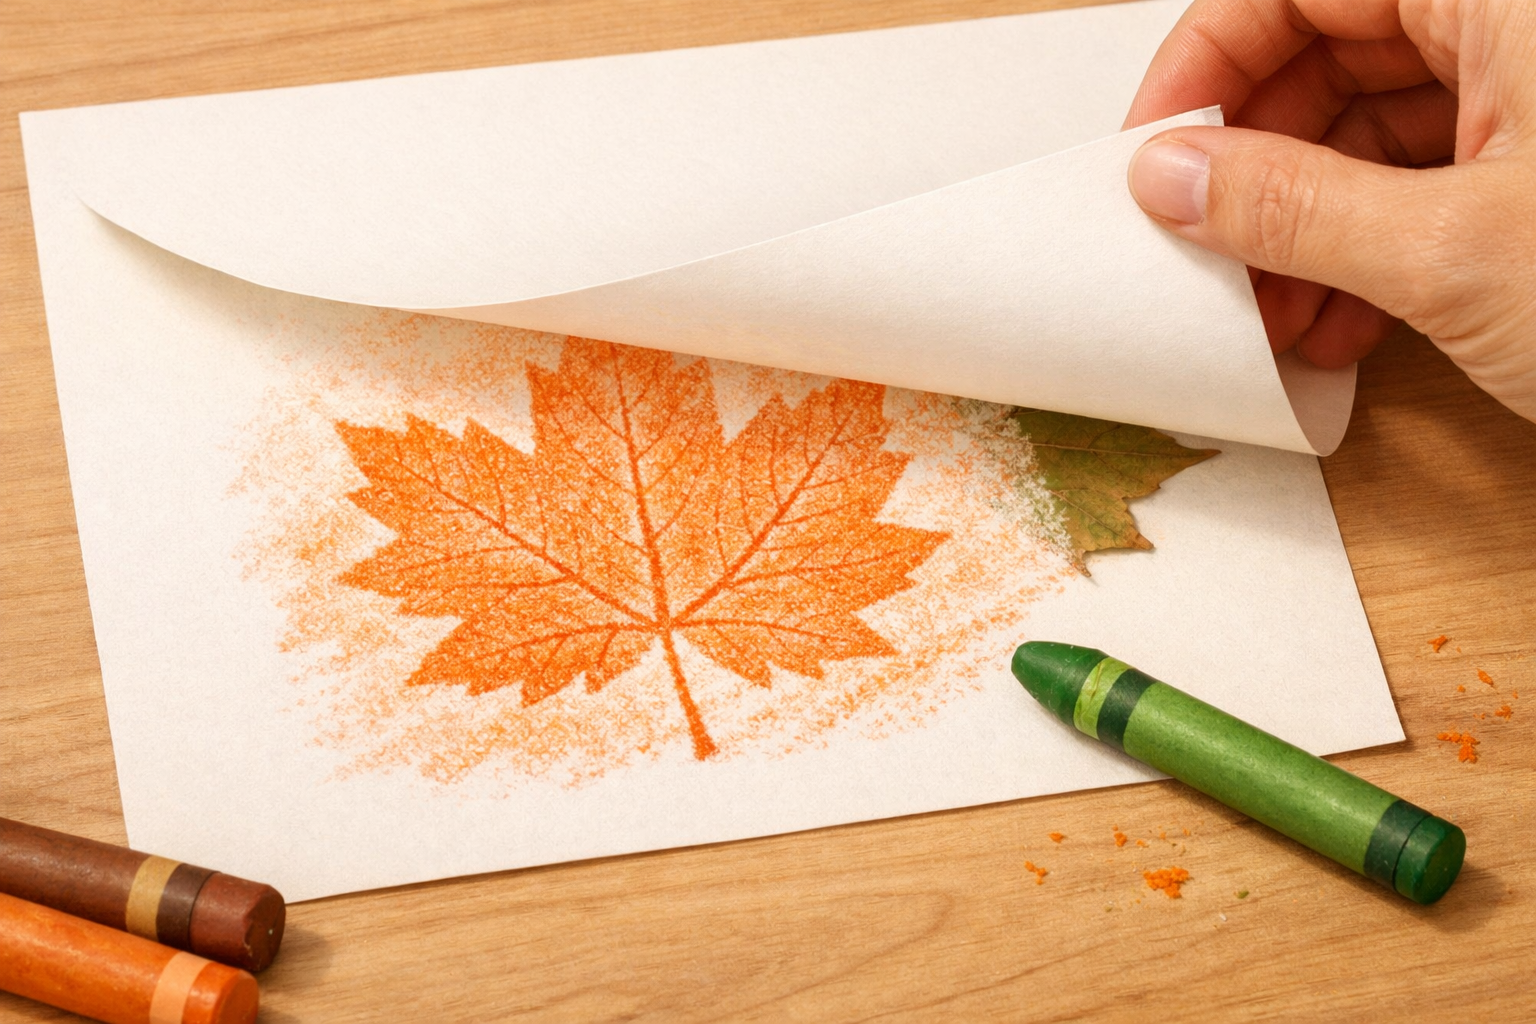
Continue rubbing to cover the whole leaf area. If you like, switch to a second color and add a few strokes for depth. Lift the paper to check, then replace and add light strokes where any gaps remain.
- 07
Trim the rubbing to bookmark size
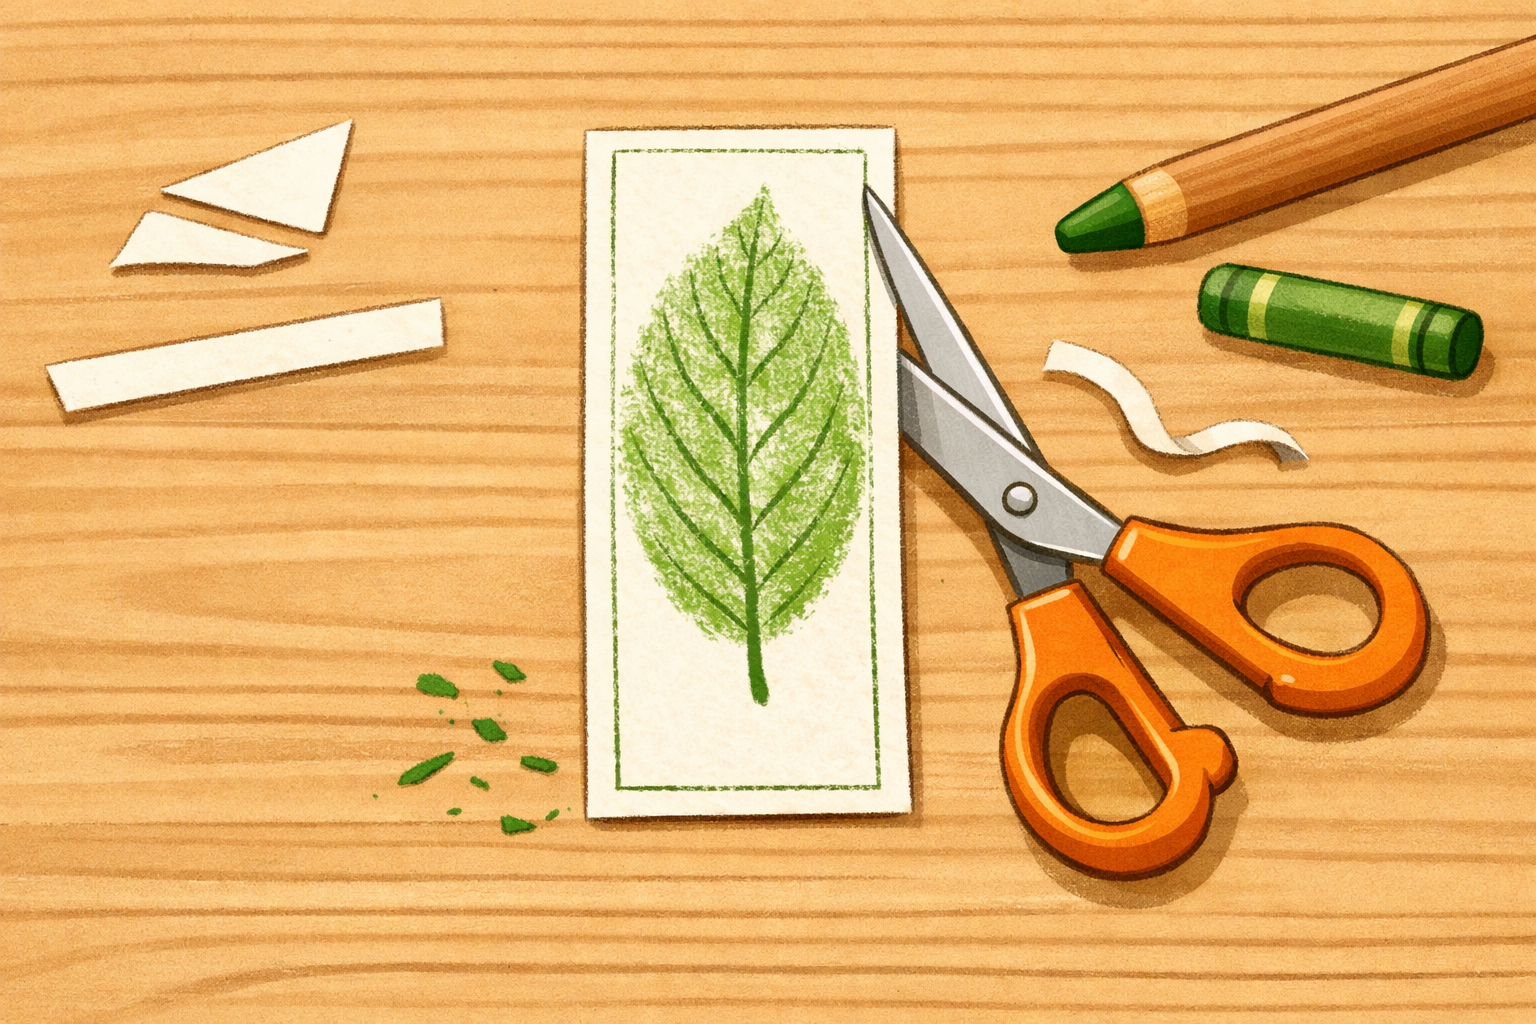
Cut the paper so the leaf rubbing sits centered with a neat margin. Aim for a long, narrow rectangle that will slip easily into a book.
- 08
Glue to card for strength
Spread a thin, even layer of glue stick on the back of the trimmed rubbing. Press it onto your card backing and smooth from the center outward to remove bubbles. Let it sit under a book briefly to set flat.
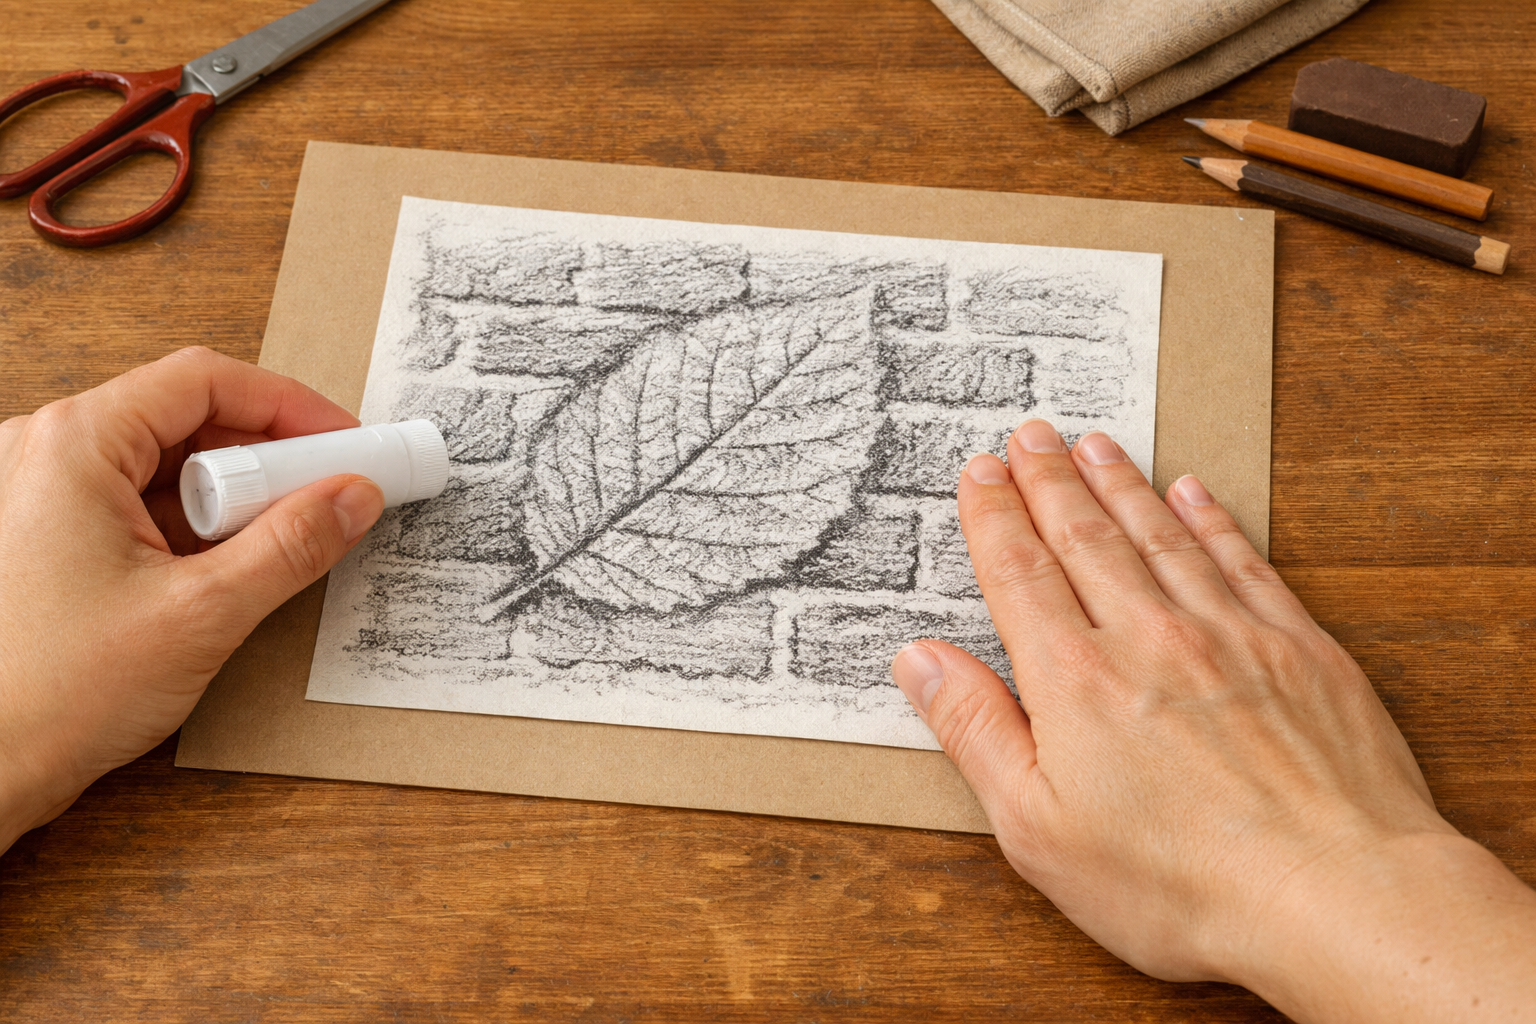
- 09
Cut the final bookmark shape
Once the glue holds, cut the card to match your paper rectangle. For a polished look, round the corners slightly with scissors.
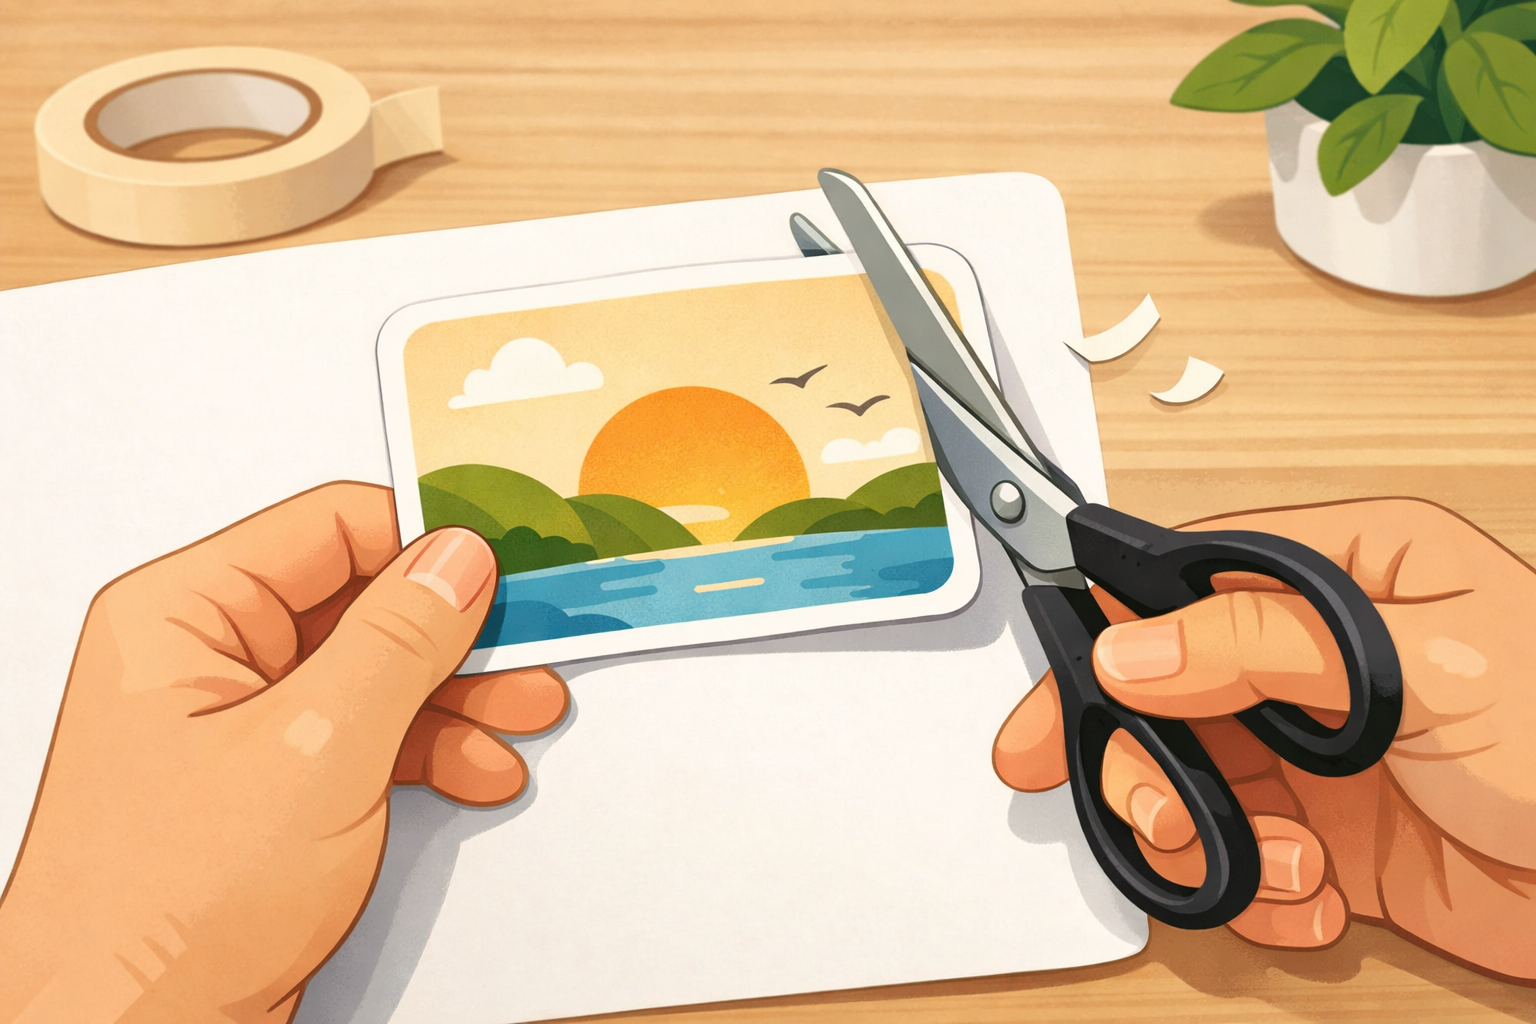
- 10
Seal the edges neatly (optional)
For durability, run a strip of clear tape along one long edge, folding it over to cover front and back. Repeat on the other long edge, then the short ends. Press firmly and trim any tiny overhangs with scissors.
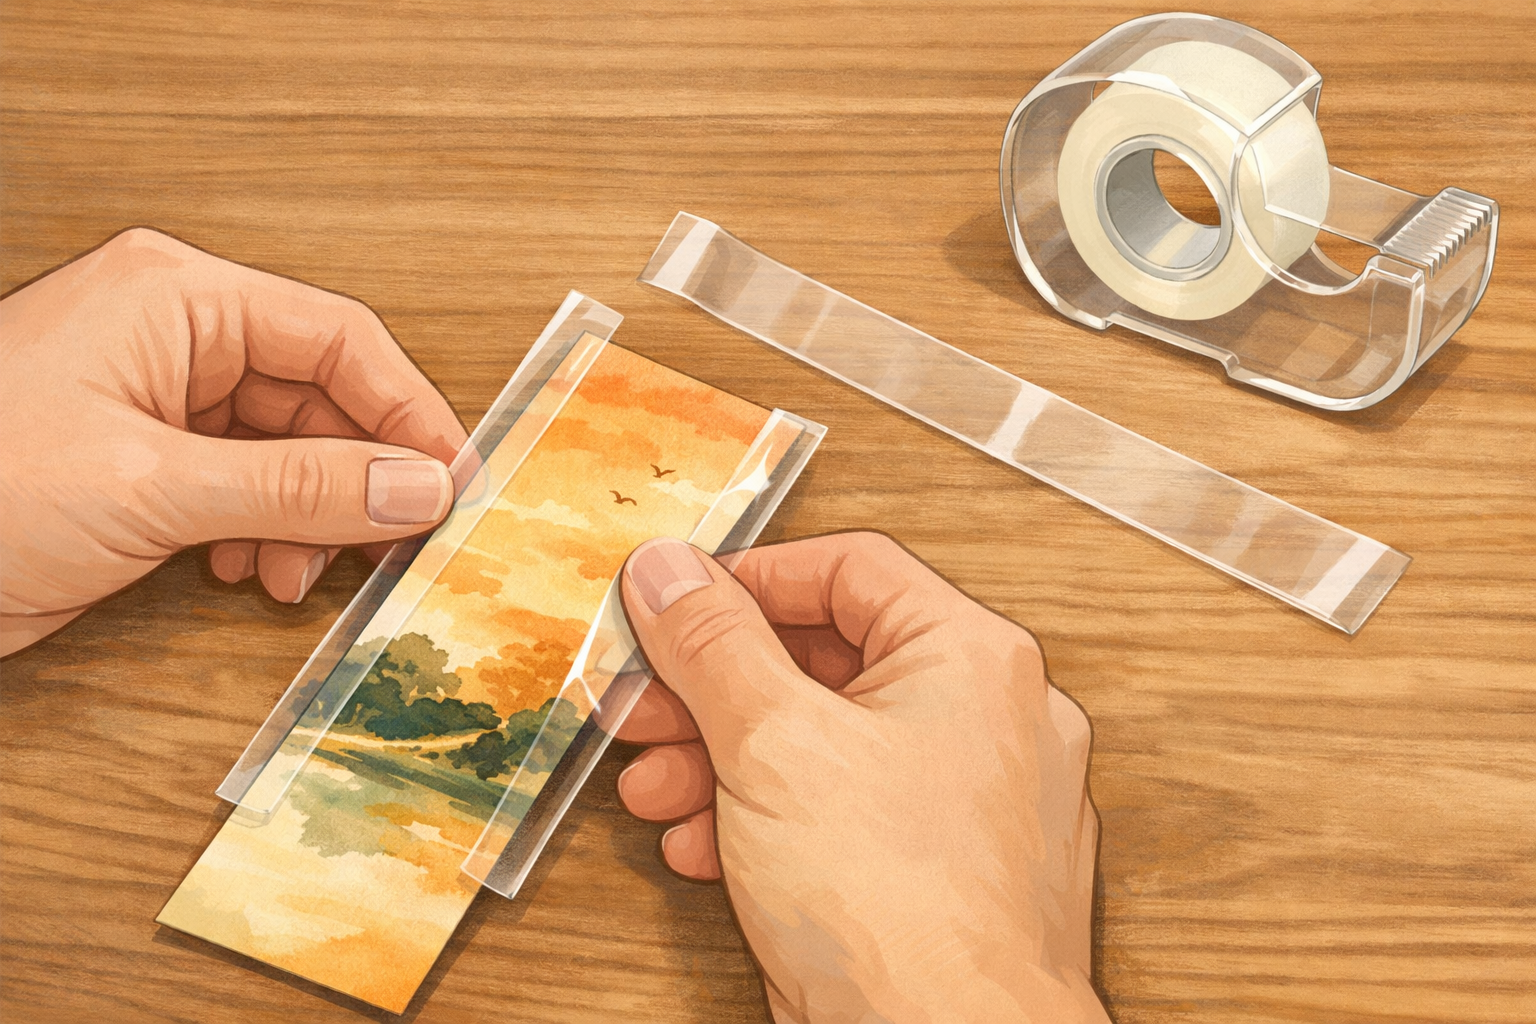
- 11
Punch a hole at the top
Mark the center near the top edge with your eye and punch a single hole, leaving a small border so the hole stays strong. If you taped the edges, the punch will go through cleanly.
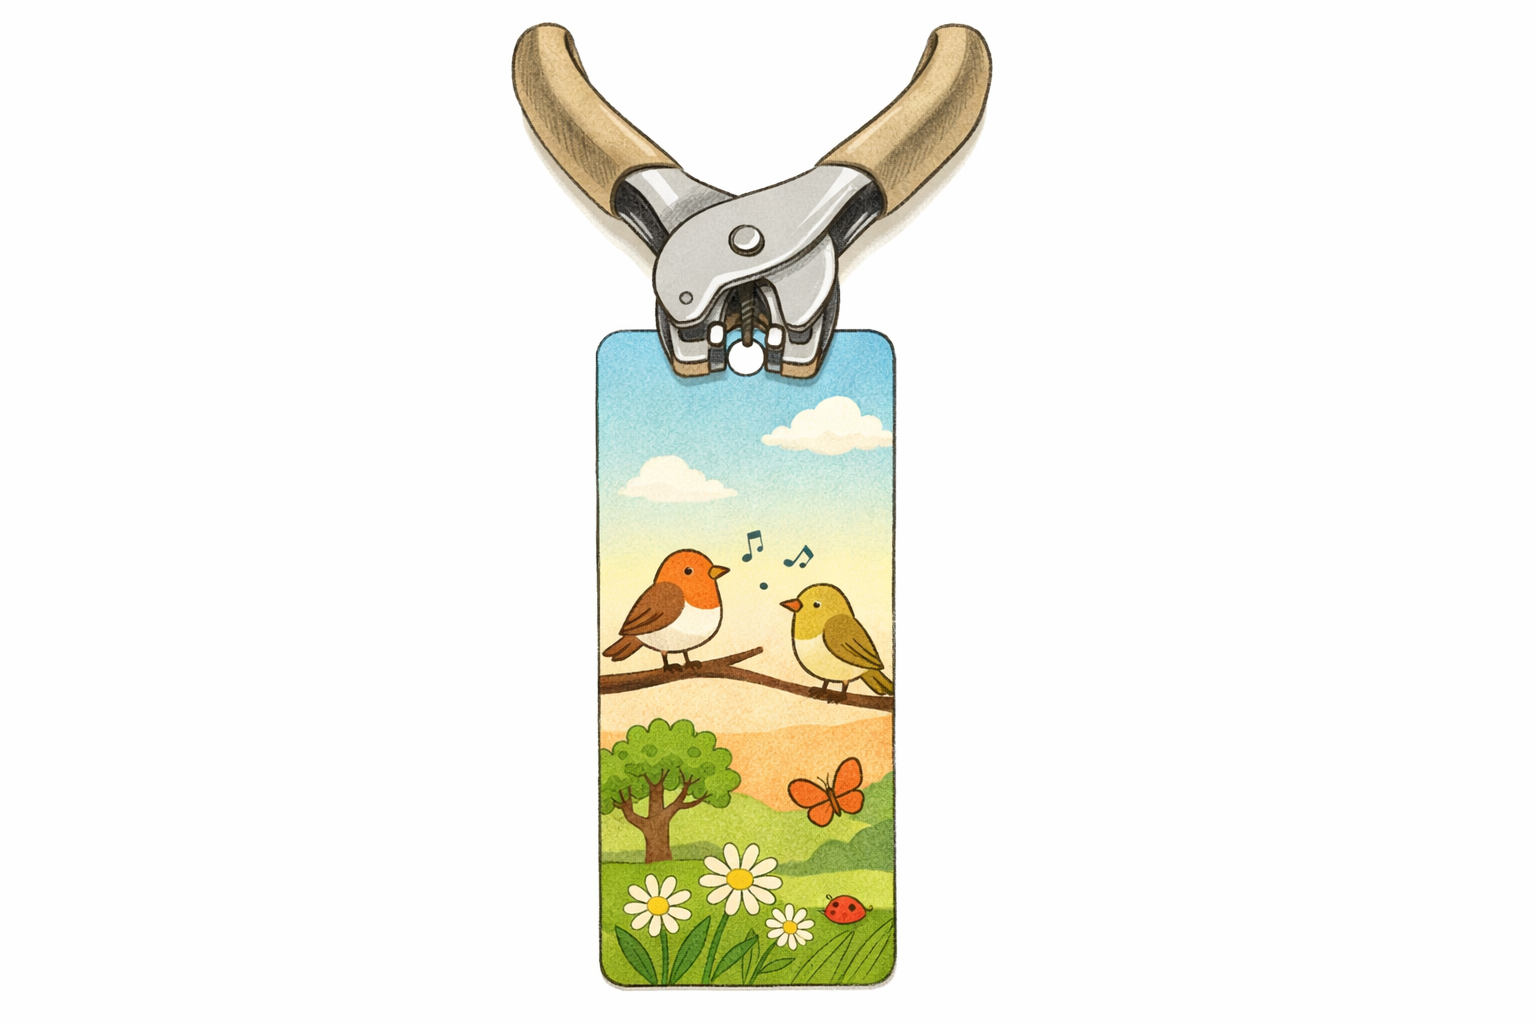
- 12
Add a quick tassel
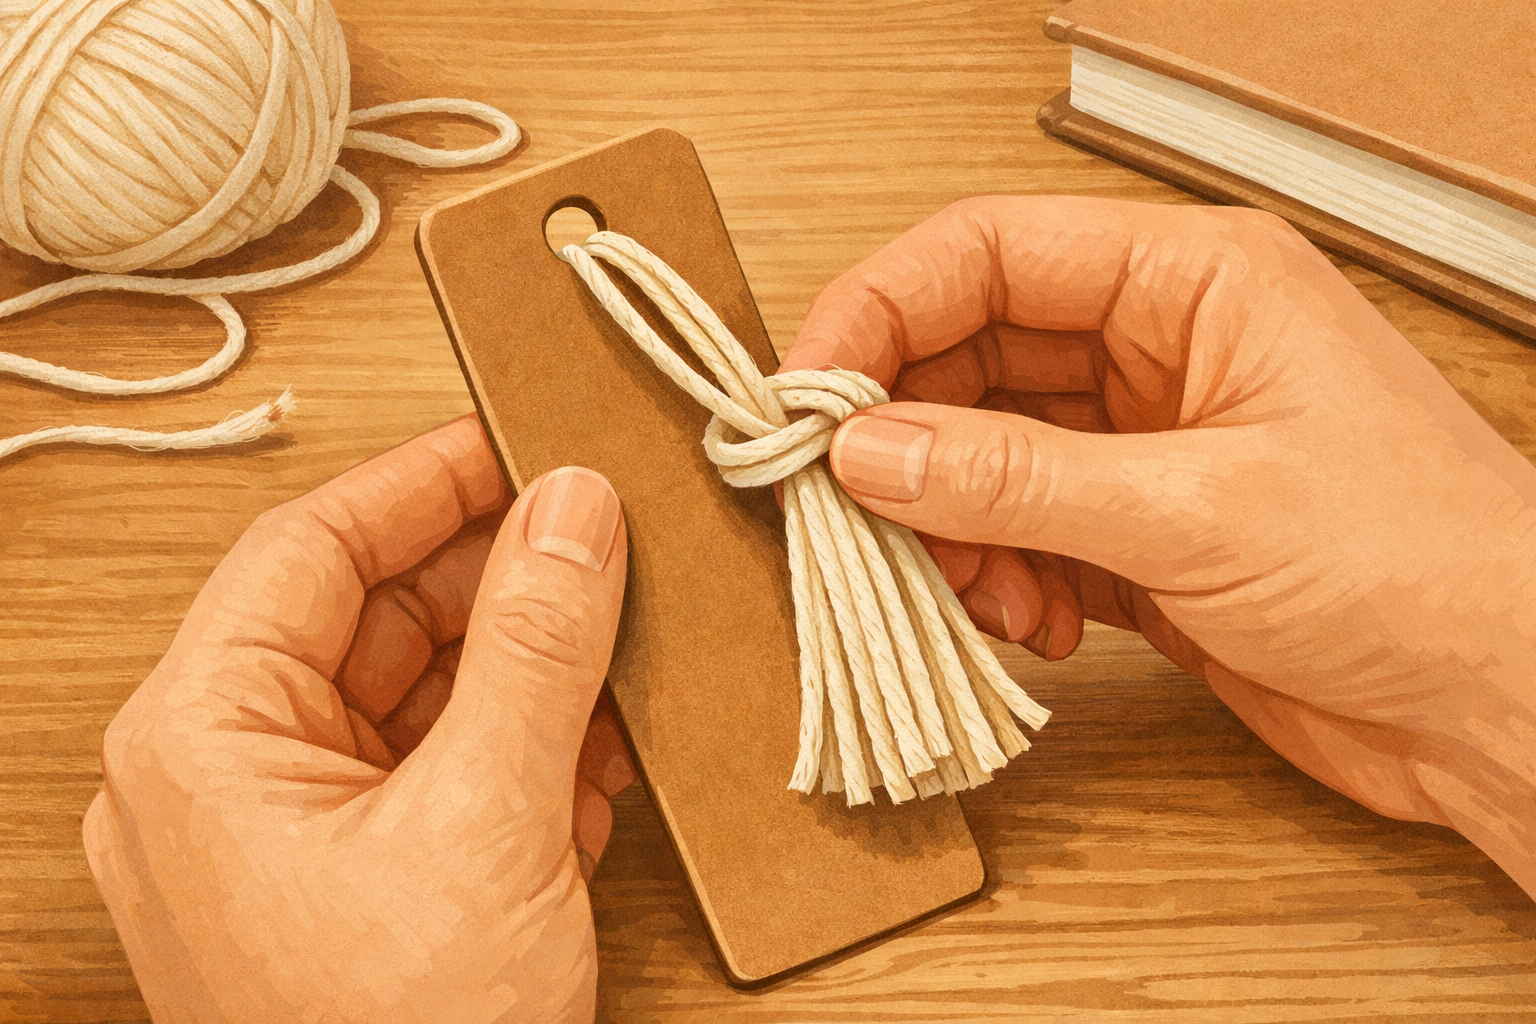
Cut several equal lengths of yarn. Bundle them and fold in half. Push the folded loop through the hole from the front, then pass the yarn ends through the loop and pull snug. Trim the ends evenly to finish.
If this was useful
Try one of these next
Home & life
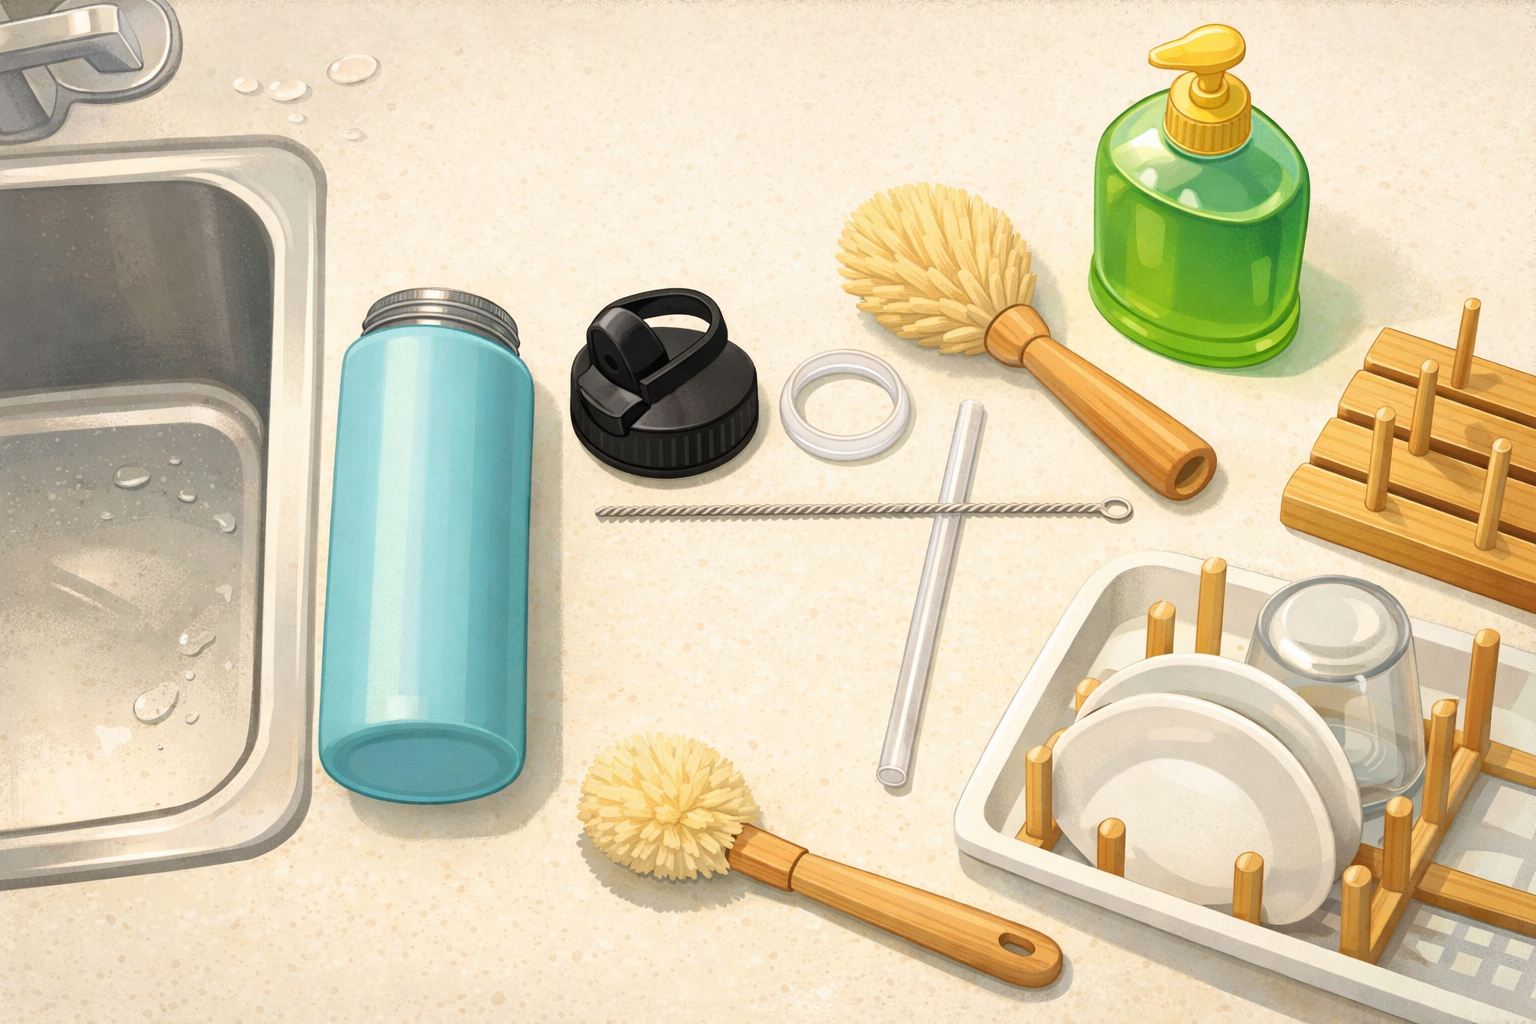
How to clean and dry a reusable water bottle after a picnic
Disassemble the lid, clean threads and seals, wash the body, rinse thoroughly, and air‑dry so it doesn’t develop odours between countryside trips. Close‑ups show where residue hides and a quick drying rack setup.
Read the guide
Hobbies & crafts
How to draw a standing penguin using teardrop shapes
Start with a tall teardrop for the body and small ovals for the head and feet. Add a simple beak and flippers with more teardrops, map the tuxedo belly, then refine the outline. Erase the guides and finish with light shading for roundness. Each step’s image overlays pale guide shapes and the darker final lines so you can see what to keep.
Read the guide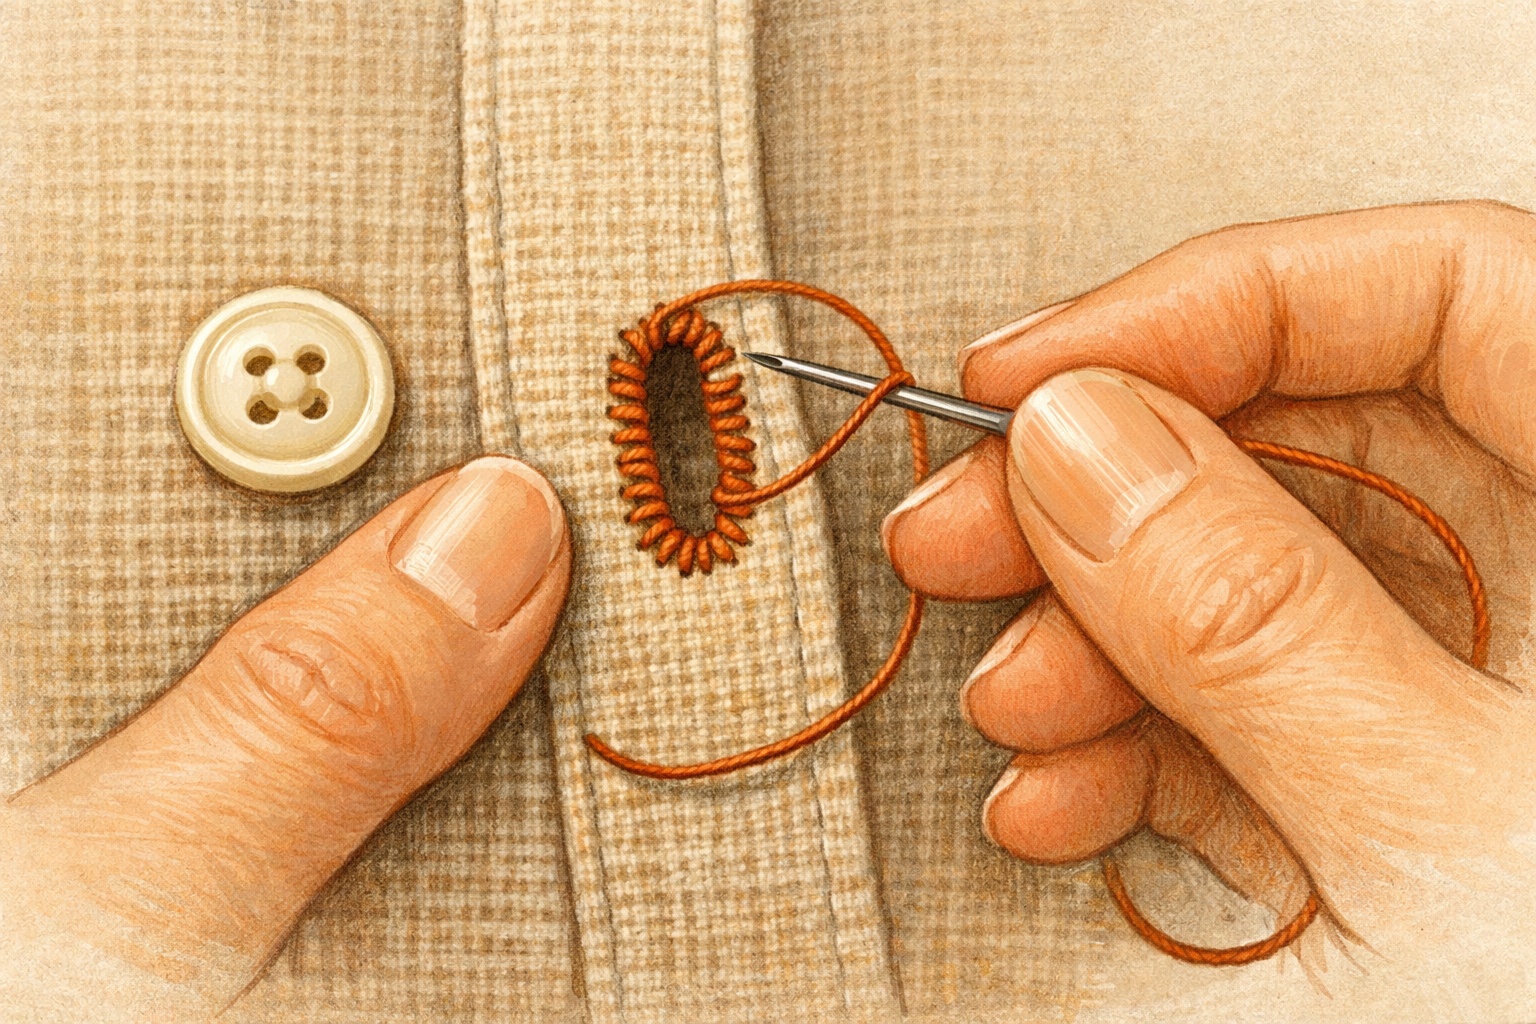
Hobbies & crafts
How to Tighten a Loose Buttonhole with Blanket Stitches
Reinforce stretched buttonholes by stitching a neat border that grips the button and prevents further fraying.
Read the guide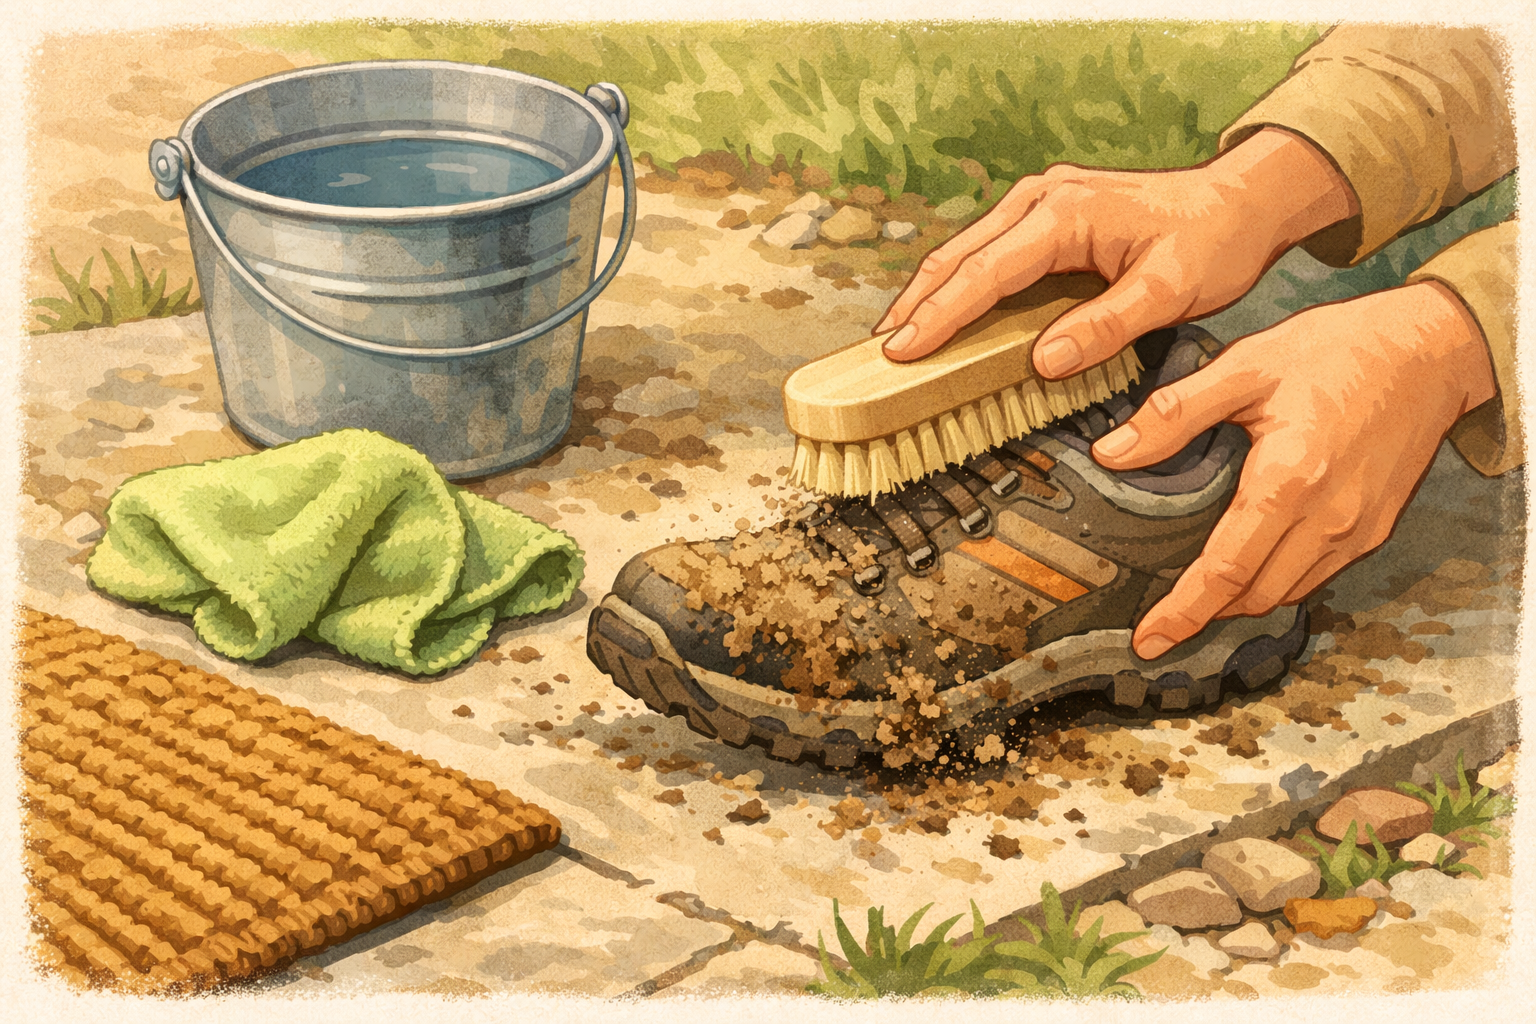
Home & life
How to clean muddy walking shoes after a countryside footpath
Knock off dried mud, brush seams, wipe uppers, clean outsoles, freshen insoles, and air‑dry so your shoes are ready for the next path. Photos show the order and which brushes or cloths to use.
Read the guide