Hobbies & crafts
How to Shorten Pants by Hand with a Blind Hem
Mark the new length, press a crisp fold, and sew a nearly invisible blind hem by hand—no machine needed.
- 01
Gather simple tools
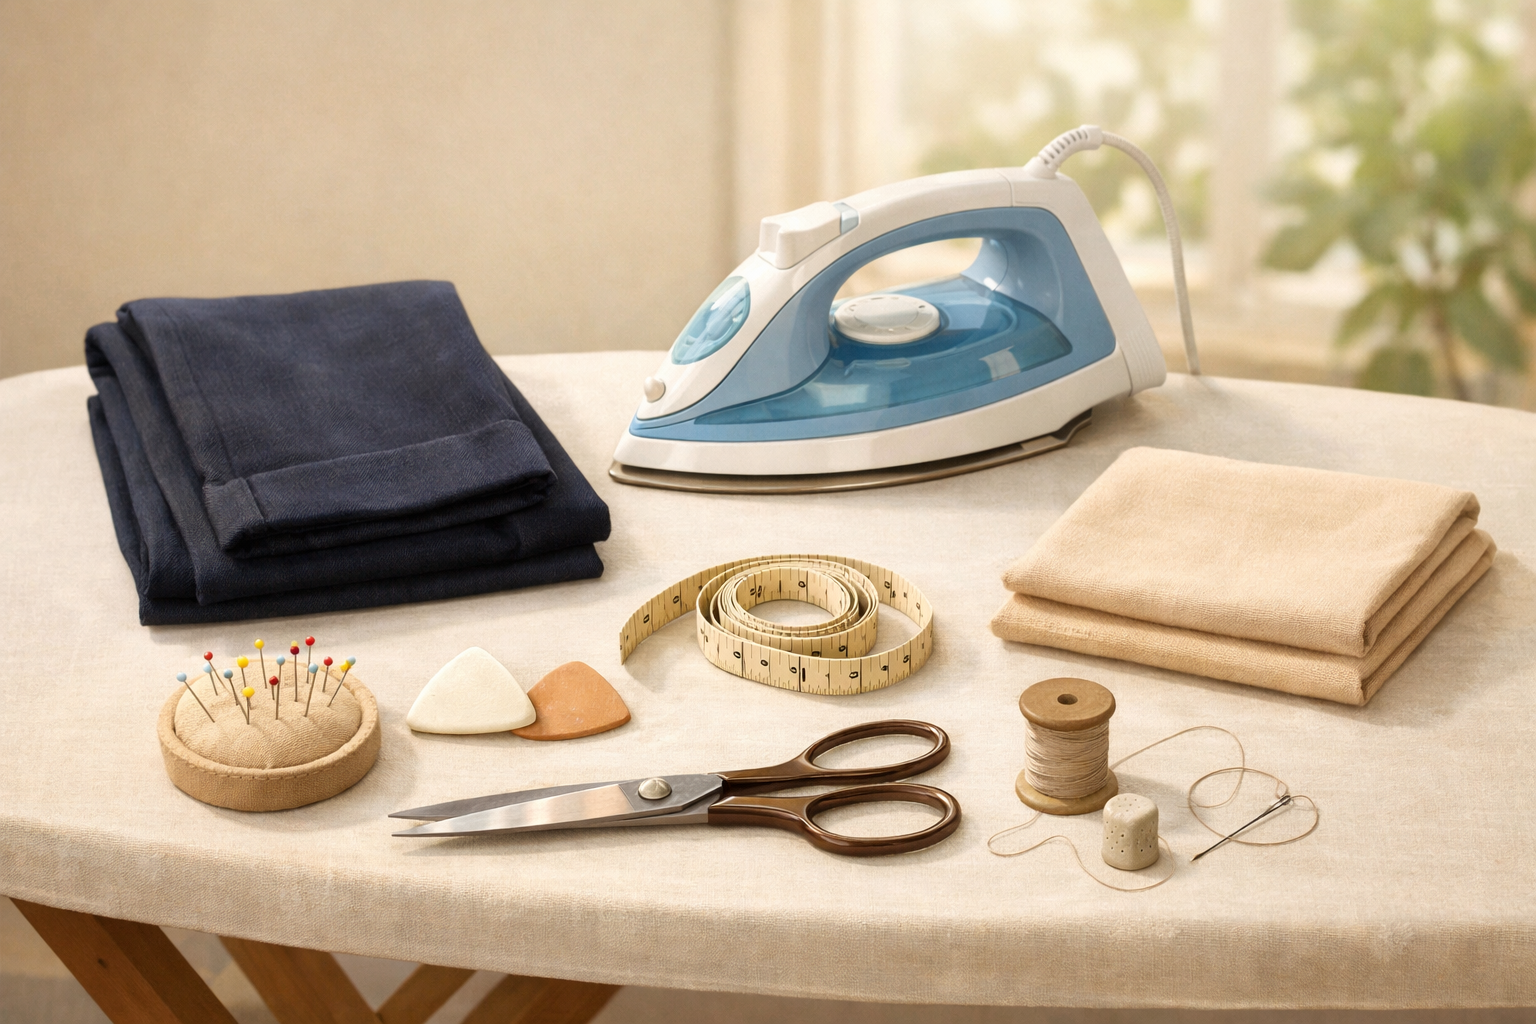
You’ll need your pants, an iron and ironing surface, sewing pins or clips, tailor’s chalk or a washable fabric marker, a measuring tape or small ruler, sharp fabric scissors, matching thread, a hand-sewing needle, and a pressing cloth (a clean cotton cloth works). A thimble and seam ripper are optional but helpful.
- 02
Try on and set the new length
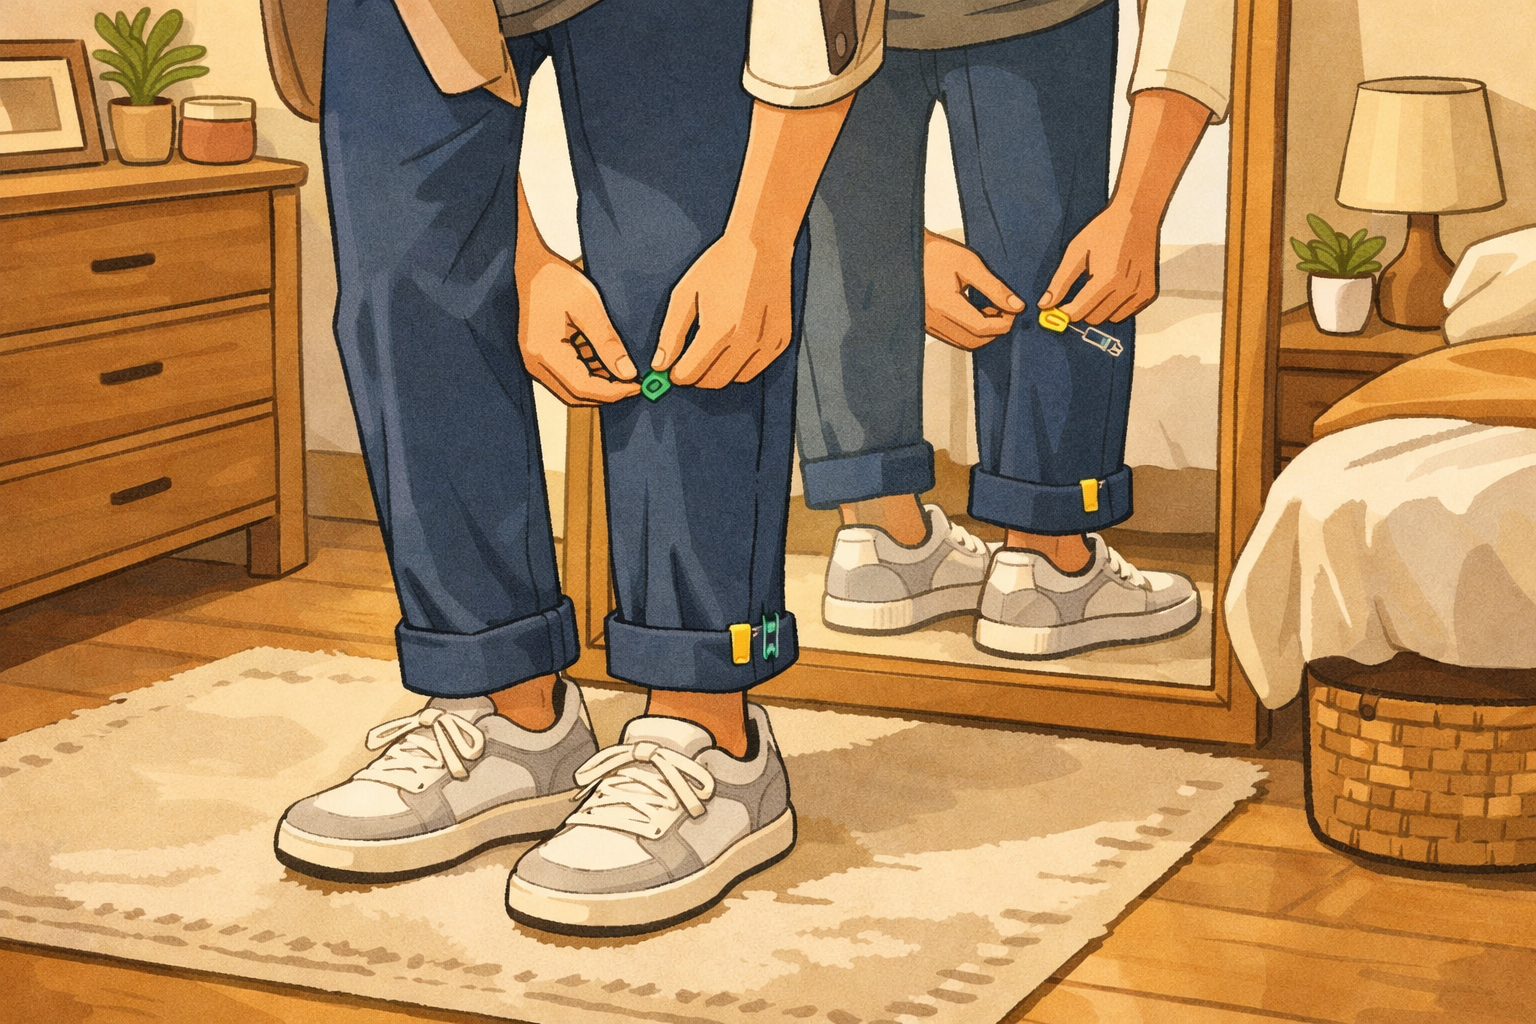
Put on the pants with the shoes you’ll wear most. Fold each leg up to the length you like and secure the fold with a few pins or clips. Check in a mirror and make sure both legs look even when you stand and sit.
- 03
Mark the finished hem line
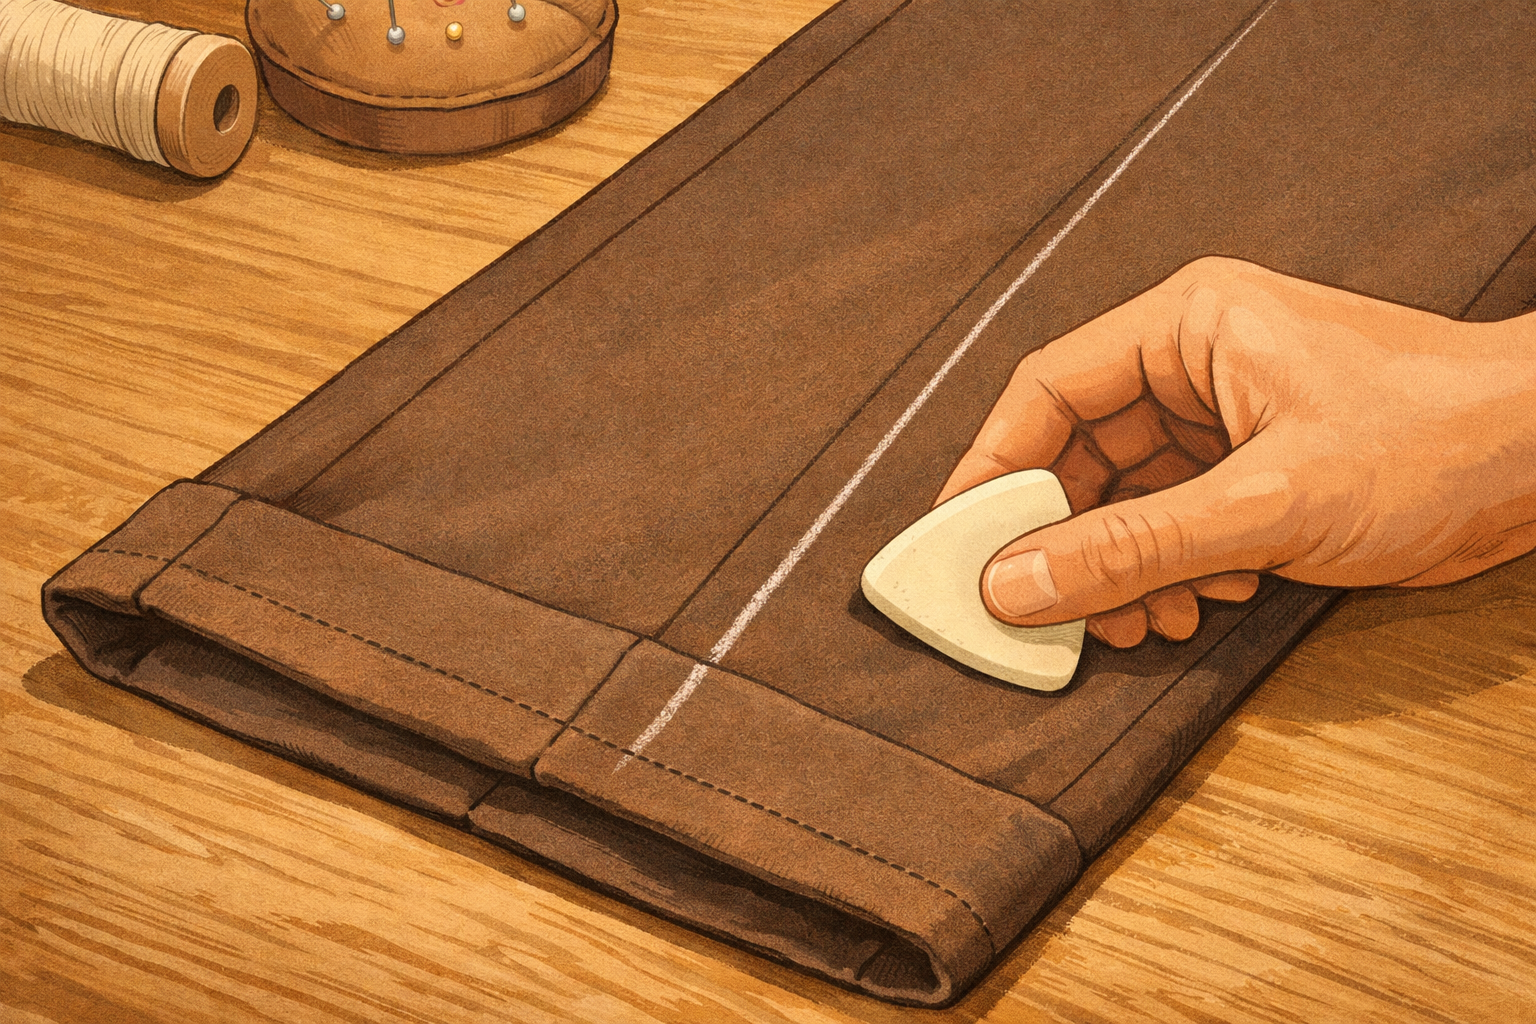
Carefully remove the pants without disturbing the folds. Lay one leg flat and, along the folded edge, draw a clear line with tailor’s chalk all the way around. Repeat for the other leg. This line marks the bottom edge of your finished hem.
- 04
Turn inside out and press the fold
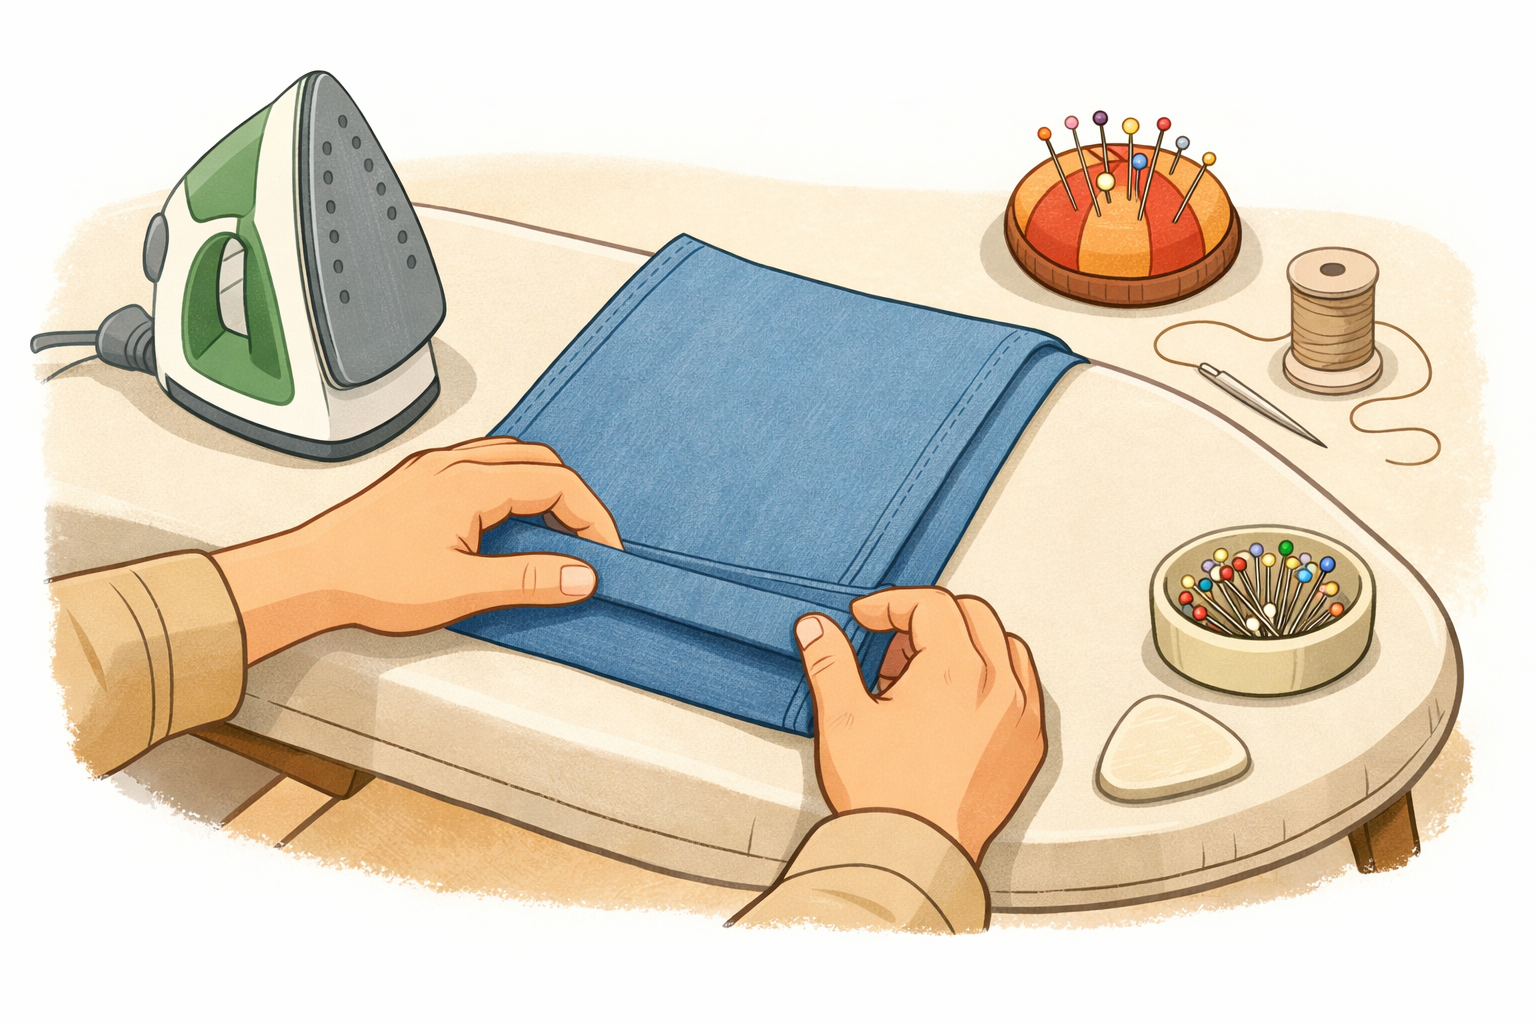
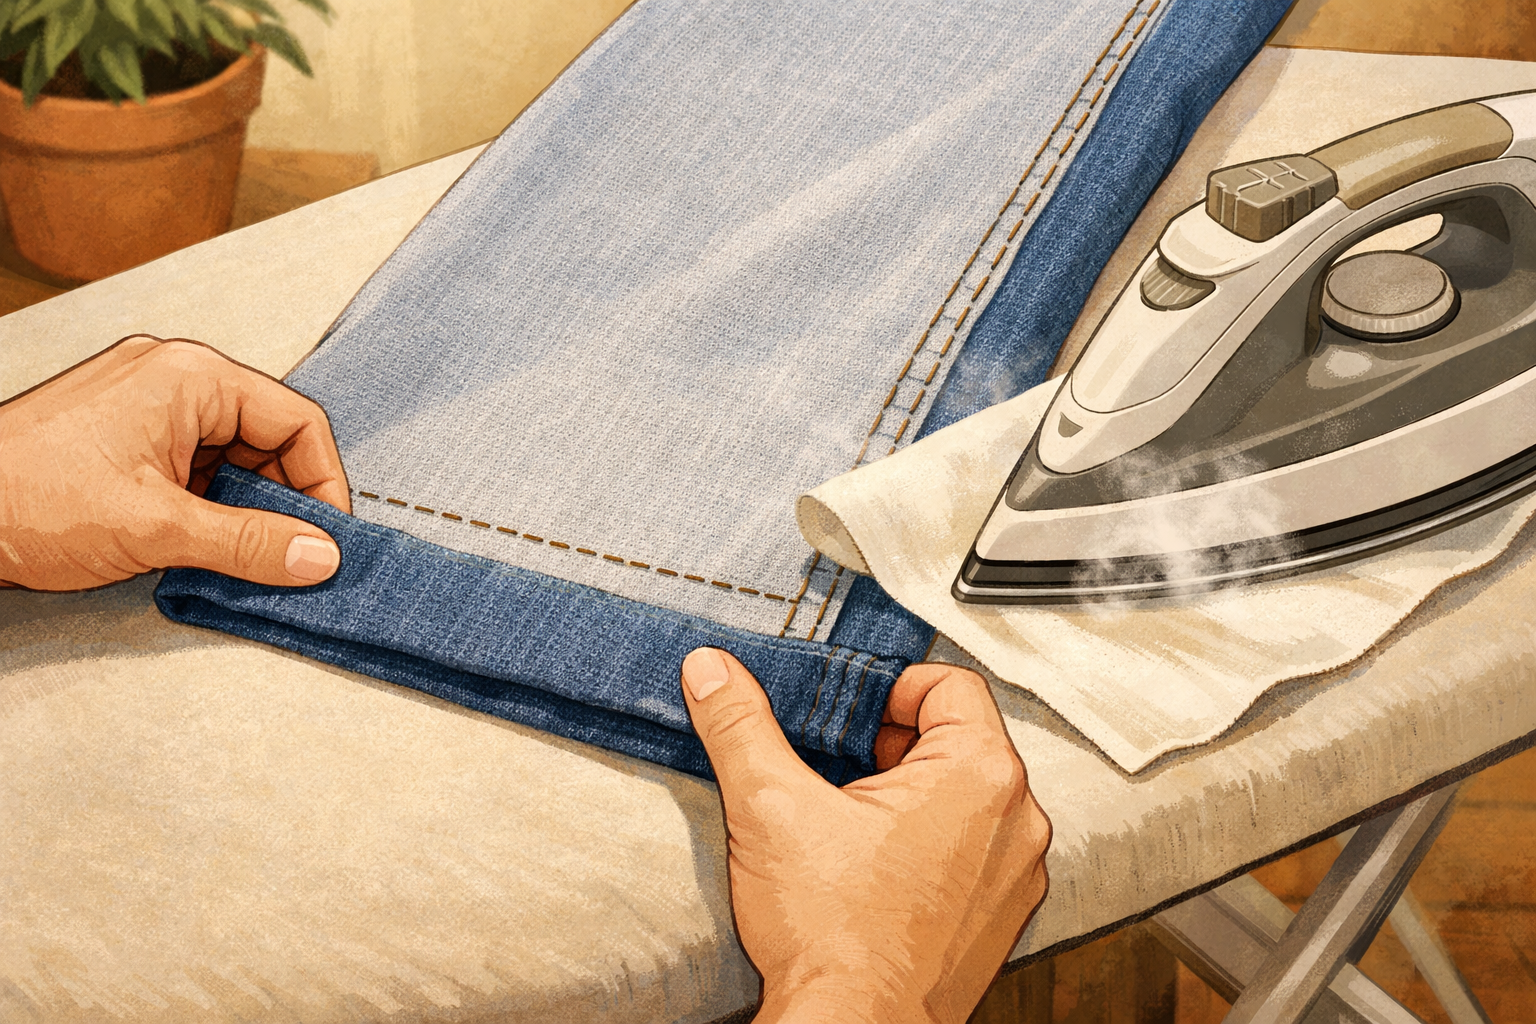
Turn the pants inside out. Fold each leg up to meet the chalk line so the line sits right on the edge of the fold. Press the fold firmly with the iron to set a crisp crease, using a pressing cloth if the fabric is delicate or shiny.
- 05
Check hem depth and reduce bulk if needed (optional)
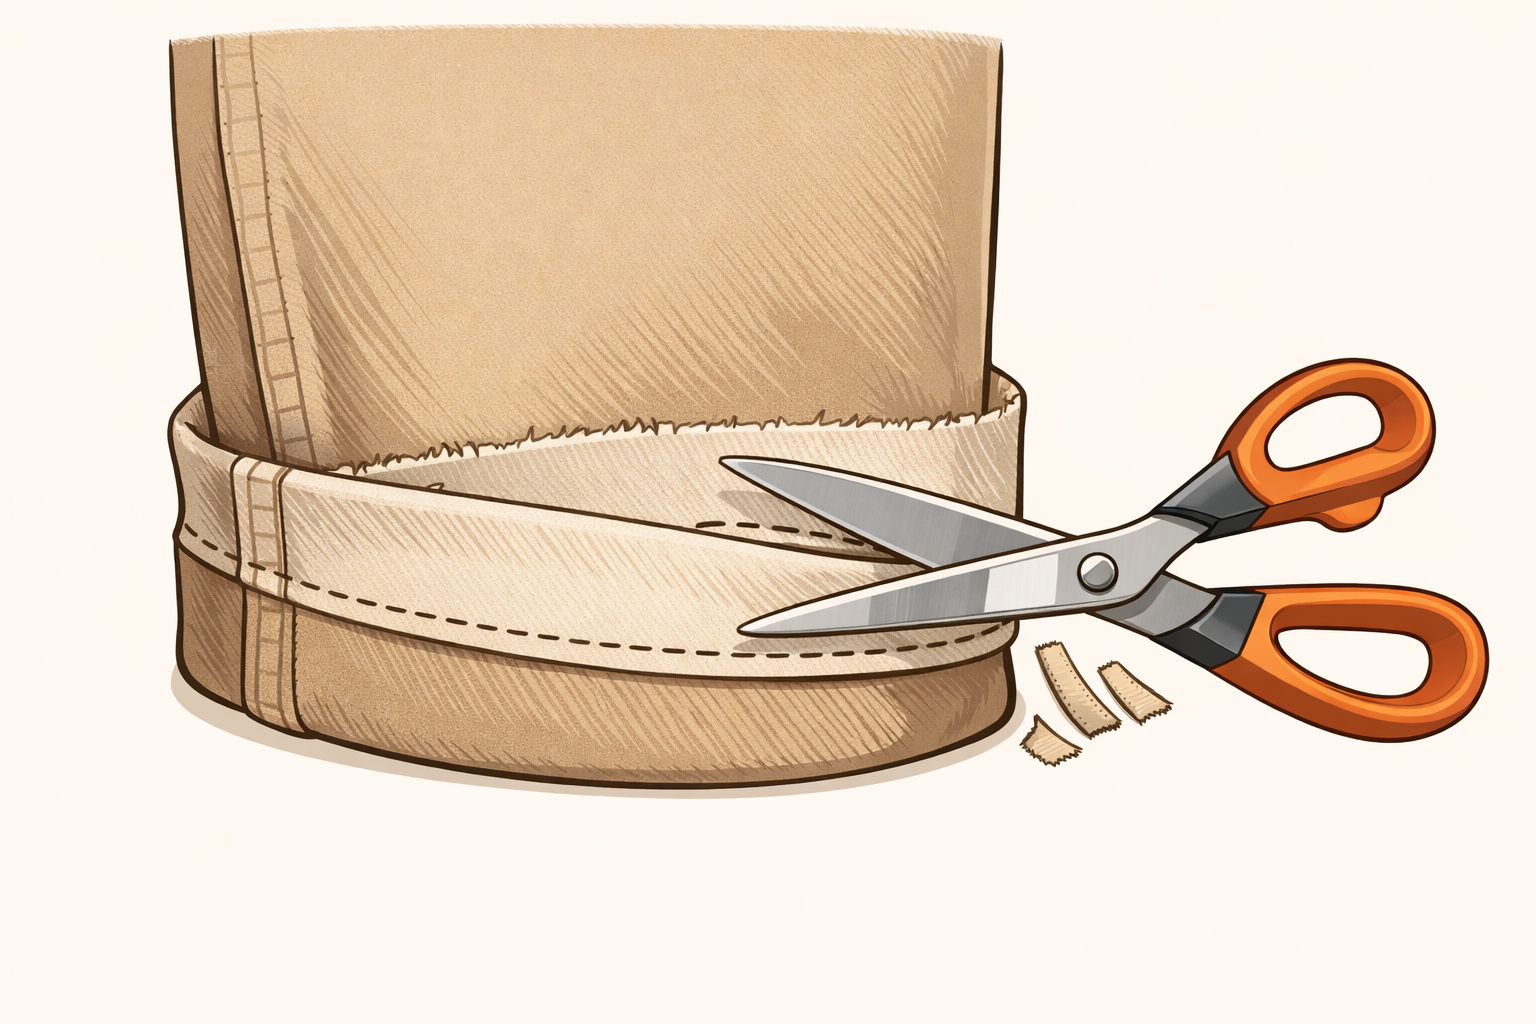
Compare the height of your turned-up section with the pants’ original hem depth (look near a side seam). If your new hem is much deeper and feels bulky, mark a new raw edge so the turned-up section is closer in depth to the original, then carefully trim the extra fabric. Leave enough to fold the raw edge under in the next step.
- 06
Tuck the raw edge under and press
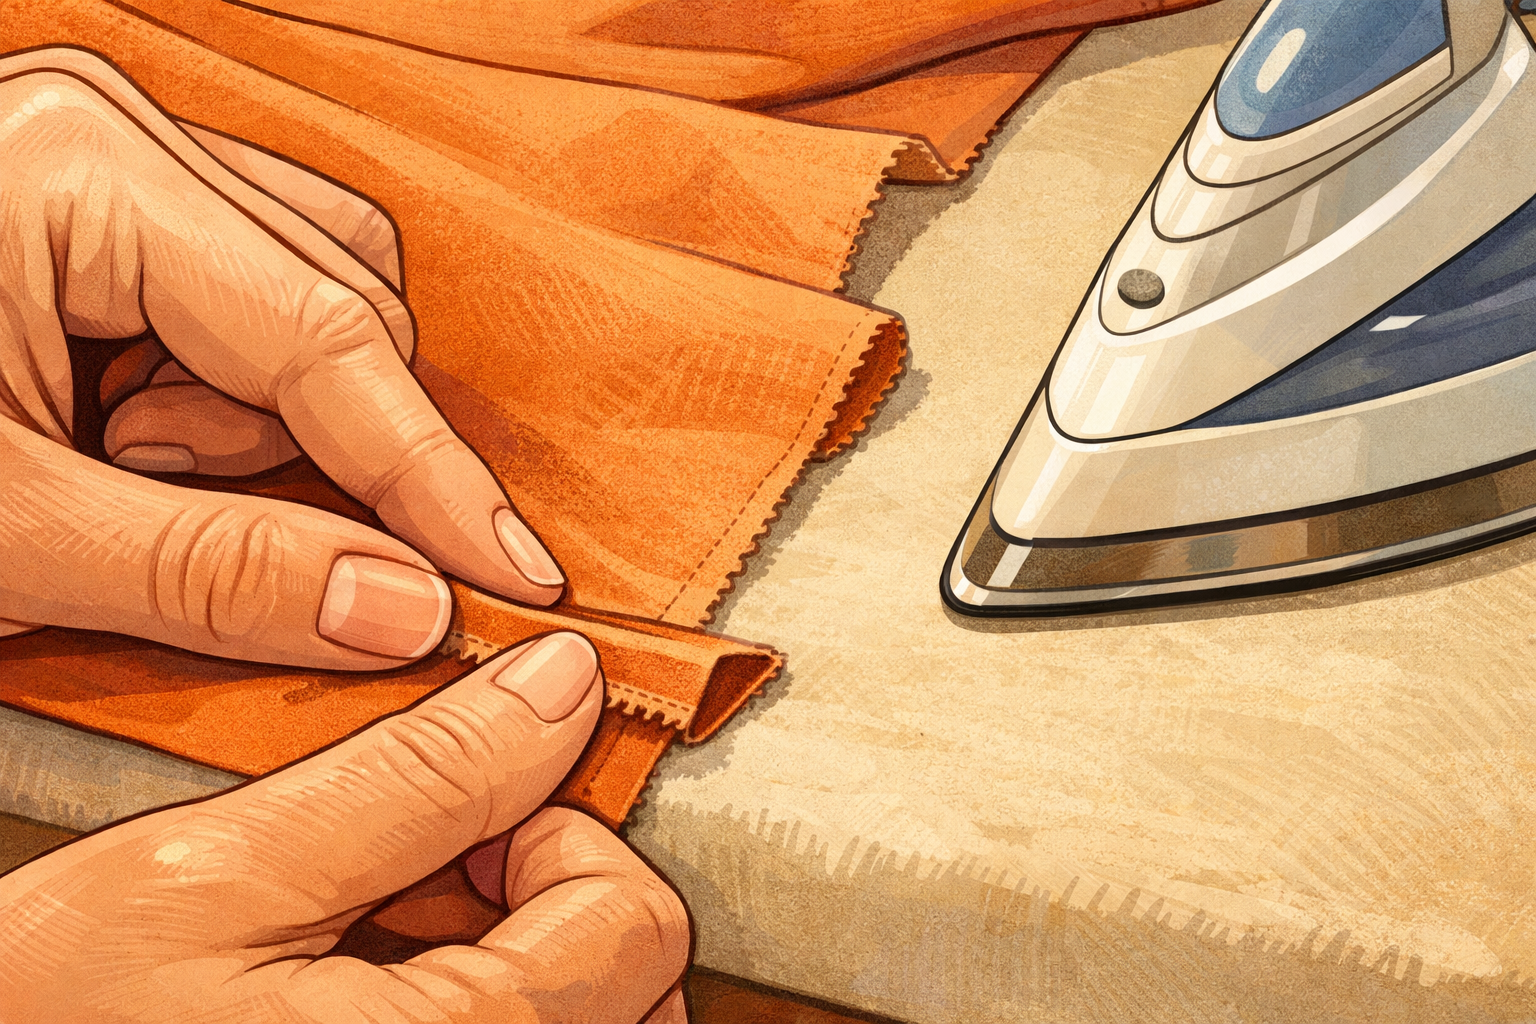
To hide fraying edges, turn the raw edge of the hem allowance under by a narrow amount toward the fold so it’s enclosed. Press this inner fold flat all the way around both legs. The hem allowance now looks like a clean double fold.
- 07
Pin the hem evenly
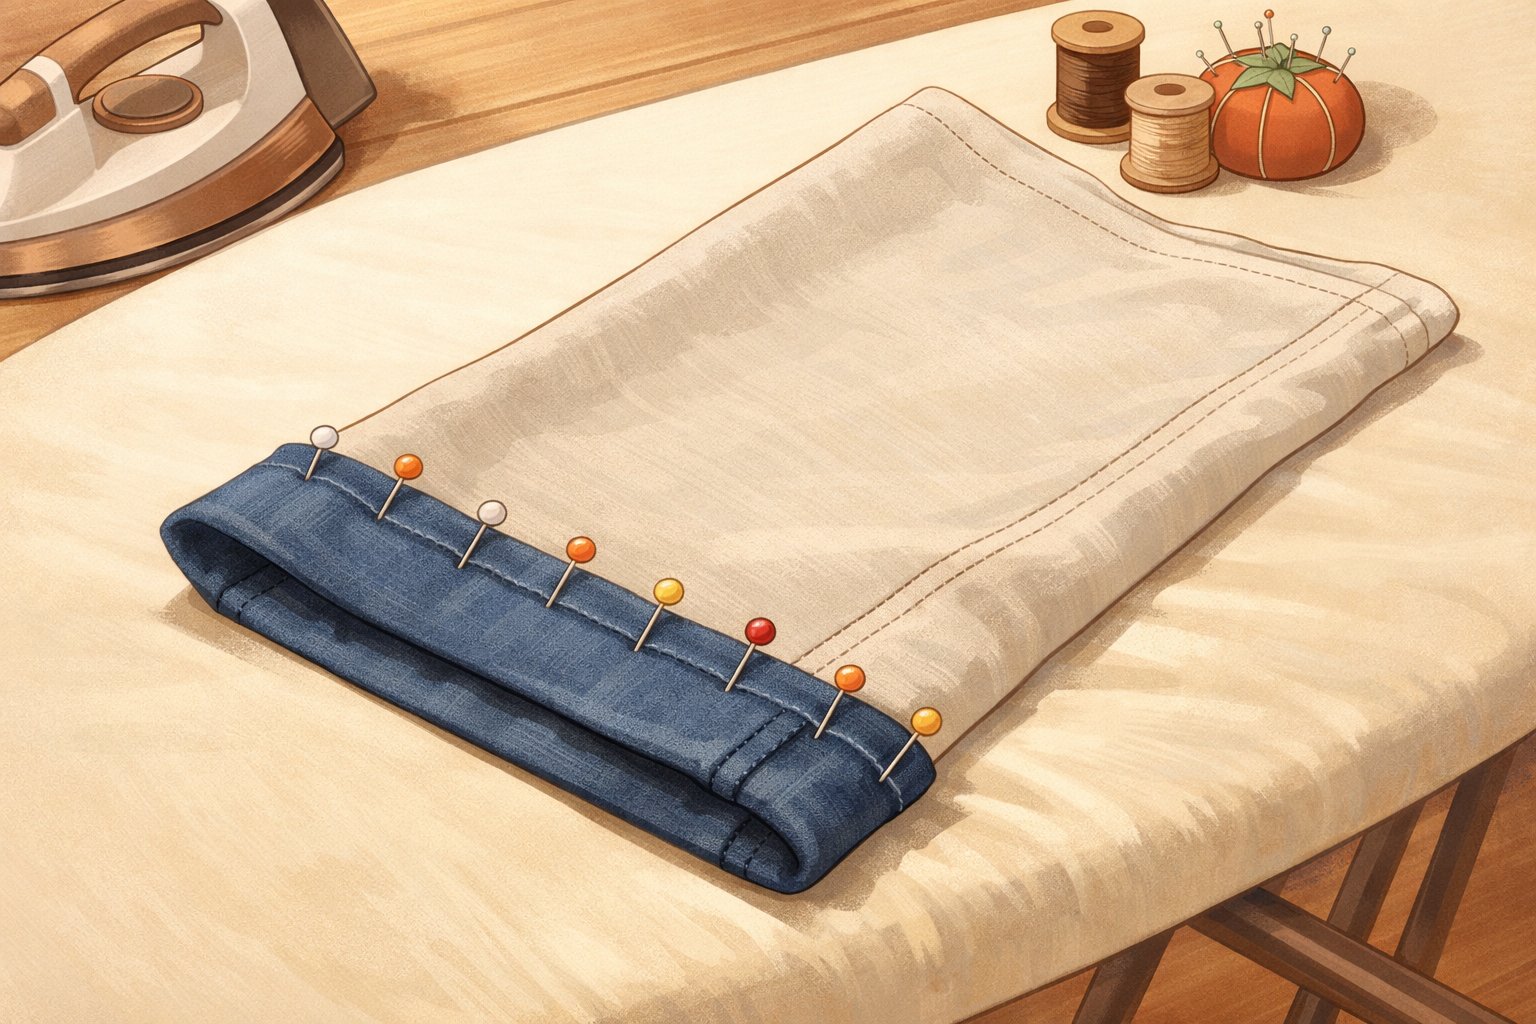
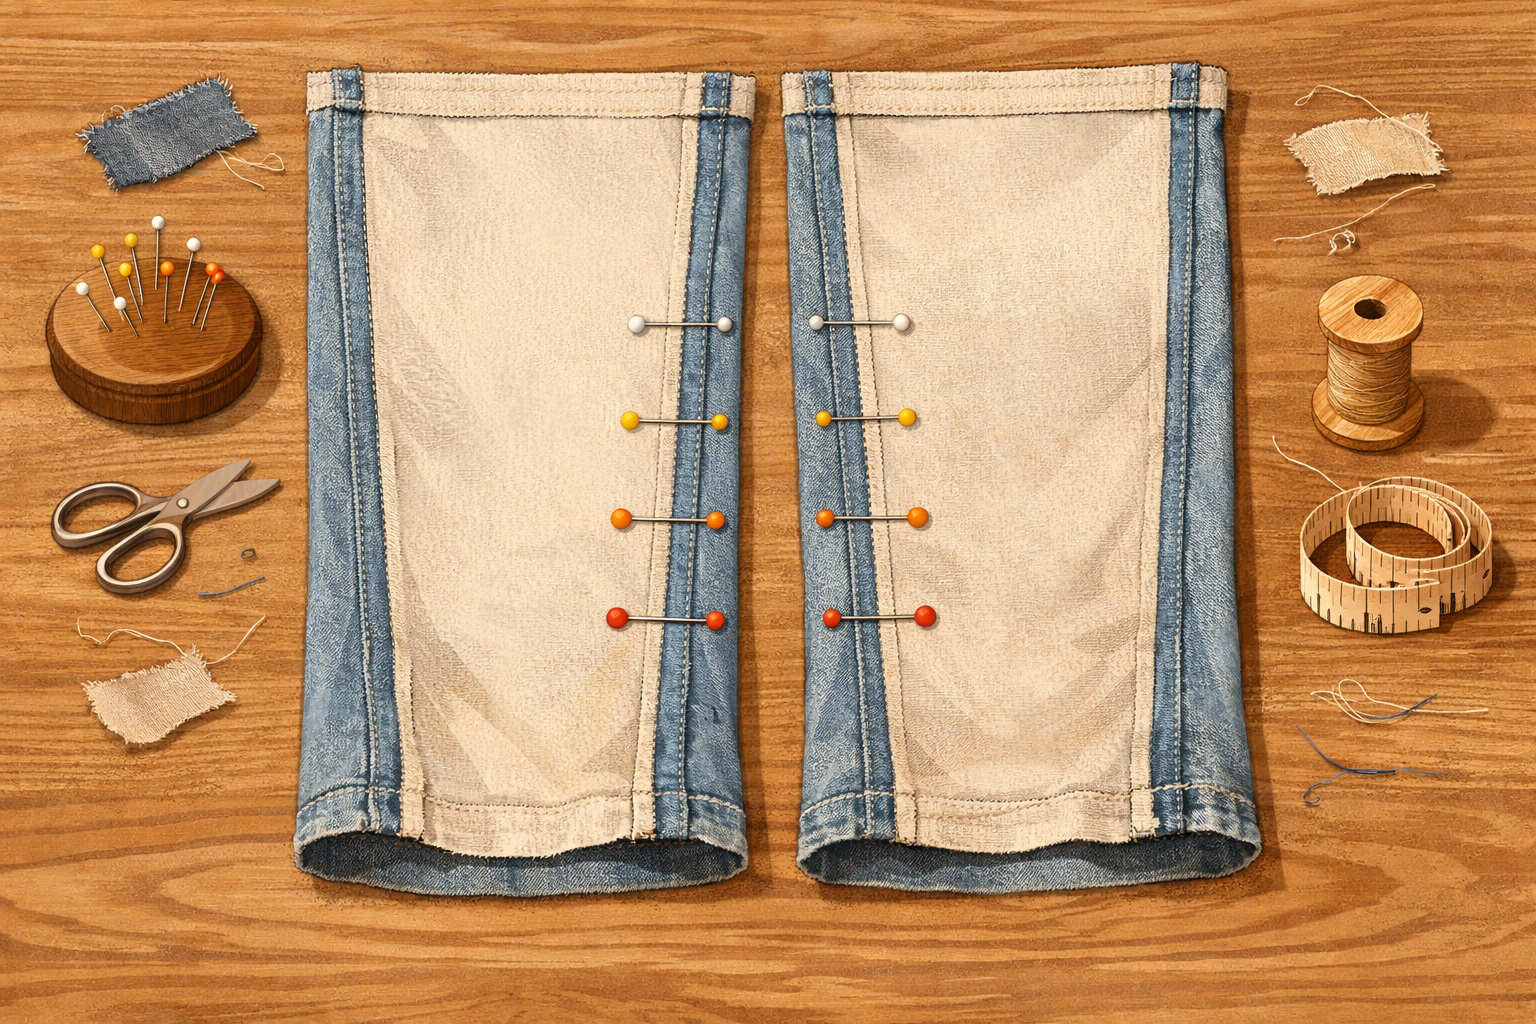
Pin through the hem allowance and the pant leg above it, placing pins perpendicular to the fold every few inches. Smooth the fabric as you go to keep the hem depth even all around both legs.
- 08
Thread and knot your needle
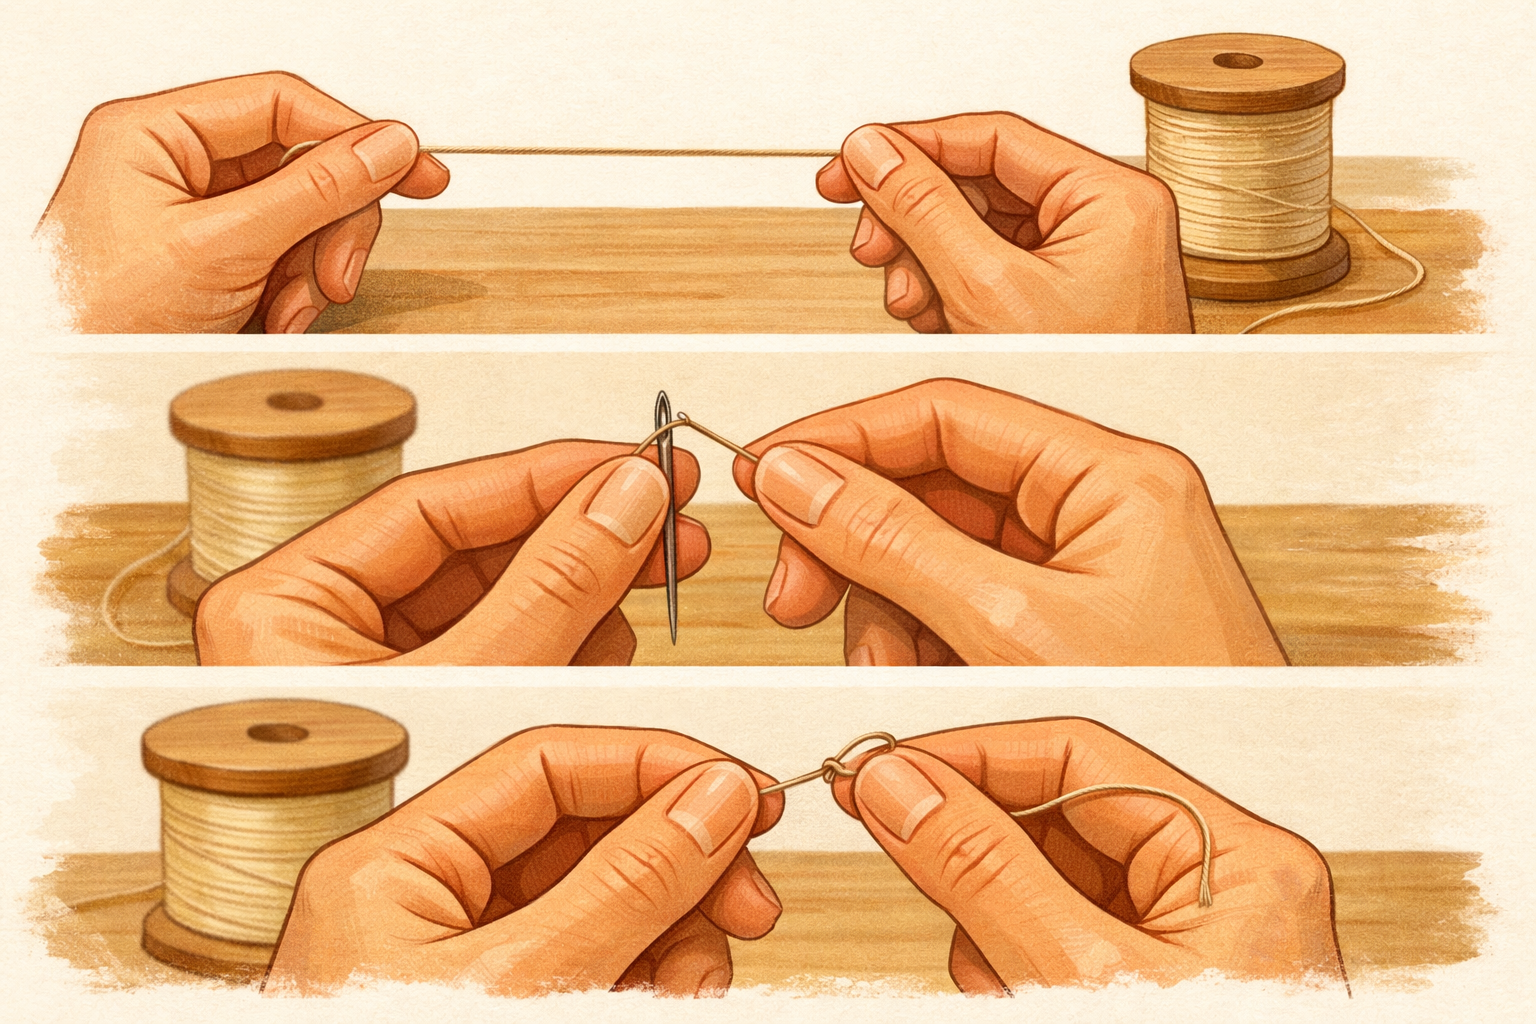
Cut a comfortable length of matching thread (about from fingertip to elbow works well), thread a needle, and tie a small knot at the end. A single thread gives a subtler stitch; a double thread is a bit stronger—use what suits your fabric.
- 09
Anchor the thread at a seam
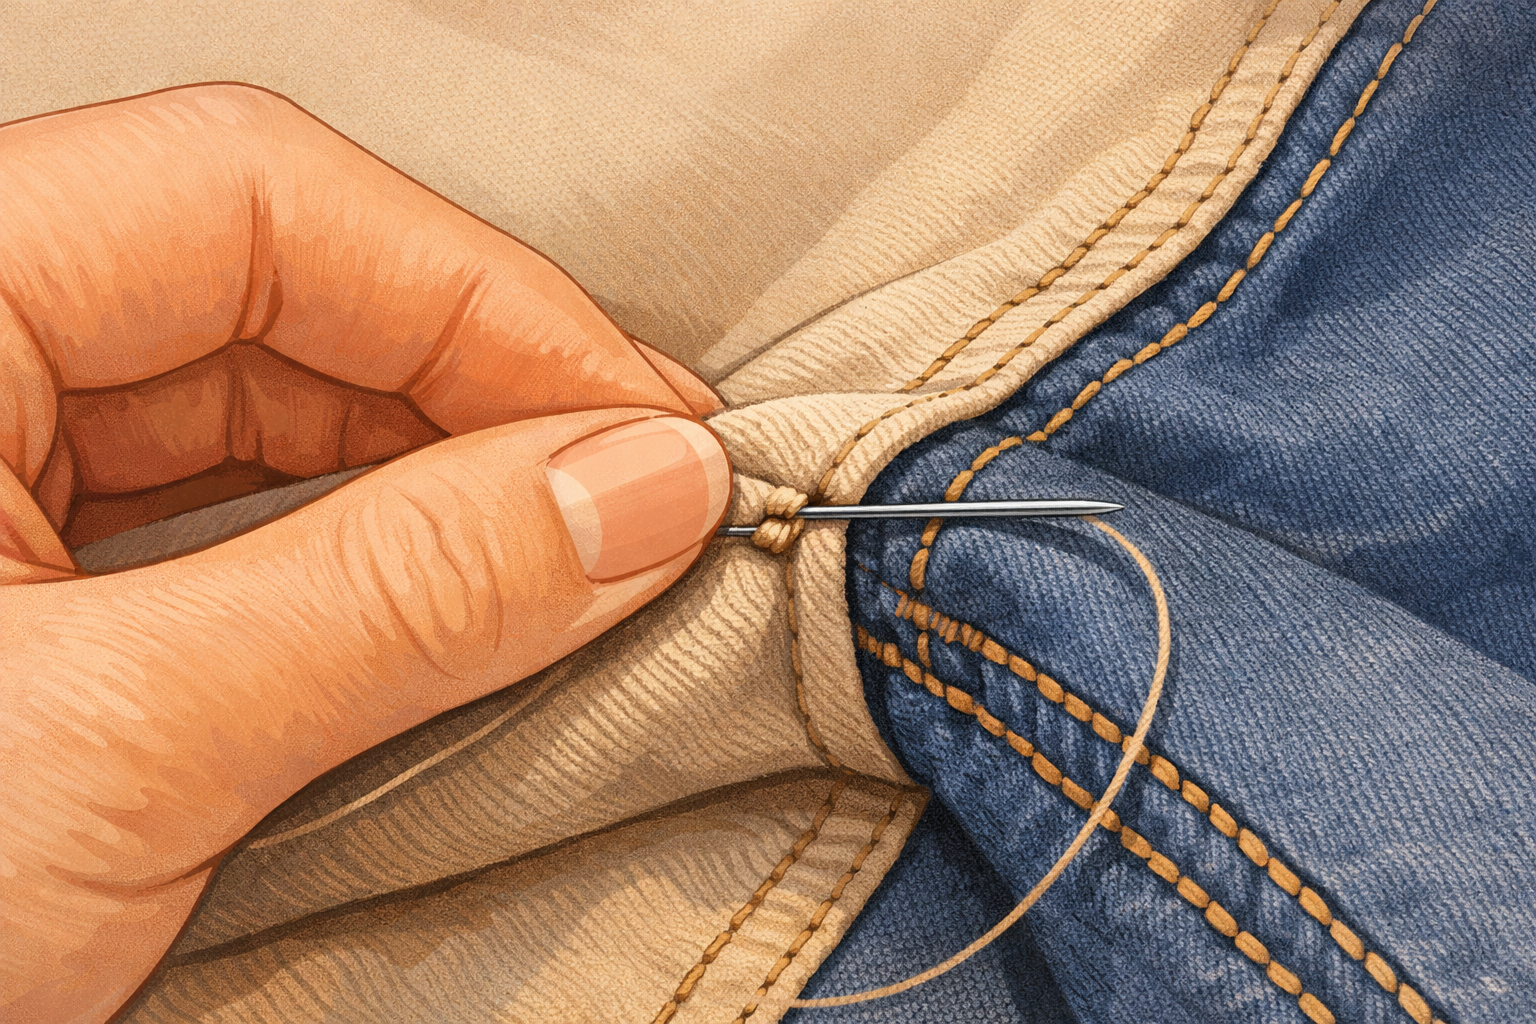
Start on the inside at an inner leg seam so the finish is discreet. Slip the needle into the fold of the hem allowance to hide the knot, then bring the needle out right at the top edge of the folded hem allowance.
- 10
Sew the blind hem stitch
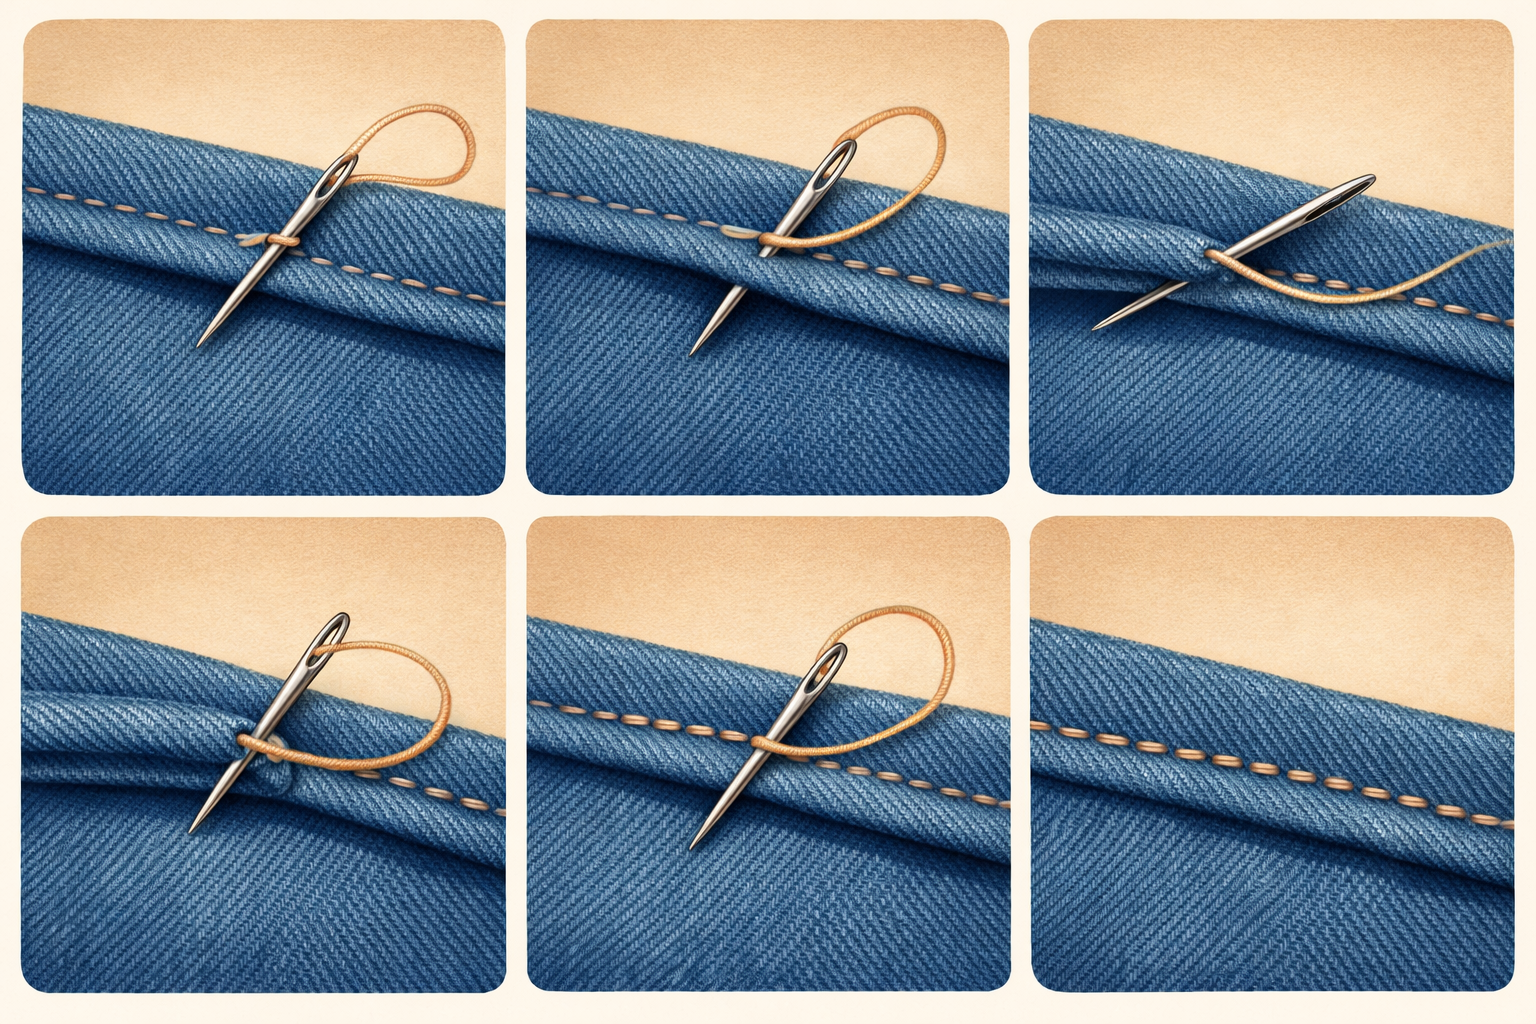
Make small, spaced stitches: take a tiny bite from the pant leg just above the fold (only catch a thread or two of the outer fabric), then insert the needle through the folded edge of the hem allowance and travel a short distance inside that fold before coming out. Repeat in a steady rhythm. Keep the thread just snug enough to lie flat without puckering.
- 11
Work around the leg and secure the end
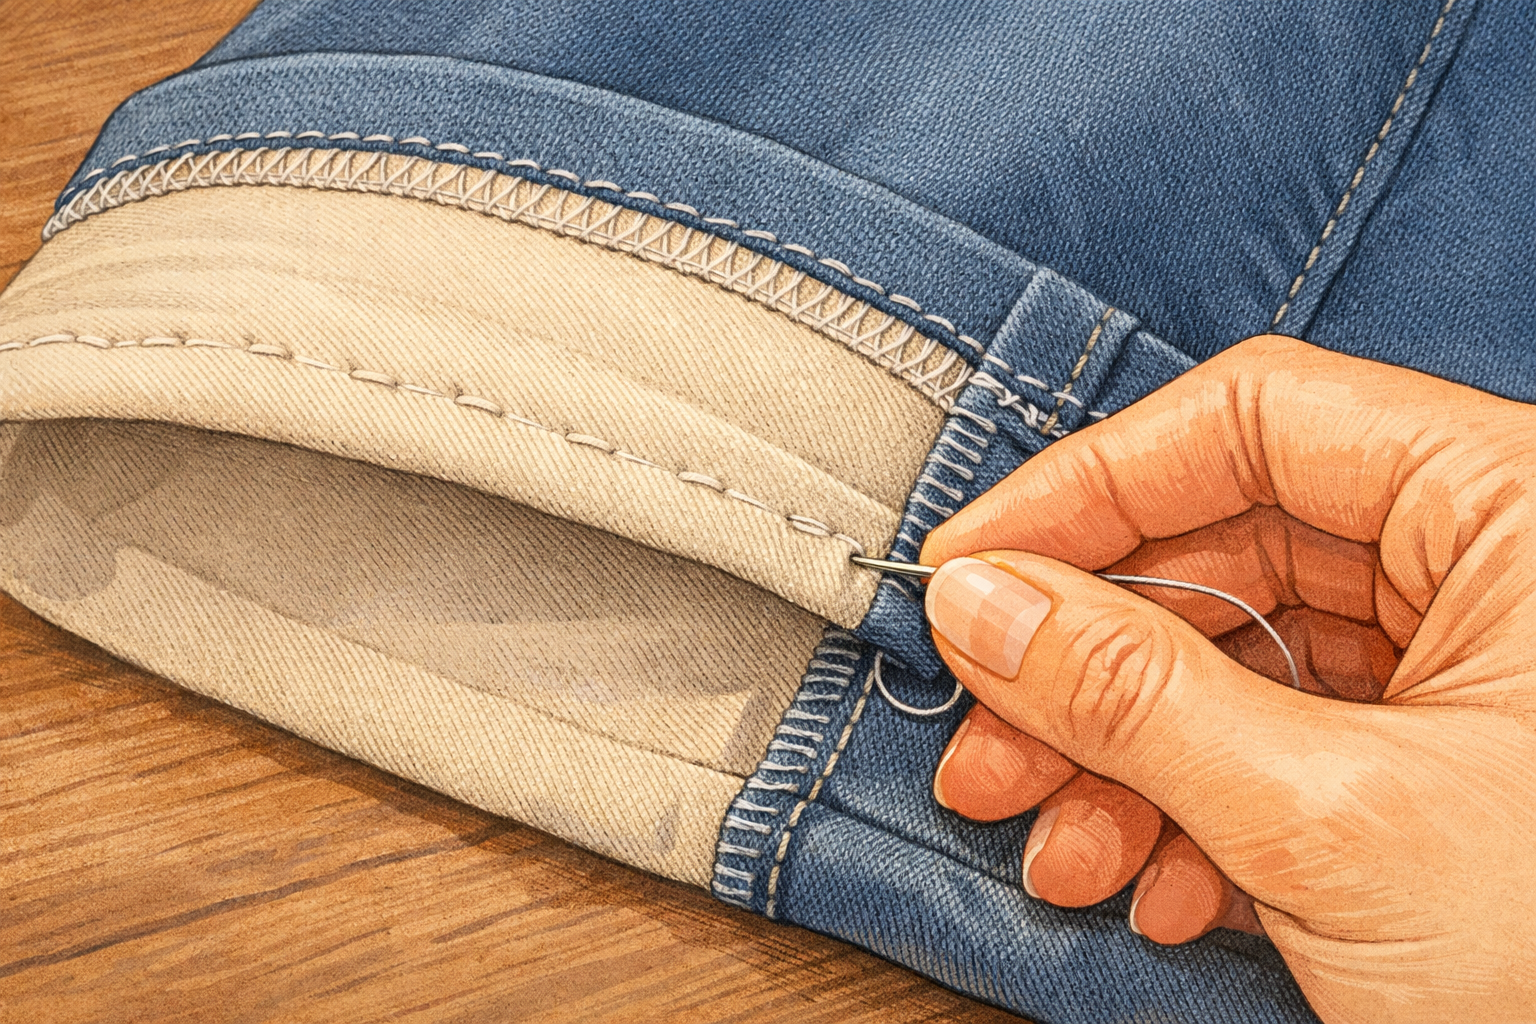
Continue the same stitch pattern around the entire leg. When you reach your starting point, make two or three small stitches in place within the hem fold to secure the thread. Trim the tail neatly inside the hem.
- 12
Repeat for the second leg
Fold, press, pin, and stitch the second leg the same way, matching the hem depth to the first leg. Lay both legs side by side and check that the folds line up evenly before sewing all the way around.
- 13
Press and check the finish
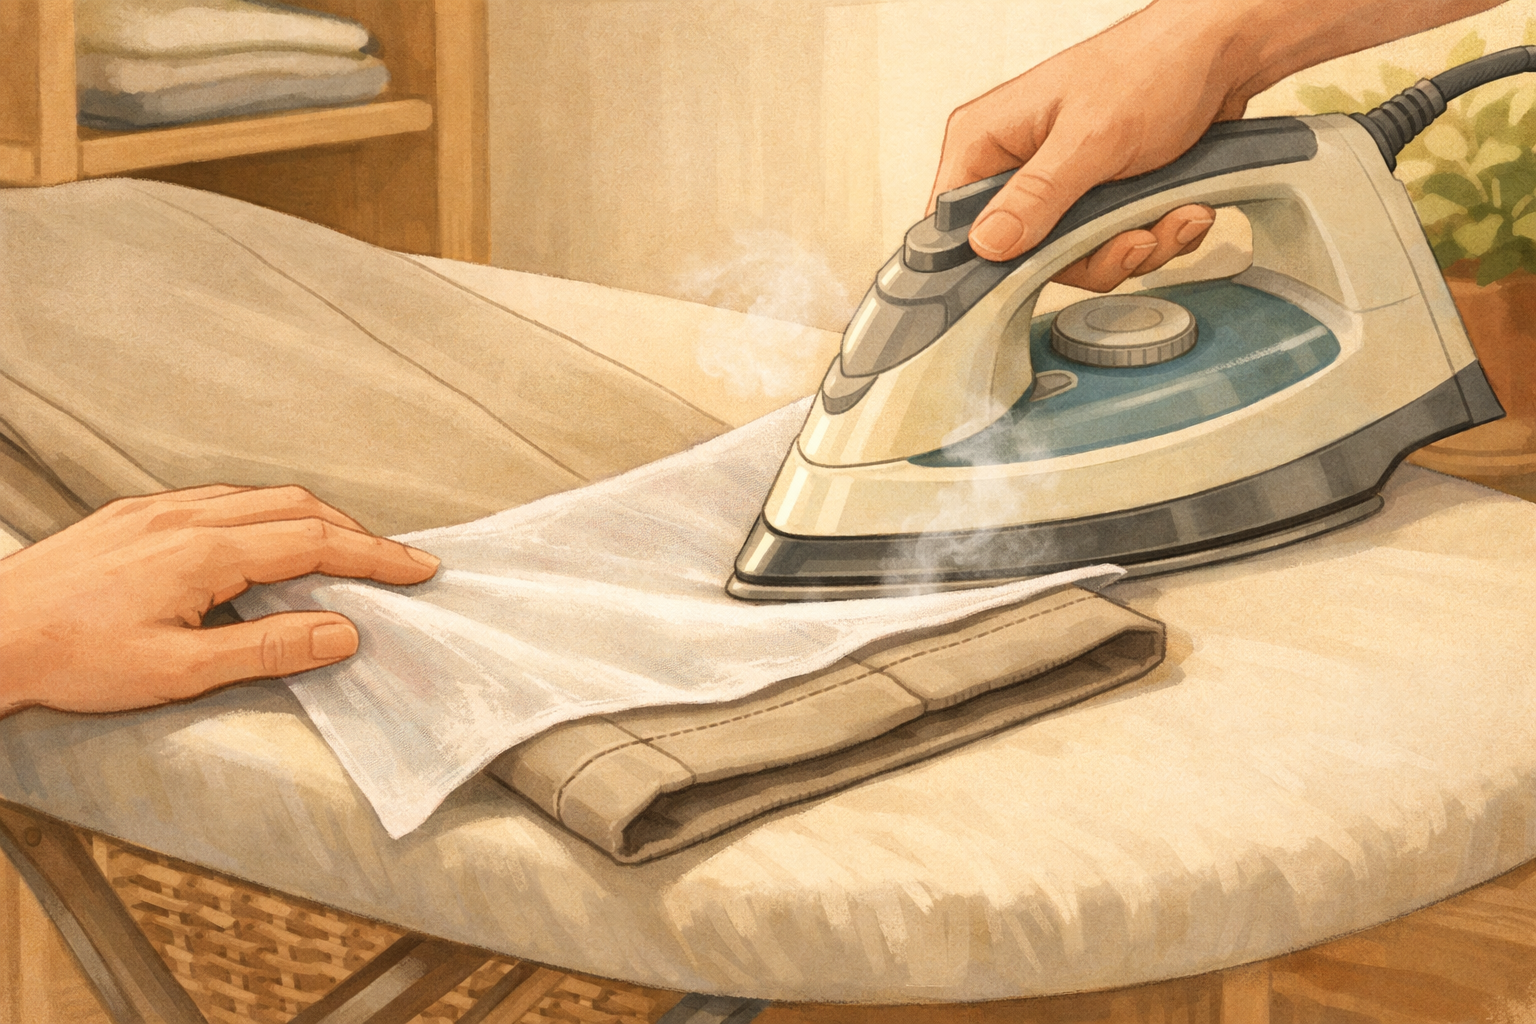
Turn the pants right side out. Lightly press the hems from the inside, then from the outside with a pressing cloth to avoid shine. Brush away any chalk marks and give the hems a final look—only tiny, evenly spaced dots should be barely visible, if at all.
If this was useful
Try one of these next
Home & life
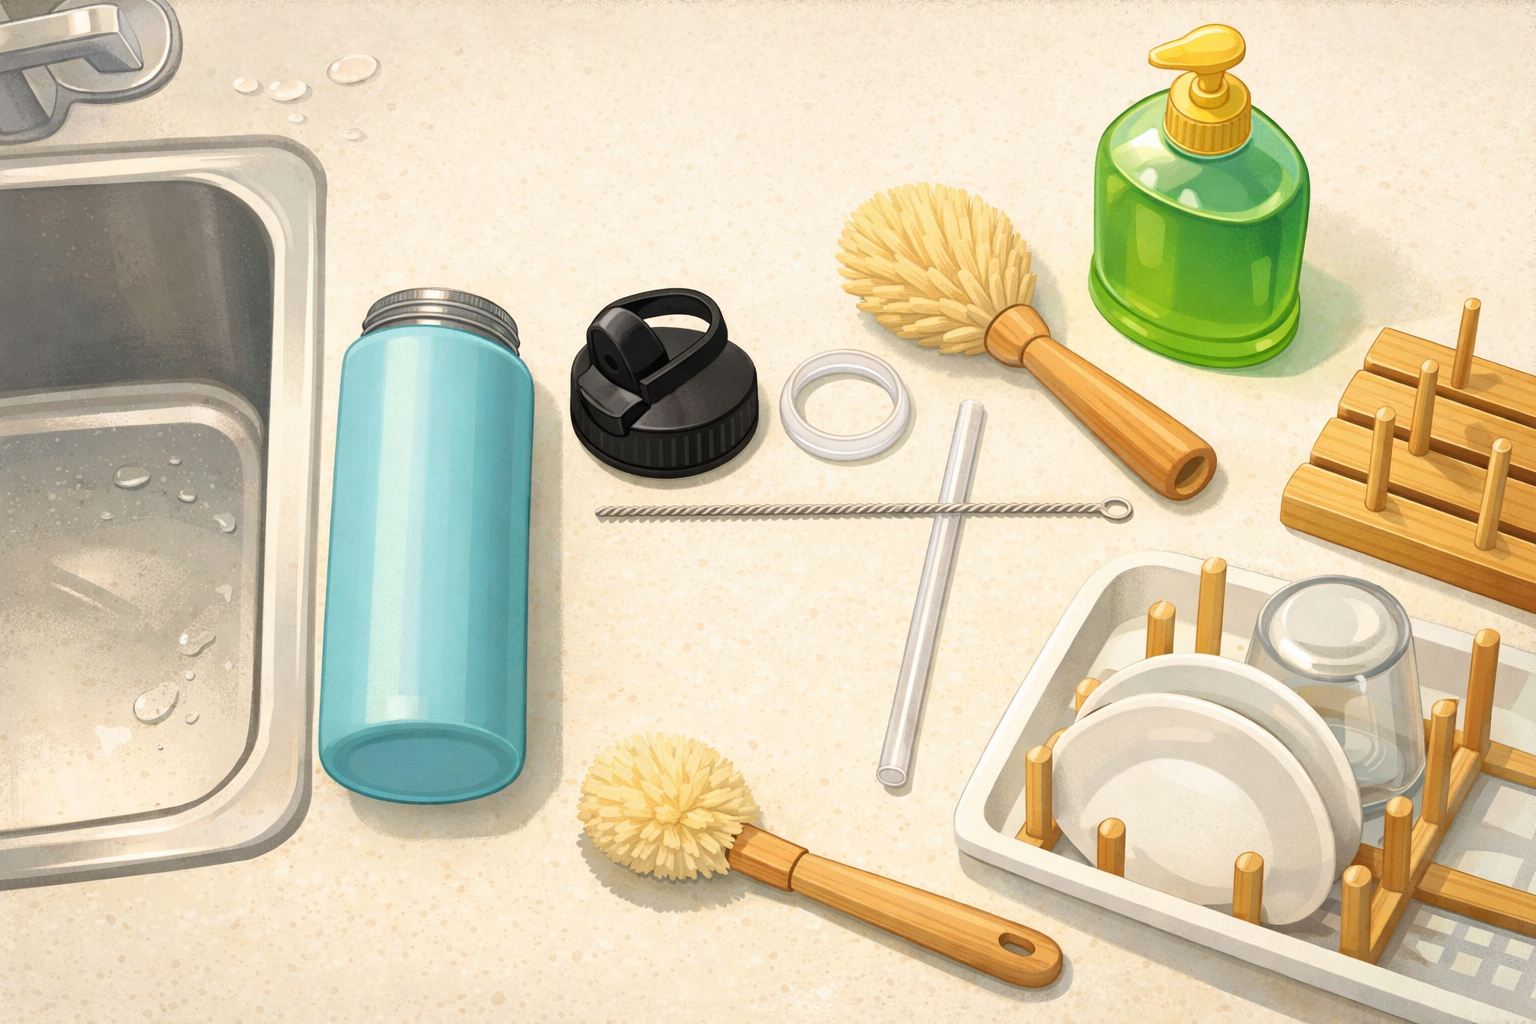
How to clean and dry a reusable water bottle after a picnic
Disassemble the lid, clean threads and seals, wash the body, rinse thoroughly, and air‑dry so it doesn’t develop odours between countryside trips. Close‑ups show where residue hides and a quick drying rack setup.
Read the guide
Hobbies & crafts
How to draw a standing penguin using teardrop shapes
Start with a tall teardrop for the body and small ovals for the head and feet. Add a simple beak and flippers with more teardrops, map the tuxedo belly, then refine the outline. Erase the guides and finish with light shading for roundness. Each step’s image overlays pale guide shapes and the darker final lines so you can see what to keep.
Read the guide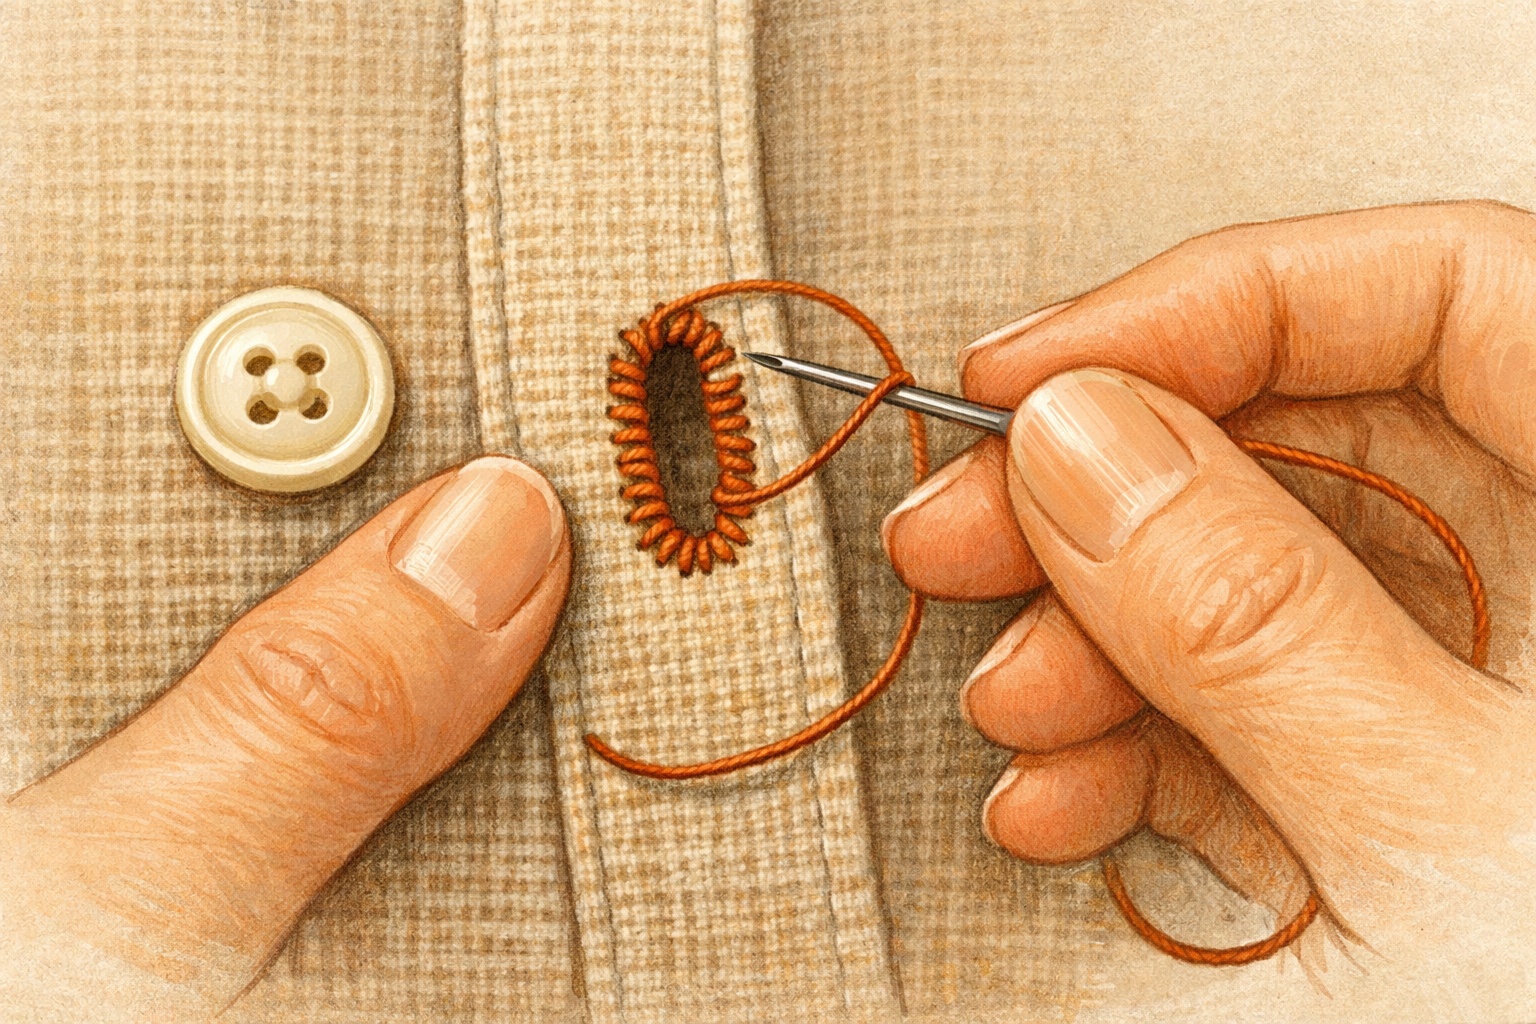
Hobbies & crafts
How to Tighten a Loose Buttonhole with Blanket Stitches
Reinforce stretched buttonholes by stitching a neat border that grips the button and prevents further fraying.
Read the guide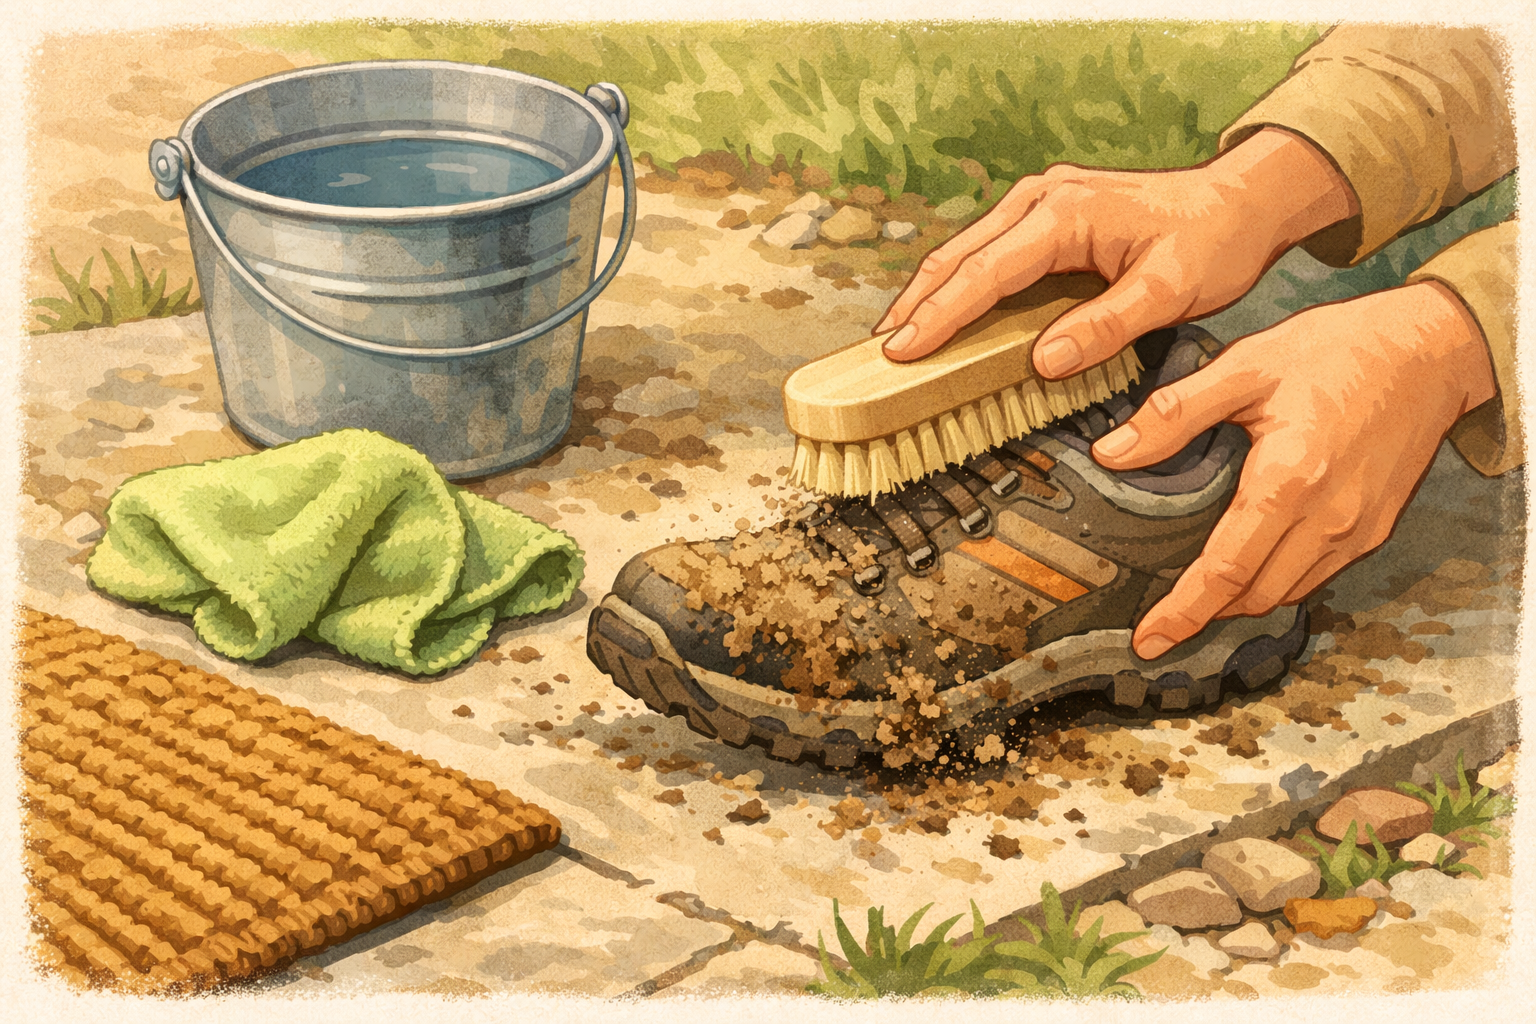
Home & life
How to clean muddy walking shoes after a countryside footpath
Knock off dried mud, brush seams, wipe uppers, clean outsoles, freshen insoles, and air‑dry so your shoes are ready for the next path. Photos show the order and which brushes or cloths to use.
Read the guide