Hobbies & crafts
How to draw a coastal rock arch from a photo using pencil and paper
Block in the big shapes, add horizon and sea, shade the arch for depth, and finish with texture lines and foam highlights. Sketch sequences show each layer so beginners can follow along in minutes.
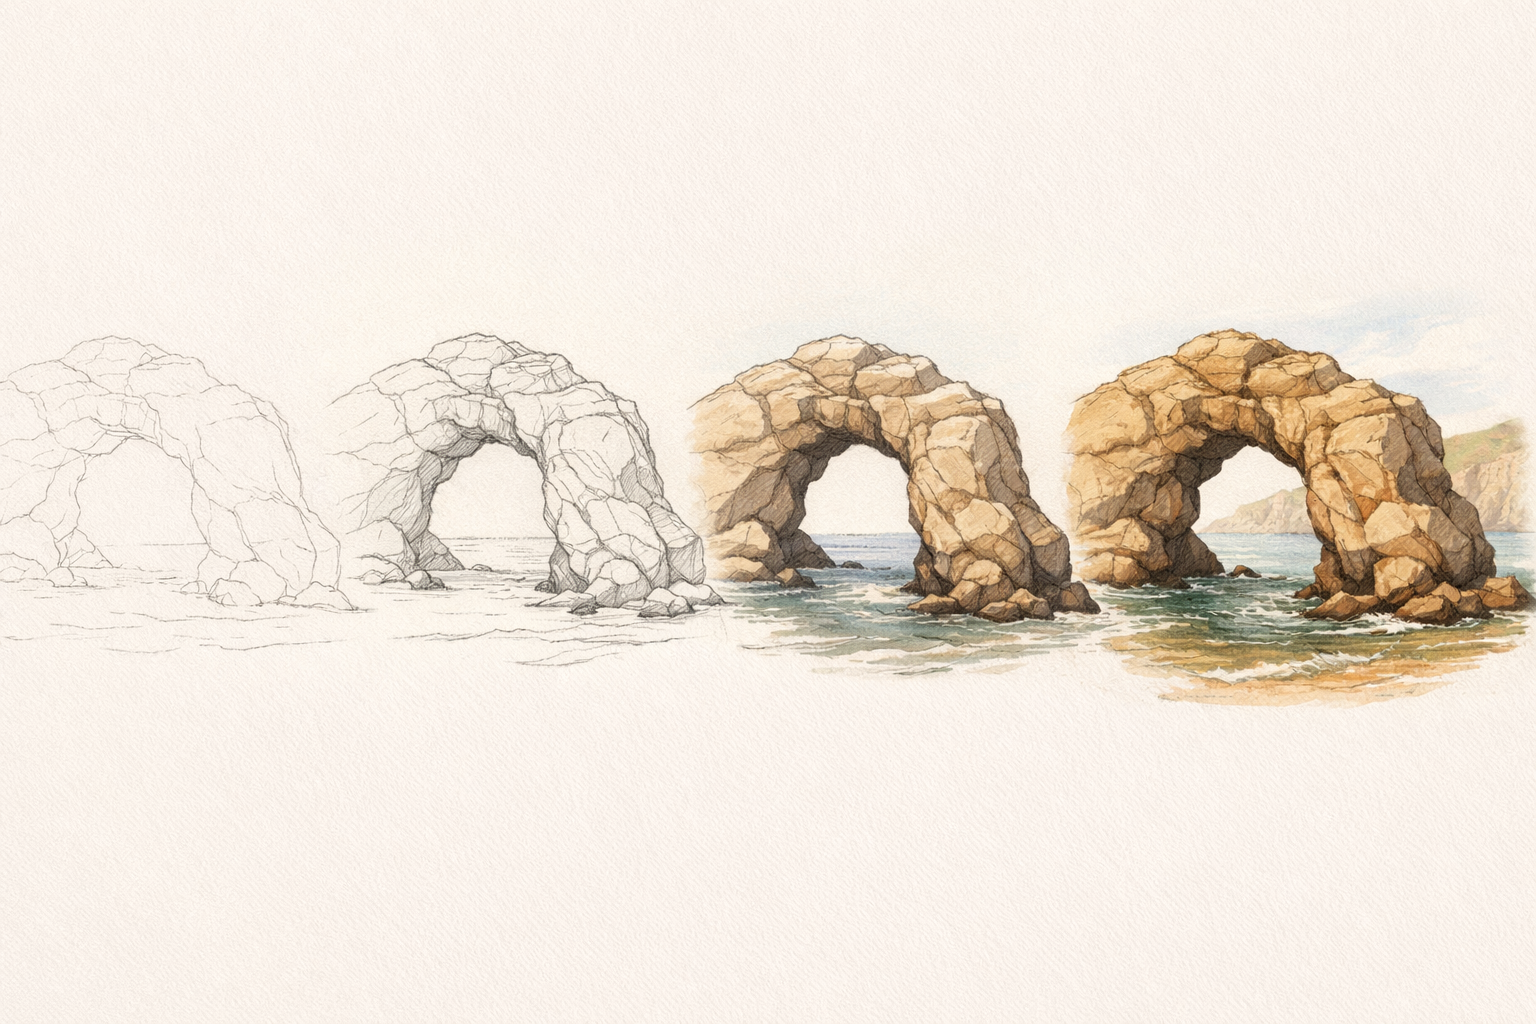
- 01
1. Set up your tools and reference photo
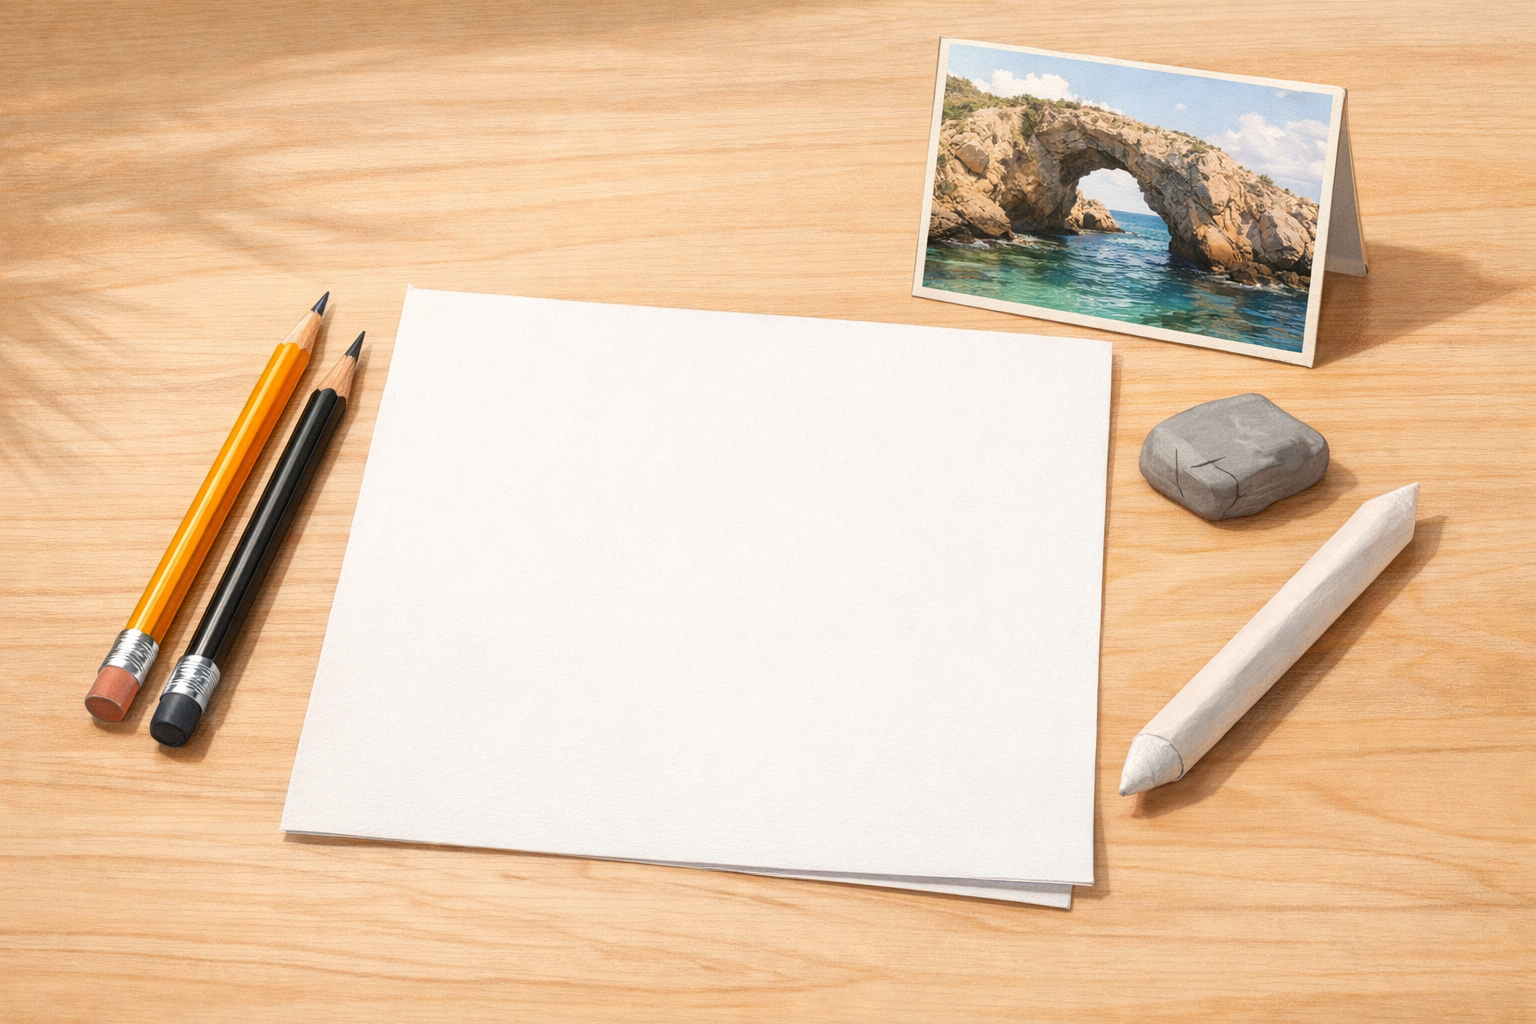
Place your photo where you can see it clearly without moving your head much. Set out a sheet of smooth sketch paper, a hard pencil for light lines (H or HB), a softer pencil for shading (2B–4B), a kneaded eraser, and a blending stump. Sharpen pencils so you can draw crisp edges on the arch.
- 02
2. Lightly frame your drawing area
With your HB pencil, draw a faint rectangle to mark the area you’ll use. This helps keep the composition centered and leaves clean margins. Work lightly so these guide lines can disappear under shading.

- 03
3. Place the horizon line
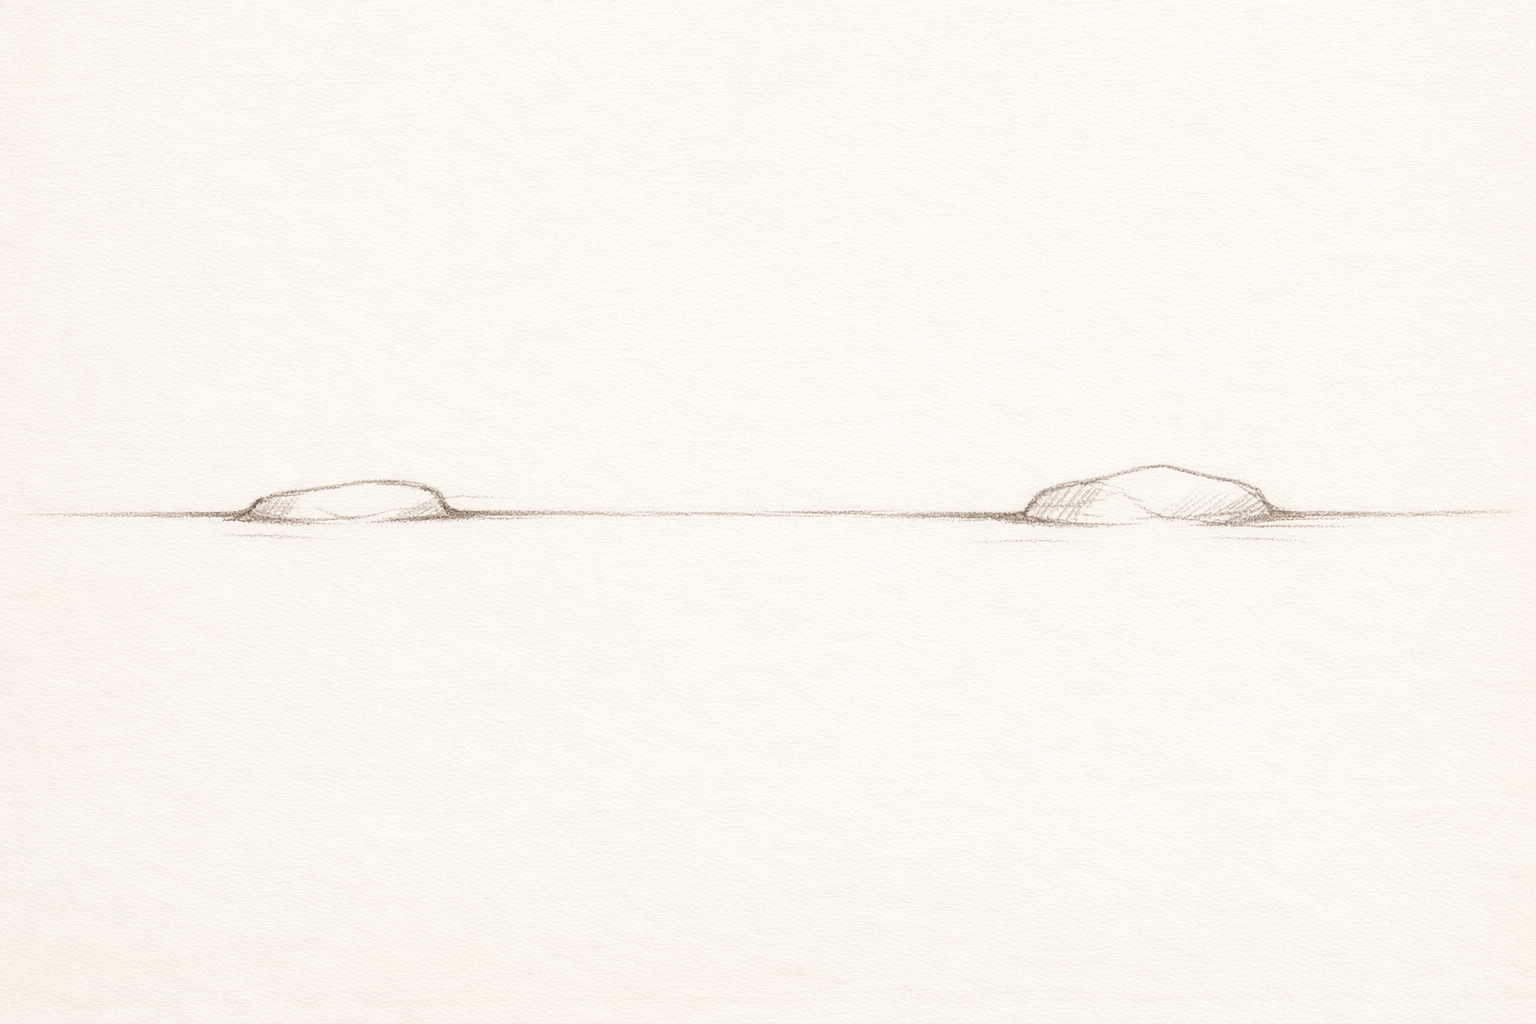
Match the photo by eye and draw a very light, straight horizon across the page inside your frame. Keep it level; a ruler helps. Stop the line where the rock arch will overlap so you don’t darken through the shape.
- 04
4. Block in the arch’s outer silhouette
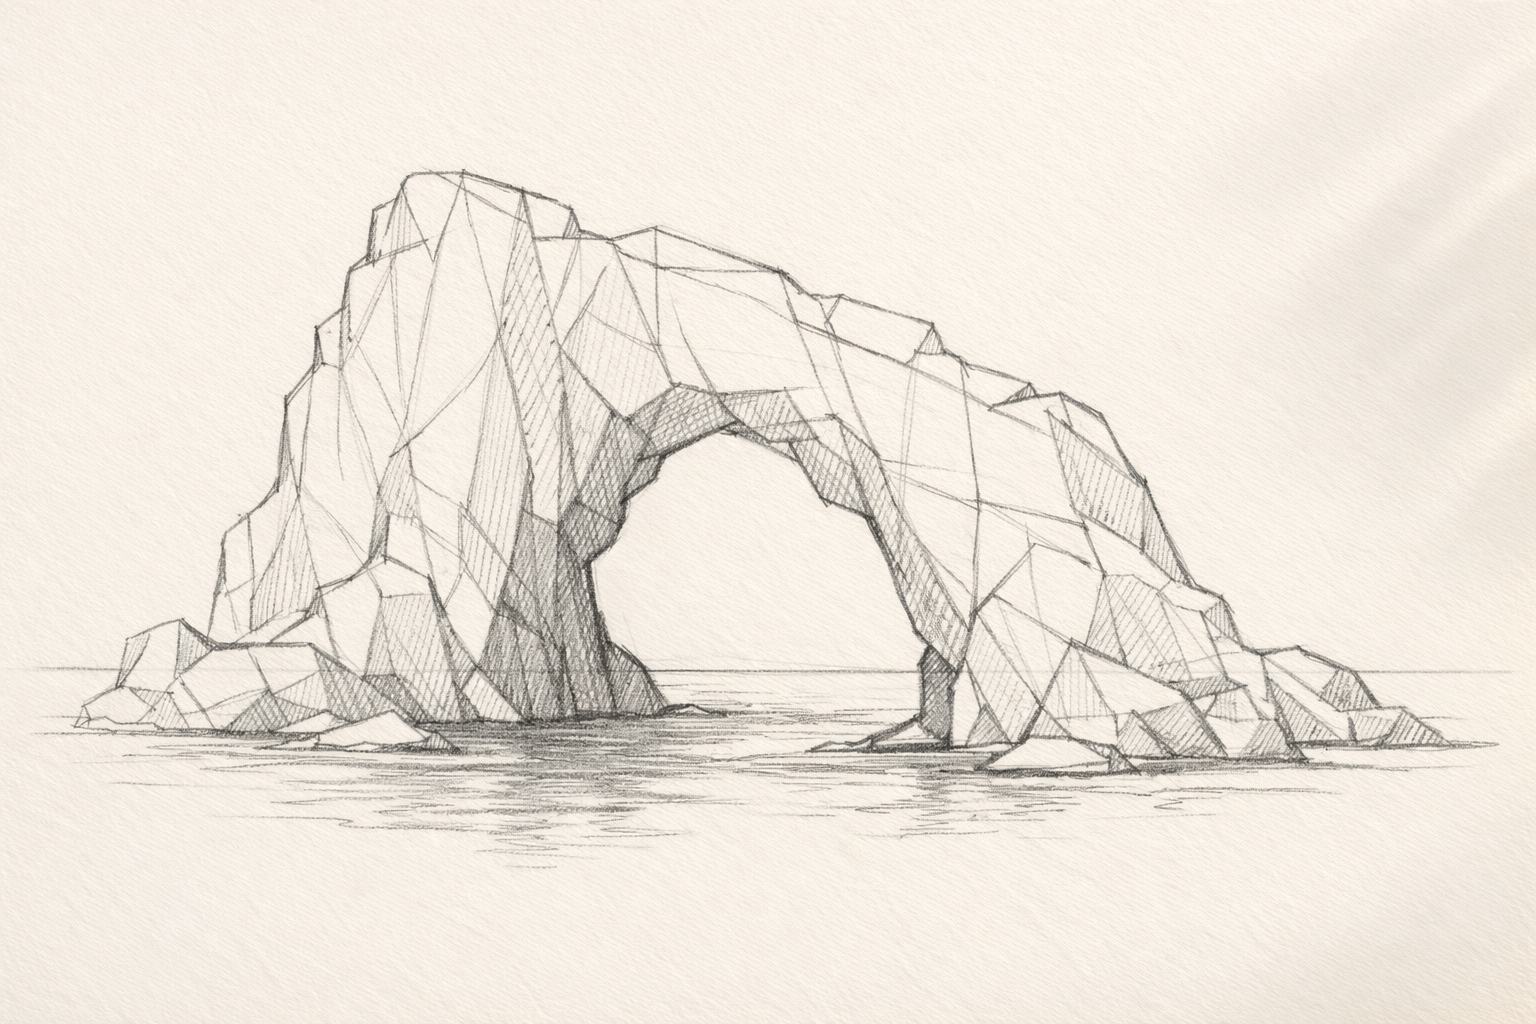
Squint at your photo and sketch the big outer shape of the arch using simple angled lines before curving them. Capture the overall height and width first, then refine the contour. Keep lines light and adjustable.
- 05
5. Carve the opening and thickness of the arch
Draw the inner curve of the arch’s opening, checking the gap size against your photo. Indicate the rock’s thickness along the rim so it feels solid, not paper-thin. Keep these lines just dark enough to see clearly.
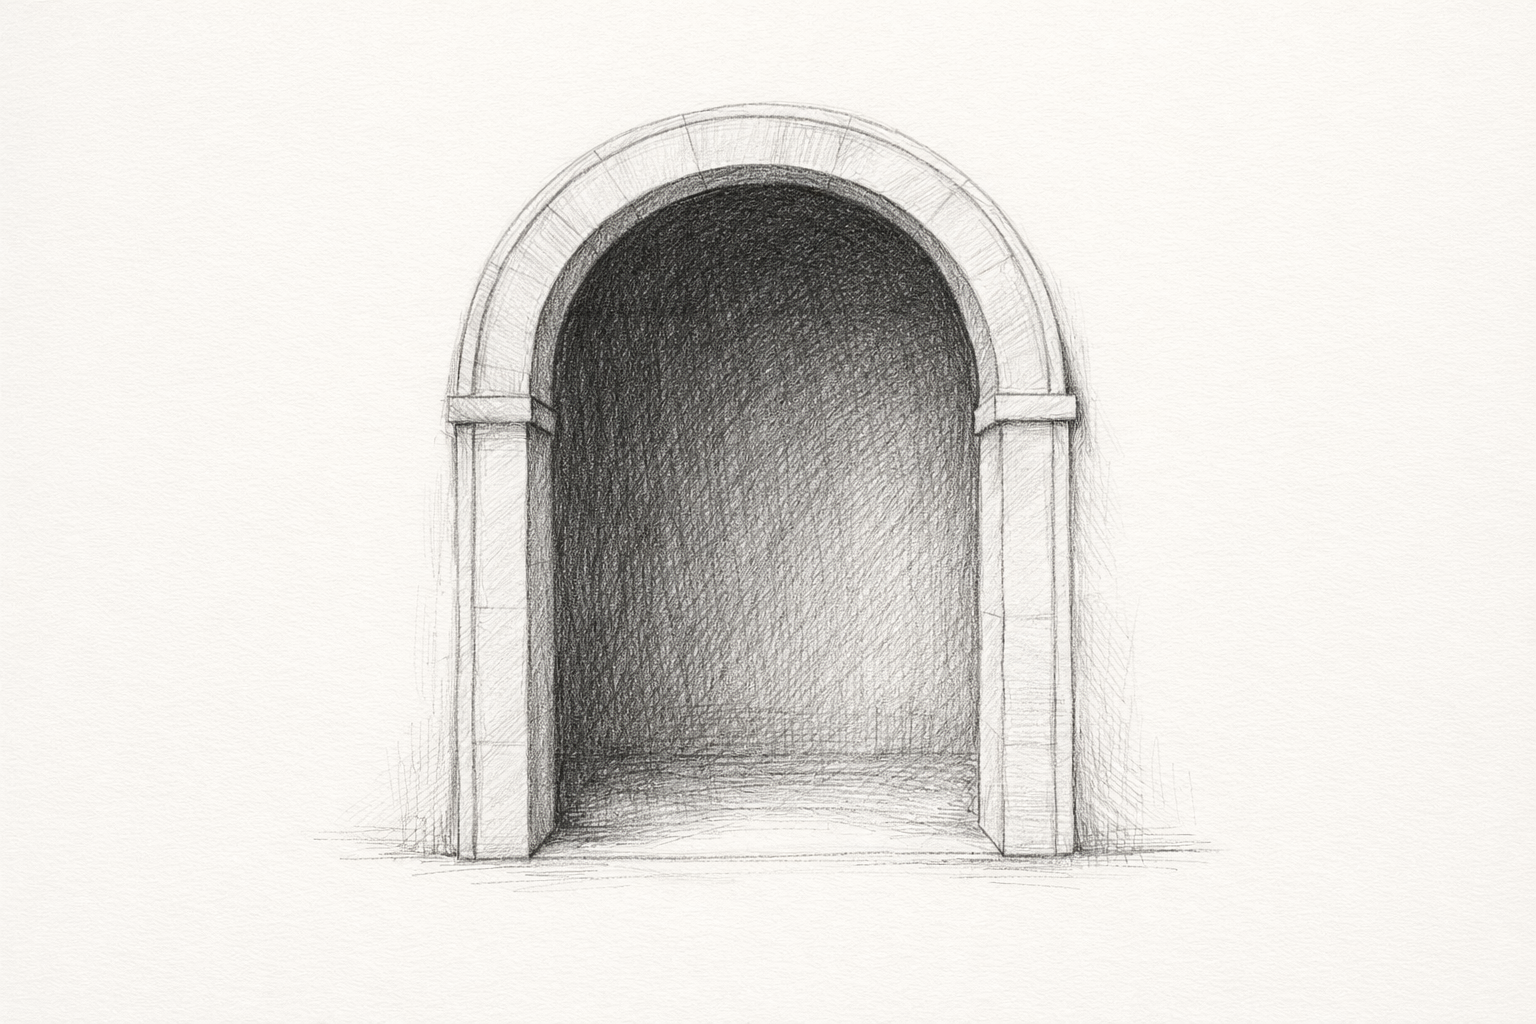
- 06
6. Map the shore and water shapes
Lightly sketch where the arch meets land or water. Add the main shoreline angles and any nearby rock masses. Suggest broad, horizontal water bands that follow the horizon. Leave white gaps where bright foam will be.
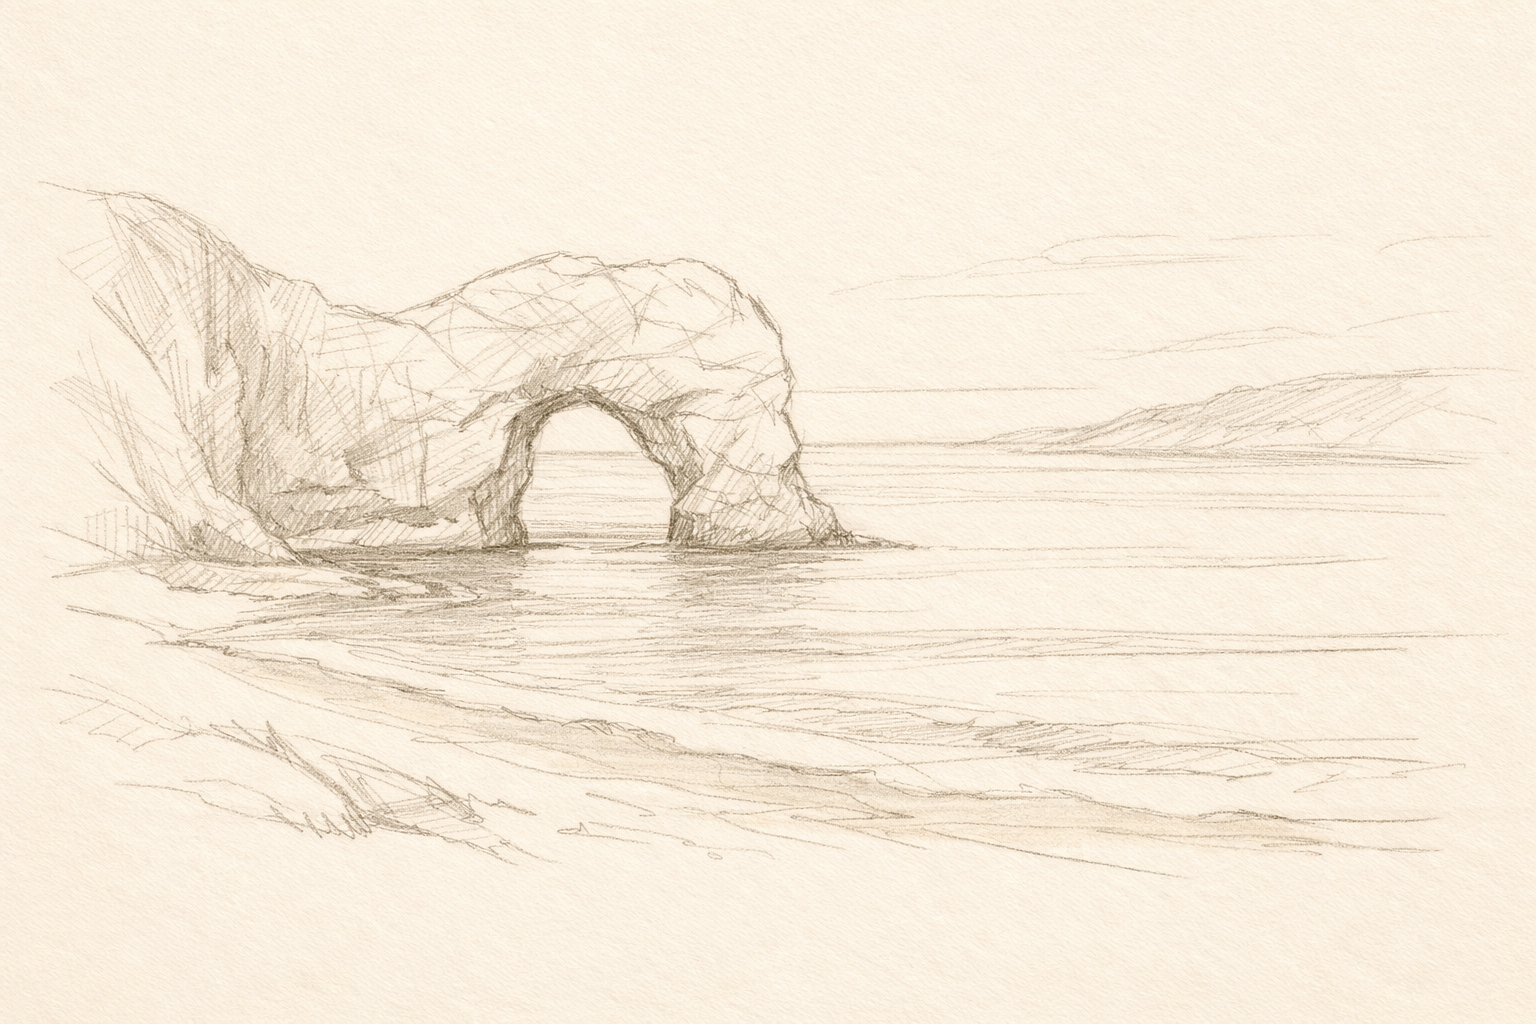
- 07
7. Block in the darkest shadow masses
Switch to a softer pencil (2B–4B). Fill the deepest shadows inside the arch and under overhangs as simple, connected shapes. Keep edges clean where the shadow meets bright sky or water to create strong contrast.
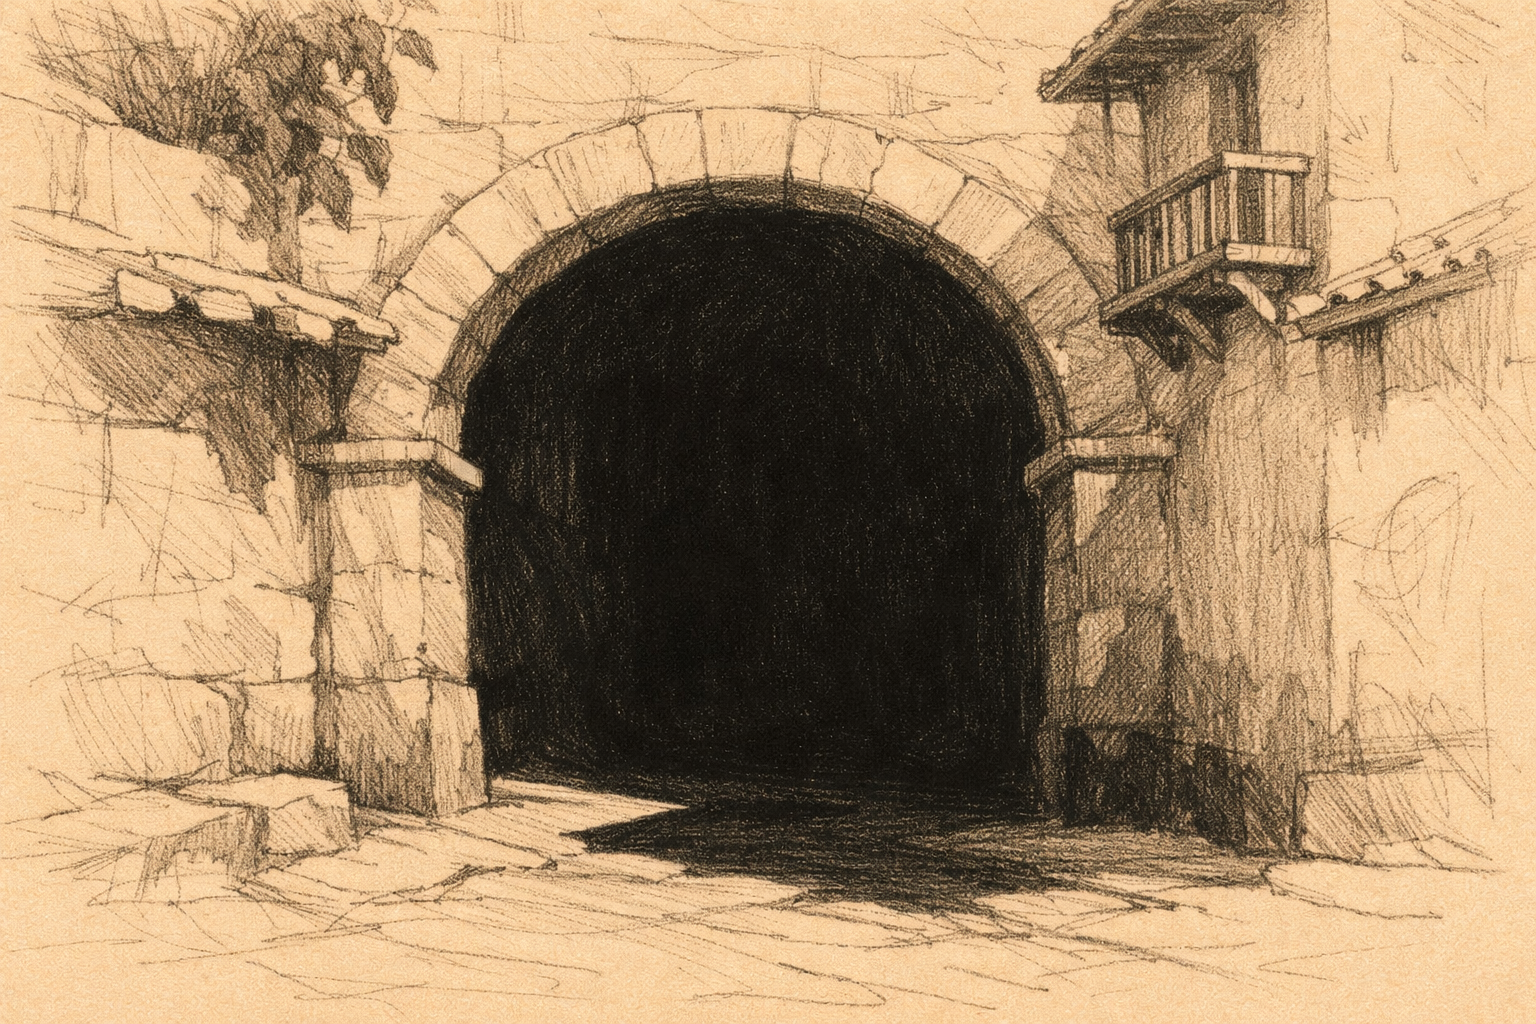
- 08
8. Establish the sea tone and depth
Lay a light, even tone across the sea using horizontal strokes. Darken slightly under the arch opening to suggest reflected shadow. Keep the horizon crisp and leave small, unshaded streaks to reserve foam highlights.
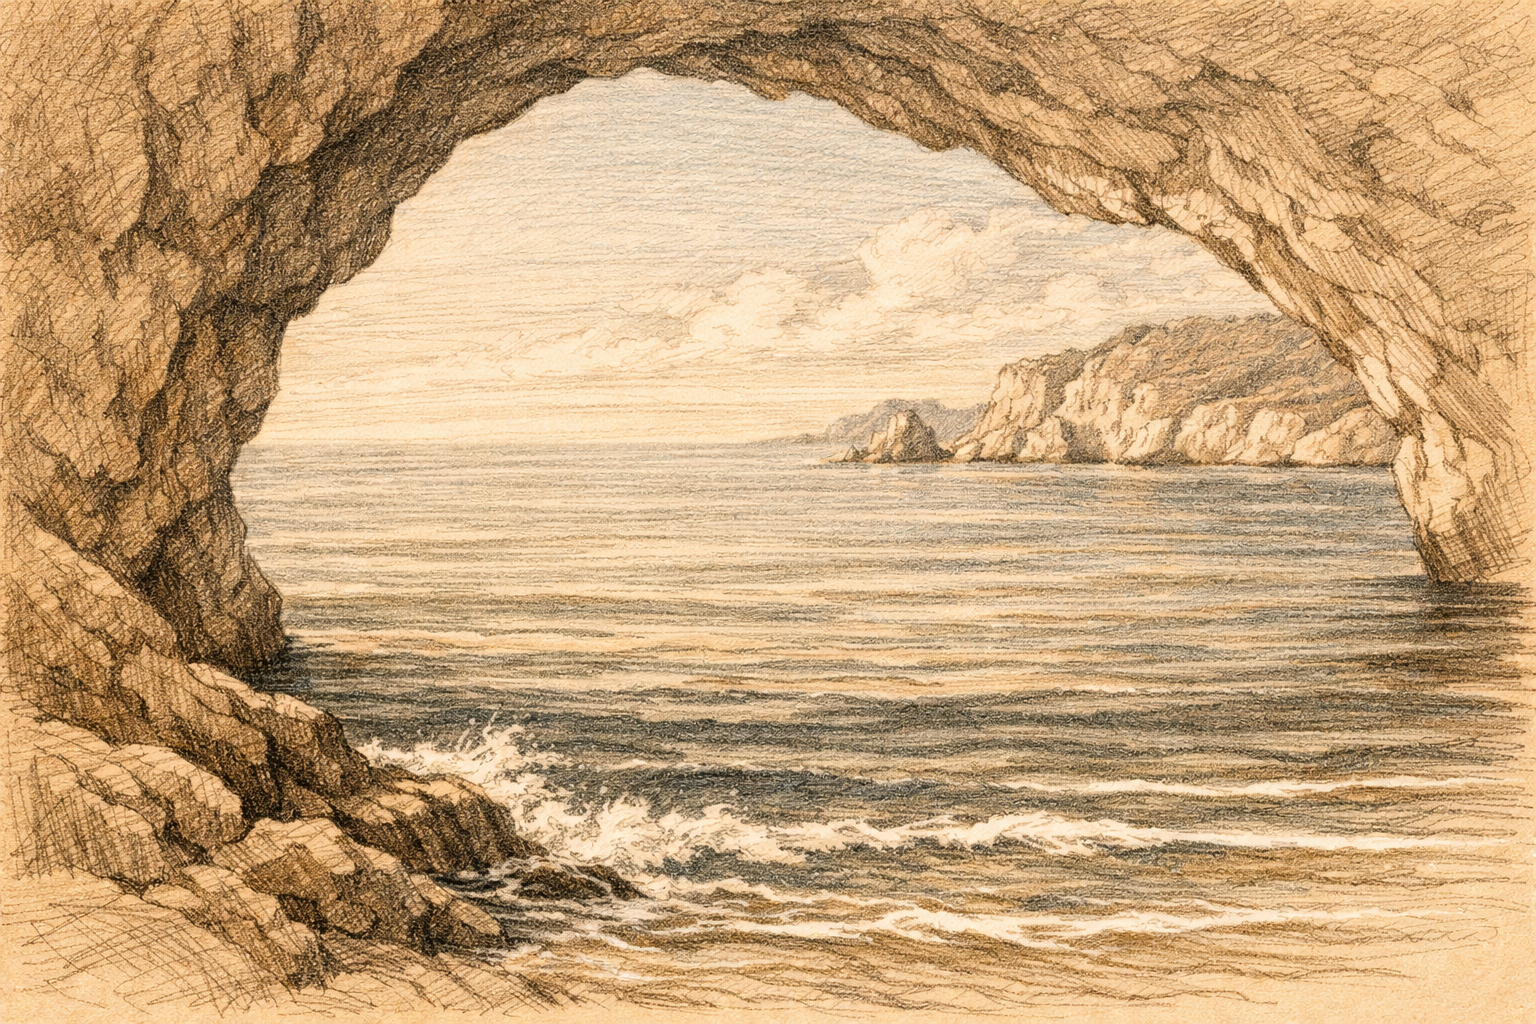
- 09
9. Model the rock with midtones
Add midtone shading to the arch’s sunlit planes, staying lighter than your darkest shadows. Blend lightly with a stump to unify tones, then restate the rim edges so the arch clearly overlaps the sky and sea.
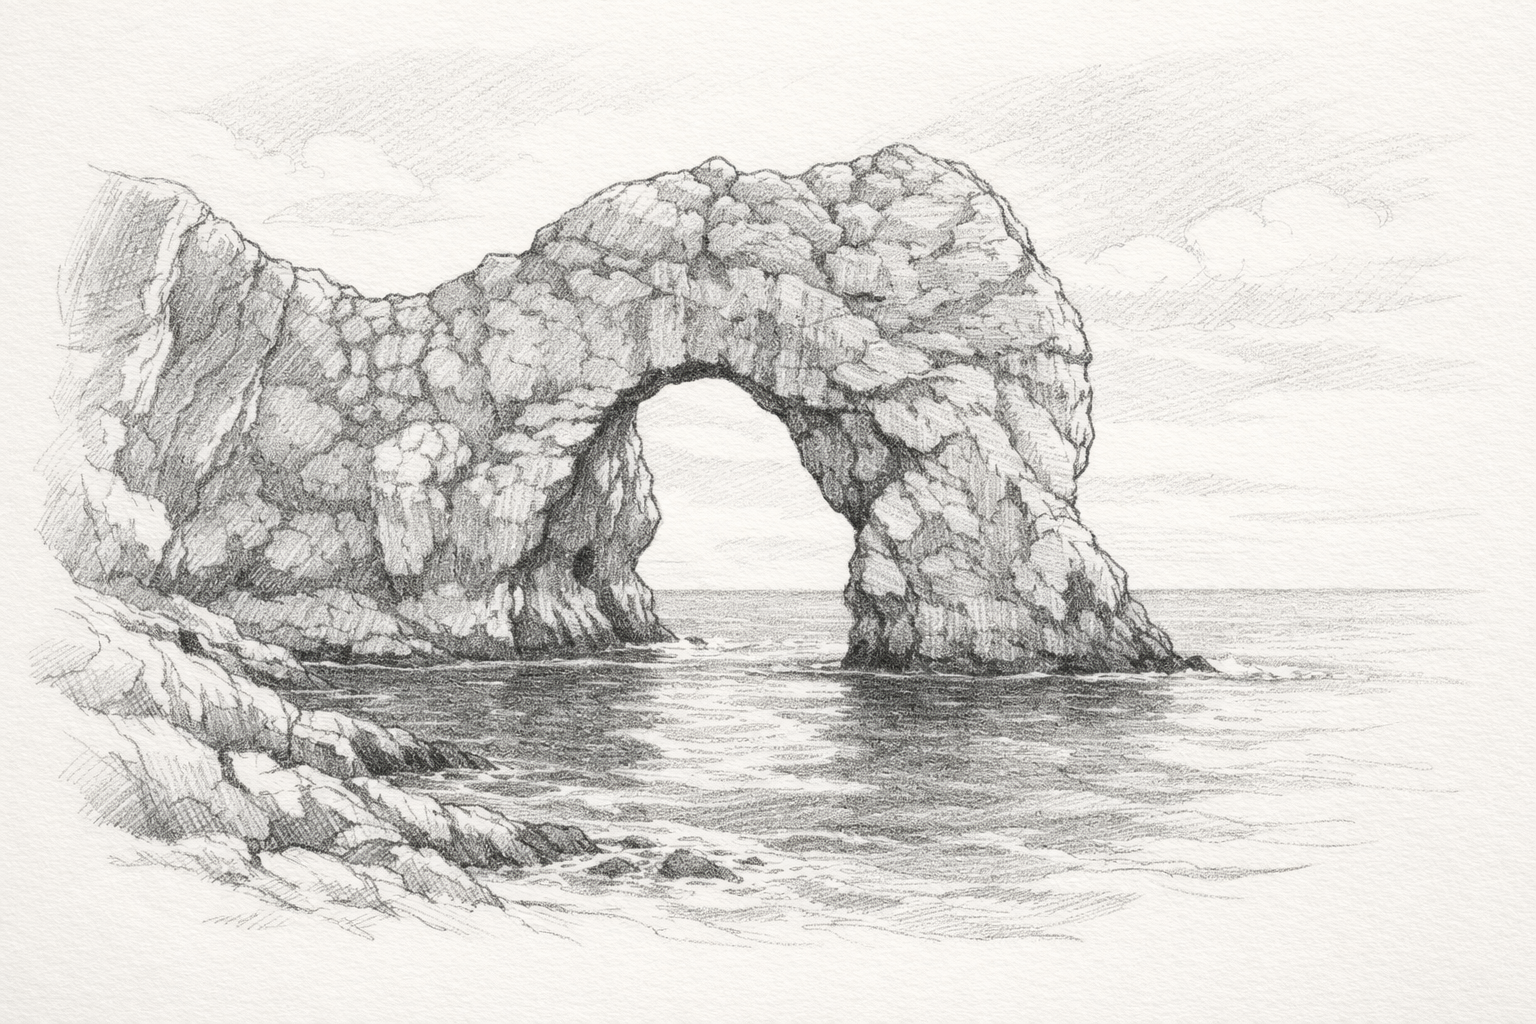
- 10
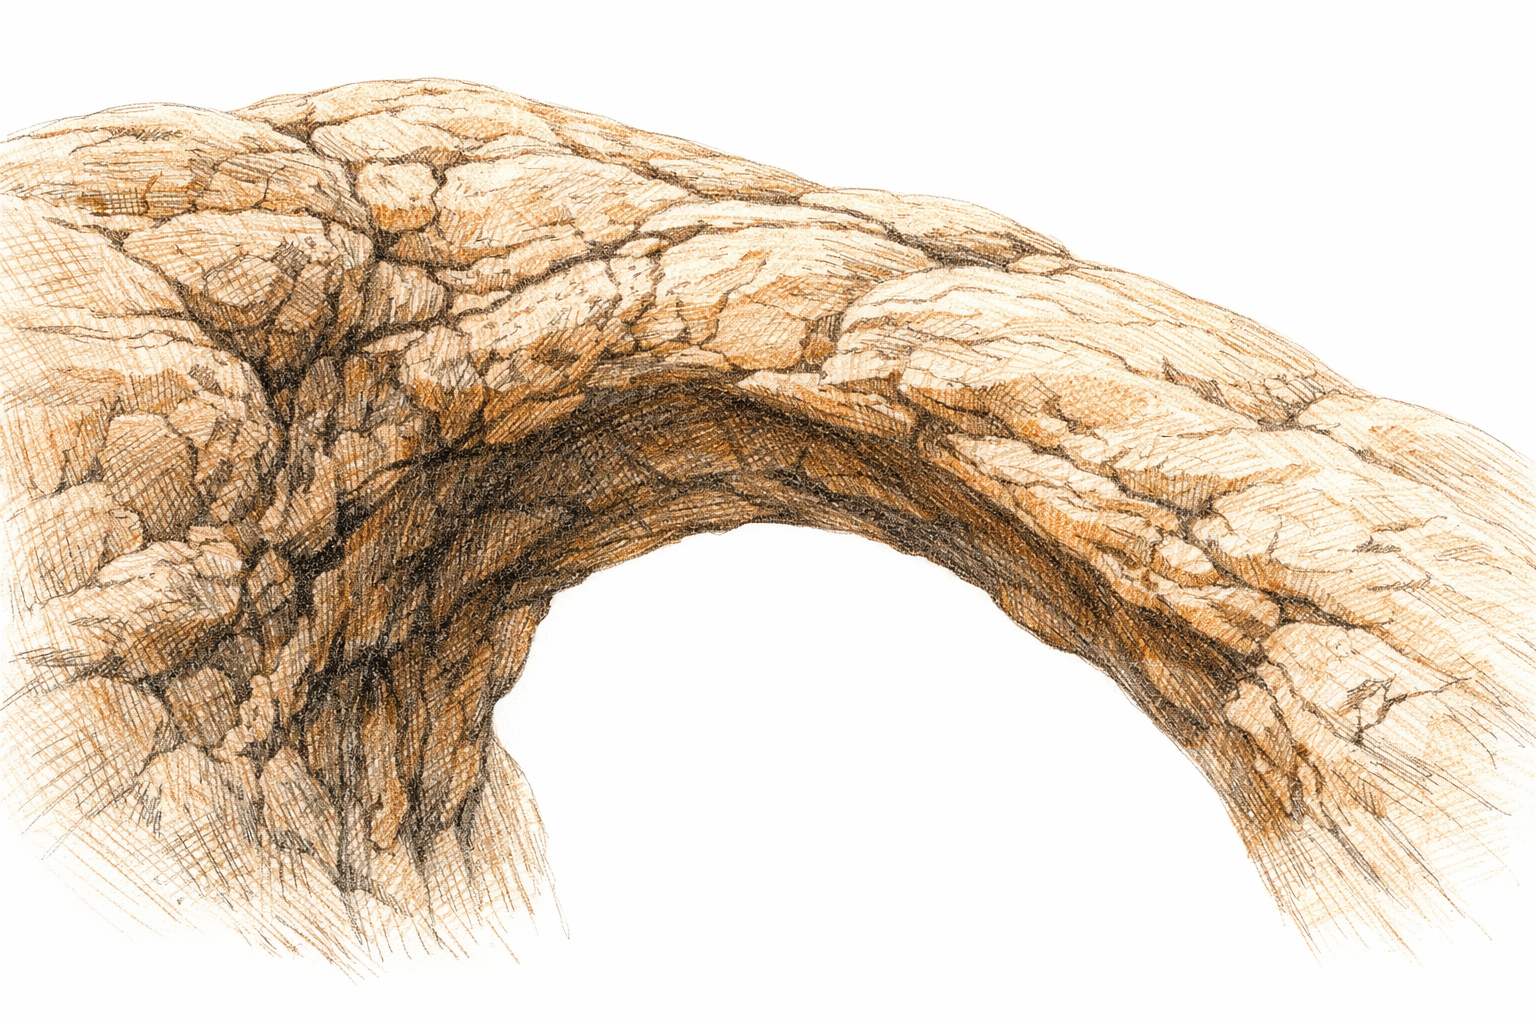
10. Add rock texture and fissures
Suggest texture with short, broken strokes that follow the arch’s curves and angles. Cluster lines more densely in shadow and thin them out in light. Vary pressure and direction to hint at cracks without over-detailing.
- 11
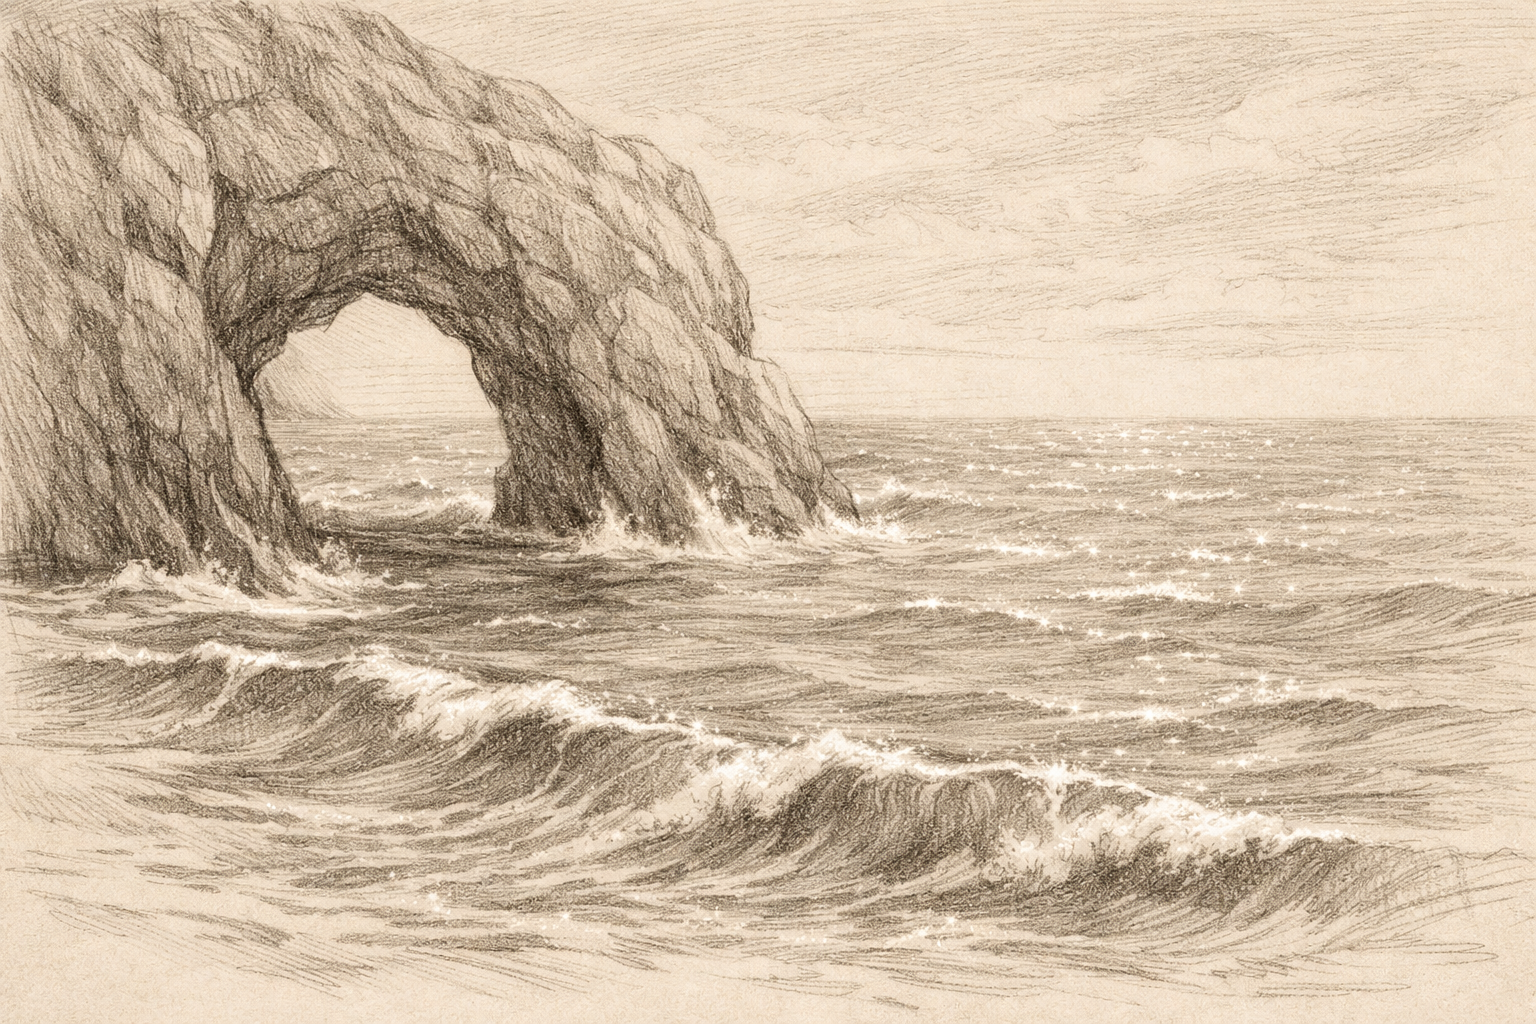
11. Lift foam highlights and sparkle
Pinch a kneaded eraser to a point and tap along wave edges and around the base of the arch to pull out tiny whites. Add a few small, scattered bright spots on the water, getting smaller as they recede into the distance.
- 12
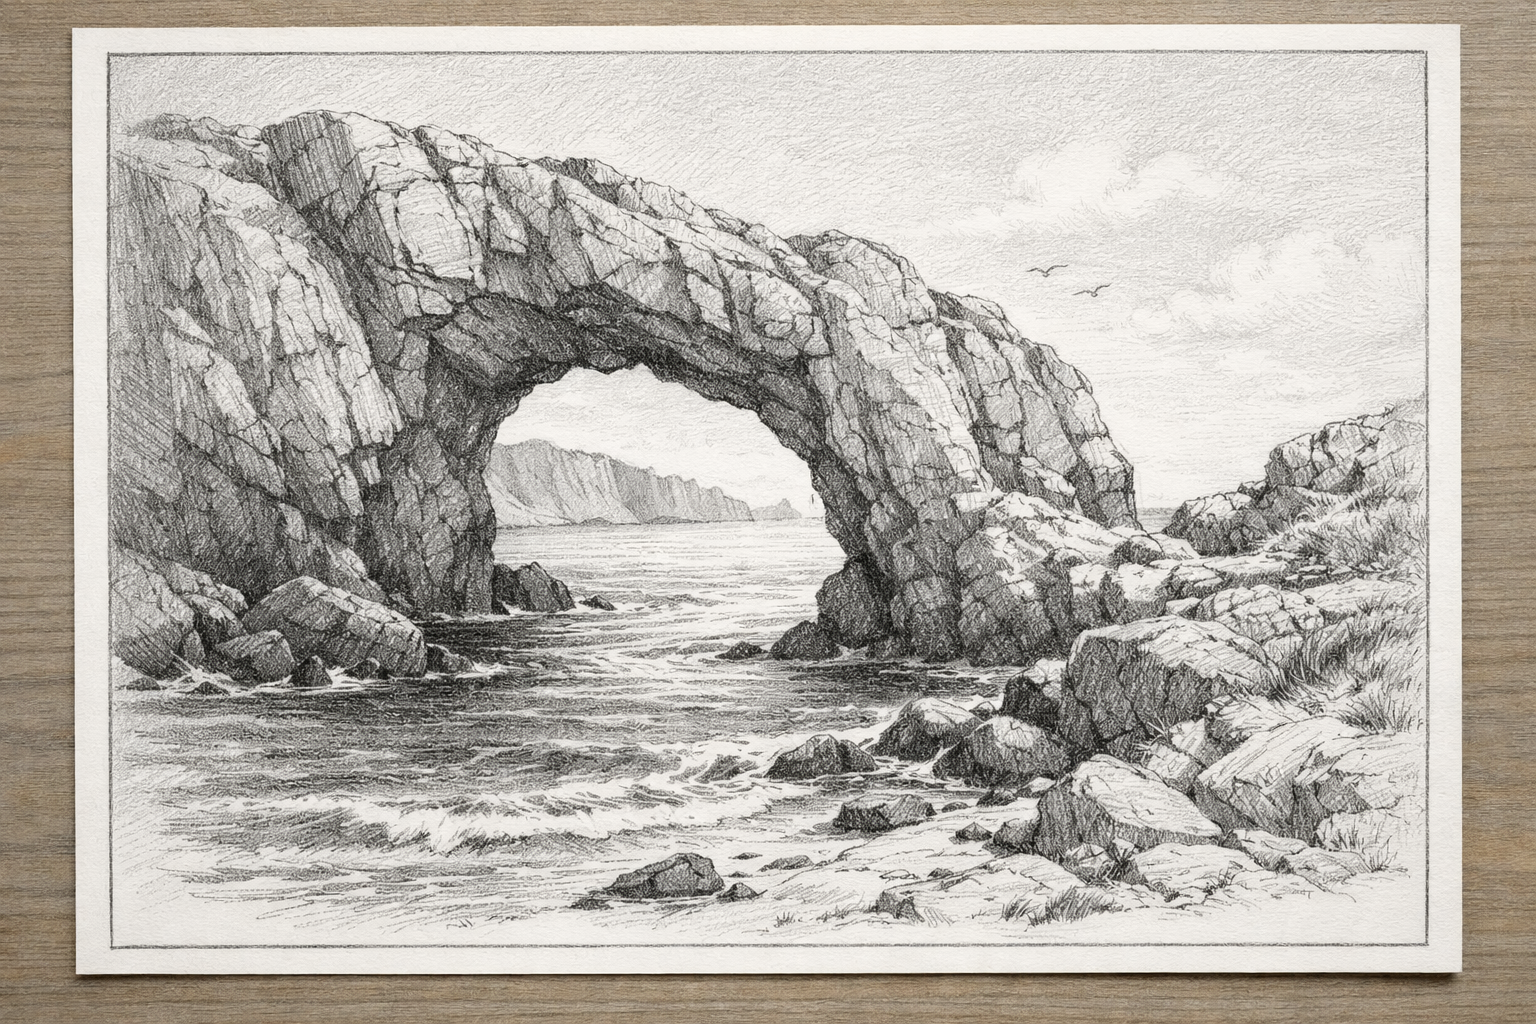
12. Refine contrasts and clean up
Deepen a few key darks inside the arch and at contact points where rock meets water. Lightly soften distant details so the arch stays the focus. Erase stray construction lines and add your initials discreetly.
If this was useful
Try one of these next
Home & life
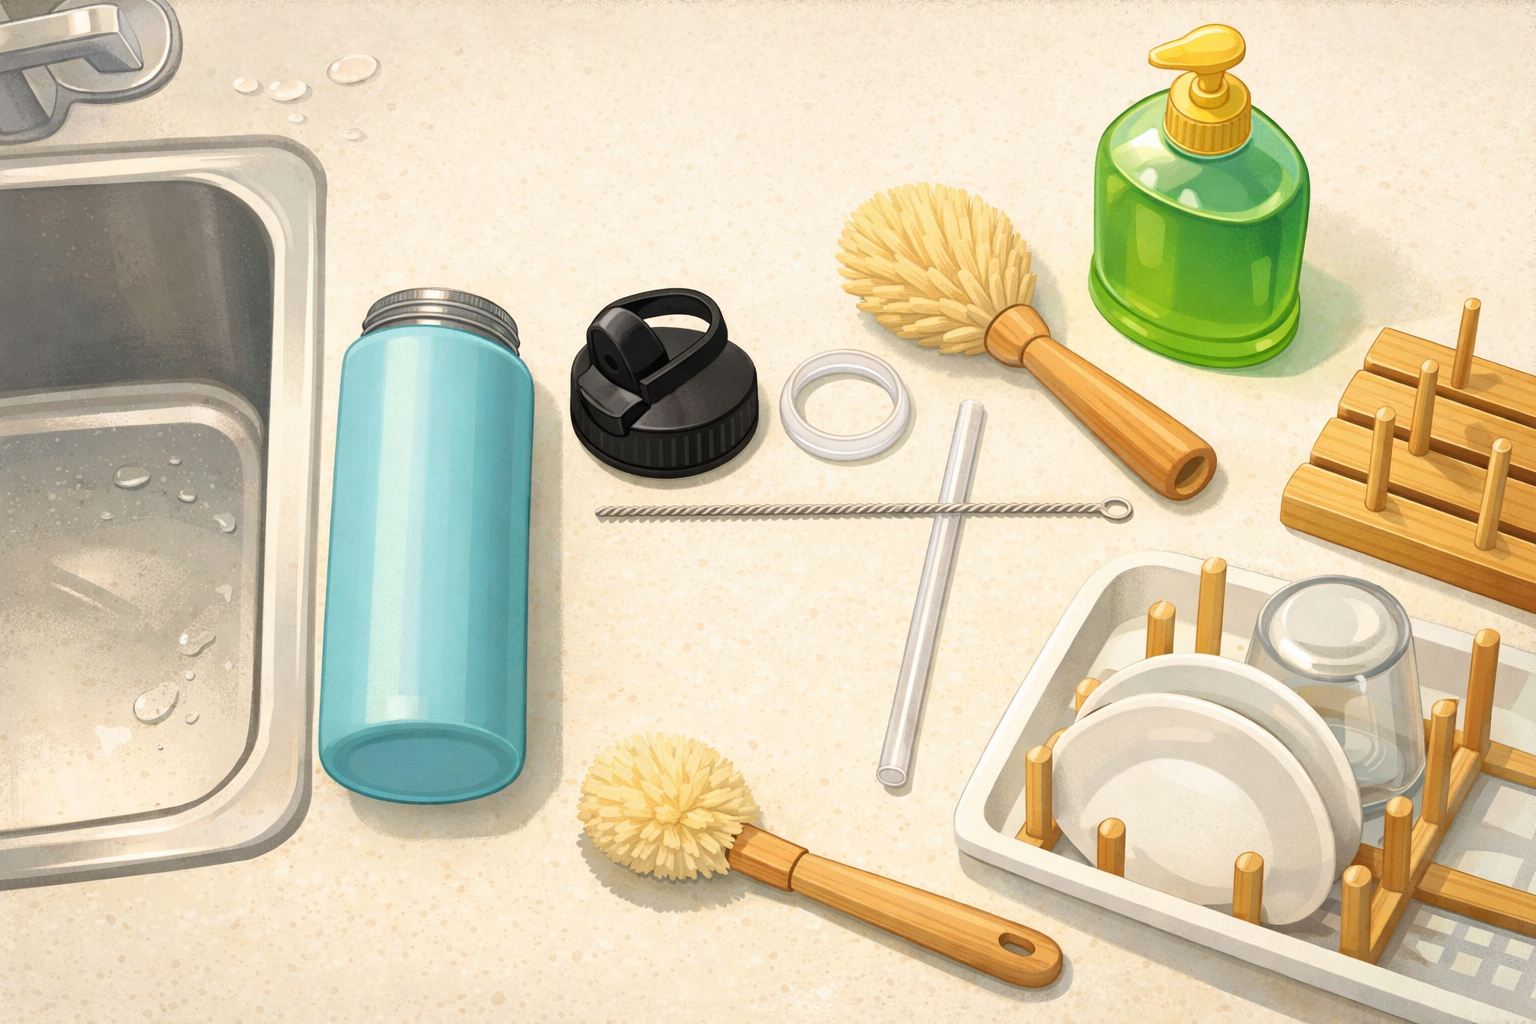
How to clean and dry a reusable water bottle after a picnic
Disassemble the lid, clean threads and seals, wash the body, rinse thoroughly, and air‑dry so it doesn’t develop odours between countryside trips. Close‑ups show where residue hides and a quick drying rack setup.
Read the guide
Hobbies & crafts
How to draw a standing penguin using teardrop shapes
Start with a tall teardrop for the body and small ovals for the head and feet. Add a simple beak and flippers with more teardrops, map the tuxedo belly, then refine the outline. Erase the guides and finish with light shading for roundness. Each step’s image overlays pale guide shapes and the darker final lines so you can see what to keep.
Read the guide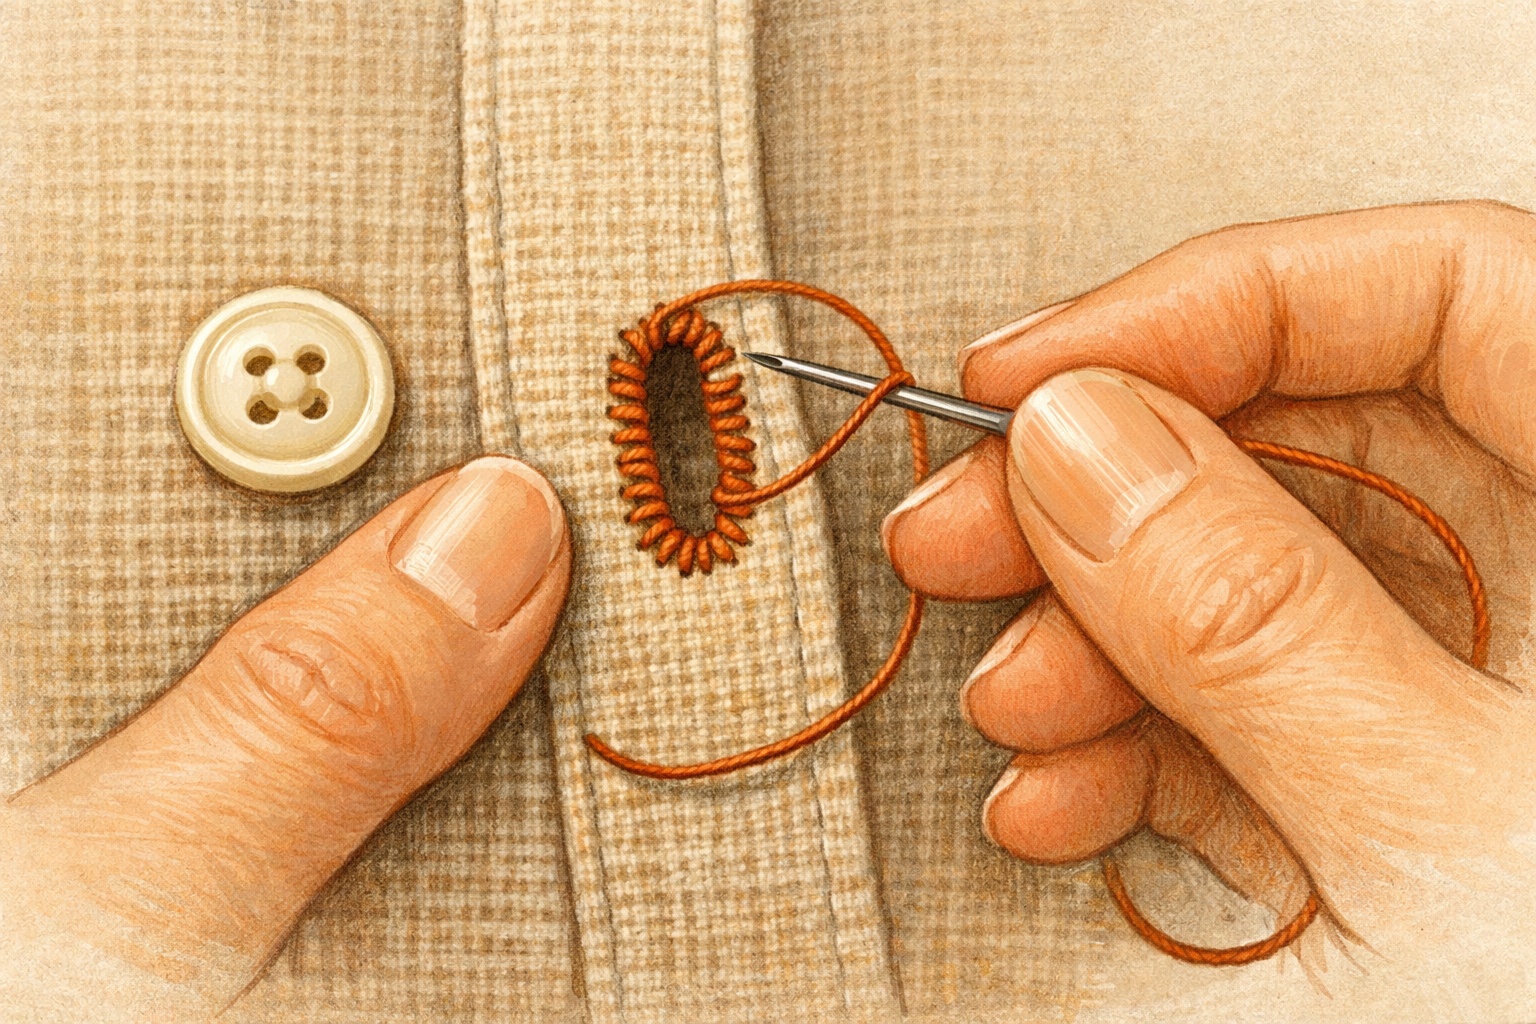
Hobbies & crafts
How to Tighten a Loose Buttonhole with Blanket Stitches
Reinforce stretched buttonholes by stitching a neat border that grips the button and prevents further fraying.
Read the guide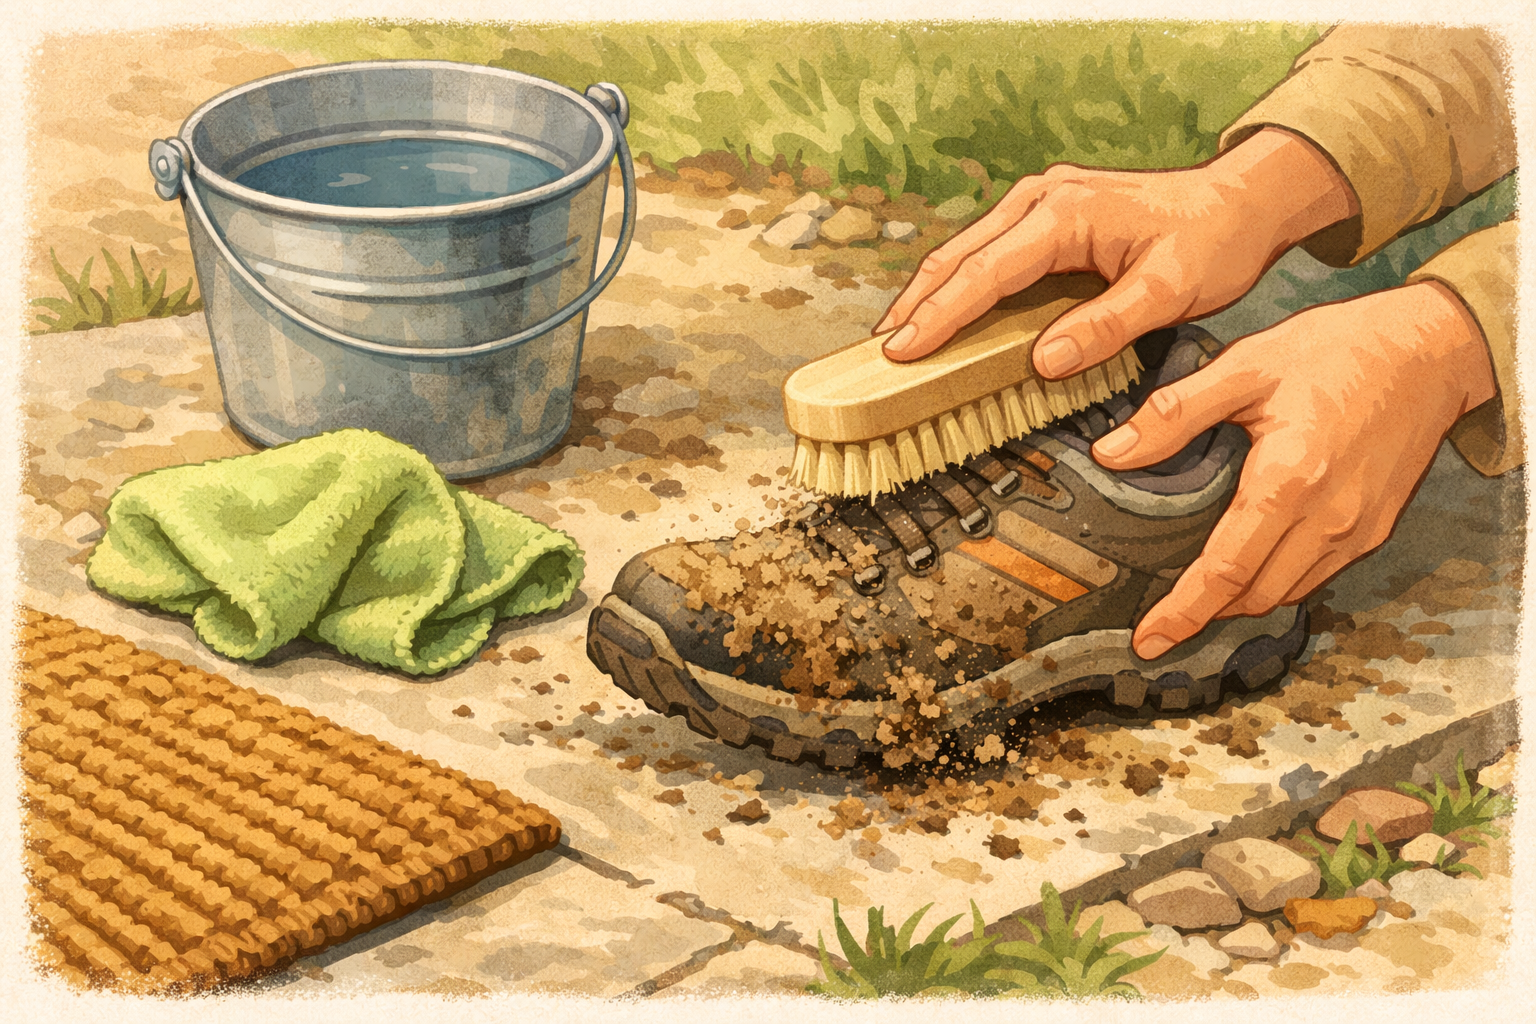
Home & life
How to clean muddy walking shoes after a countryside footpath
Knock off dried mud, brush seams, wipe uppers, clean outsoles, freshen insoles, and air‑dry so your shoes are ready for the next path. Photos show the order and which brushes or cloths to use.
Read the guide