Hobbies & crafts
How to Darn a Sock by Hand
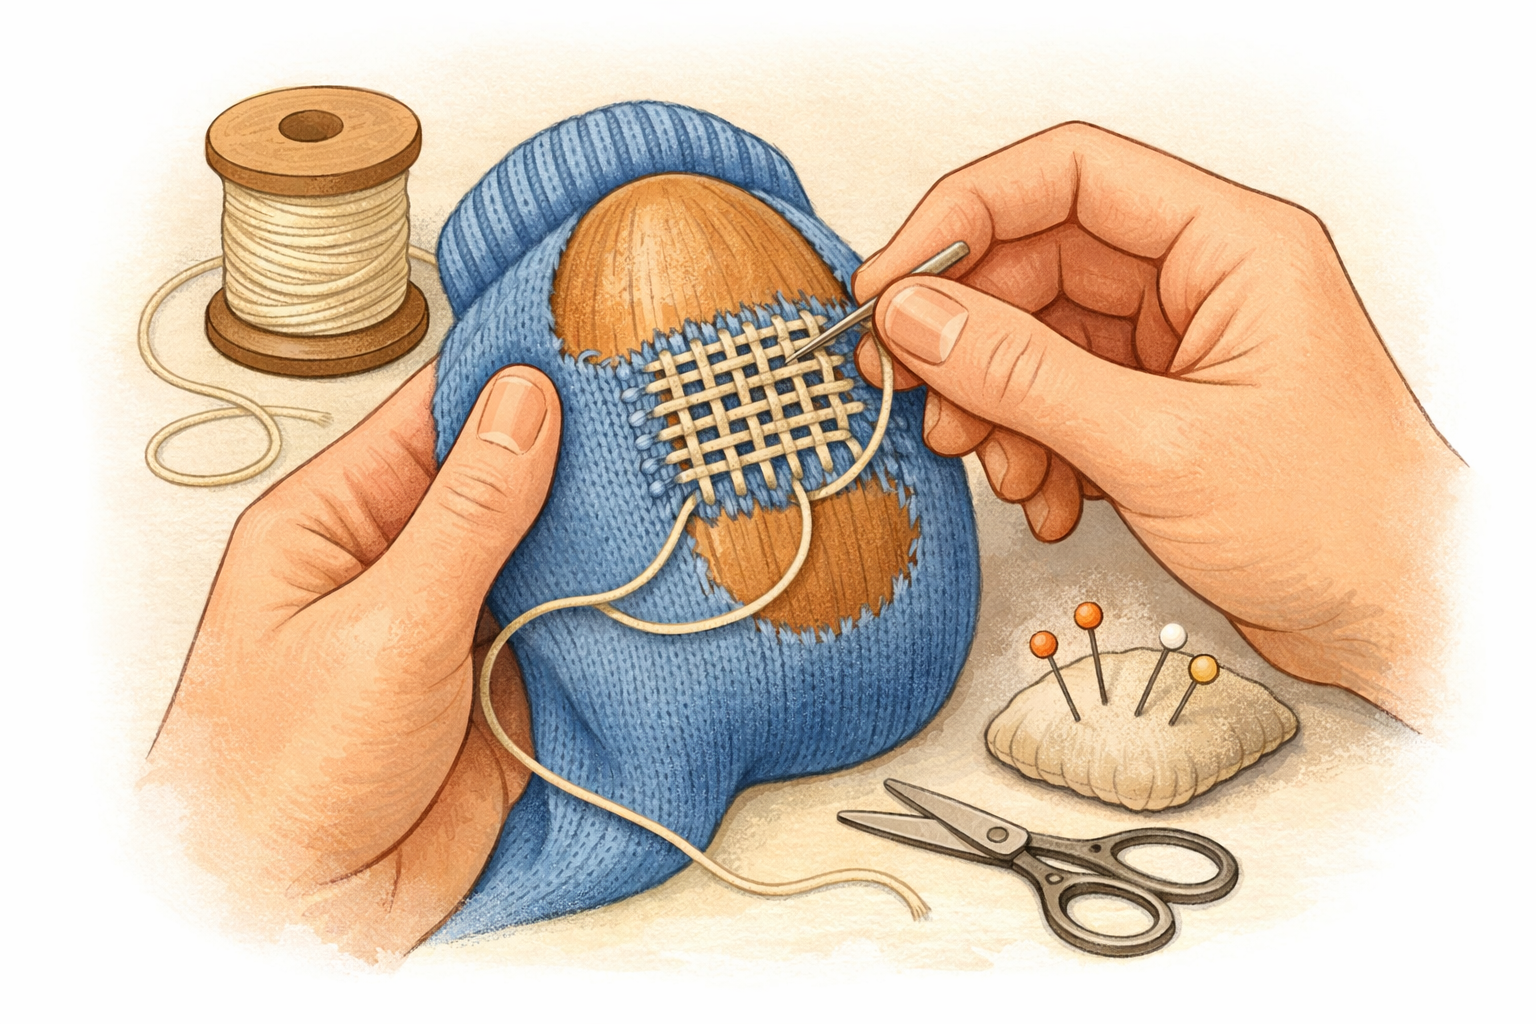
Rebuild a thin heel or toe with a woven darning patch using a needle, thread, and a smooth form to support the fabric.
- 01
Gather your mending tools
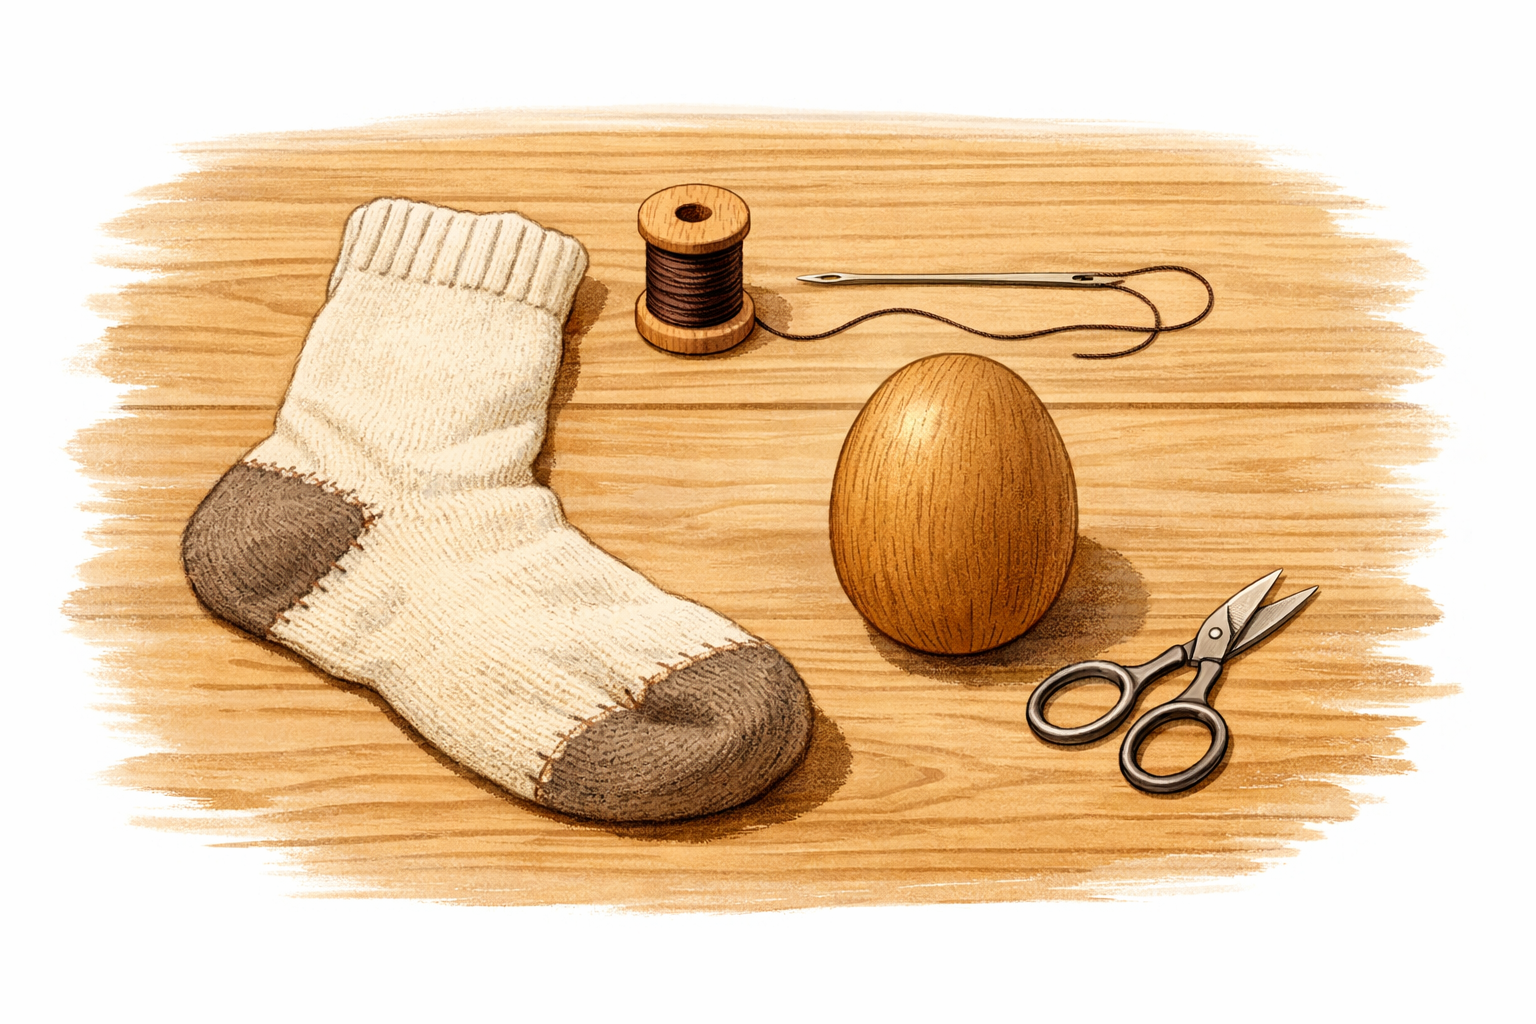
Set out a clean, dry sock, a darning needle (with an eye big enough for your thread), matching thread or fine yarn, a smooth form such as a darning egg (or a wooden spoon head, small jar, or tennis ball), and small scissors. Choose thread that’s similar in color and thickness to the sock so the patch blends and feels comfortable.
- 02
Turn the sock inside out and neaten the hole
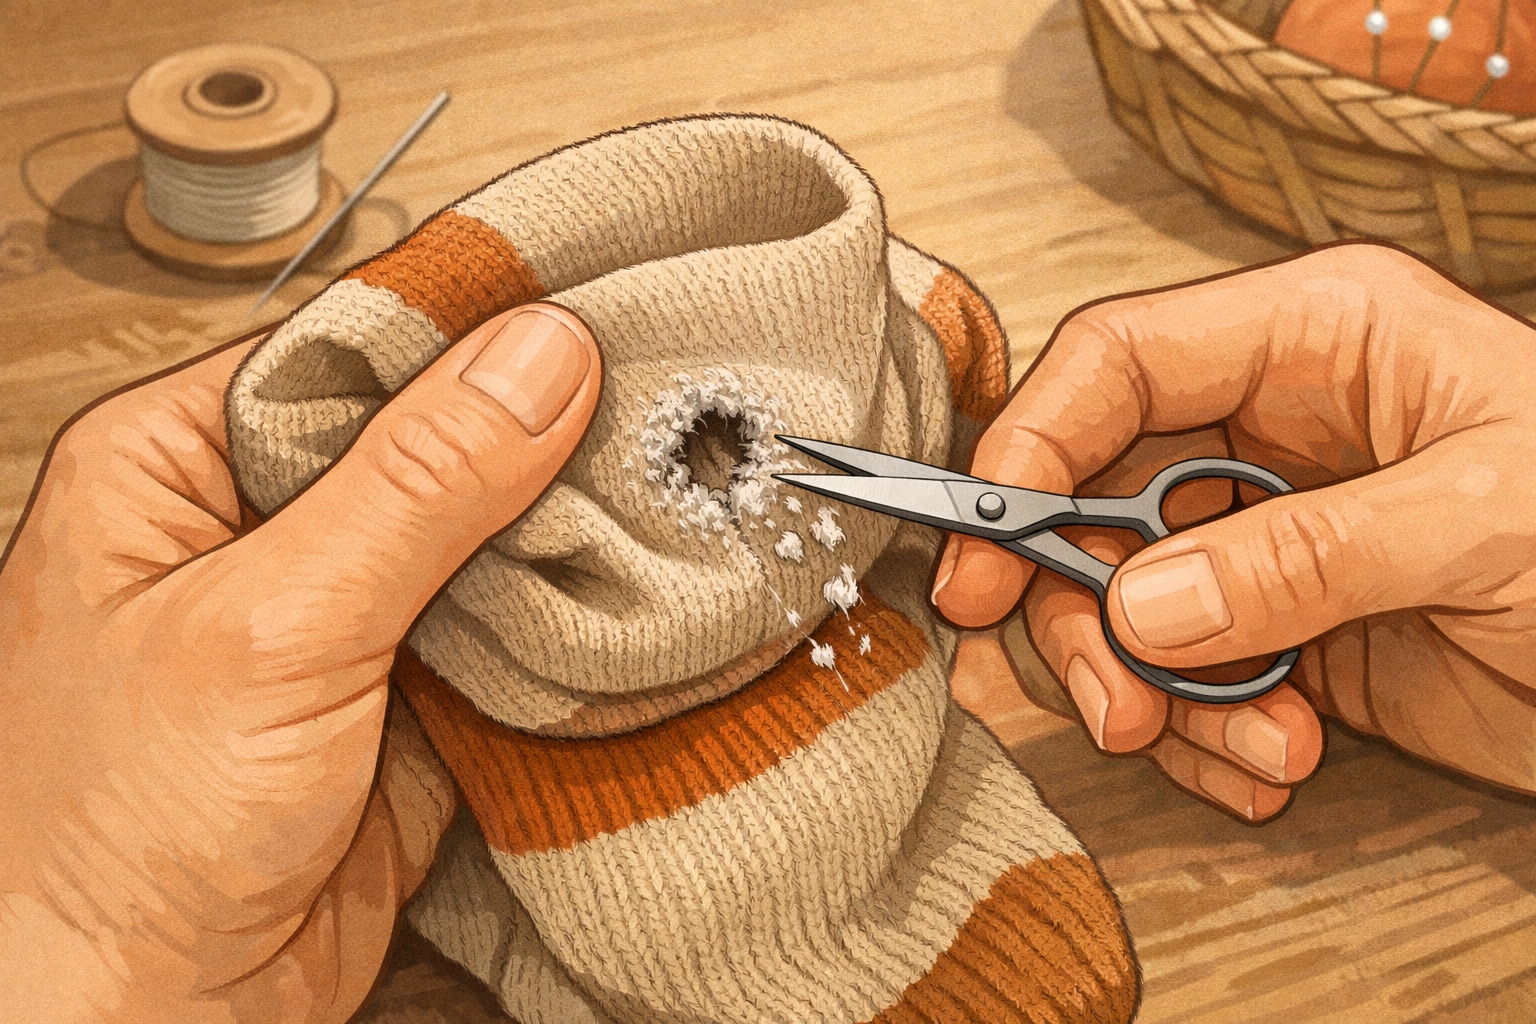
Flip the sock inside out so any knots or ends will sit on the inside when worn. Gently trim fuzzy loose fibers around the hole without cutting into the solid fabric. Plan to mend an area slightly larger than the hole to catch strong fabric all around it.
- 03
Insert a smooth form under the hole
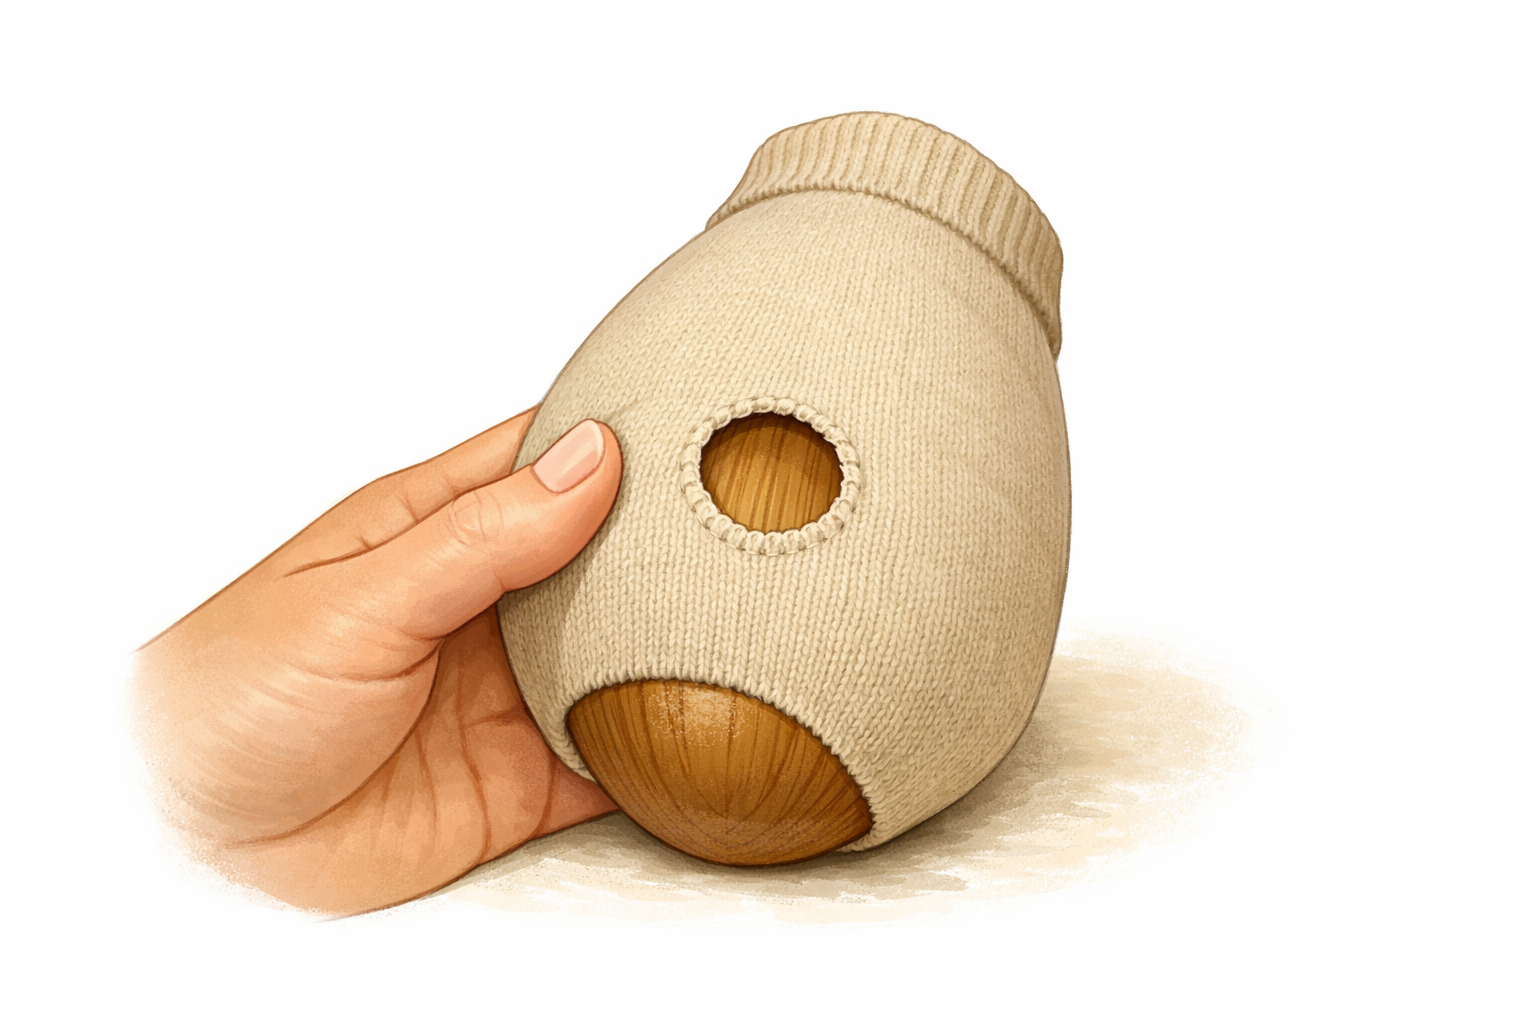
Slide the darning egg or other smooth form under the hole and stretch the fabric just enough to flatten it, not so tight that stitches gape. Hold the sock against the form with your non-dominant hand so the area is firm and easy to stitch.
- 04
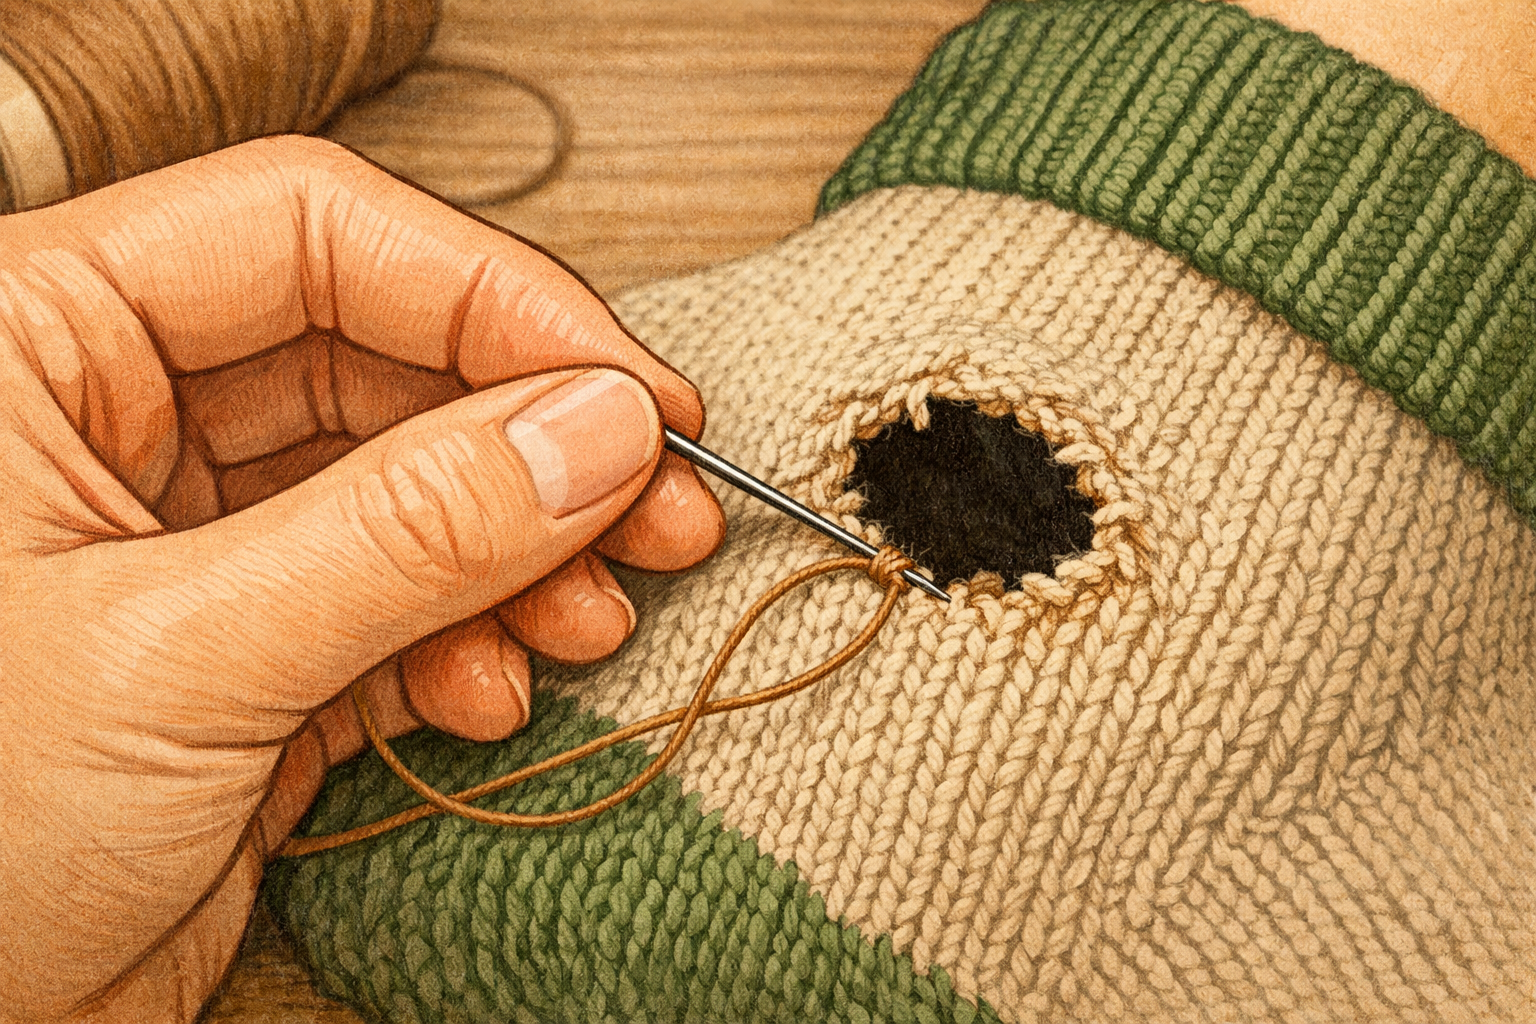
Thread the needle and anchor your start
Cut a comfortable length of thread you can pull through without tangling. Thread the needle. Start a short distance outside the hole and take a tiny stitch to anchor the thread. If you prefer, use a small knot on the inside to secure the first stitch before you begin.
- 05
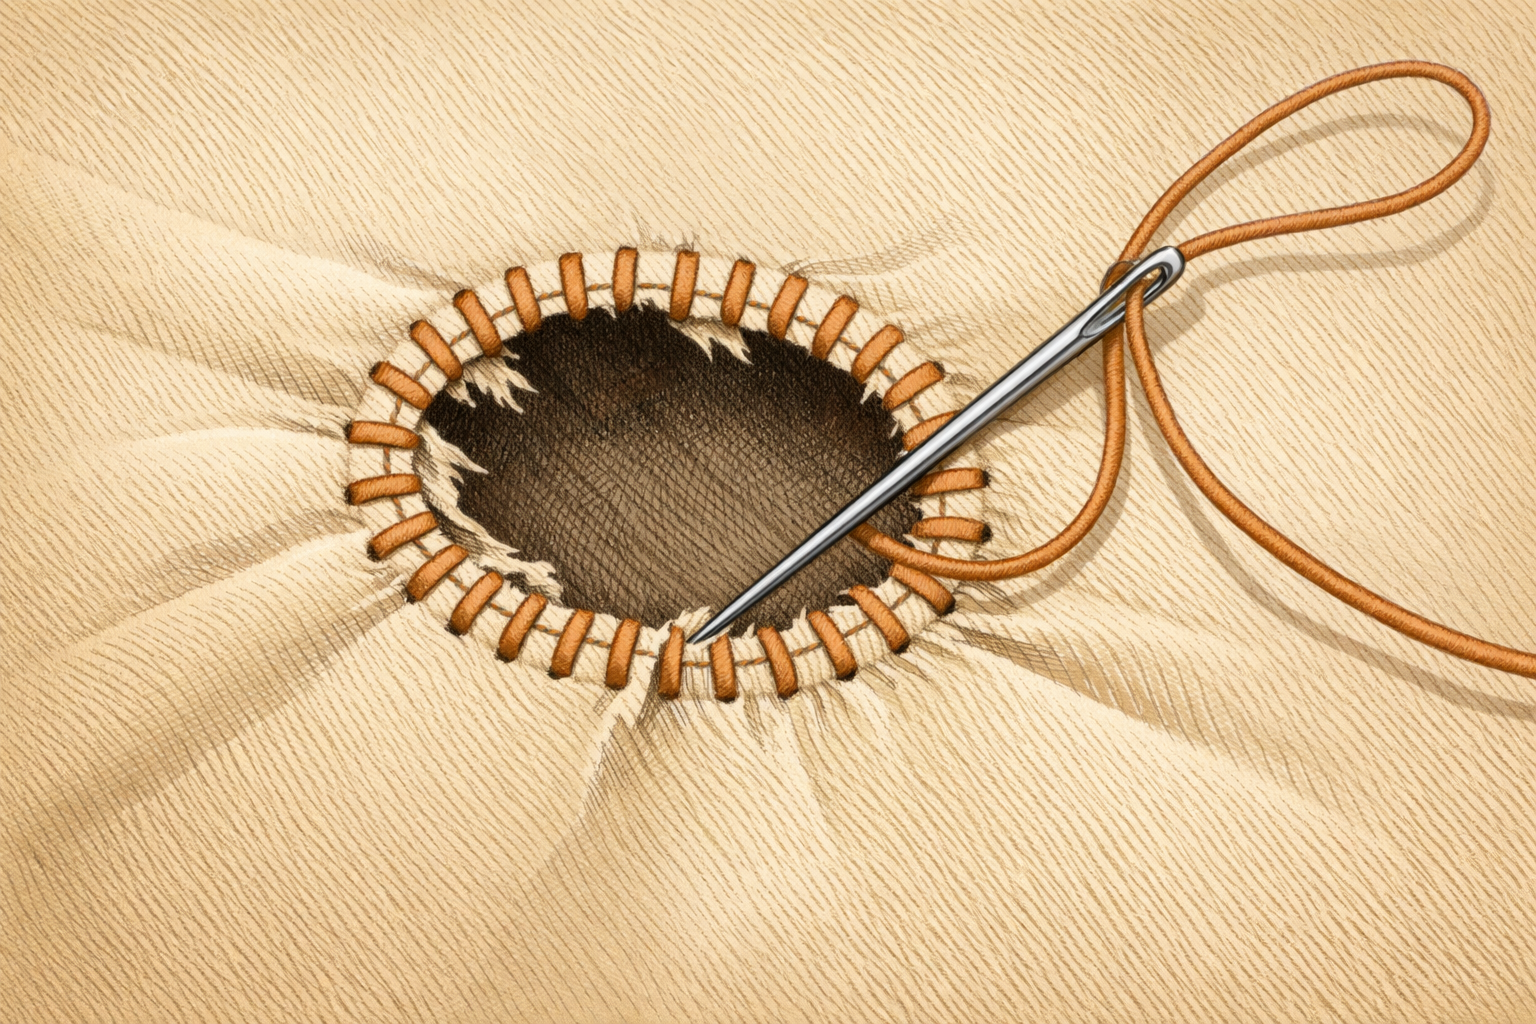
Stabilize the area with a simple outline
Work small running stitches in an oval or rectangle around the hole, sitting in sound fabric. This outline keeps the edges from spreading and gives your patch something to grab onto as you weave.
- 06
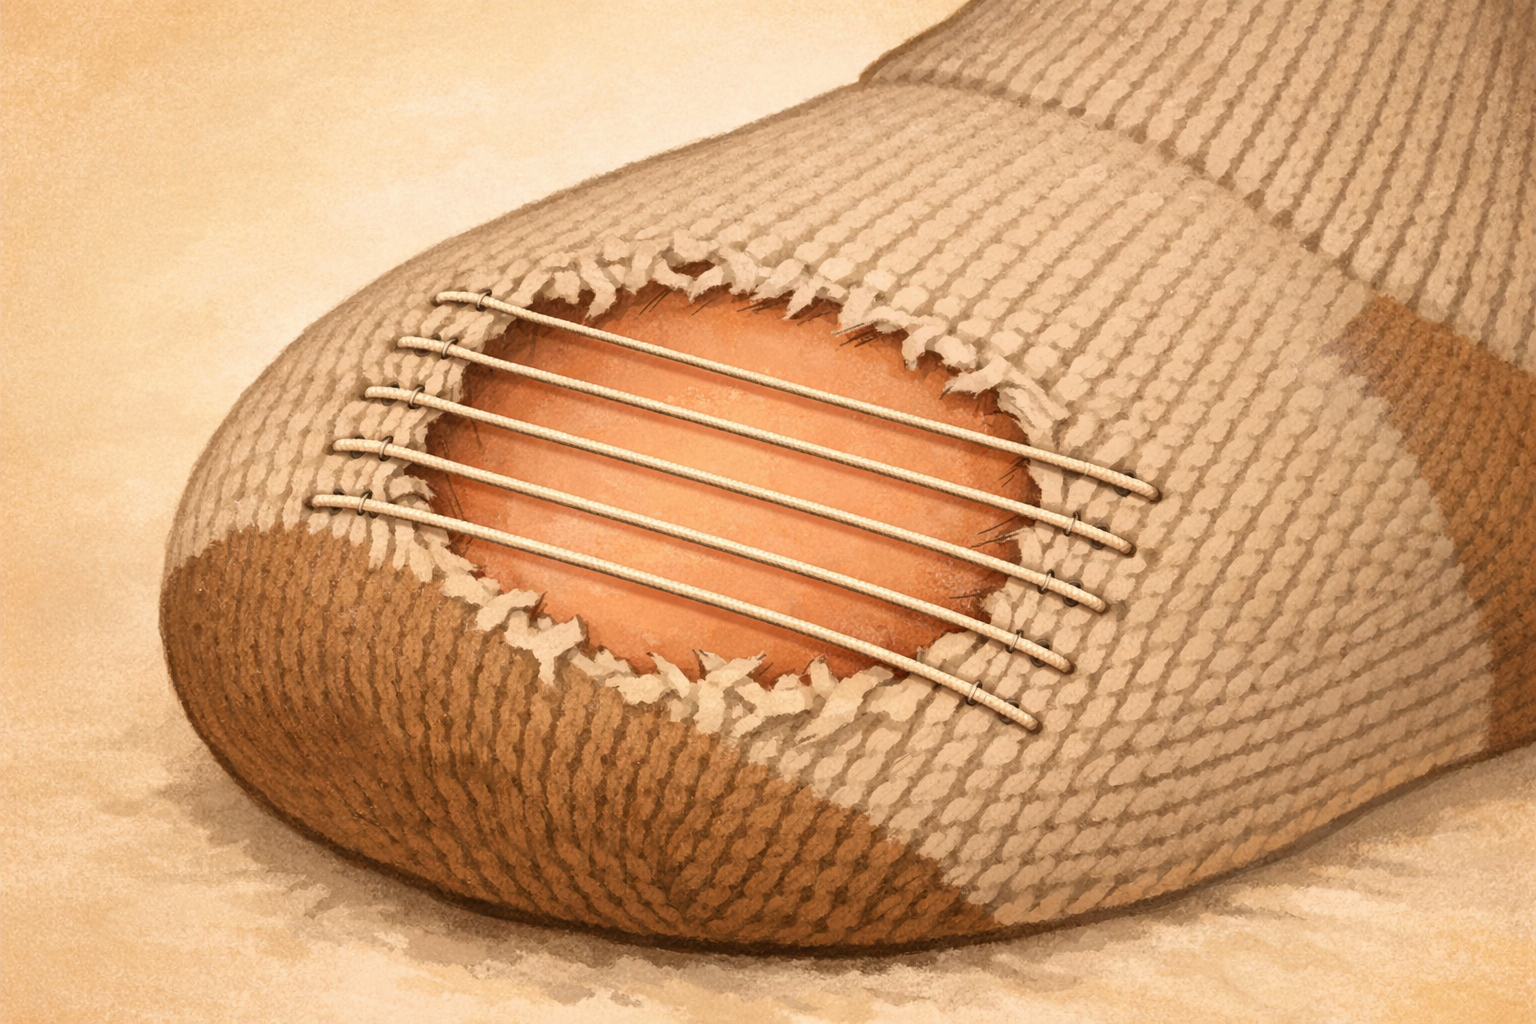
Lay the first set of long foundation strands
Bring the needle up on one side of the hole and carry the thread straight across to the other side, taking a small stitch into solid fabric to anchor it. Repeat side by side to create parallel strands that bridge the gap, evenly spaced, slightly beyond the hole on both ends.
- 07
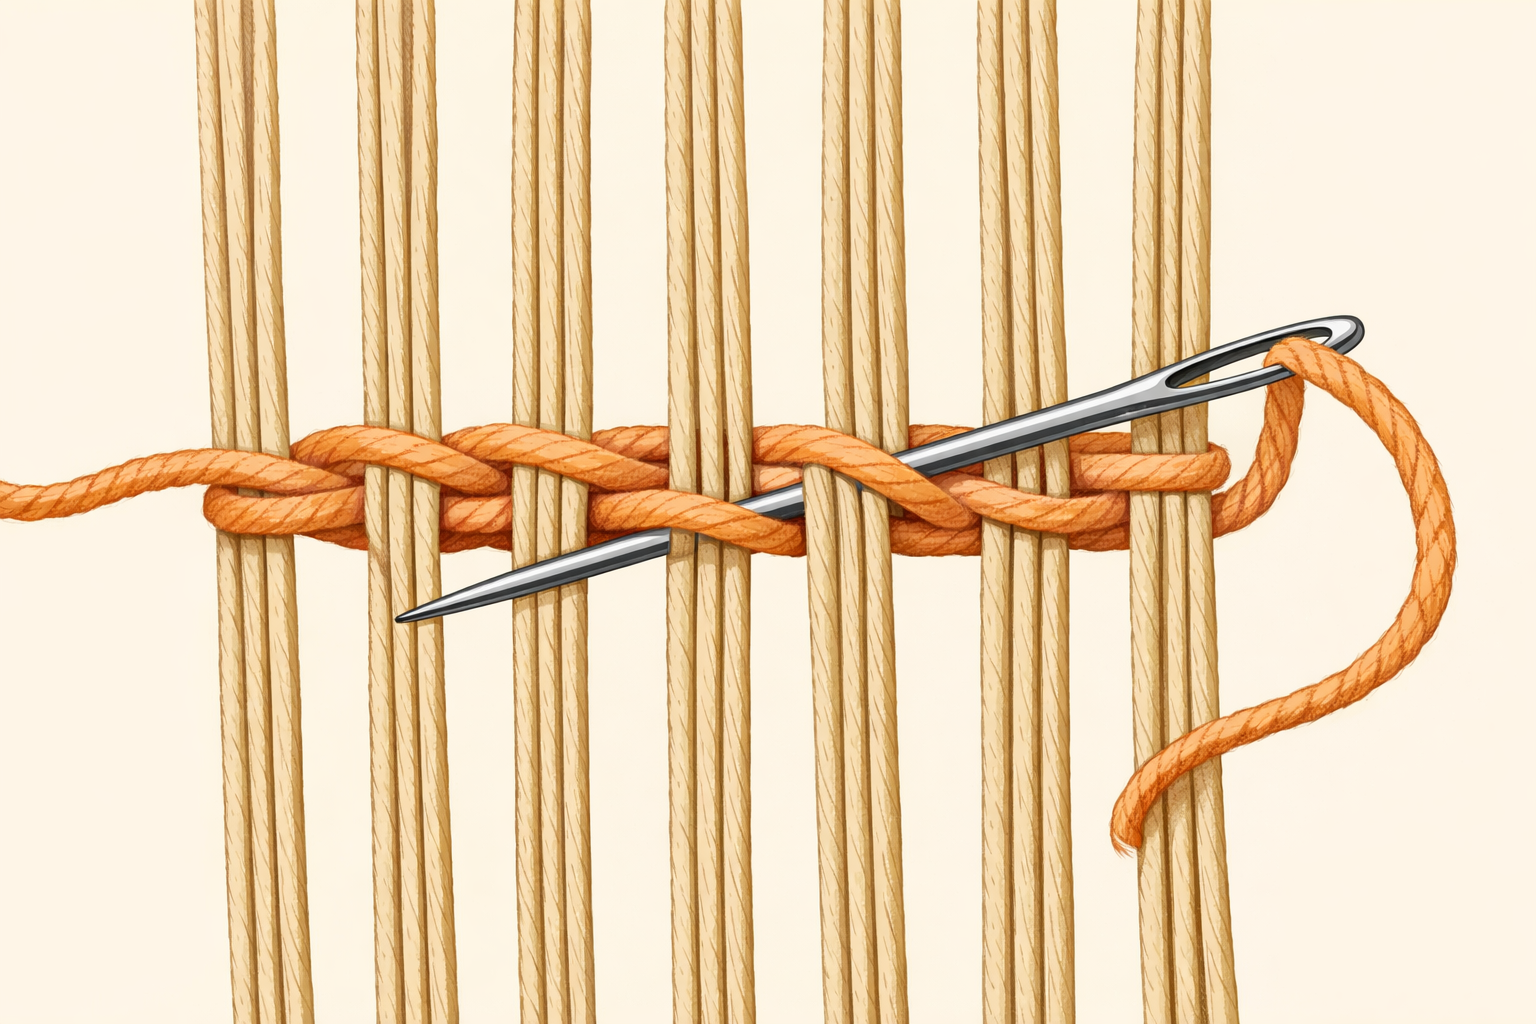
Weave crosswise rows through the strands
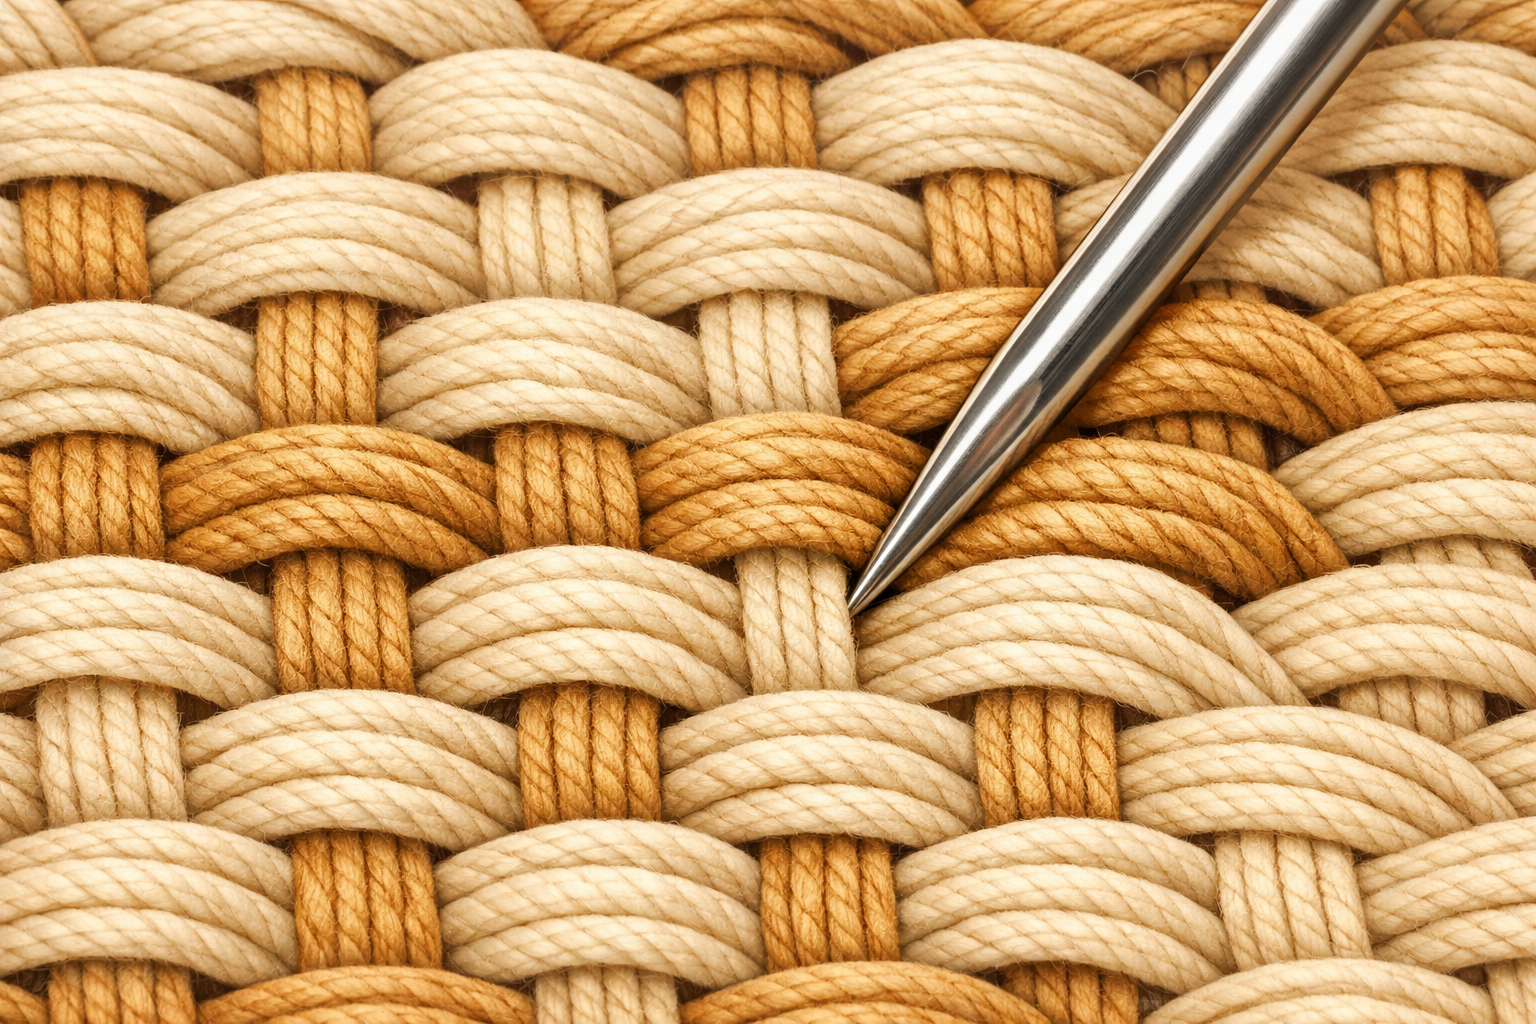
Turn the sock so the strands run vertically. Pass the needle over one strand and under the next, traveling across the hole. At each end, catch a bit of sound fabric to anchor the row. On the return row, alternate the over–under pattern to create a woven grid.
- 08
Pack rows snugly and keep tension even
Continue weaving rows, nudging each new row gently against the last with the needle tip so there are no gaps. Keep your pull firm enough to lie flat but not so tight that the fabric puckers. Work until the woven patch fully fills the hole and meets the outline stitches.
- 09
Secure the thread and tidy the inside
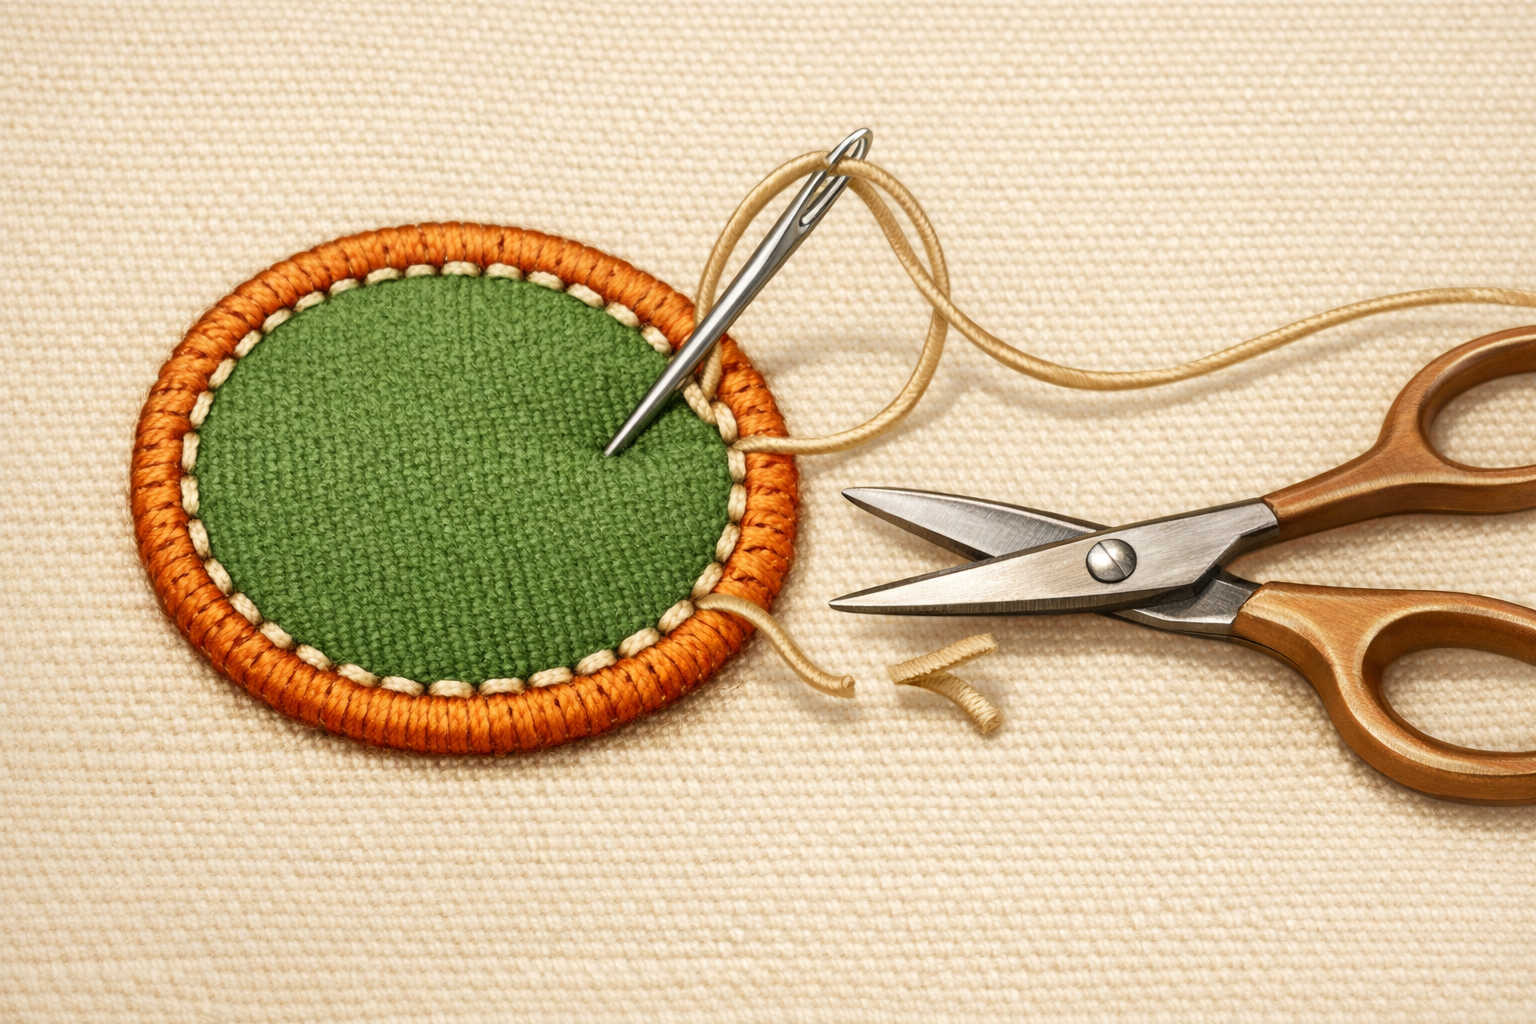
When the patch is complete, take a few small backstitches into the surrounding fabric to lock the thread. Weave the tail back and forth through the patch on the inside and trim the excess. Clip any remaining fuzzy bits so the area feels smooth.
- 10
Turn right side out and check the finish
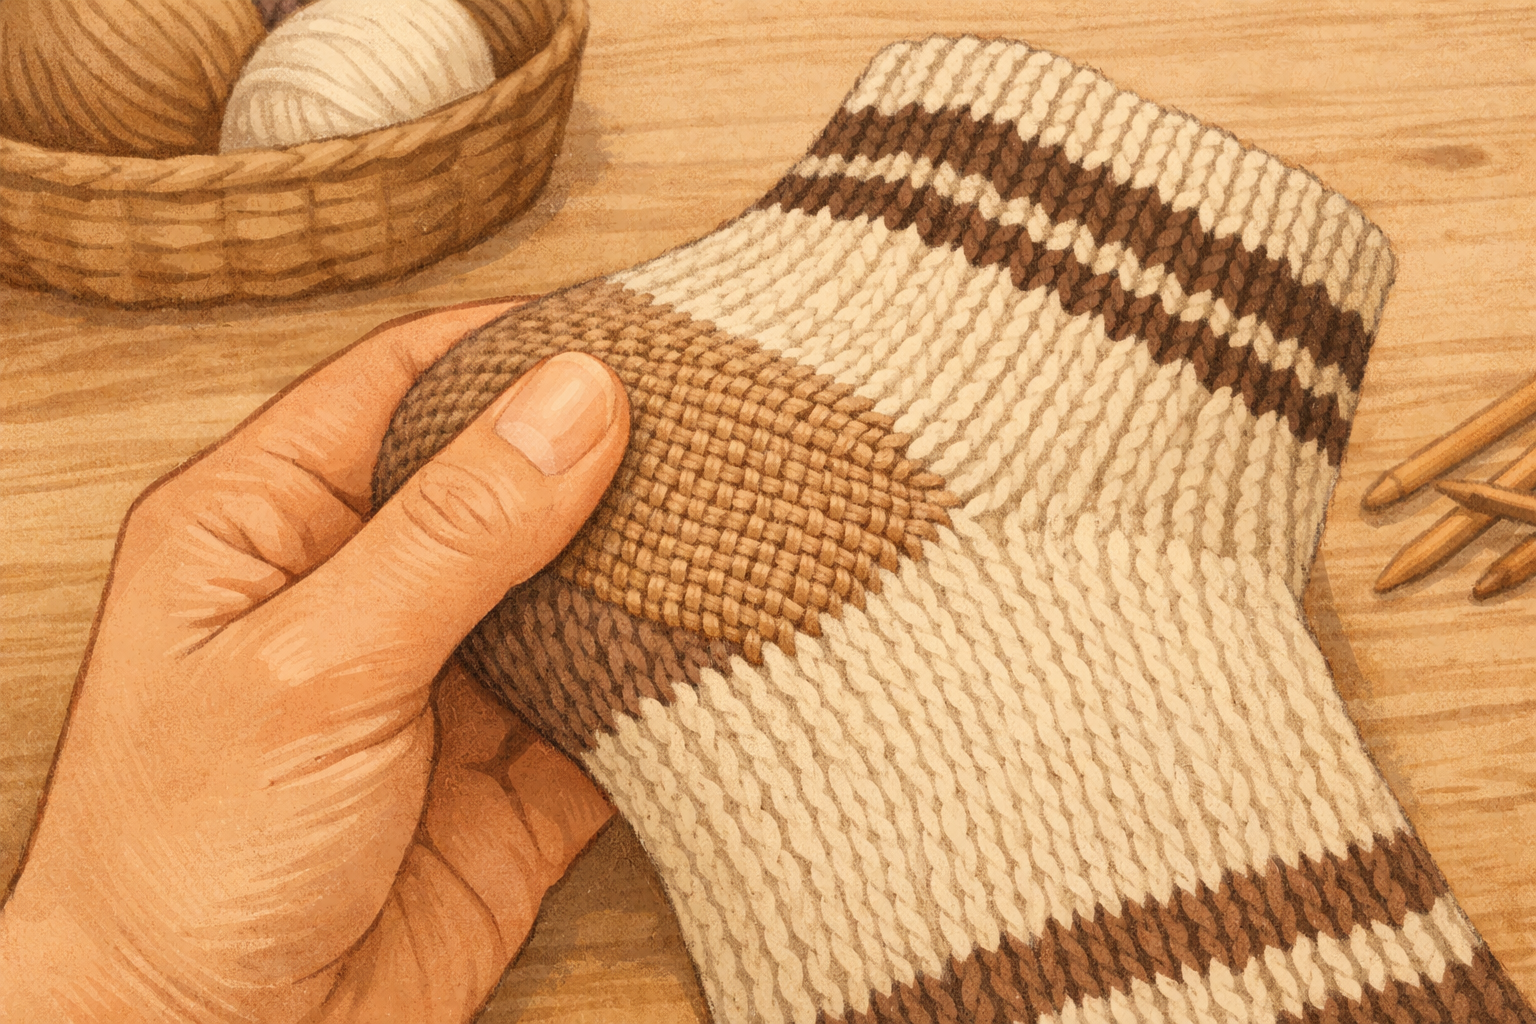
Remove the form and flip the sock right side out. Rub the patch gently between your fingers to settle the weave, then try the sock on to check comfort. If you feel a lump, massage the area or adjust from the inside by easing a stitch before trimming any last threads.
If this was useful
Try one of these next
Home & life
How to clean and dry a reusable water bottle after a picnic
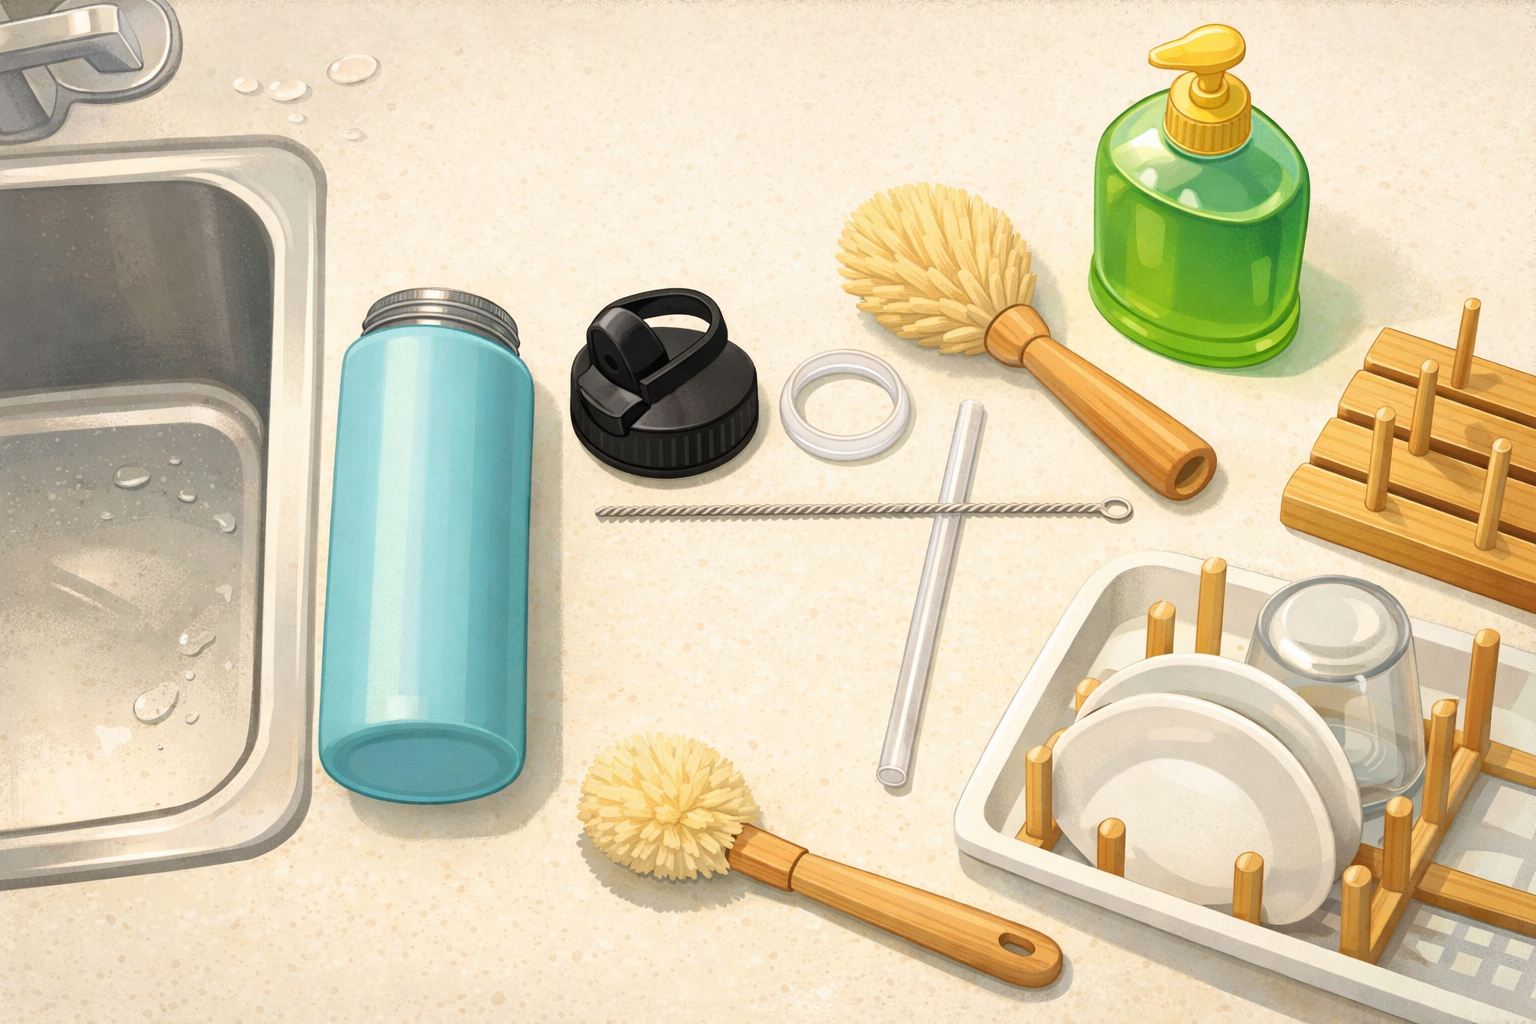
Disassemble the lid, clean threads and seals, wash the body, rinse thoroughly, and air‑dry so it doesn’t develop odours between countryside trips. Close‑ups show where residue hides and a quick drying rack setup.
Read the guide
Hobbies & crafts
How to draw a standing penguin using teardrop shapes
Start with a tall teardrop for the body and small ovals for the head and feet. Add a simple beak and flippers with more teardrops, map the tuxedo belly, then refine the outline. Erase the guides and finish with light shading for roundness. Each step’s image overlays pale guide shapes and the darker final lines so you can see what to keep.
Read the guide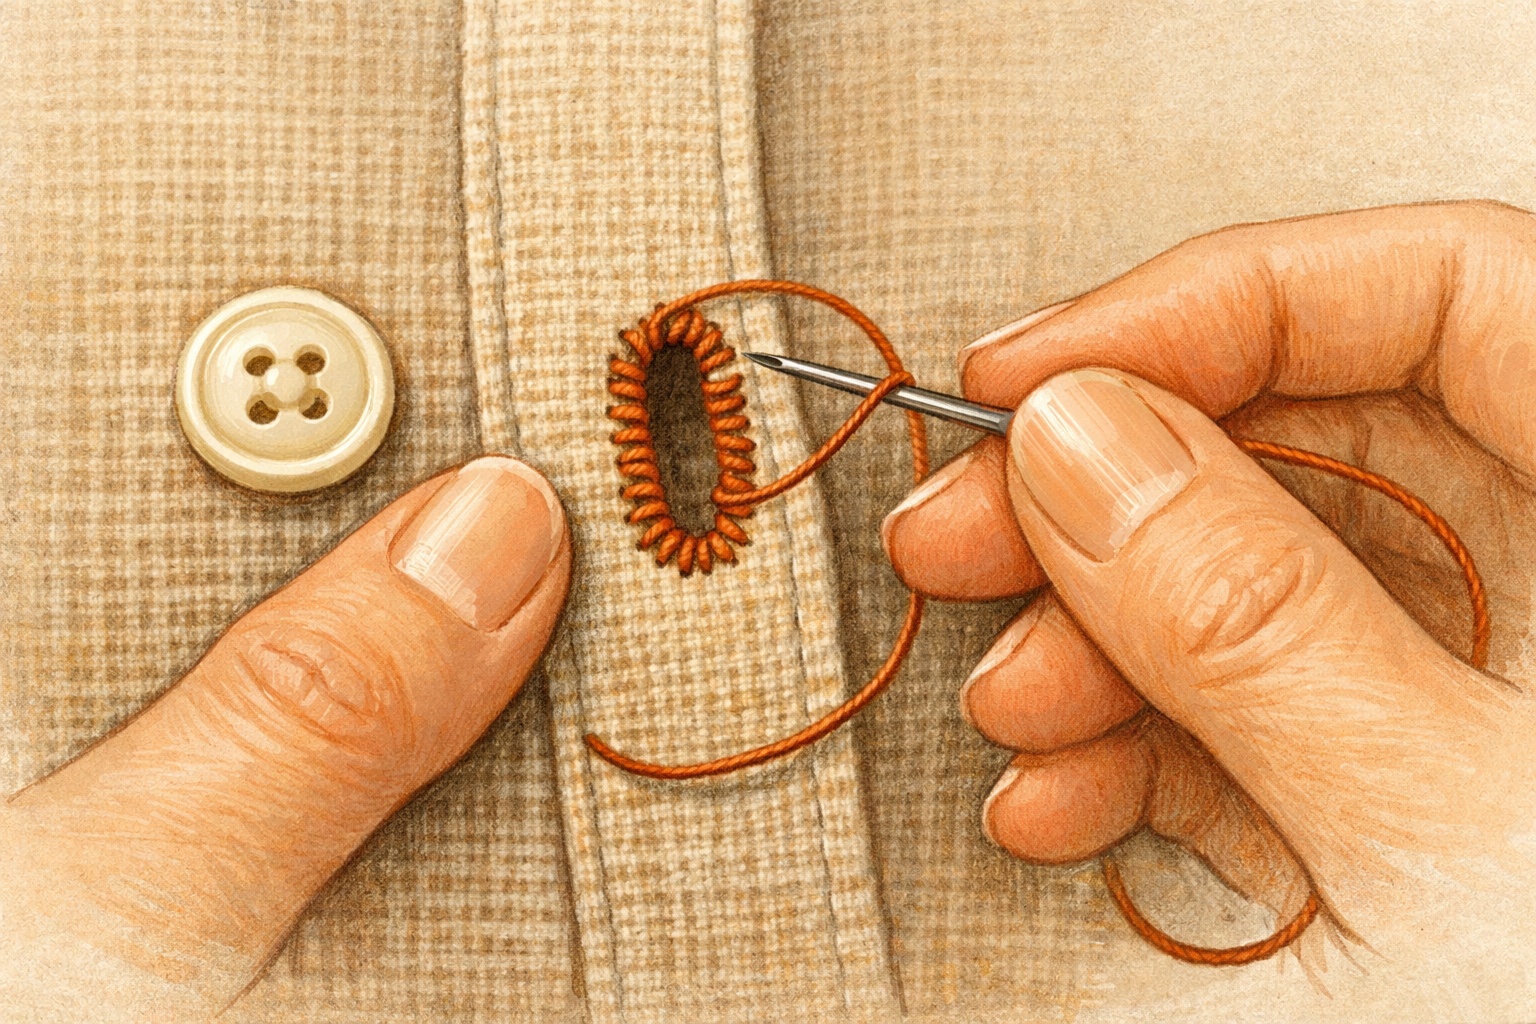
Hobbies & crafts
How to Tighten a Loose Buttonhole with Blanket Stitches
Reinforce stretched buttonholes by stitching a neat border that grips the button and prevents further fraying.
Read the guide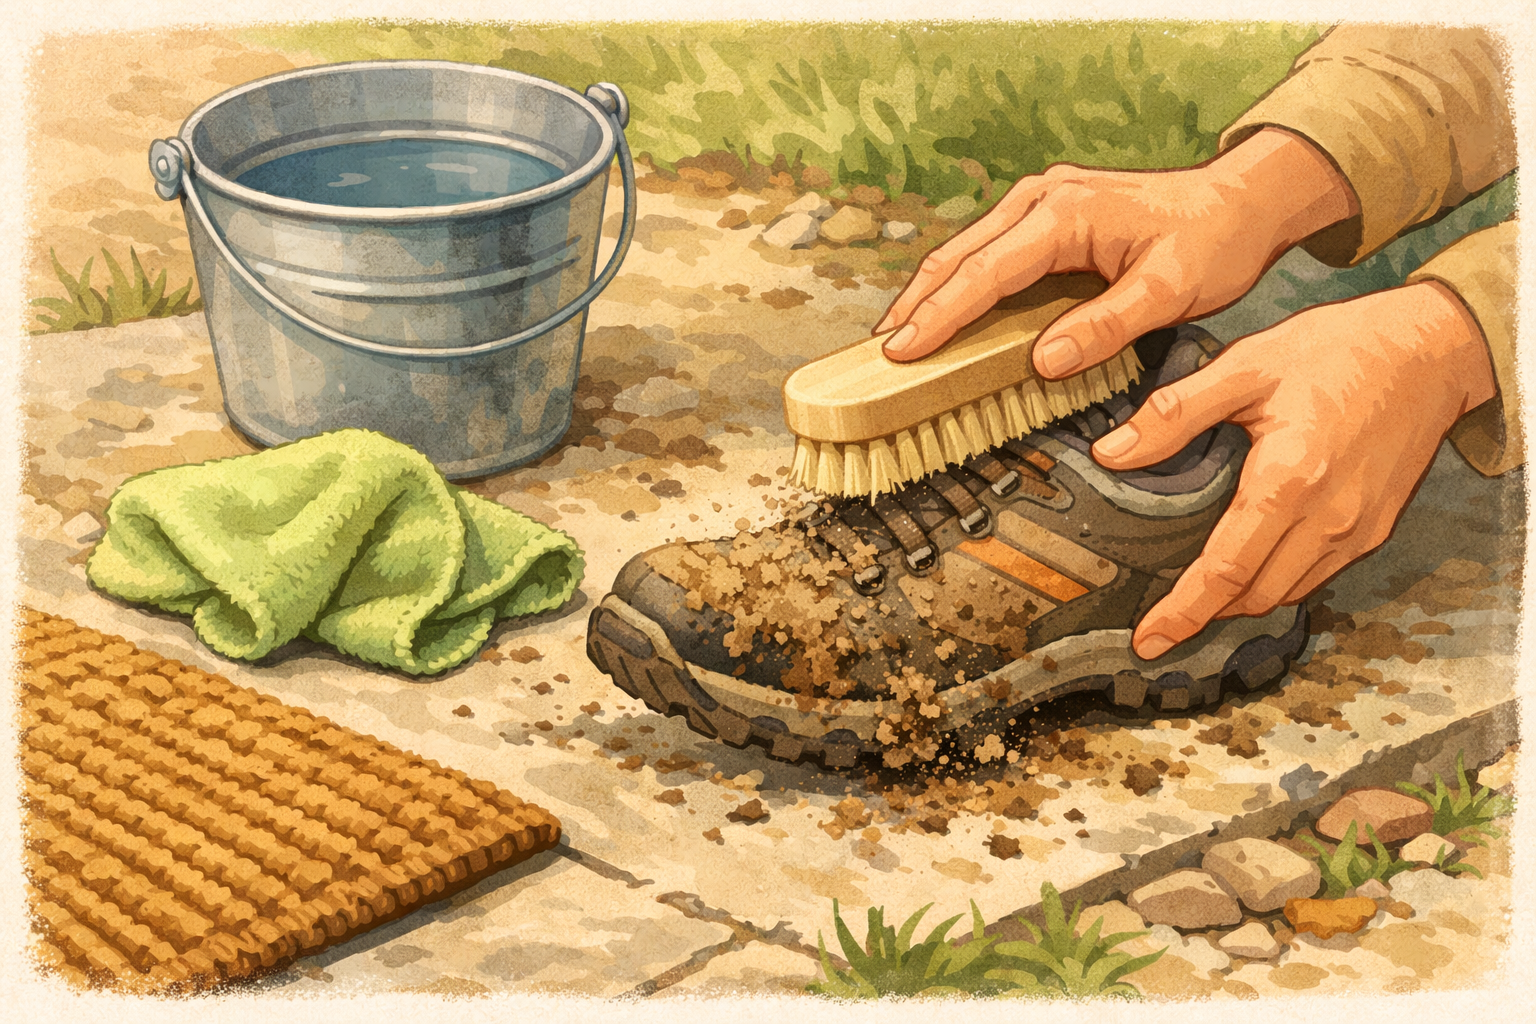
Home & life
How to clean muddy walking shoes after a countryside footpath
Knock off dried mud, brush seams, wipe uppers, clean outsoles, freshen insoles, and air‑dry so your shoes are ready for the next path. Photos show the order and which brushes or cloths to use.
Read the guide