Bike & travel
How to plan a simple circular walk around a historic viaduct using a paper map
Pick a start point, trace a loop on rights‑of‑way, note viewpoints and safe crossings, estimate distance and time, and write a clear route card you can follow without phone signal. Diagrams show symbols and an example loop.
- 01
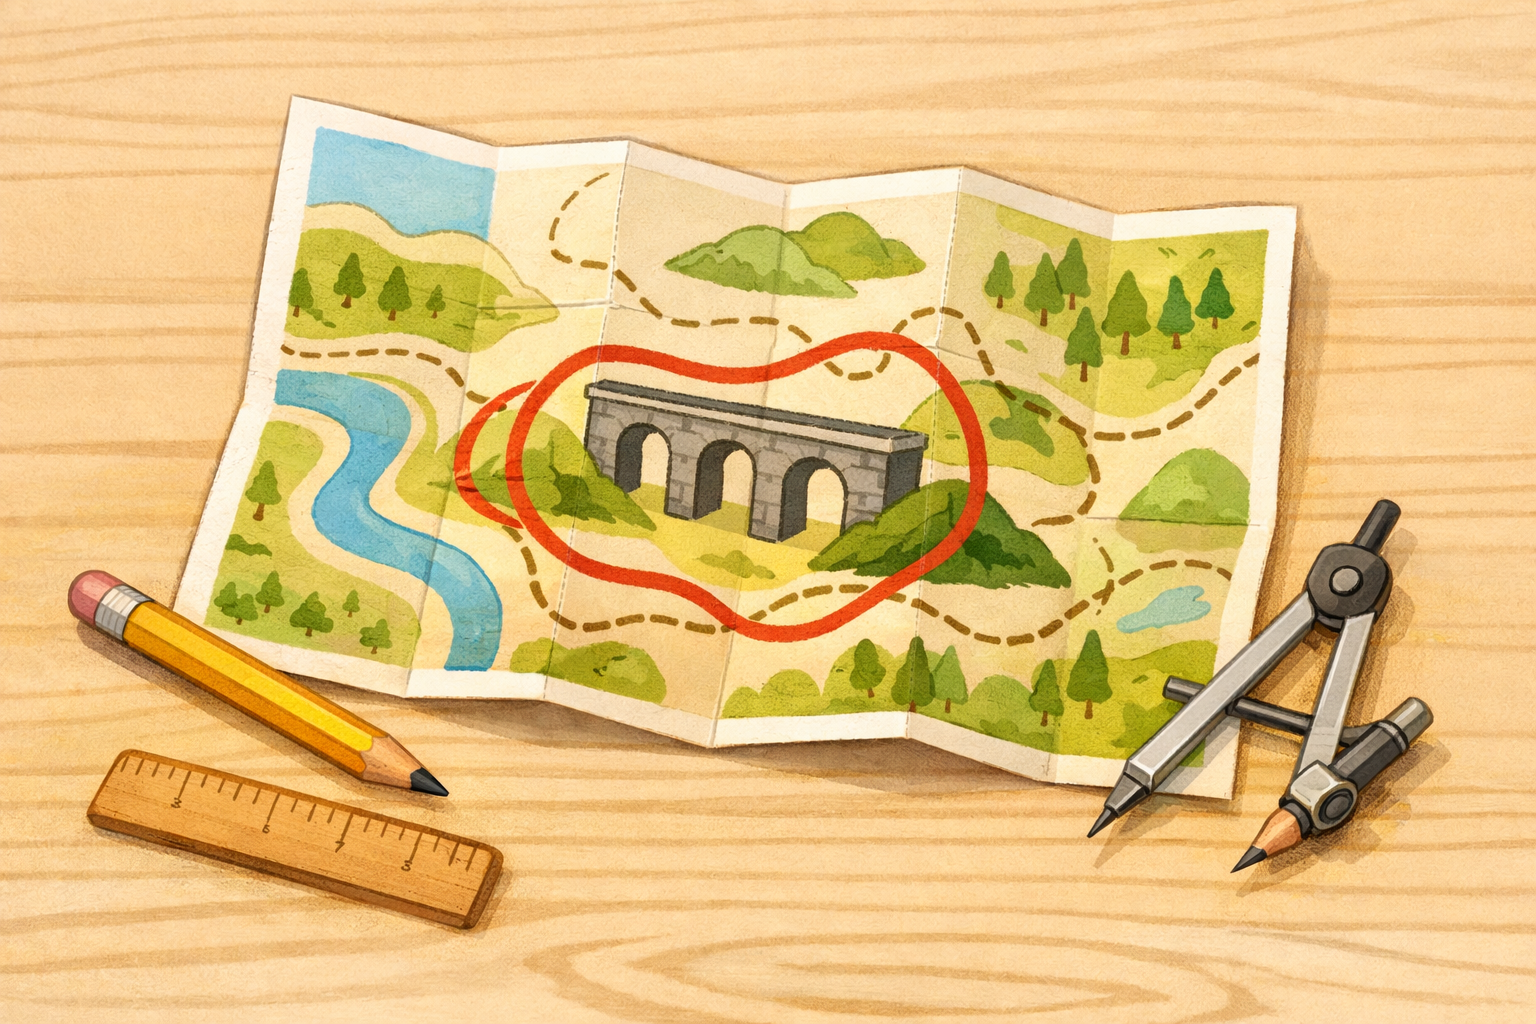
Choose your viaduct and a suitable paper map
Pick a historic viaduct you’d like to see and get a walking map that clearly shows public paths, tracks, bridges, and a scale bar. Make sure the whole viaduct area and nearby villages fit on one sheet so your loop stays on a single map.
- 02
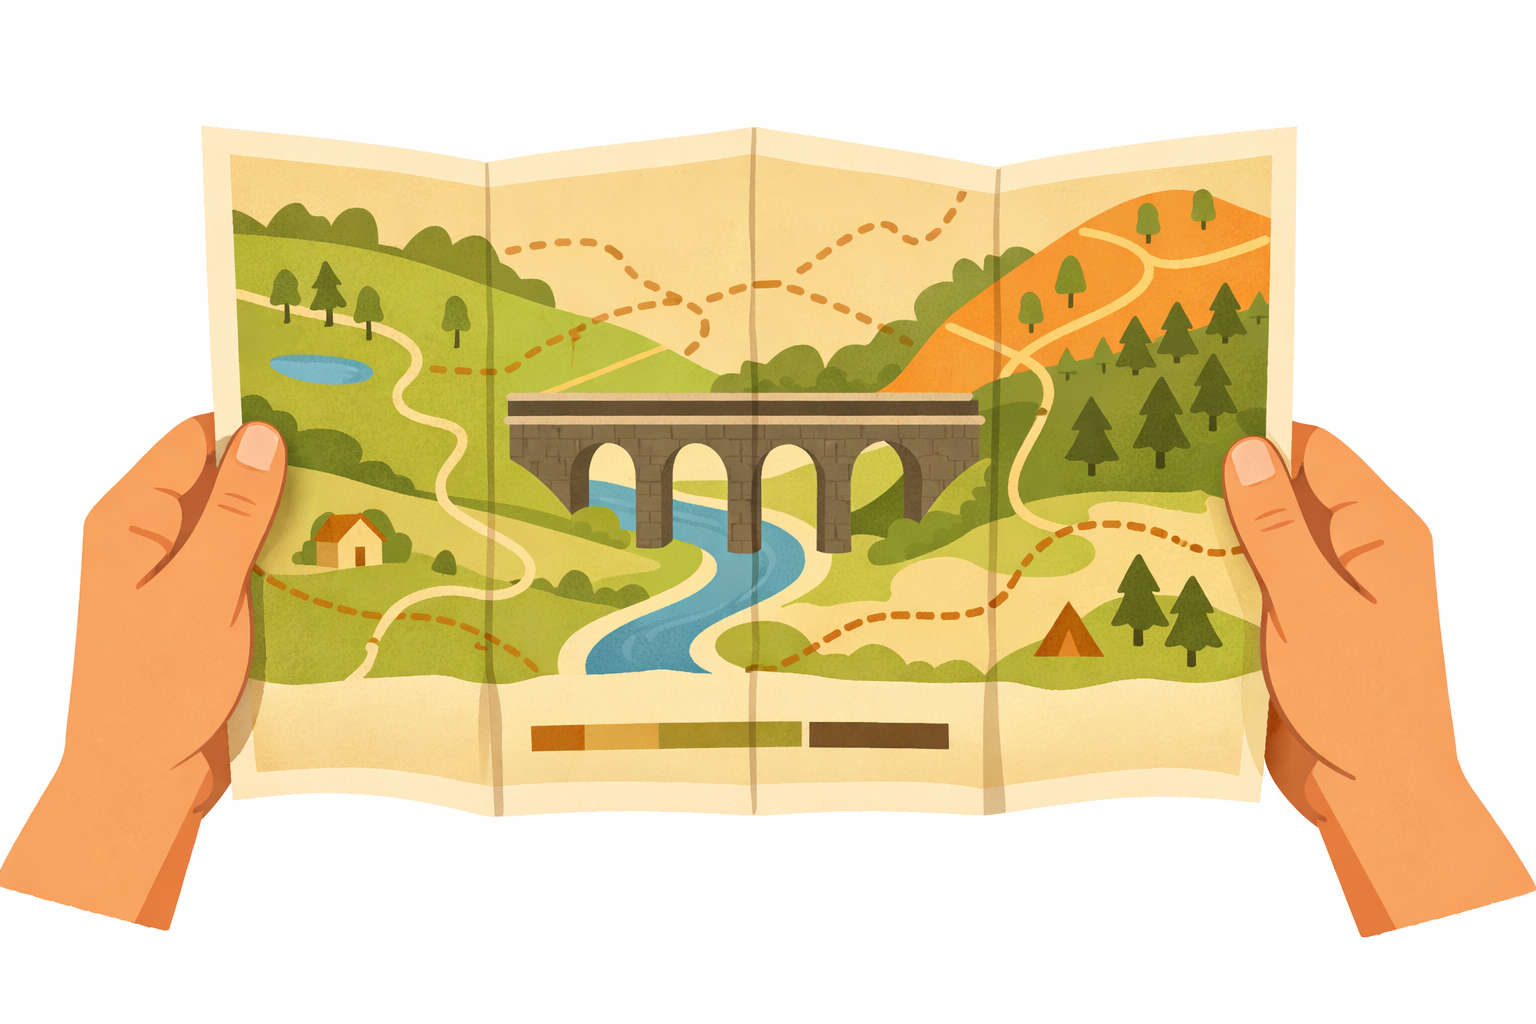
Pick a clear start and finish point
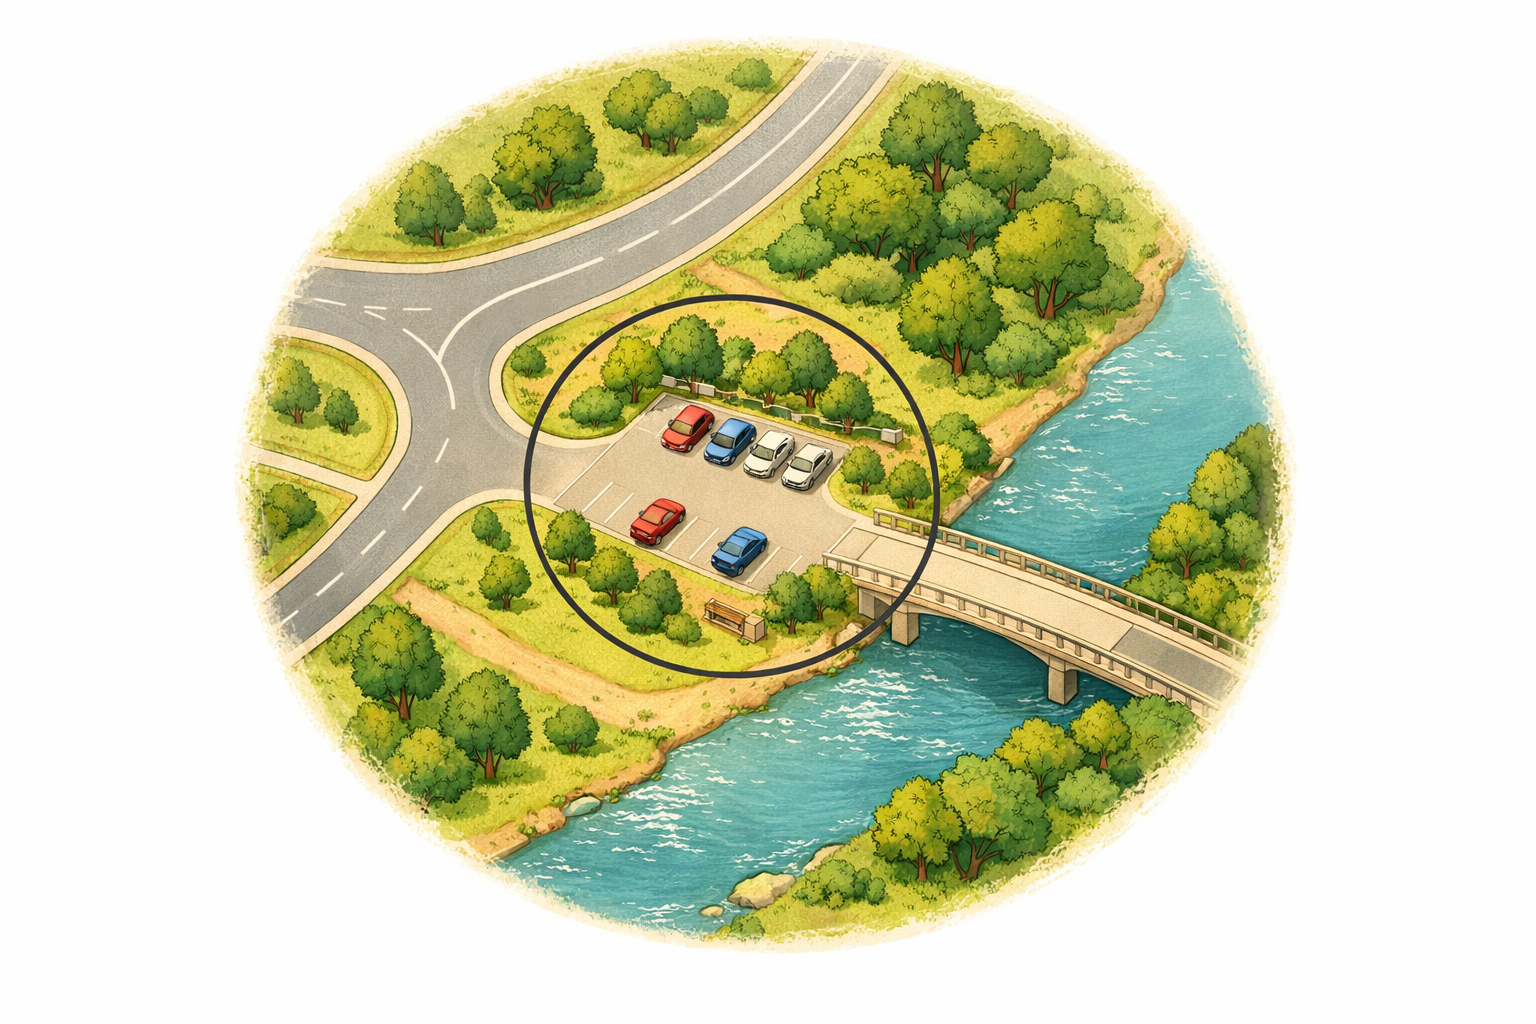
Choose a safe, easy-to-find spot near the viaduct—such as a public car park, village green, train station, or bus stop. On your map, circle it and write a short description on a notepad (for example, “village hall car park by the bridge”).
- 03
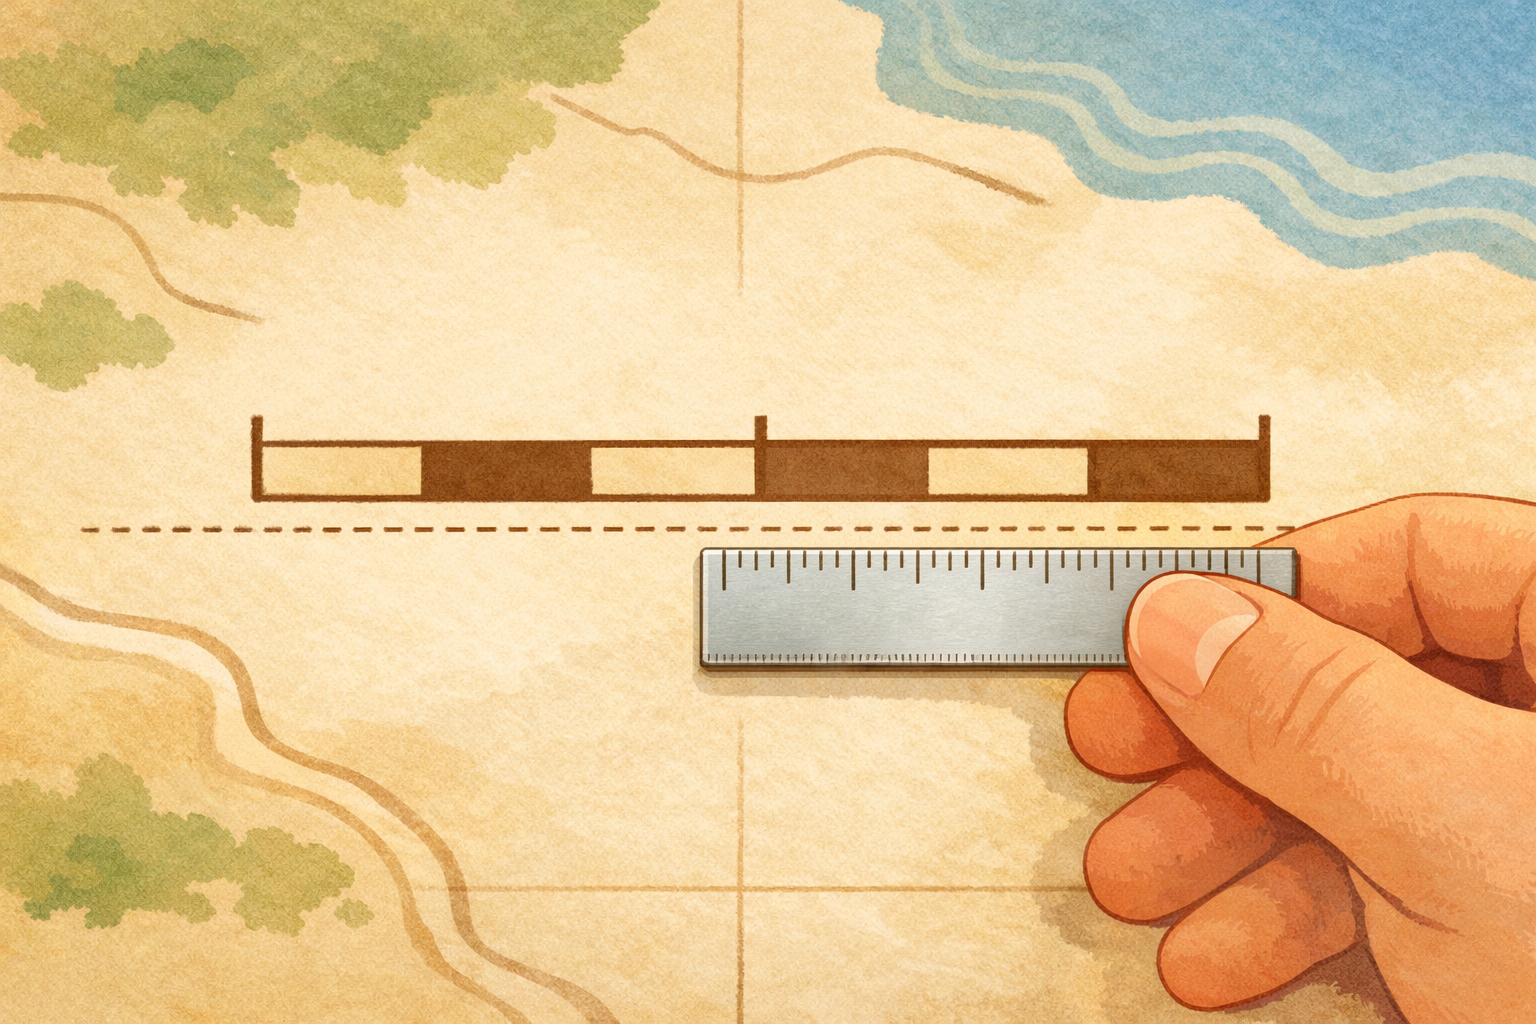
Note the map scale and set a comfortable distance
Check the scale bar to understand how map distance converts to real distance. Decide a loop length that suits your party and daylight—many people enjoy 5–10 km for an unhurried half day with viewpoints.
- 04
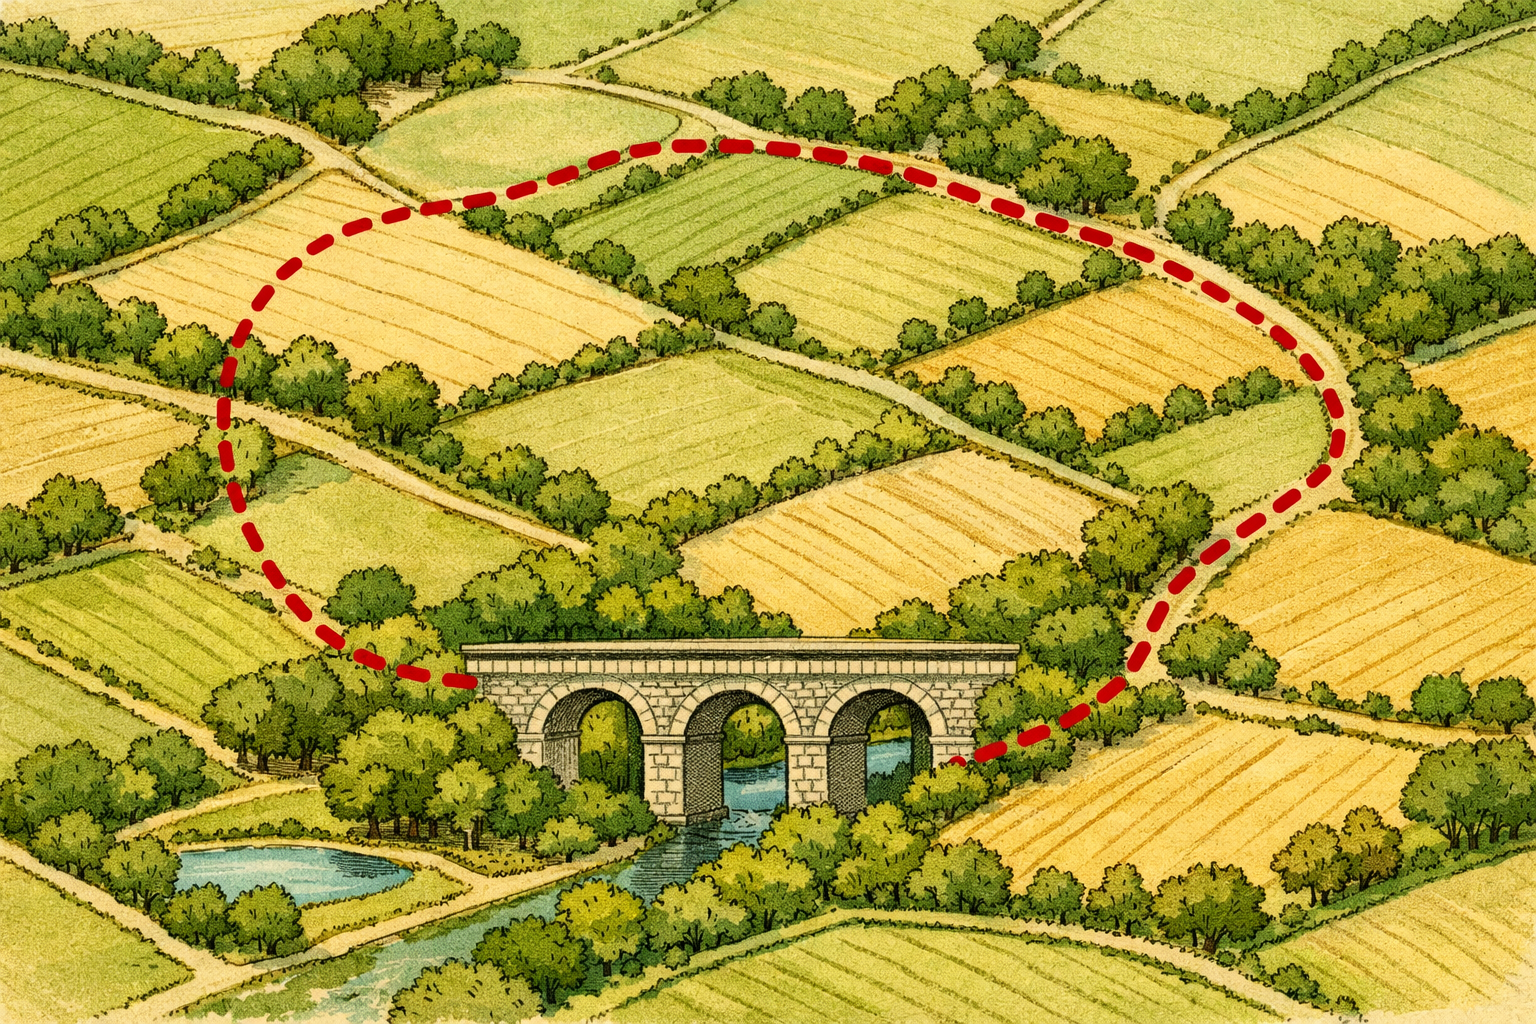
Sketch a rough loop on public paths around the viaduct
Use the public paths and tracks shown on your map to draw a simple loop that visits a good viewpoint of the viaduct and returns to your start. Prefer well-connected paths and avoid dead-ends and private land.
- 05
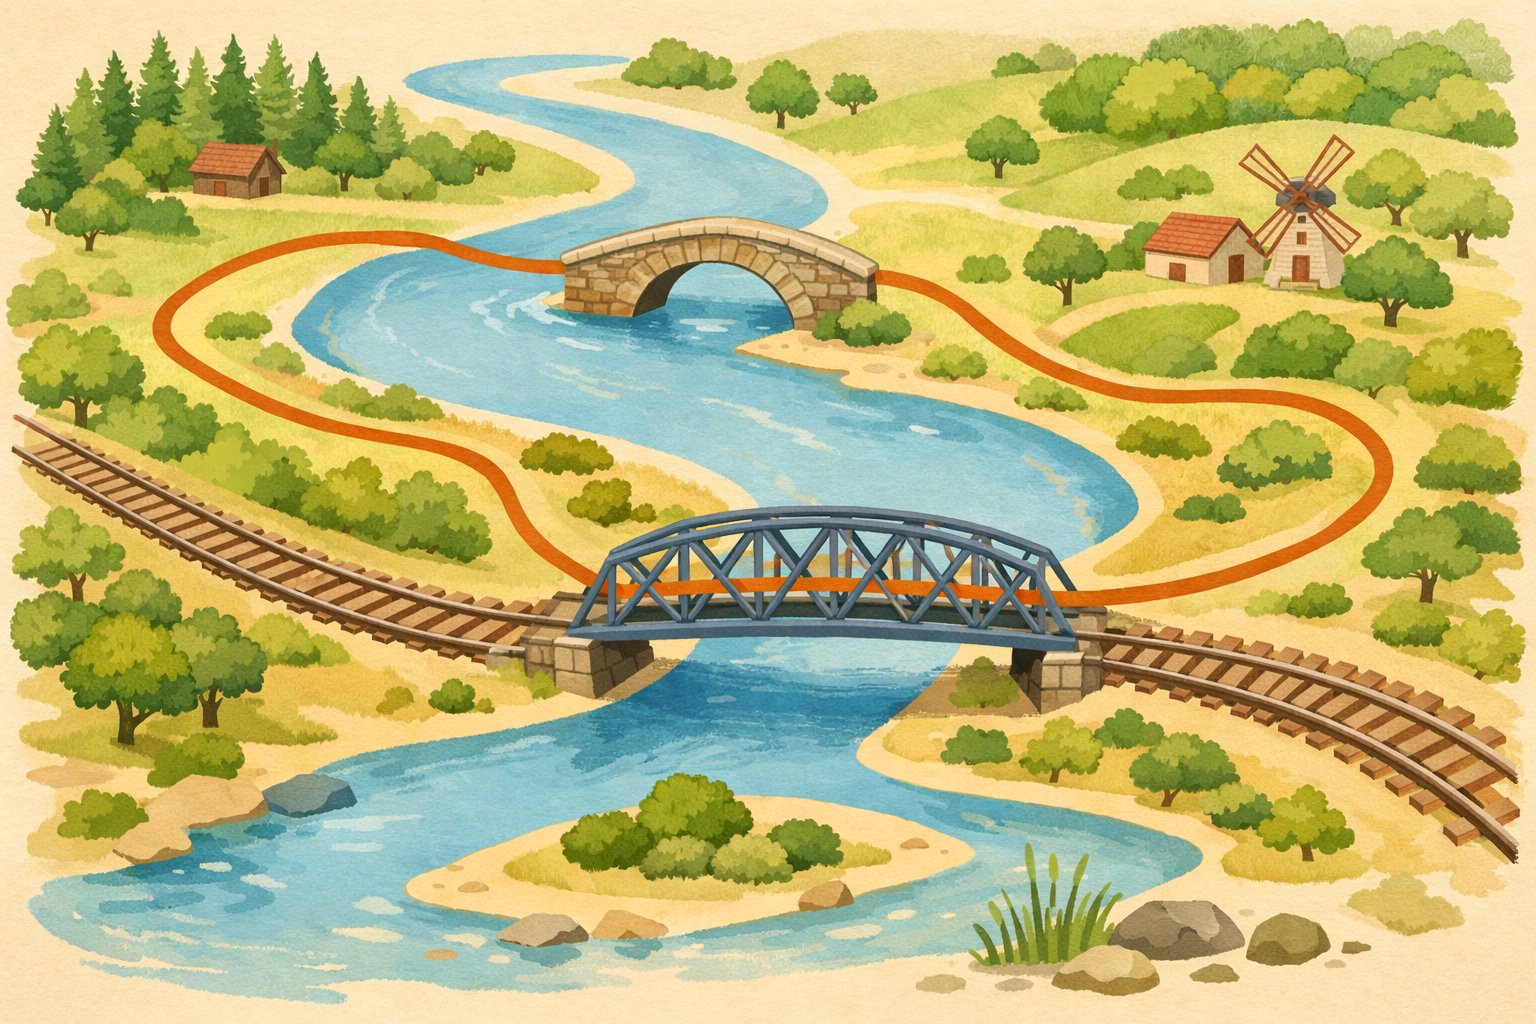
Plan only safe crossings of railways and water
Ensure your loop crosses railways and rivers only where a bridge or underpass is shown. If a crossing is unclear or marked as a ford, reroute to a footbridge or stay on your bank.
- 06
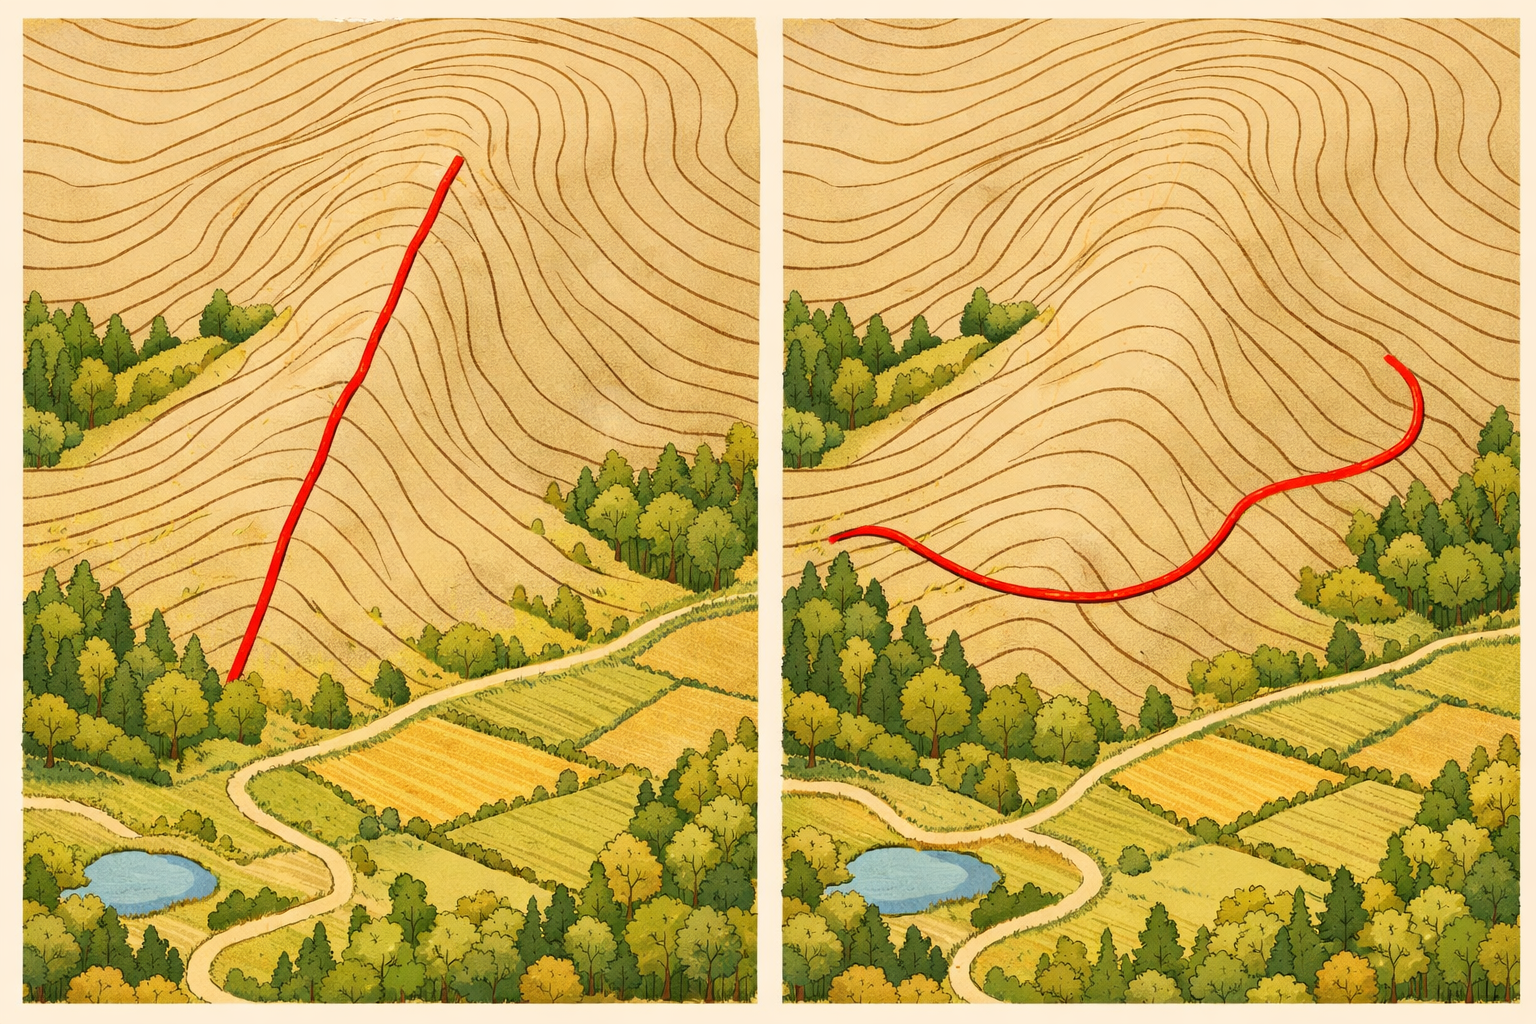
Check terrain and adjust for gentler gradients
Look at contour lines and terrain symbols. If the route climbs steeply, swing the loop onto gentler slopes, broad tracks, or valley paths so the outing stays relaxed and accessible.
- 07
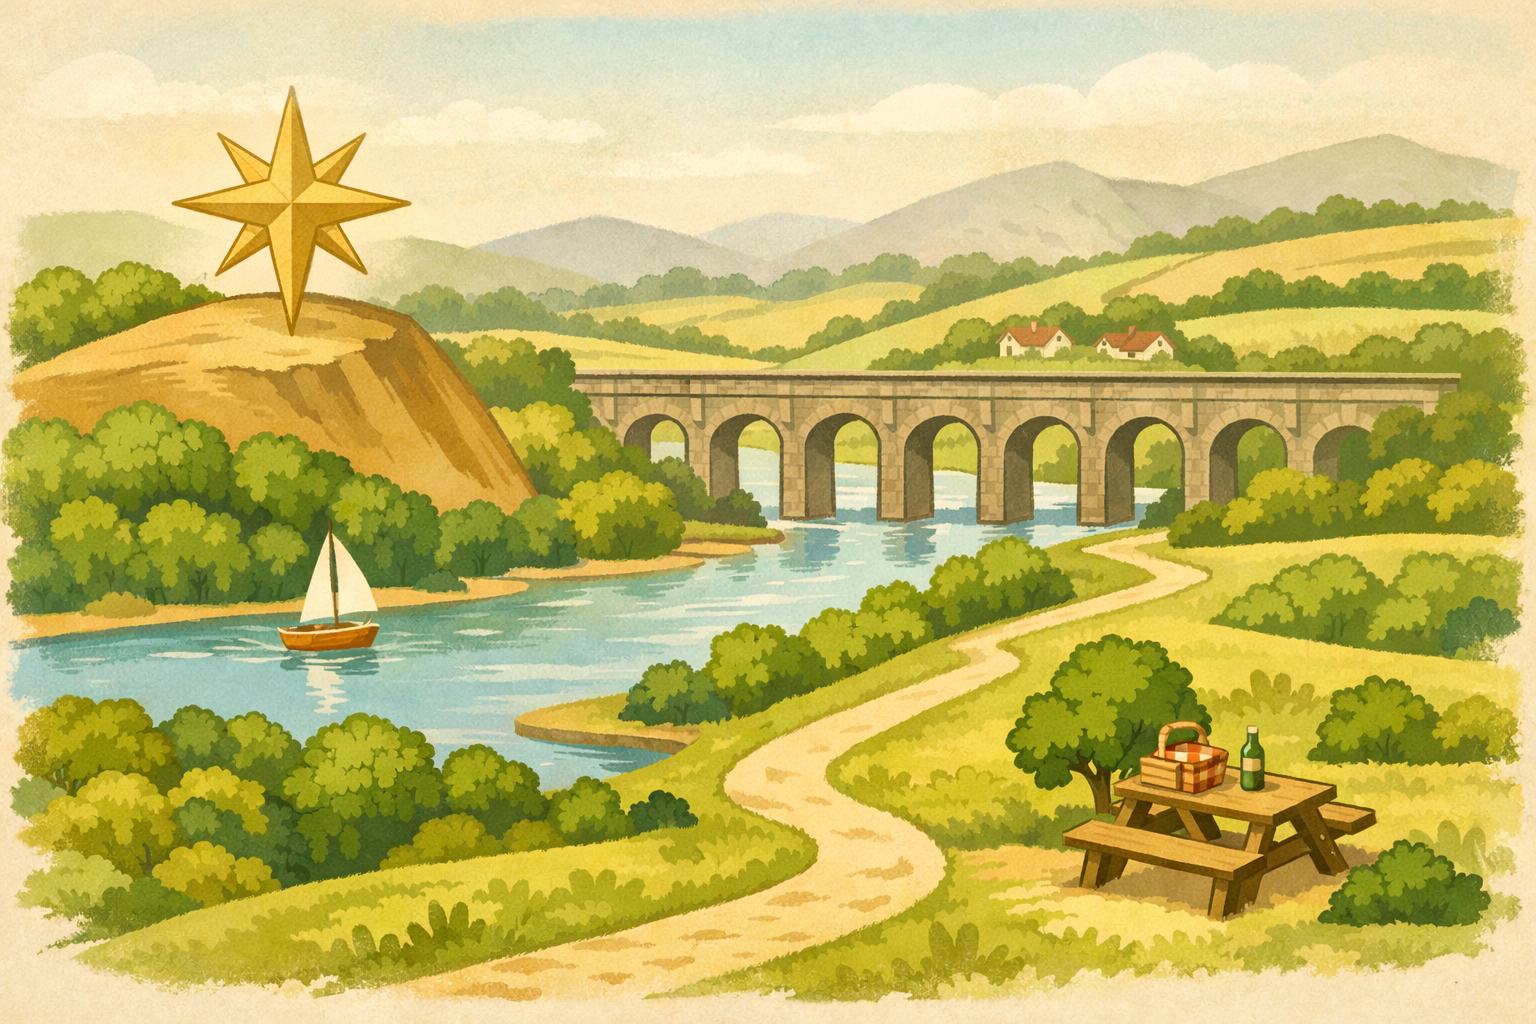
Add viewpoints and pleasant pauses
Mark one or two scenic stops—such as a hillside opposite the viaduct, a picnic spot, or a bench—where you can safely step aside from the path and enjoy the view without blocking others.
- 08
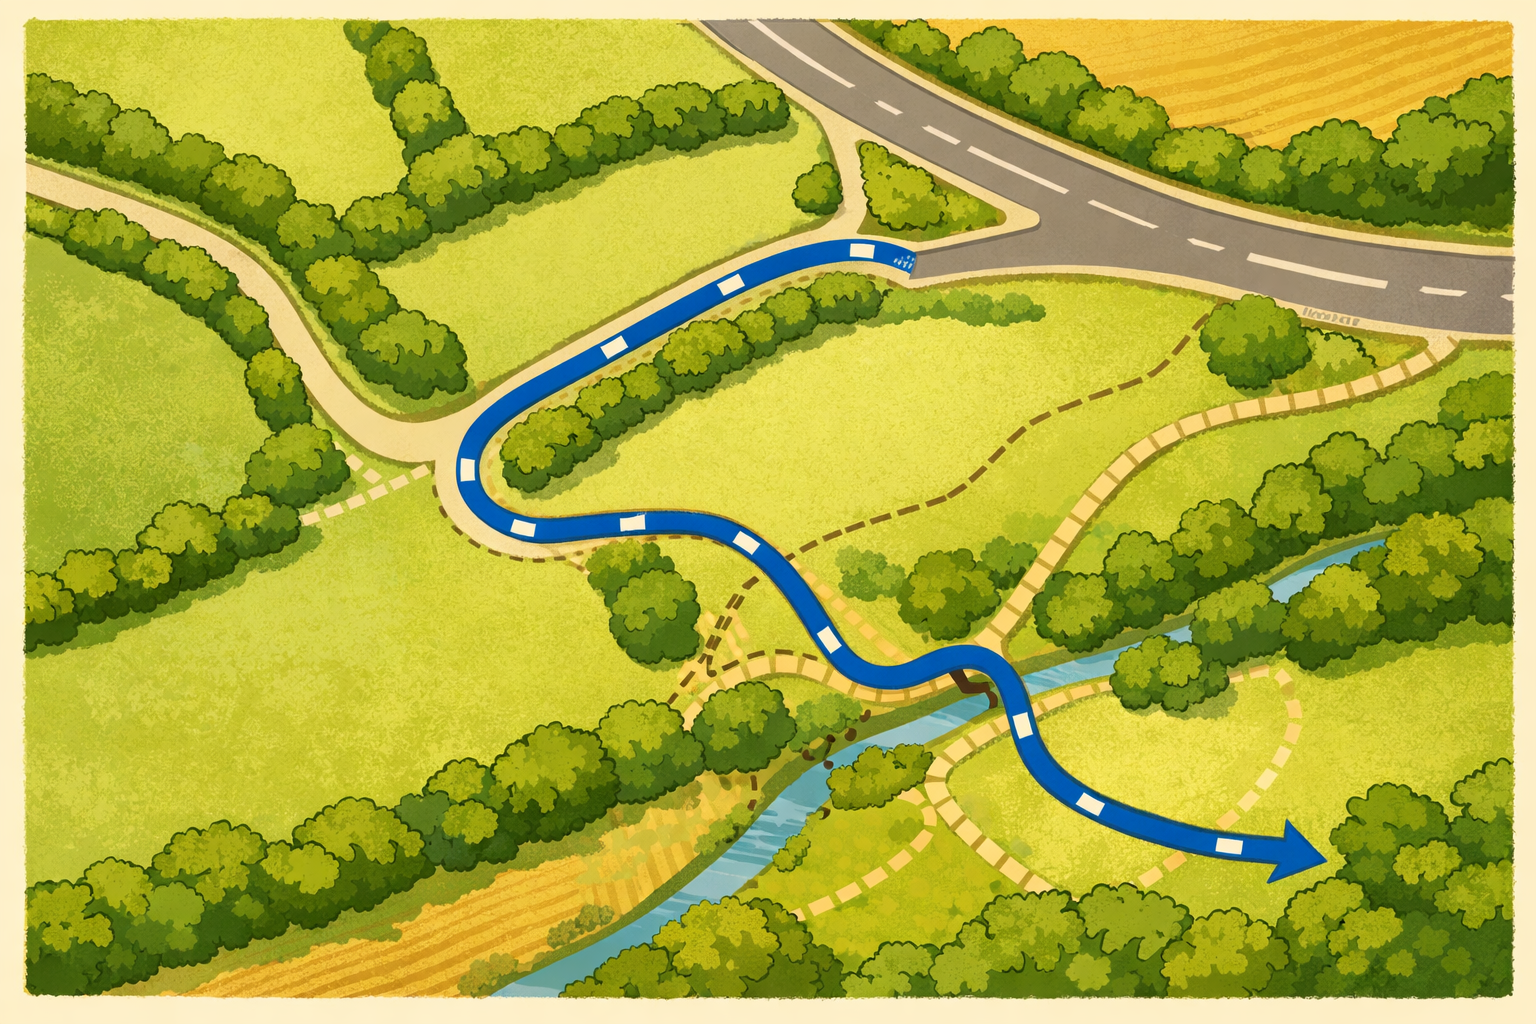
Refine road sections for quiet and visibility
If short road links are needed, choose minor lanes with verges or pavements and crossings with good sightlines. Avoid fast roads and blind bends by rerouting on nearby paths where possible.
- 09
Measure your loop distance accurately
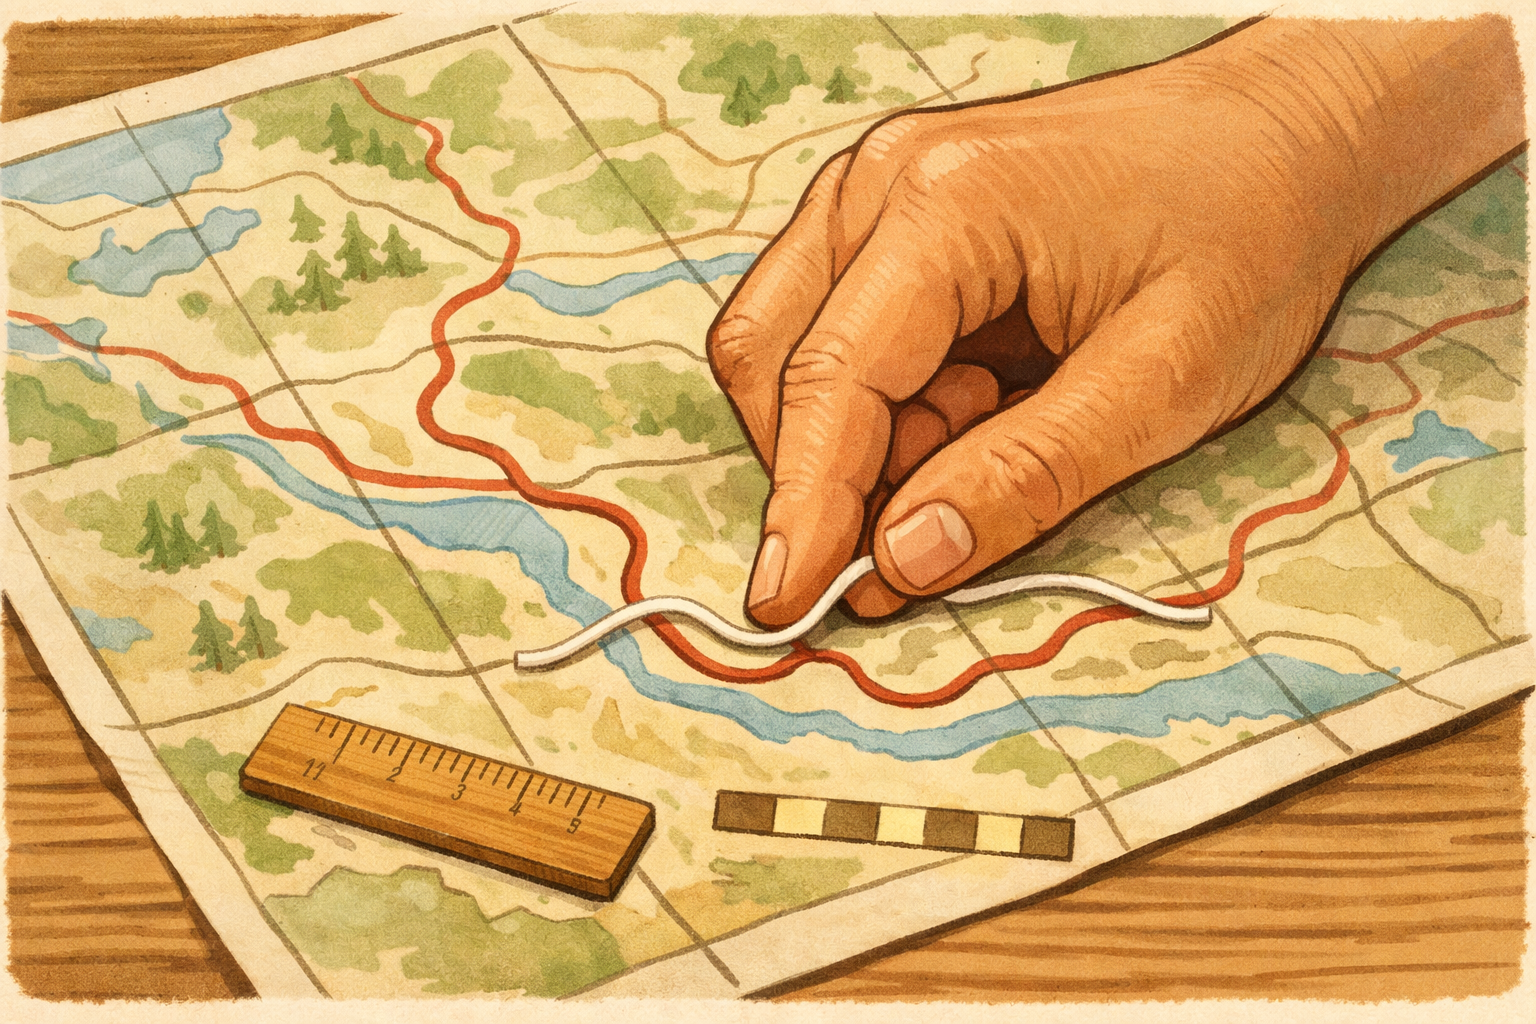
Follow the loop with a strip of paper, string, or a scale ruler, marking each bend and then reading off the total against the scale bar. Add up sections if you measure it in legs.
- 10
Estimate unhurried walking time
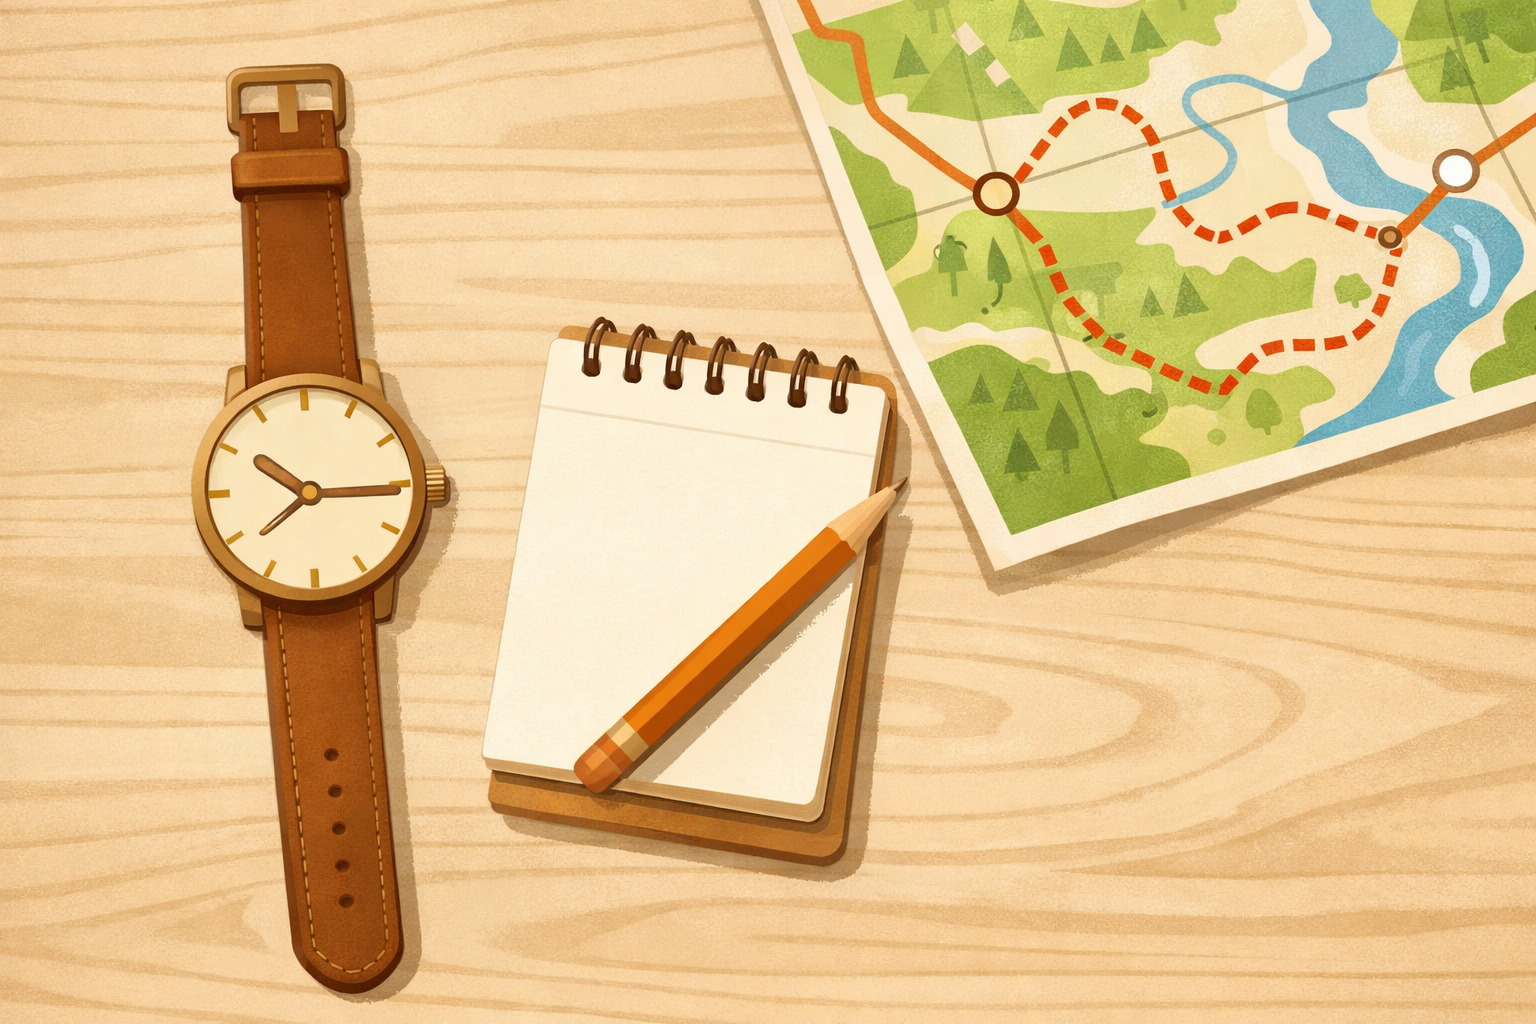
Turn distance into time using a relaxed pace you know you can keep—many walkers allow about 3–4 km per hour on easy paths—then add extra for rests, viewpoints, and photo stops.
- 11
Write a clear pocket route card
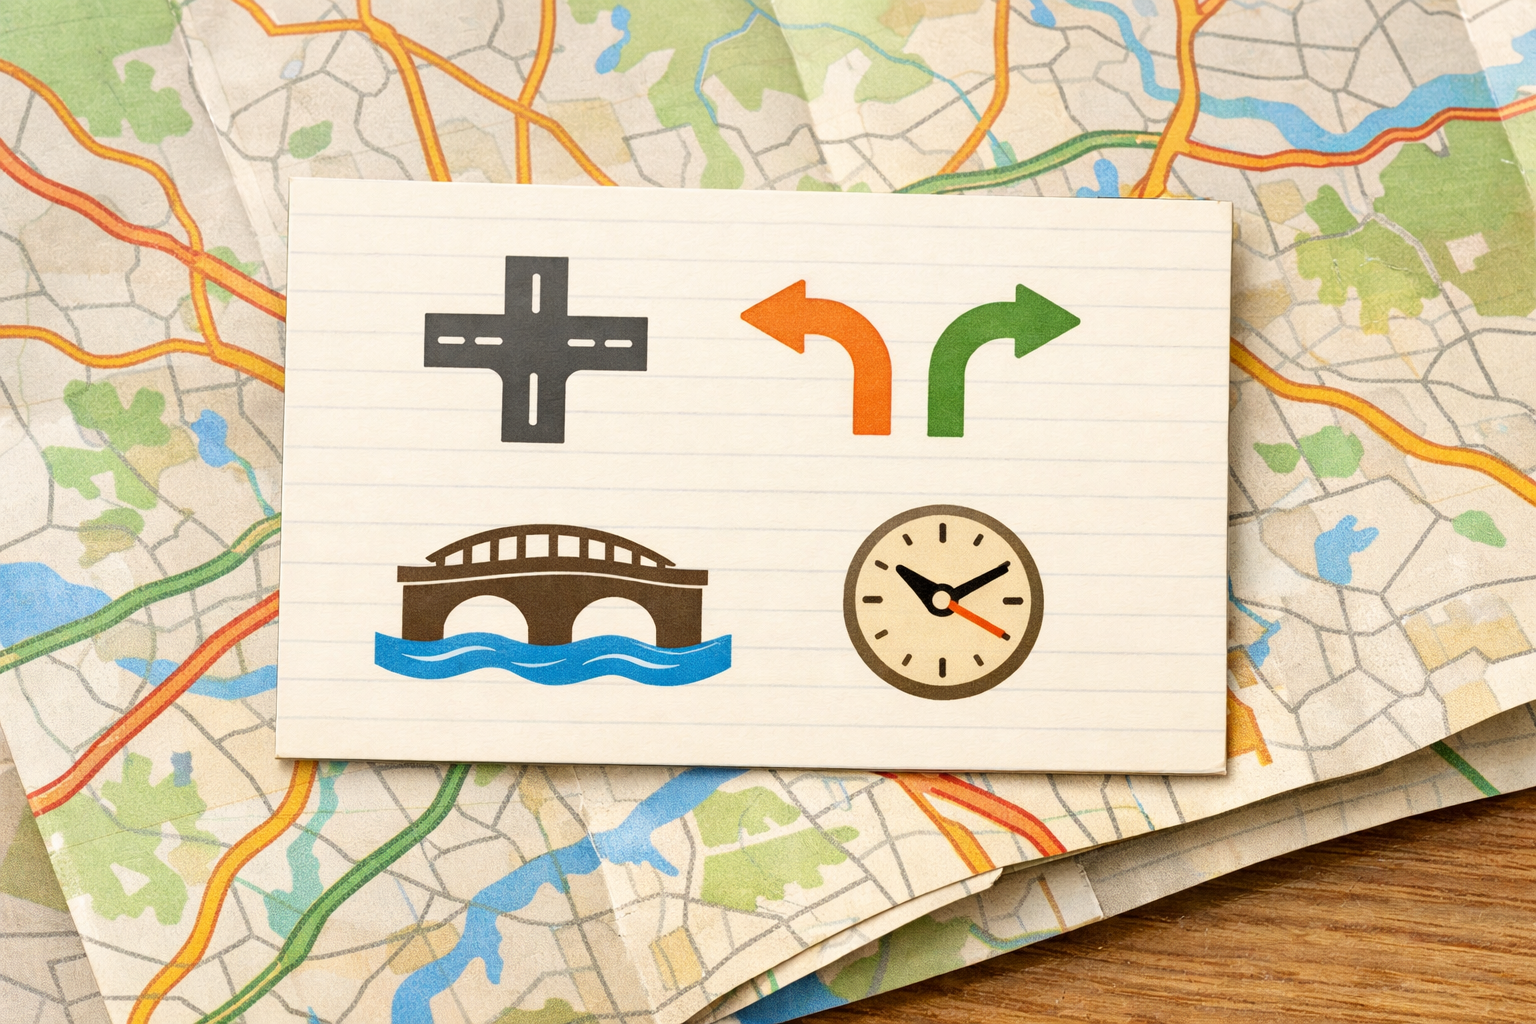
On a small card, list each leg in order: start feature, simple direction at the next junction (left/right/straight), the next key landmark (bridge, stile, track), distance for that leg, and a rough minutes estimate. Note your safe crossings and any obvious shortcut back to the start.
- 12
Make a simple sketch map and pack your kit
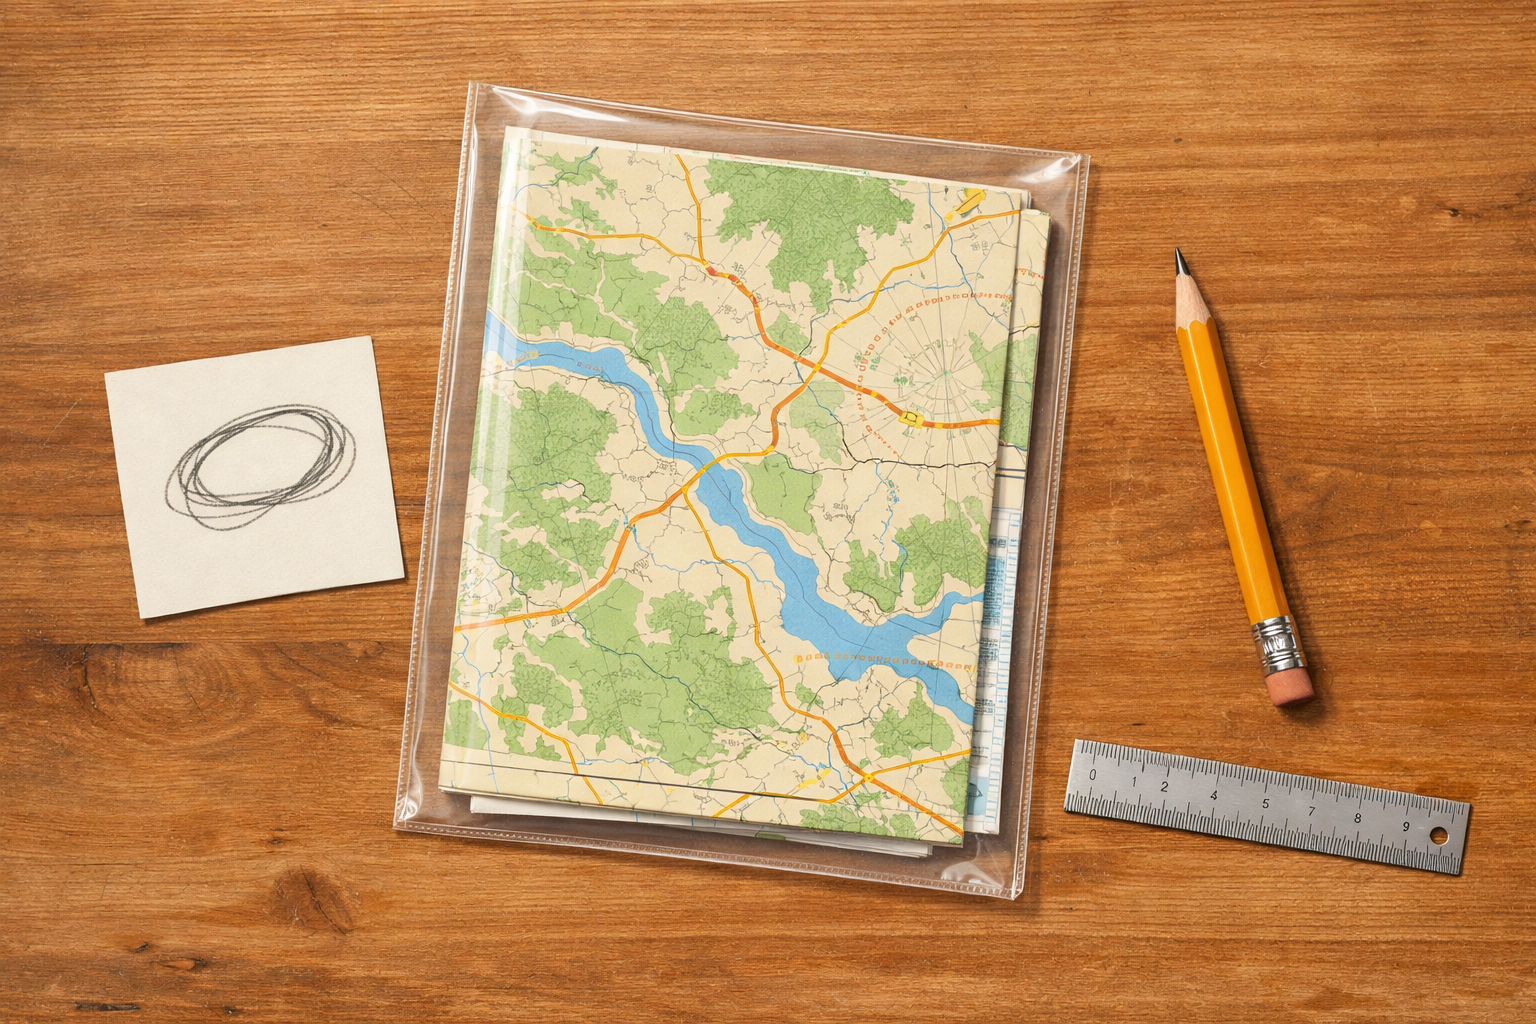
Draw a quick loop sketch showing the start, the viaduct, key junctions, and crossings. Slip the paper map, sketch, and route card into a clear sleeve with a pencil and small ruler so they’re ready to use without phone signal.
If this was useful
Try one of these next
Home & life
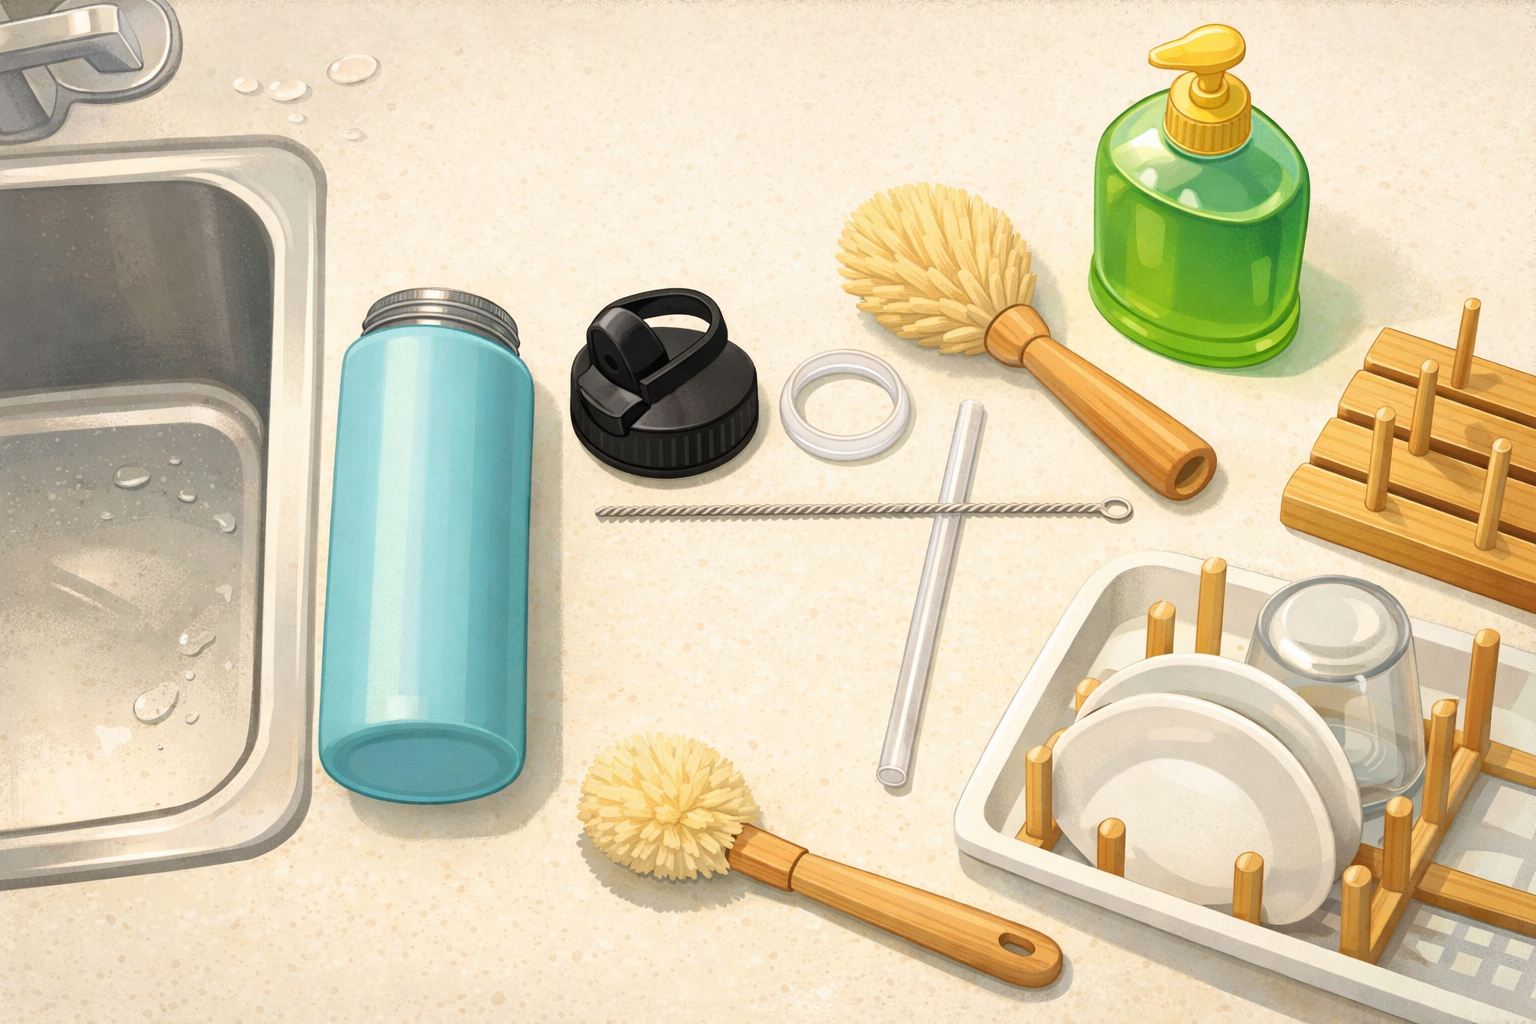
How to clean and dry a reusable water bottle after a picnic
Disassemble the lid, clean threads and seals, wash the body, rinse thoroughly, and air‑dry so it doesn’t develop odours between countryside trips. Close‑ups show where residue hides and a quick drying rack setup.
Read the guide
Hobbies & crafts
How to draw a standing penguin using teardrop shapes
Start with a tall teardrop for the body and small ovals for the head and feet. Add a simple beak and flippers with more teardrops, map the tuxedo belly, then refine the outline. Erase the guides and finish with light shading for roundness. Each step’s image overlays pale guide shapes and the darker final lines so you can see what to keep.
Read the guide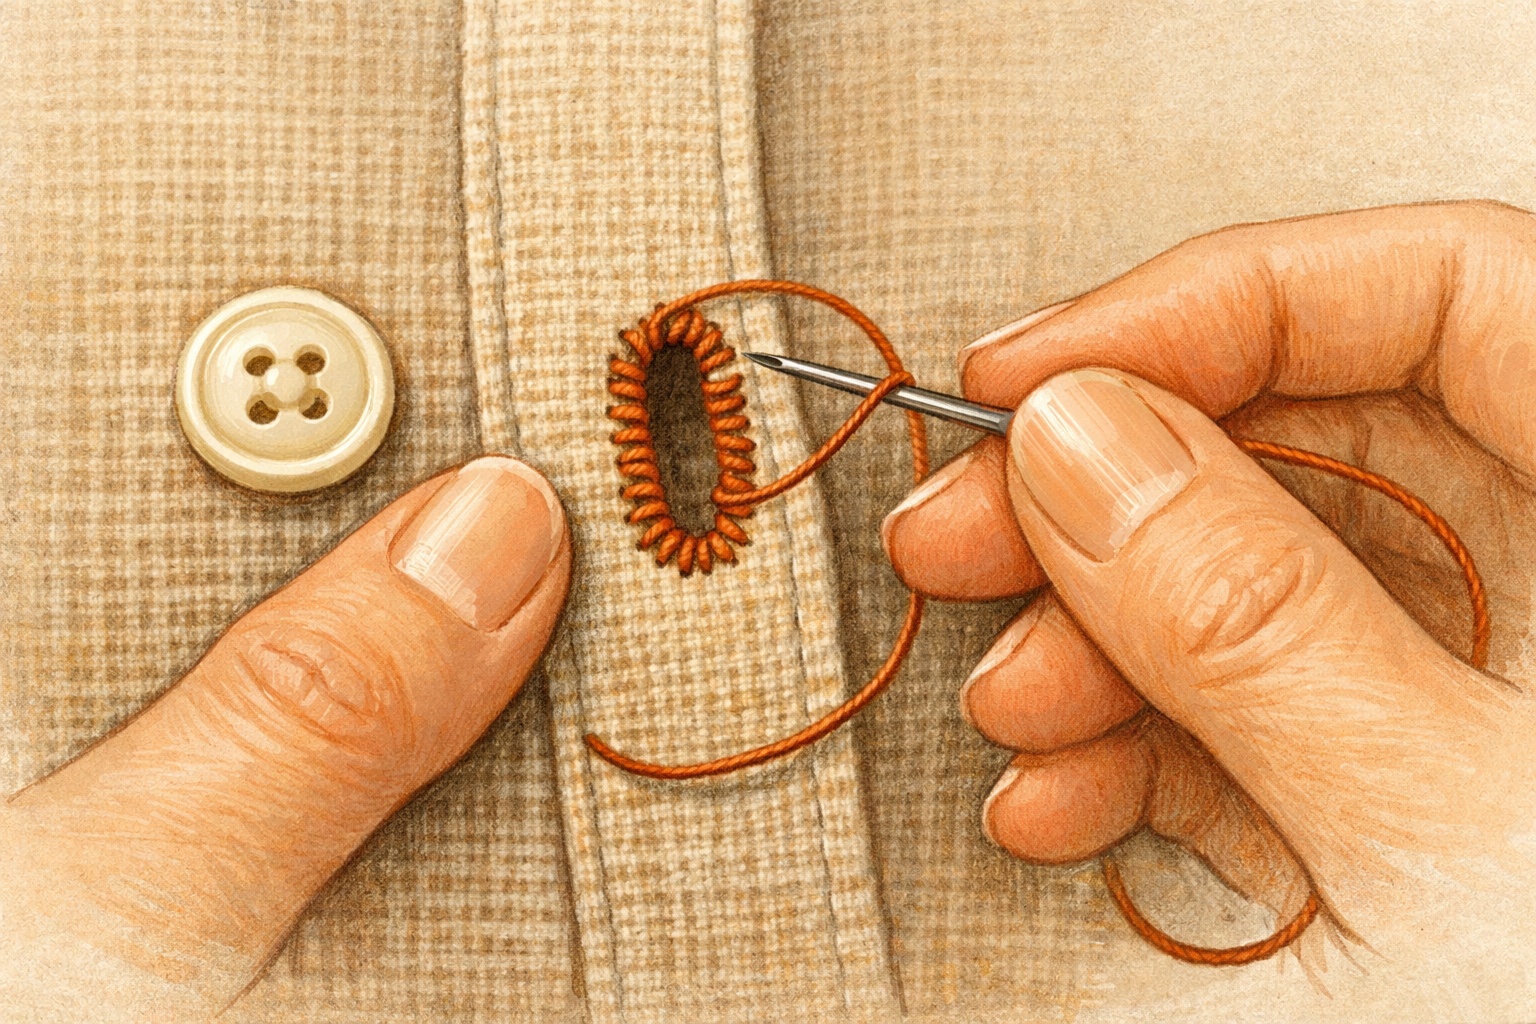
Hobbies & crafts
How to Tighten a Loose Buttonhole with Blanket Stitches
Reinforce stretched buttonholes by stitching a neat border that grips the button and prevents further fraying.
Read the guide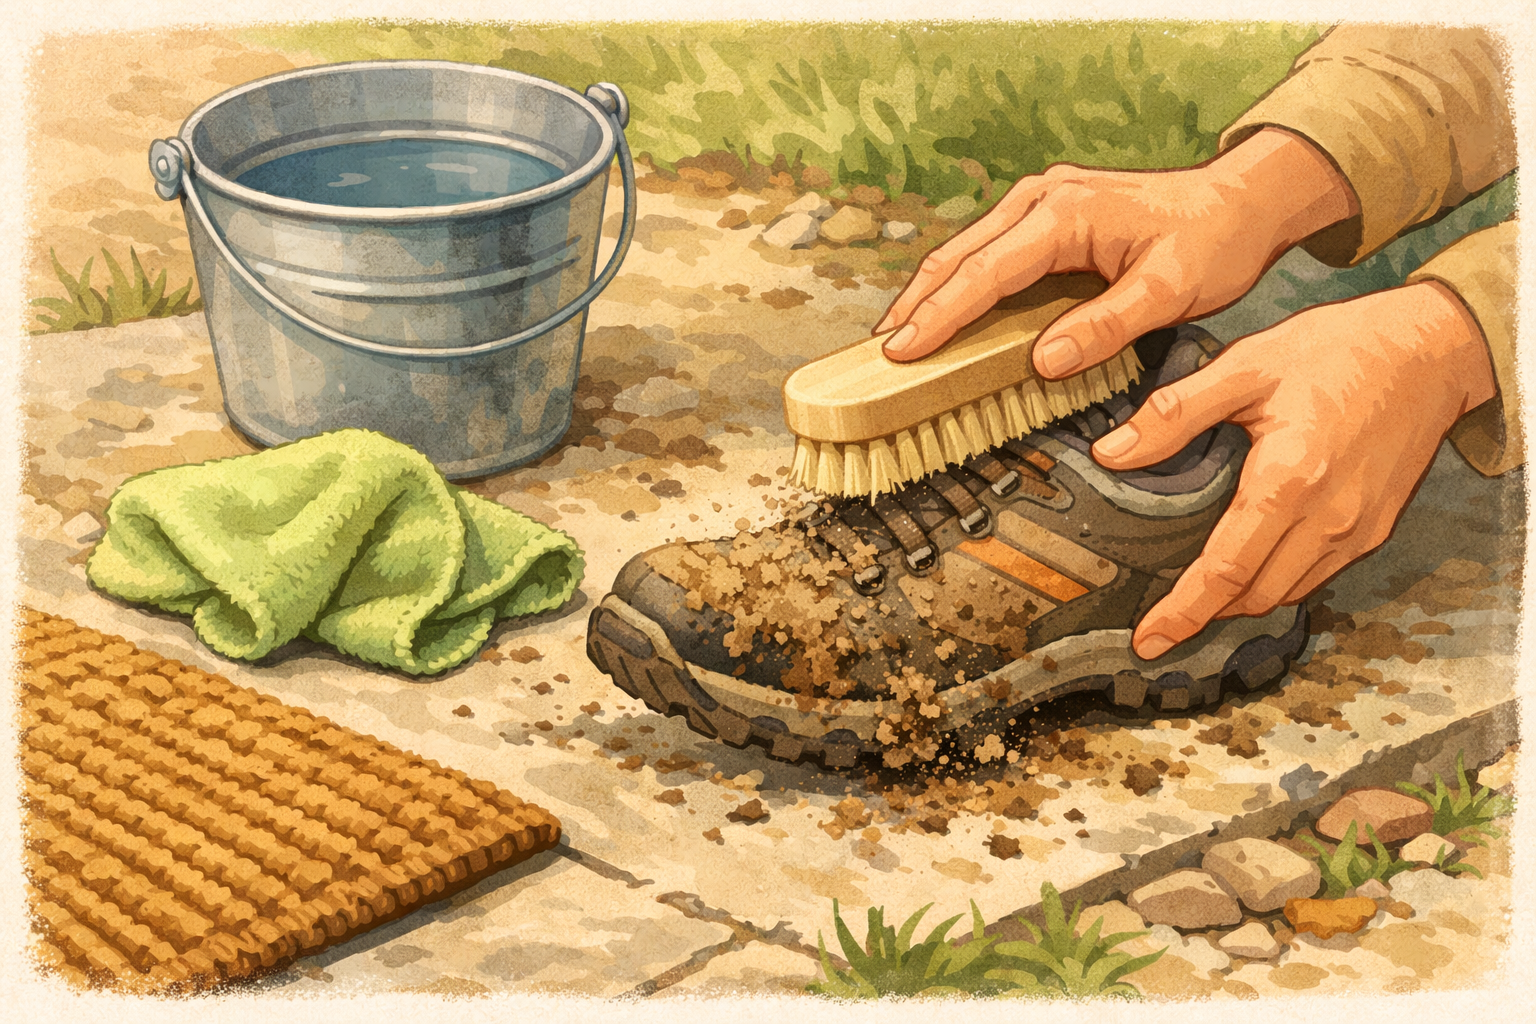
Home & life
How to clean muddy walking shoes after a countryside footpath
Knock off dried mud, brush seams, wipe uppers, clean outsoles, freshen insoles, and air‑dry so your shoes are ready for the next path. Photos show the order and which brushes or cloths to use.
Read the guide