Hobbies & crafts
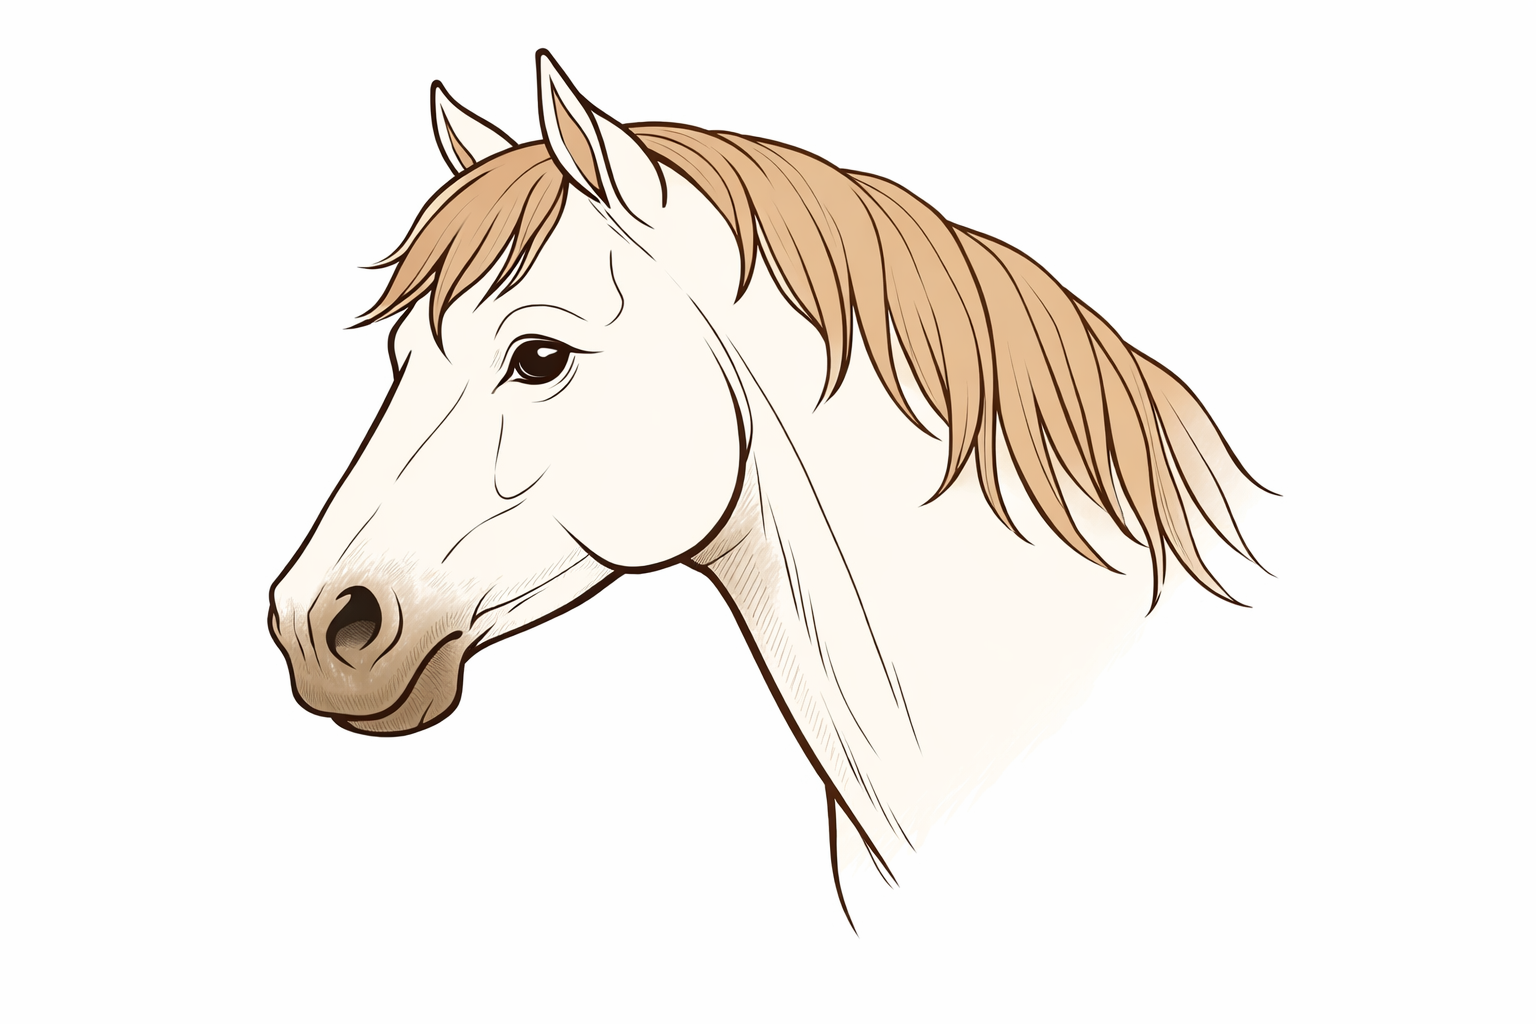
How to draw a horse head in side view
Use guiding lines for the skull shape, add ear triangles, place eye and nostril, and define the jaw and muzzle. Sketch the mane, clean the outline, and shade key planes. Each step shows where to measure distances simply by eye.
- 01
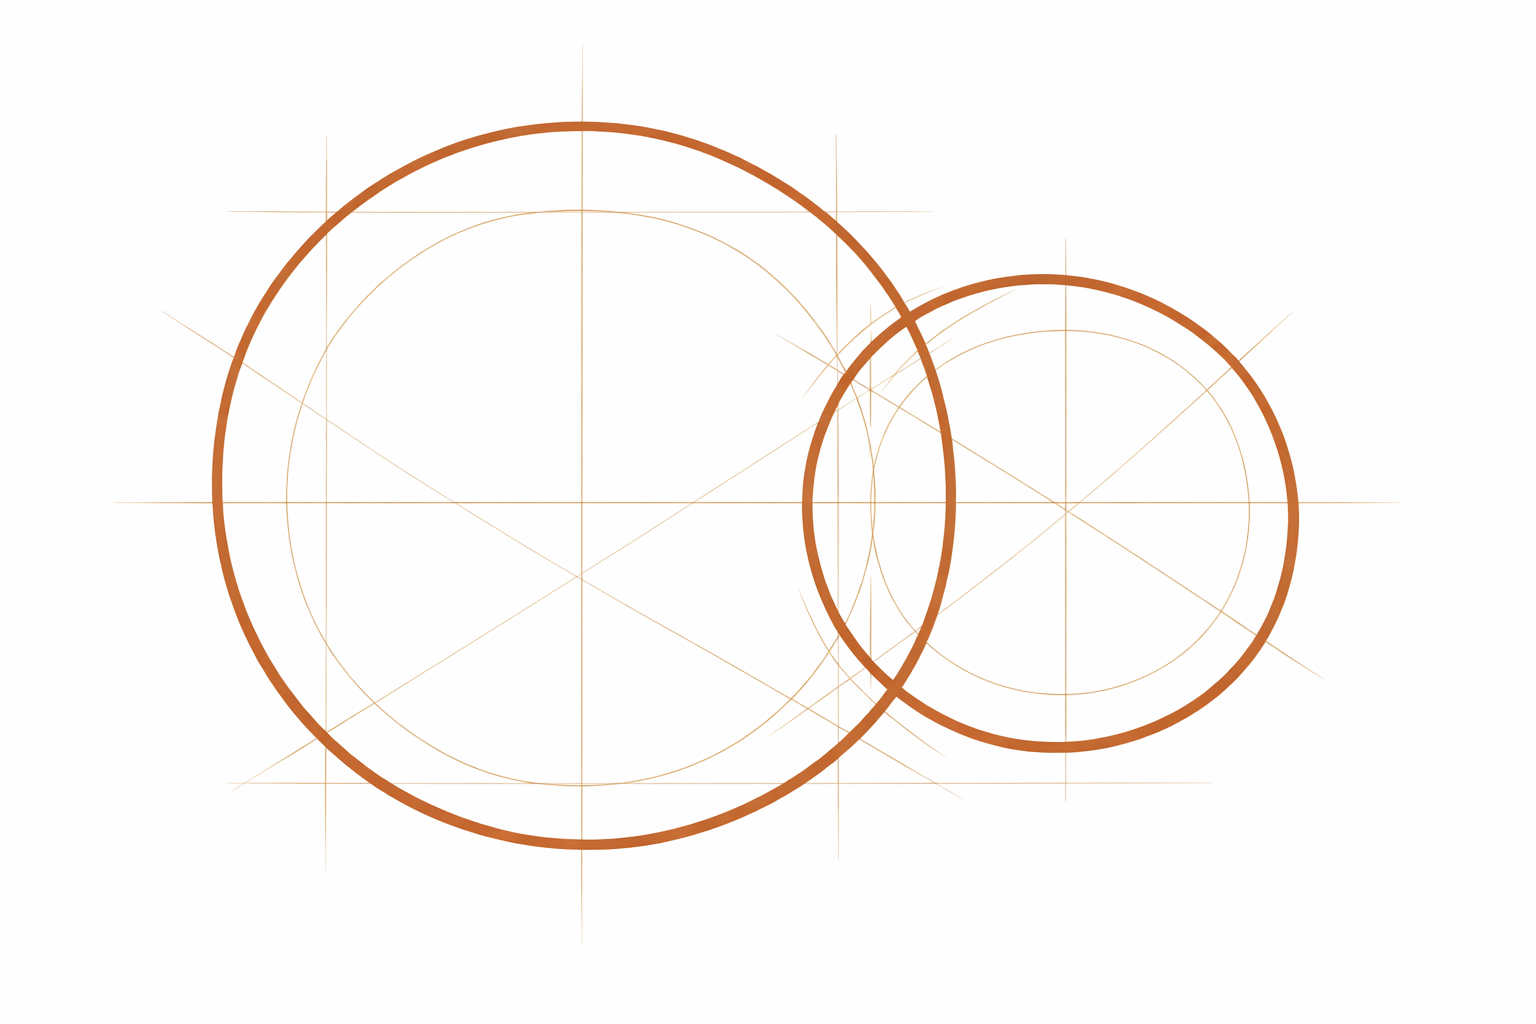
Lightly map two circles for the head
Draw a large circle for the skull and a smaller circle in front for the muzzle. Let the small circle overlap the large one by about a fingertip’s width as you see it on the page. Keep your lines faint so they’re easy to adjust or erase later.
- 02
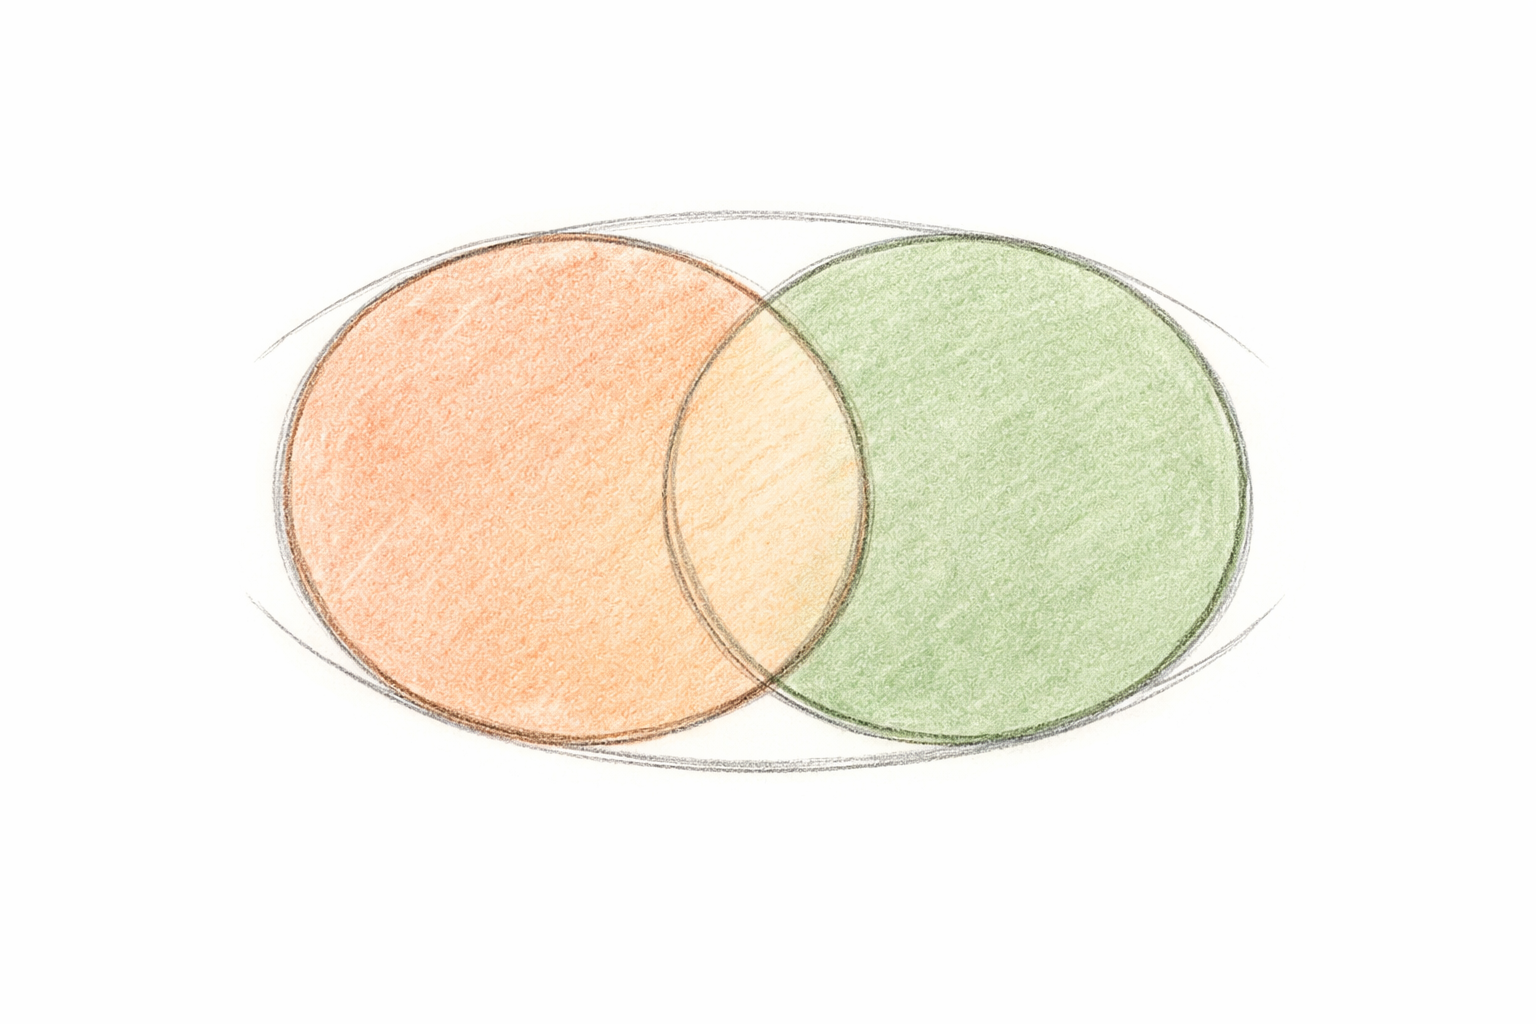
Set the top and bottom guides
Connect the top edges of the circles with a very light, slightly slanted line for the forehead-to-nose bridge, and connect the lower edges with another line for the mouth and jaw. By eye, keep the bottom guide a little flatter than the top.
- 03
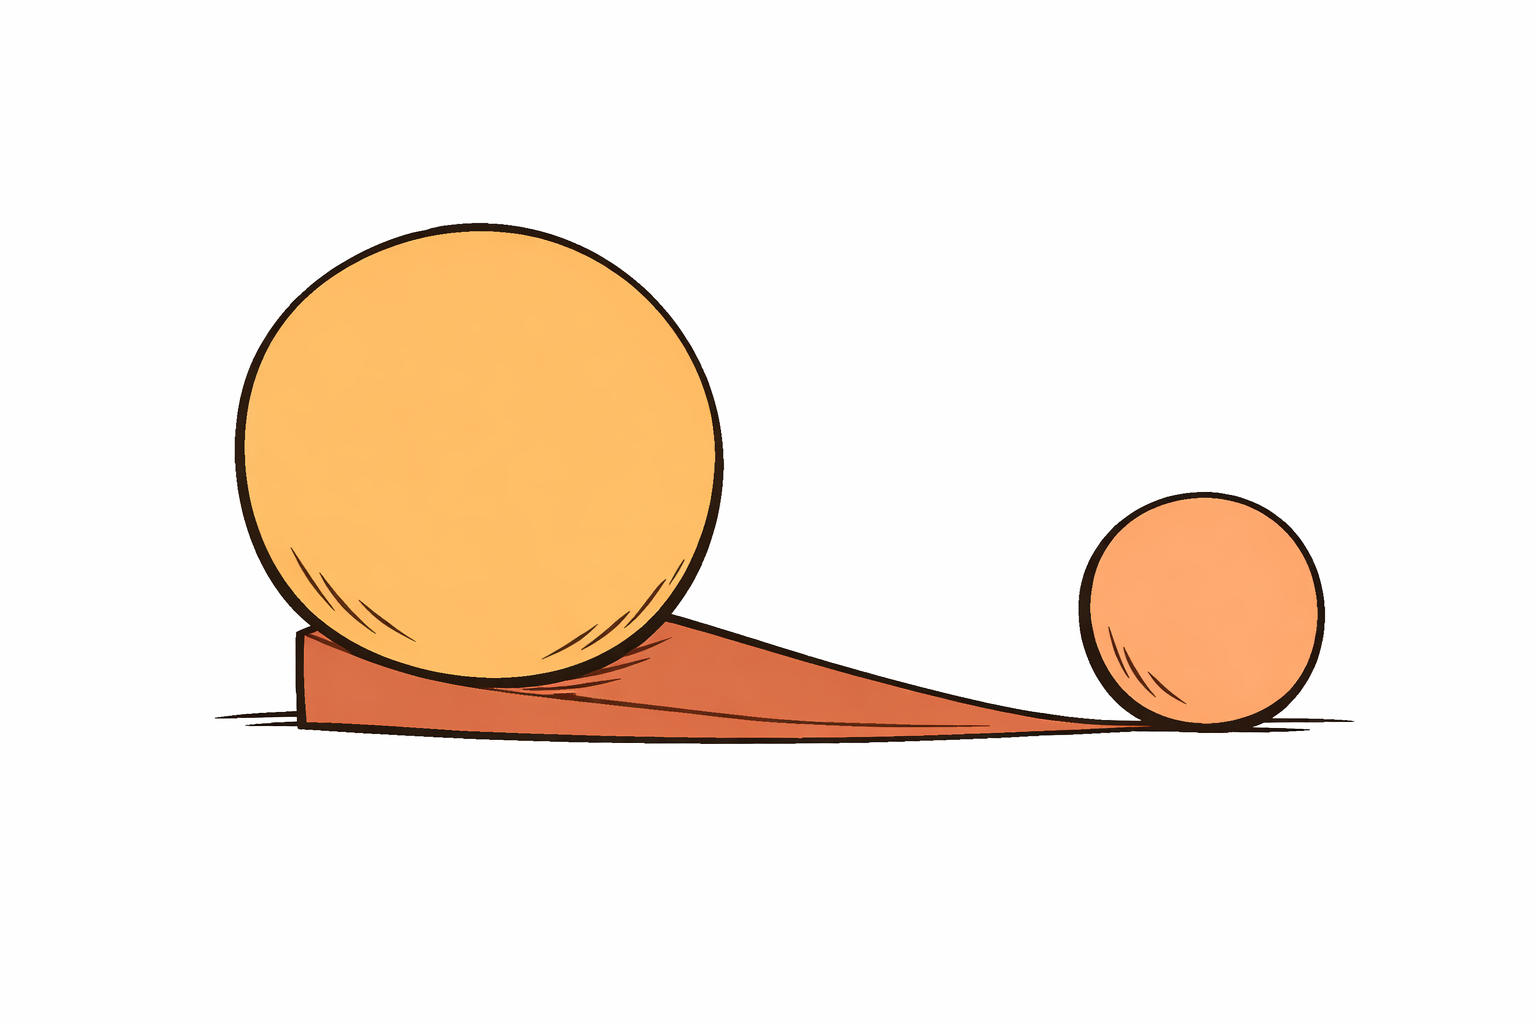
Block in the jaw and chin
Under the back half of the large circle, sketch a curved wedge to suggest the jaw corner and chin, tapering forward toward the small circle. Compare the height of this wedge to the small circle’s height and keep it noticeably smaller by eye.
- 04
Add ear triangles on the skull
On the top rear edge of the large circle, draw one tall, narrow triangle for the near ear and a second, slightly shorter triangle tucked behind it. By eye, make each ear’s base about as wide as the tip of your pencil line—slim and upright.
- 05
Place the eye
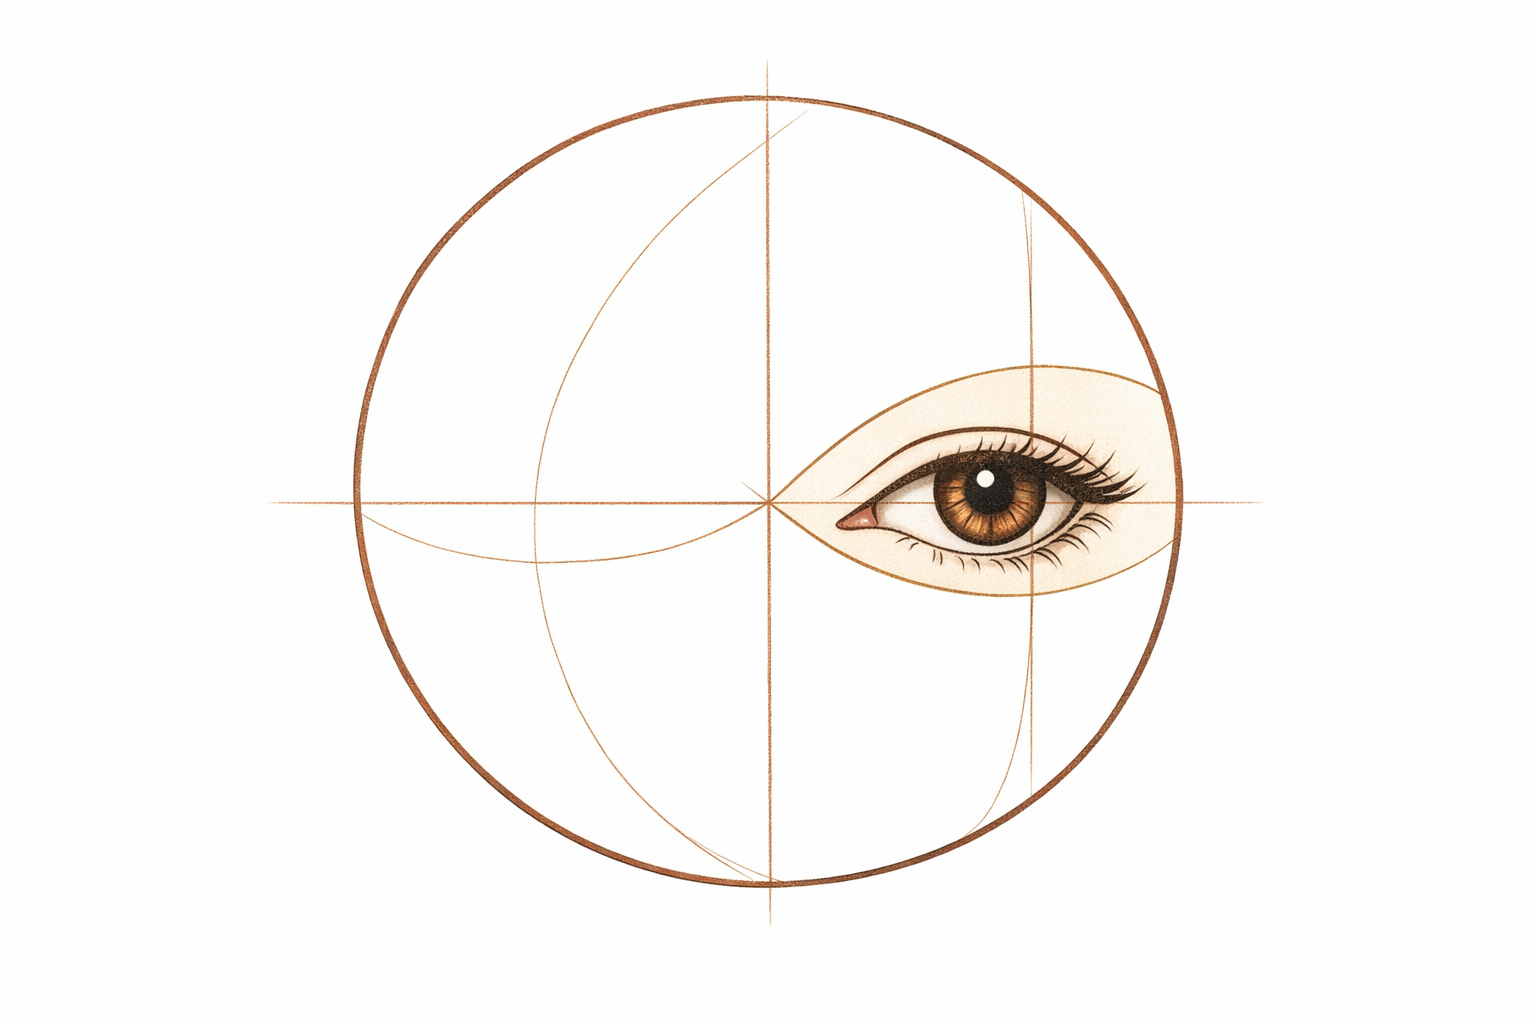
Inside the large circle, add a small almond or rounded diamond shape a little above the circle’s midpoint and slightly behind the overlap with the small circle. Check by eye: the eye should sit closer to the ear than to the muzzle circle’s front edge.
- 06
Mark the nostril and mouth corner
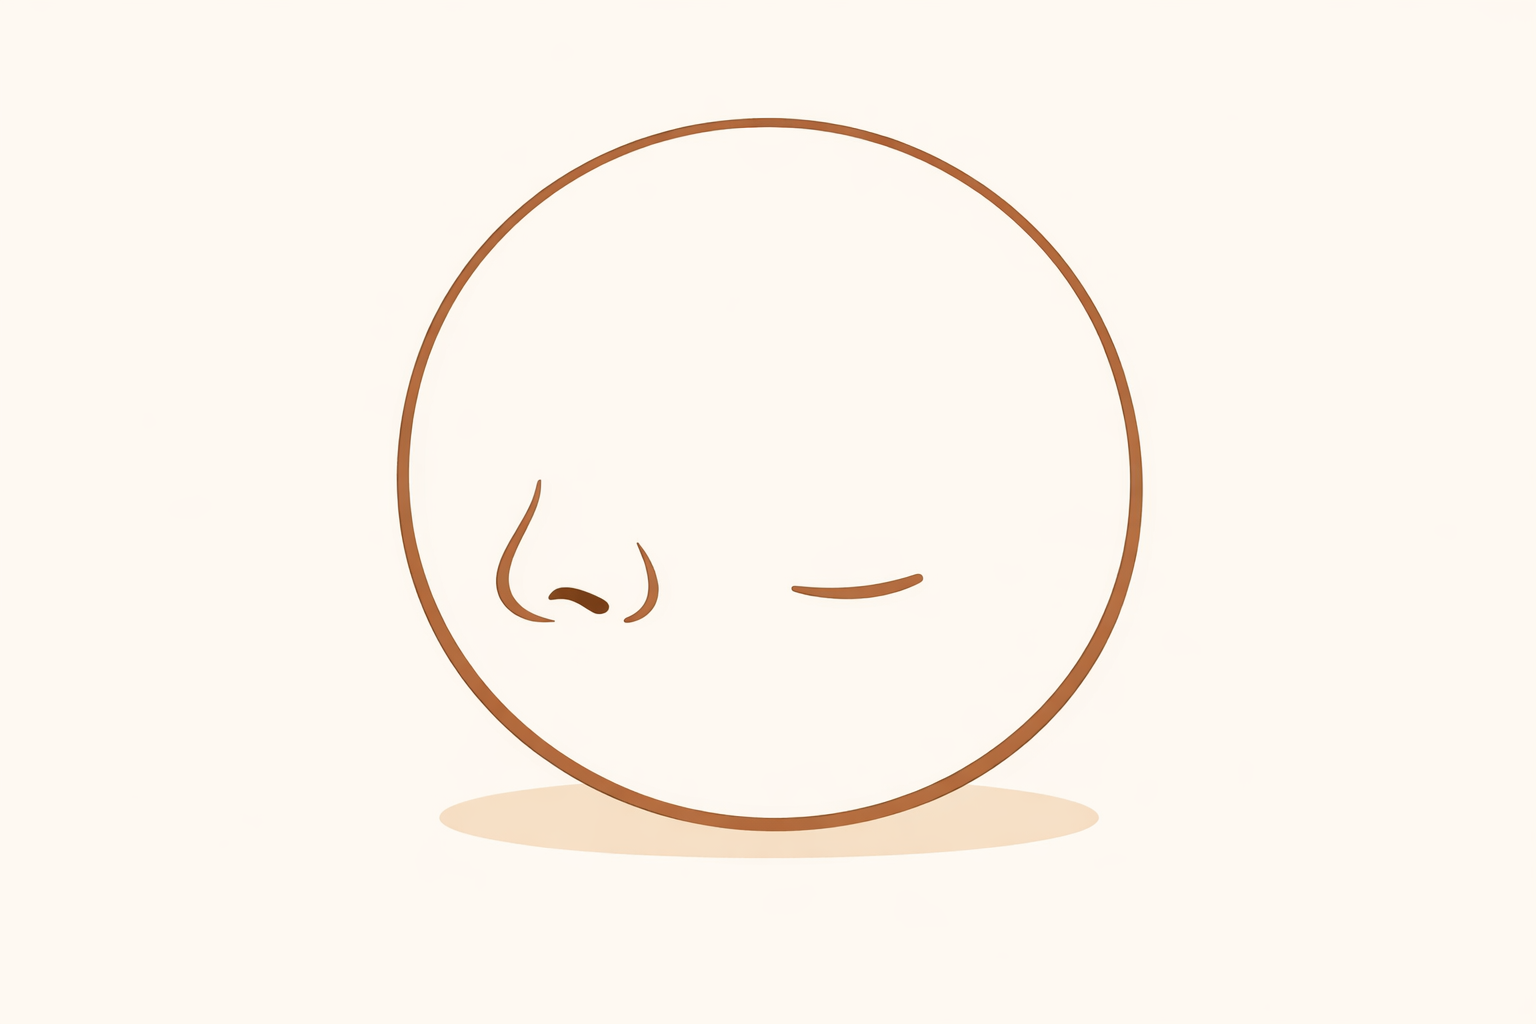
Inside the small circle near its front and lower edge, draw a teardrop for the nostril. Add a short, soft horizontal line for the mouth corner a little behind the middle of the small circle. Compare by eye: the nostril sits slightly higher than the mouth line.
- 07
Shape the bridge and muzzle
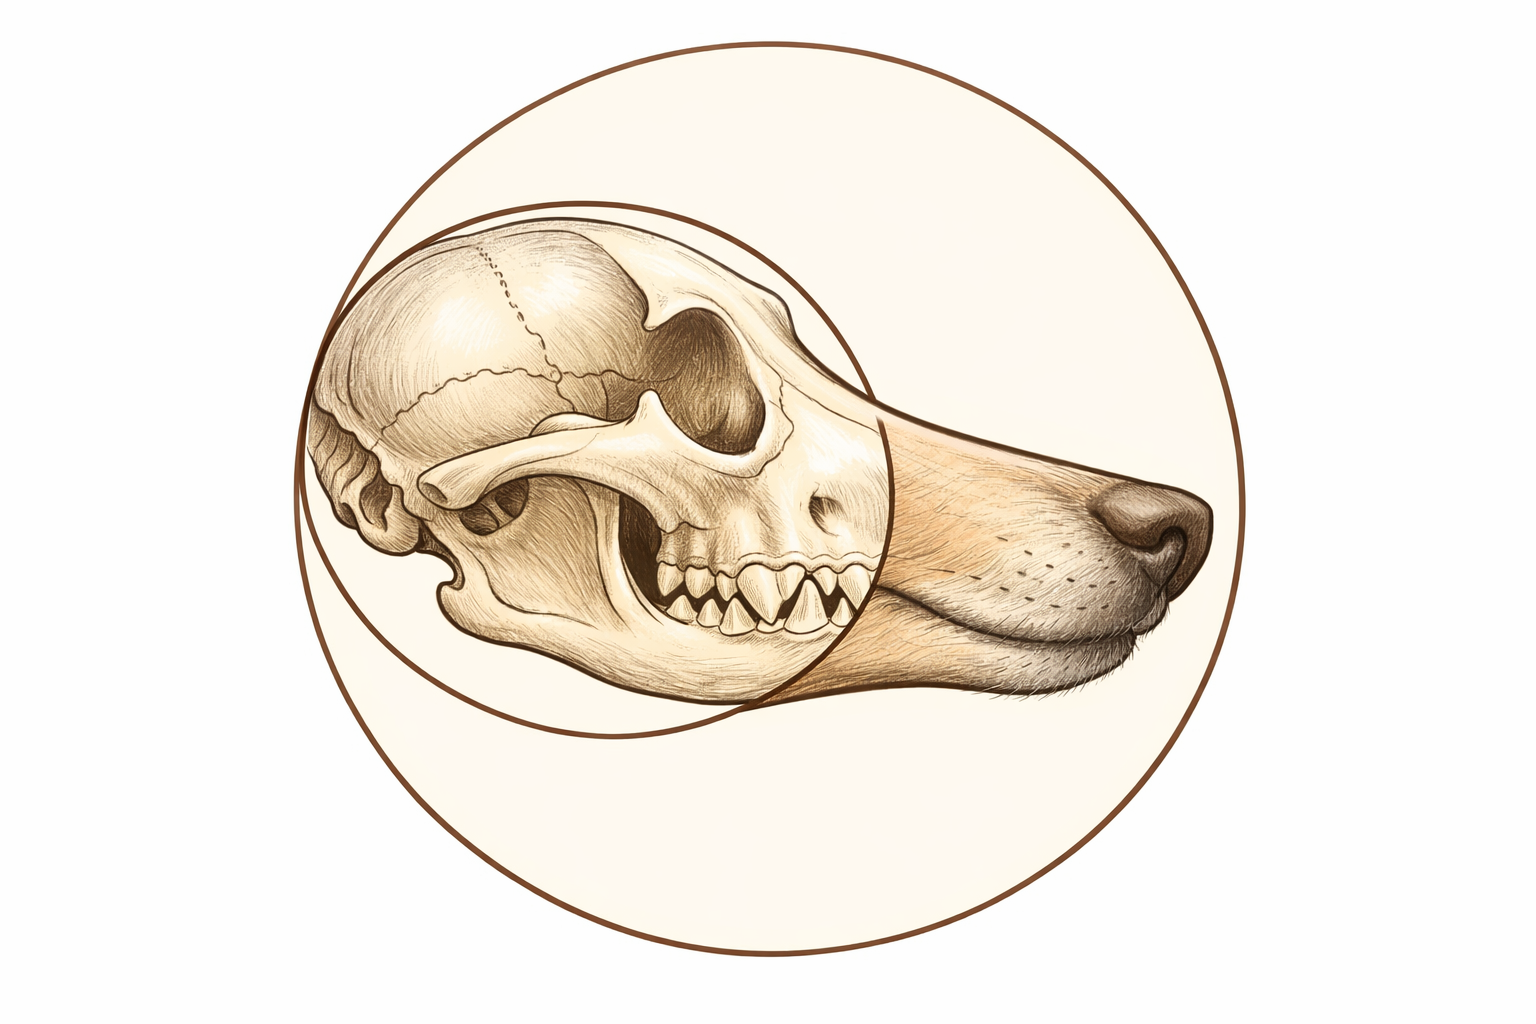
Replace the top guide with a smooth curve from the forehead down to just before the nostril, then round gently over the front of the muzzle. On the bottom, curve from the small circle to the mouth corner and back toward the jaw. Keep both curves even by comparing the top and bottom arcs by eye.
- 08
Define the cheek and jawline
From beneath the eye, sweep a subtle curve forward toward the mouth corner to suggest the cheek plane, then continue a gentle inward curve under the head to form the throat. Compare by eye: the throat curve should sit inside (closer to the page center than) the lower circle edge you first drew.
- 09
Draw the neck with two flowing lines
Extend a long, slightly arched line back from behind the ears for the top of the neck, and another from under the jaw for the throat. Let these two lines angle closer together as they go back. Check by eye that the top neck line is longer and more arched than the lower one.
- 10
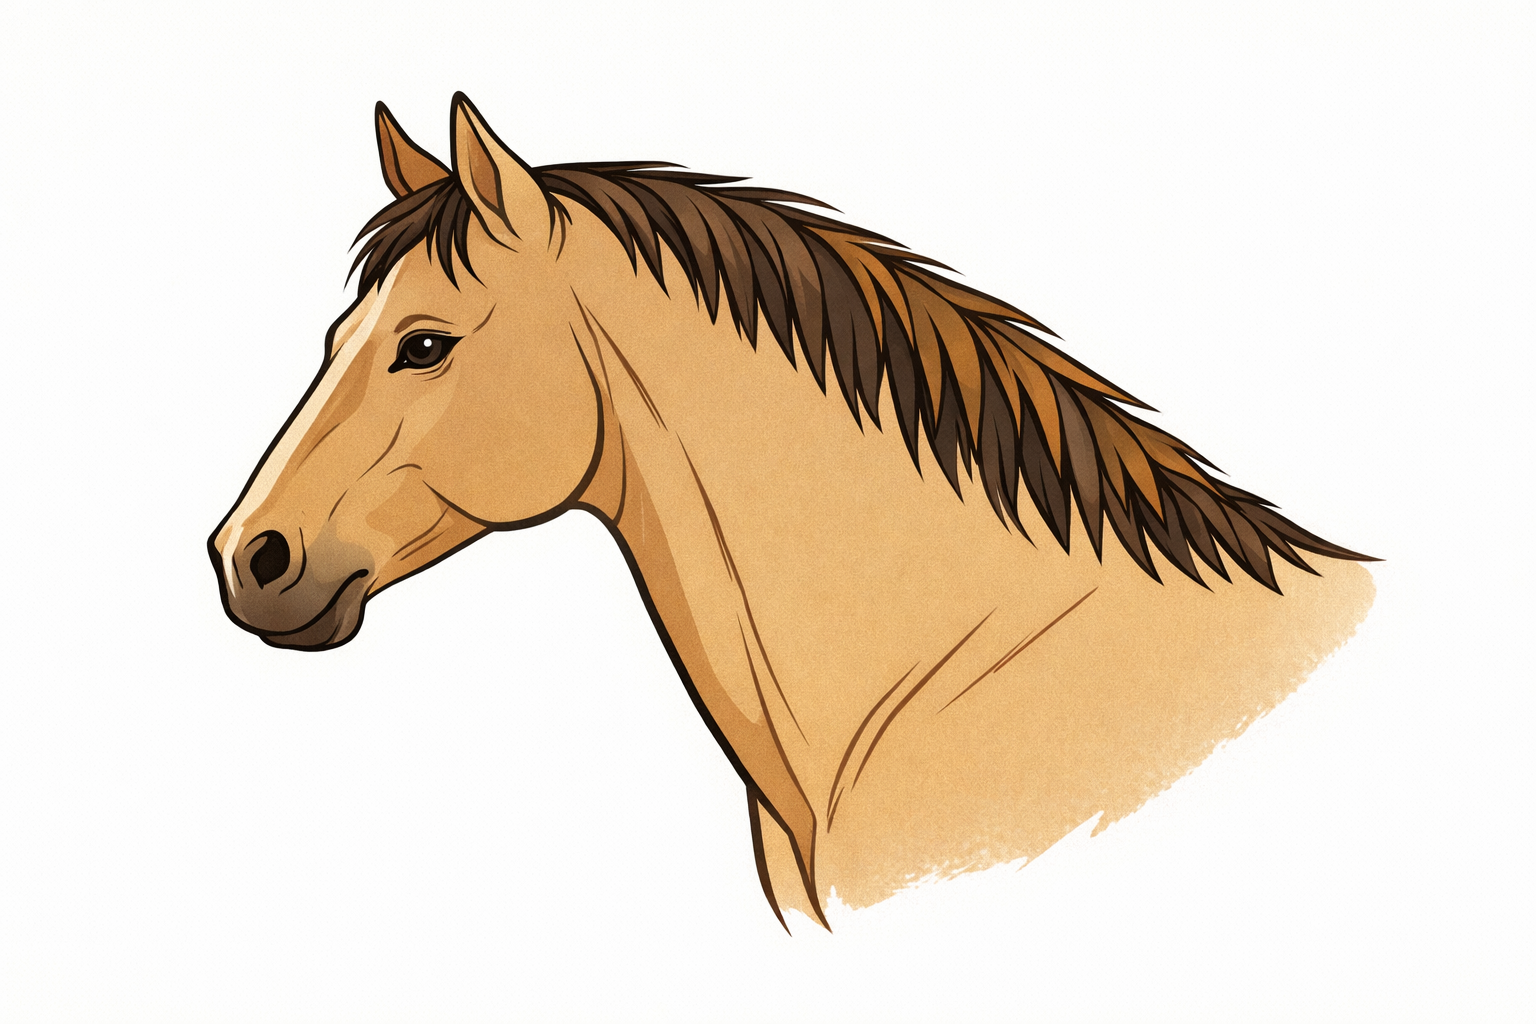
Sketch a simple mane
Along the top neck line, add grouped, tapering clumps of hair that lean back. Vary a few lengths by eye so no two clumps look identical, and keep the roots thicker where they meet the neck.
- 11
Refine features with small accents
Add a crease above the eye, a hint of the lower eyelid, the inner curve of the near ear, and a soft fold at the mouth corner. Compare by eye: these accents are thin and lighter than your main outline so they don’t overpower the form.
- 12
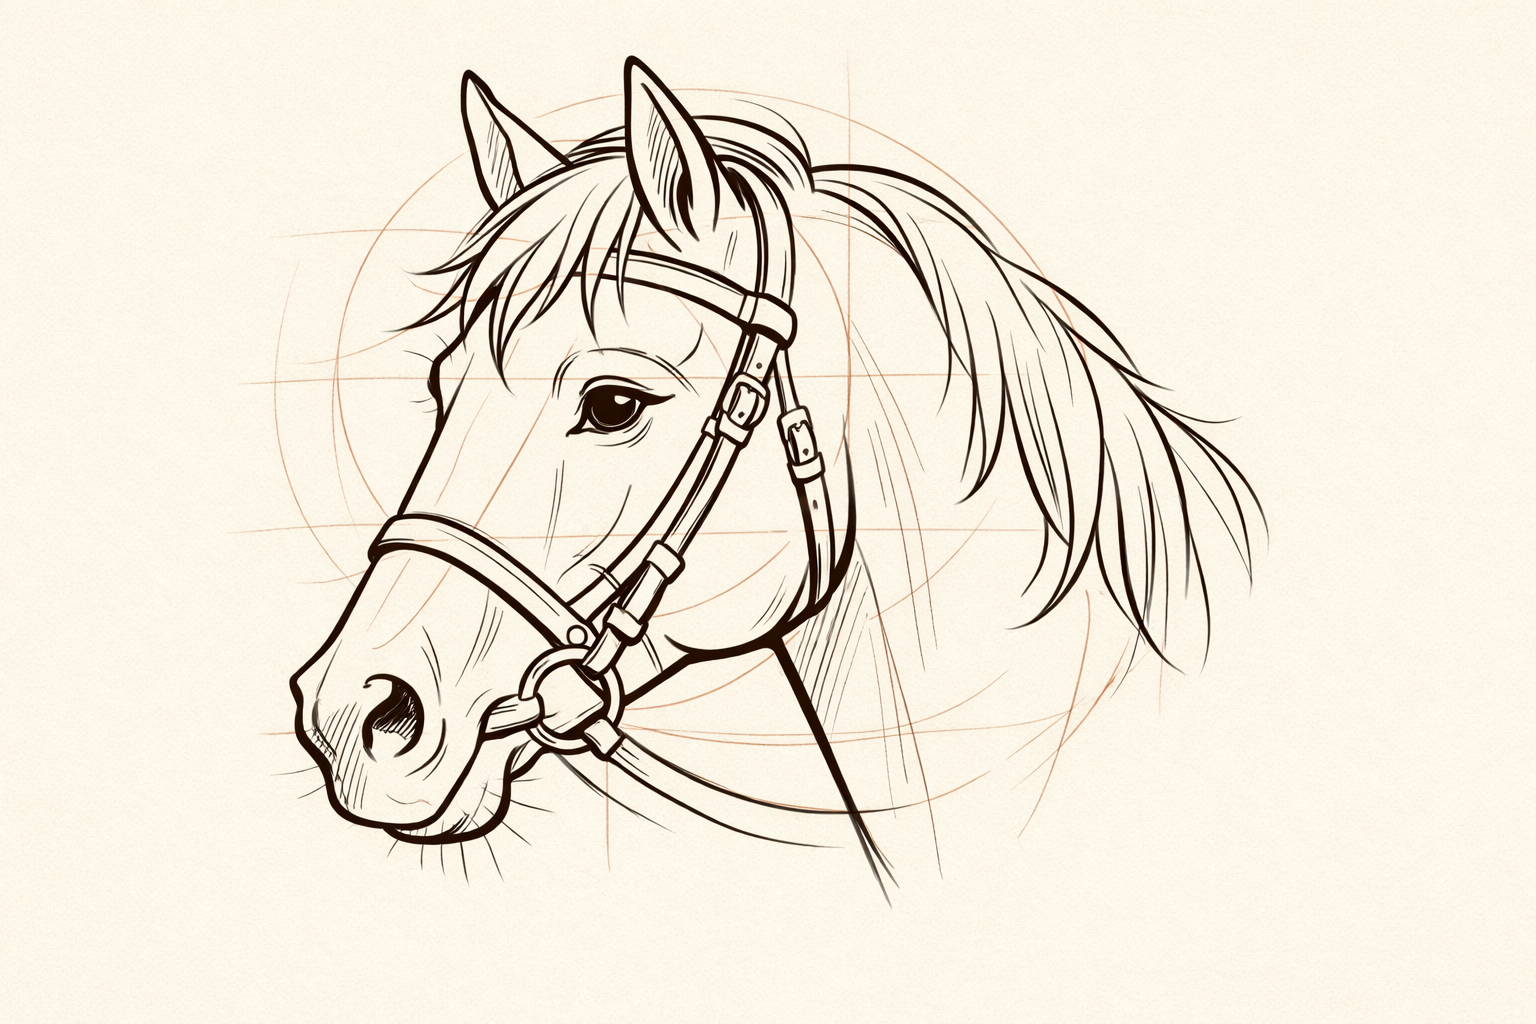
Clean the outline and lift guides
Trace your final contour with a slightly darker line, then gently erase the construction circles and guides. By eye, keep what supports the form (jaw corner, cheek hint) and remove anything that makes the silhouette messy.
- 13
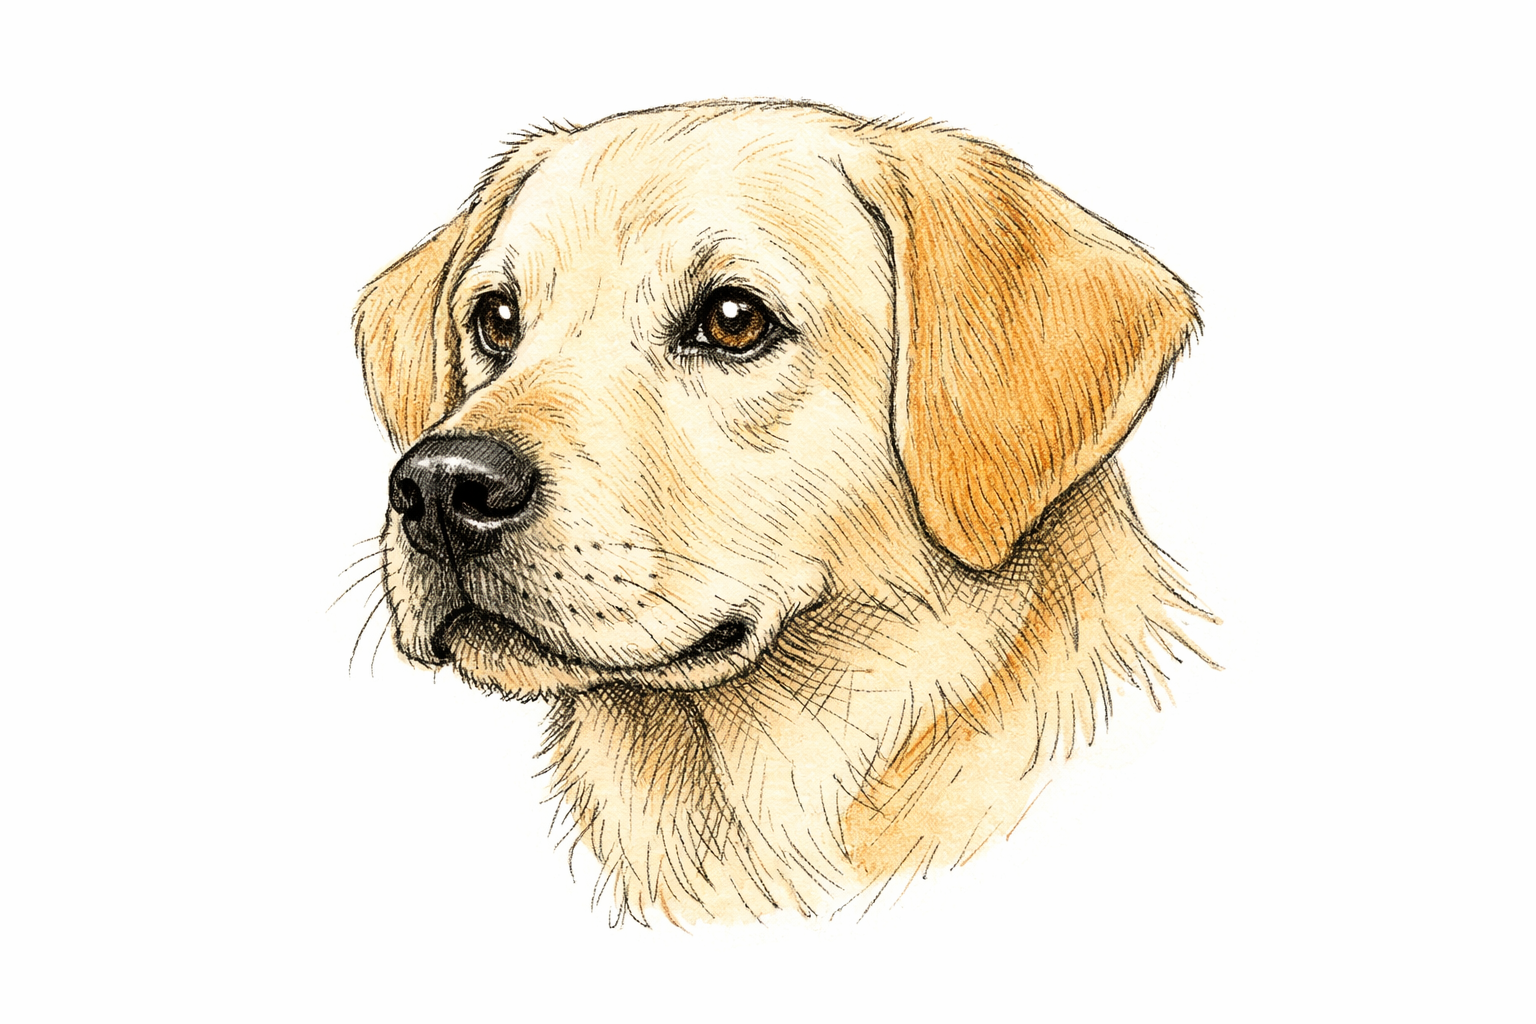
Add simple shading to show form
Pick a light source (for example, from above and slightly in front). Lightly hatch inside the ear, under the cheek, beneath the jaw, and under the muzzle. Smudge sparingly with a blending stump or finger. Leave small highlights in the eye and on the top of the nose by eye where it looks brightest.
- 14
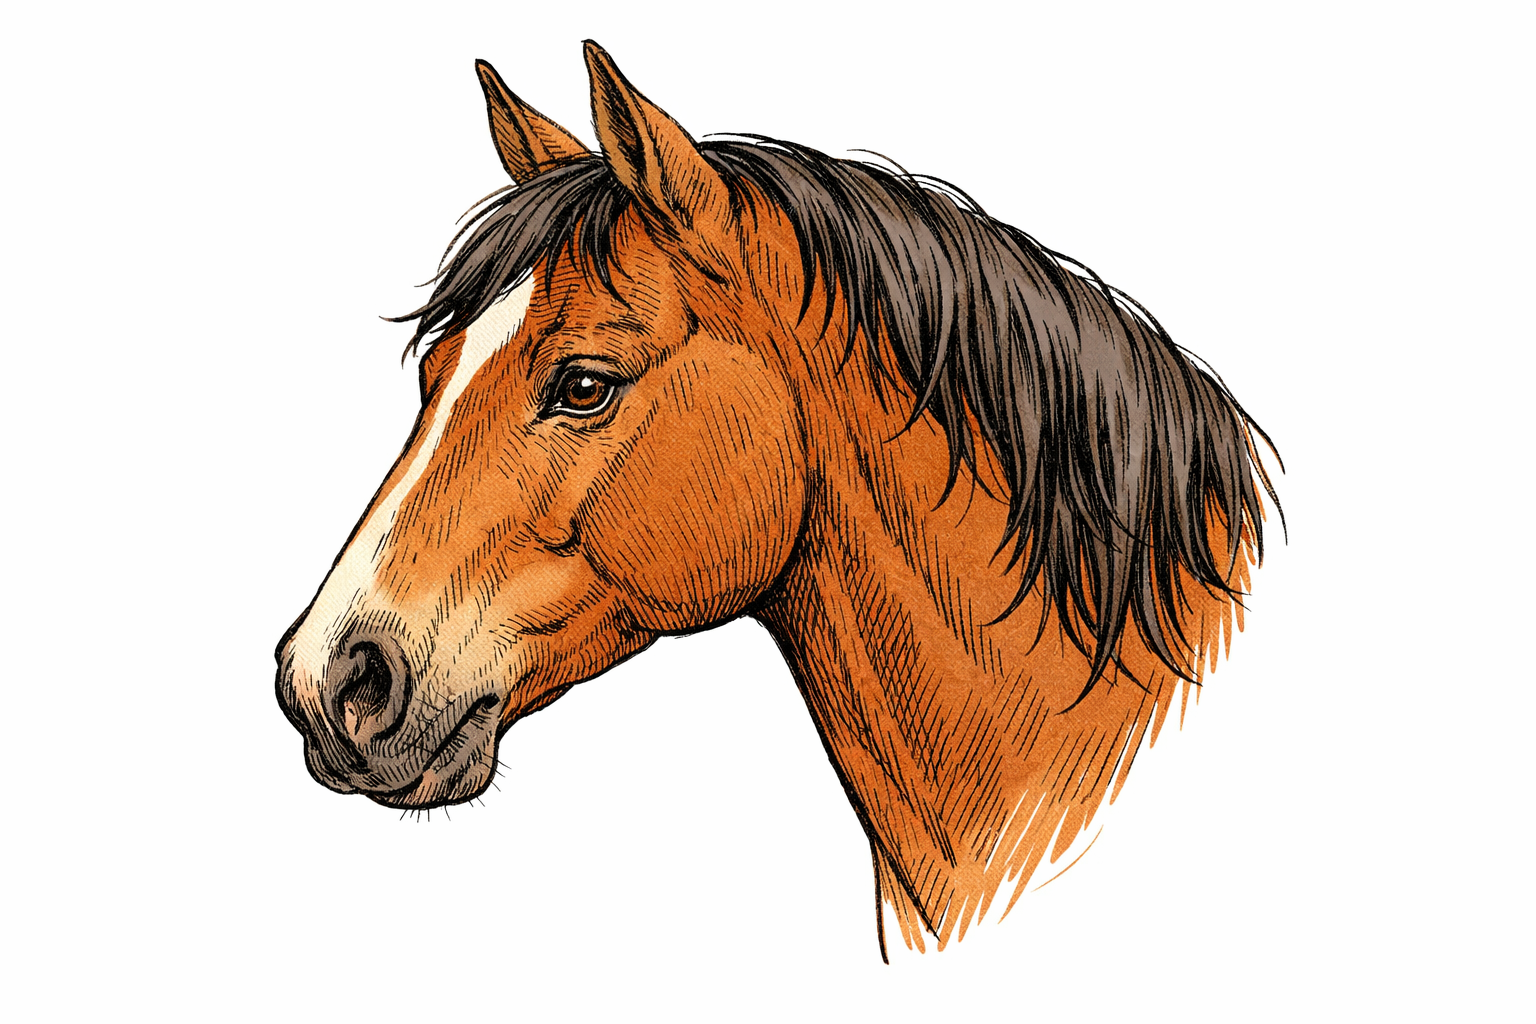
Do a final proportion check and tweaks
Step back and compare distances by eye: ear height versus the gap from ear base to eye, eye size versus nostril size, and the flow of the neck versus the mane shape. Make small adjustments to keep the profile balanced and smooth.
If this was useful
Try one of these next
Home & life
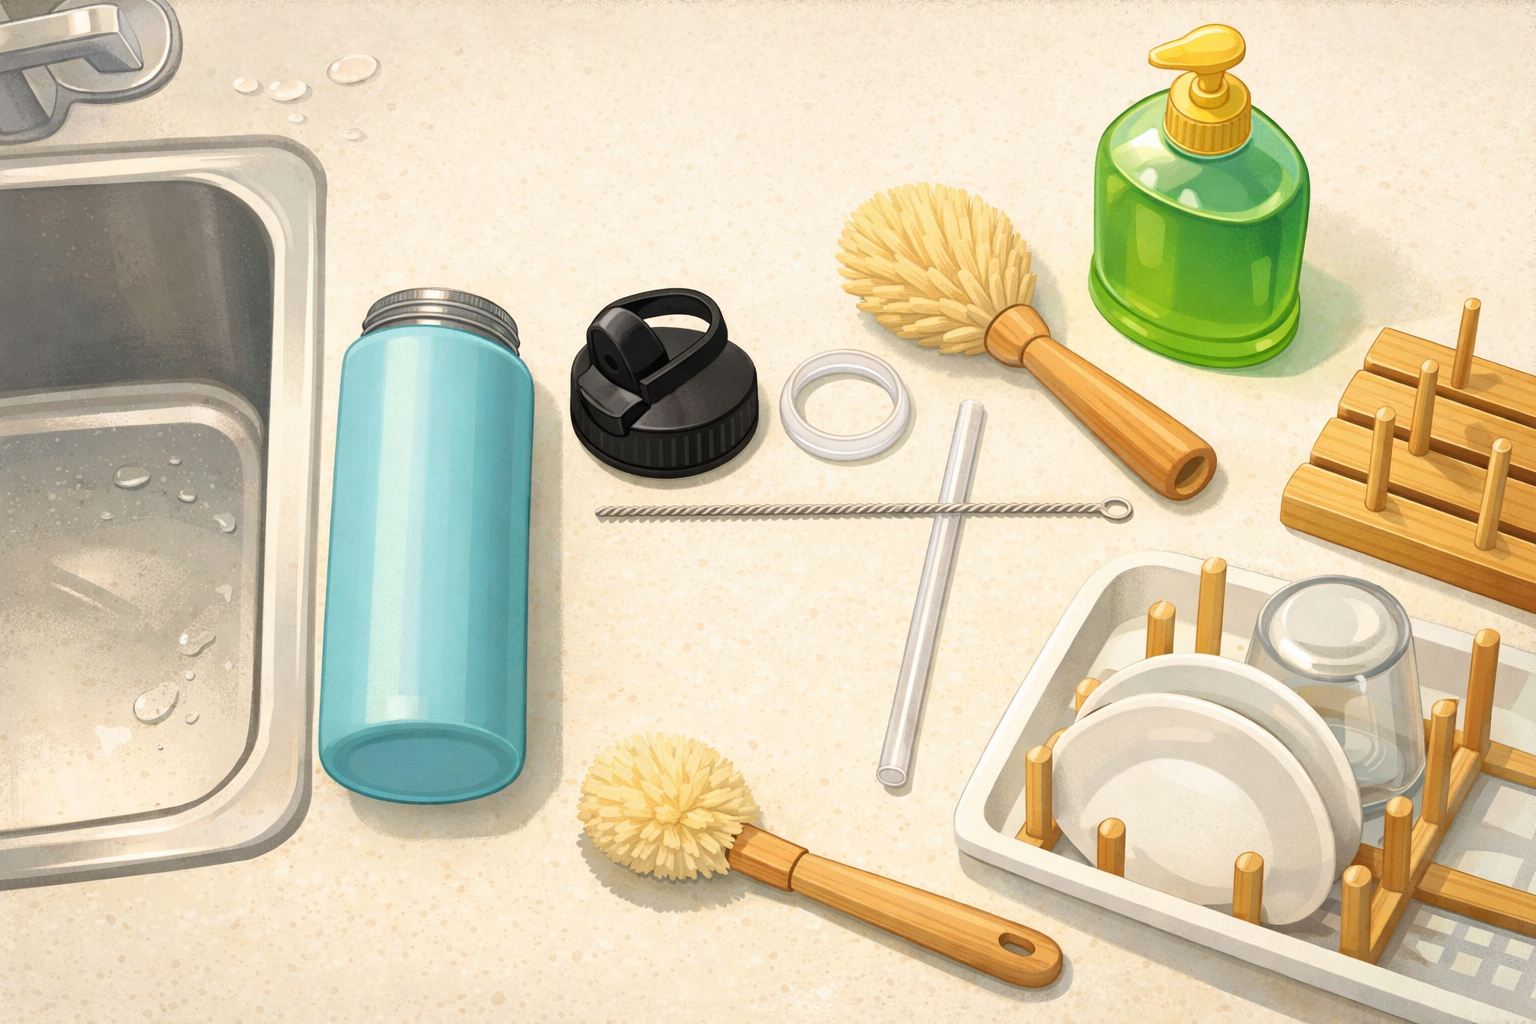
How to clean and dry a reusable water bottle after a picnic
Disassemble the lid, clean threads and seals, wash the body, rinse thoroughly, and air‑dry so it doesn’t develop odours between countryside trips. Close‑ups show where residue hides and a quick drying rack setup.
Read the guide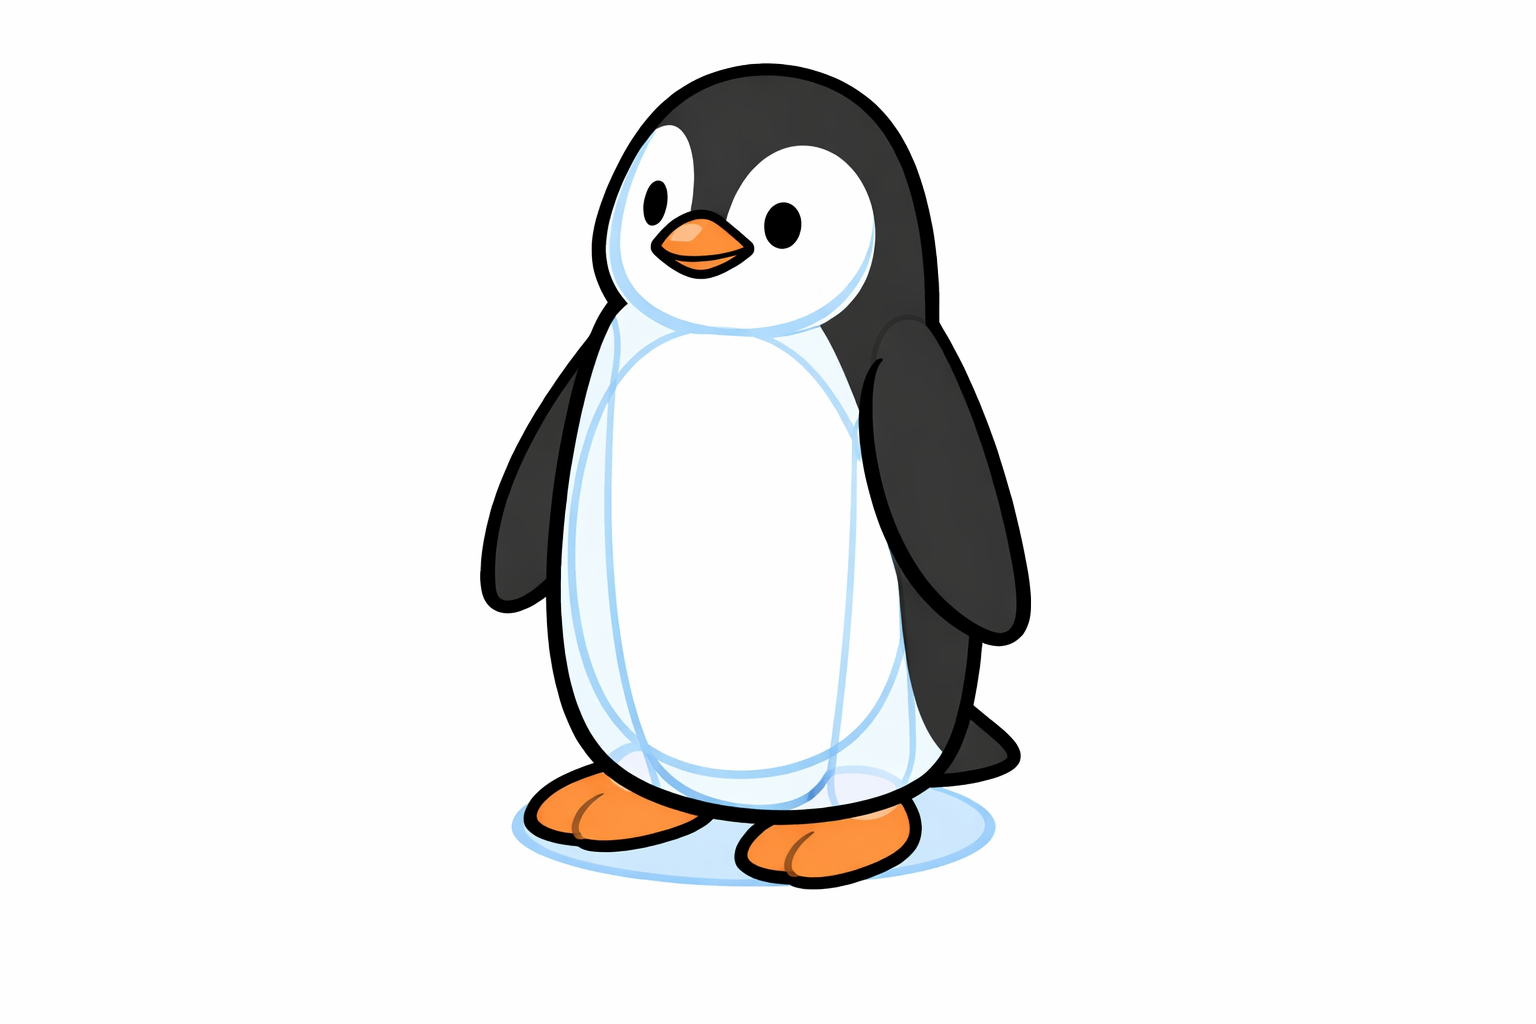
Hobbies & crafts
How to draw a standing penguin using teardrop shapes
Start with a tall teardrop for the body and small ovals for the head and feet. Add a simple beak and flippers with more teardrops, map the tuxedo belly, then refine the outline. Erase the guides and finish with light shading for roundness. Each step’s image overlays pale guide shapes and the darker final lines so you can see what to keep.
Read the guide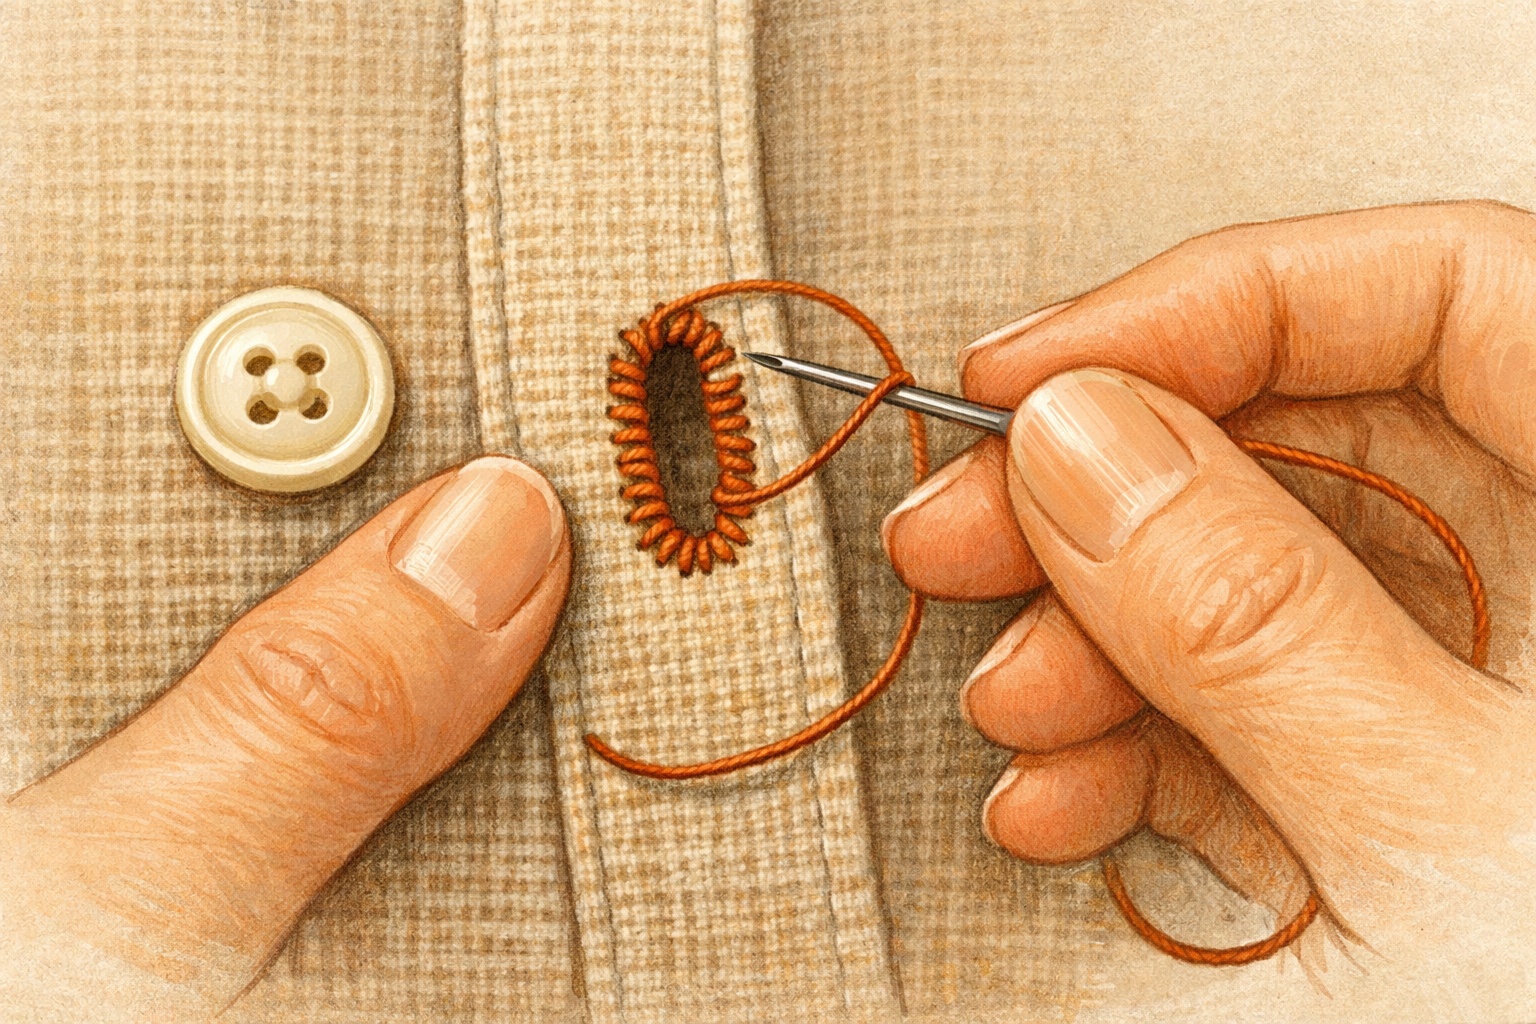
Hobbies & crafts
How to Tighten a Loose Buttonhole with Blanket Stitches
Reinforce stretched buttonholes by stitching a neat border that grips the button and prevents further fraying.
Read the guide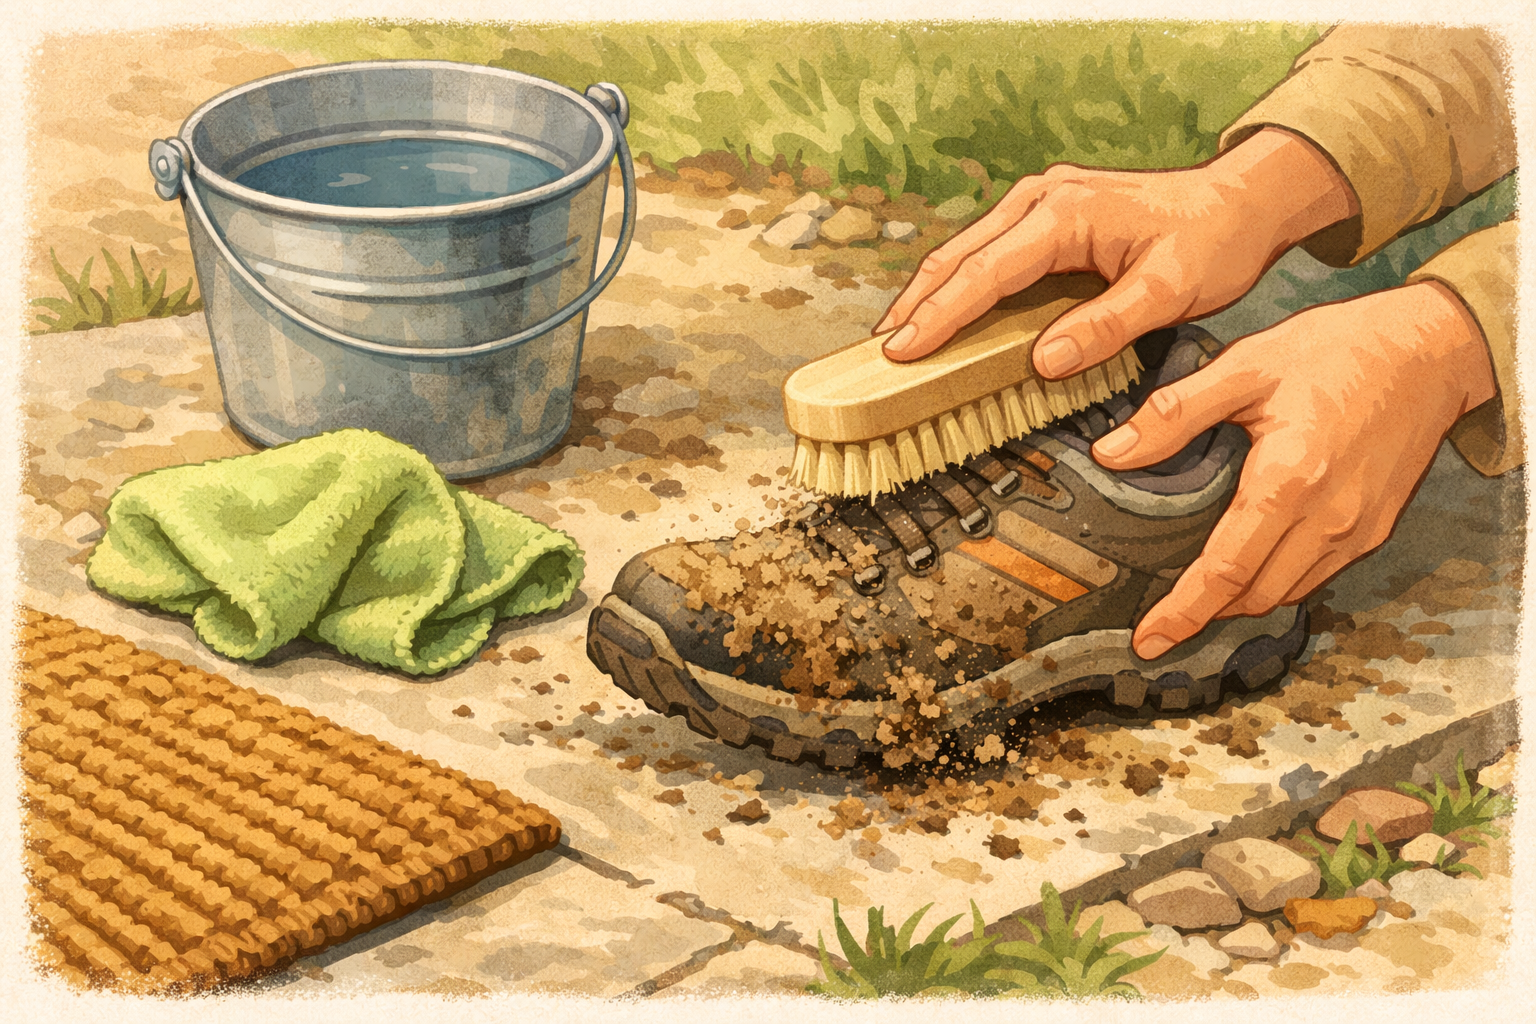
Home & life
How to clean muddy walking shoes after a countryside footpath
Knock off dried mud, brush seams, wipe uppers, clean outsoles, freshen insoles, and air‑dry so your shoes are ready for the next path. Photos show the order and which brushes or cloths to use.
Read the guide