Hobbies & crafts
How to Sew a Button Back On So It Stays Put
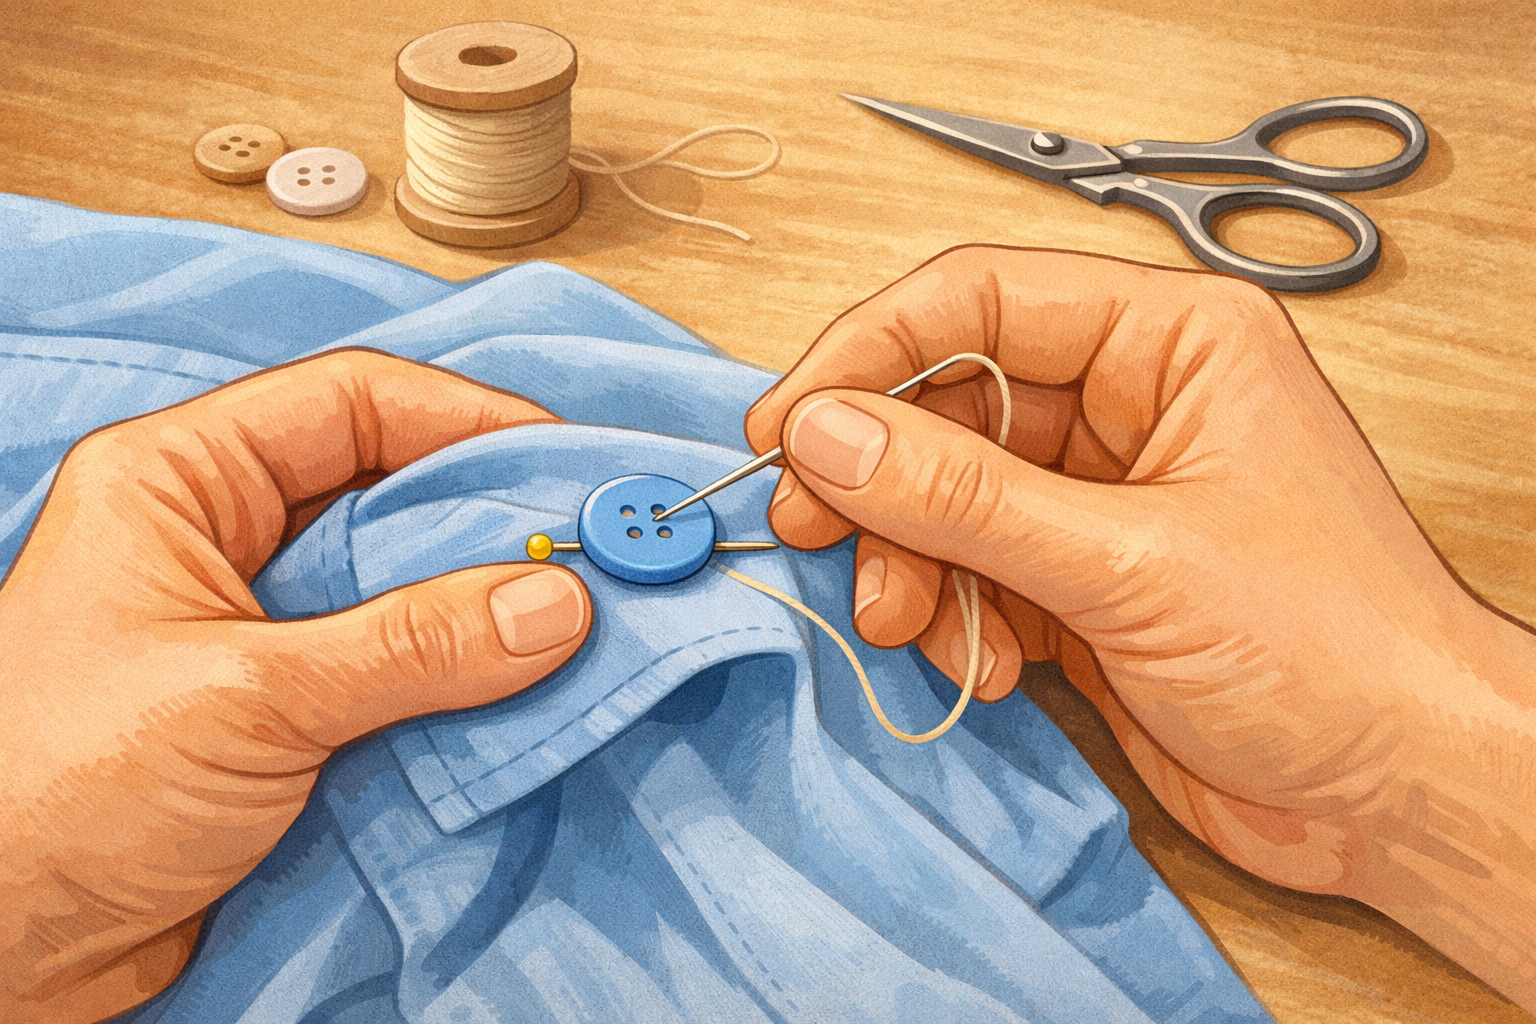
Reattach a flat button securely by creating a thread shank for movement, matching the alignment of the other buttons, and tying off neatly on the back.
- 01
Gather your supplies and the right button
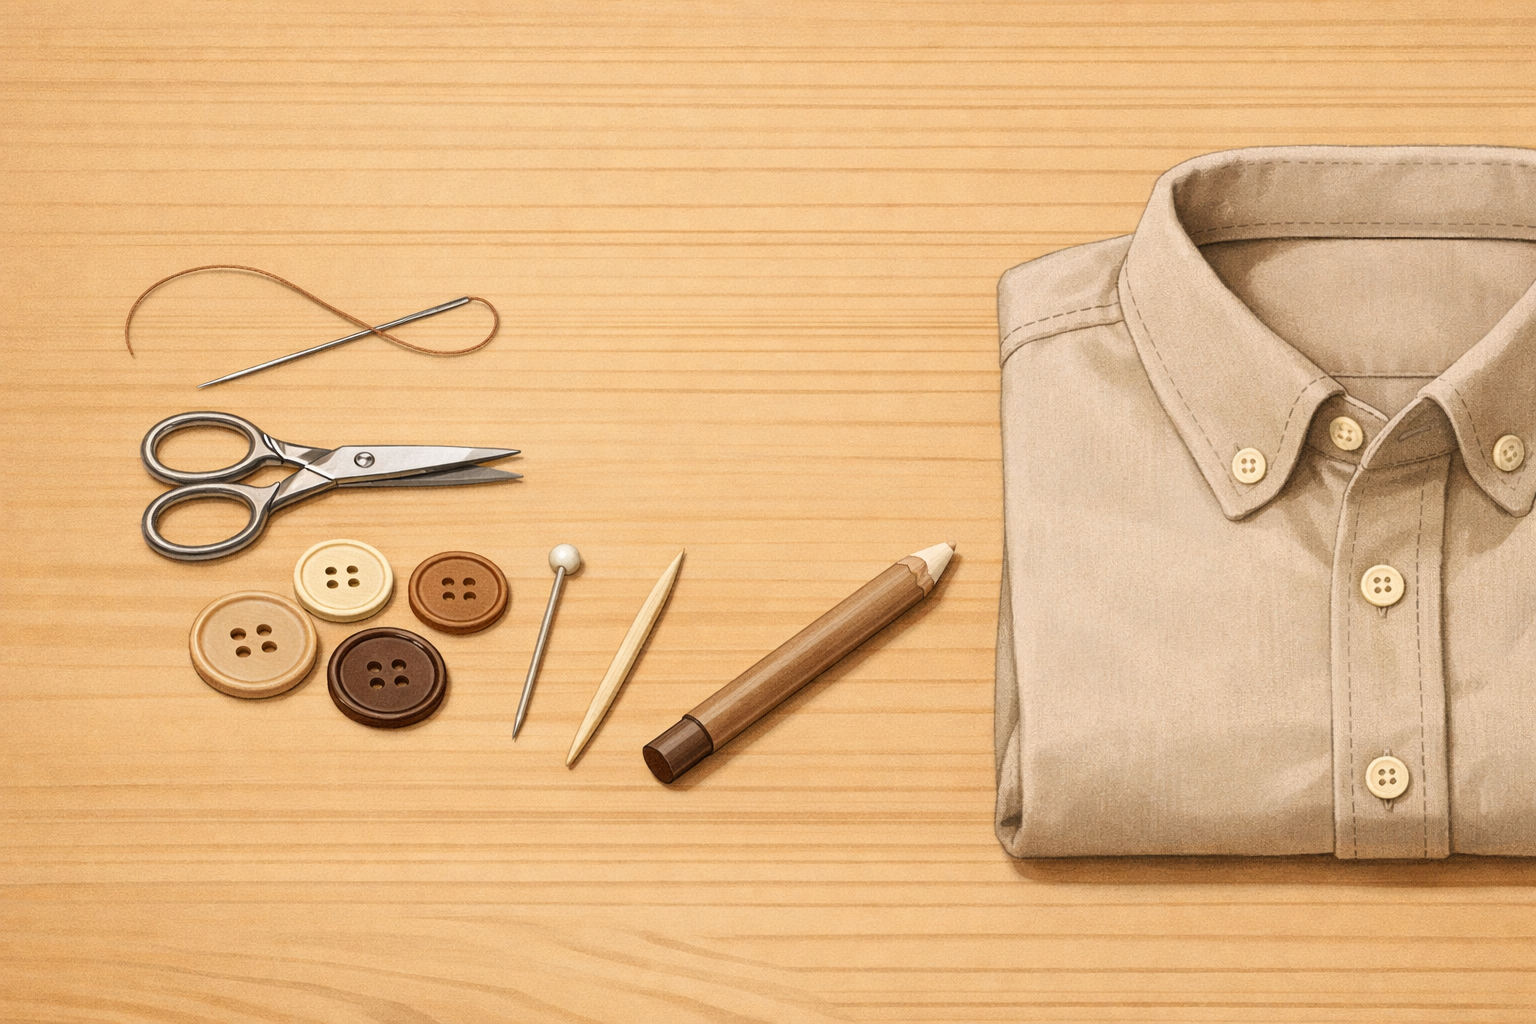
Set out a needle, matching thread, small scissors, a pin or toothpick (to make a spacer), and a fabric-safe marking tool. Choose the original button if you have it; if not, use one that matches the size and hole pattern of the others on the garment.
- 02
Mark the exact spot for the button
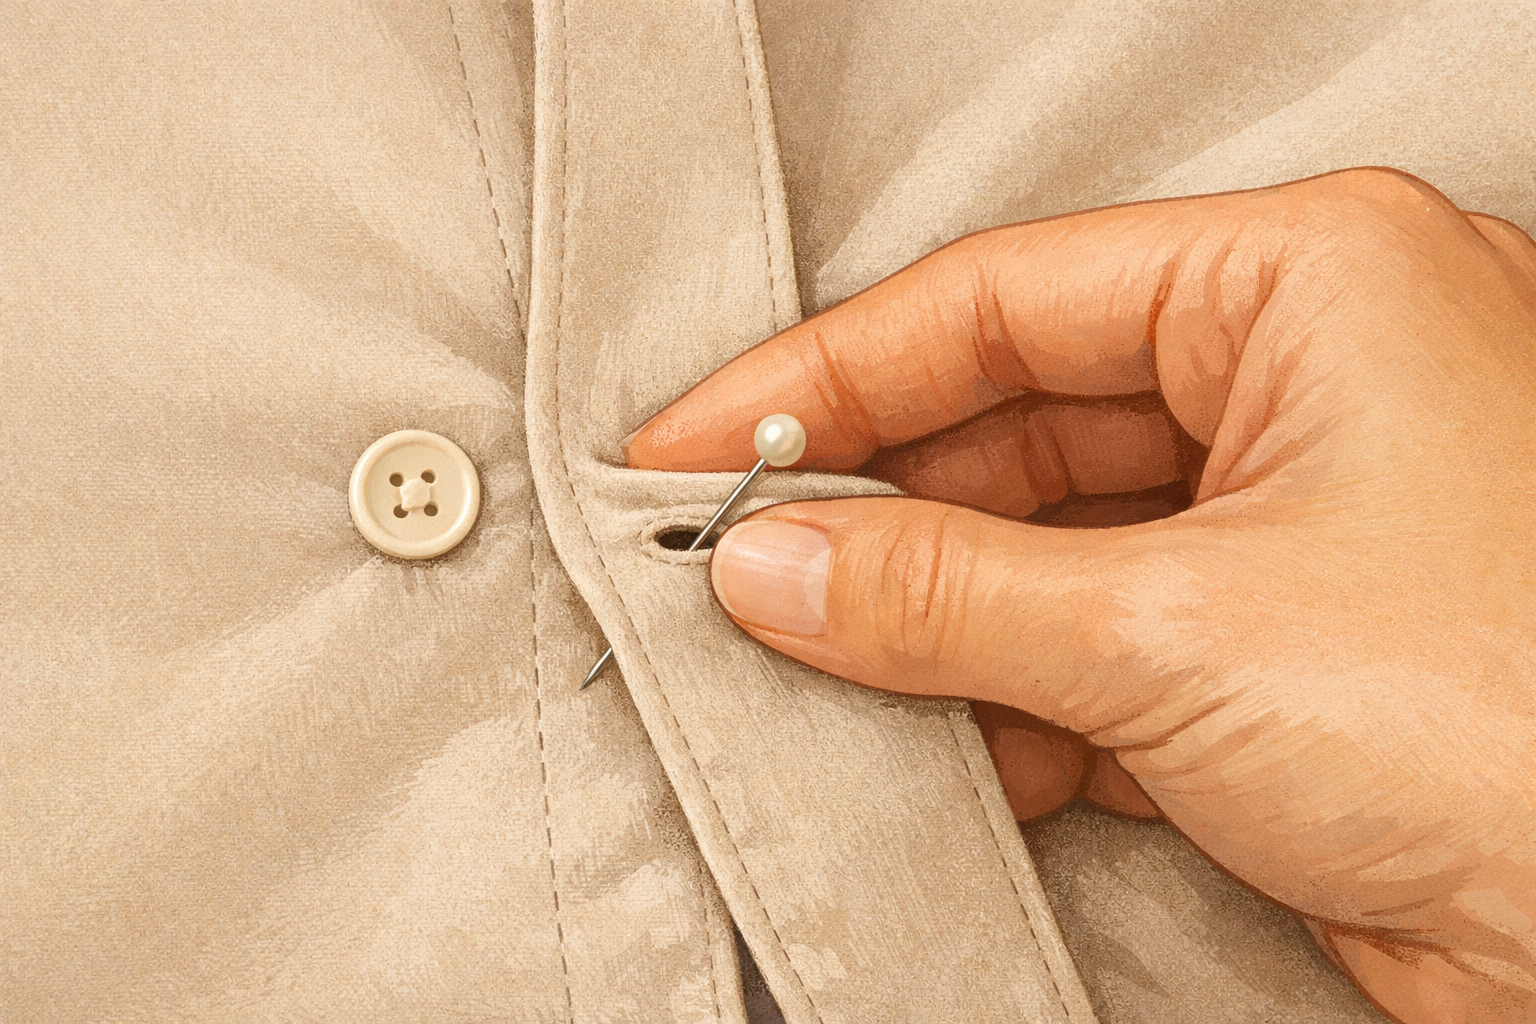
Close the garment and align the buttonhole where the missing button belongs. Poke a pin through the buttonhole to the fabric beneath or make a tiny dot with a marking pencil—this is where the button should sit so it lines up with the rest.
- 03
Thread and knot your needle
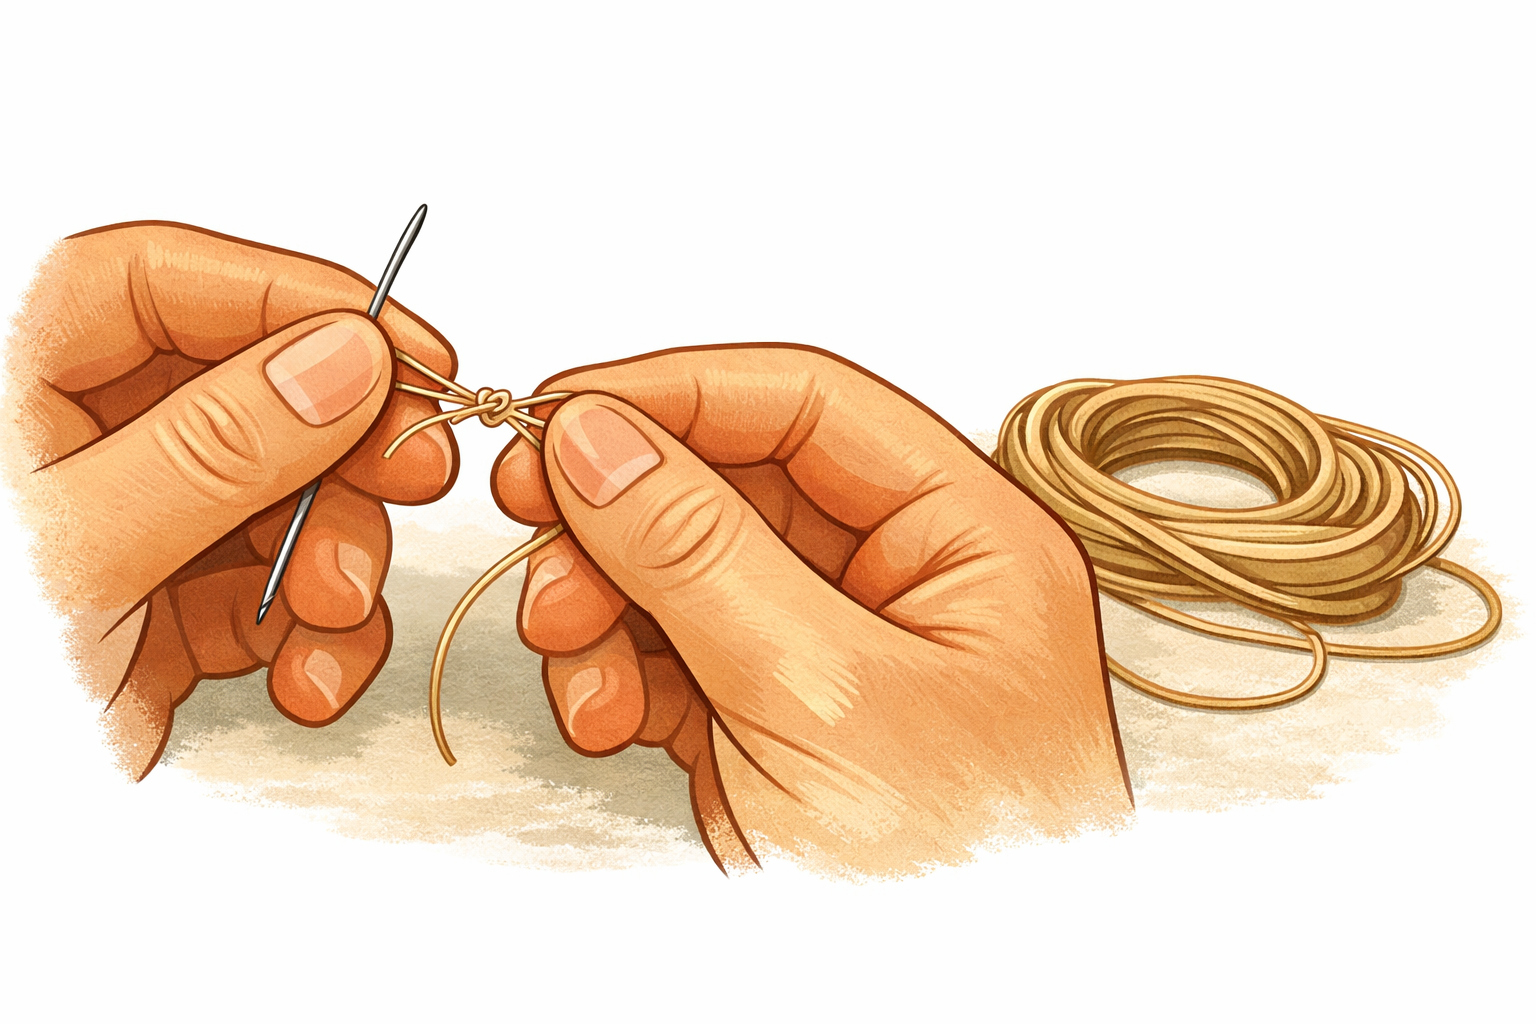
Cut a comfortable length of thread you can manage without tangling. Thread the needle and double the thread for extra strength, then tie the two ends together in a small, firm knot.
- 04
Anchor the starting point from the back
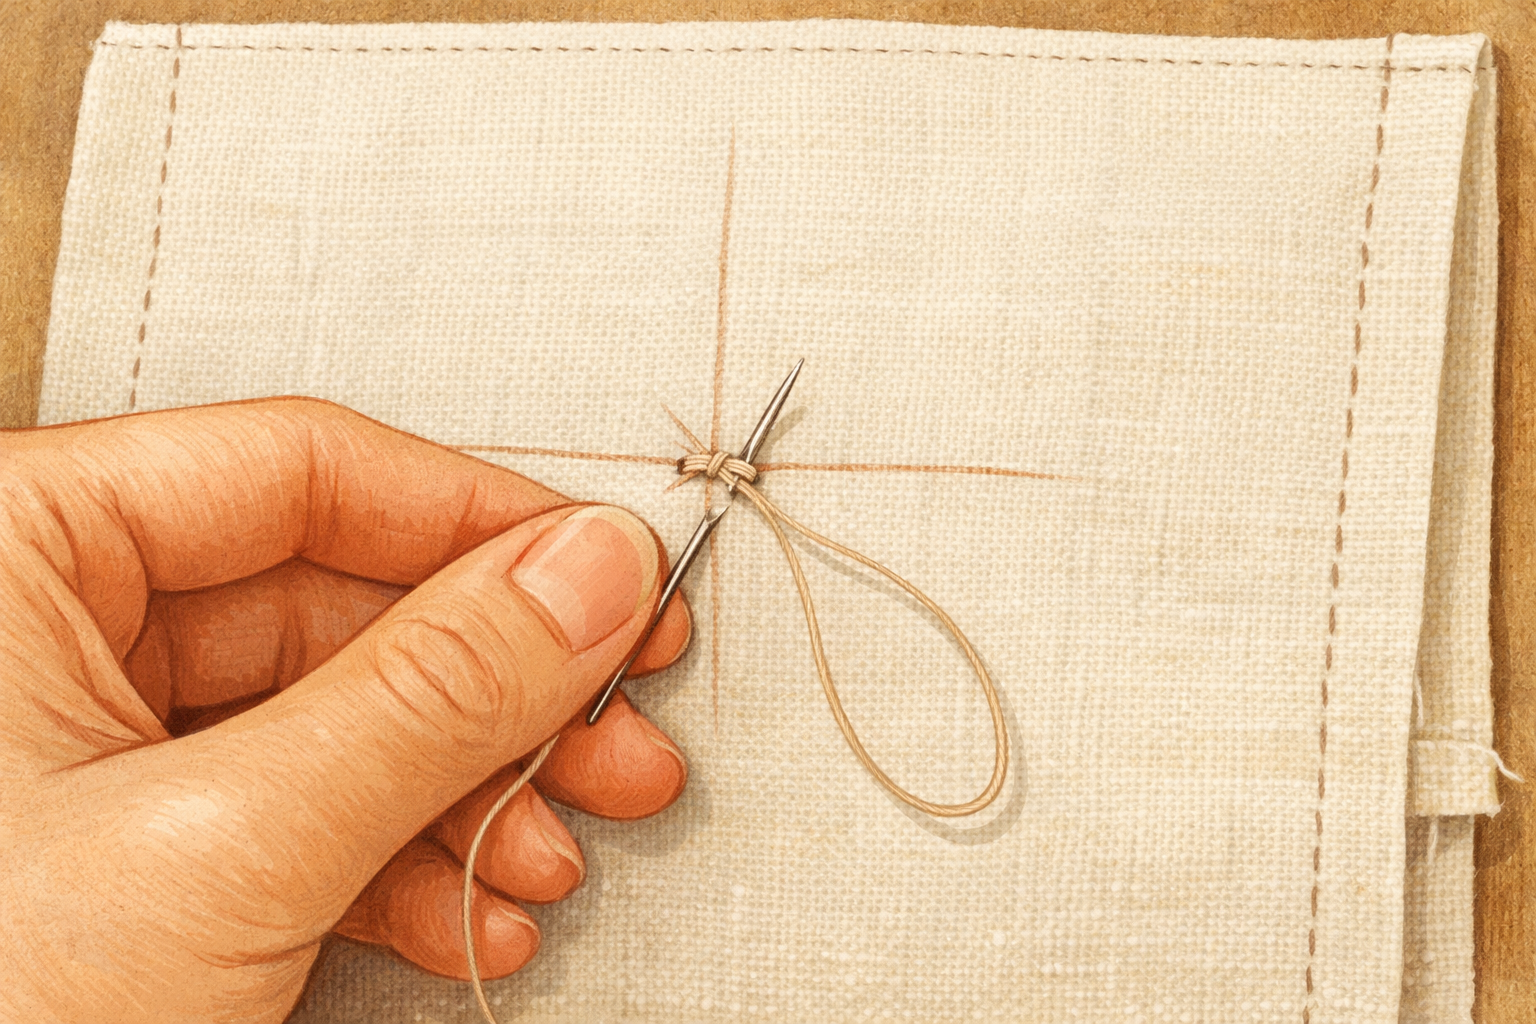
Turn the fabric wrong side up and bring the needle up at the mark. Take two or three tiny stitches right on that spot to anchor the thread, ending with the needle on the right side of the fabric.
- 05
Position the button and add a spacer
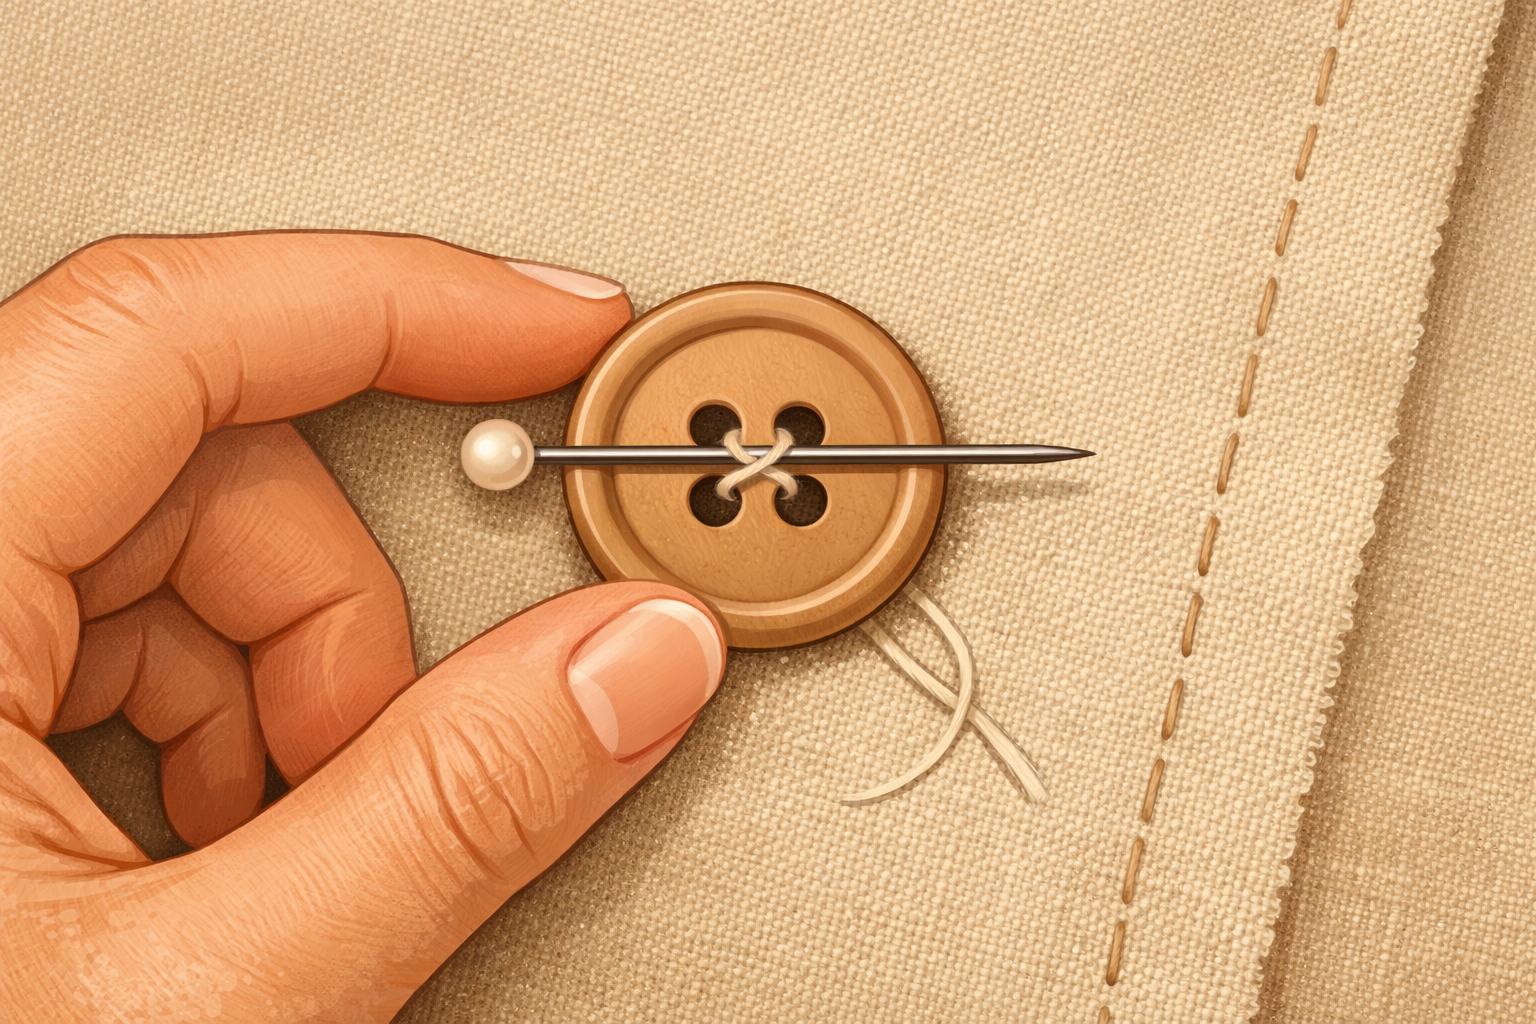
Place the button over the mark. Lay a pin or toothpick across the top of the button and hold it in place with your thumb. The spacer creates room (a shank) so the button can move and fit through the buttonhole without pulling the fabric. Match the stitch direction to neighboring buttons (straight or crisscross).
- 06
Make the first stitches through the holes
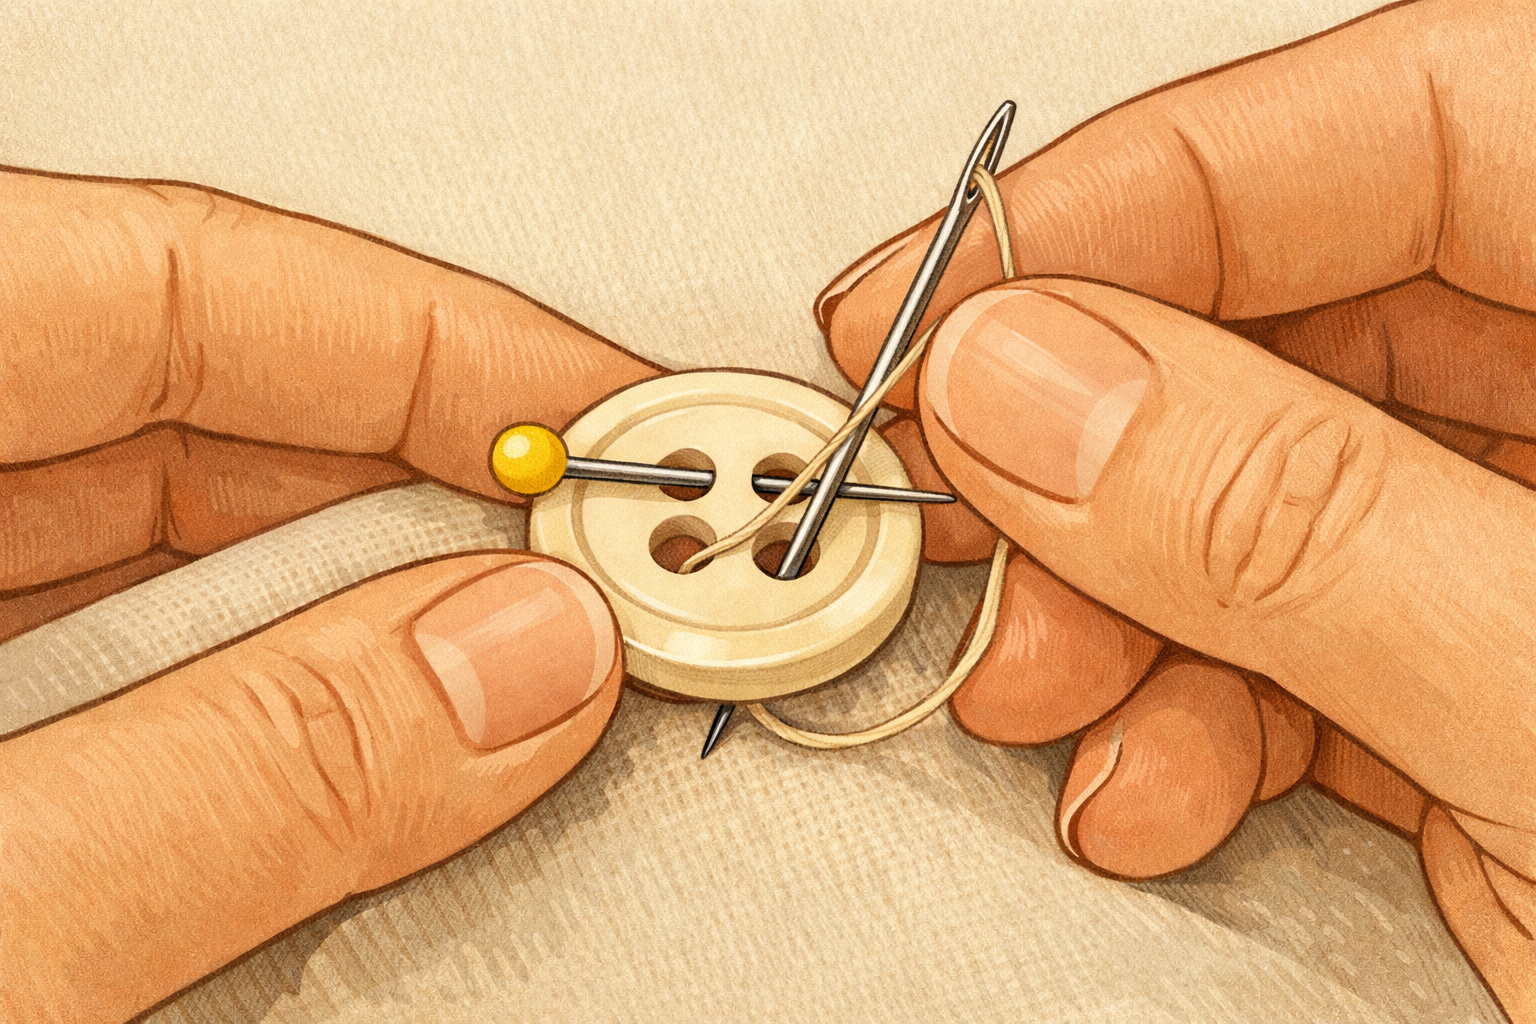
Bring the needle up through one hole of the button, over the spacer, and down through the opposite hole. For four-hole buttons, choose either a parallel or crisscross path to match nearby buttons. Keep stitches smooth but not overly tight so the spacer stays in place.
- 07
Build up strong, even stitches
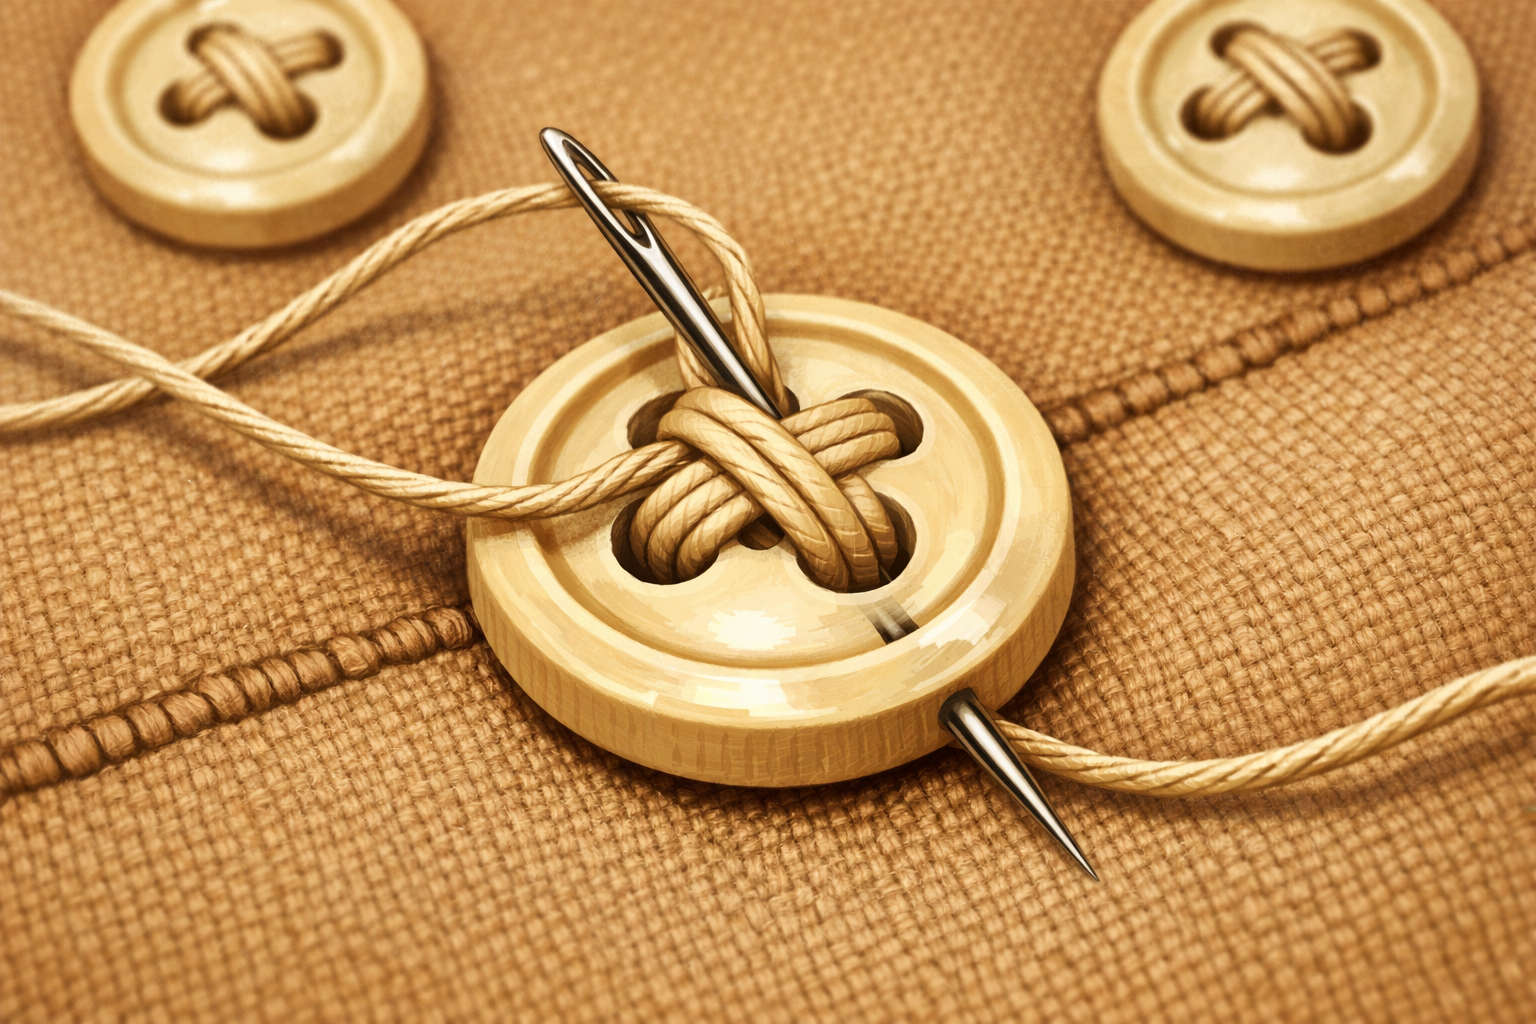
Repeat the same path several times until the button feels secure and the thread lays neatly. Keep the button centered on the mark and maintain even tension so the fabric doesn’t pucker.
- 08
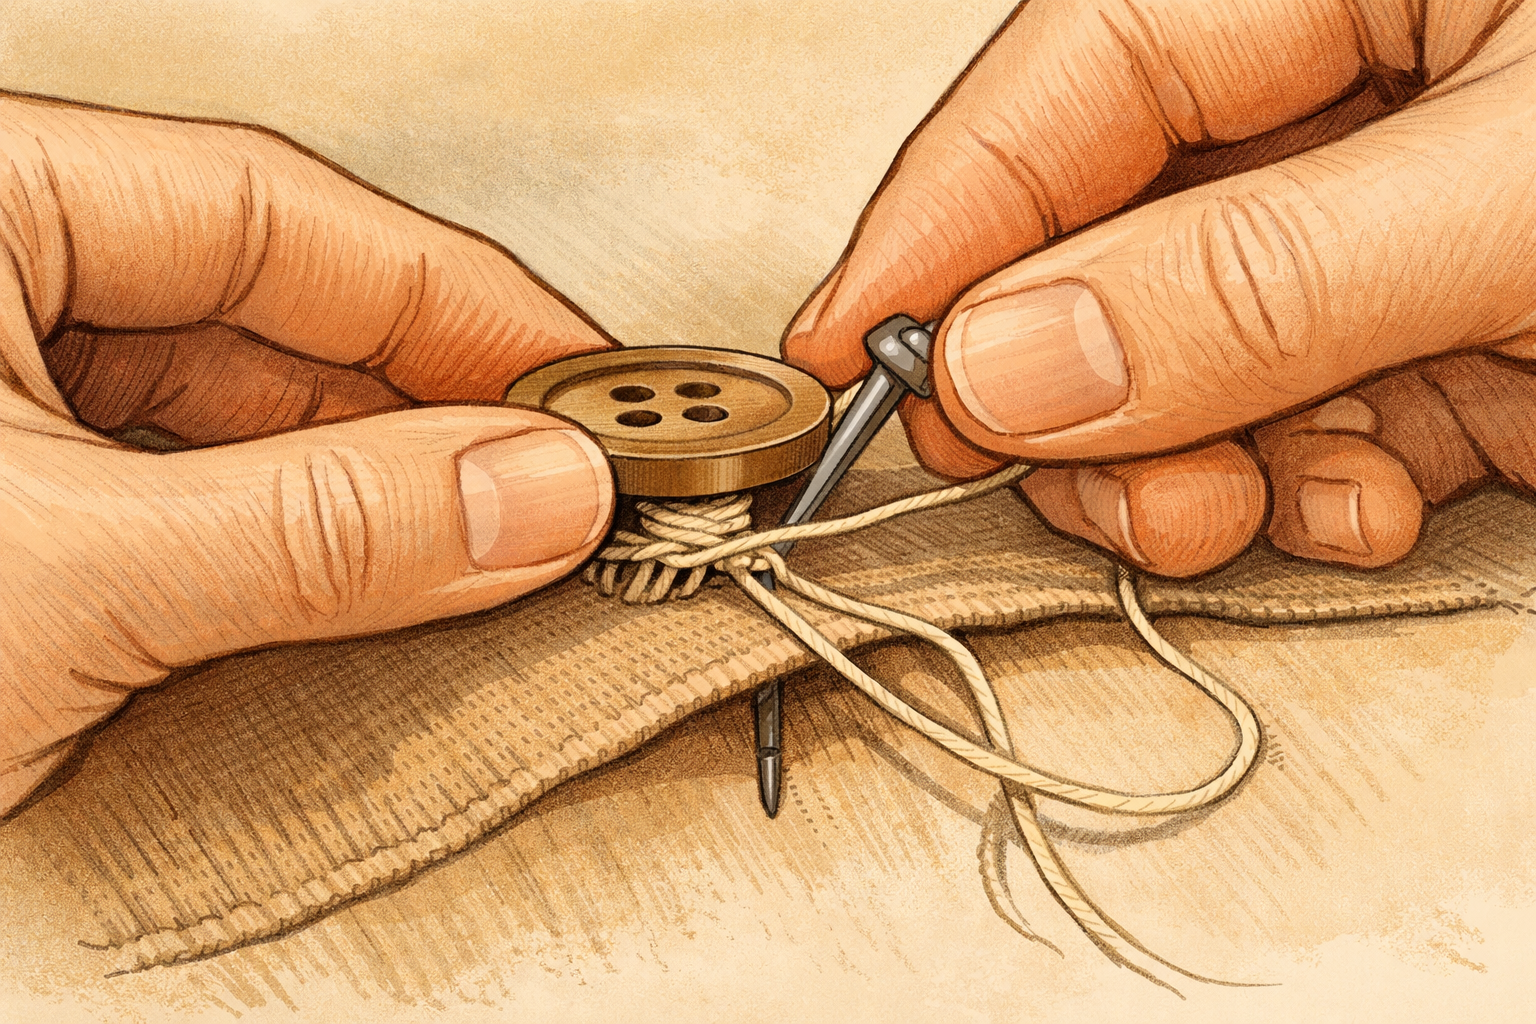
Form a thread shank for durability
With the needle on the front and the spacer still in place, take one more stitch up through the fabric and under the button. Remove the spacer. Gently lift the button and wrap the thread several times around the threads between the button and fabric to form a tidy column. This creates the movement the button needs.
- 09
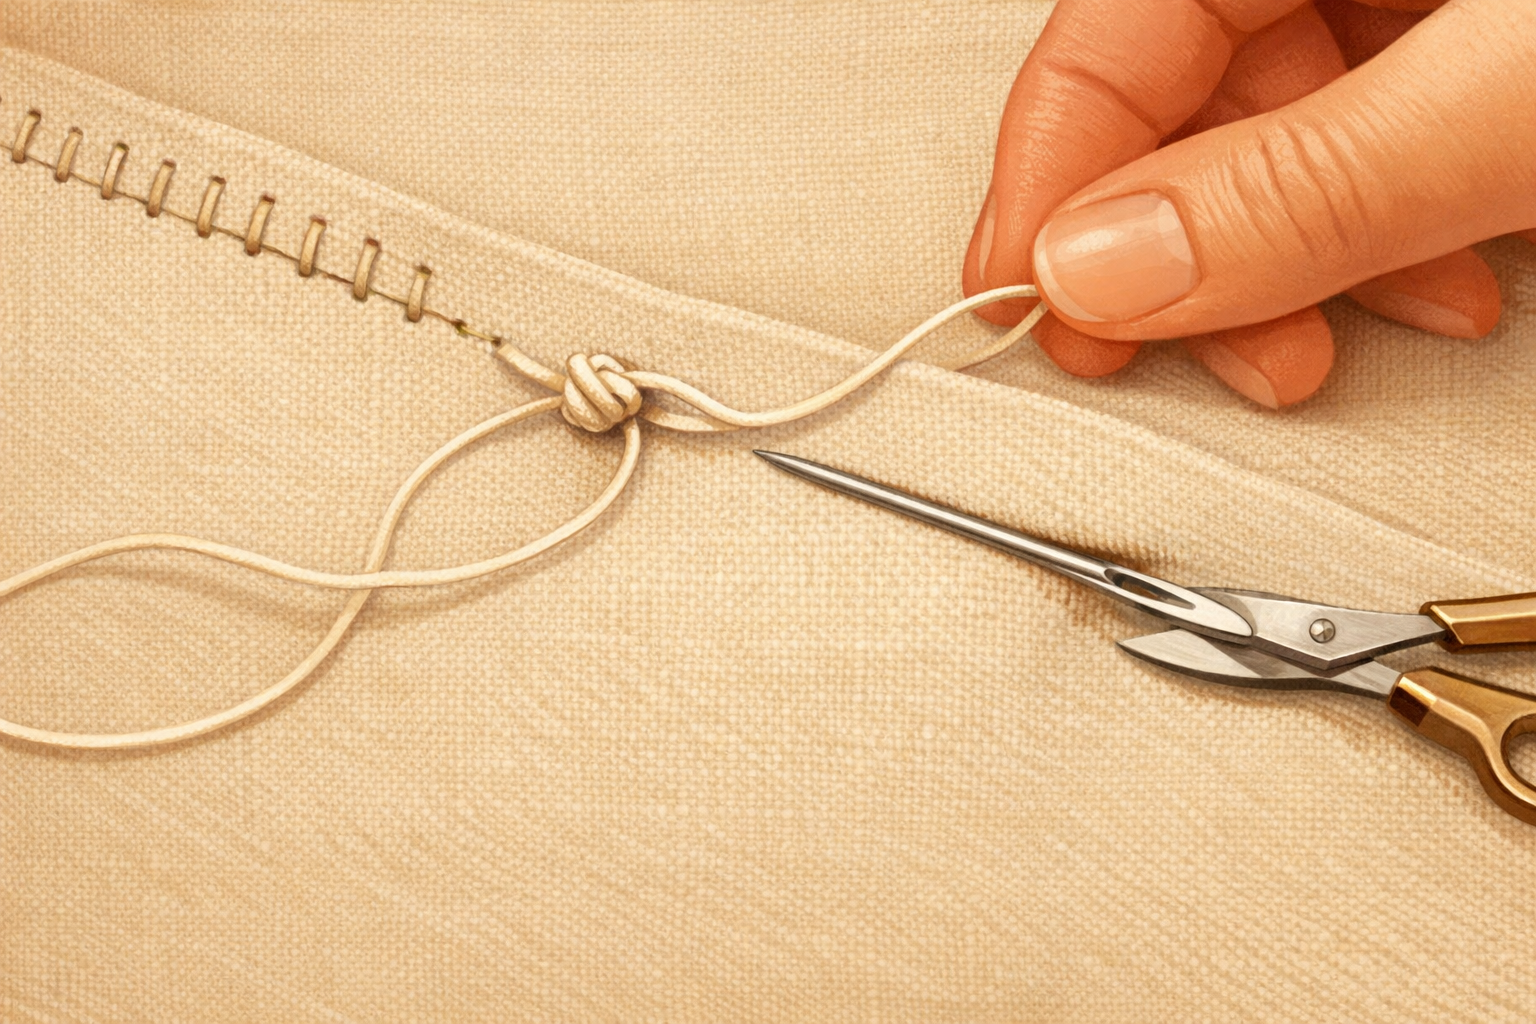
Secure the thread on the back and hide the tail
Pass the needle down to the back of the fabric. Make a couple of small stitches over the existing thread to lock it, then tie a snug knot close to the fabric. Slide the needle between fabric layers for a short distance, bring it out, and trim the tail to hide the end.
- 10
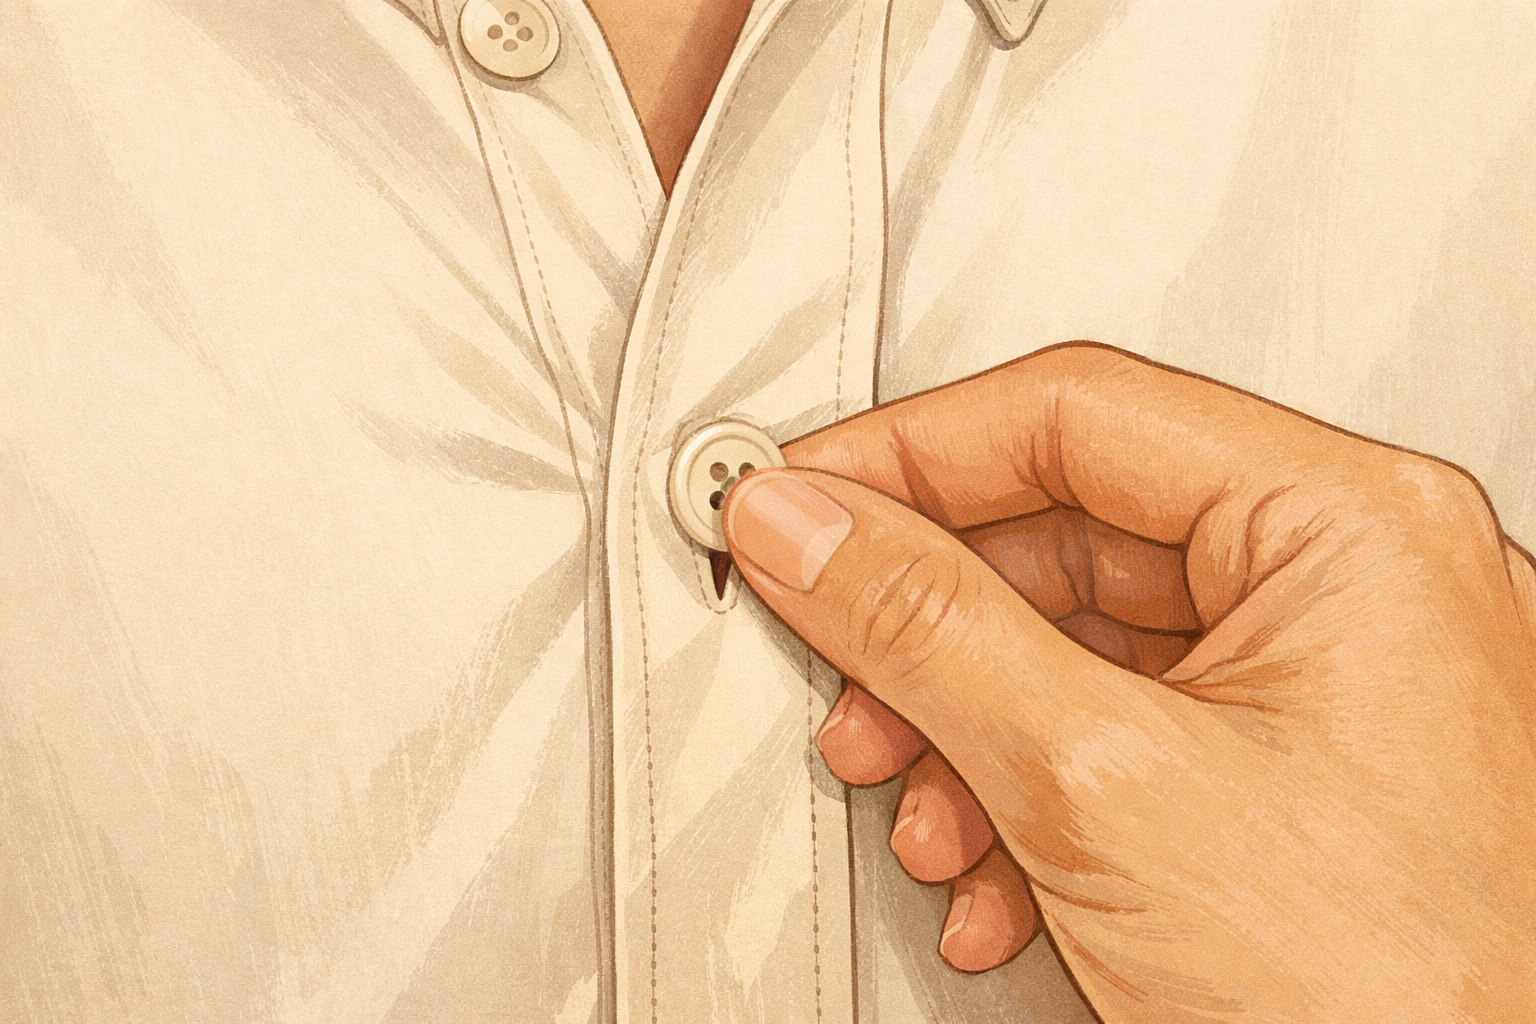
Test the alignment and finish neatly
Button the garment to check that it slips through the buttonhole smoothly and lines up with the others. If it feels tight on thick fabric, gently flex the shank with your fingernail. Snip any stray threads and smooth the area with your fingers.
If this was useful
Try one of these next
Home & life
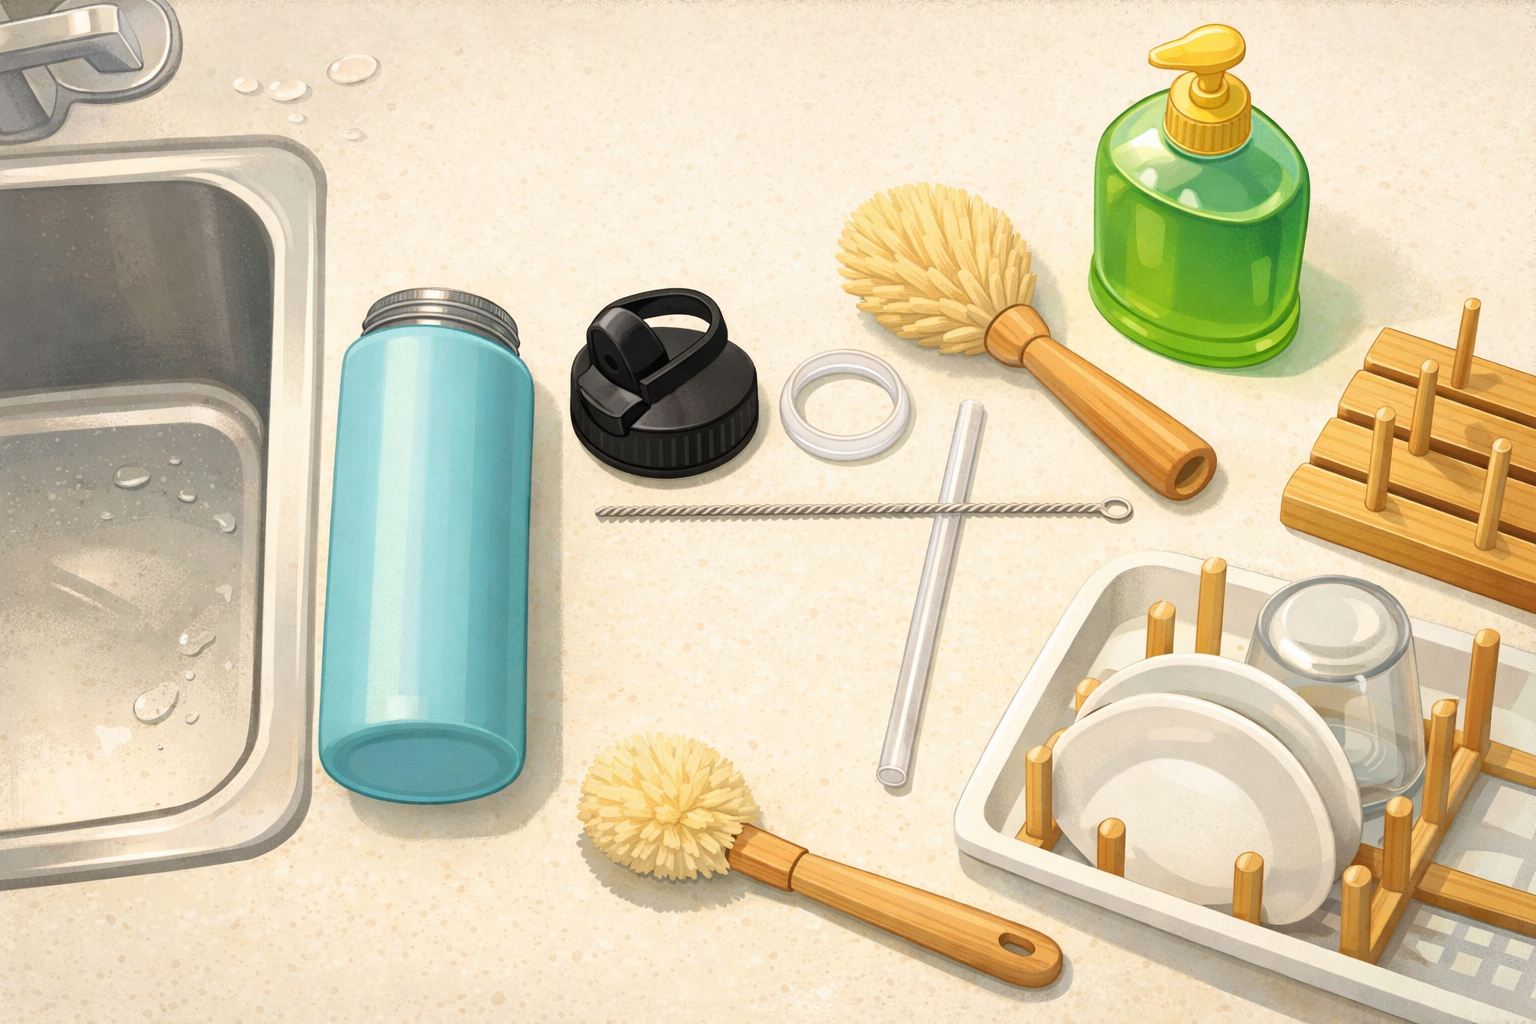
How to clean and dry a reusable water bottle after a picnic
Disassemble the lid, clean threads and seals, wash the body, rinse thoroughly, and air‑dry so it doesn’t develop odours between countryside trips. Close‑ups show where residue hides and a quick drying rack setup.
Read the guide
Hobbies & crafts
How to draw a standing penguin using teardrop shapes
Start with a tall teardrop for the body and small ovals for the head and feet. Add a simple beak and flippers with more teardrops, map the tuxedo belly, then refine the outline. Erase the guides and finish with light shading for roundness. Each step’s image overlays pale guide shapes and the darker final lines so you can see what to keep.
Read the guide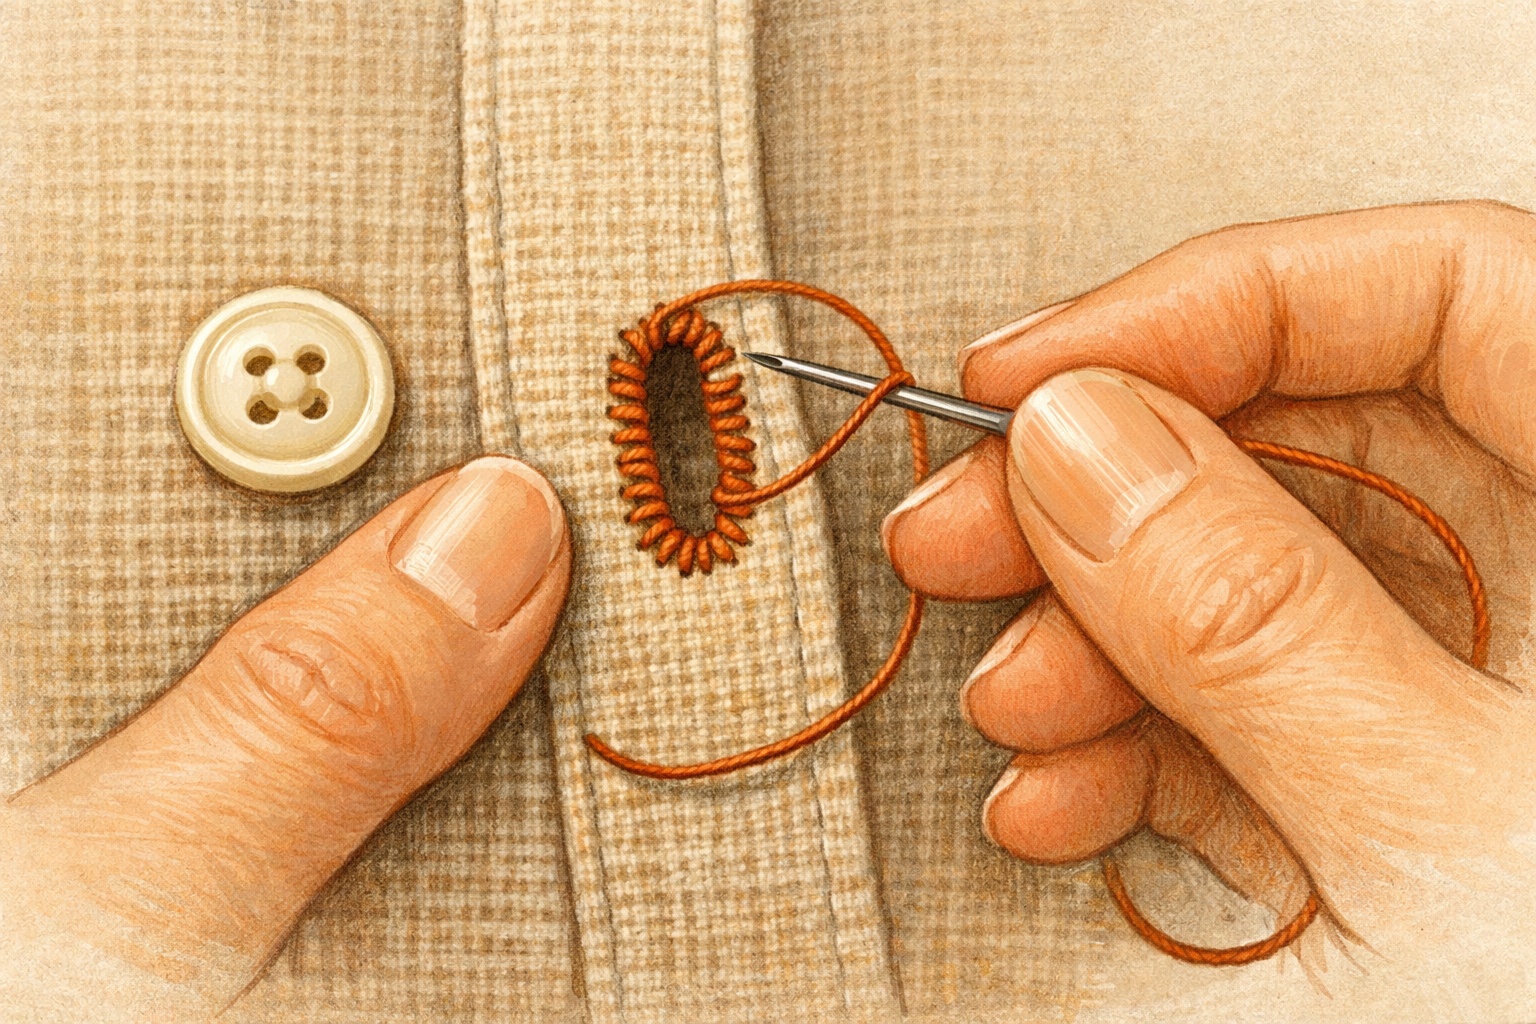
Hobbies & crafts
How to Tighten a Loose Buttonhole with Blanket Stitches
Reinforce stretched buttonholes by stitching a neat border that grips the button and prevents further fraying.
Read the guide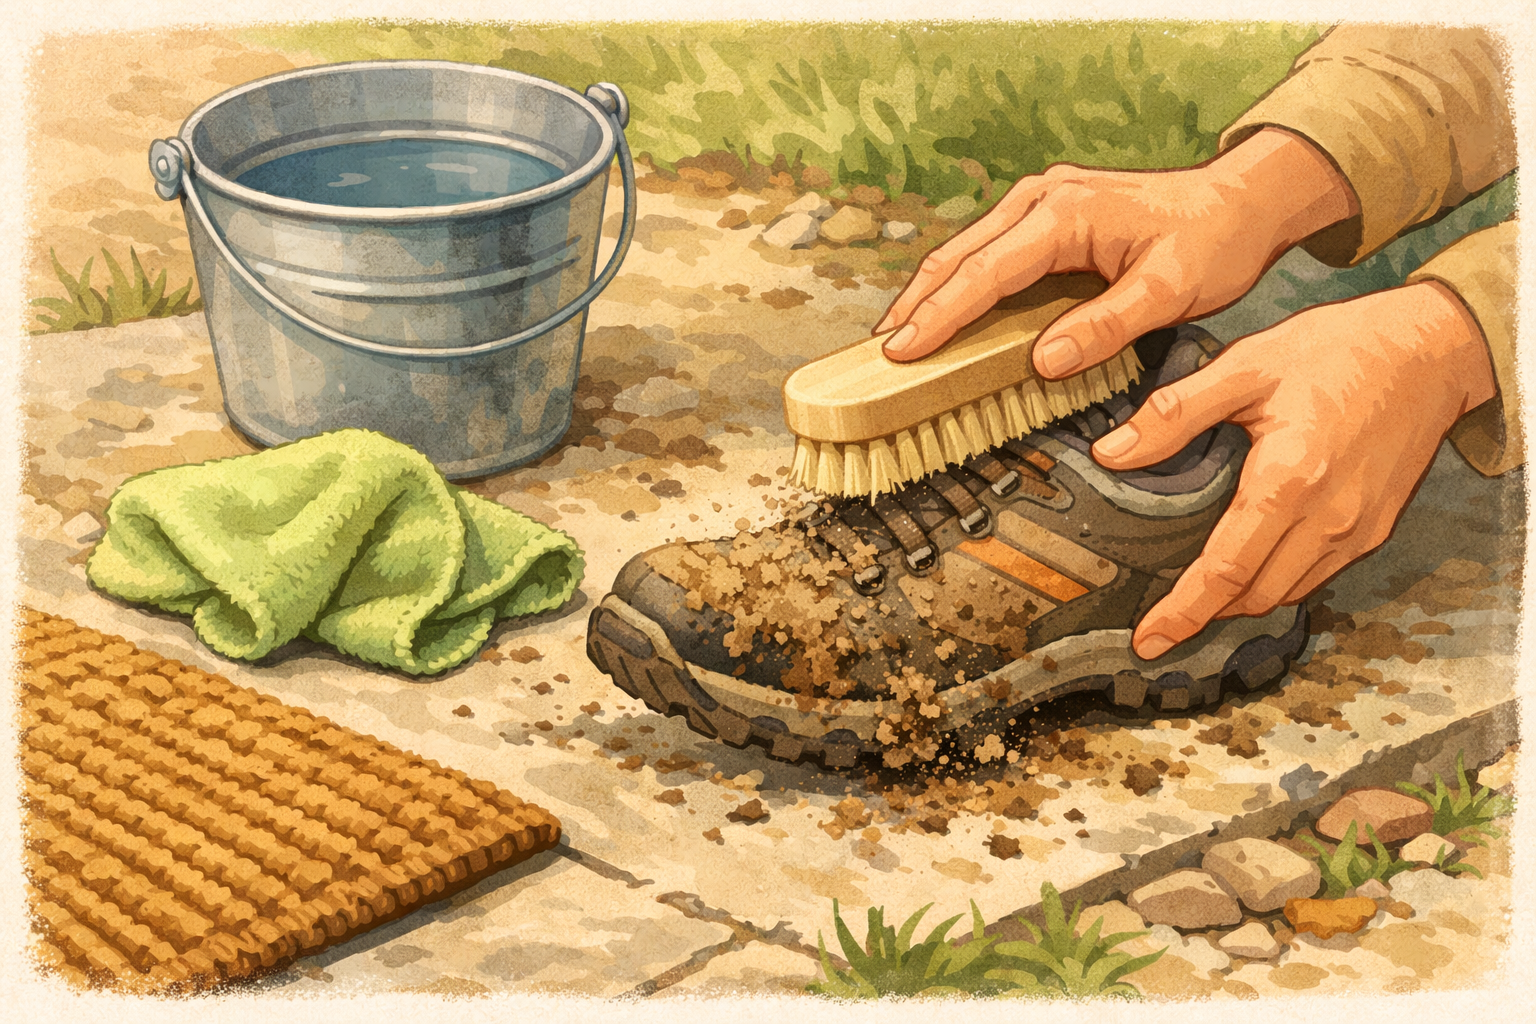
Home & life
How to clean muddy walking shoes after a countryside footpath
Knock off dried mud, brush seams, wipe uppers, clean outsoles, freshen insoles, and air‑dry so your shoes are ready for the next path. Photos show the order and which brushes or cloths to use.
Read the guide