Hobbies & crafts
How to draw a goldfish with flowing fins and tail
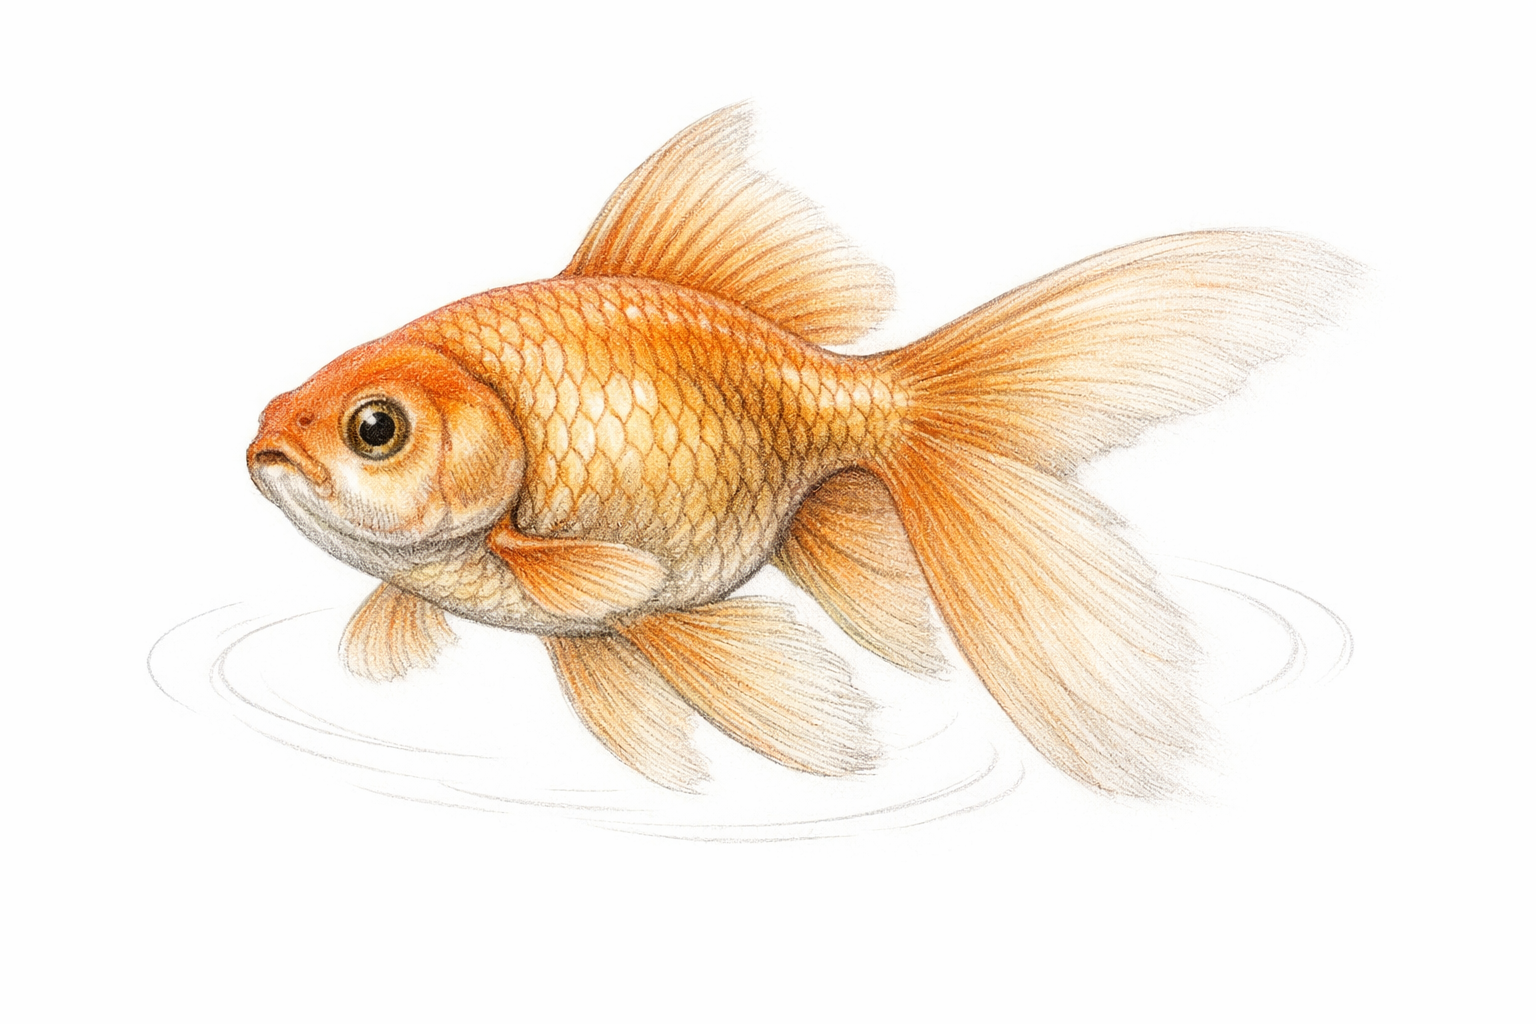
Block in an almond-shaped body and S-curve tail guides, then add fins, eye, and mouth. Refine the edges, erase construction lines, suggest scales with light marks, and shade for a watery look. Step frames show tail flow lines clearly.
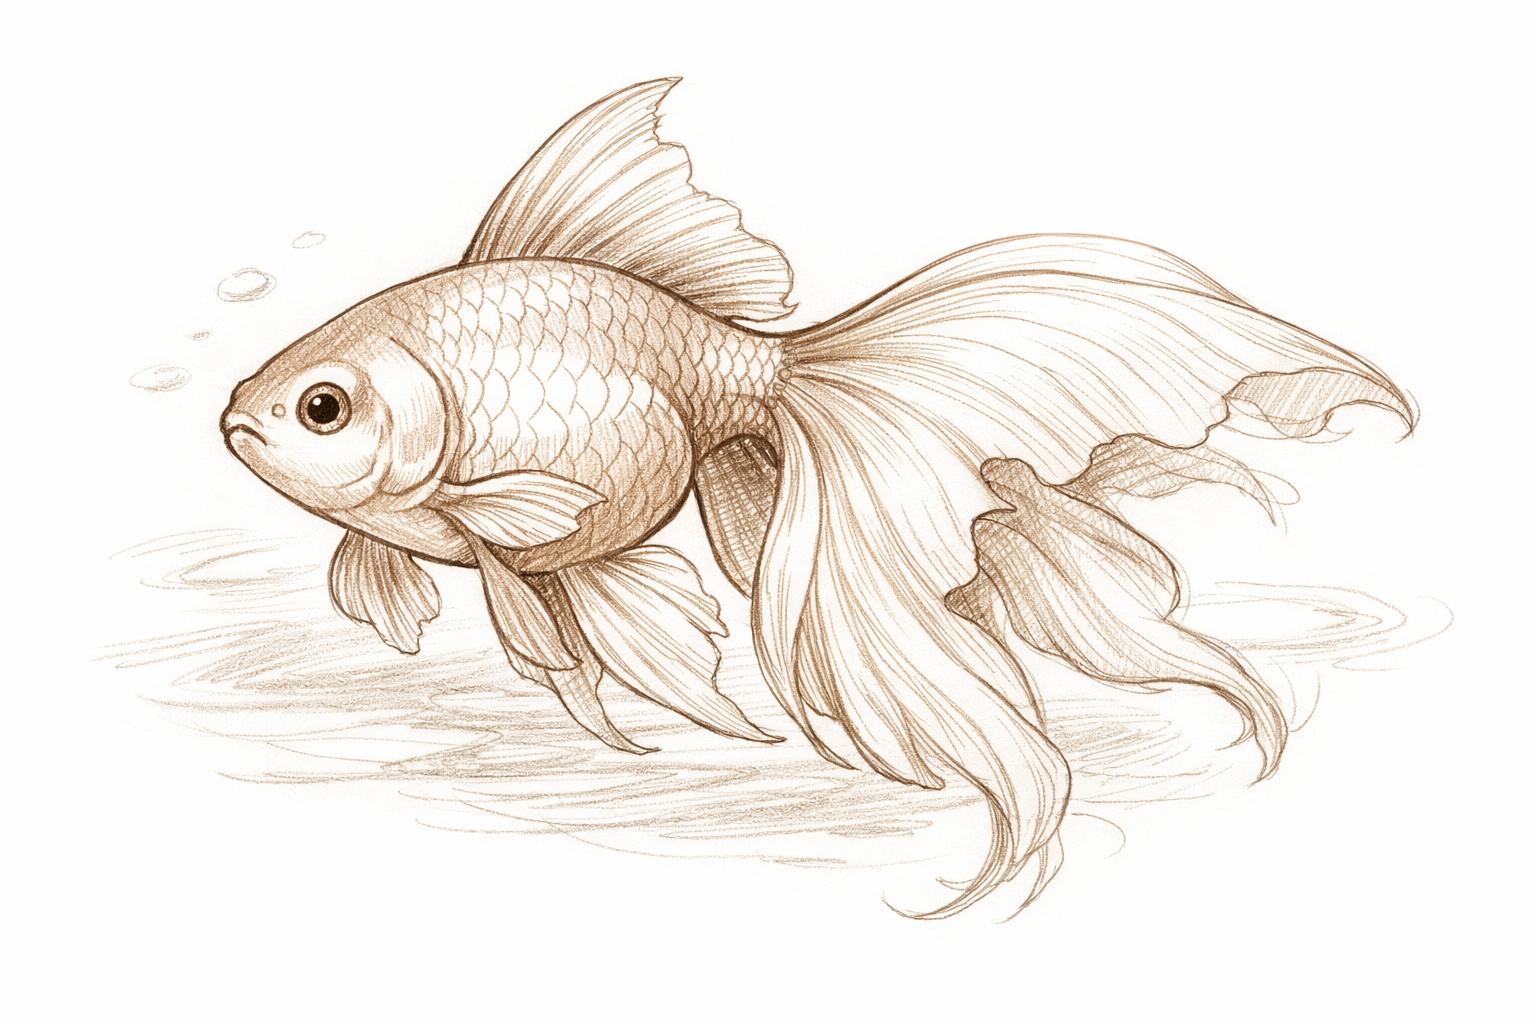
- 01
Set up your page and pencil
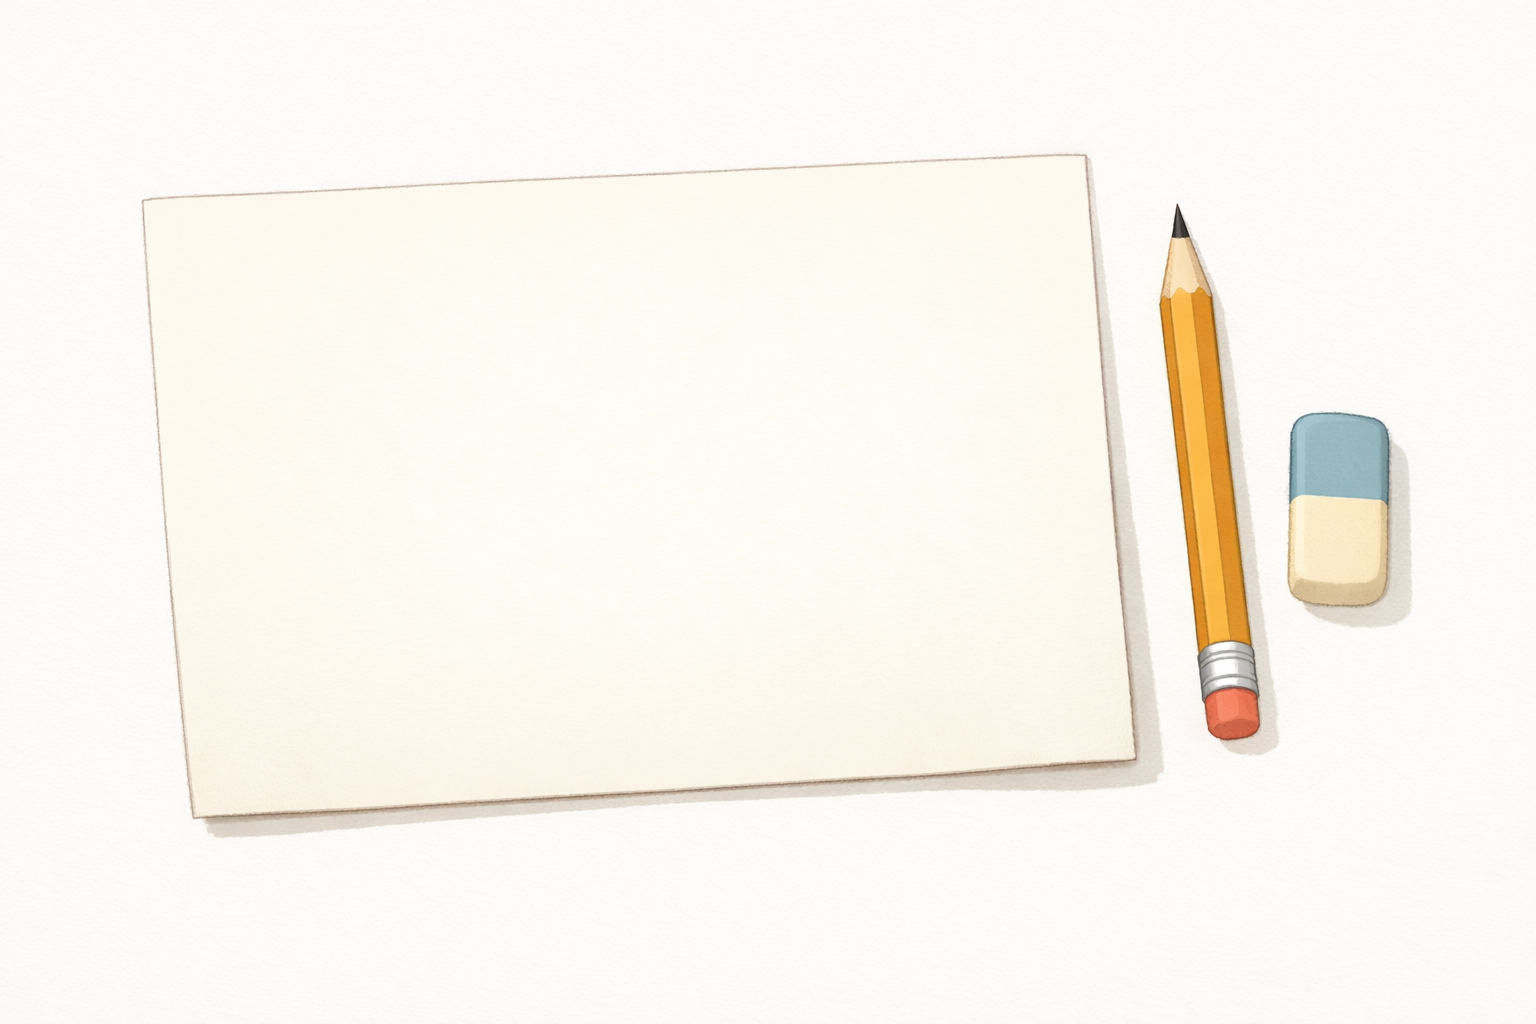
Place a sheet of smooth drawing paper in landscape orientation. Use a hard or medium pencil (H–HB) and keep your grip light so early lines stay faint and easy to erase later.
- 02
Block in an almond-shaped body
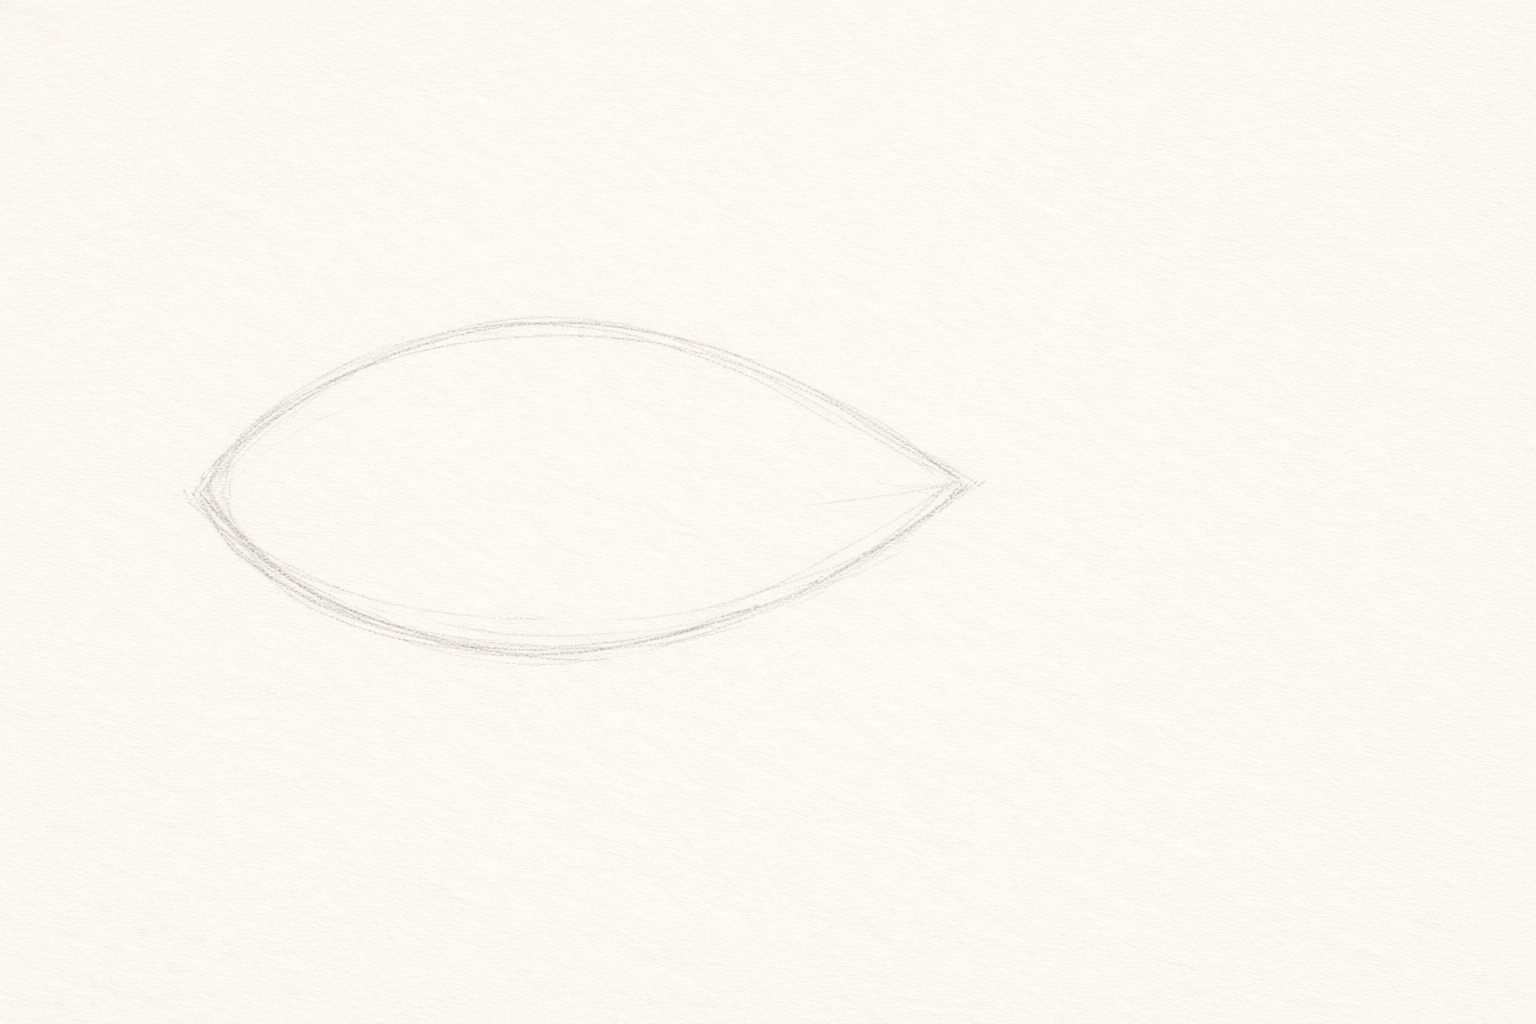
Lightly sketch an almond or football shape for the fish’s body, tilted slightly upward at the head end. Keep it airy and centered, leaving room for a long tail to the right.
- 03
Lay S-curve flow lines for the tail
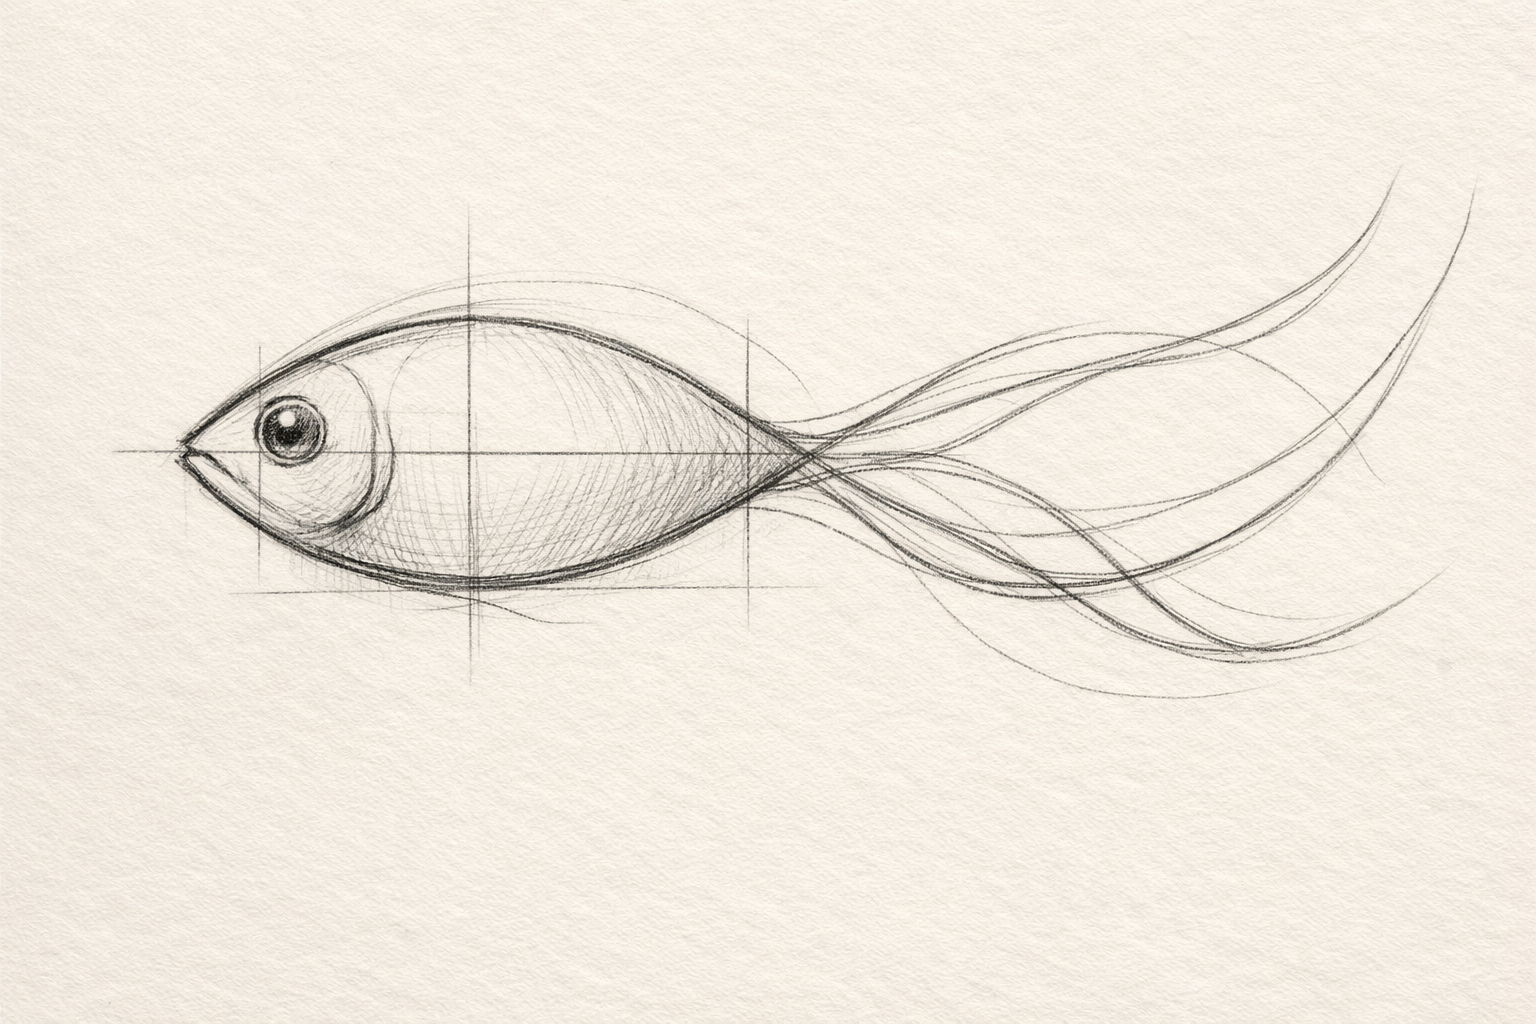
From the narrow rear tip of the body, draw two long, sweeping S-curves that arc outward and then back, diverging as they extend. These are loose guides to set the tail’s graceful flow.
- 04
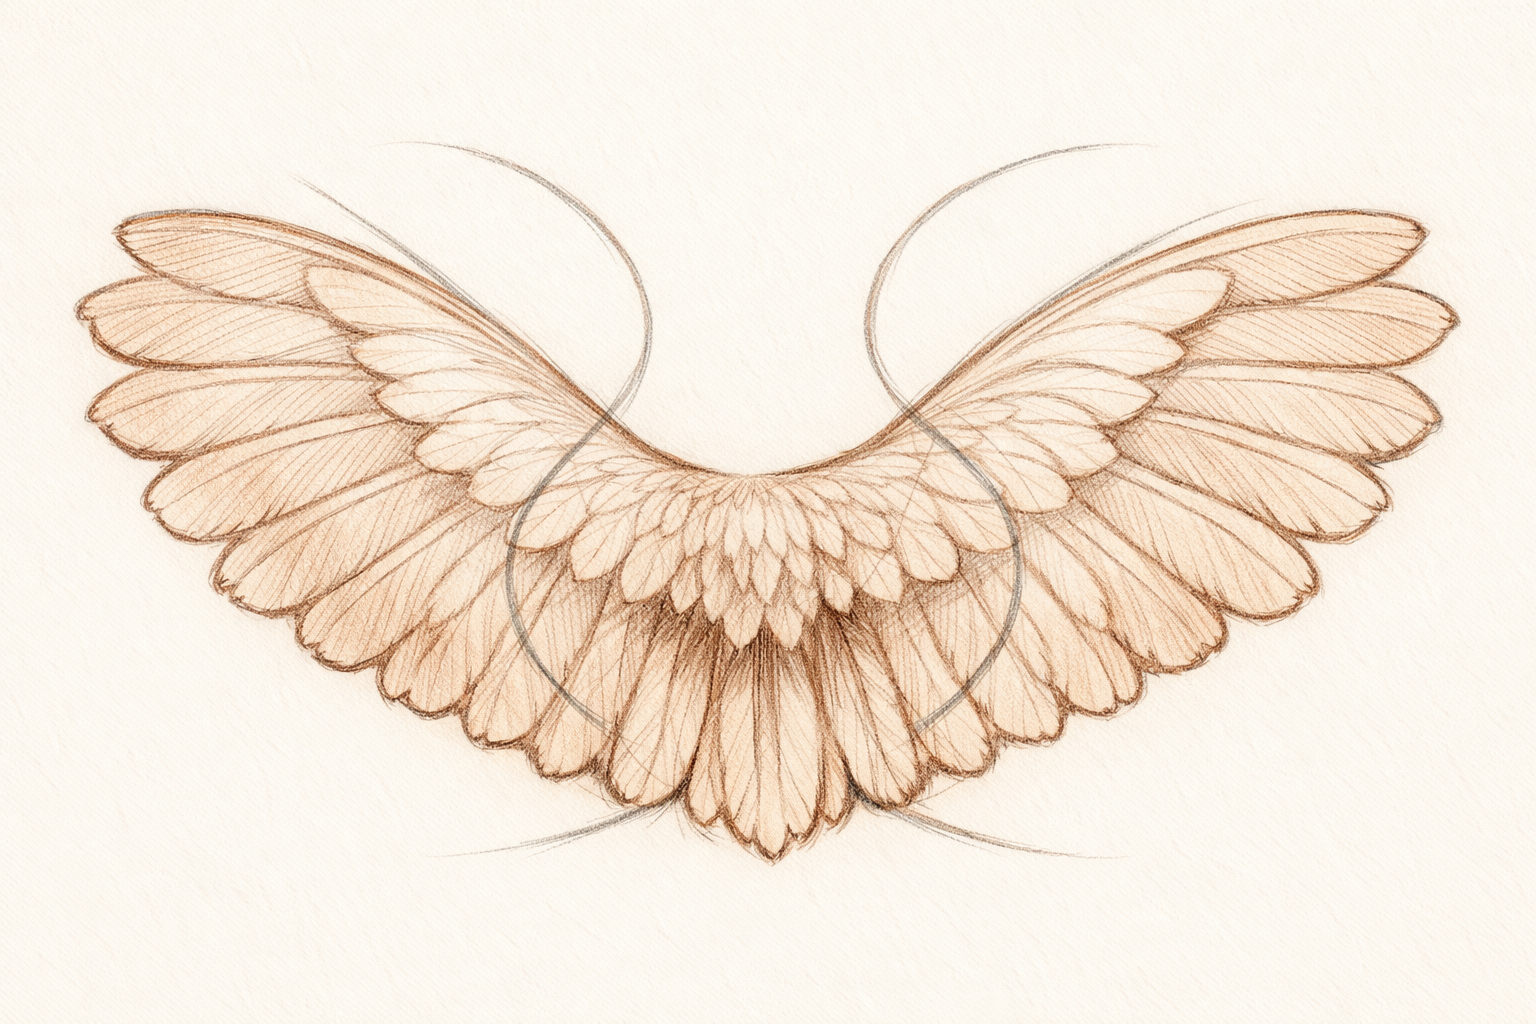
Shape the broad, wavy tail around the guides
Use the S-curves to outline a broad, fan-like tail. Keep the trailing edge soft and wavy, and connect it to the body with a slight narrowing where the tail meets the body.
- 05
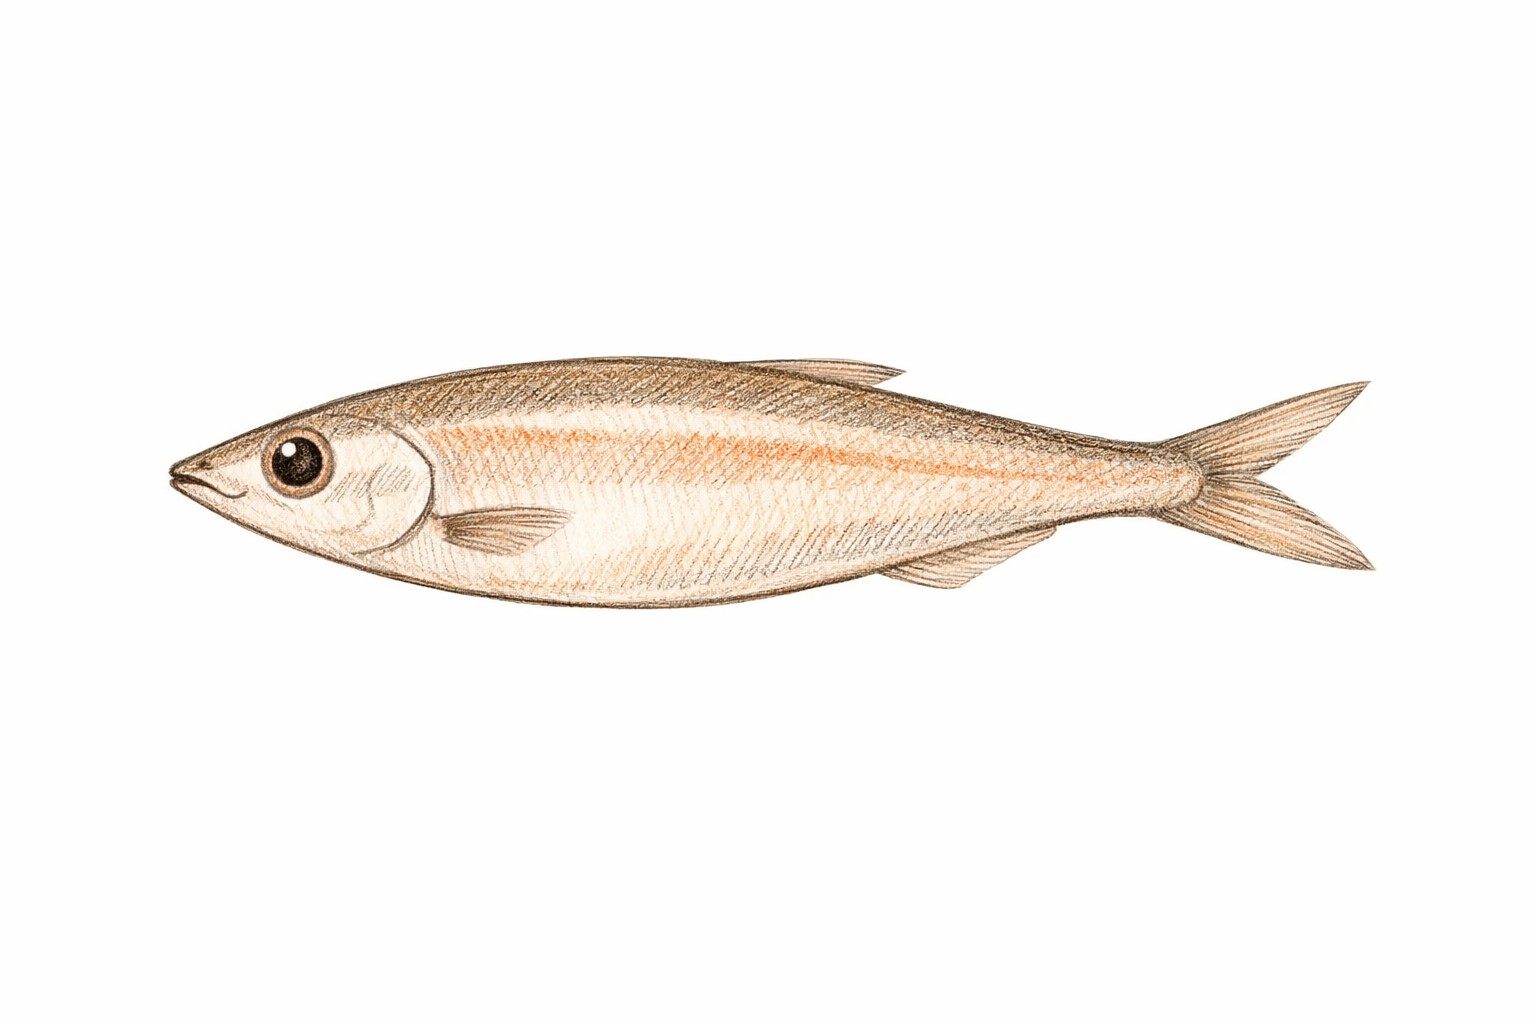
Mark the head features
Place a small circle for the eye in the front third of the body, slightly above center. Indicate a tiny mouth opening at the tip of the head with a short notch or curved line, and add a gentle gill curve behind the eye.
- 06
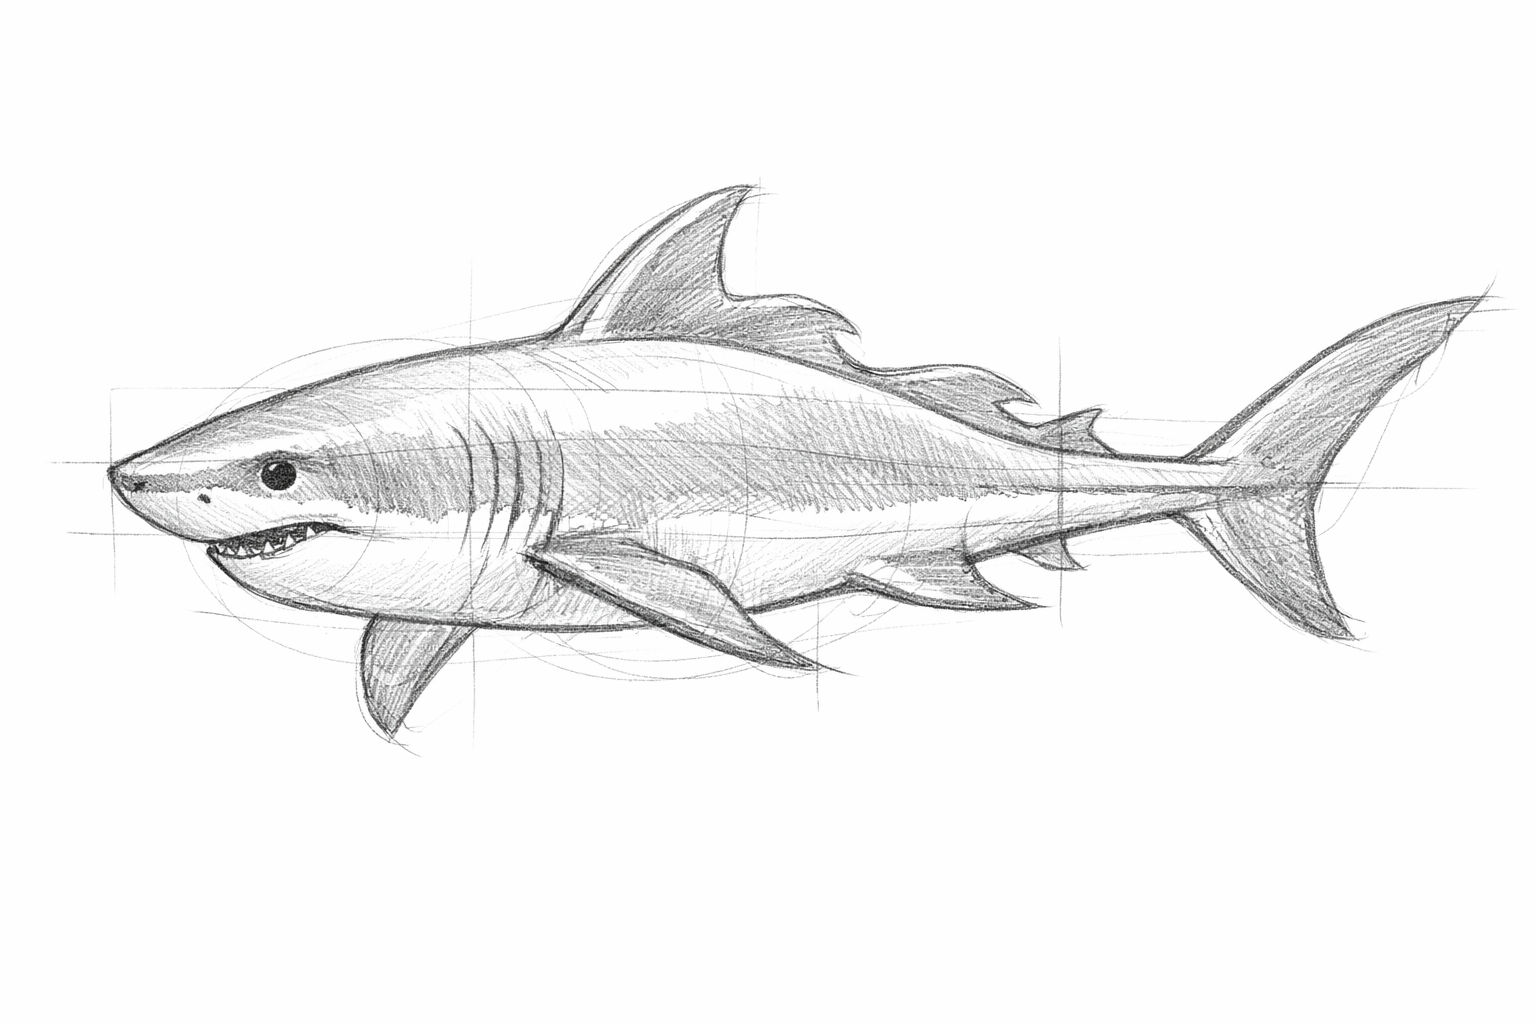
Add the dorsal and anal fins
Sketch a flowing dorsal fin along the top middle of the body and an anal fin on the lower middle. Let both rise and fall in smooth waves, tapering to soft points toward the back.
- 07
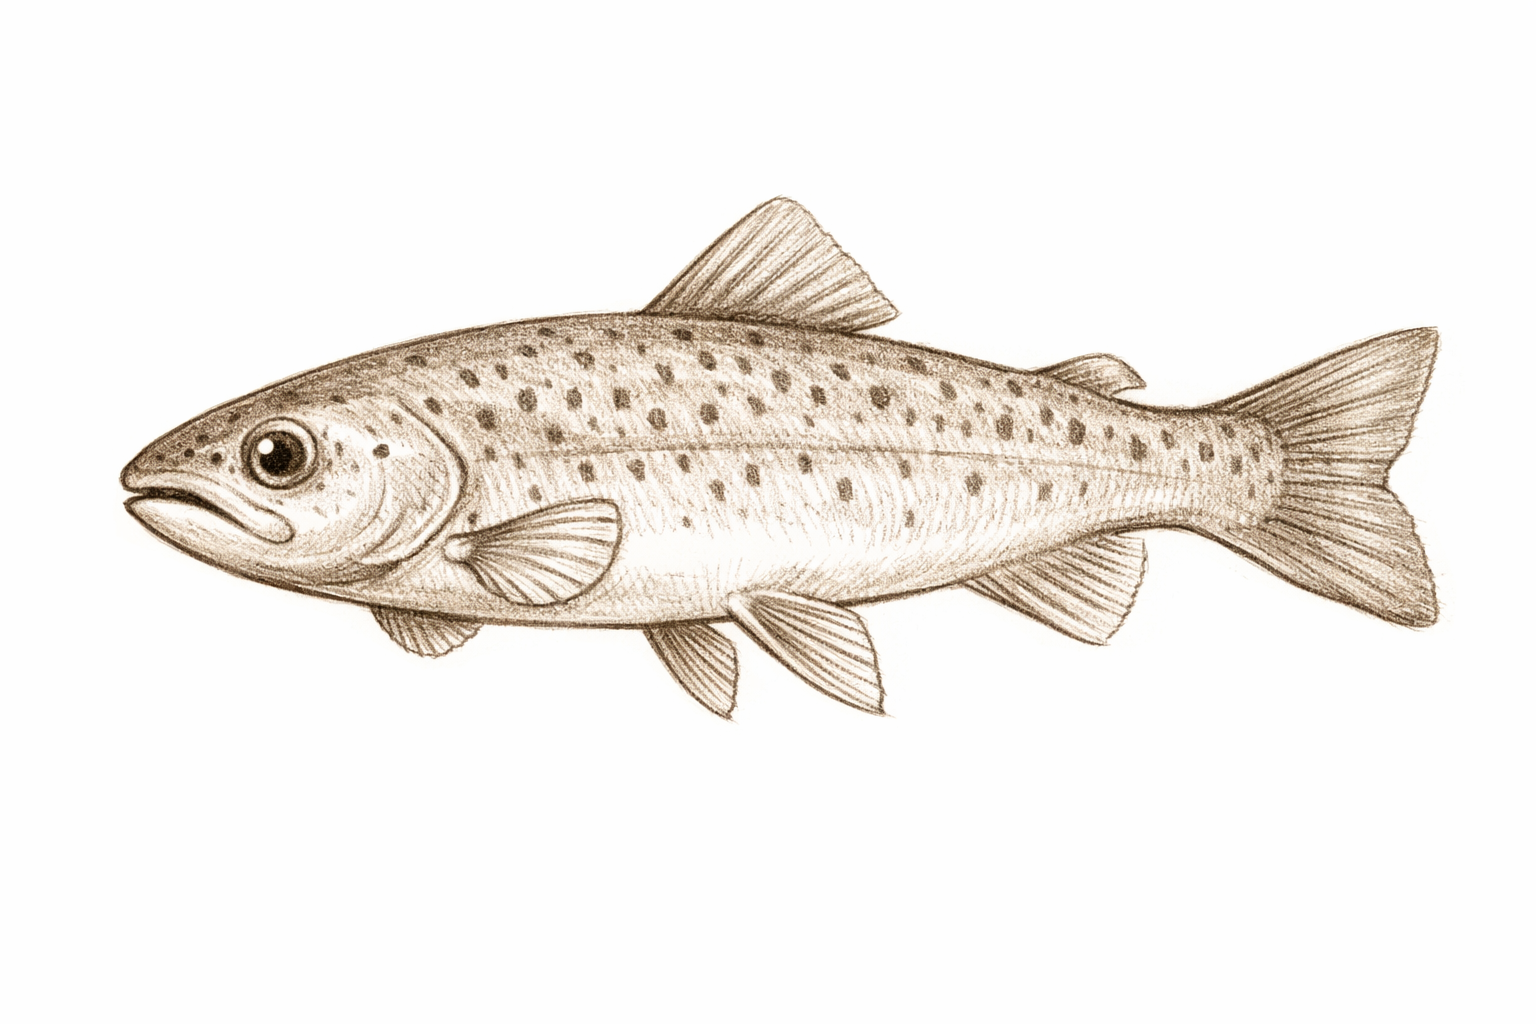
Add pectoral and pelvic fins
Draw a small fan-like pectoral fin just behind and slightly below the eye, and a pair of slimmer pelvic fins under the body, a little farther back. Angle them to feel as if they’re gently fanning water.
- 08
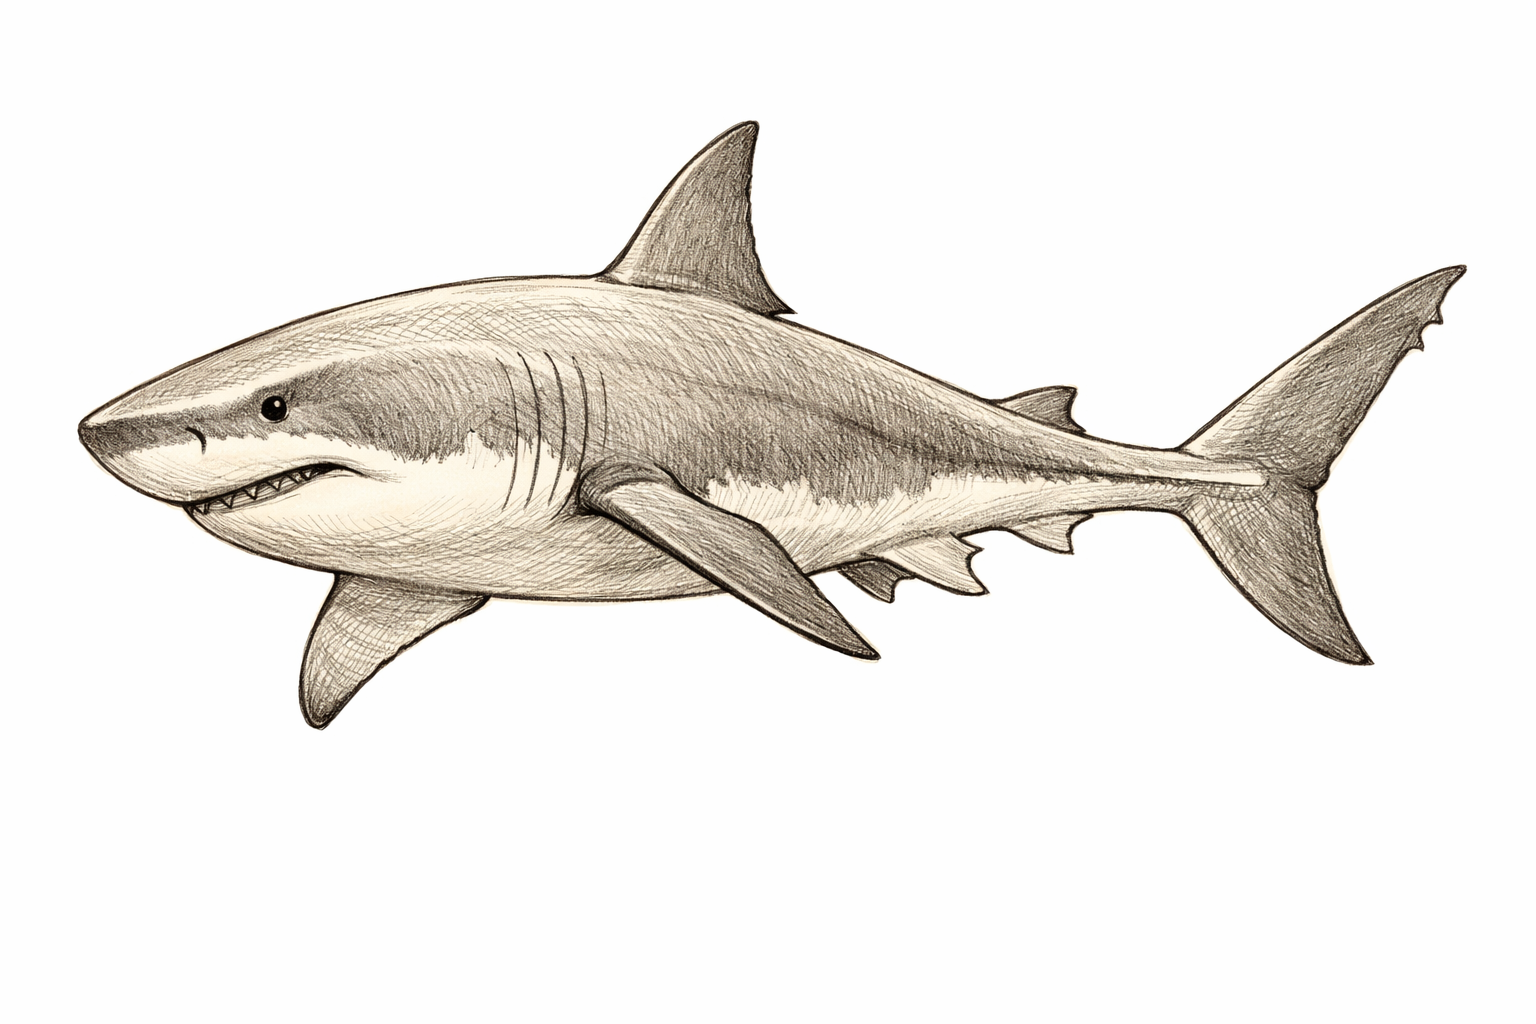
Refine the contours and overlaps
Go over your chosen outlines with a slightly darker pencil pressure, clarifying the body’s curve and the fins’ edges. Show slight overlaps where fins emerge from the body and narrow the tail base subtly.
- 09
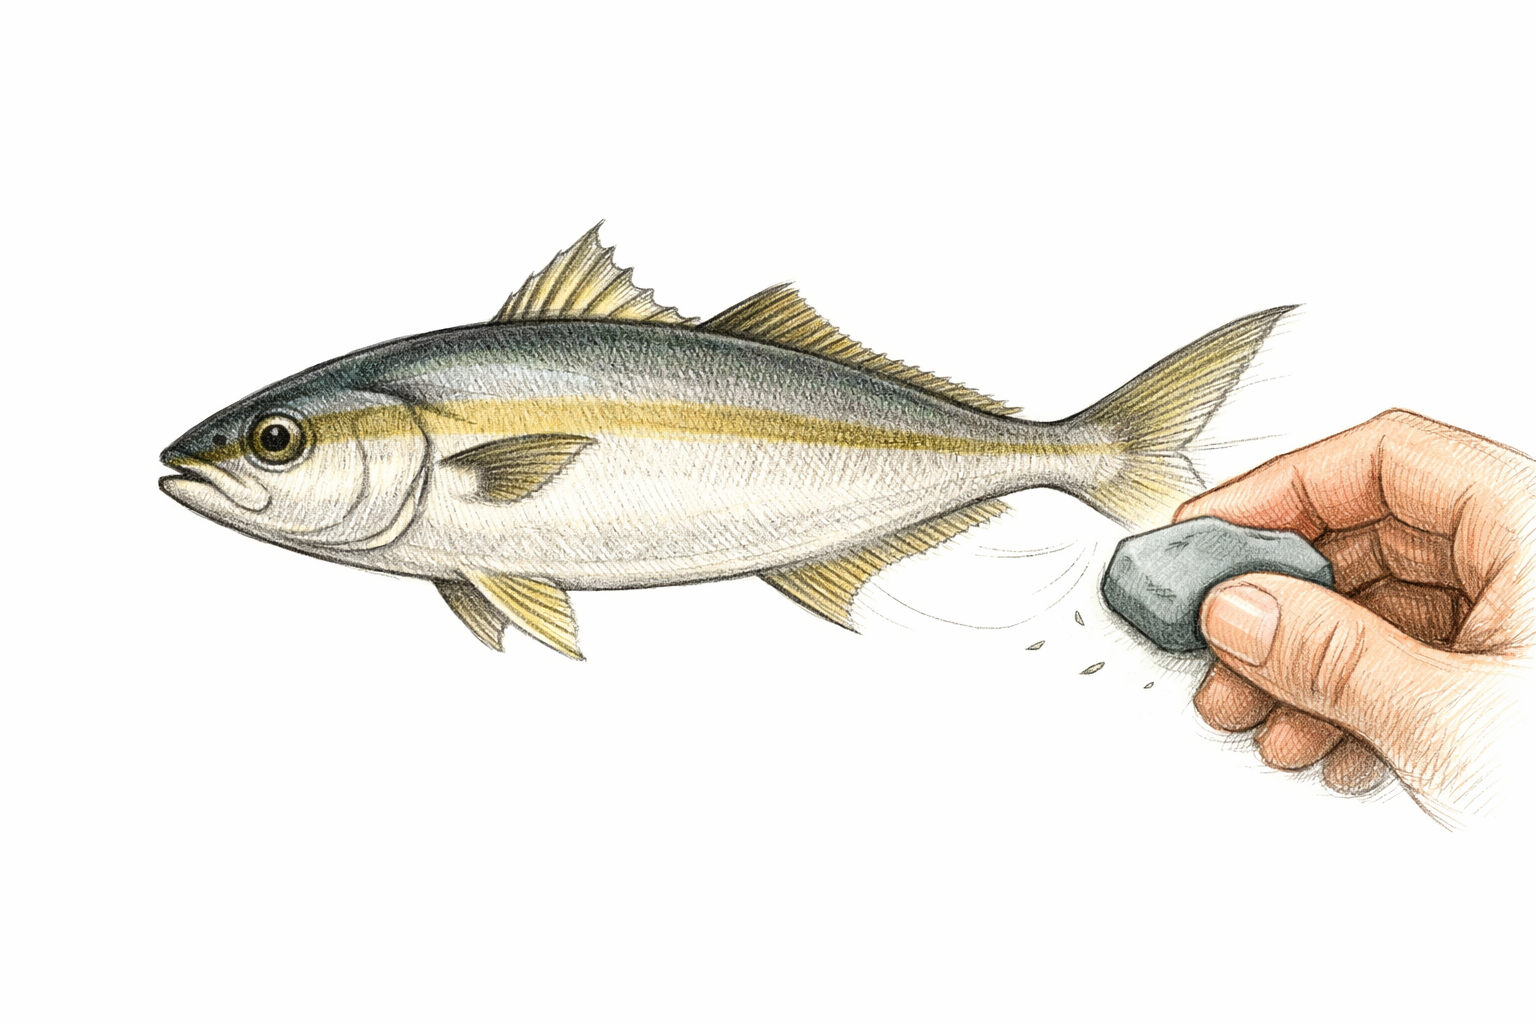
Erase the construction lines
Gently lift the S-curves and any extra guides with a kneaded eraser, keeping your refined contours intact. Leave only clean, confident outlines.
- 10
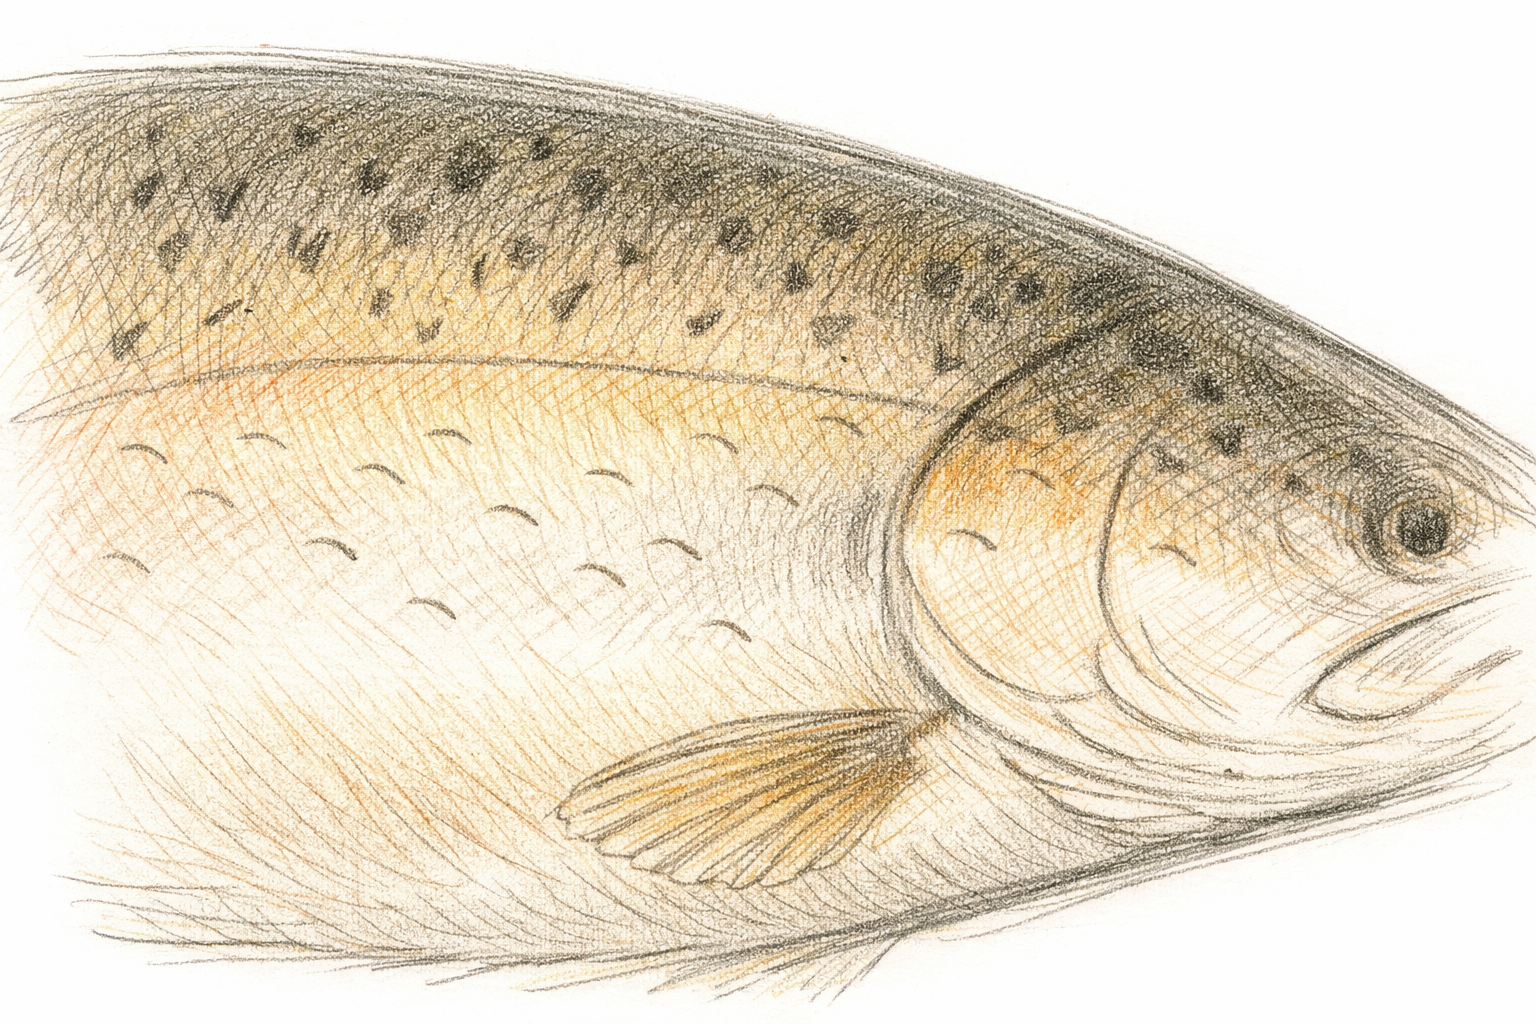
Suggest scales with light curved marks
Indicate texture with small, light, curved dashes that follow the body’s form. Space them out and keep them faint; avoid heavy patterns on the face and near fin bases to maintain softness.
- 11
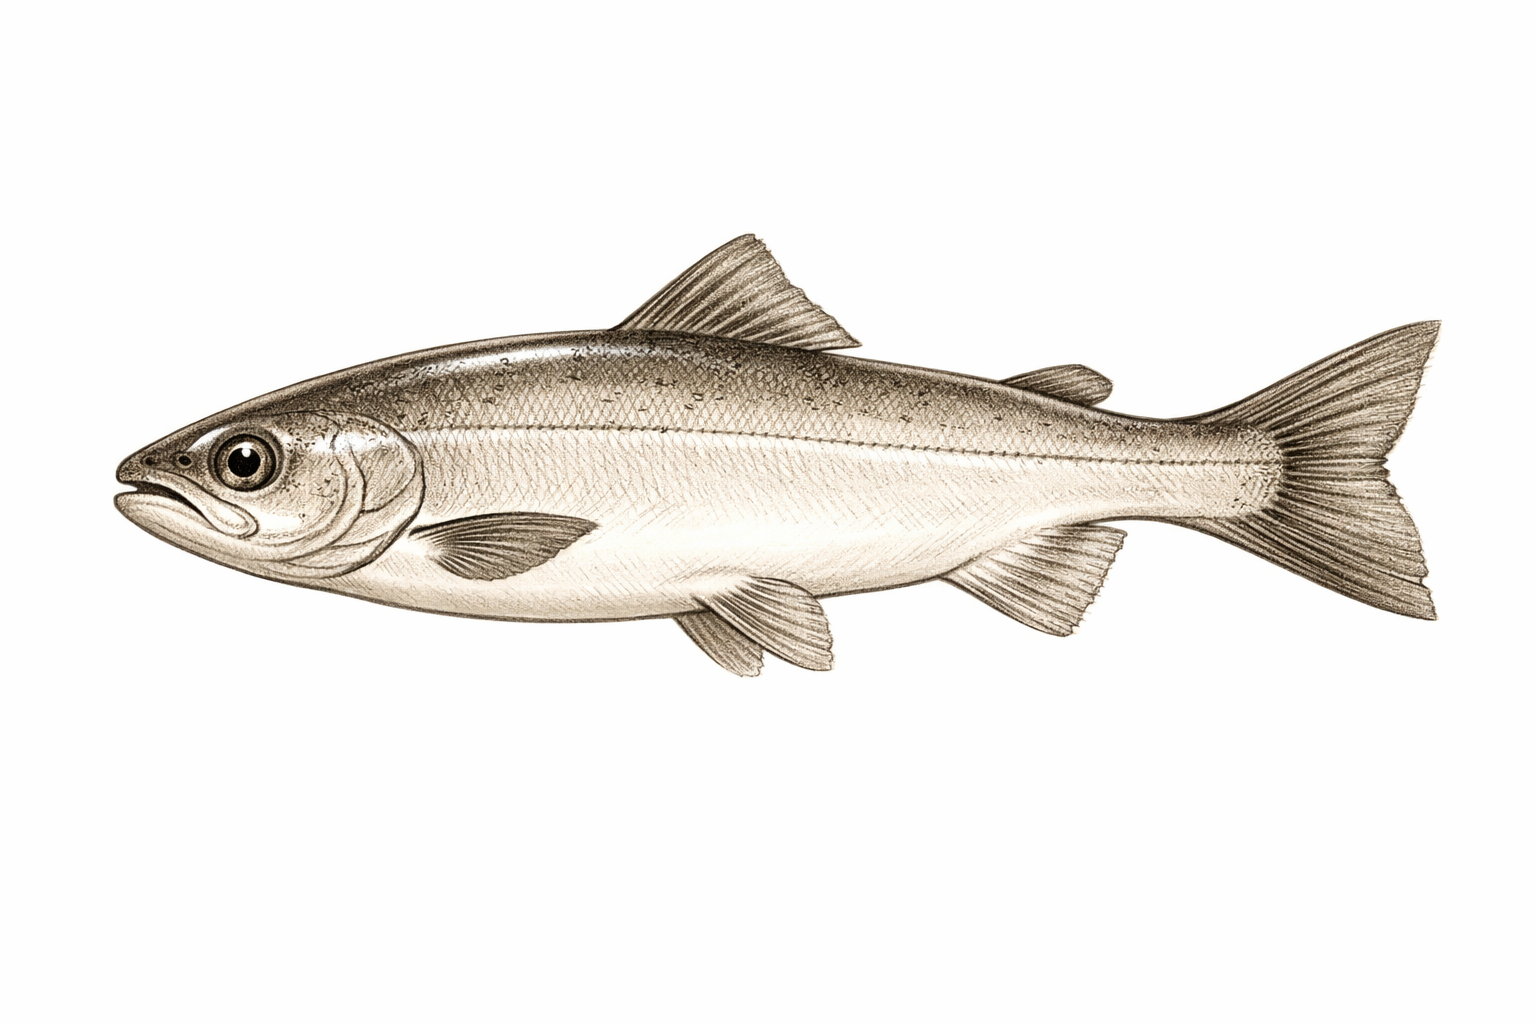
Shade for form and depth
Pick a light source from above. Shade the underside of the body and the bases of fins slightly darker, softening transitions with the side of the pencil or a blending stump. Leave bright highlights near the top and on the eye.
- 12
Soften fin edges and add a watery feel
Lightly blend the trailing edges of the fins and tail for a gauzy look. Add a few faint curved lines around the fish to suggest gentle water ripples, and deepen a few small dark accents for contrast.
If this was useful
Try one of these next
Home & life
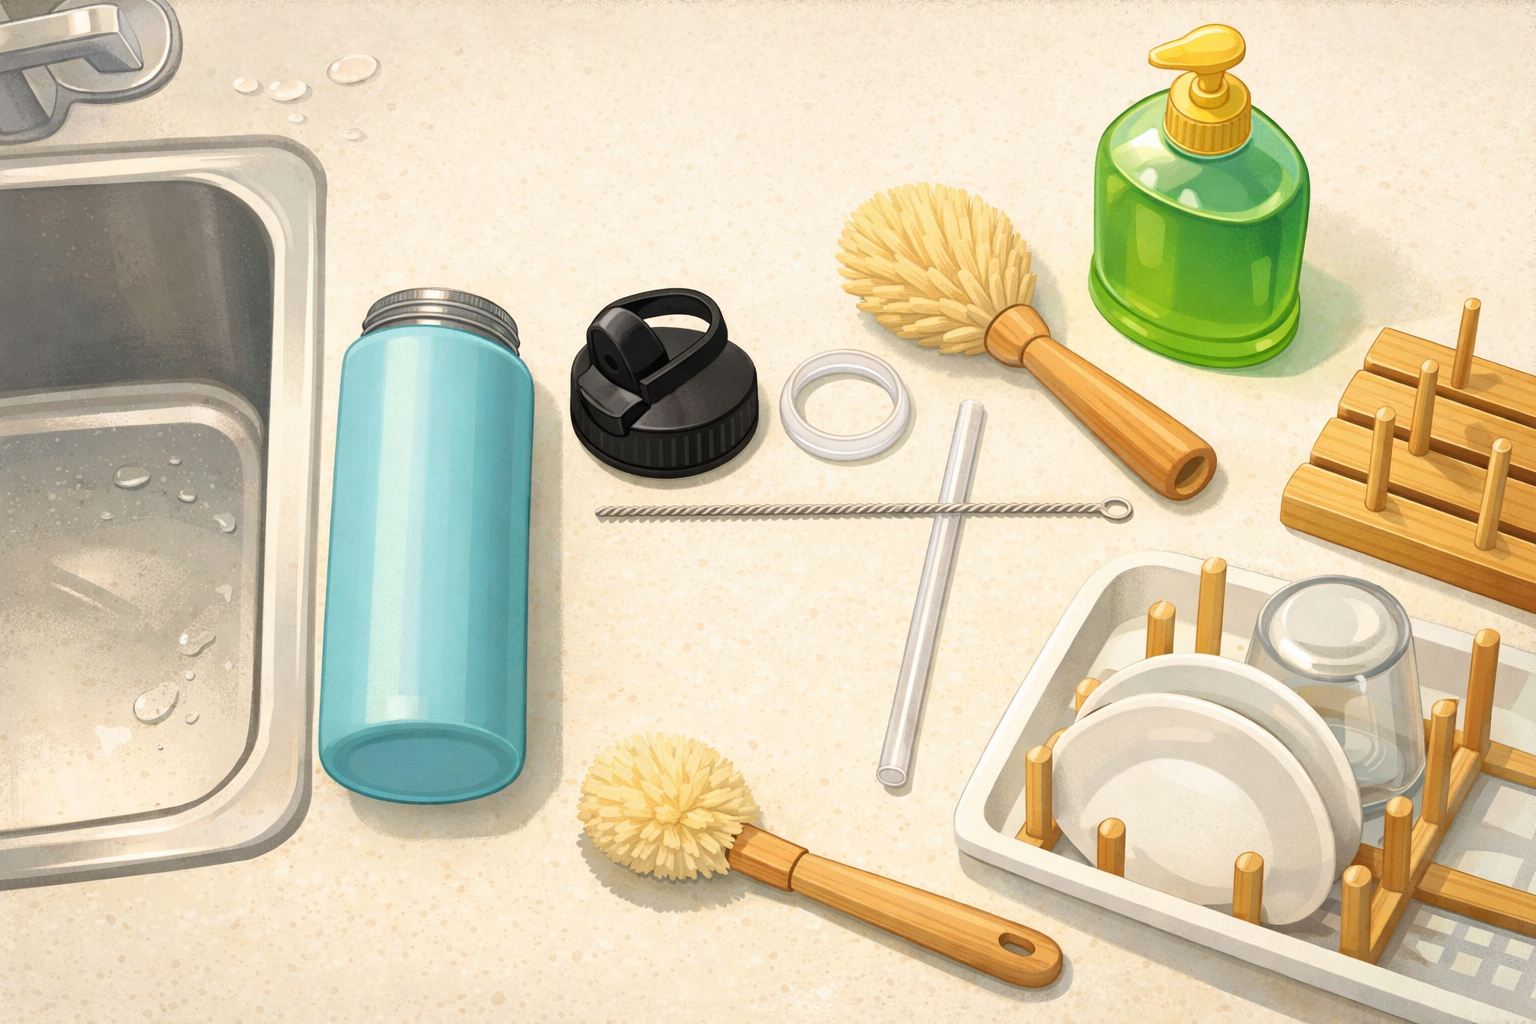
How to clean and dry a reusable water bottle after a picnic
Disassemble the lid, clean threads and seals, wash the body, rinse thoroughly, and air‑dry so it doesn’t develop odours between countryside trips. Close‑ups show where residue hides and a quick drying rack setup.
Read the guide
Hobbies & crafts
How to draw a standing penguin using teardrop shapes
Start with a tall teardrop for the body and small ovals for the head and feet. Add a simple beak and flippers with more teardrops, map the tuxedo belly, then refine the outline. Erase the guides and finish with light shading for roundness. Each step’s image overlays pale guide shapes and the darker final lines so you can see what to keep.
Read the guide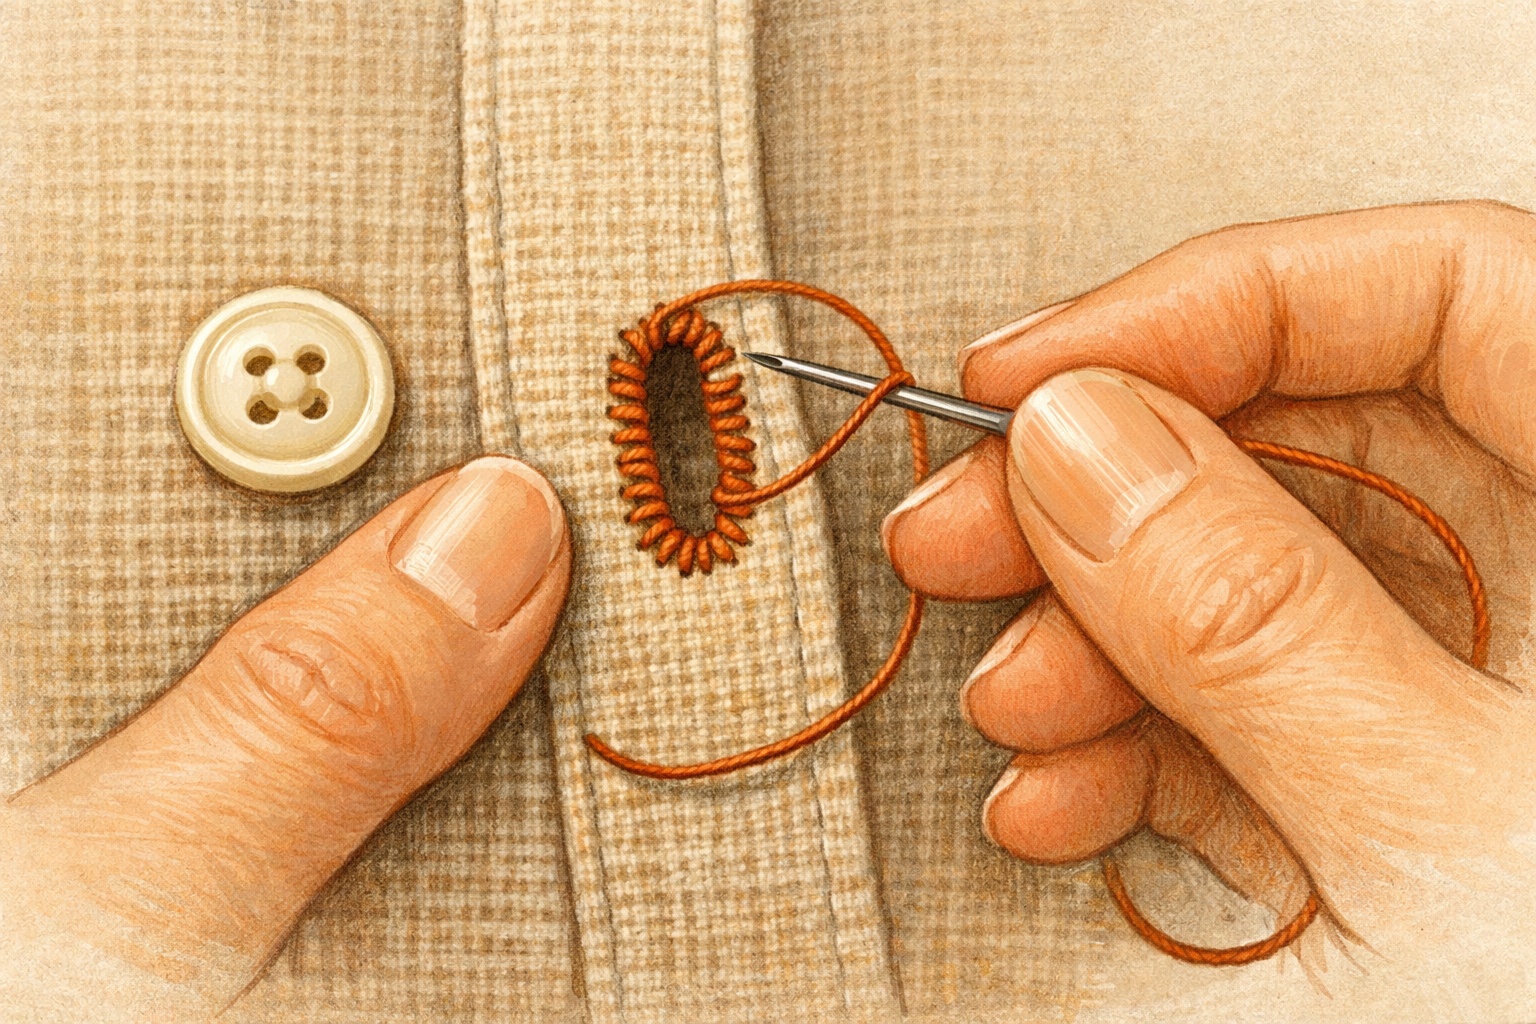
Hobbies & crafts
How to Tighten a Loose Buttonhole with Blanket Stitches
Reinforce stretched buttonholes by stitching a neat border that grips the button and prevents further fraying.
Read the guide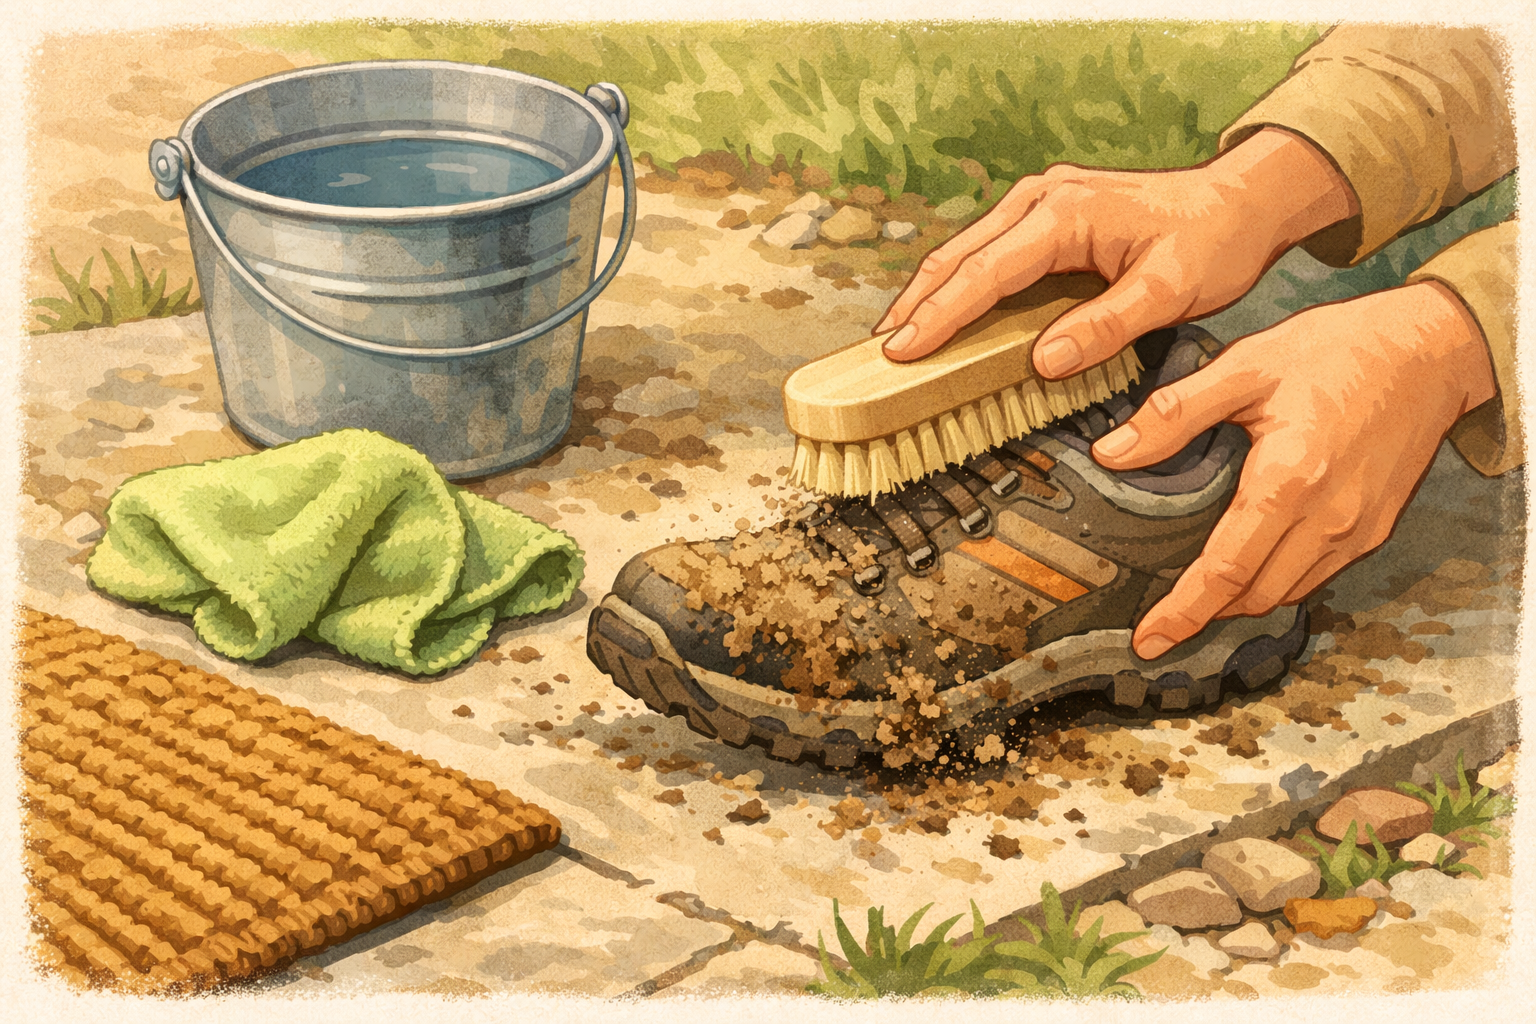
Home & life
How to clean muddy walking shoes after a countryside footpath
Knock off dried mud, brush seams, wipe uppers, clean outsoles, freshen insoles, and air‑dry so your shoes are ready for the next path. Photos show the order and which brushes or cloths to use.
Read the guide