Hobbies & crafts
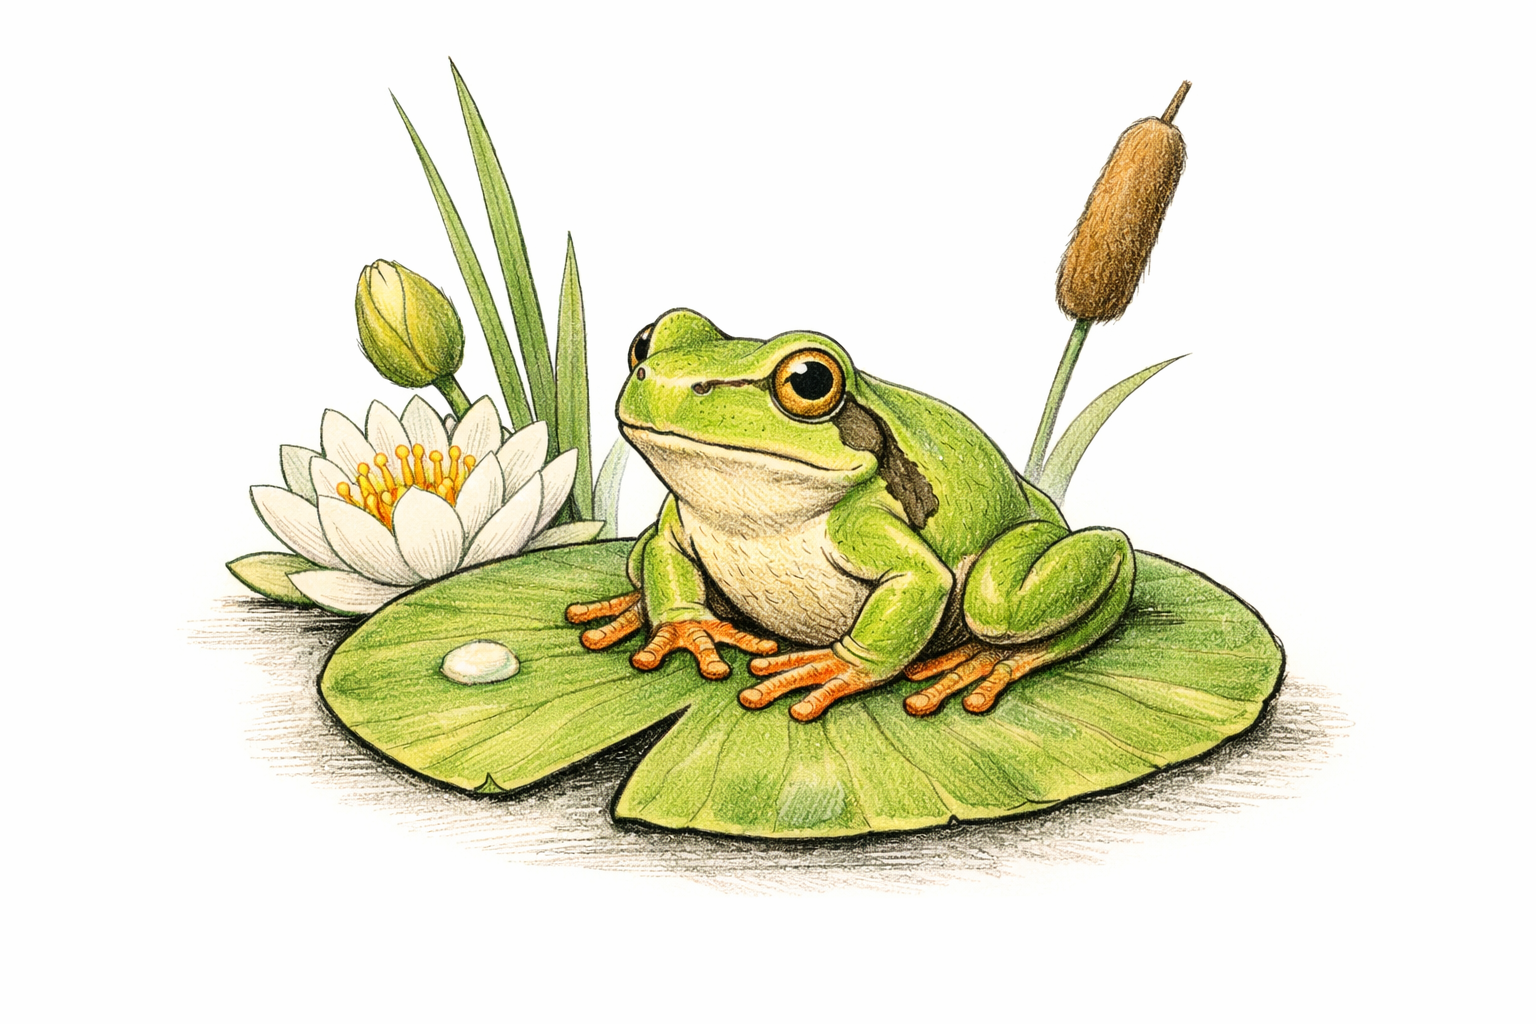
How to draw a frog on a lily pad
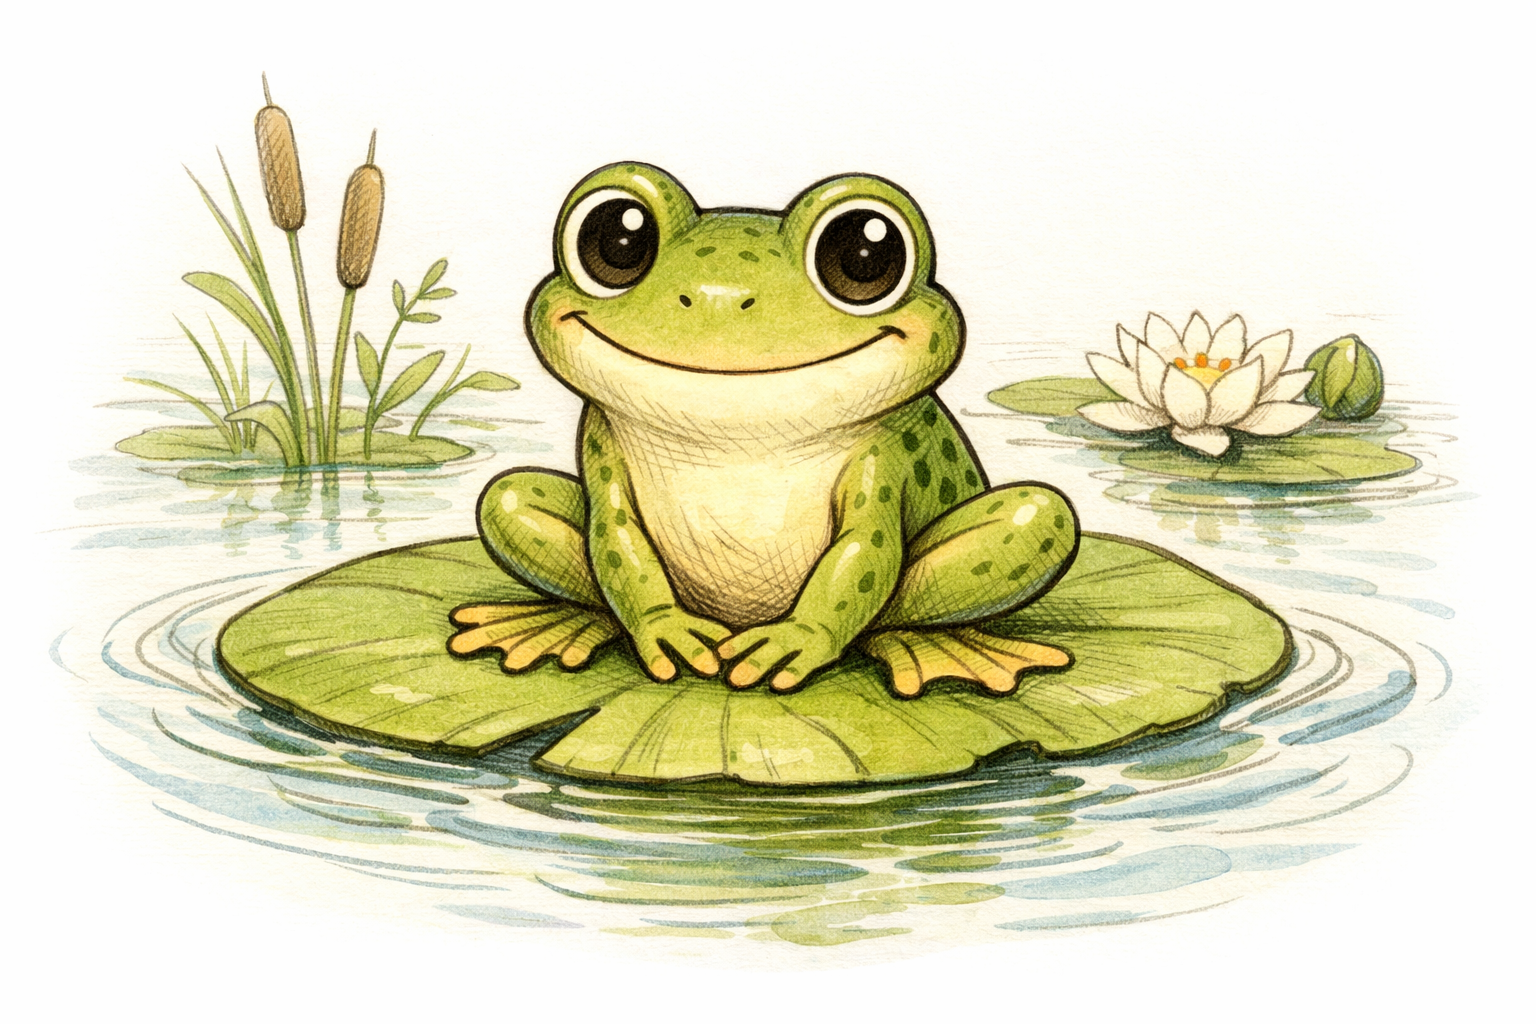
Start with an oval lily pad and round body shapes for the frog, then add big eyes, folded legs, and webbed toes. Refine contours, add spots, and finish with ripples. Step visuals layer simple forms into the final pose.
- 01
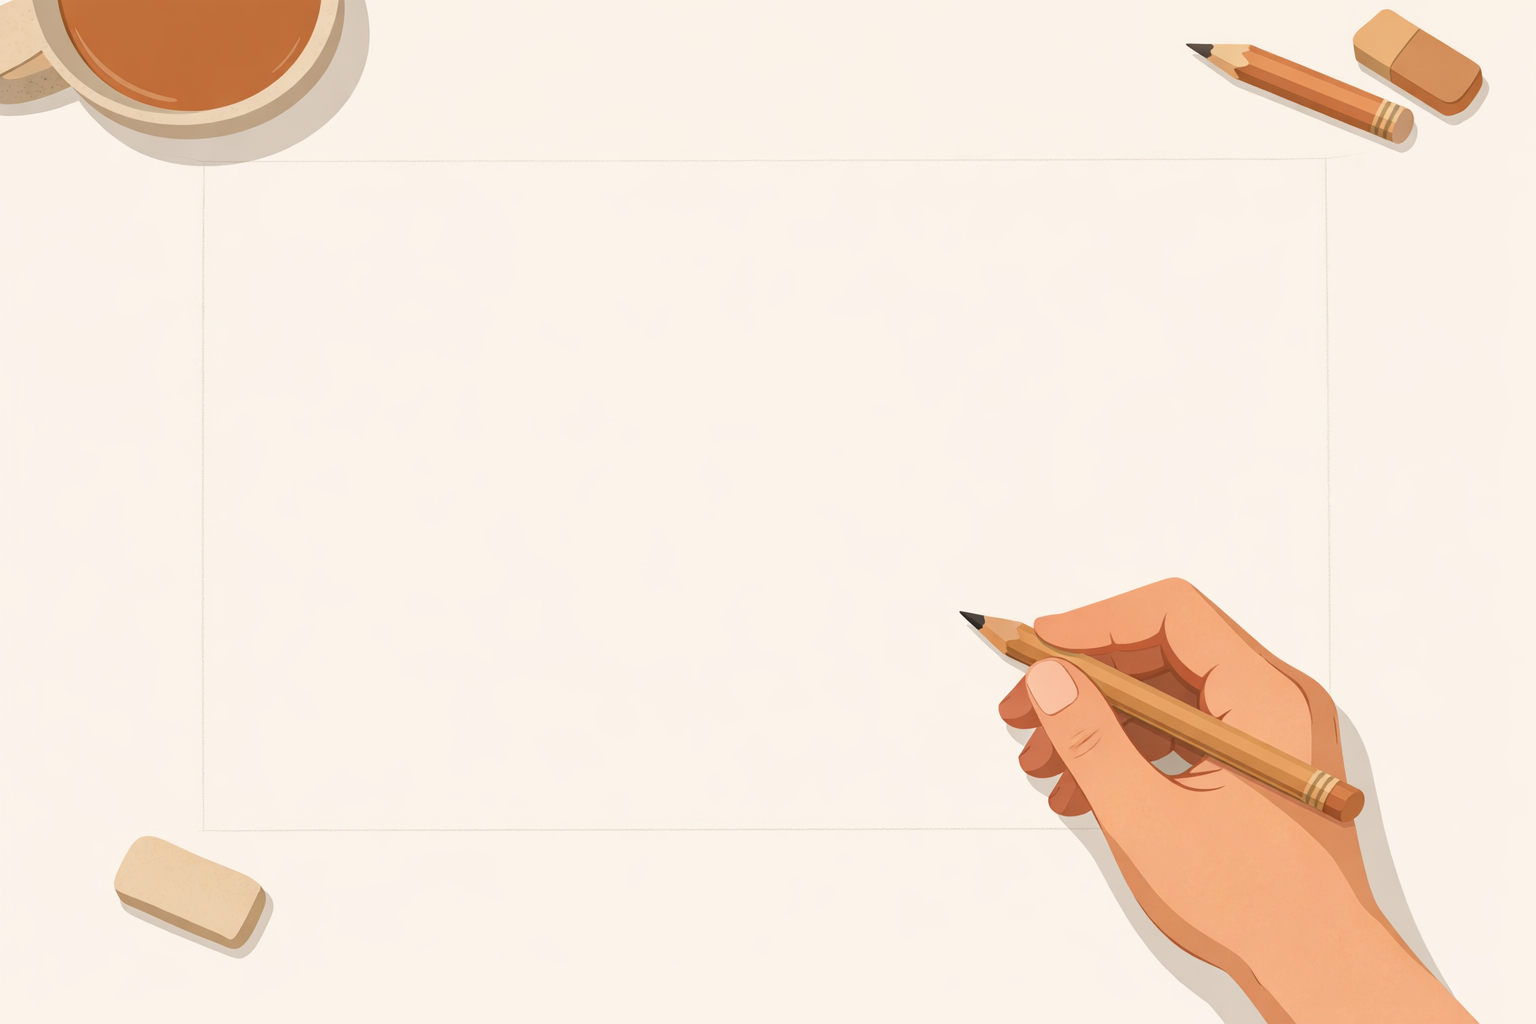
Lightly block in your space
Place smooth paper on a flat surface. With an HB pencil, sketch very lightly so lines are easy to adjust. Leave a margin so the water ripples have room around the lily pad.
- 02
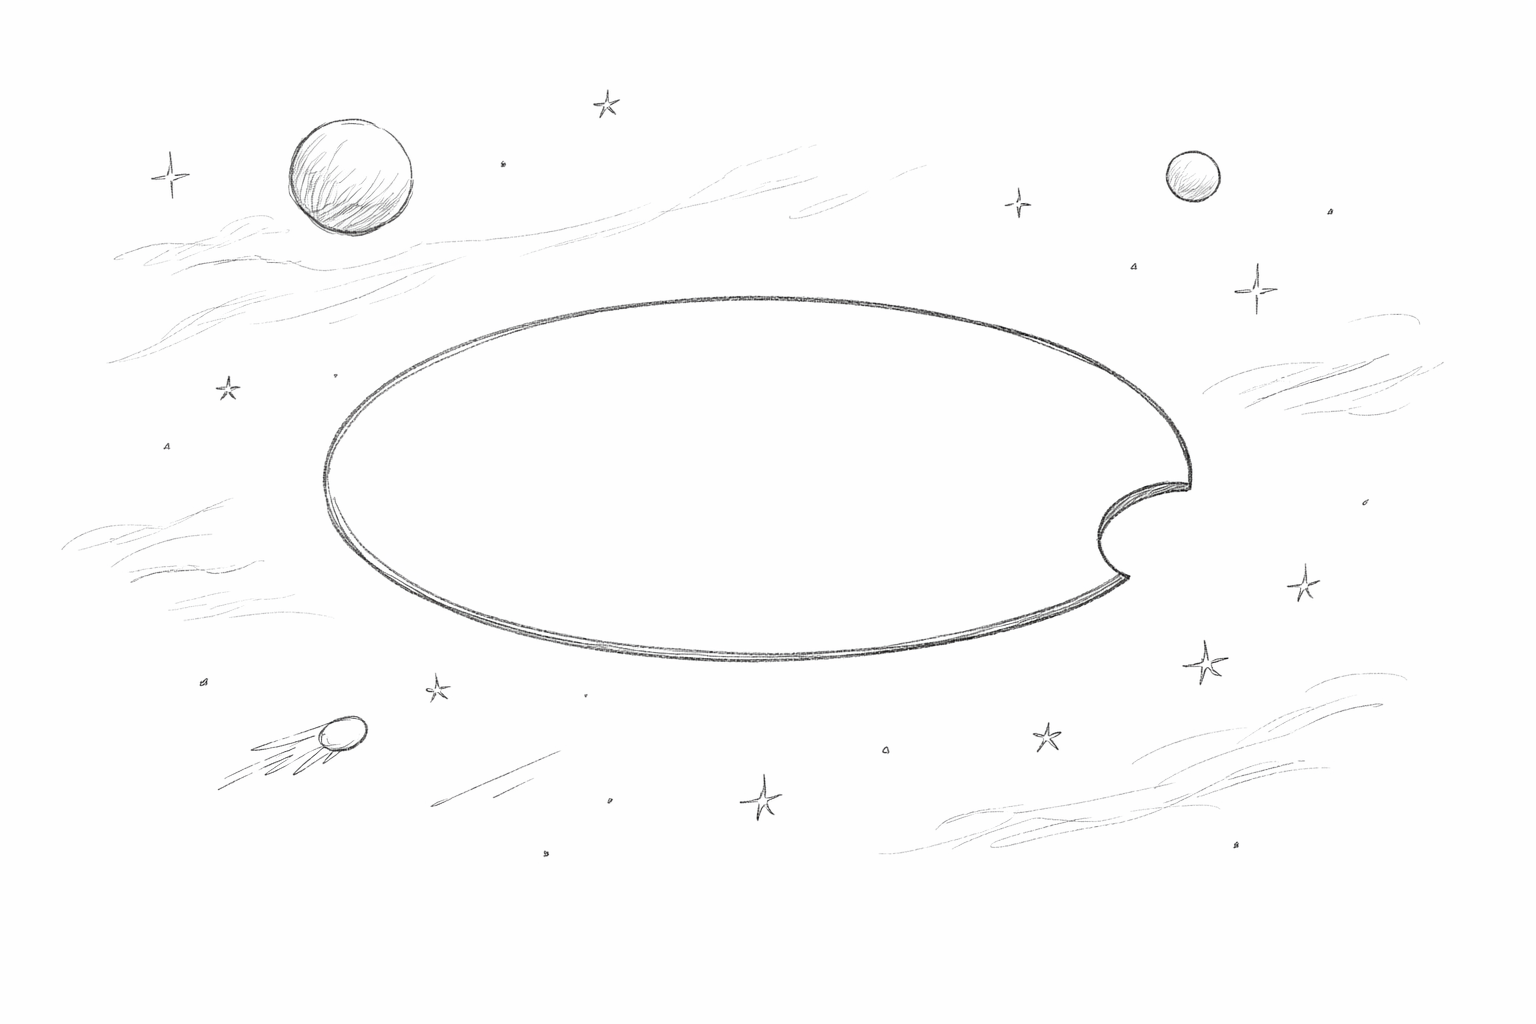
Draw the lily pad oval
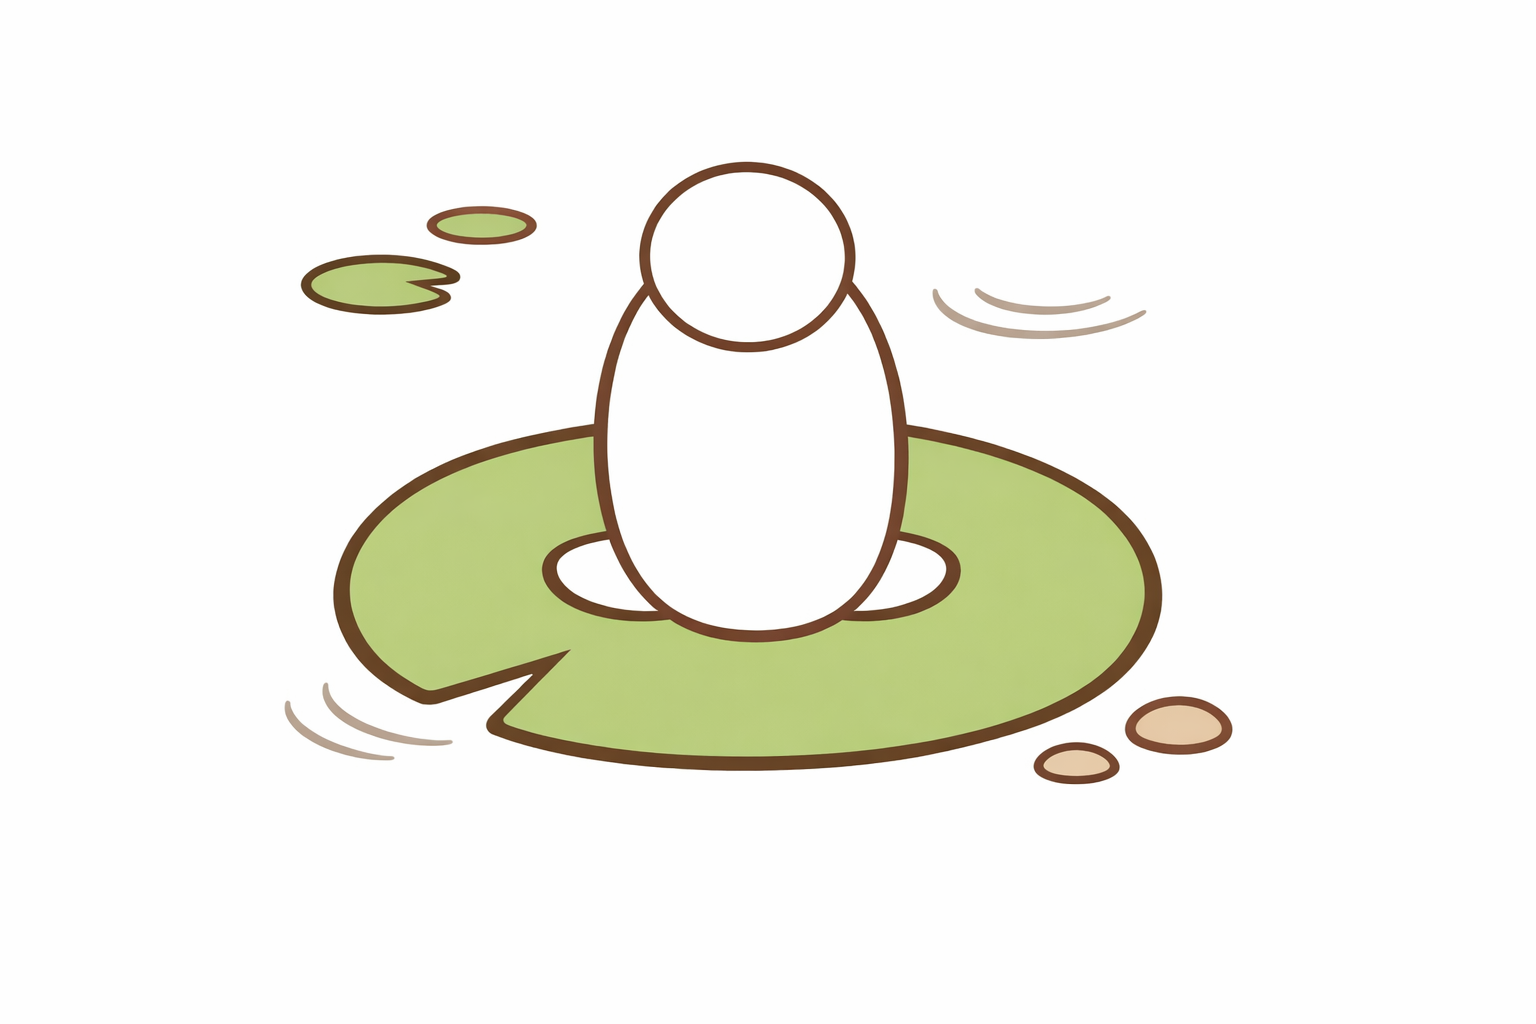
Sketch a wide, flat oval near the center. Add a small V-shaped notch on one side of the oval to suggest the cut in a lily pad. Keep the oval smooth and slightly wider than it is tall.
- 03
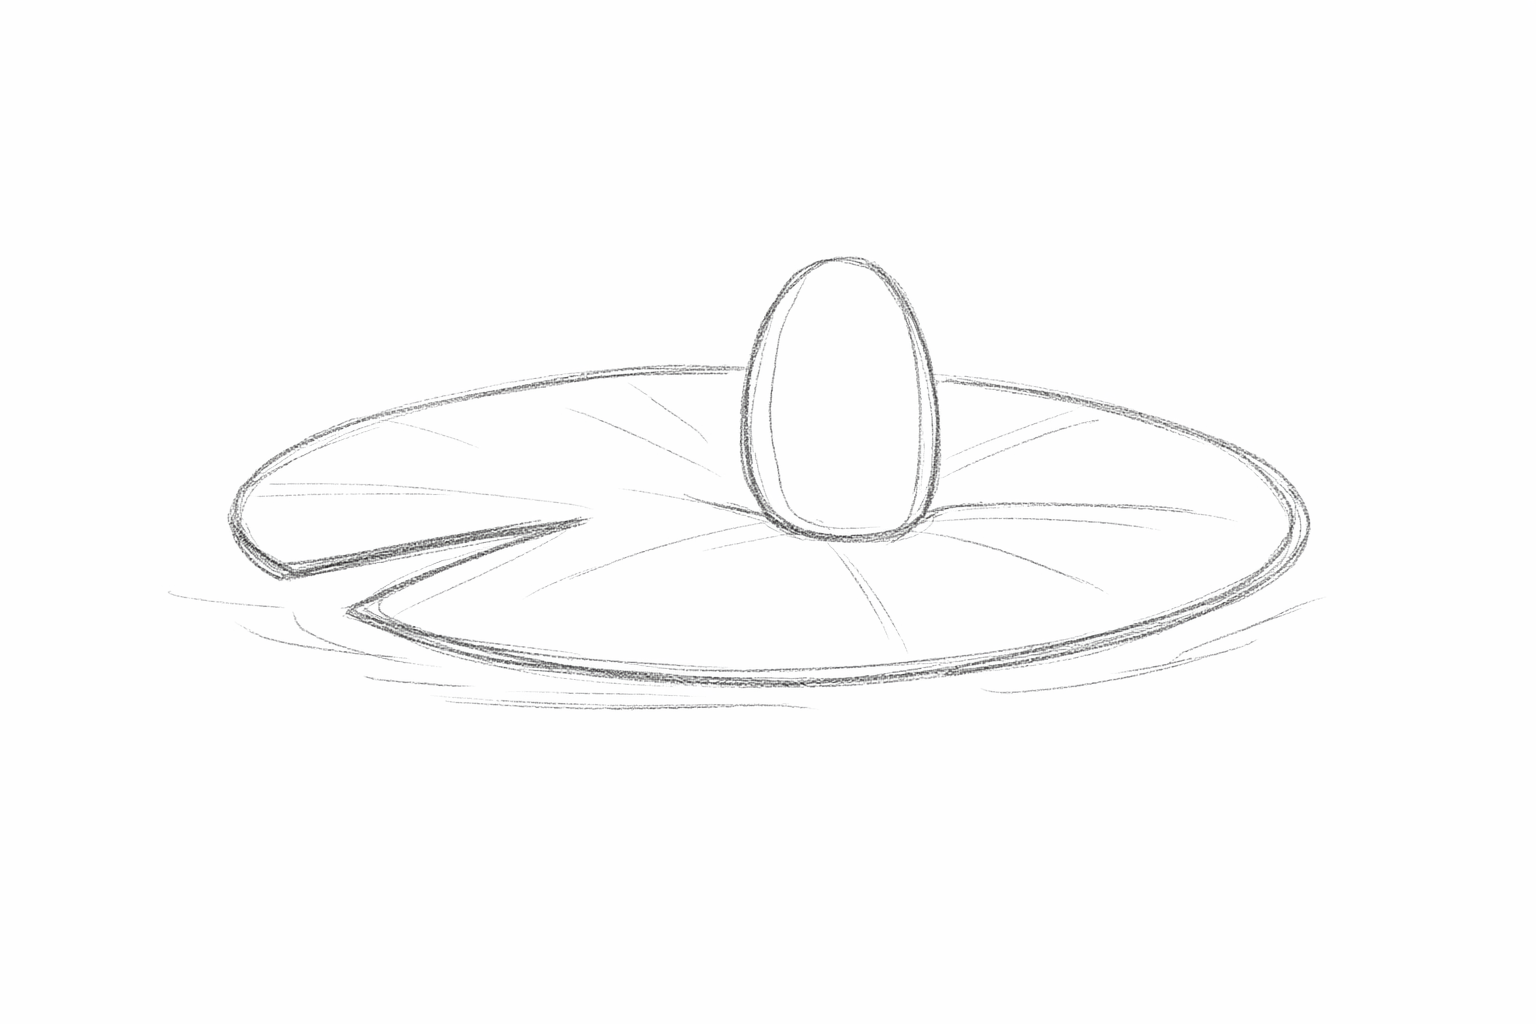
Place the frog’s body
Inside the oval, draw a plump, upright oval for the frog’s body, centered slightly toward the back of the pad so there’s space in front for hands and toes.
- 04
Add the head in front
Overlap a smaller circle or rounded oval at the top front of the body shape for the head. Let it sit slightly forward, like the frog is looking toward you.
- 05
Mark the big eyes
On top of the head, draw two large circles that slightly rise above the head shape—one on the left, one on the right. Lightly add smaller circles inside for pupils, leaving a tiny highlight gap.

- 06
Sketch the front legs and hands
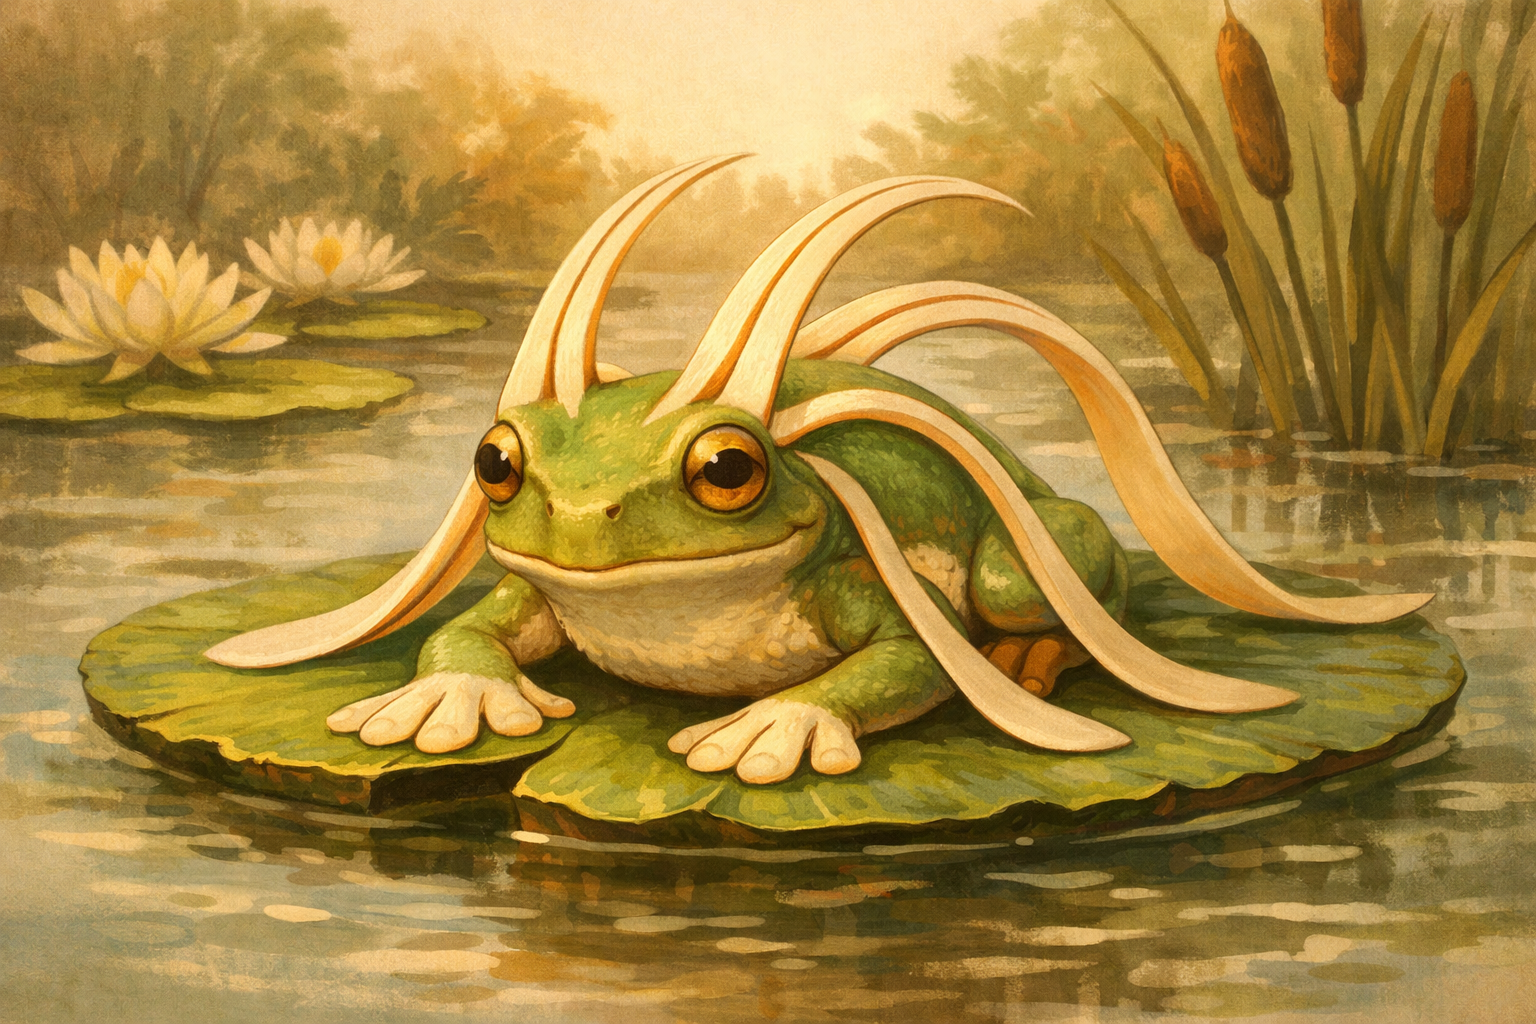
From the lower sides of the head, draw two narrow, bent tubes that curve down and forward for the front legs. At the ends, add small paddles for hands resting near the front edge of the pad.
- 07
Build the hind legs folded at the sides
On each side of the body oval, draw a large rounded shape for the thigh. From each thigh, add a slimmer bent shape angling forward for the lower leg, ending near the front half of the pad for the feet.
- 08
Add webbed toes
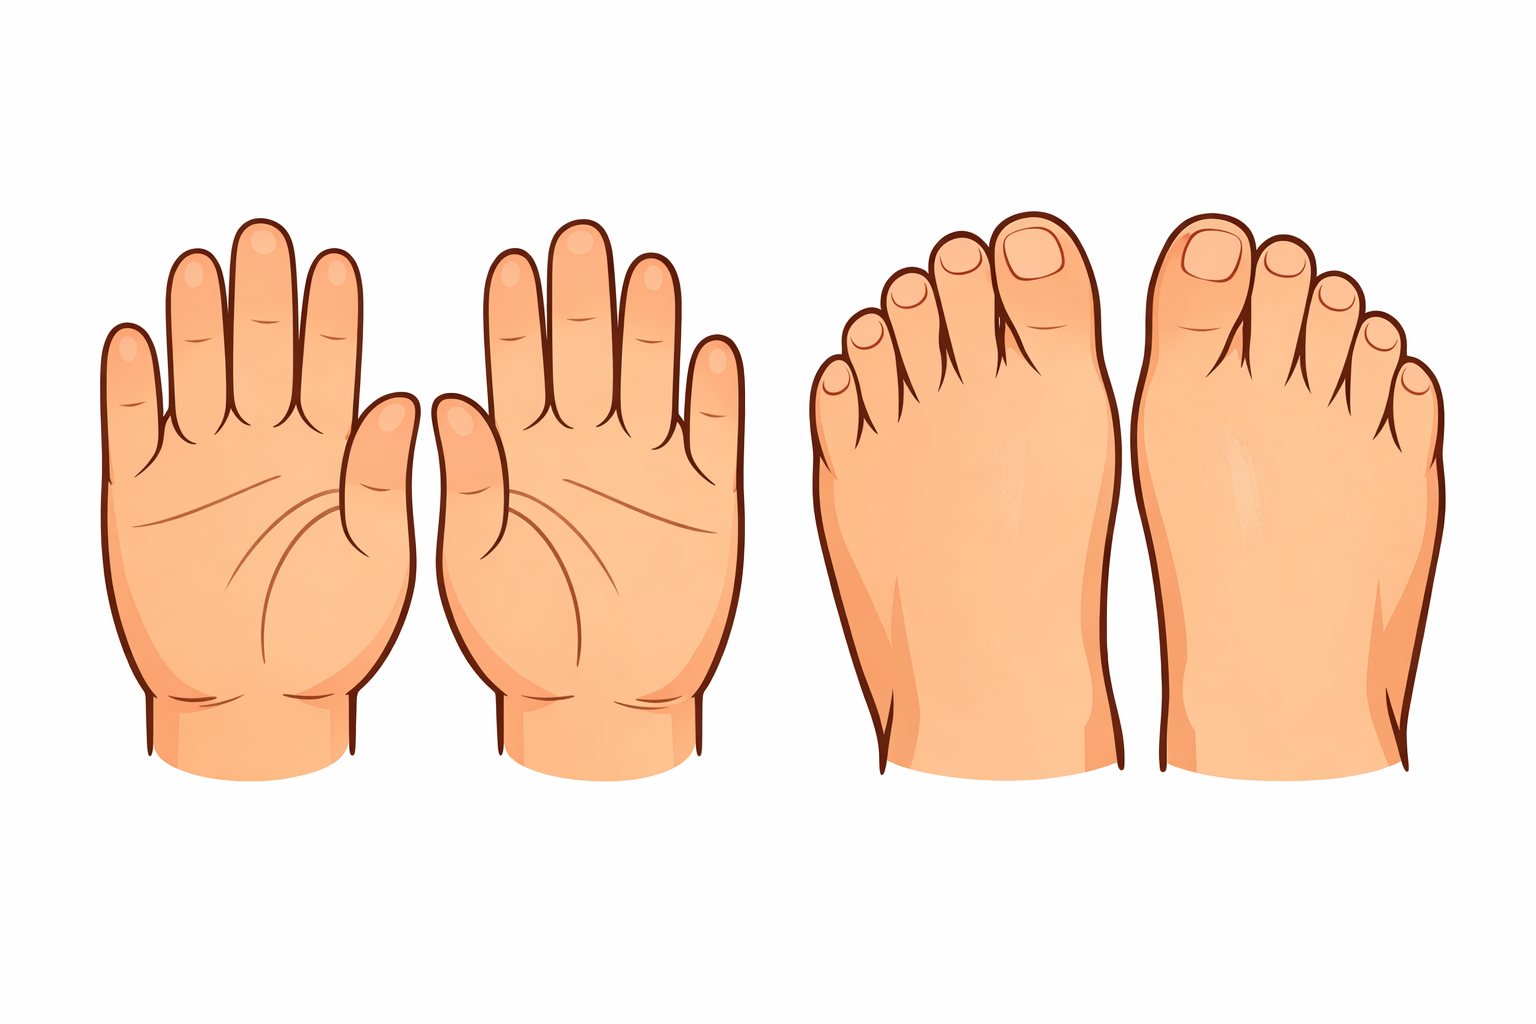
Give each front hand three short toes; each hind foot gets four longer toes. Draw rounded toe tips, then connect them at the base with shallow curved lines to suggest webbing.
- 09
Shape the face and features
Refine the head by smoothing where it meets the body. Add a gentle smile line and two tiny nostrils near the front of the snout. Lightly arc a crease above each eye for the brow ridge.

- 10
Refine the body outline
Trace a clean outer contour over your best lines: connect head to body, define the chest between the front legs, and smooth the curves of thighs and calves. Keep the silhouette clear and readable.
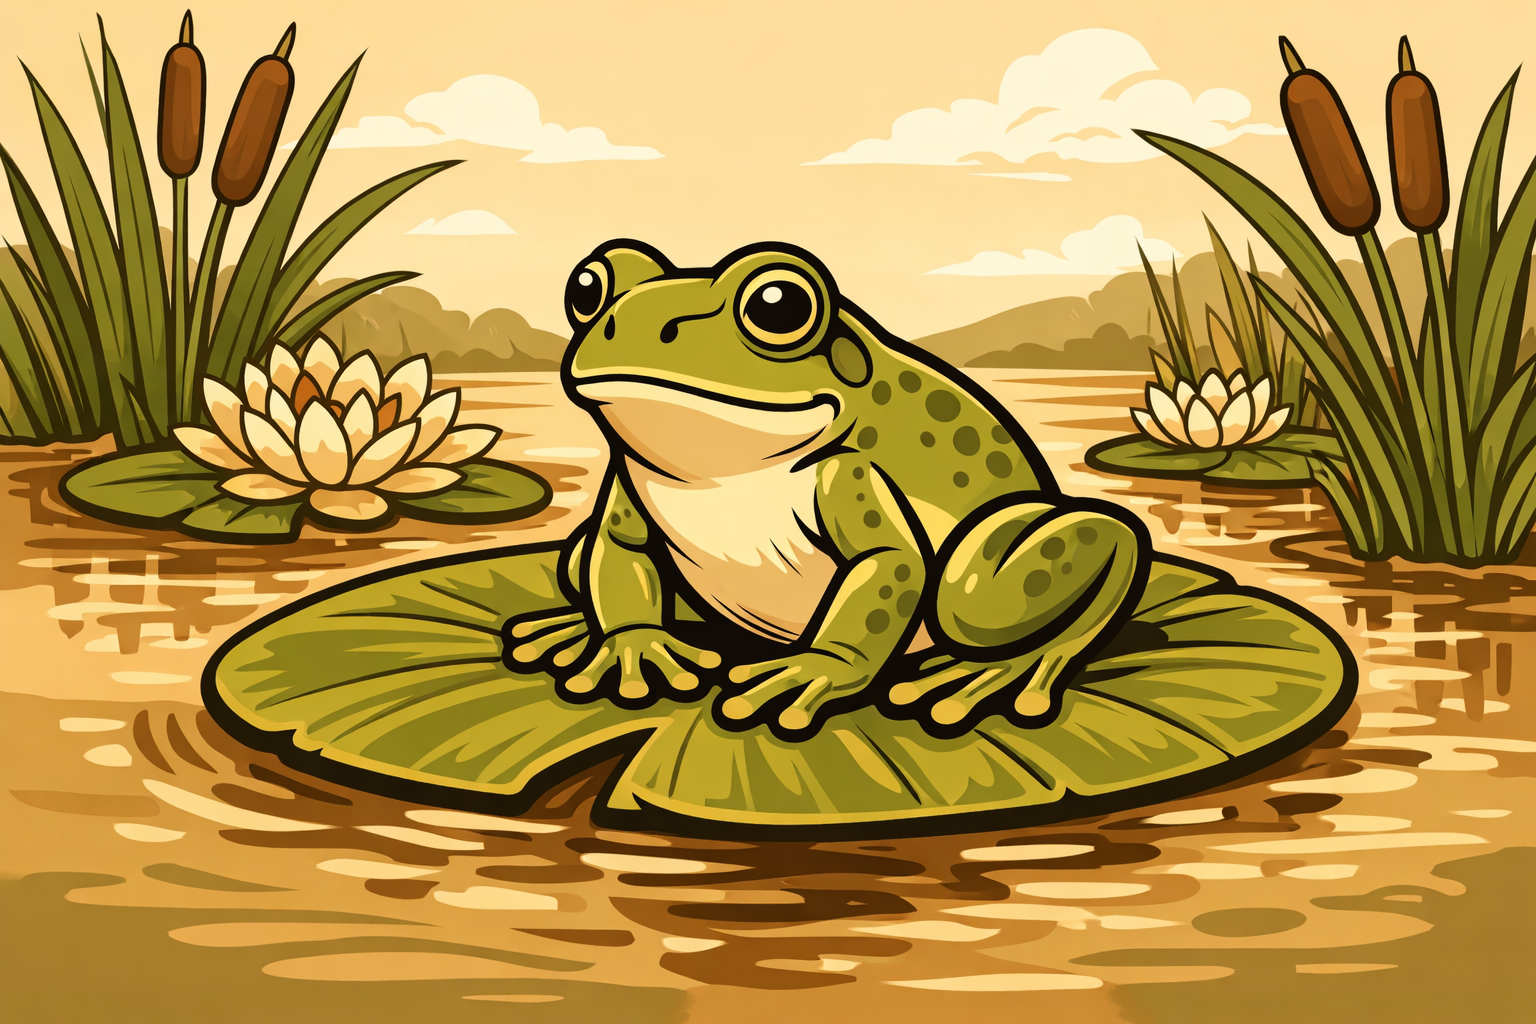
- 11
Detail the lily pad
Darken the pad’s outer edge. From the notch, draw a gentle central vein that runs toward the middle, then a few shorter side veins branching lightly. Add a slight wobble to the rim if you like.
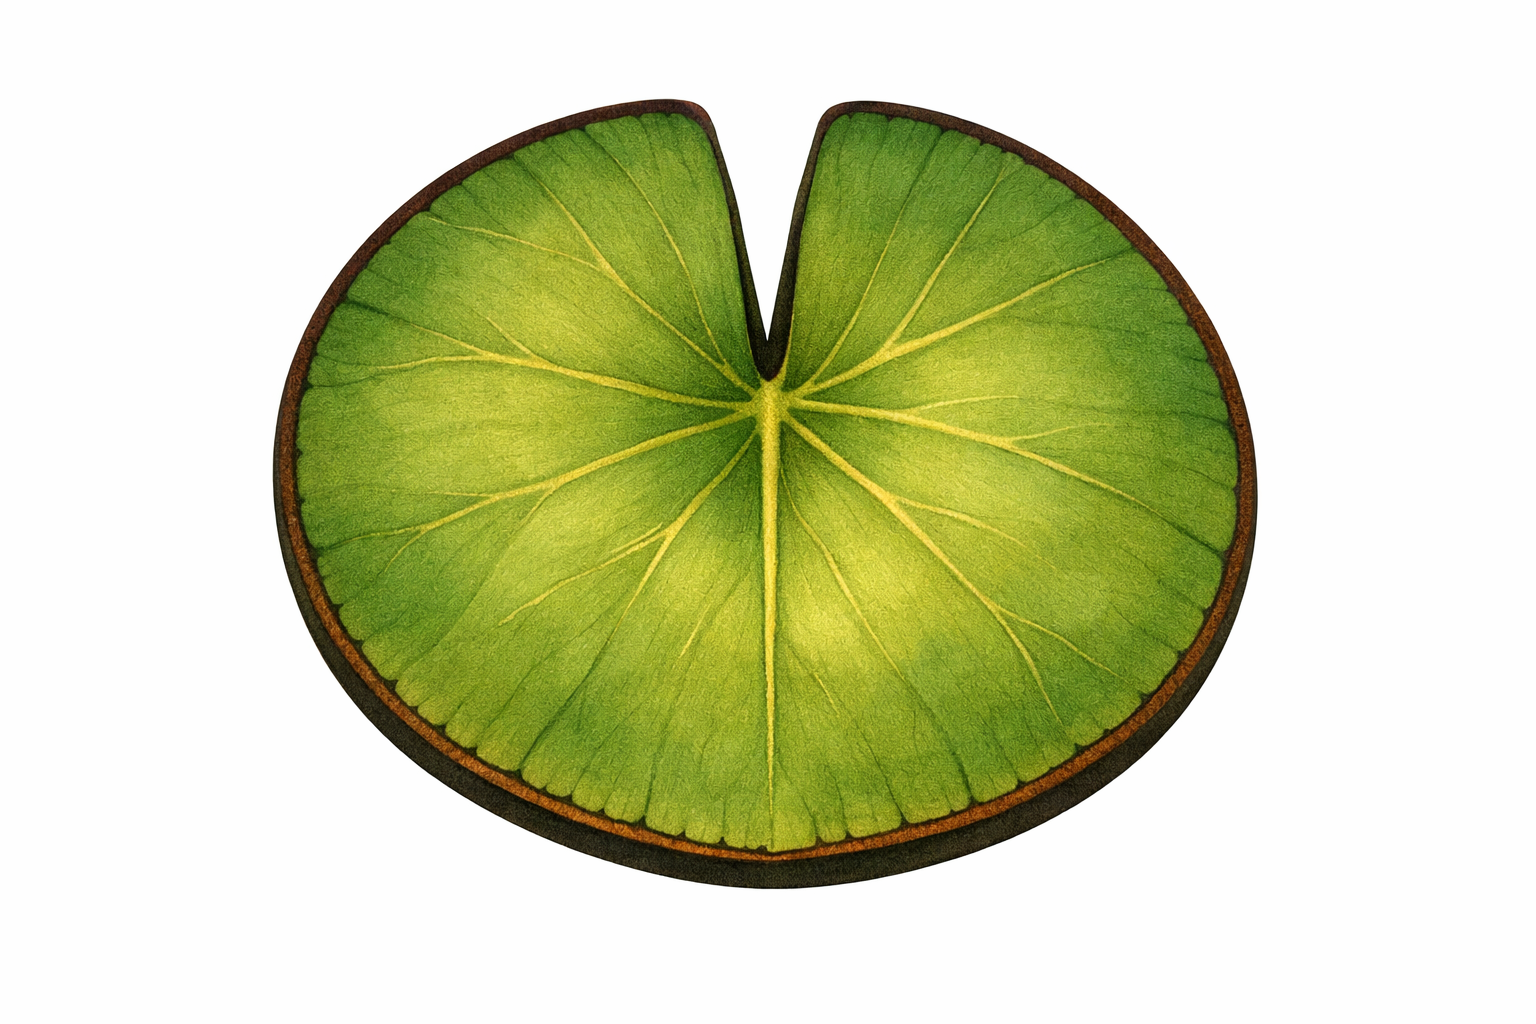
- 12
Erase guides and clean up
Use a soft eraser to lift the construction ovals and stray lines inside the frog and pad, keeping your refined contour intact. Lighten any lines that still look heavy.
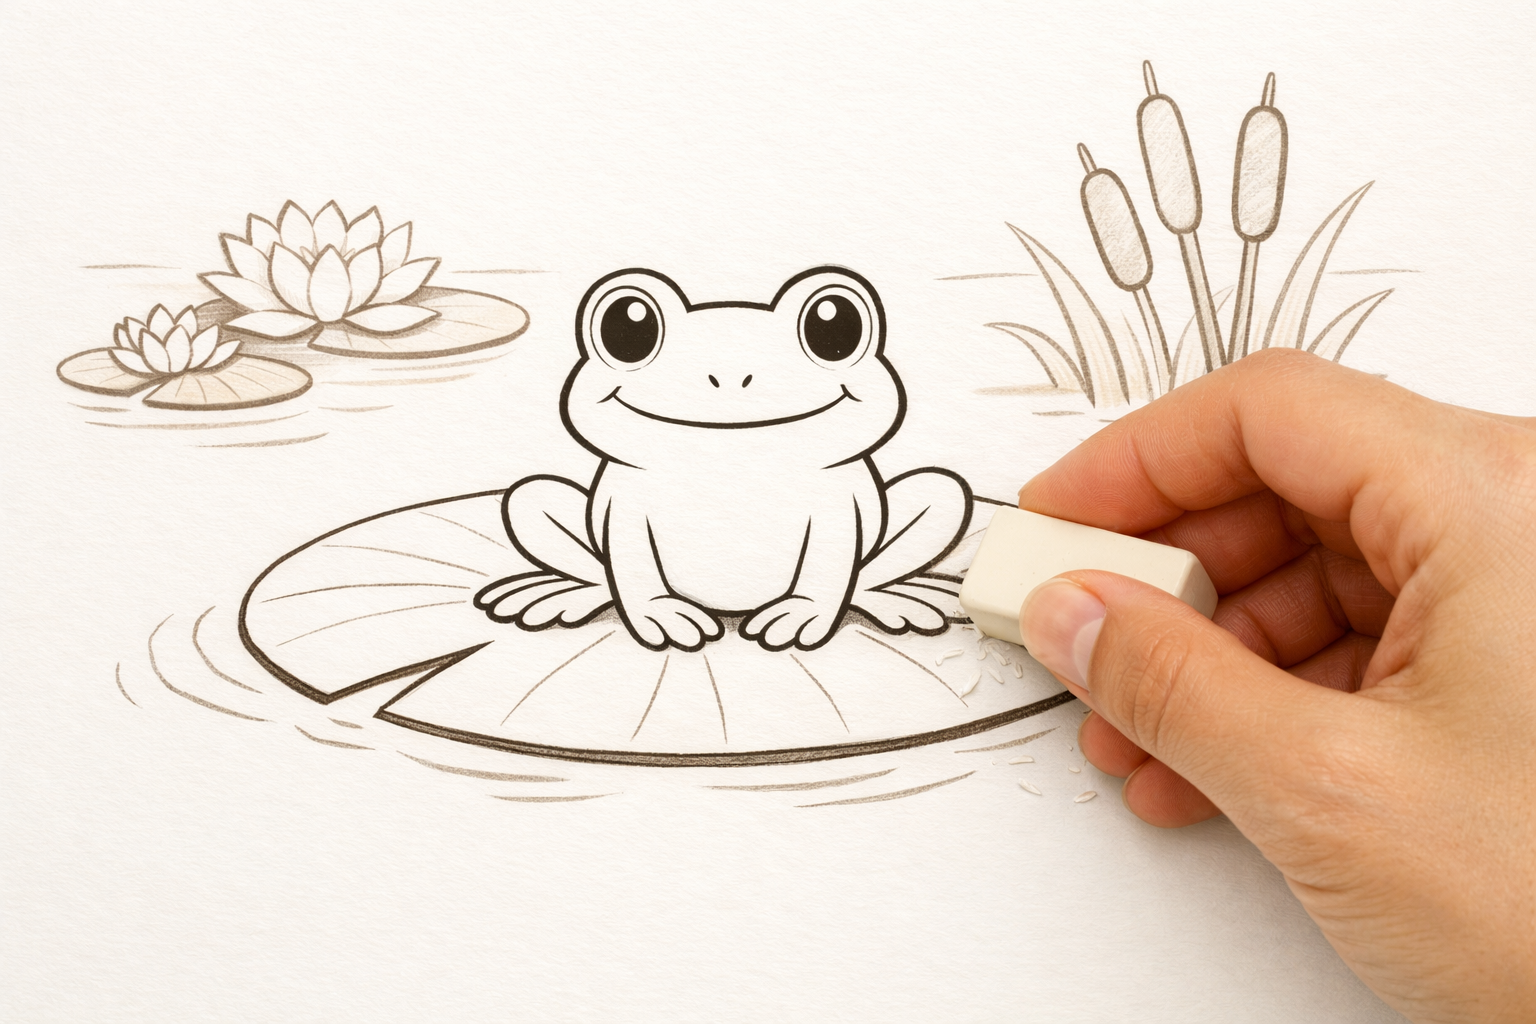
- 13
Add spots and skin texture
Place a few irregular spots along the frog’s back and thighs. Sprinkle smaller dots near the shoulders and hips. Leave the belly clearer so the markings feel natural and not crowded.
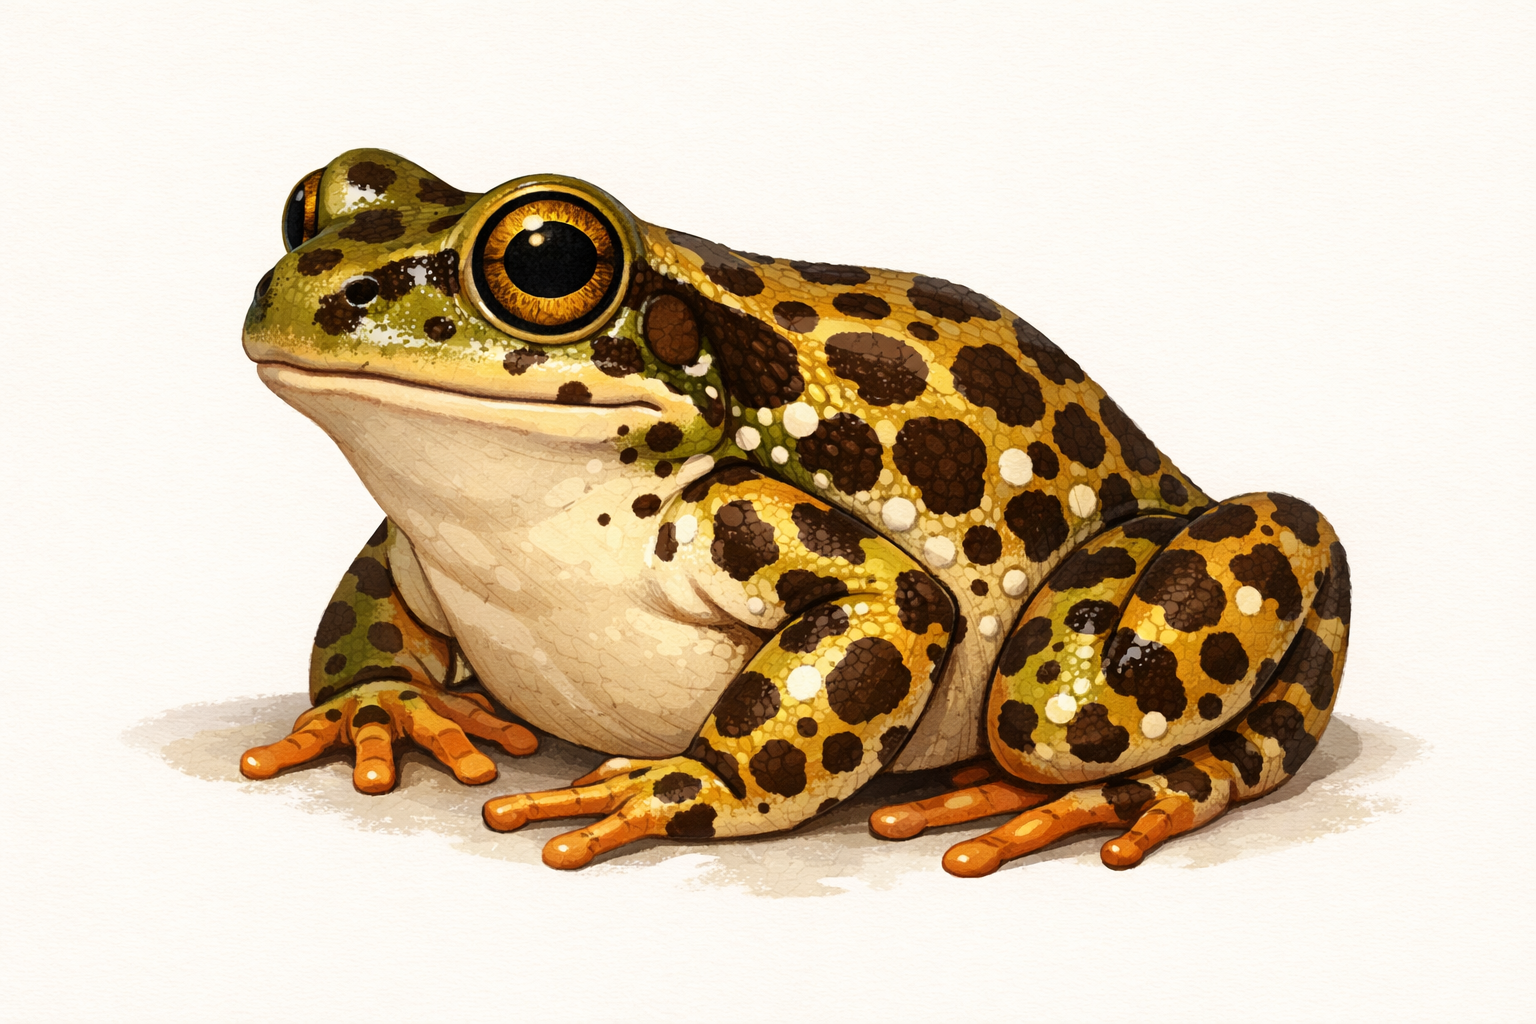
- 14
Draw gentle water ripples
Around the pad, add two or three thin, broken ovals to suggest ripples. Keep them wider than the pad and slightly open near the notch so they feel natural.

- 15
Shade or ink to finish
Lightly shade under the frog’s belly, beneath folded legs, and under the pad for a soft shadow in the water. If you like, trace final lines with a black fineliner, then add a touch of tone inside the pupils.
If this was useful
Try one of these next
Home & life
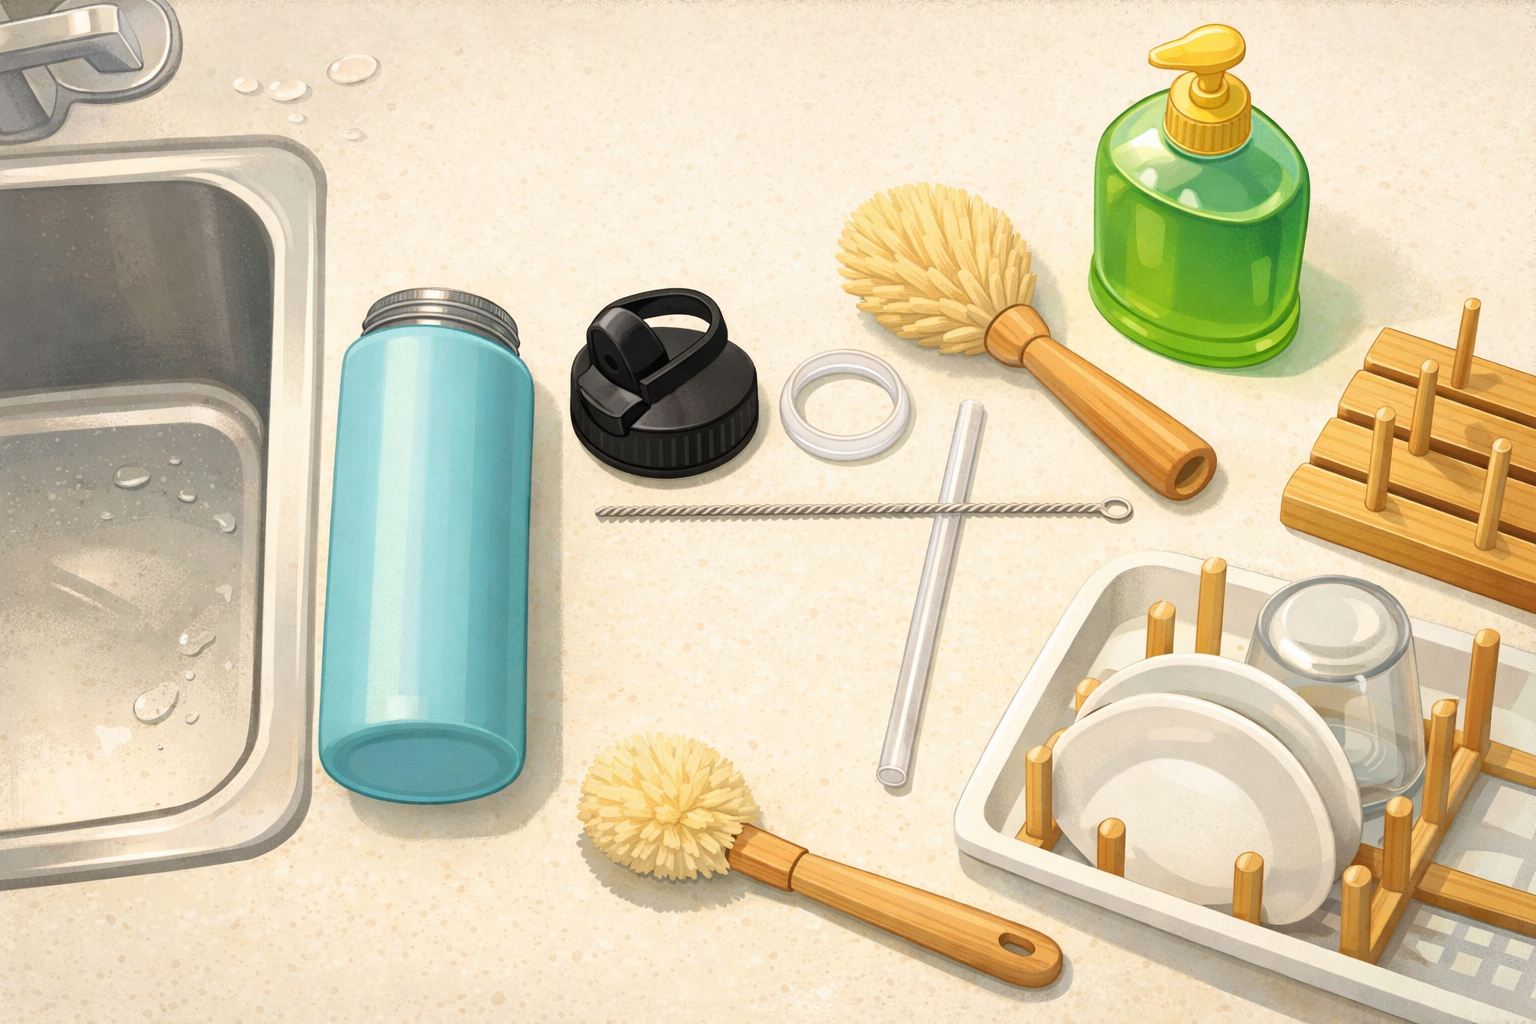
How to clean and dry a reusable water bottle after a picnic
Disassemble the lid, clean threads and seals, wash the body, rinse thoroughly, and air‑dry so it doesn’t develop odours between countryside trips. Close‑ups show where residue hides and a quick drying rack setup.
Read the guide
Hobbies & crafts
How to draw a standing penguin using teardrop shapes
Start with a tall teardrop for the body and small ovals for the head and feet. Add a simple beak and flippers with more teardrops, map the tuxedo belly, then refine the outline. Erase the guides and finish with light shading for roundness. Each step’s image overlays pale guide shapes and the darker final lines so you can see what to keep.
Read the guide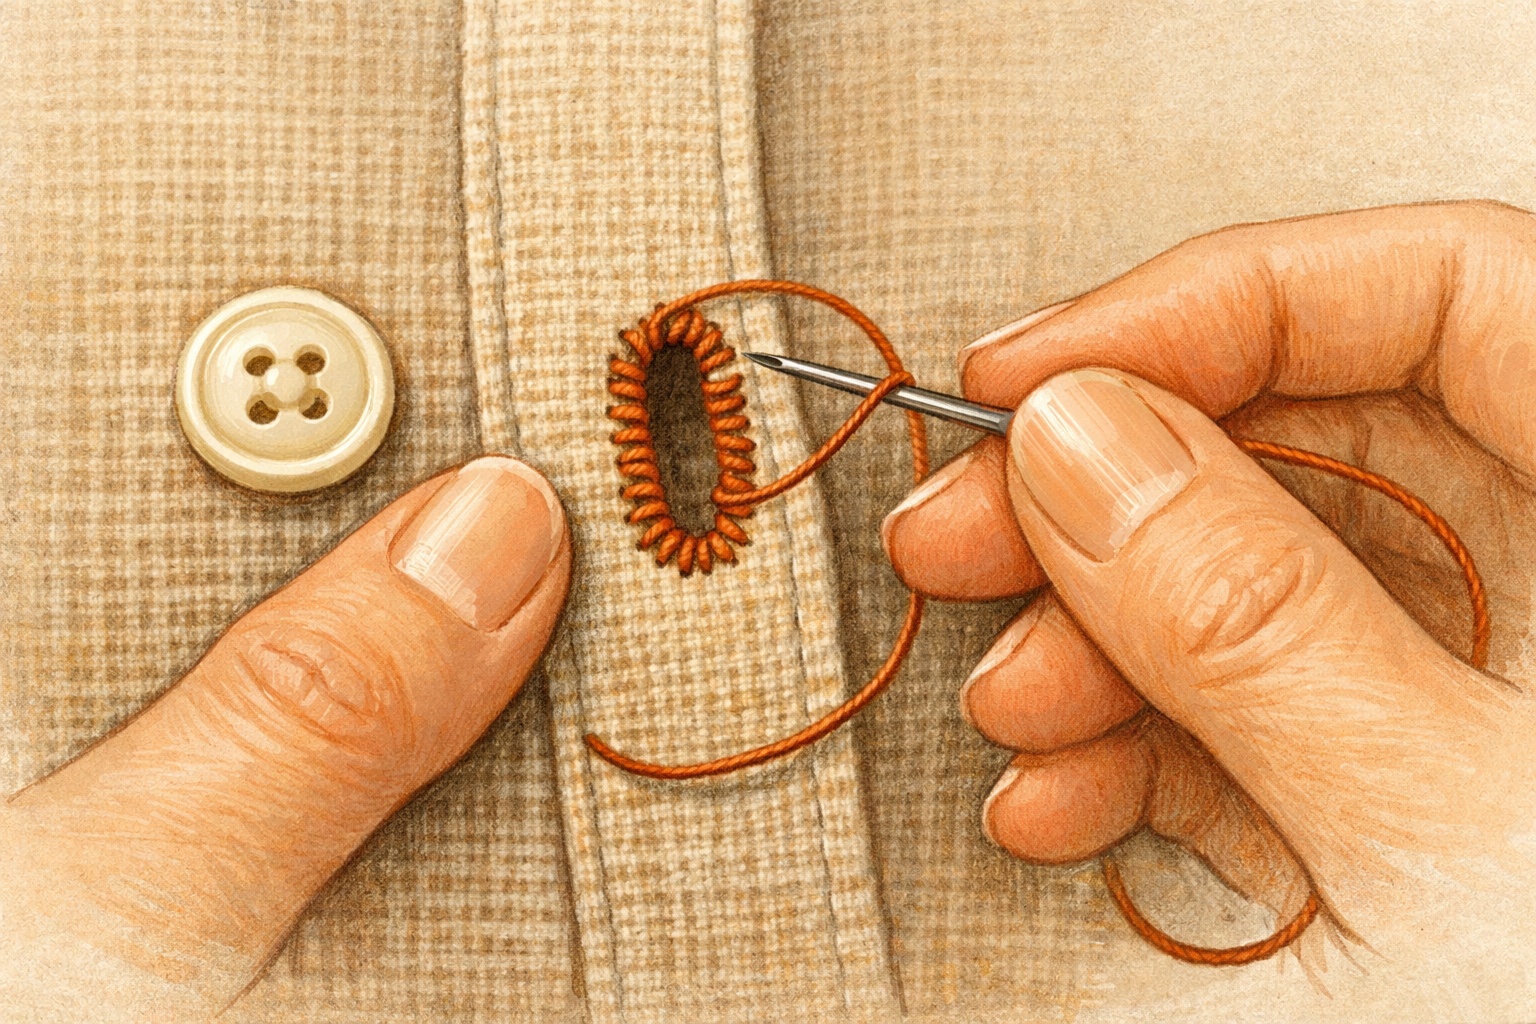
Hobbies & crafts
How to Tighten a Loose Buttonhole with Blanket Stitches
Reinforce stretched buttonholes by stitching a neat border that grips the button and prevents further fraying.
Read the guide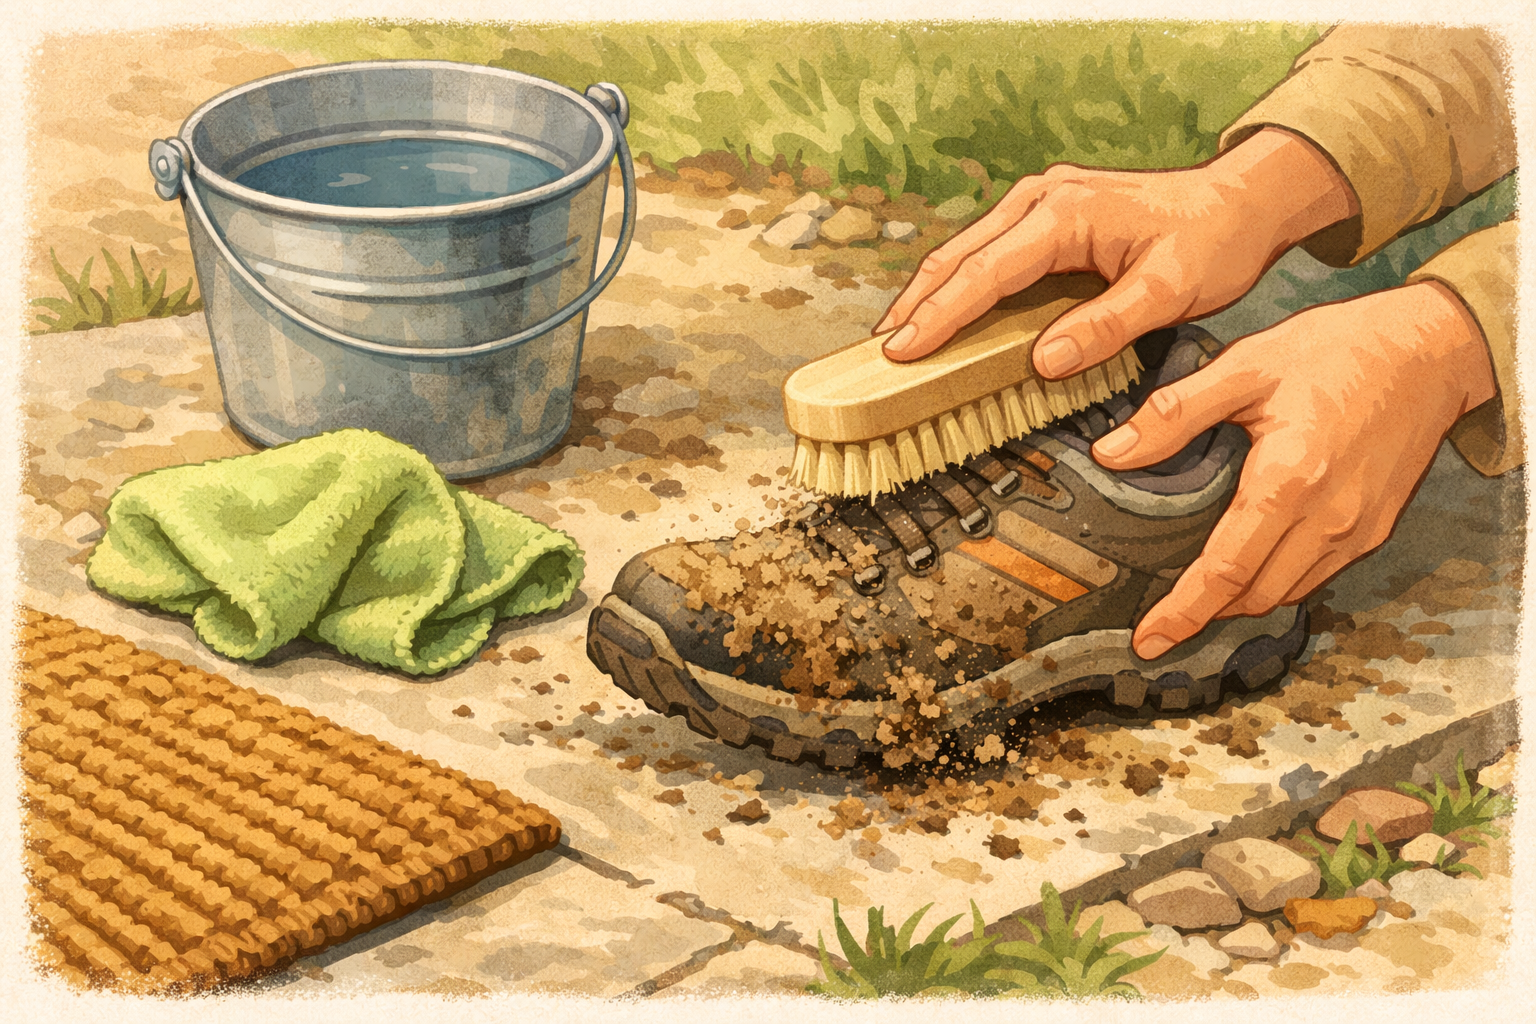
Home & life
How to clean muddy walking shoes after a countryside footpath
Knock off dried mud, brush seams, wipe uppers, clean outsoles, freshen insoles, and air‑dry so your shoes are ready for the next path. Photos show the order and which brushes or cloths to use.
Read the guide