Hobbies & crafts
How to draw an owl perched on a branch
Stack simple shapes to build an owl: circle for the head, oval for the body, a branch beneath, then place big eyes, a small beak, wings, and talons. Refine the facial disk, group feathers, clean up construction lines, and add shading for depth. Each step shows clear construction and the perch setup.
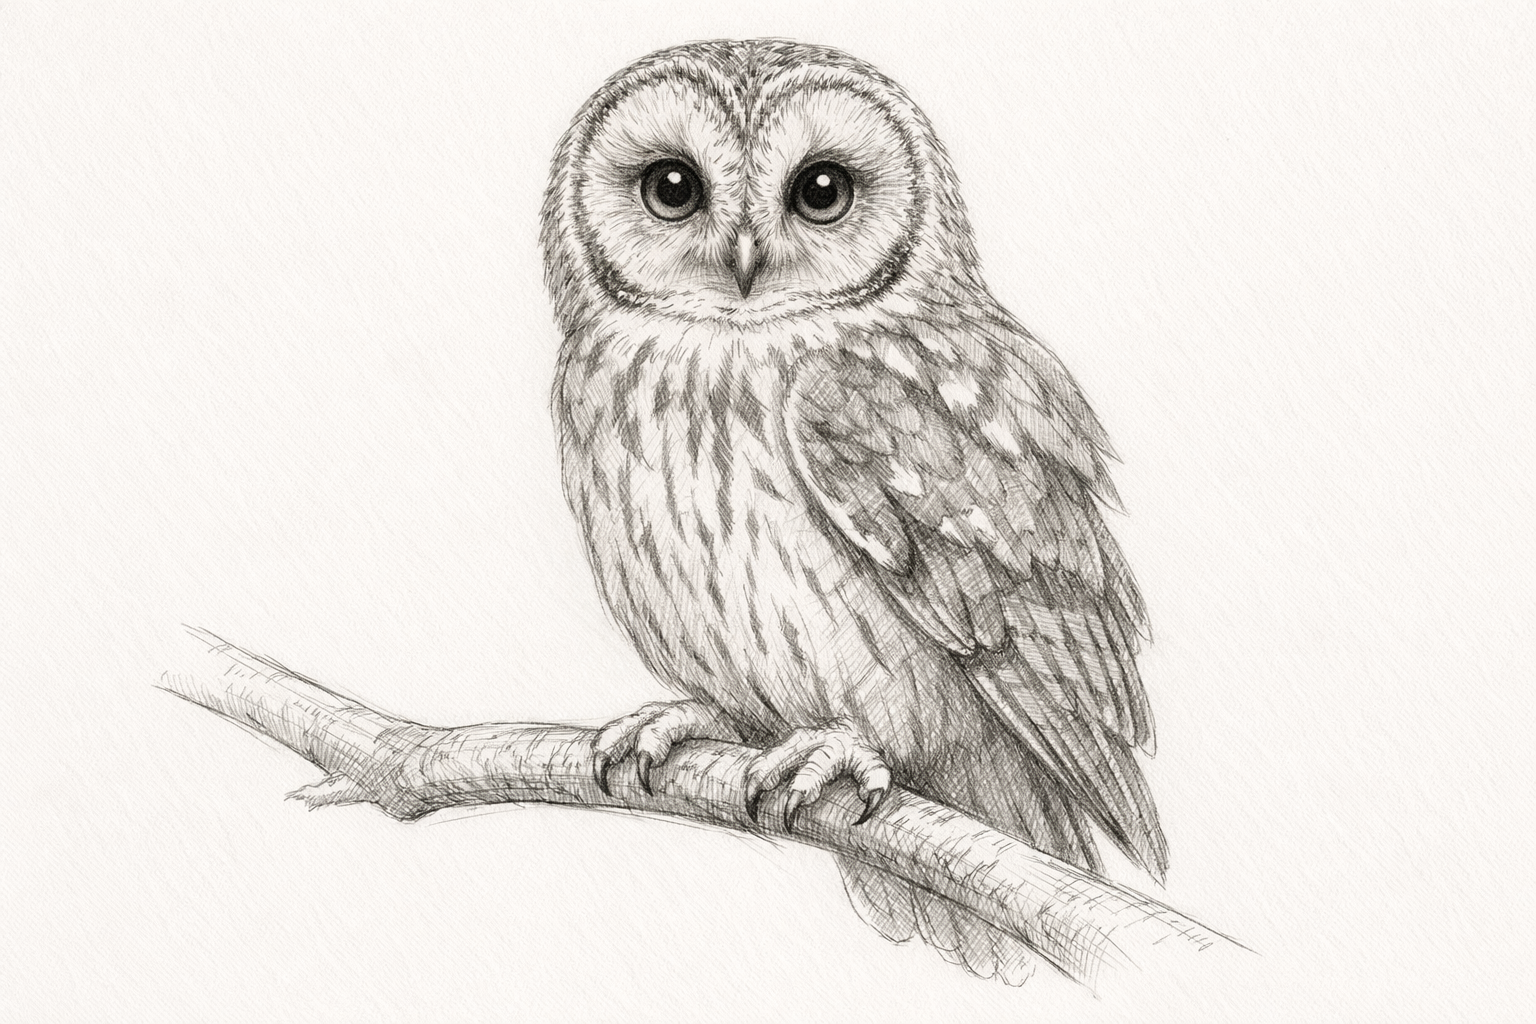
- 01
1) Set up your page and light pencil
Place a sheet of smooth drawing paper in portrait orientation. Use a hard or mid-hard pencil for faint guidelines so they’re easy to erase later. Keep your strokes light throughout the construction steps.
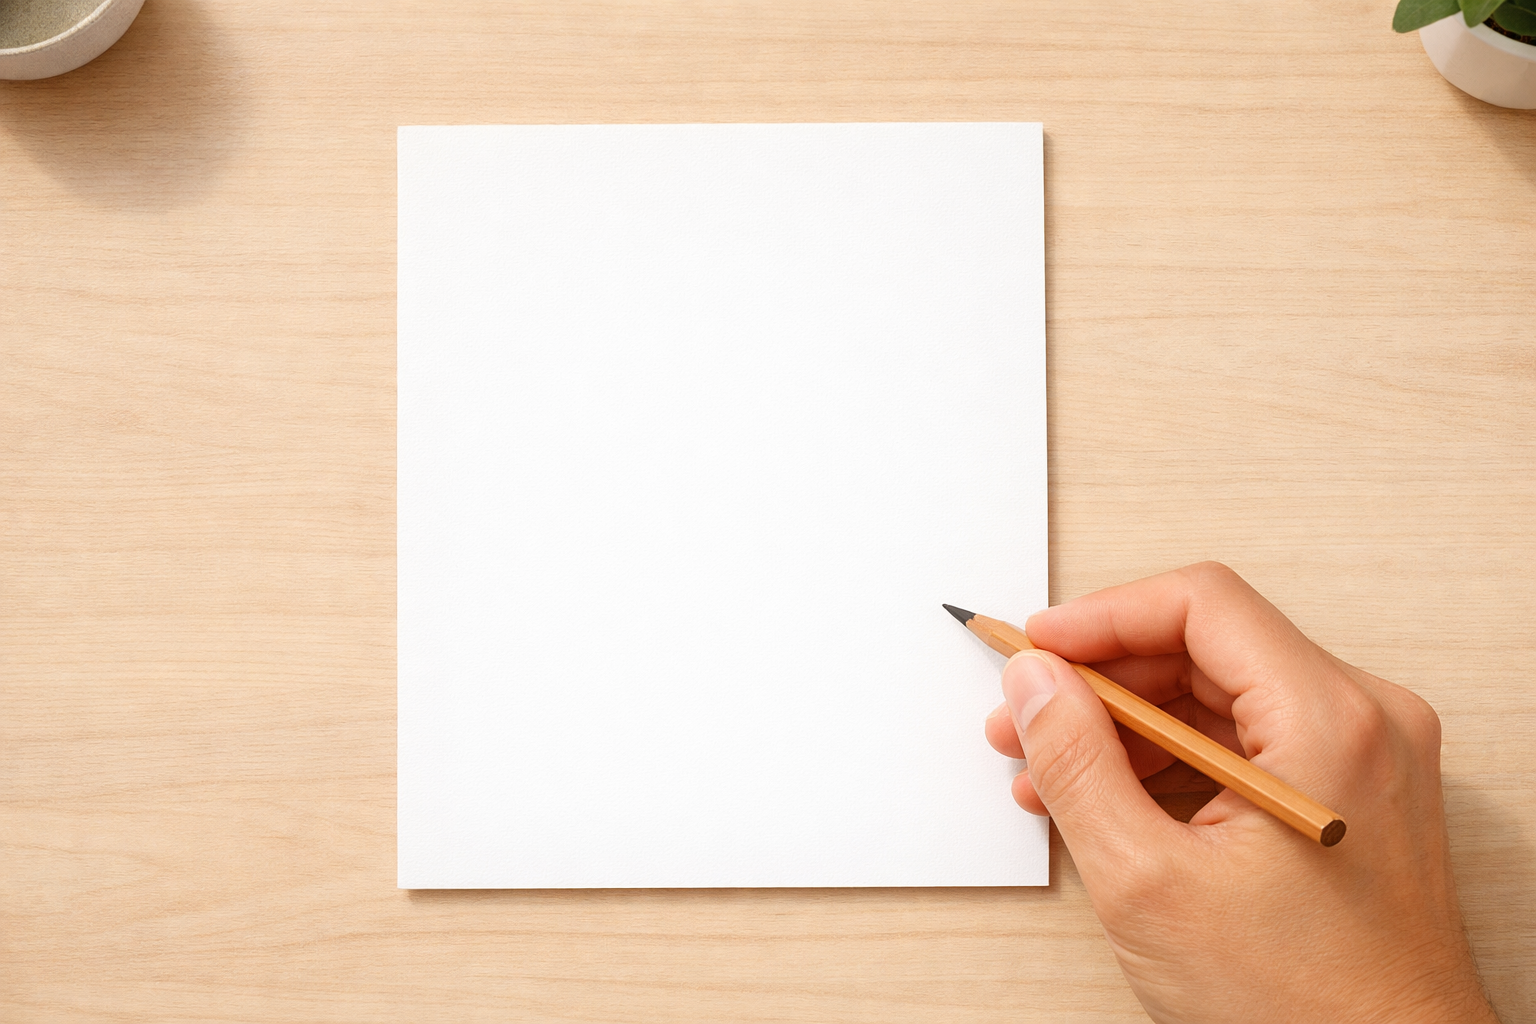
- 02
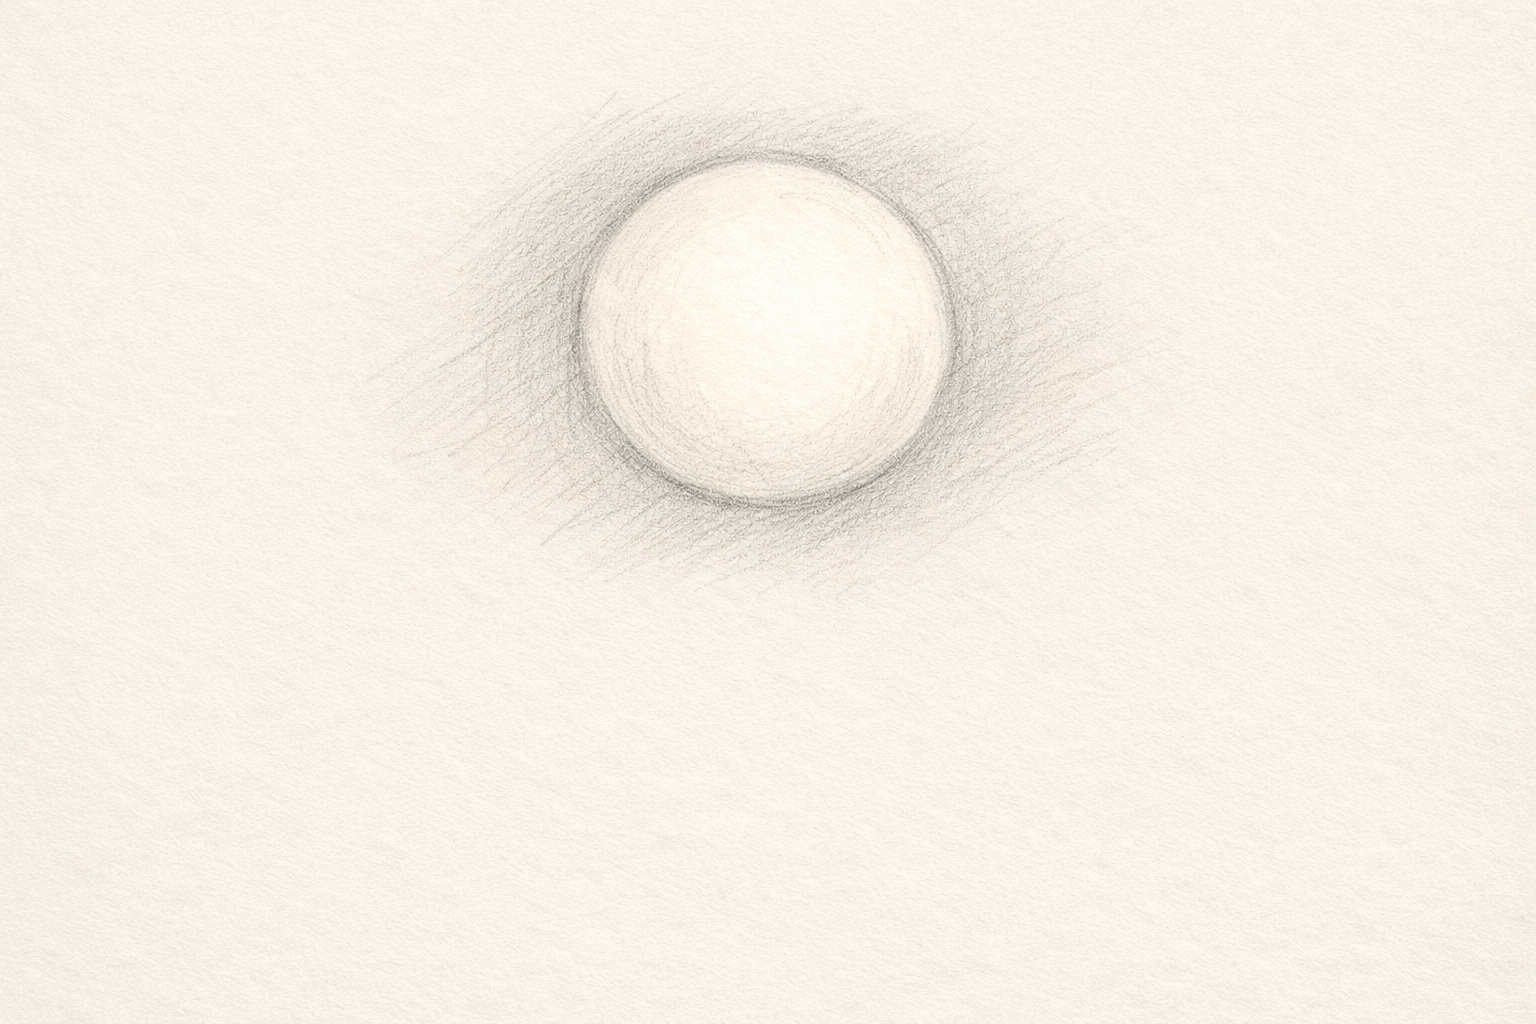
2) Block the head with a circle
Lightly draw a circle in the upper half of the page. Leave space below for the body and the branch. This circle defines the head’s overall size.
- 03
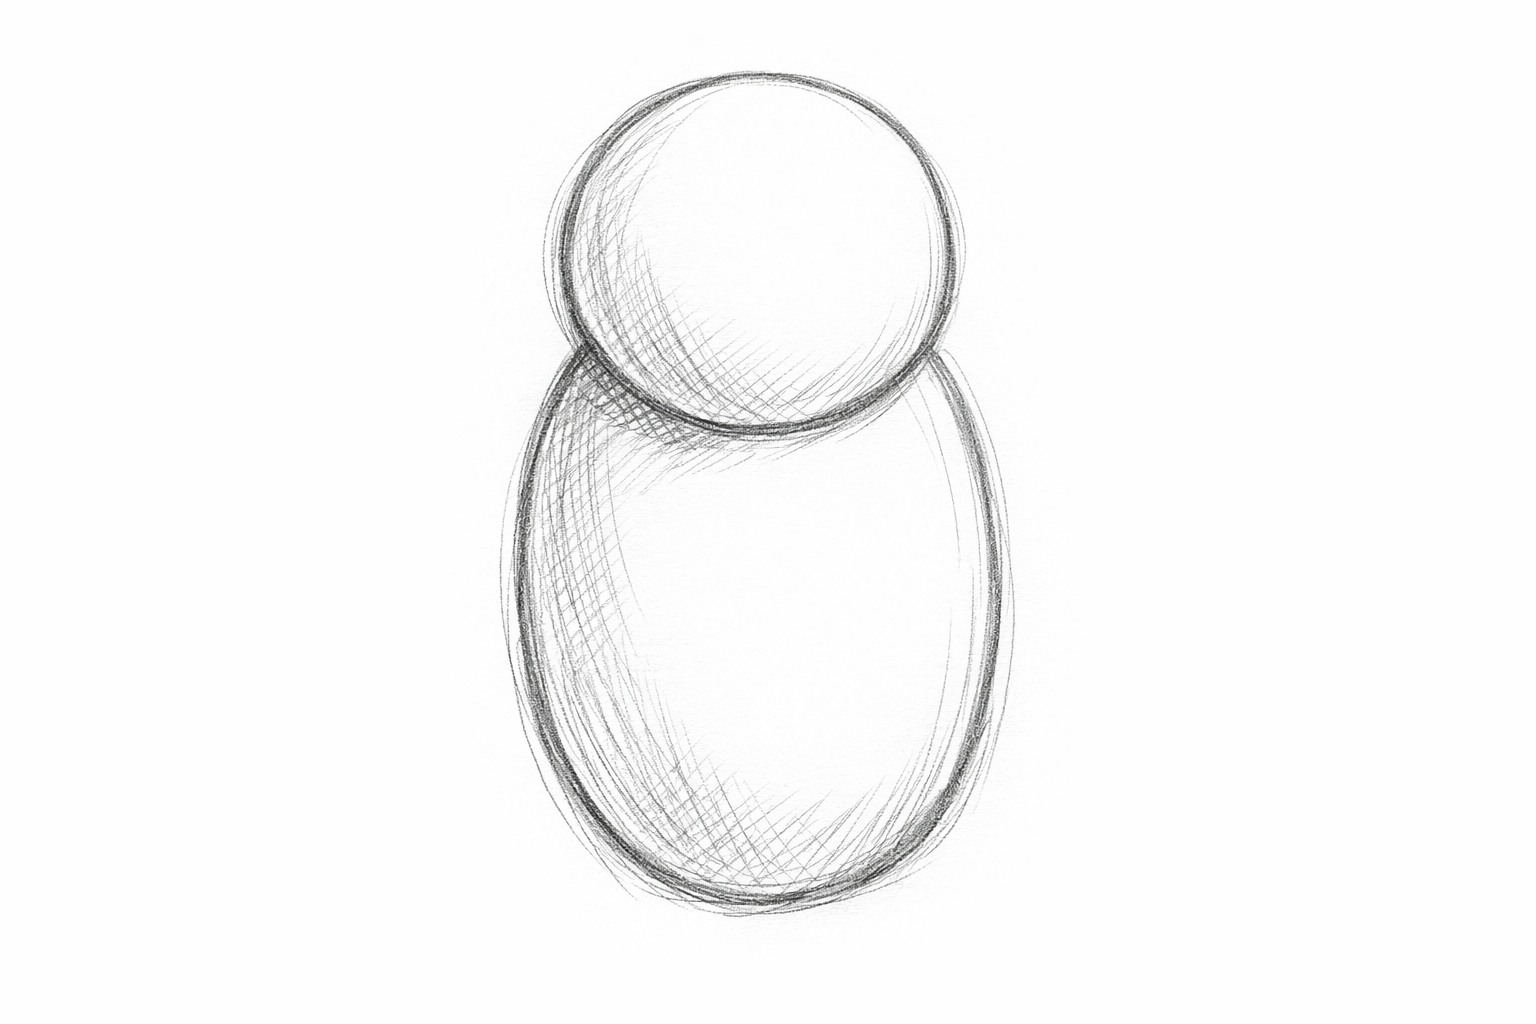
3) Add the body with an oval
Underlapping the head circle, draw a taller, slightly narrower oval for the body. Let it overlap the head circle by a small amount so they stack naturally.
- 04
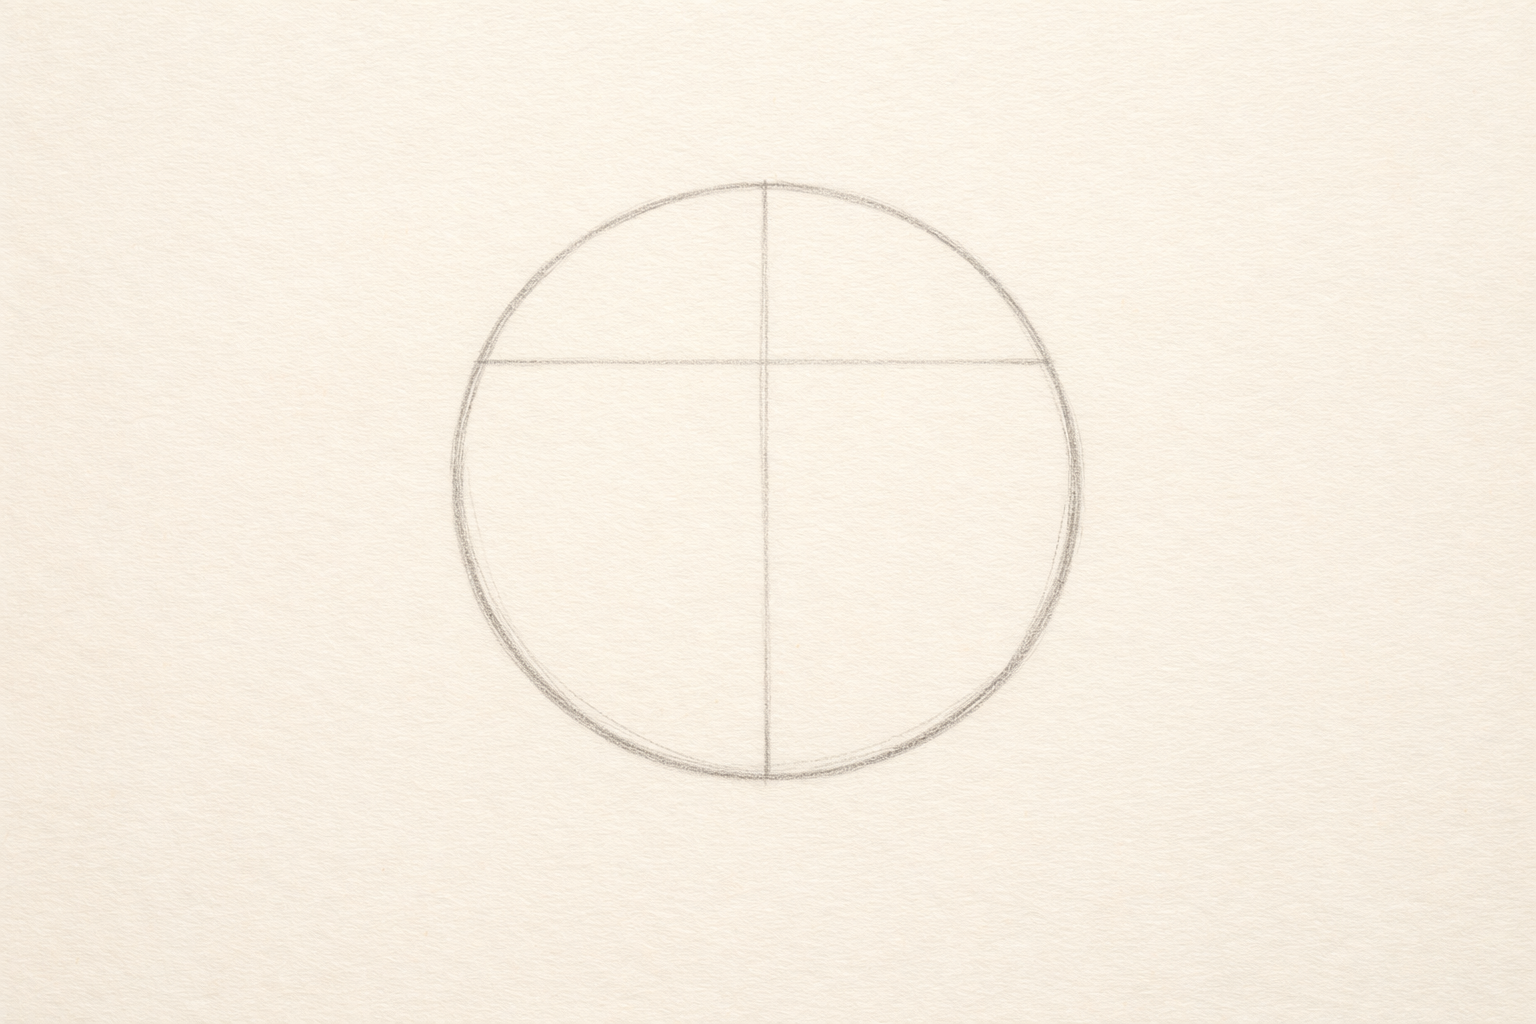
4) Mark center and eye lines
Lightly draw a vertical line down the middle of the head circle and a horizontal line across its upper third. These guide eye placement and symmetry.
- 05
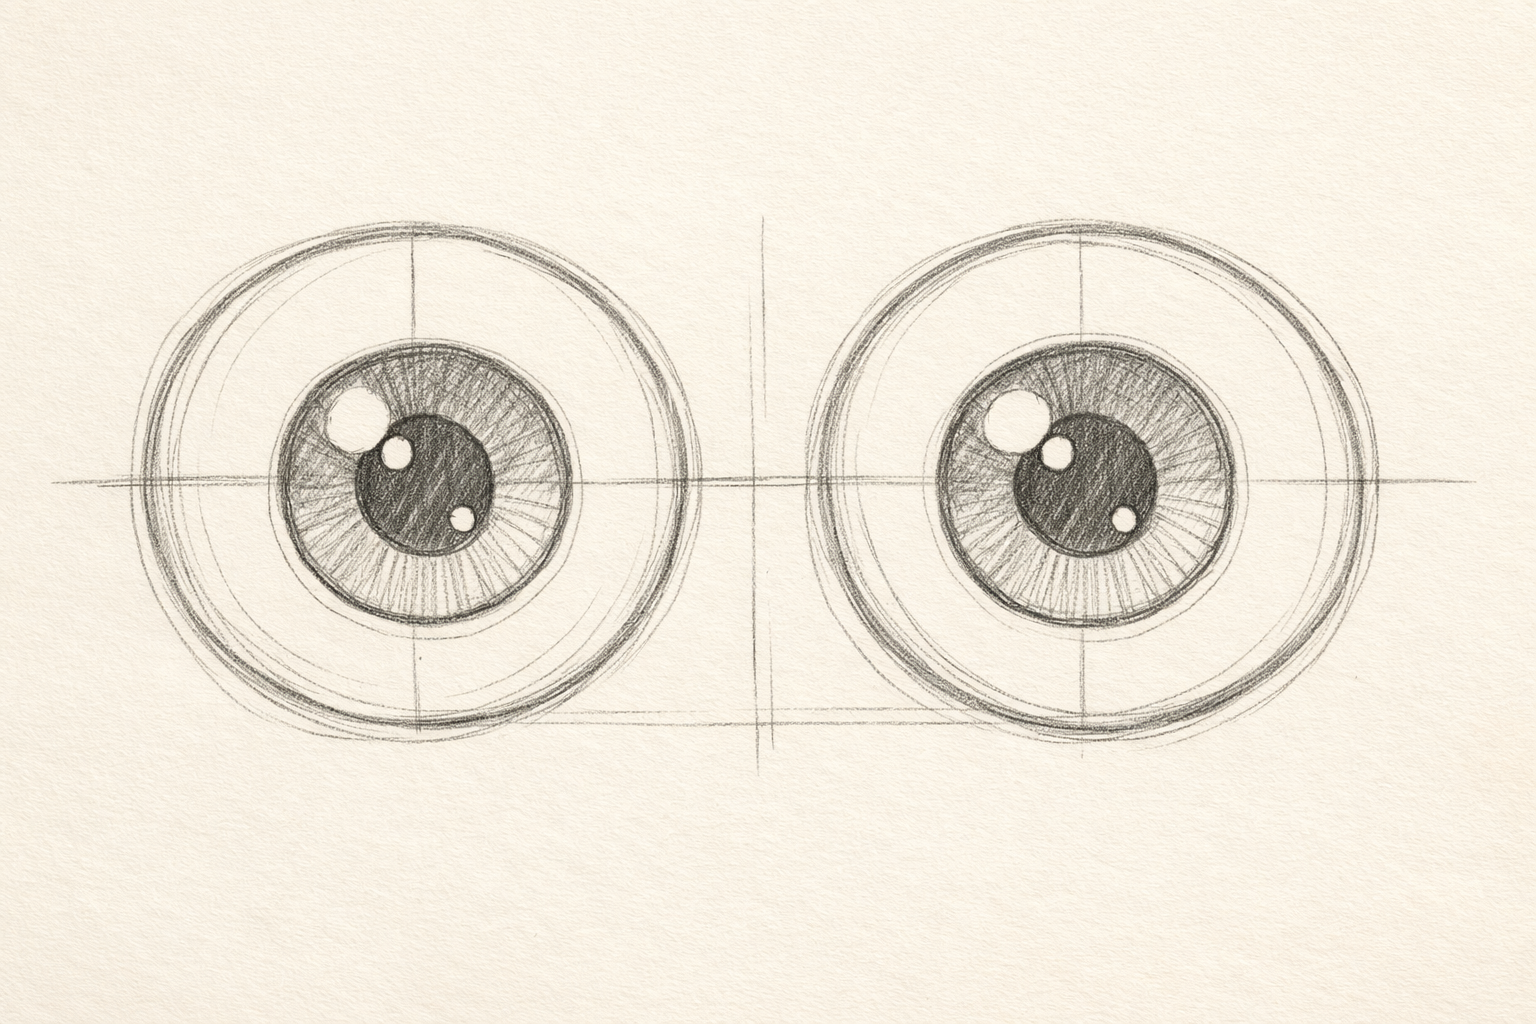
5) Place large eyes
On the eye line, add two big circles spaced evenly from the centerline. Inside each, add a smaller circle for the iris and a tiny circle left unshaded for a catchlight later.
- 06
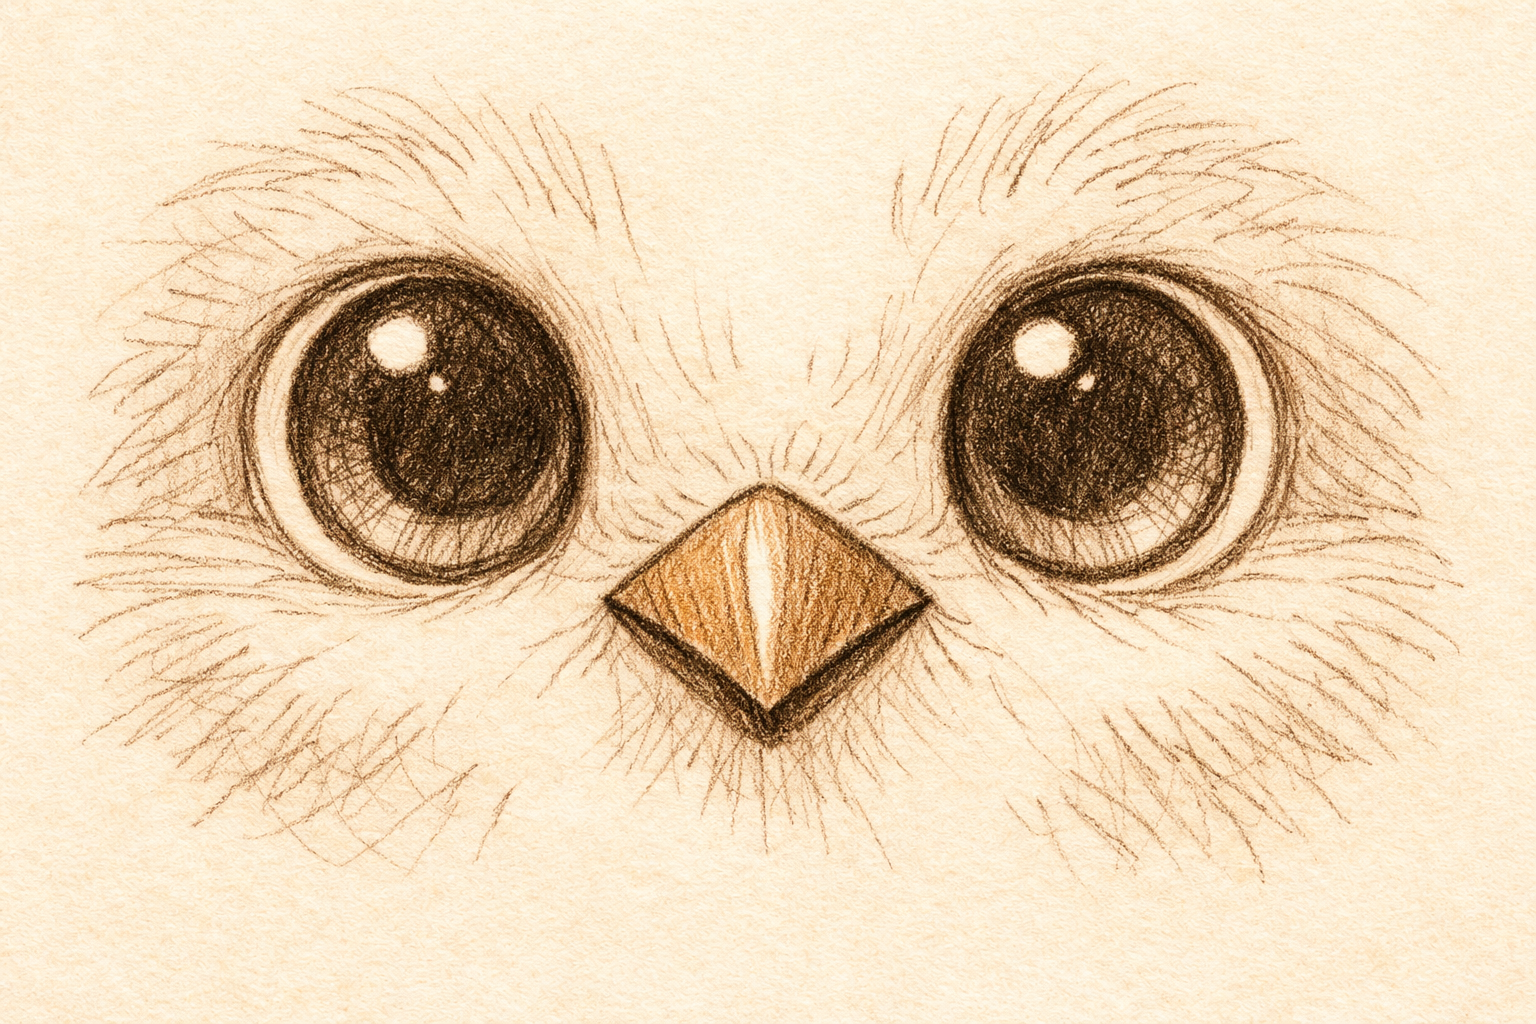
6) Add a small beak
Between the eyes, draw a small downward-pointing diamond or triangle that touches the centerline and sits just below the eye line. Keep it compact.
- 07
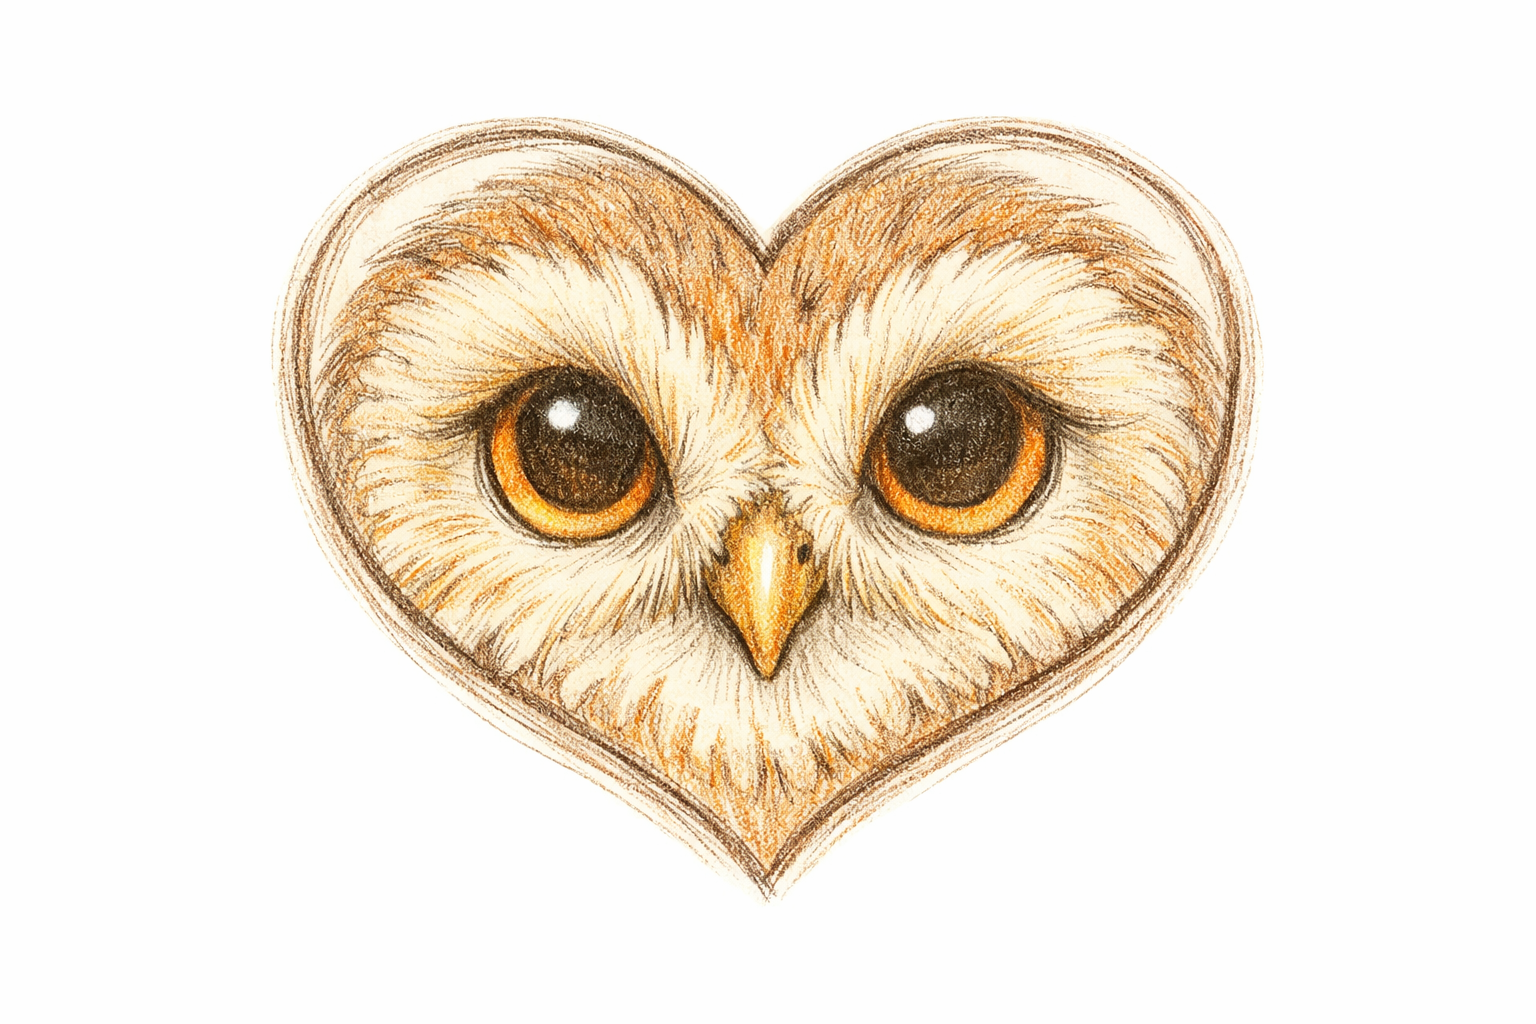
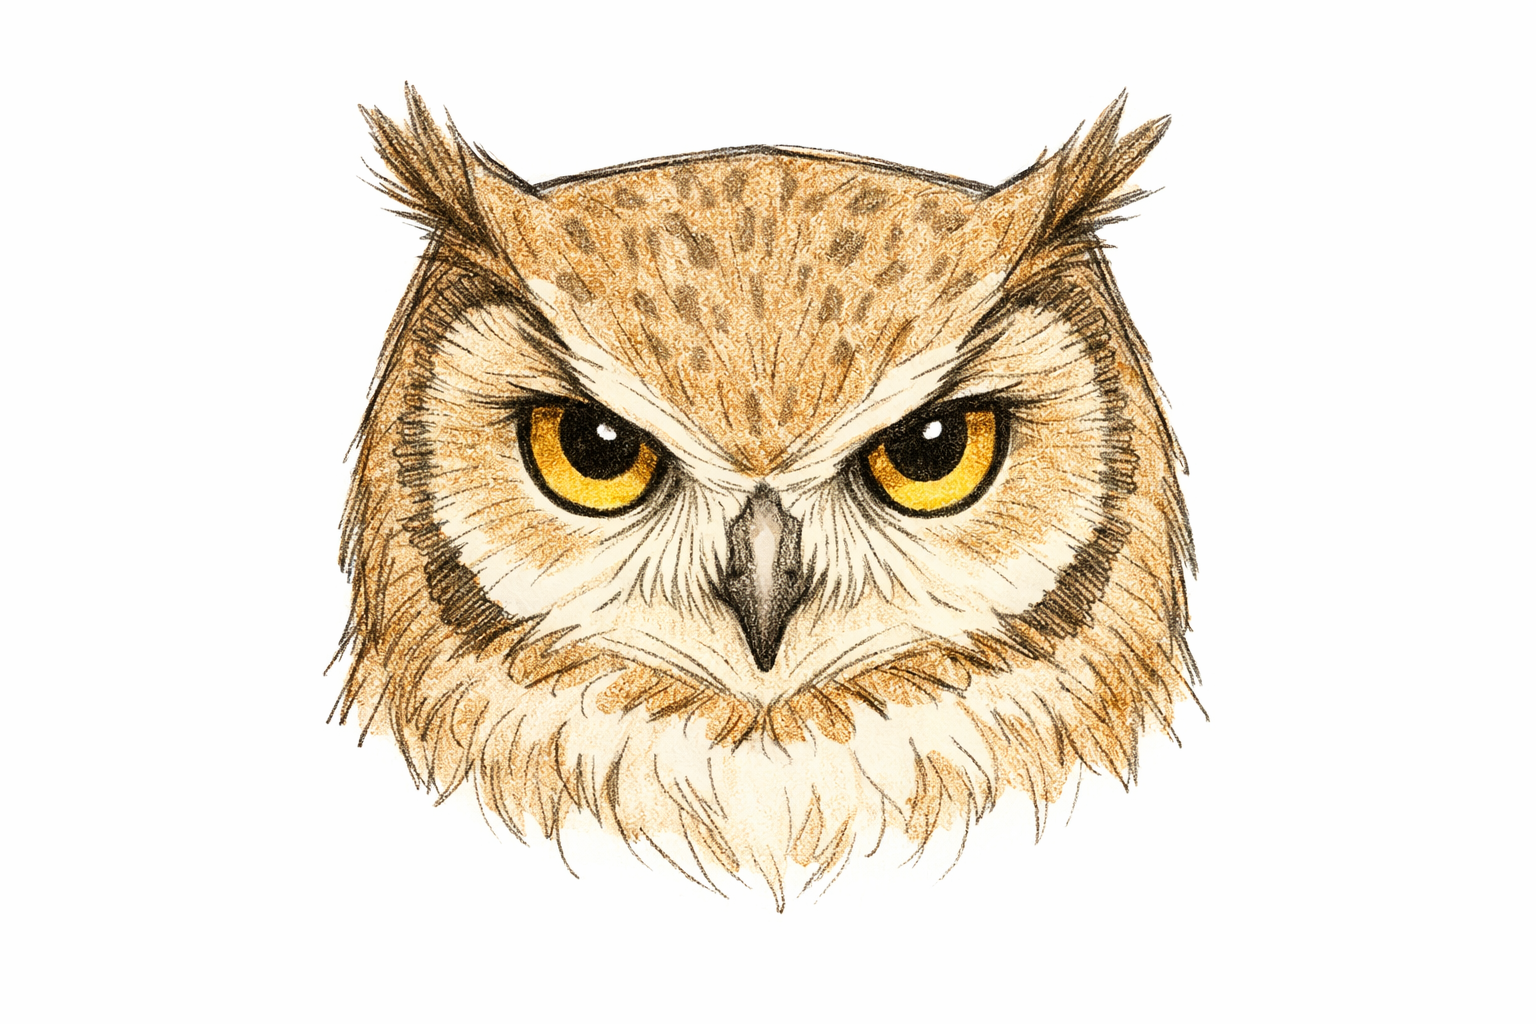
7) Outline the facial disk
Lightly draw a soft oval or heart-like curve around the eyes and beak, fitting inside the head circle. This rim suggests the owl’s facial disk and helps frame the eyes.
- 08
8) Shape the head and add ear tufts (optional)
Refine the outside of the head circle into a slightly squarer top. If you like, add small pointed feather tufts at the top corners. Keep them subtle.
- 09
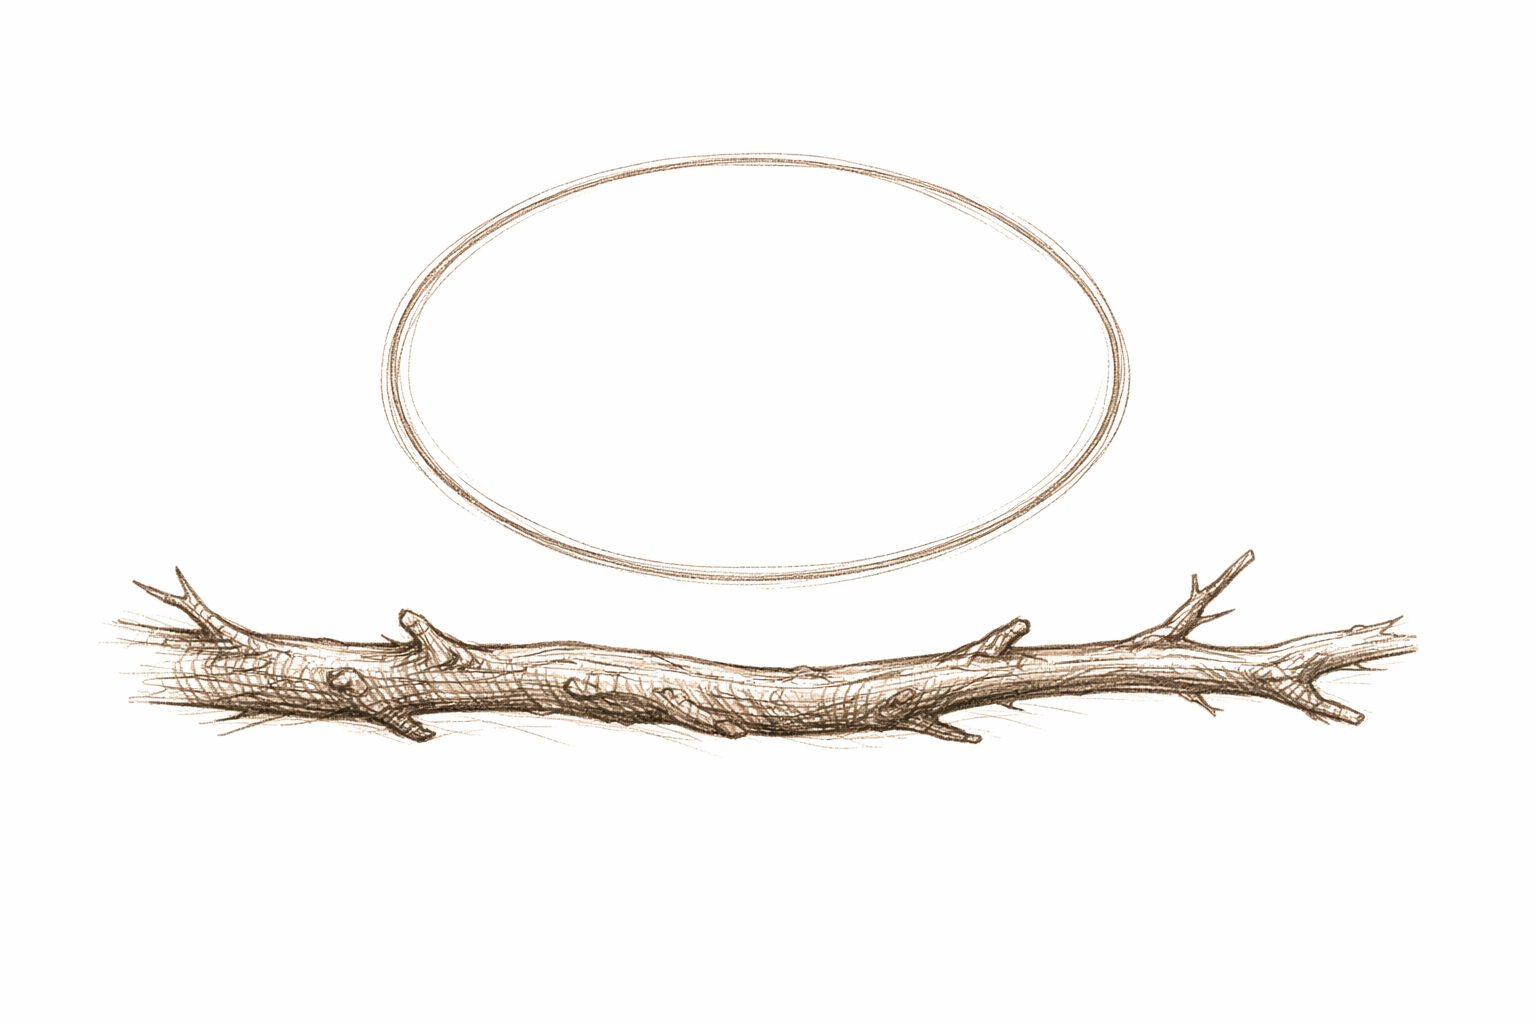
9) Draw the perch branch
Under the body oval, sketch a gently curved, thick branch that runs horizontally. Give it some taper and a second line for thickness. Leave space where feet will overlap.
- 10
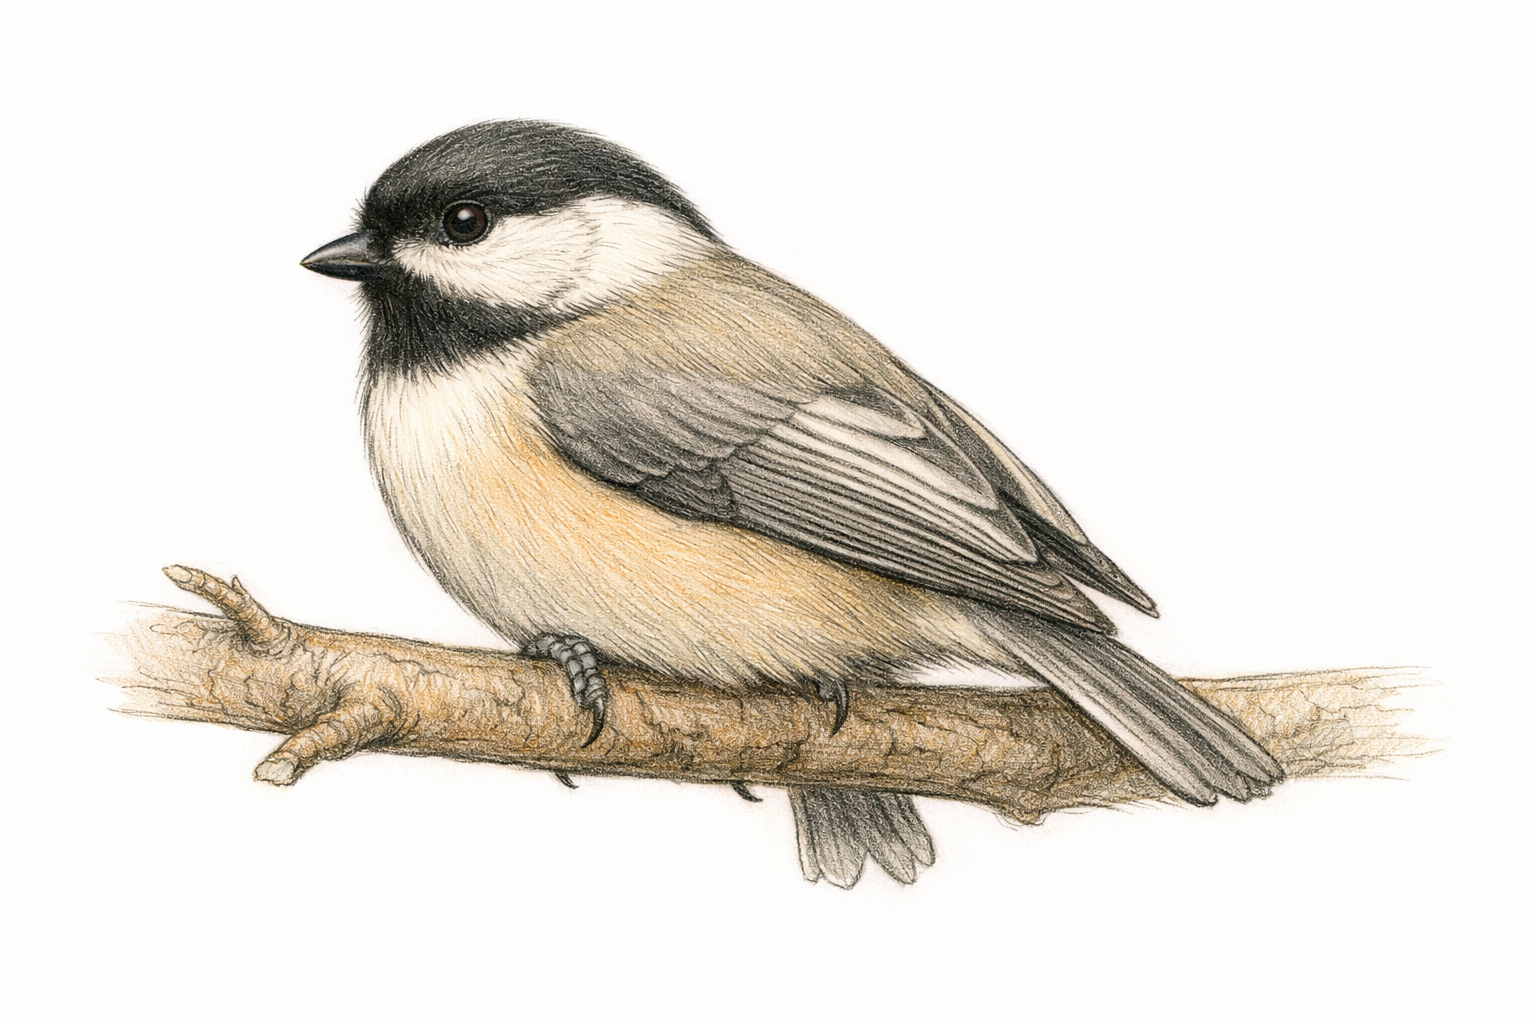
10) Add wings and tail
From each side of the body, draw a long, downward curve to suggest folded wings. Indicate a short tail peeking below the branch with a few straight feather tips.
- 11
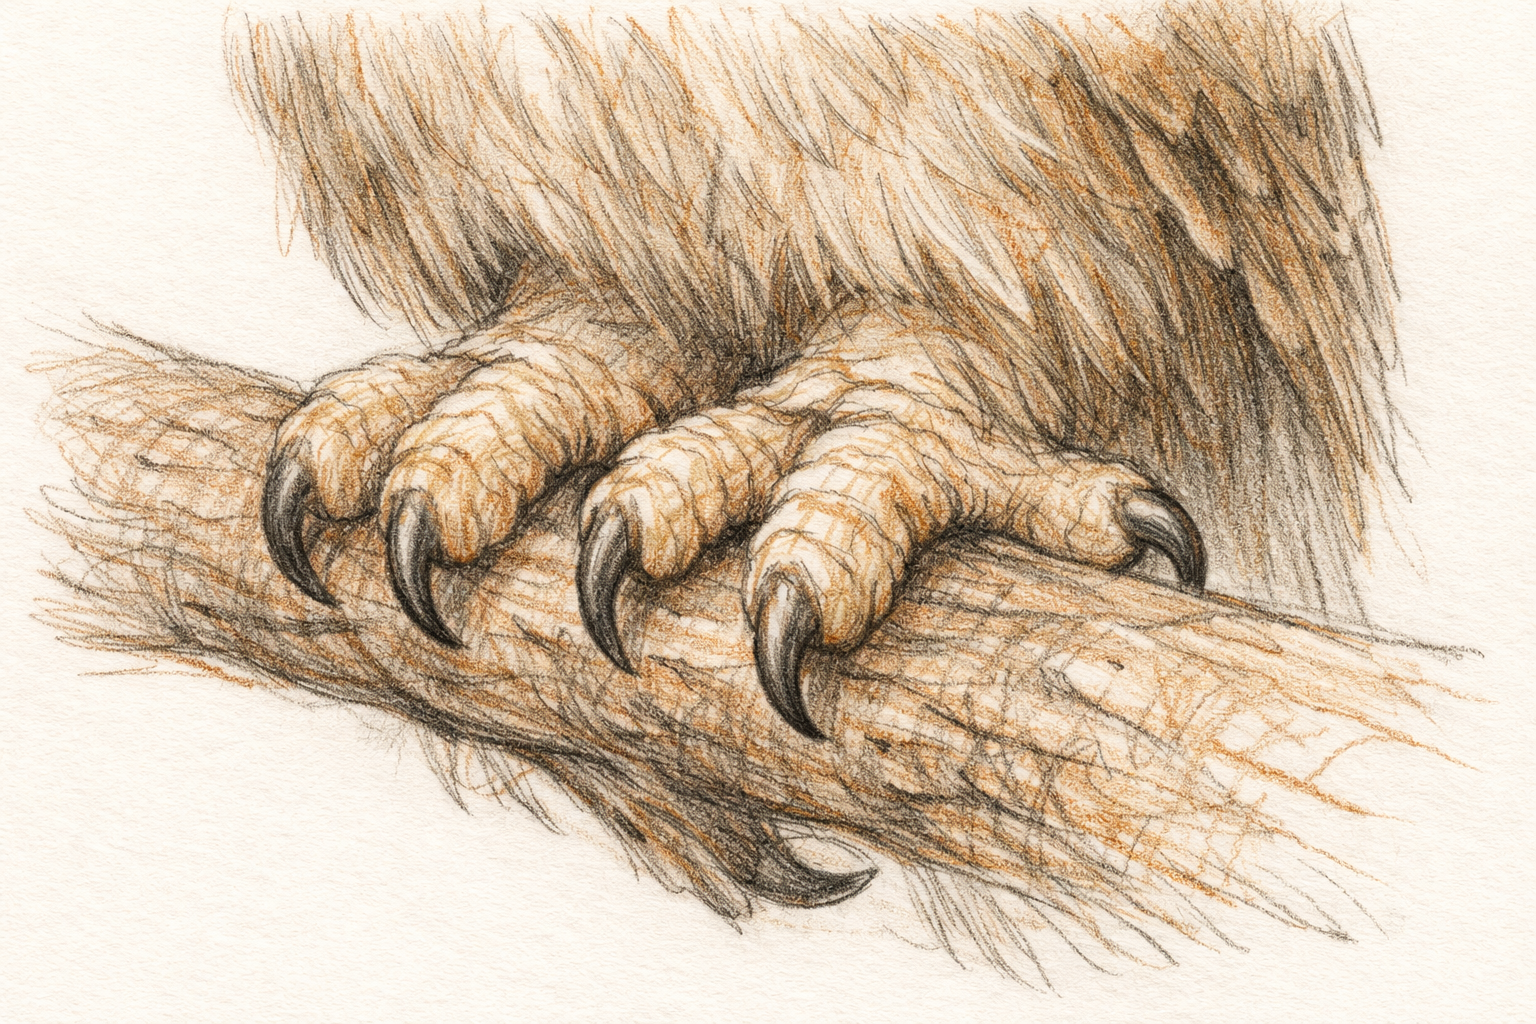
11) Draw talons gripping the branch
Sketch three front toes curving over the branch and one toe behind for each foot. Add small hooked claws at the tips. Make the toes wrap around to show a firm grip.
- 12
12) Suggest feather groups
Add short, light lines to group feathers: small strokes around the facial disk rim, soft scallops on the chest, and longer overlapping marks on the wings. Keep them sparse for now.
- 13
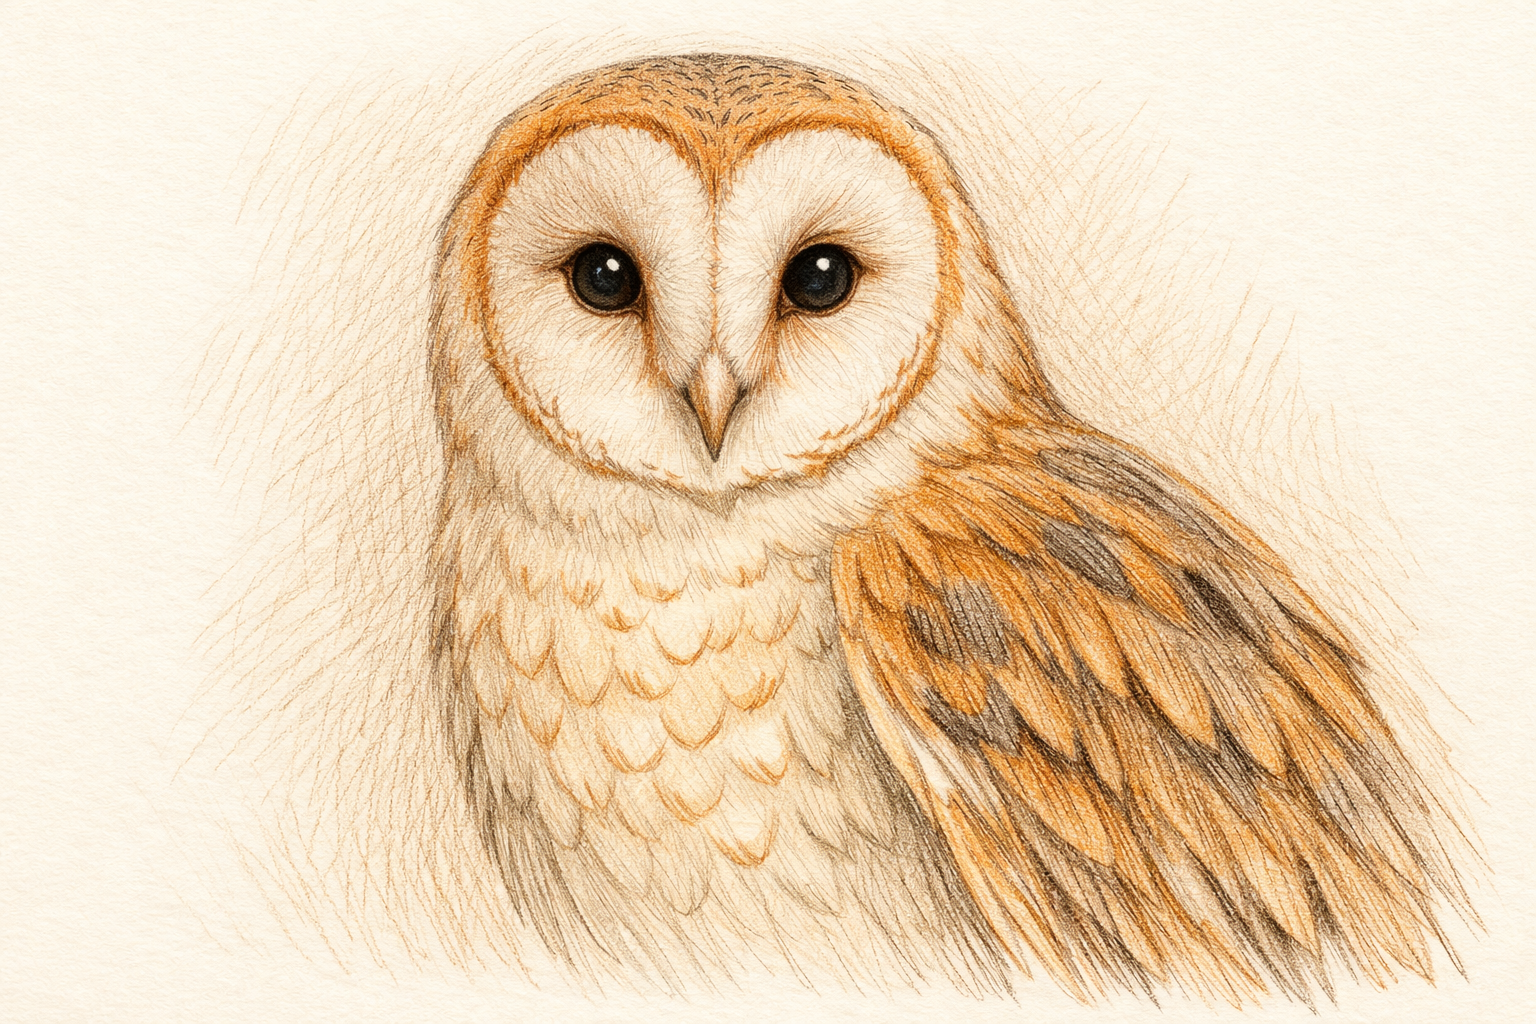
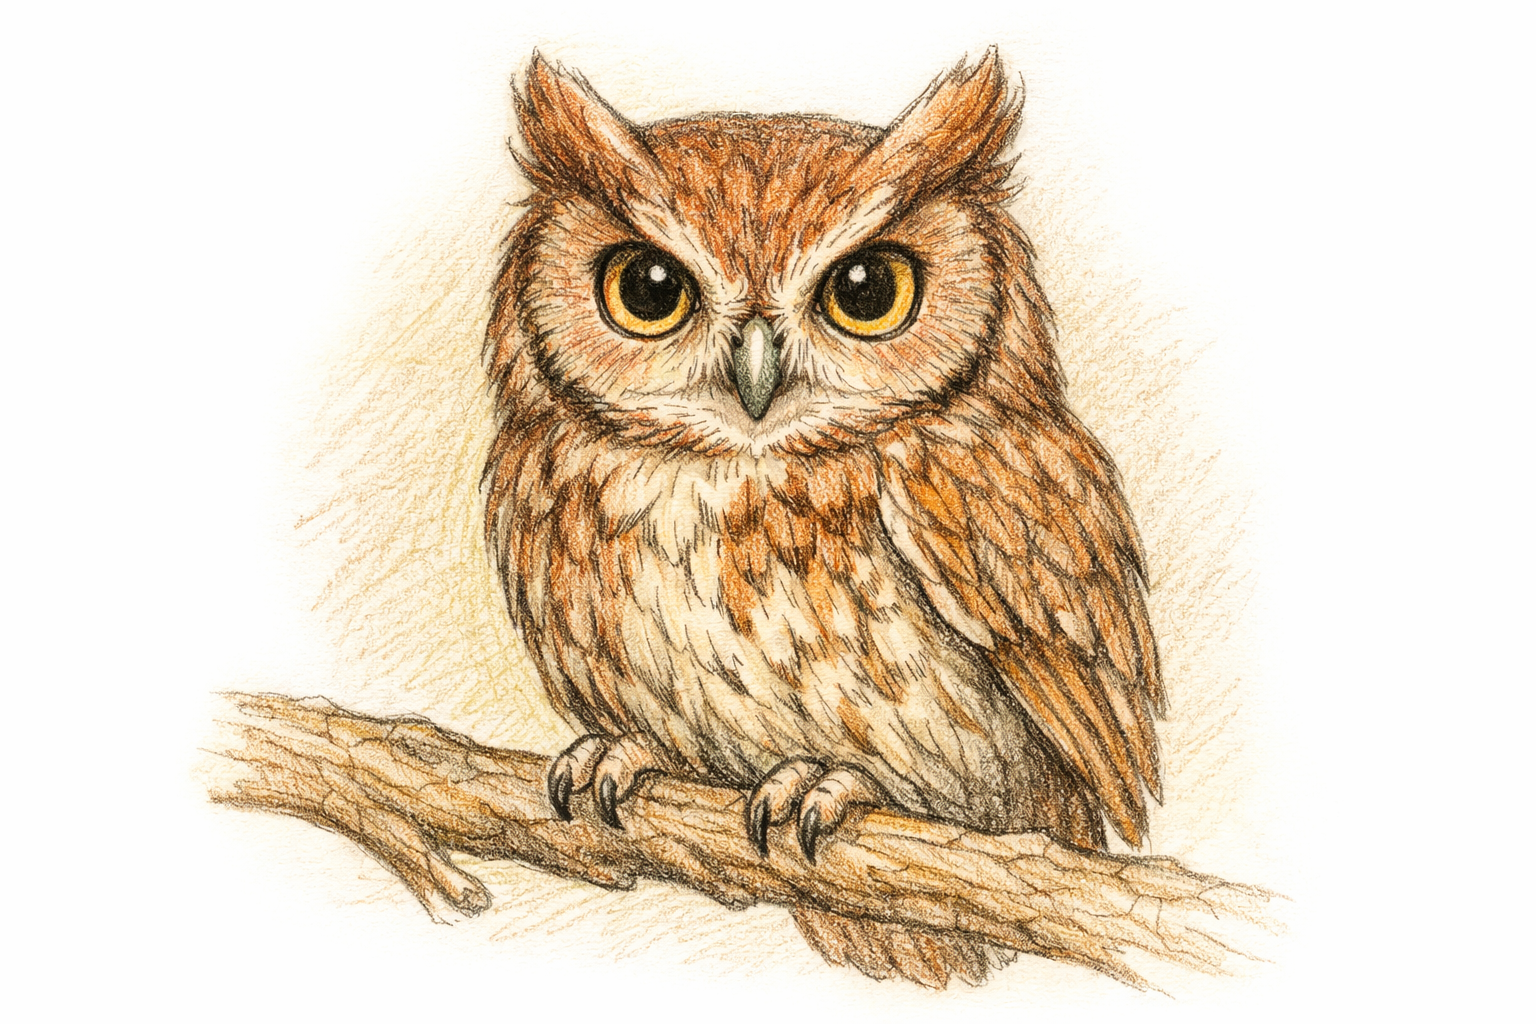
13) Clean up construction lines
Carefully erase the head and body construction lines that remain inside your refined outlines. Keep the eye, beak, facial disk, and perch lines crisp.
- 14
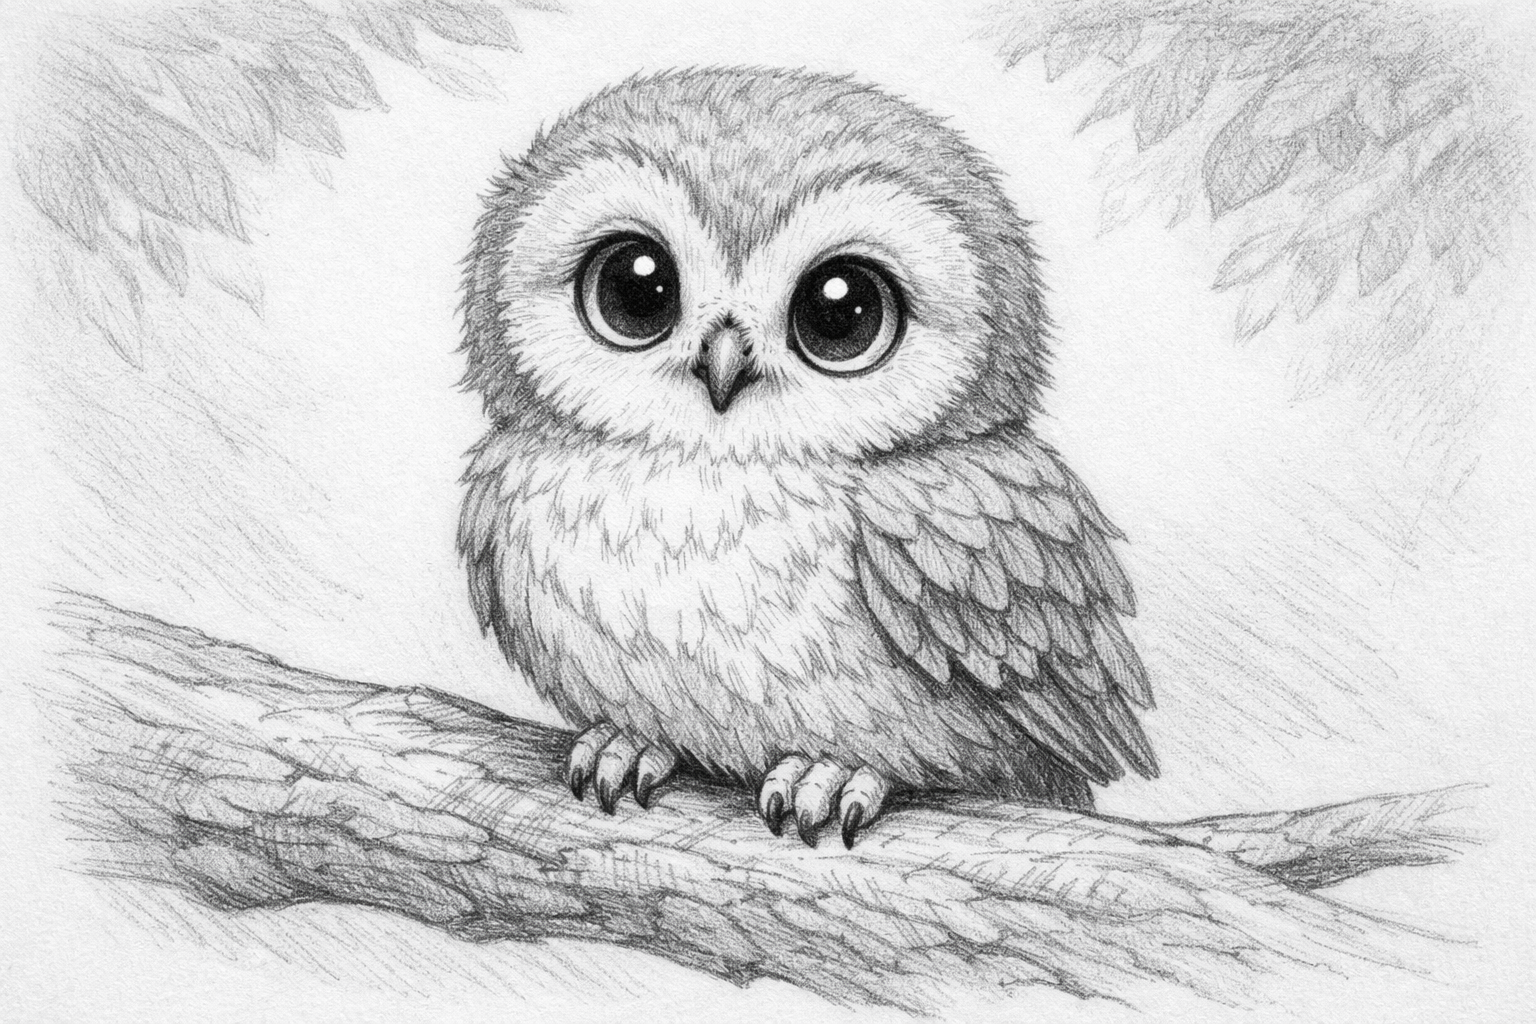
14) Shade for depth and finish
Decide on a light source. Darken pupils, leaving the catchlights bright. Shade under the brow ridge, along the facial disk rim, beneath wings, and under the body and toes on the branch. Add light bark texture and a soft shadow beneath the branch.
If this was useful
Try one of these next
Home & life
How to clean and dry a reusable water bottle after a picnic
Disassemble the lid, clean threads and seals, wash the body, rinse thoroughly, and air‑dry so it doesn’t develop odours between countryside trips. Close‑ups show where residue hides and a quick drying rack setup.
Read the guide
Hobbies & crafts
How to draw a standing penguin using teardrop shapes
Start with a tall teardrop for the body and small ovals for the head and feet. Add a simple beak and flippers with more teardrops, map the tuxedo belly, then refine the outline. Erase the guides and finish with light shading for roundness. Each step’s image overlays pale guide shapes and the darker final lines so you can see what to keep.
Read the guide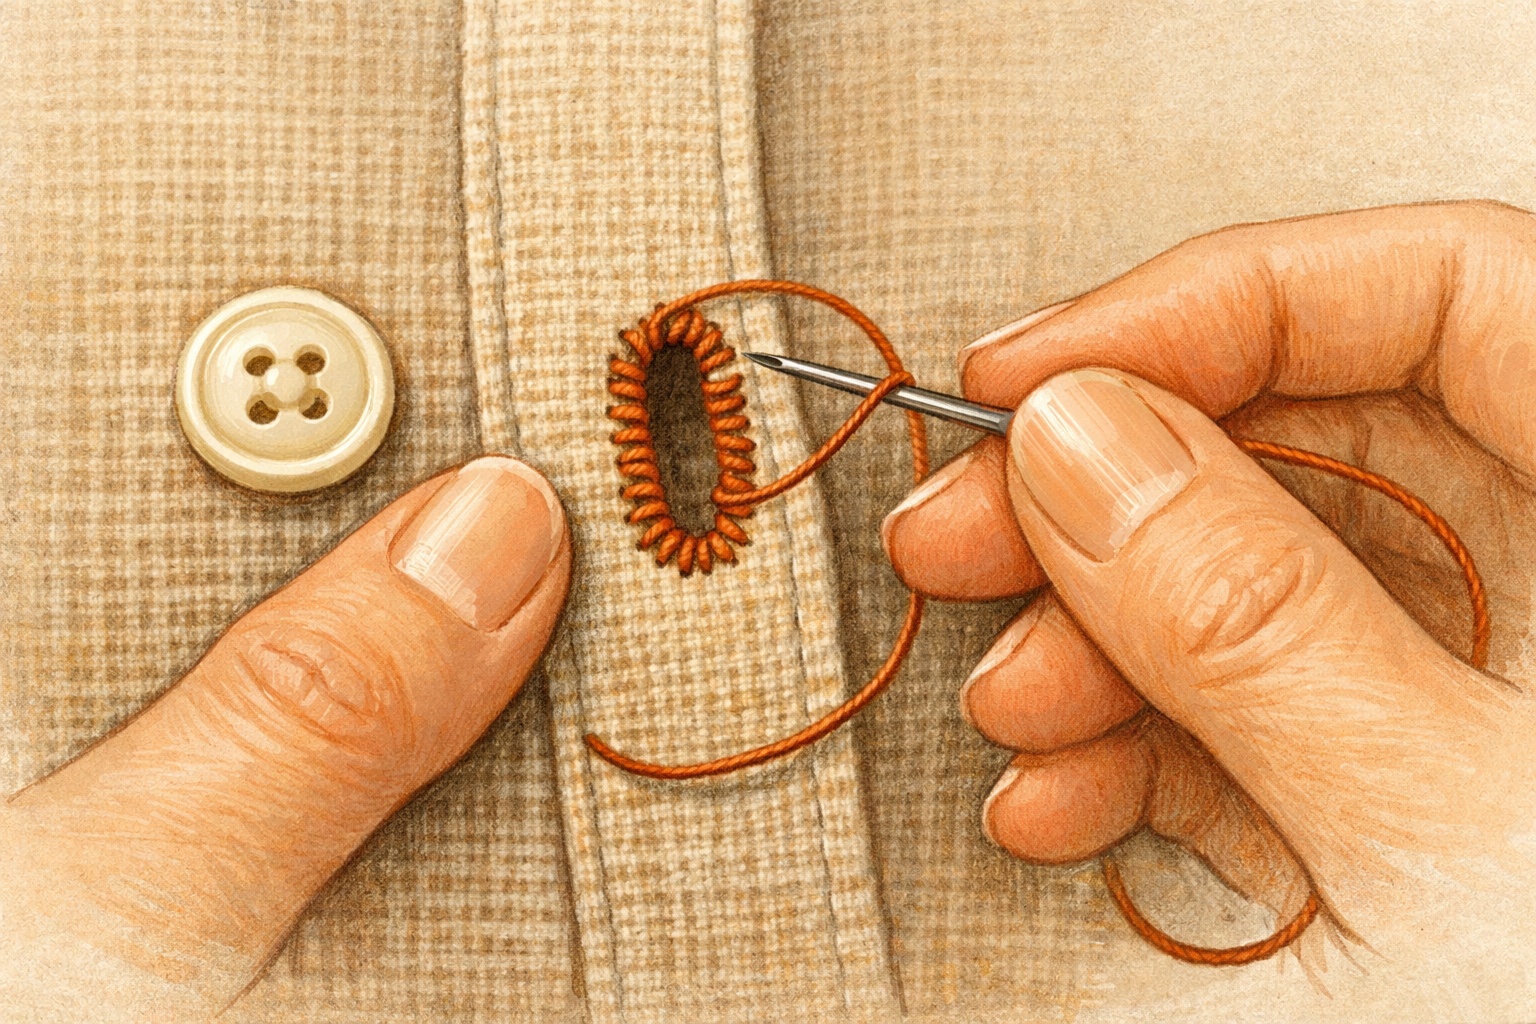
Hobbies & crafts
How to Tighten a Loose Buttonhole with Blanket Stitches
Reinforce stretched buttonholes by stitching a neat border that grips the button and prevents further fraying.
Read the guide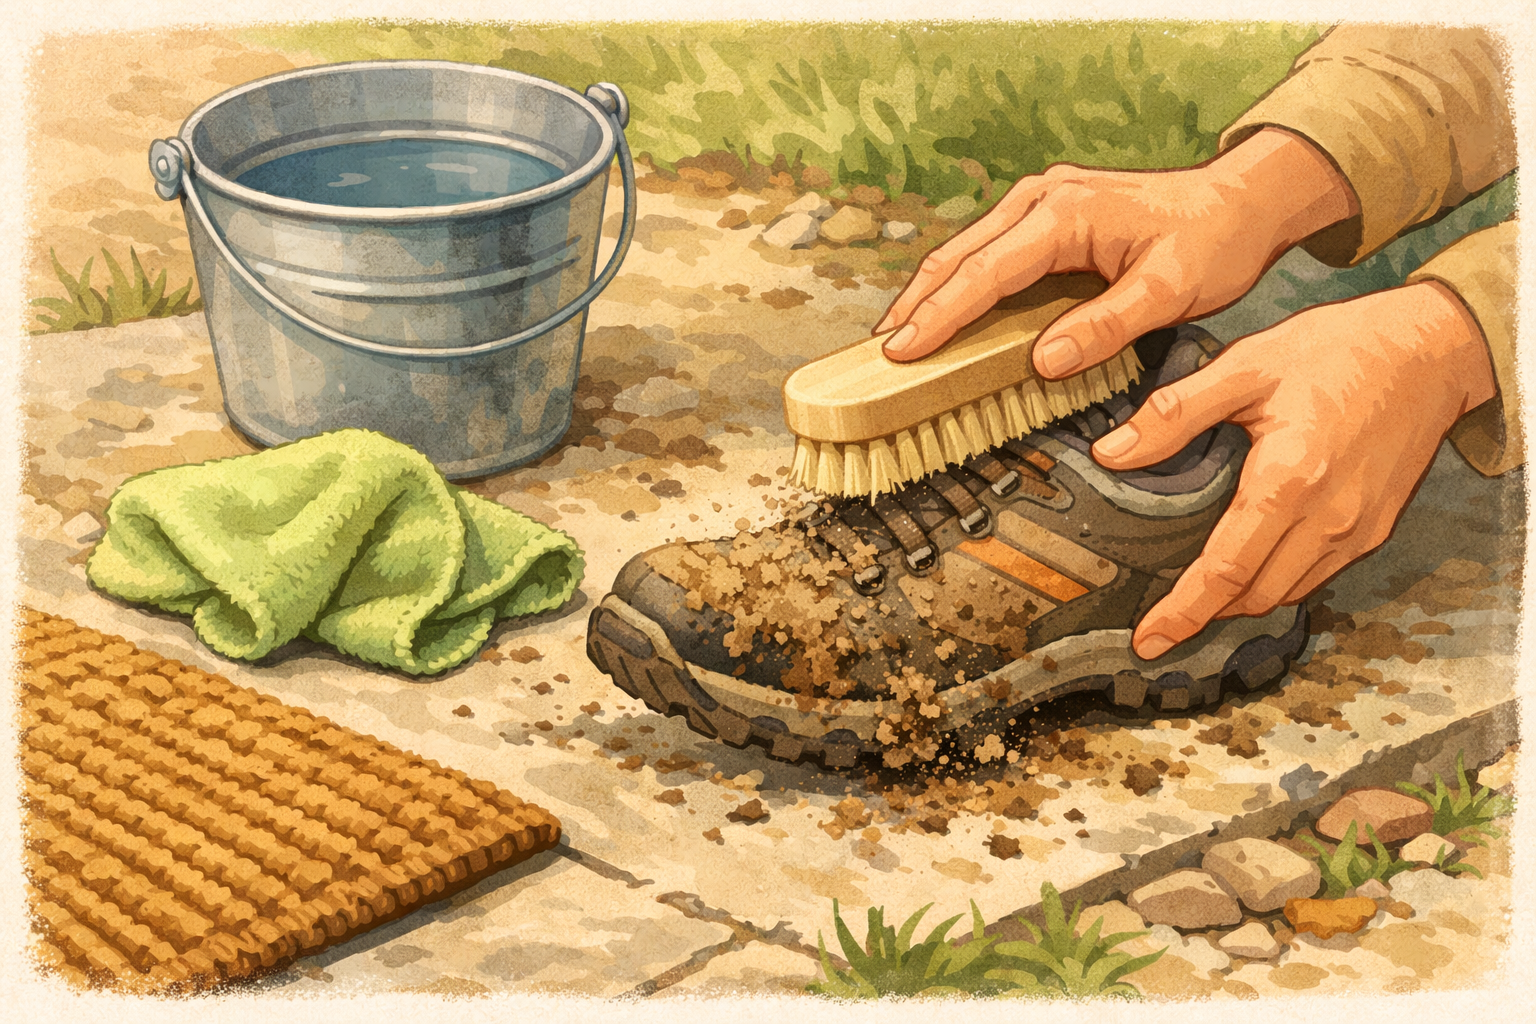
Home & life
How to clean muddy walking shoes after a countryside footpath
Knock off dried mud, brush seams, wipe uppers, clean outsoles, freshen insoles, and air‑dry so your shoes are ready for the next path. Photos show the order and which brushes or cloths to use.
Read the guide