Food & drink
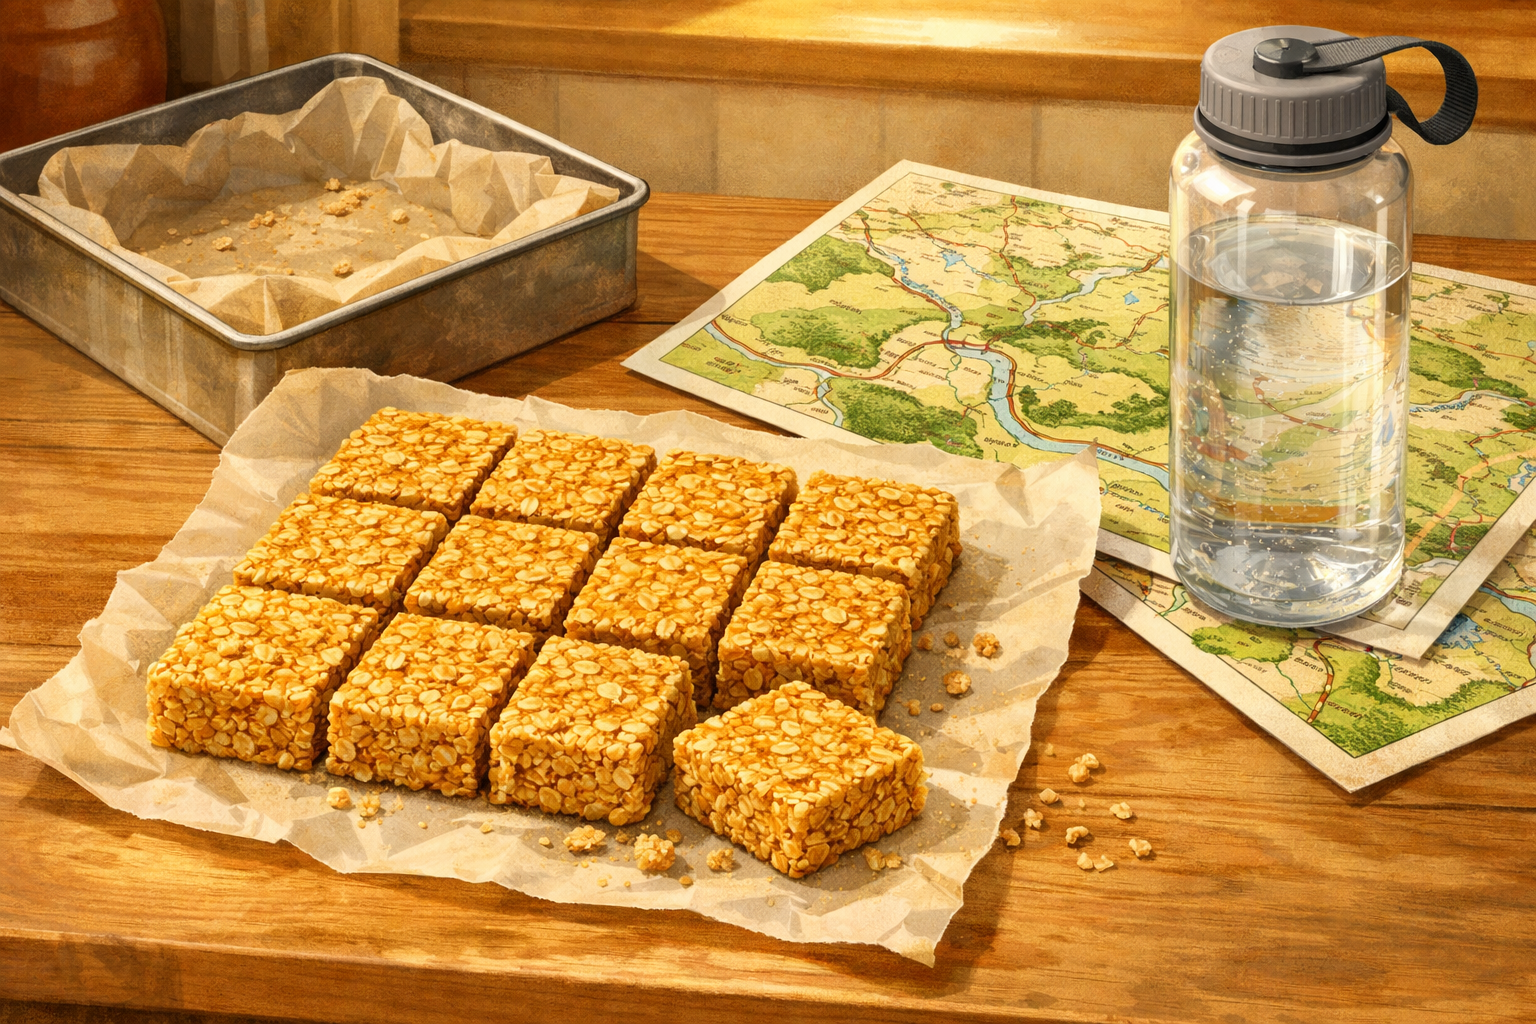
How to bake oat flapjacks that travel well for countryside walks
Mix, press, bake, and cool sturdy bar‑style flapjacks that won’t crumble in a daypack. Steps include lining a tin, cutting cleanly, and wrapping portions for easy sharing outdoors.
- 01
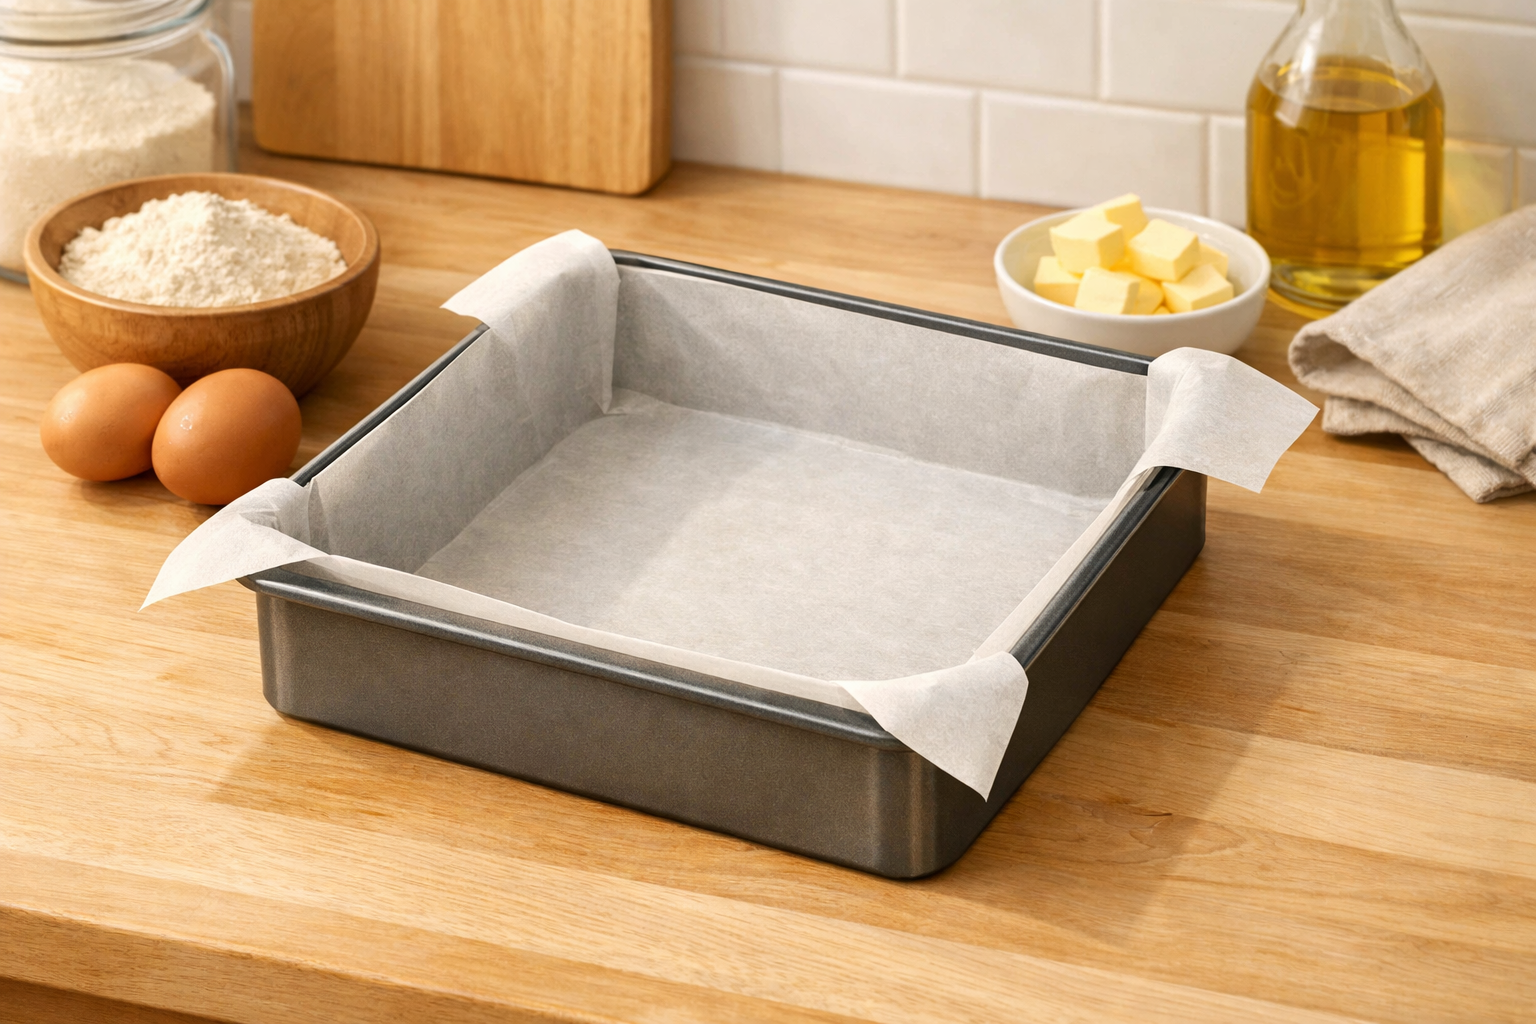
Line a square tin with a parchment sling
Use a square baking tin and line it with parchment, leaving two long overhanging “handles” so you can lift the slab out later. Lightly grease the tin first so the parchment sticks flat, and press the paper snugly into the corners.
- 02
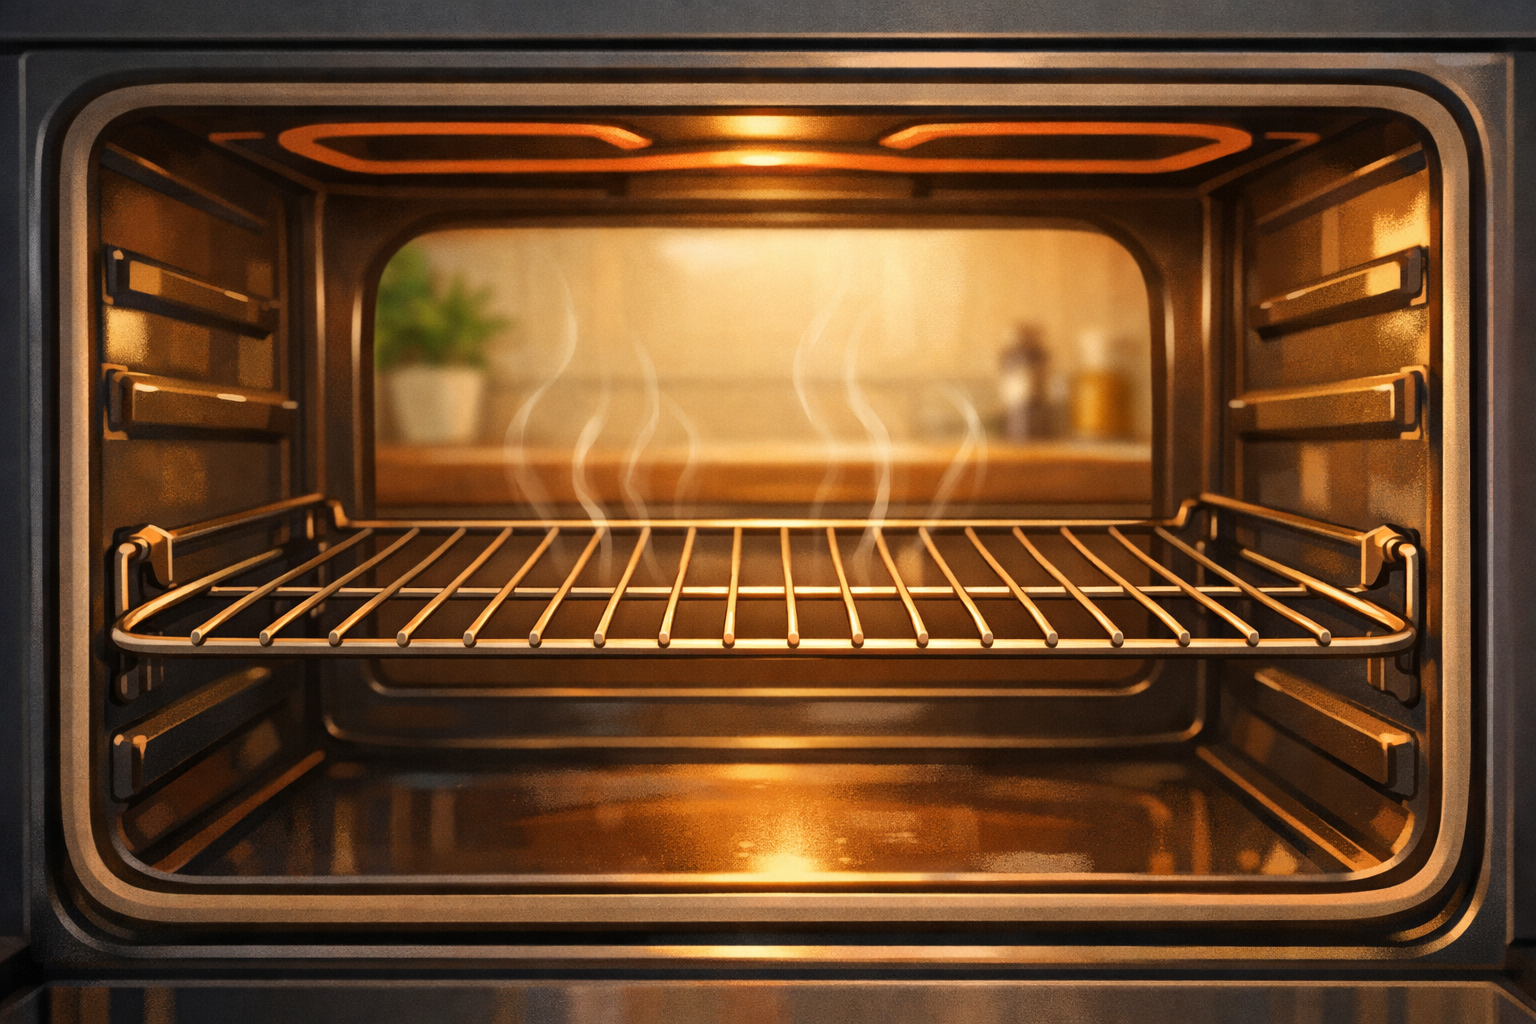
Preheat the oven to a moderate heat
Set the oven to a moderate temperature (around 160–170°C / 320–340°F) with a rack in the middle. A steady, not-too-hot oven helps flapjacks set without turning brittle.
- 03
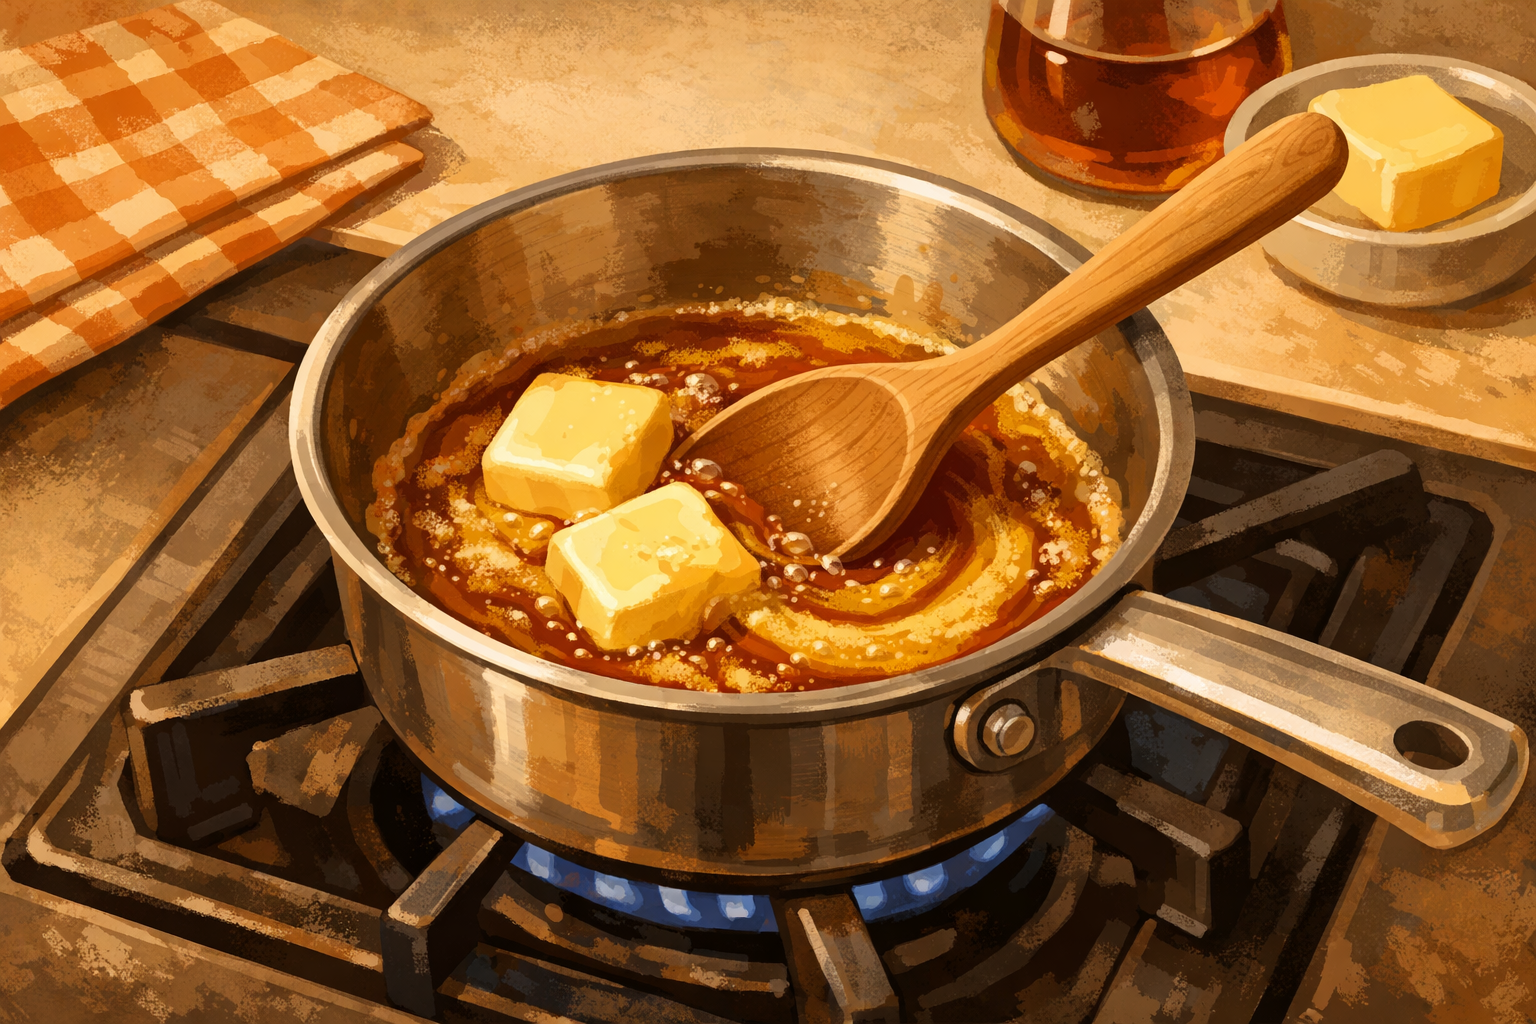
Melt the binder gently
In a saucepan over low heat, melt together your butter, syrup (or similar liquid sweetener), and brown sugar with a pinch of salt. Stir until smooth and combined, then take it off the heat before it bubbles fiercely.
- 04
Combine oats and any sturdy add‑ins
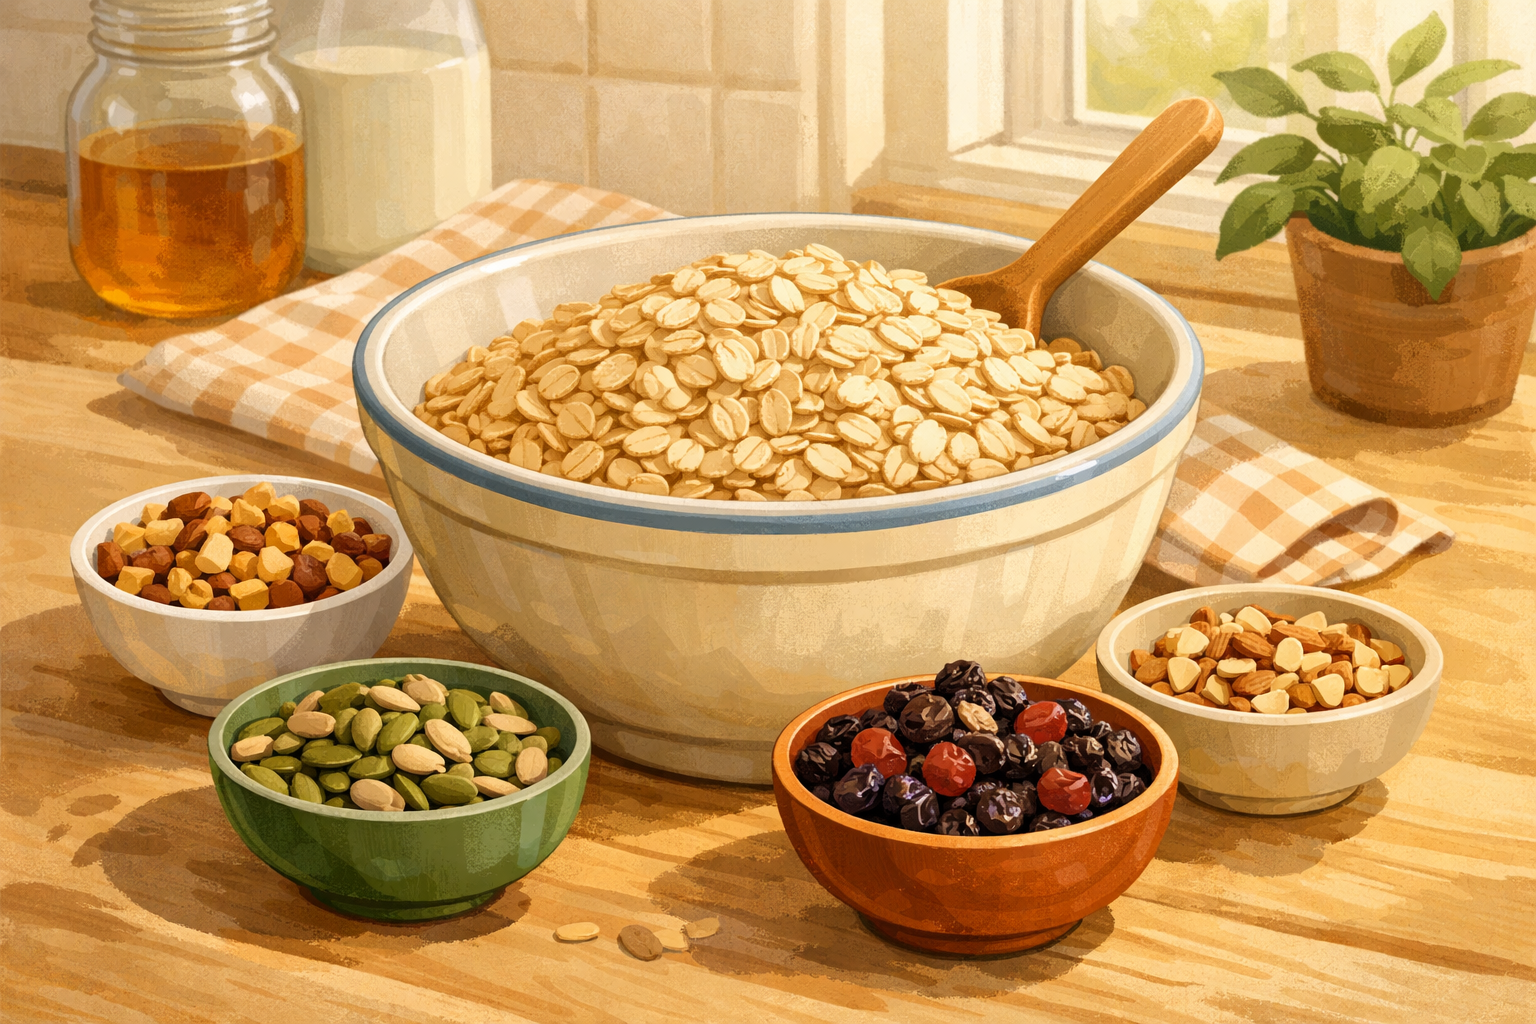
Put rolled oats in a large bowl. If you like, mix in chopped nuts, seeds, or small dried fruit—keep pieces small so bars hold together. Avoid melty add‑ins if you’ll be walking in warm weather.
- 05
Mix wet into dry and let it briefly rest
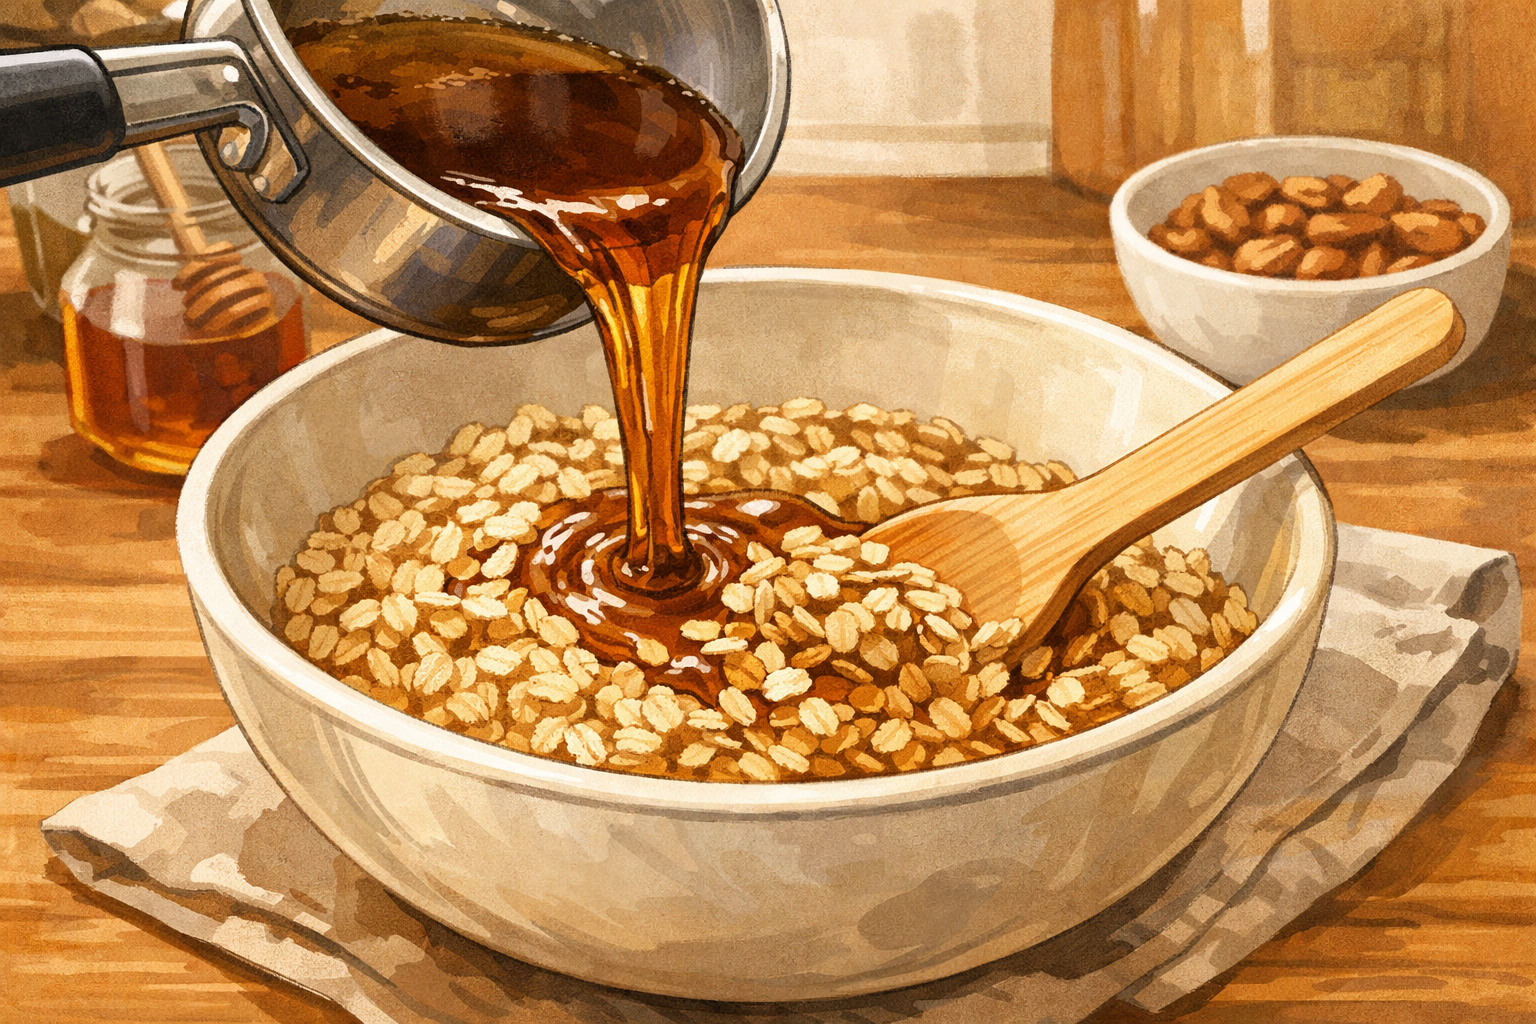
Pour the warm syrup mixture over the oats and stir thoroughly so every flake is coated. Let the mixture sit briefly so the oats hydrate and become easier to pack firmly.
- 06
Pack the mixture firmly into the tin
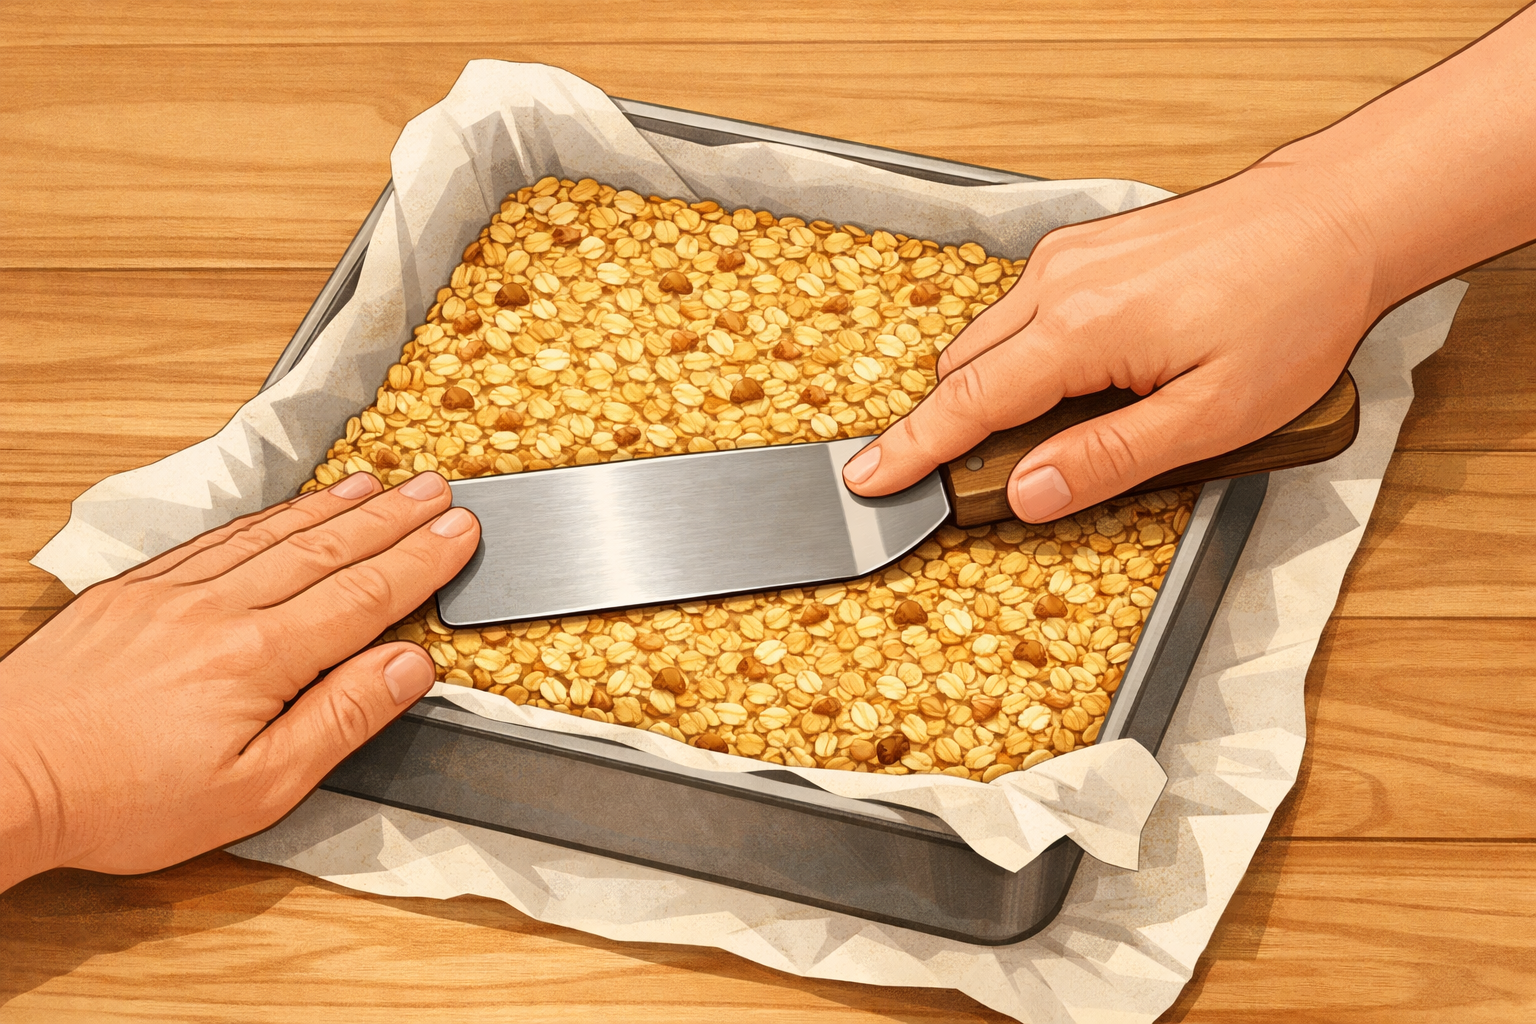
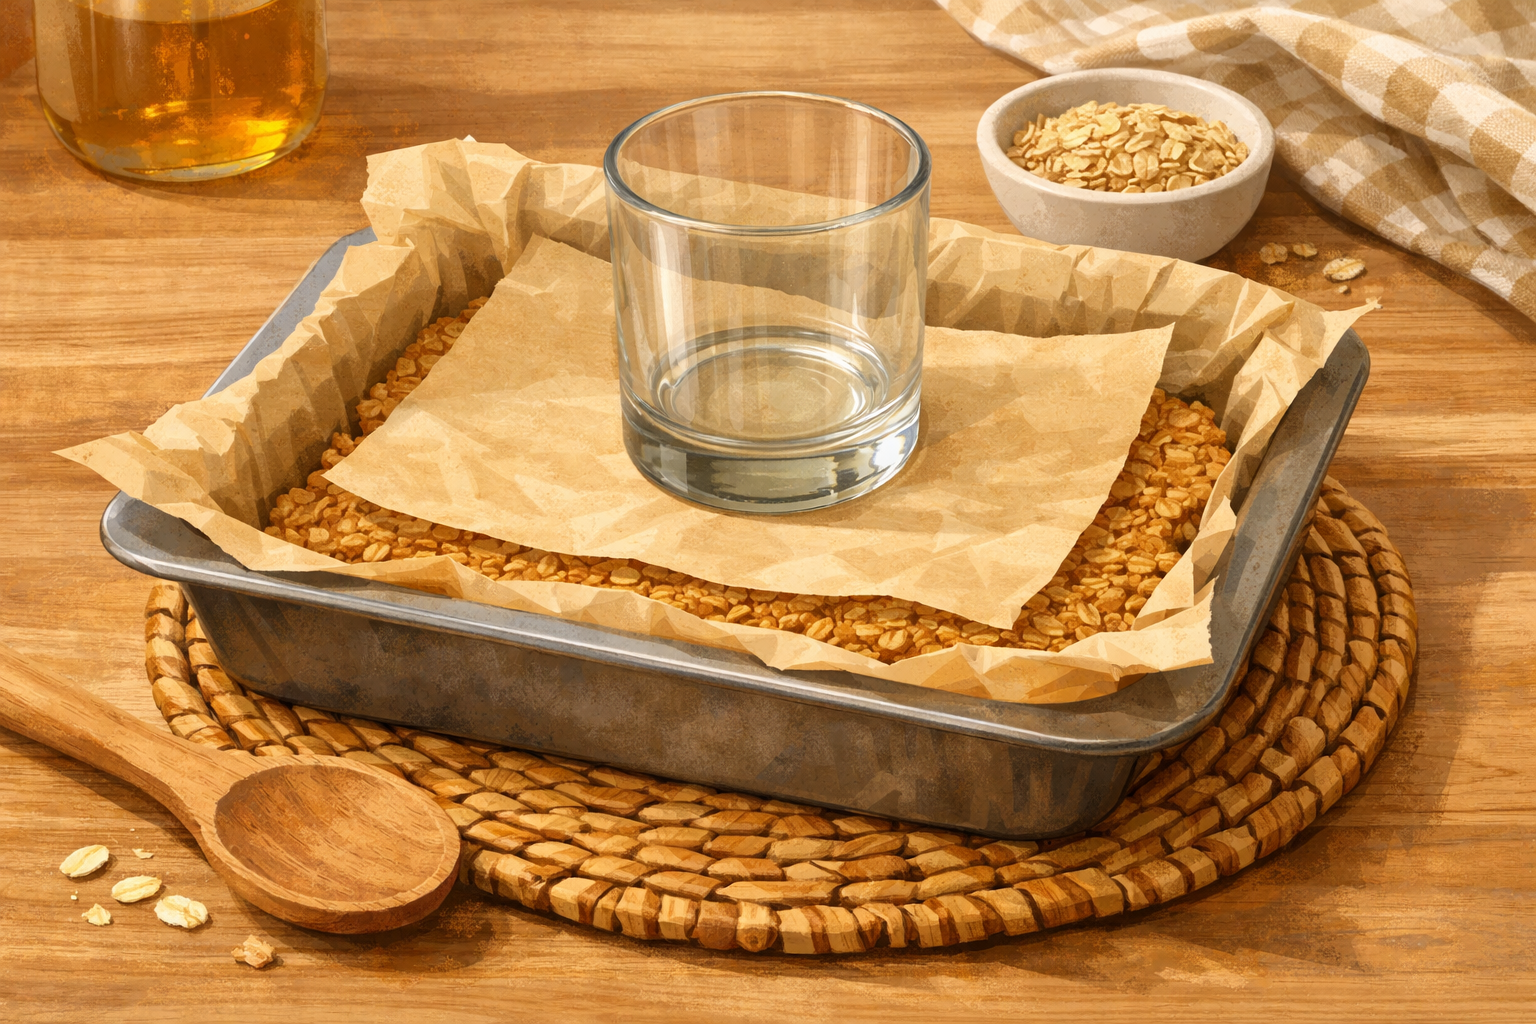
Scrape the mixture into the lined tin. Spread it evenly, then press it down very firmly, paying attention to corners and edges. Lay a spare sheet of parchment on top and use a flat‑bottomed glass or spatula to compress the surface until level.
- 07
Lightly score guide lines for bars (optional)
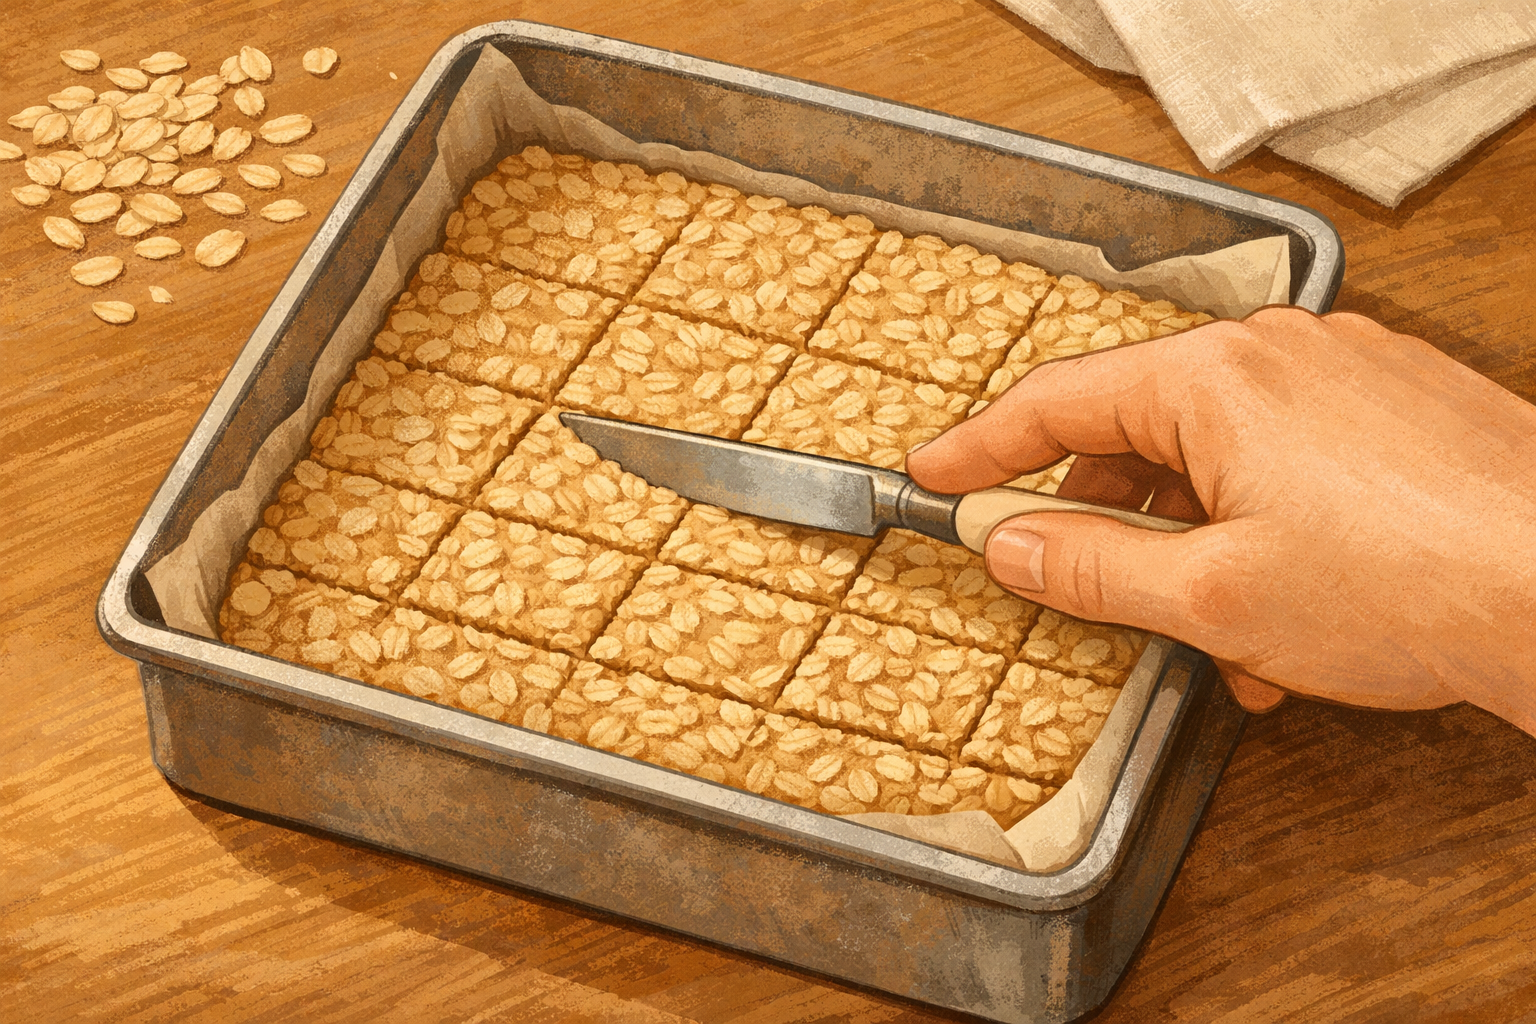
For extra‑neat portions, lightly score shallow guide lines on the surface with a butter knife. This helps you cut straight later without dragging through the crumb.
- 08
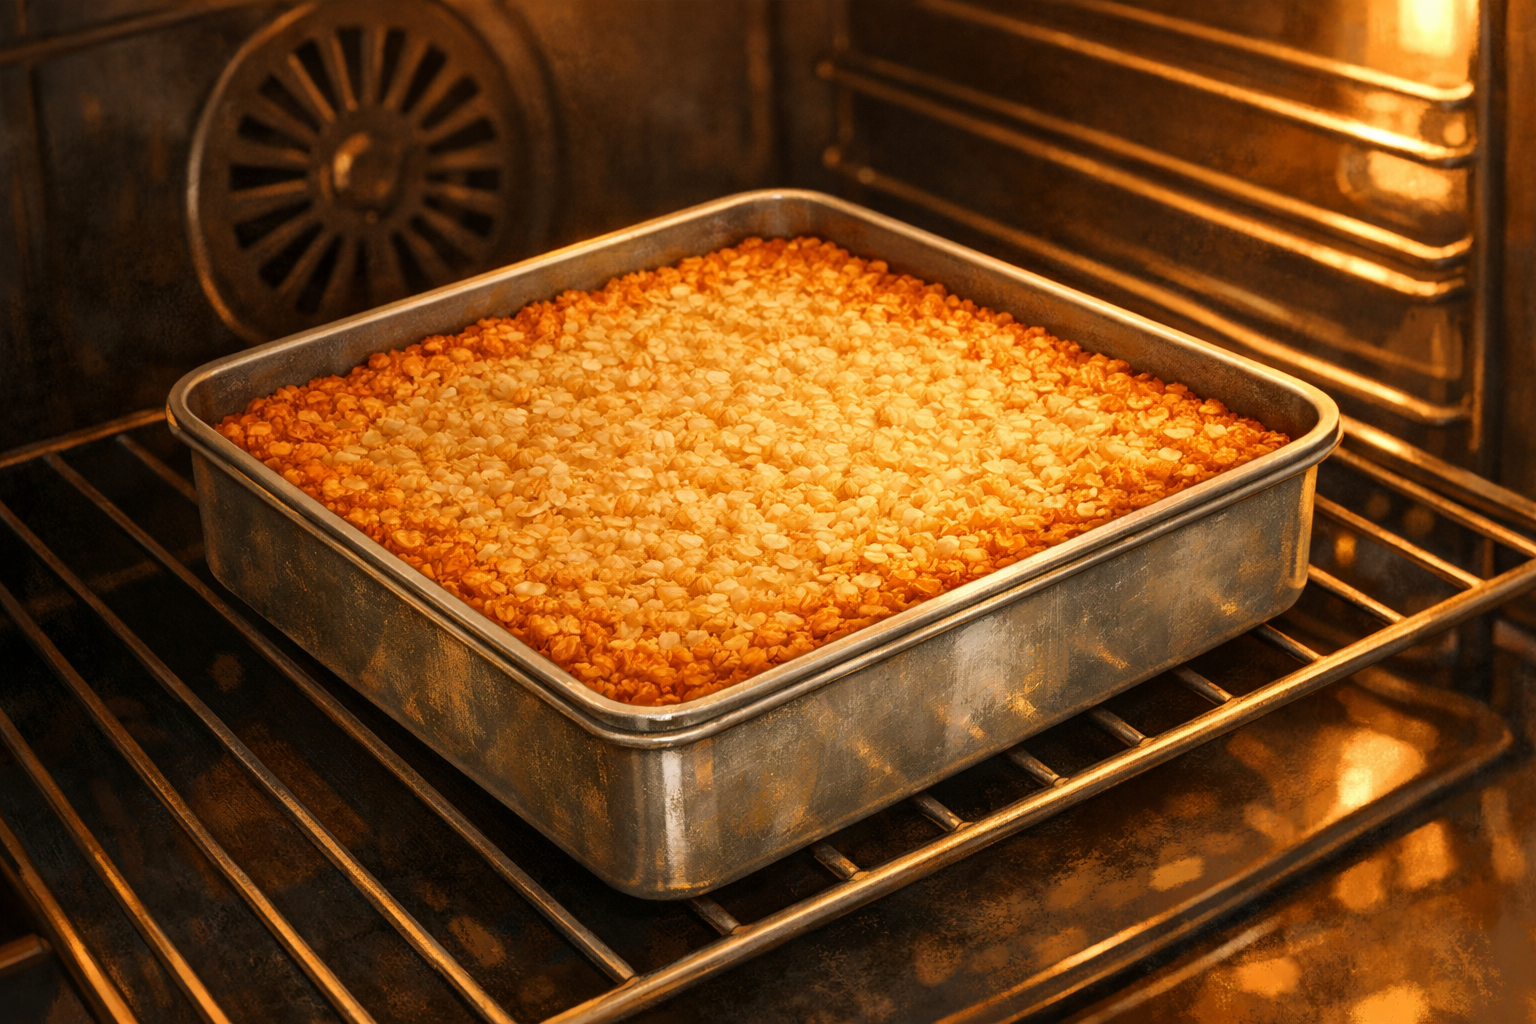
Bake until set with lightly golden edges
Bake until the edges look lightly golden and the center feels set but still soft to the touch. Rotate the tin once for even color. Start checking early; the top should not be deeply browned.
- 09
Re‑press the surface while hot for extra cohesion
Set the hot tin on a heatproof surface and, using clean parchment and a spatula or flat glass, press the flapjacks down again. This quick firming step helps the bars hold together on the move.
- 10
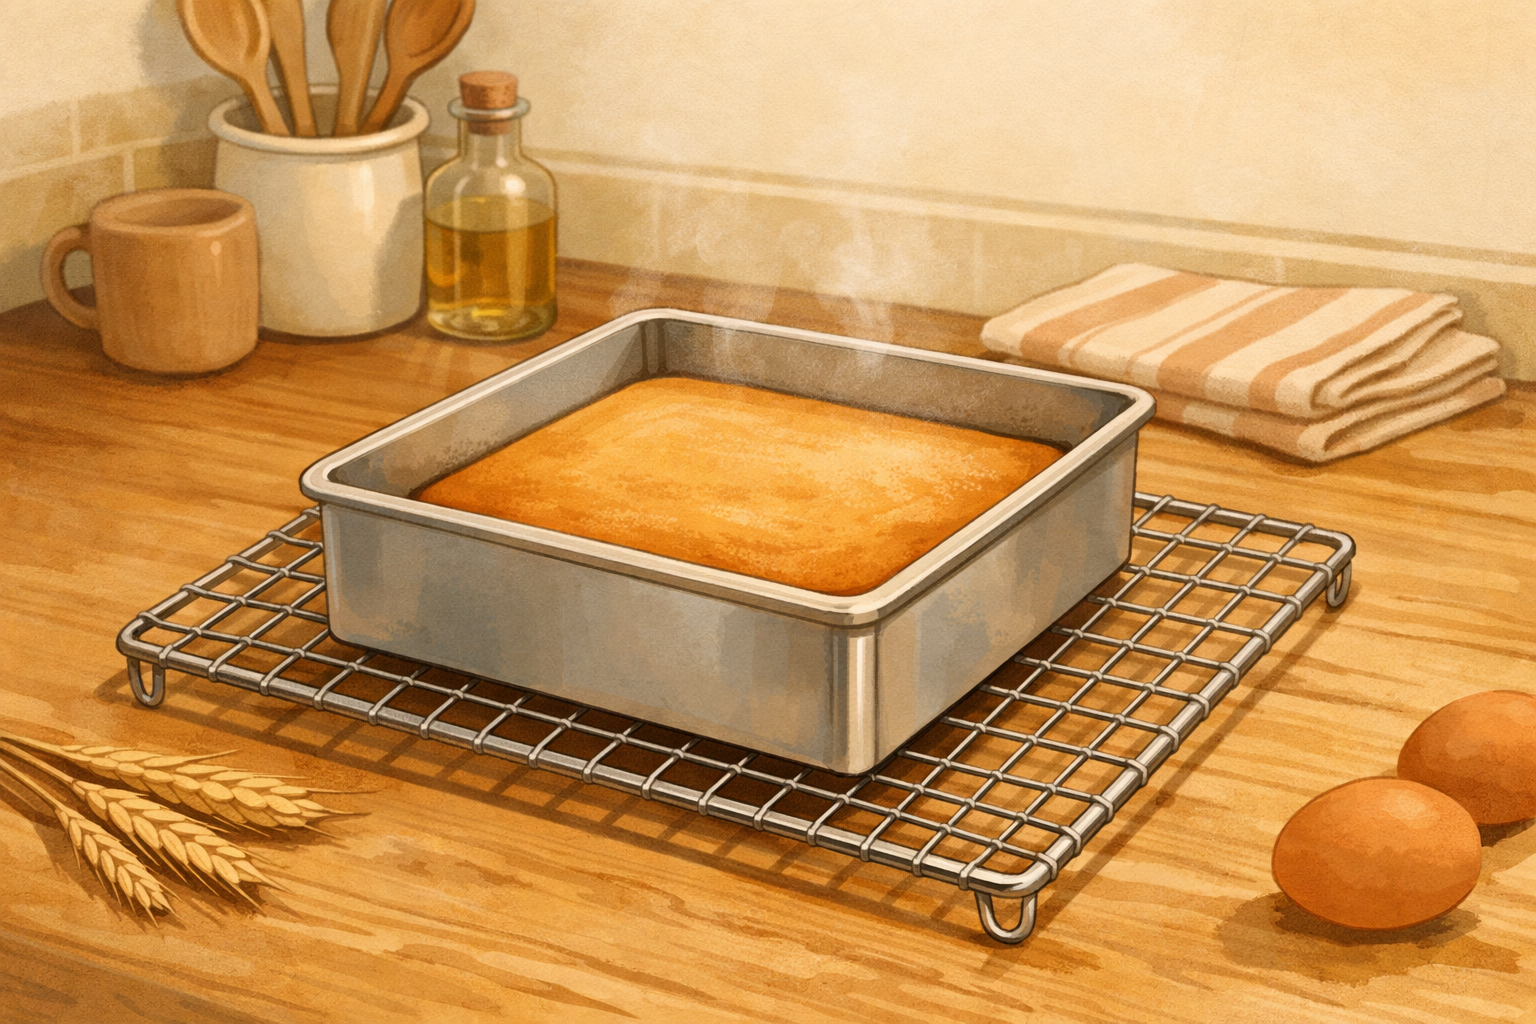
Cool completely in the tin
Leave the tin on a rack until the flapjacks are fully cool and firm. Lifting or cutting too soon encourages crumbling, so give them time to set.
- 11
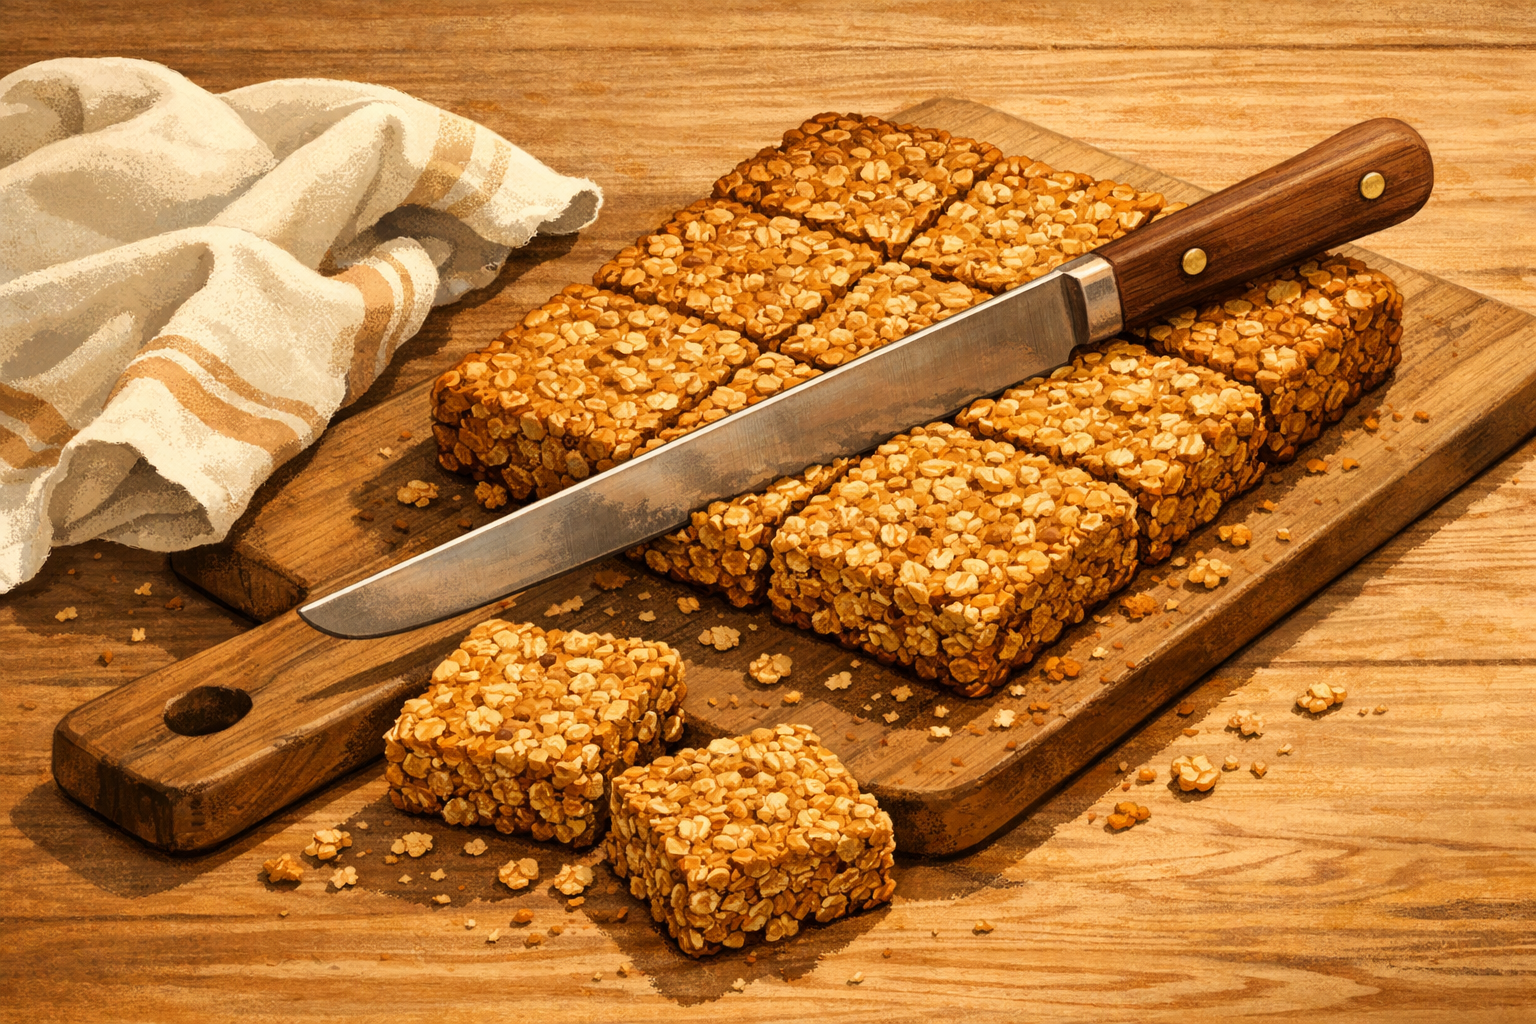
Lift, cut straight down, and wipe the knife
Use the parchment overhang to lift the slab onto a board. Trim the very outer edge if crumbly, then cut bars by pressing a long sharp knife straight down. Wipe the blade between cuts for clean edges.
- 12
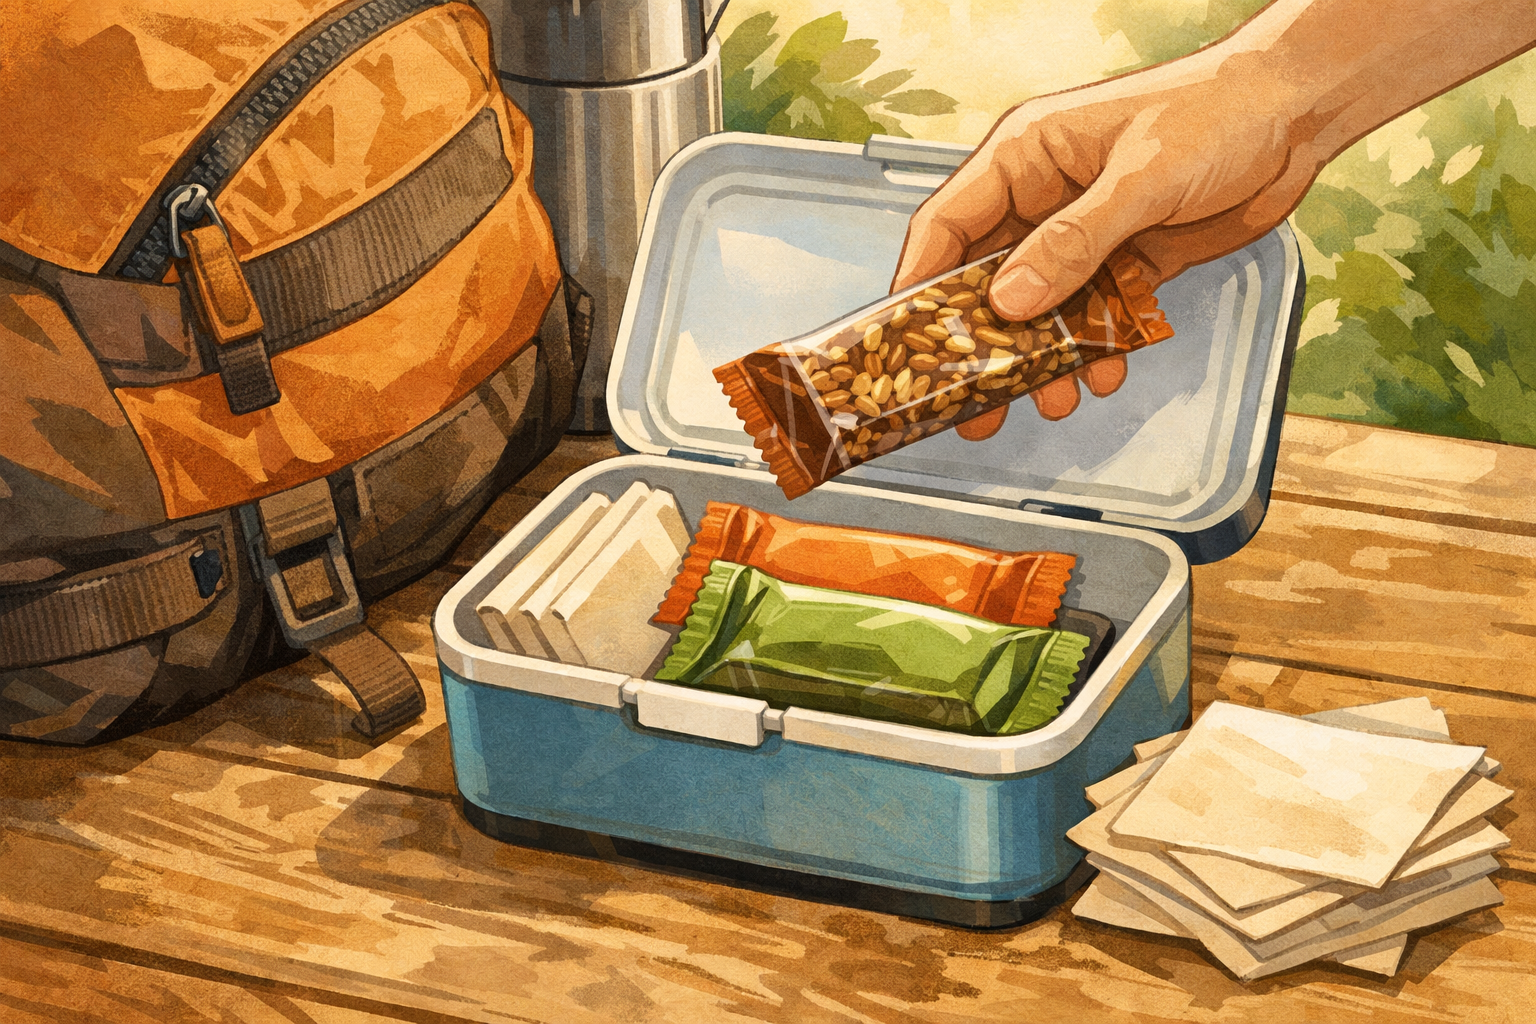
Wrap and pack for the walk
Wrap bars individually in parchment or reusable wraps, then place them in a small rigid container to prevent squashing in your daypack. Tuck in a few napkins; keep the container near the top of the bag, away from heavy items.
If this was useful
Try one of these next
Home & life
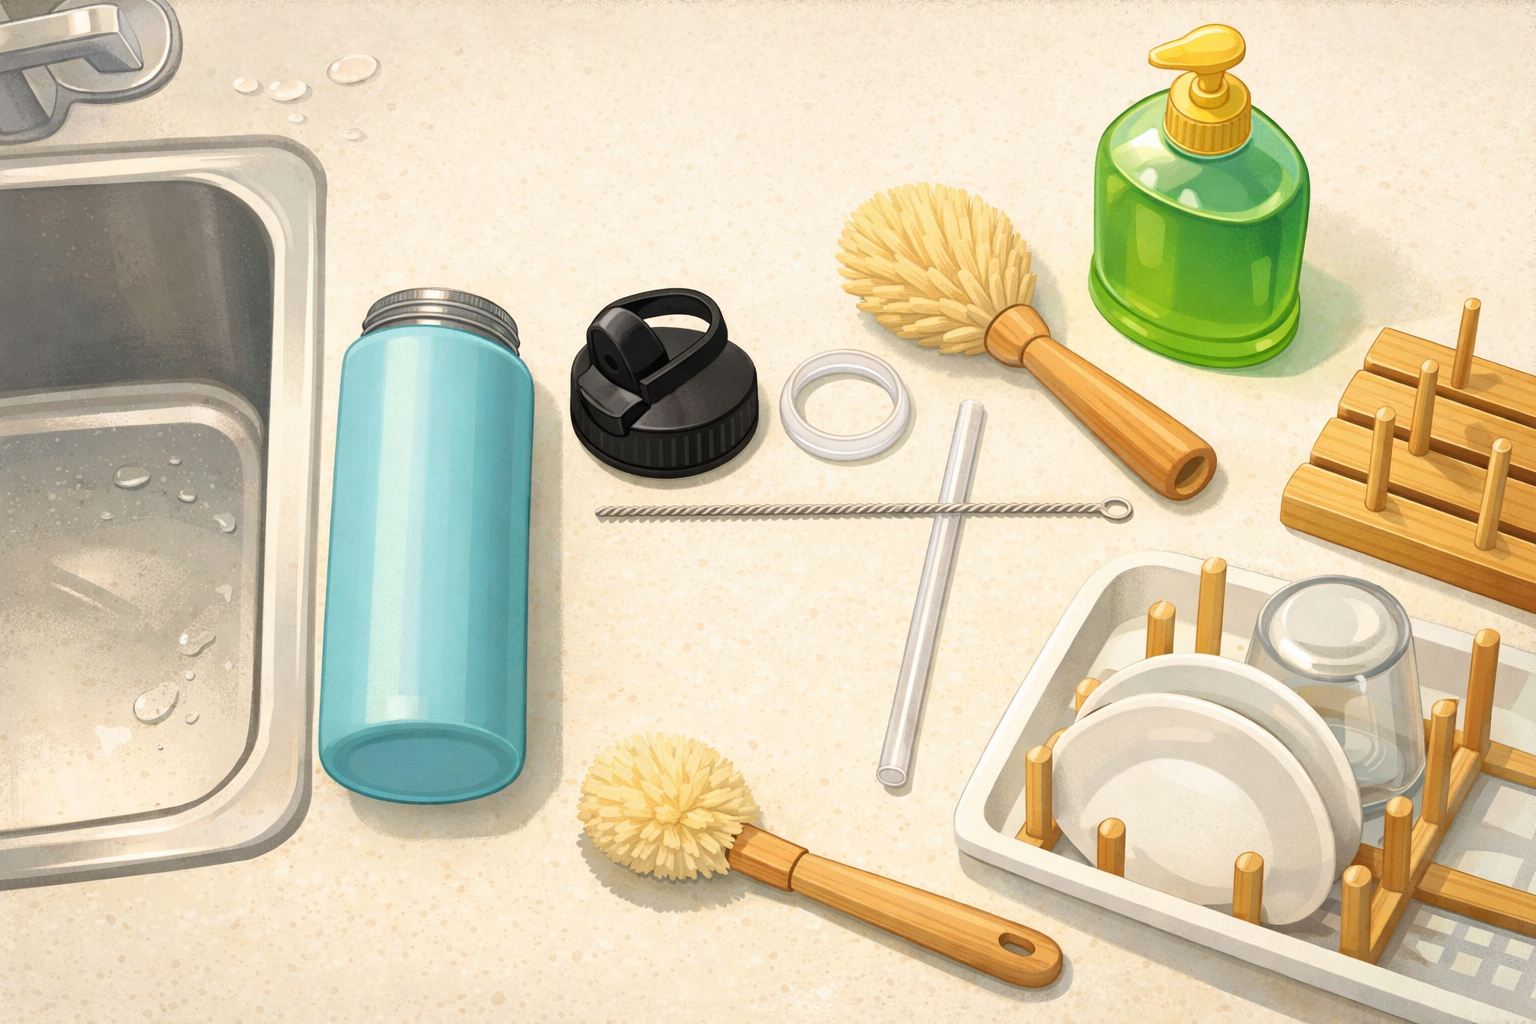
How to clean and dry a reusable water bottle after a picnic
Disassemble the lid, clean threads and seals, wash the body, rinse thoroughly, and air‑dry so it doesn’t develop odours between countryside trips. Close‑ups show where residue hides and a quick drying rack setup.
Read the guide
Hobbies & crafts
How to draw a standing penguin using teardrop shapes
Start with a tall teardrop for the body and small ovals for the head and feet. Add a simple beak and flippers with more teardrops, map the tuxedo belly, then refine the outline. Erase the guides and finish with light shading for roundness. Each step’s image overlays pale guide shapes and the darker final lines so you can see what to keep.
Read the guide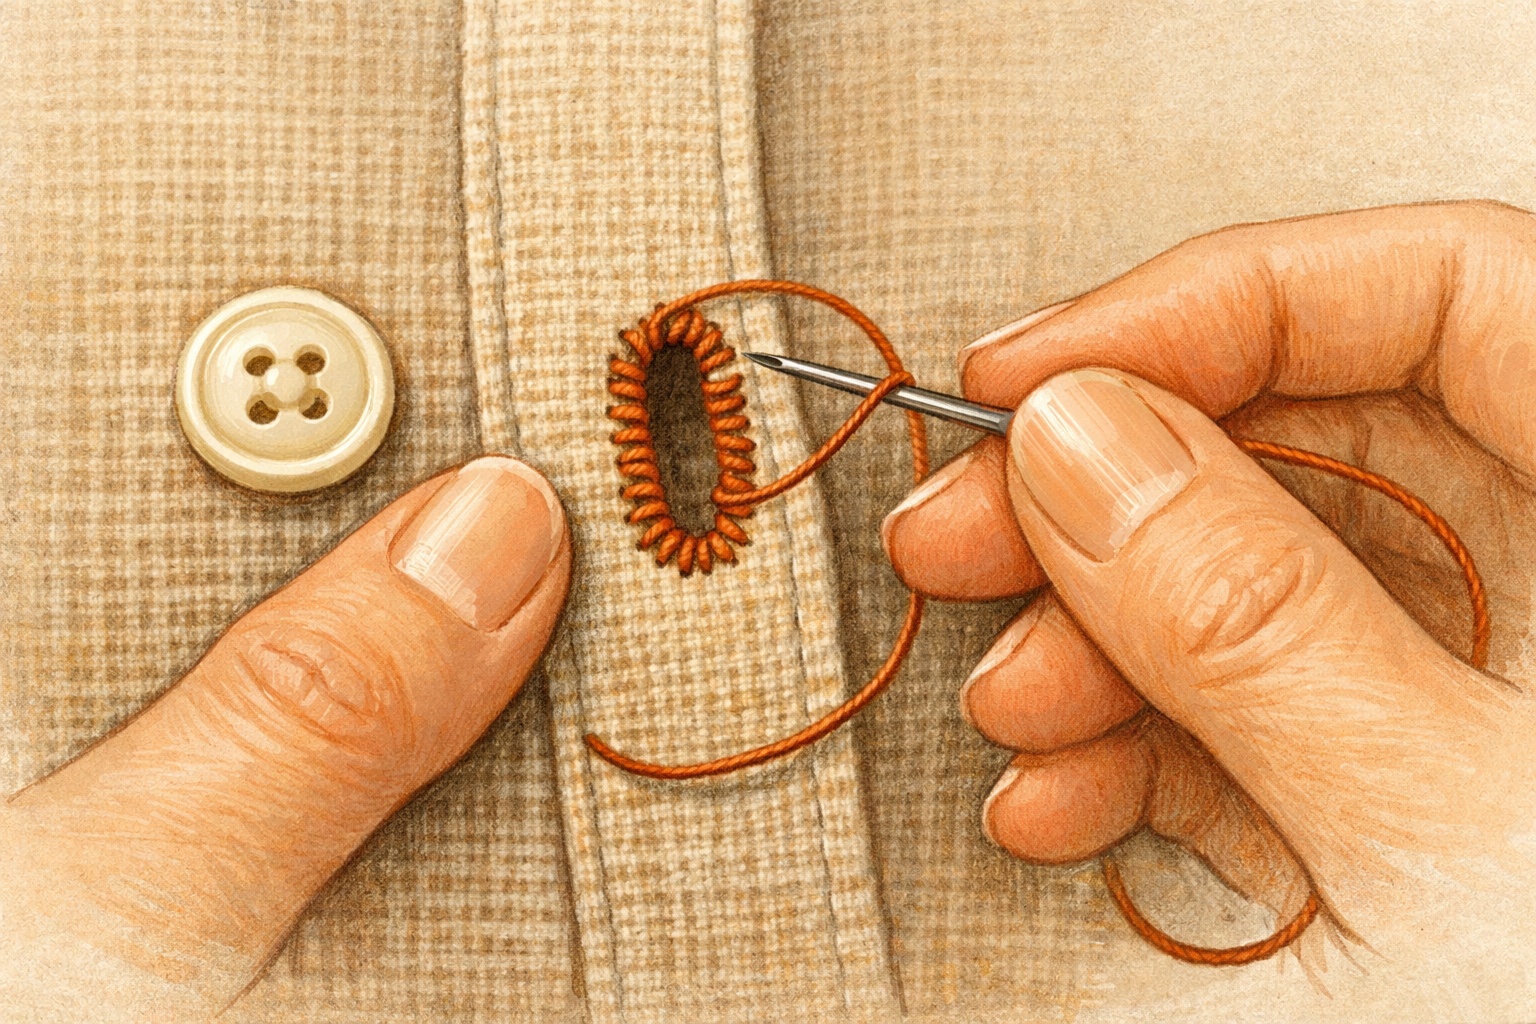
Hobbies & crafts
How to Tighten a Loose Buttonhole with Blanket Stitches
Reinforce stretched buttonholes by stitching a neat border that grips the button and prevents further fraying.
Read the guide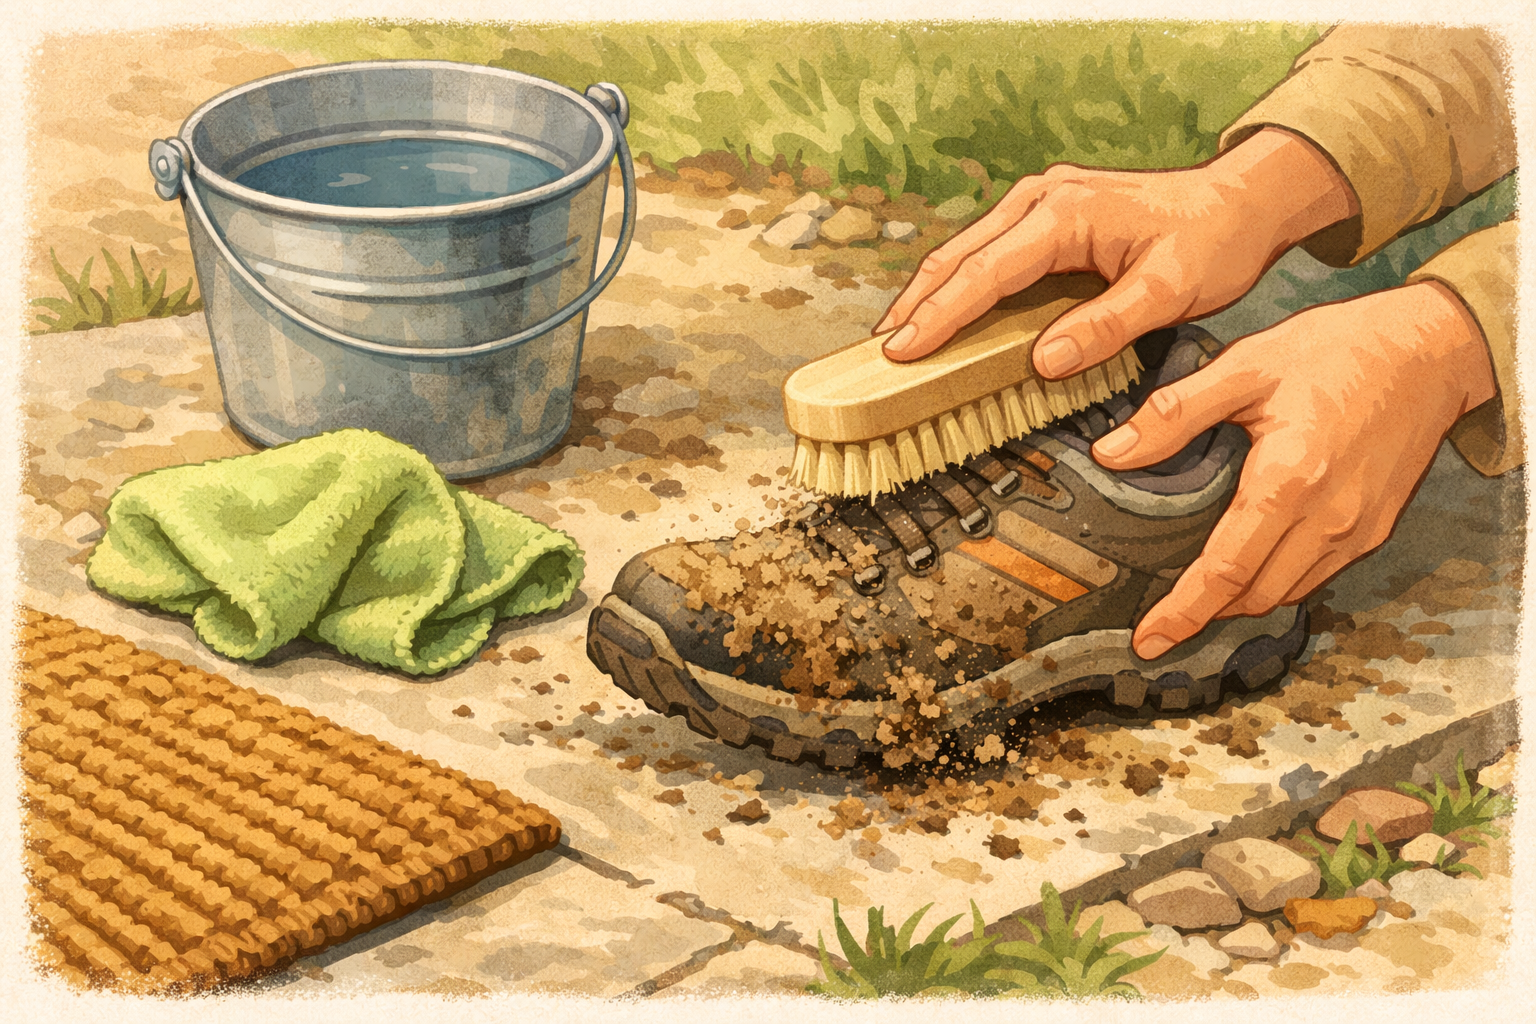
Home & life
How to clean muddy walking shoes after a countryside footpath
Knock off dried mud, brush seams, wipe uppers, clean outsoles, freshen insoles, and air‑dry so your shoes are ready for the next path. Photos show the order and which brushes or cloths to use.
Read the guide