Hobbies & crafts
How to draw a baby elephant from the side
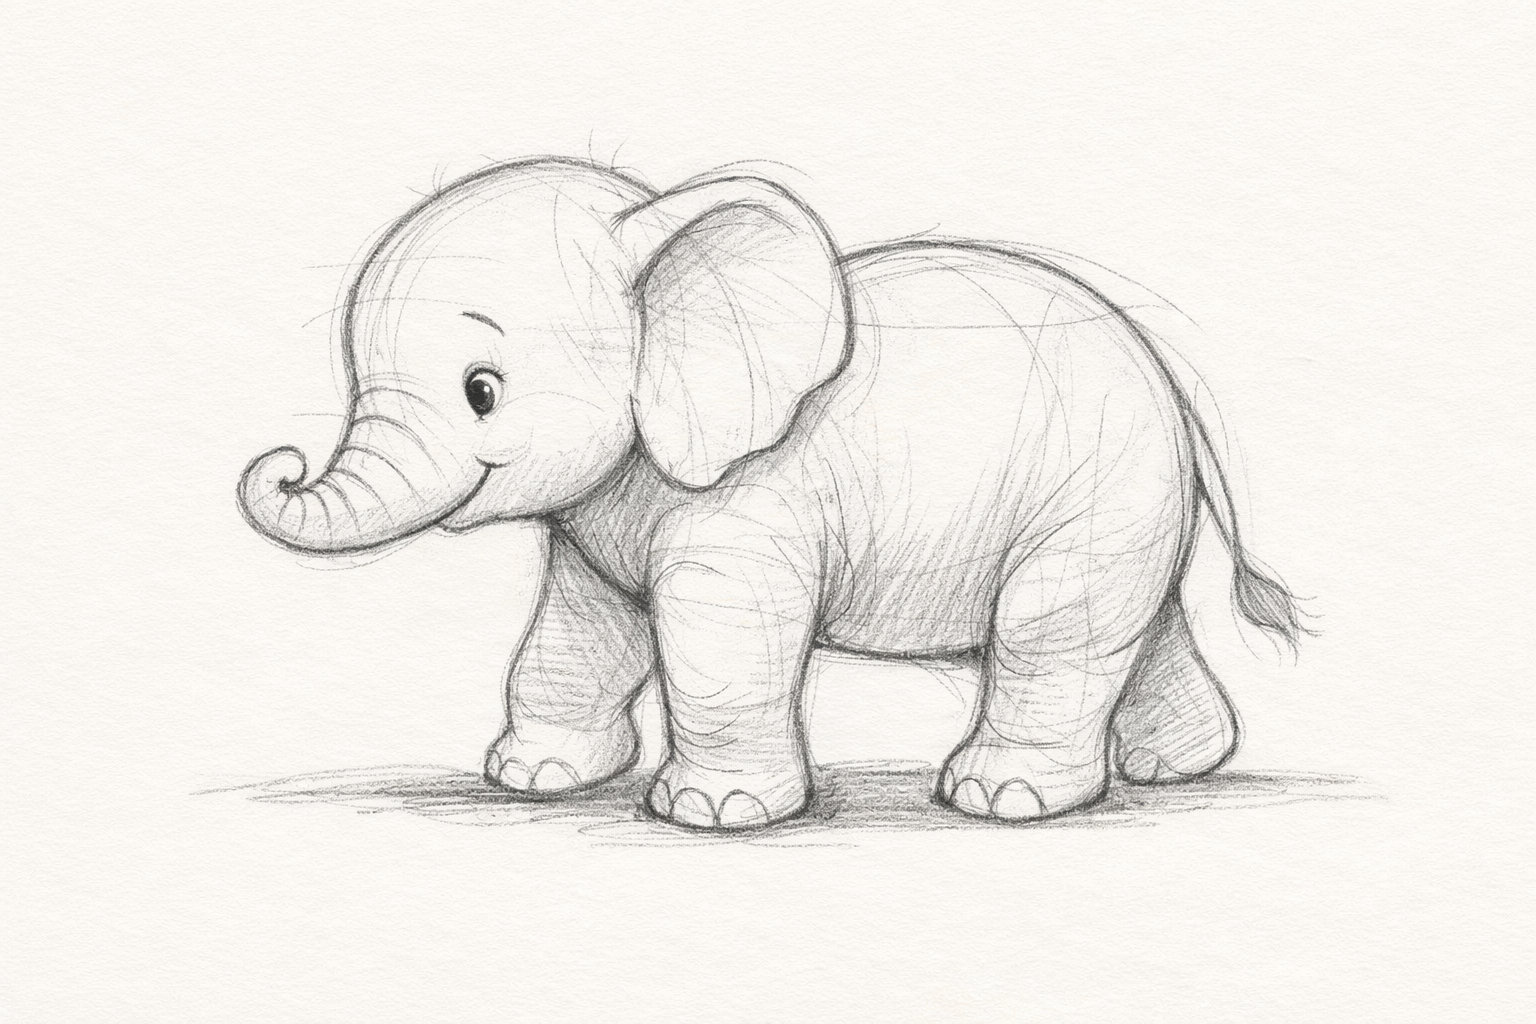
Lay in a large oval body and circles for head and ears, add an S-curve trunk, and block simple column legs. Refine contours, suggest skin folds, and add light shading to show volume. Step images highlight proportion checkpoints.
- 01
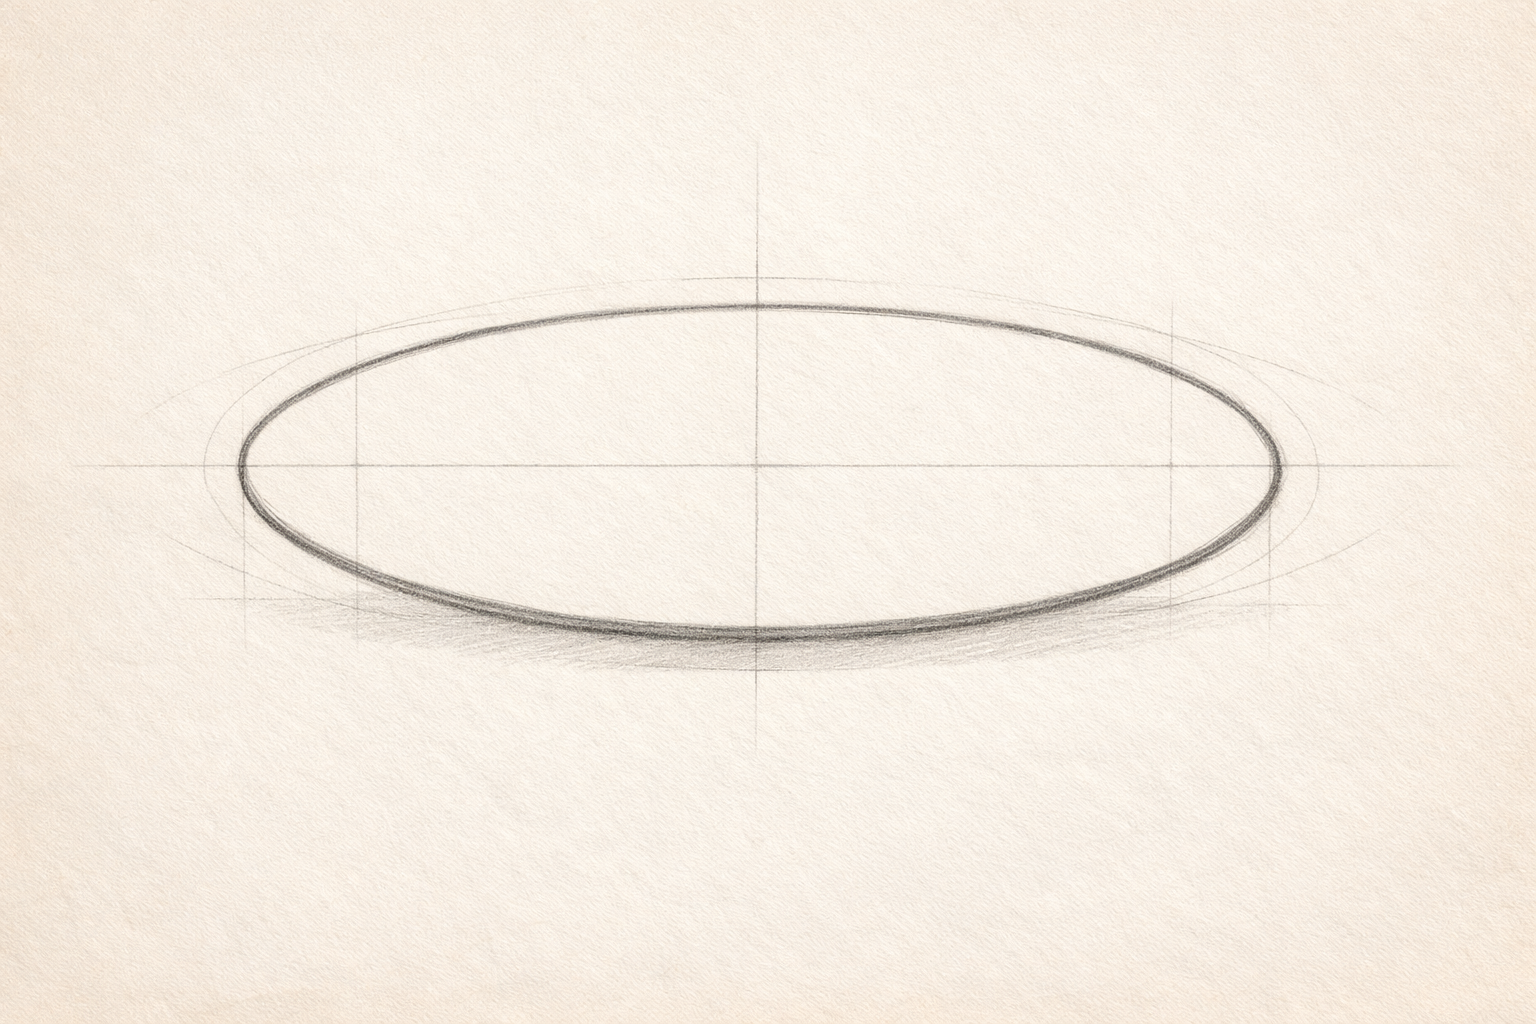
Lightly sketch a big oval for the body
On your page, place a wide, horizontal oval slightly above center—this will be the baby elephant’s body. Keep your pencil pressure light so you can adjust later. Leave space in front of the oval for the head and trunk, and below it for legs and a simple ground shadow.
- 02
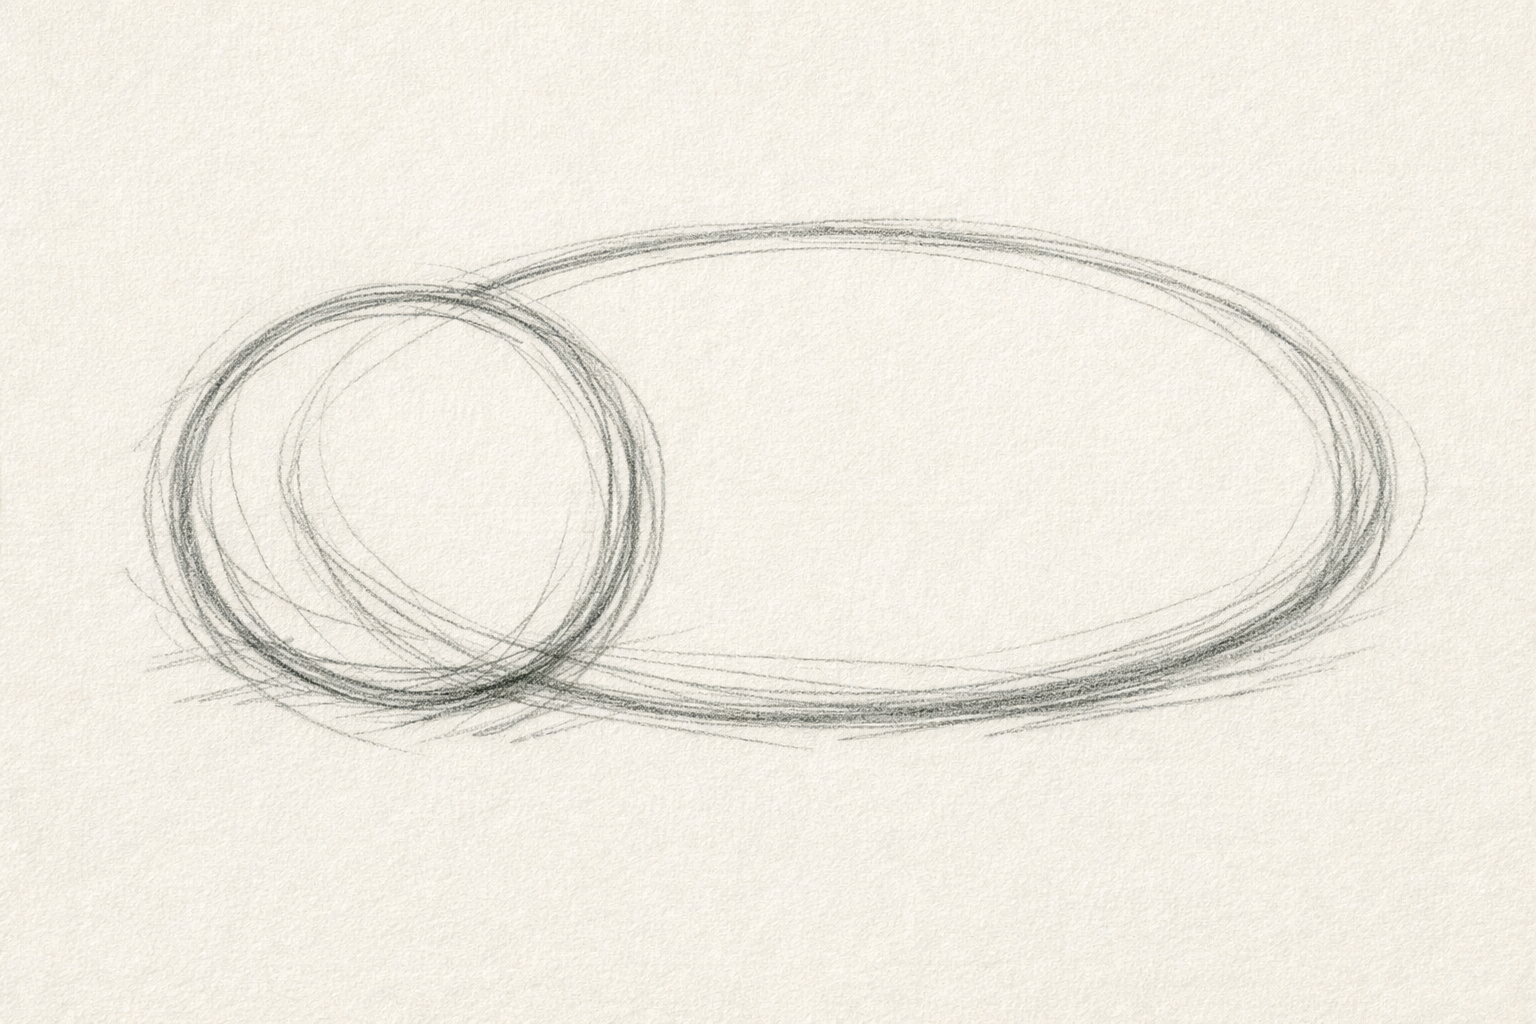
Add a head circle in front
Draw a circle that overlaps the front of the body oval by a small amount. Size it roughly half the body oval’s height so it feels baby-like and a bit large. This circle should sit slightly higher than the middle of the body oval to allow room for the neck and chest.
- 03
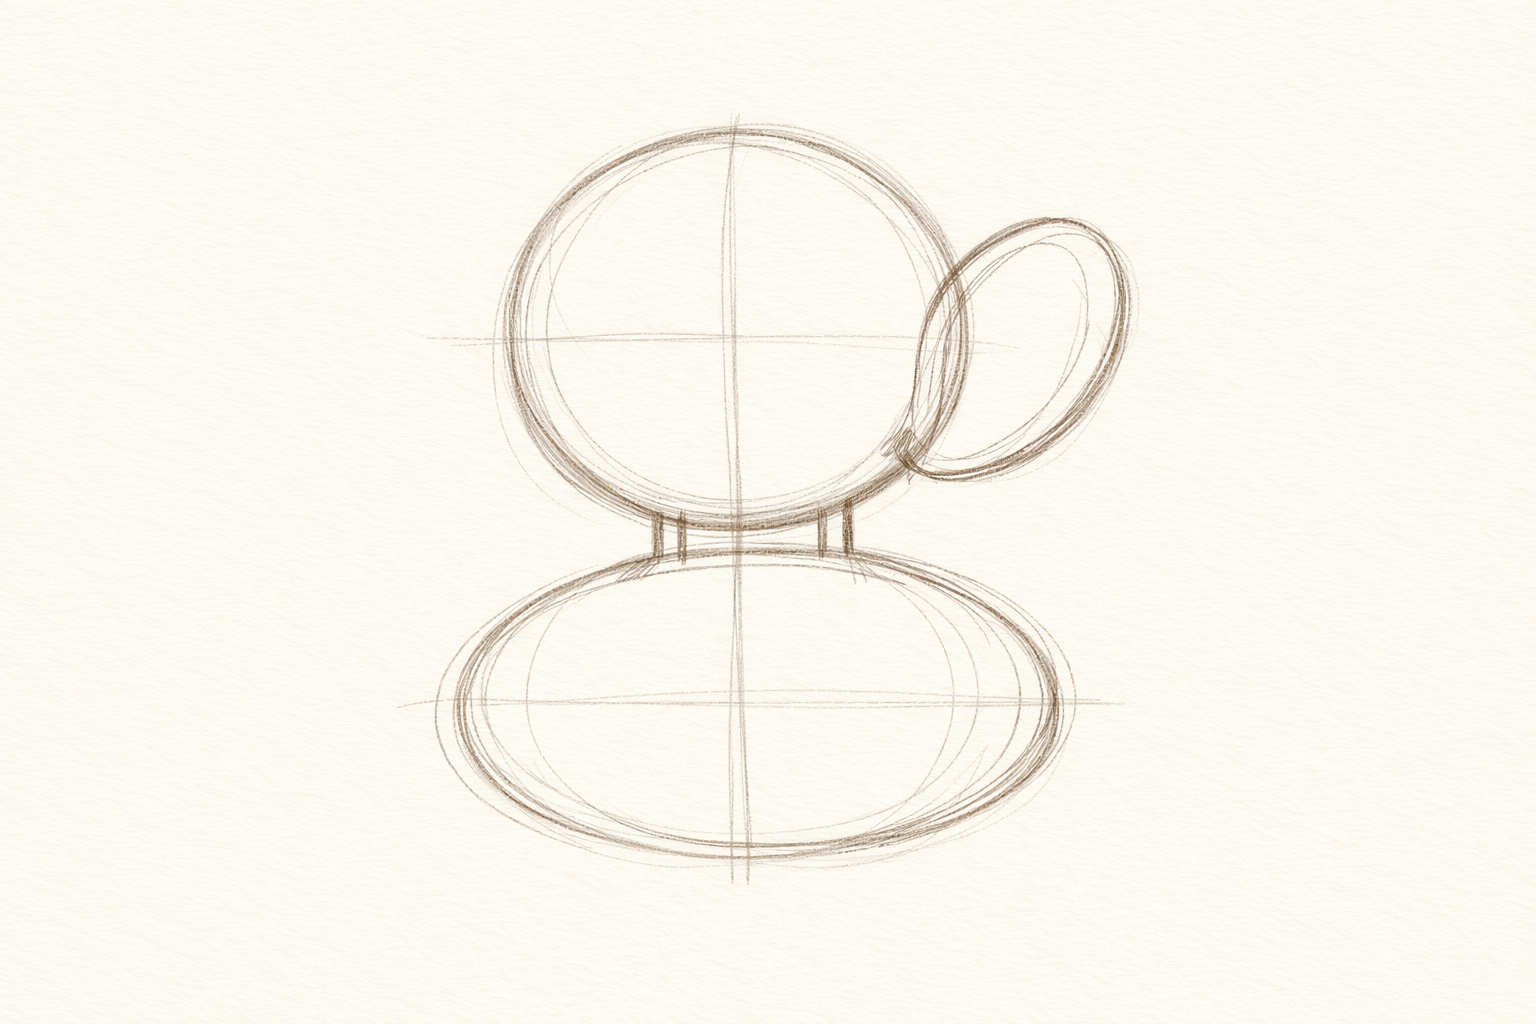
Attach the neck and place a big ear guide
Connect head and body with two short, gentle lines to suggest the neck. Then, on the back half of the head circle, add a large oval for the ear—nearly as tall as the head circle. Angle the ear slightly back so it feels floppy and light.
- 04
Lay in an S-curve for the trunk
From the front-center of the head circle, sweep a soft S-curve downward and forward to place the trunk’s path. Let it end about level with the lower edge of the body oval. Keep it as a single guiding line for now; thickness comes later.
- 05
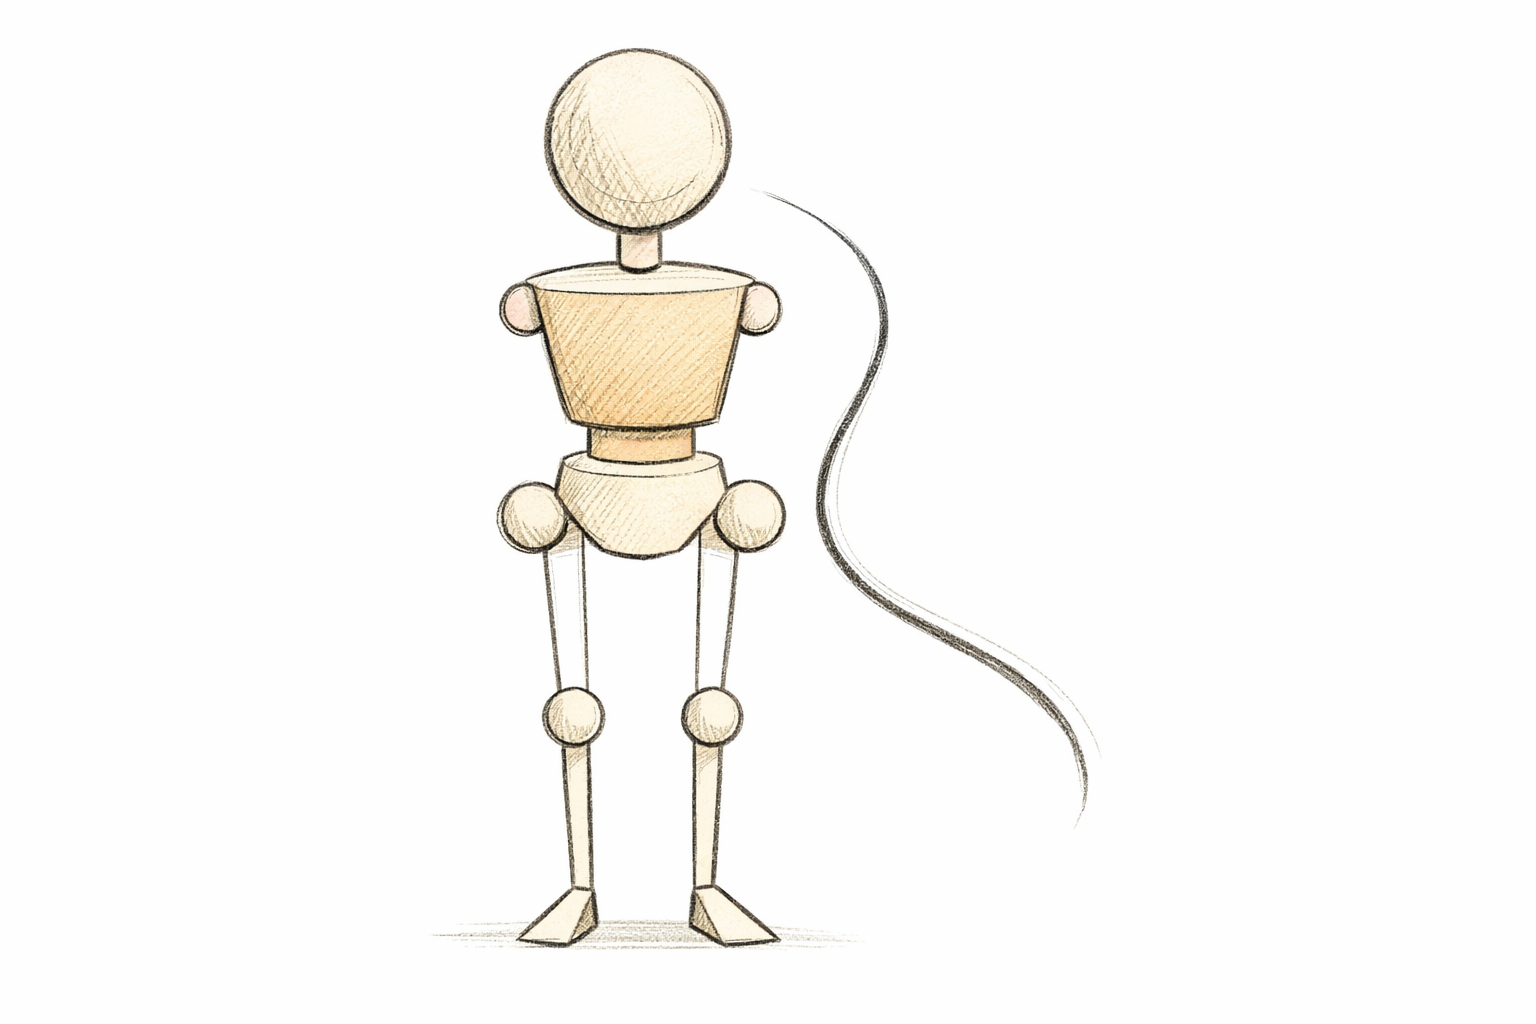
Block simple column legs and small feet
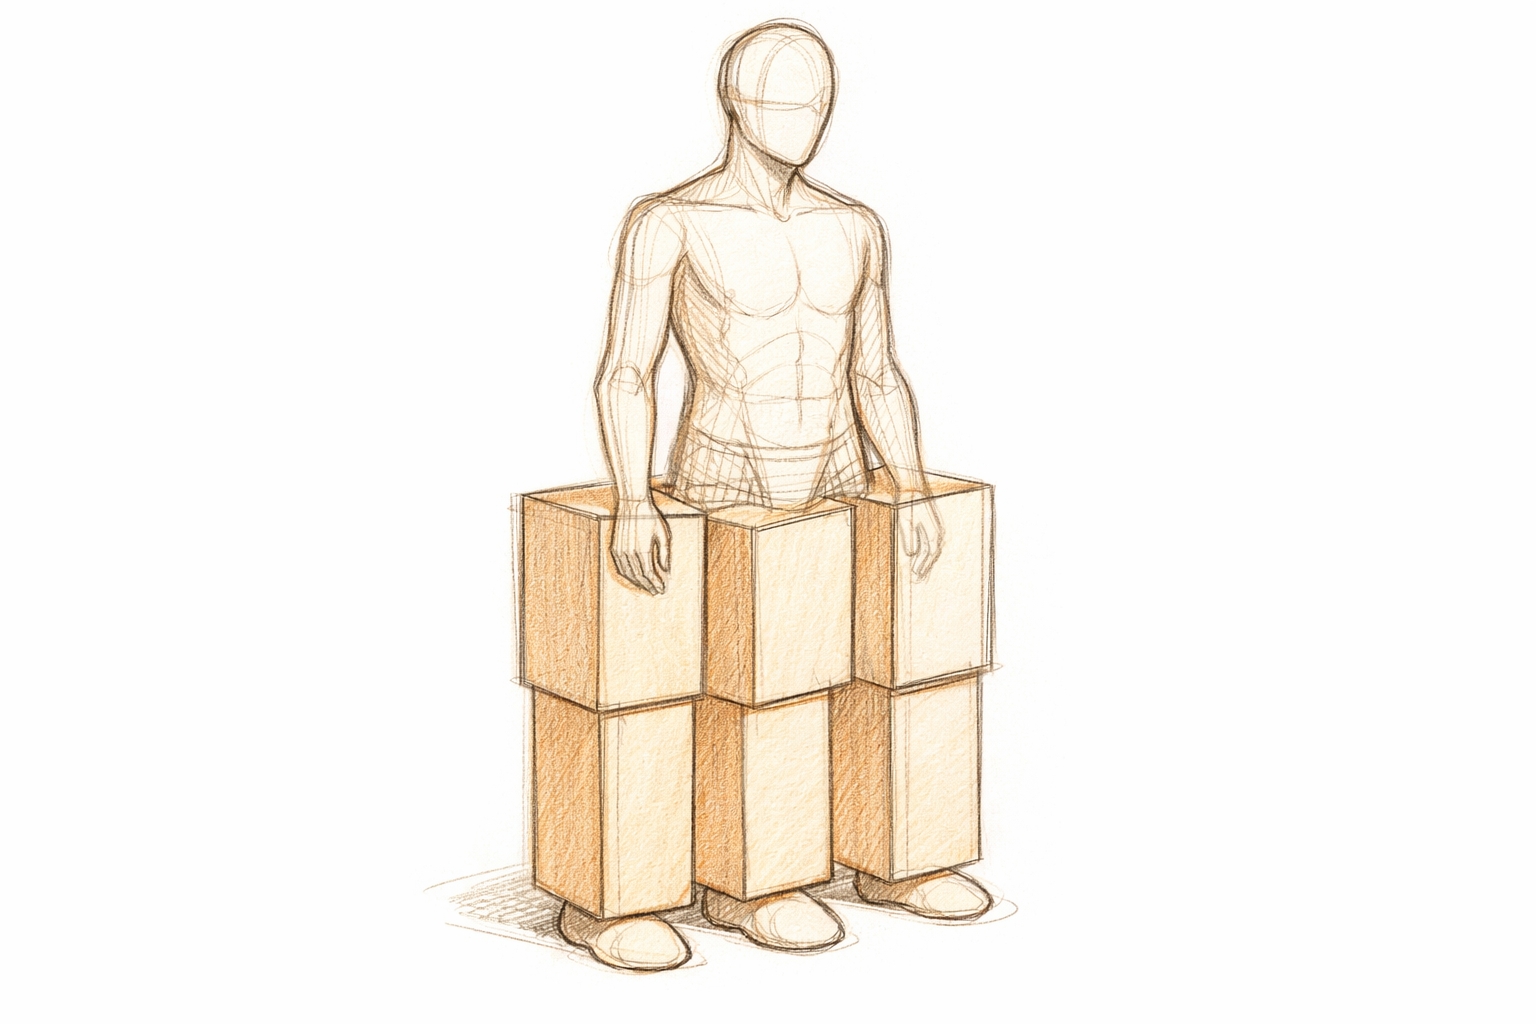
Under the body oval, sketch four straight-sided leg blocks: one under the head-side chest, one behind the belly, and two on the far side slightly overlapped. Keep them short and sturdy, with small rounded rectangles or ovals for feet. Angle the front leg a touch forward and the back leg a touch back for balance.
- 06
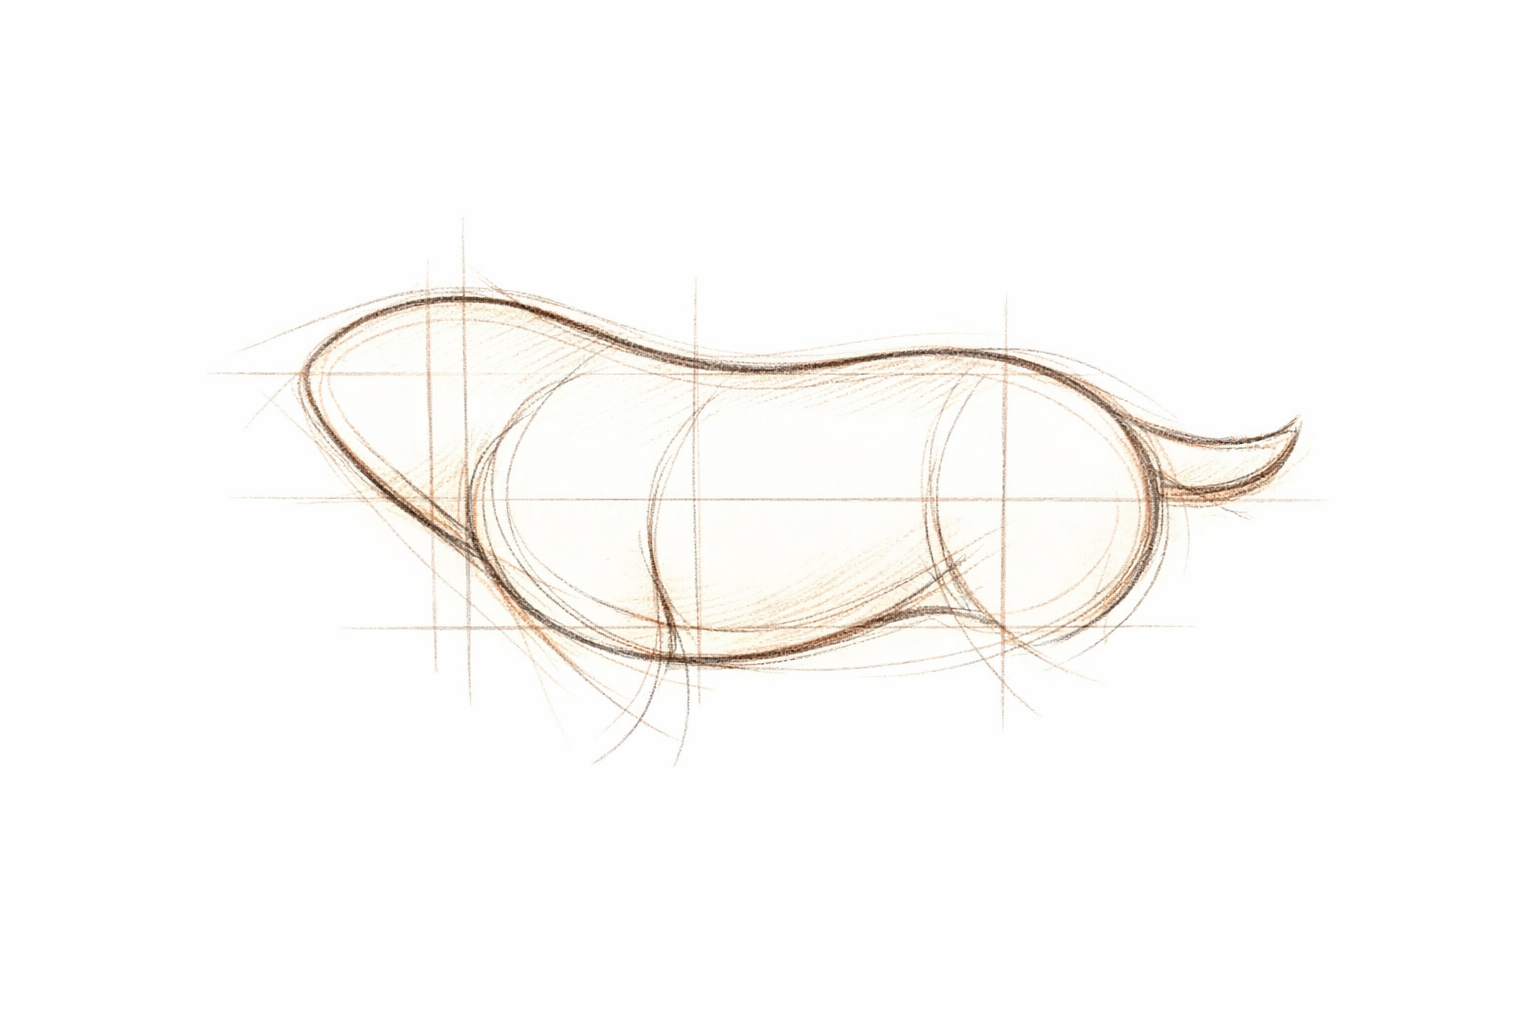
Refine the back, chest, and belly curves
Turn the top of the body oval into a smooth, slightly arched back. Shape the front of the body into a round chest, then curve into a soft belly that hangs a bit between the legs. Add a short, thin tail at the rear with a tiny tuft suggestion.
- 07
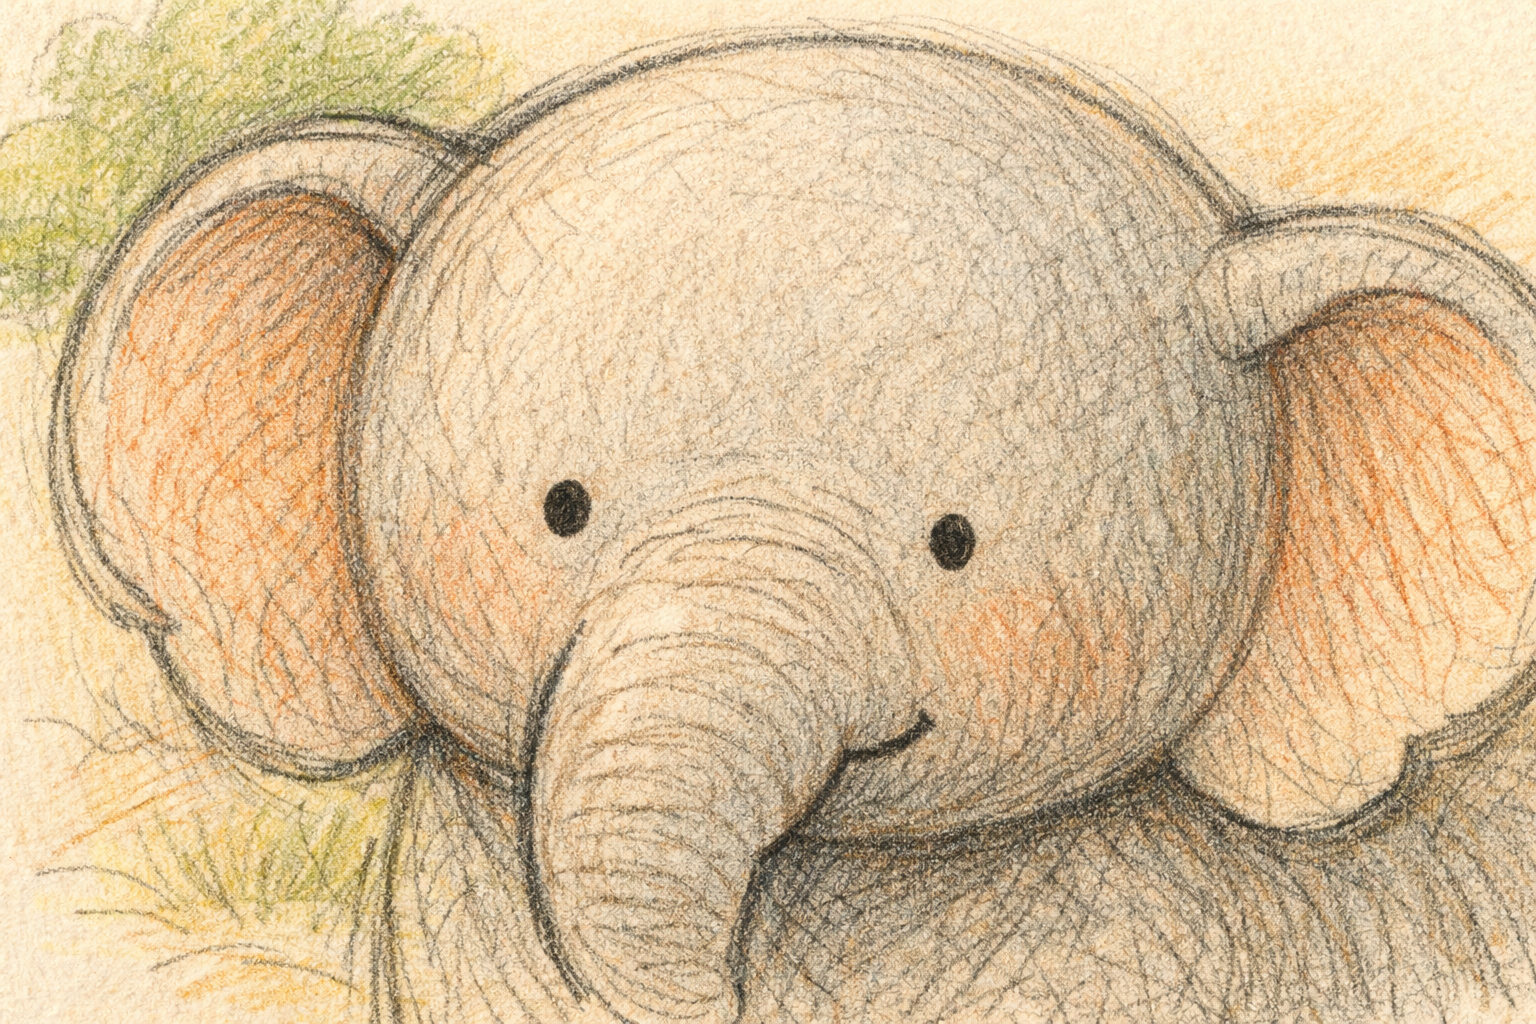
Place the eye and mouth corner
Mark a small eye low on the head circle, a little behind the trunk’s base. Indicate the mouth corner with a short, gentle line where the trunk meets the head. Keep both subtle—baby elephants’ features are soft and rounded.
- 08
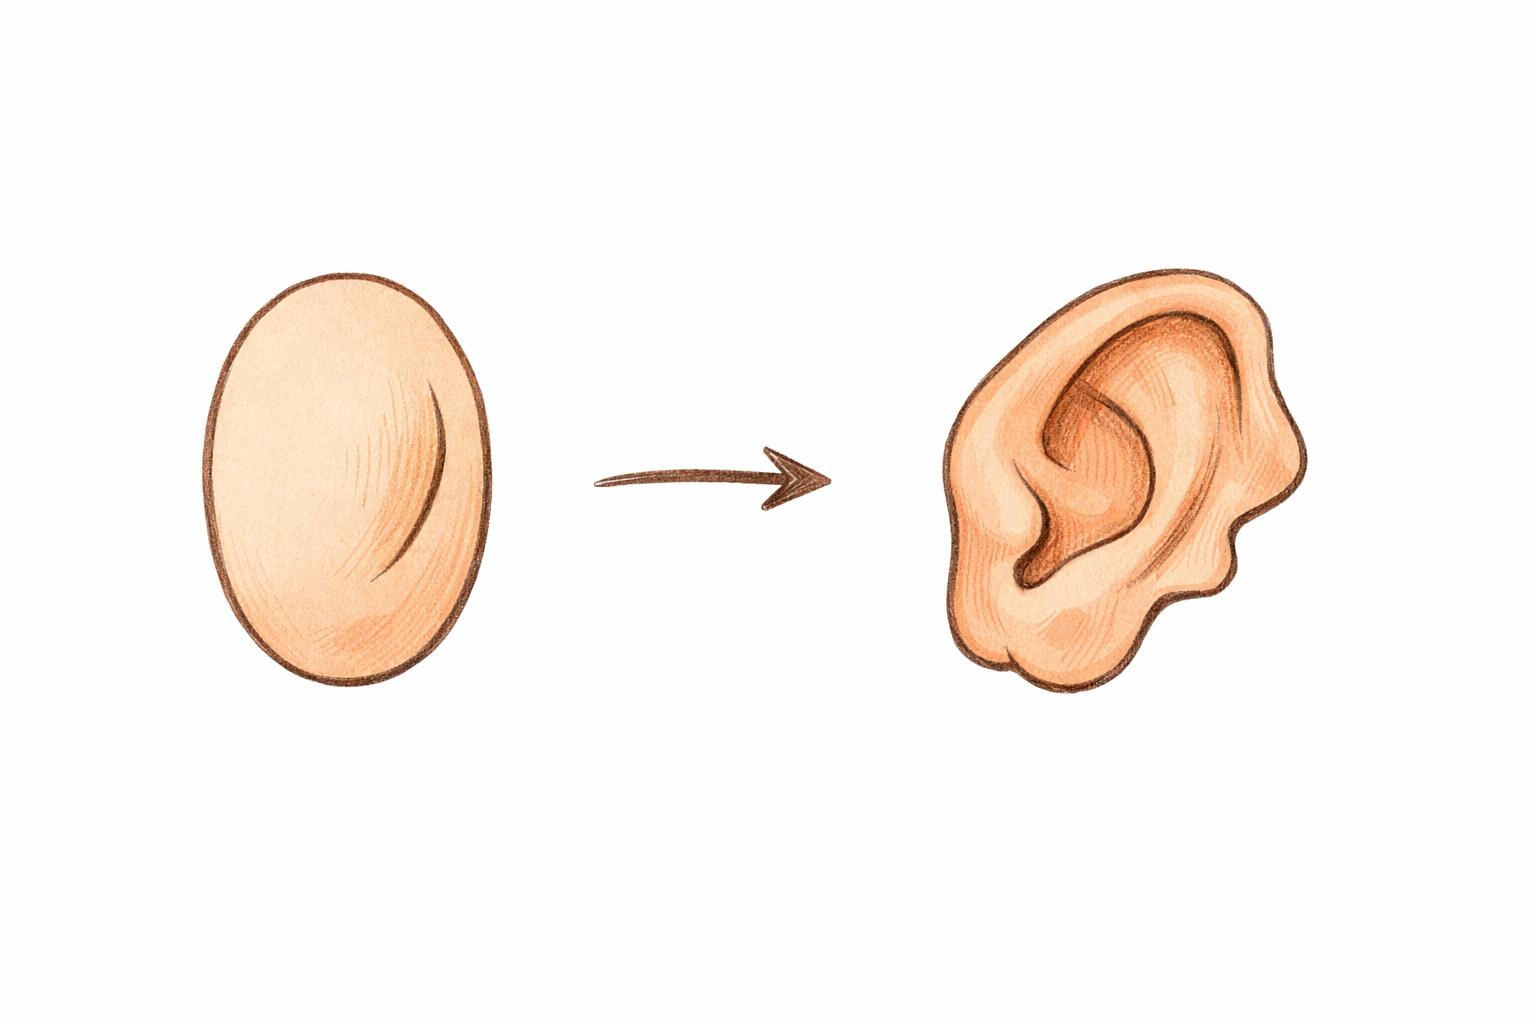
Shape the ear and add an inner fold line
Redraw the ear oval into a soft, wavy edge that hangs slightly away from the head. Inside it, add a curved line to suggest the inner fold, tapering as it nears the head. Keep the ear large and friendly to emphasize youth.
- 09
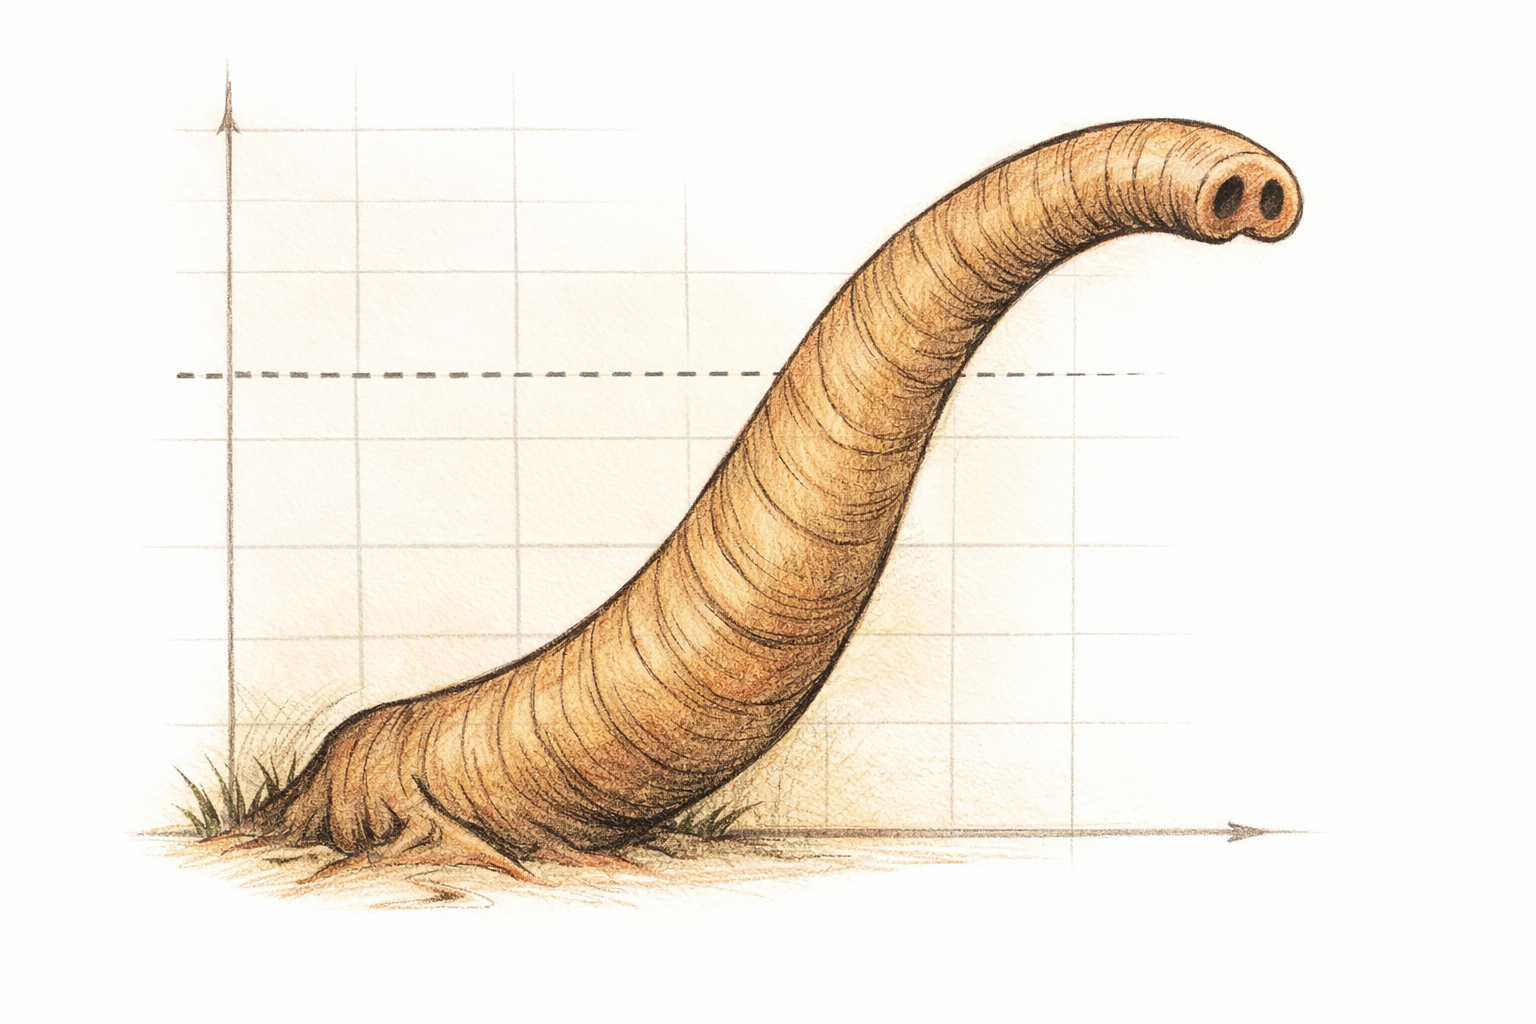
Thicken the trunk and suggest the tip
Follow your S-curve to give the trunk even thickness, slightly wider at the base near the head and narrowing toward the tip. At the end, draw a small rounded triangle or teardrop for the tip with two tiny nostril ovals. Add a few light crosswise wrinkles along the trunk’s length.
- 10
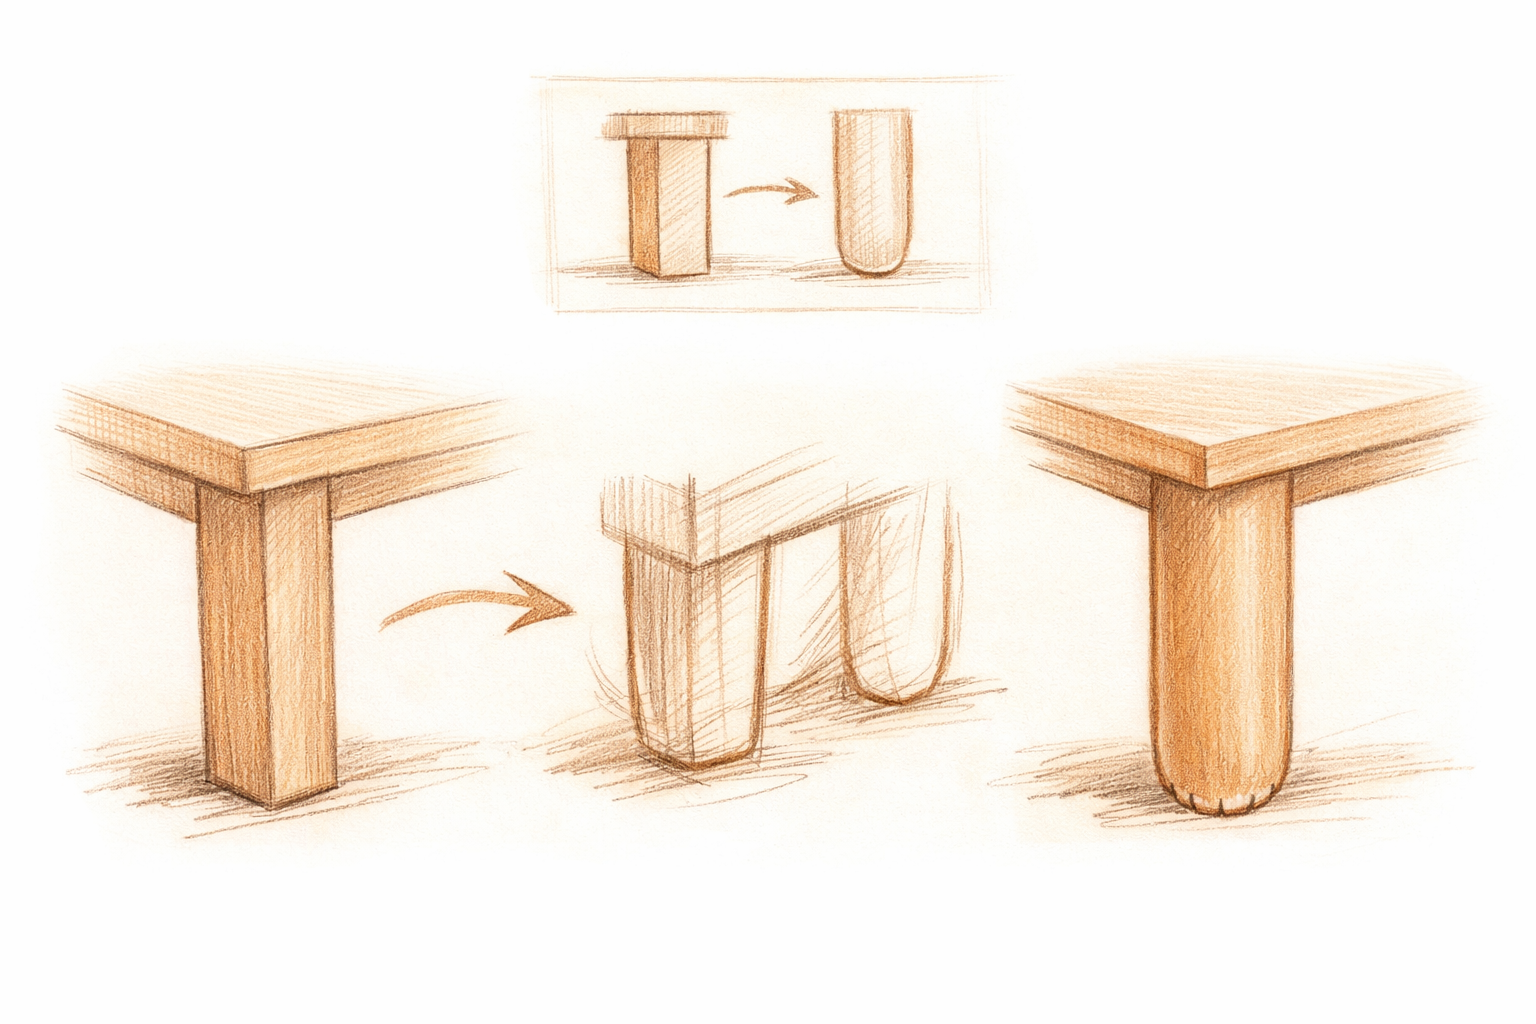
Turn leg blocks into soft, sturdy limbs
Round the corners of each leg block into pillar-like legs, slightly wider at the top and gently tapering. Add soft ankle curves above the feet. Indicate toenails with three or four small curved lines across each front edge of the near feet.
- 11
Clean up extra guidelines
Carefully erase construction lines still visible inside the body, head, and legs. Keep the refined outer contours, the ear fold, facial features, and trunk wrinkles. Soften any heavy marks to keep everything cohesive and light.
- 12
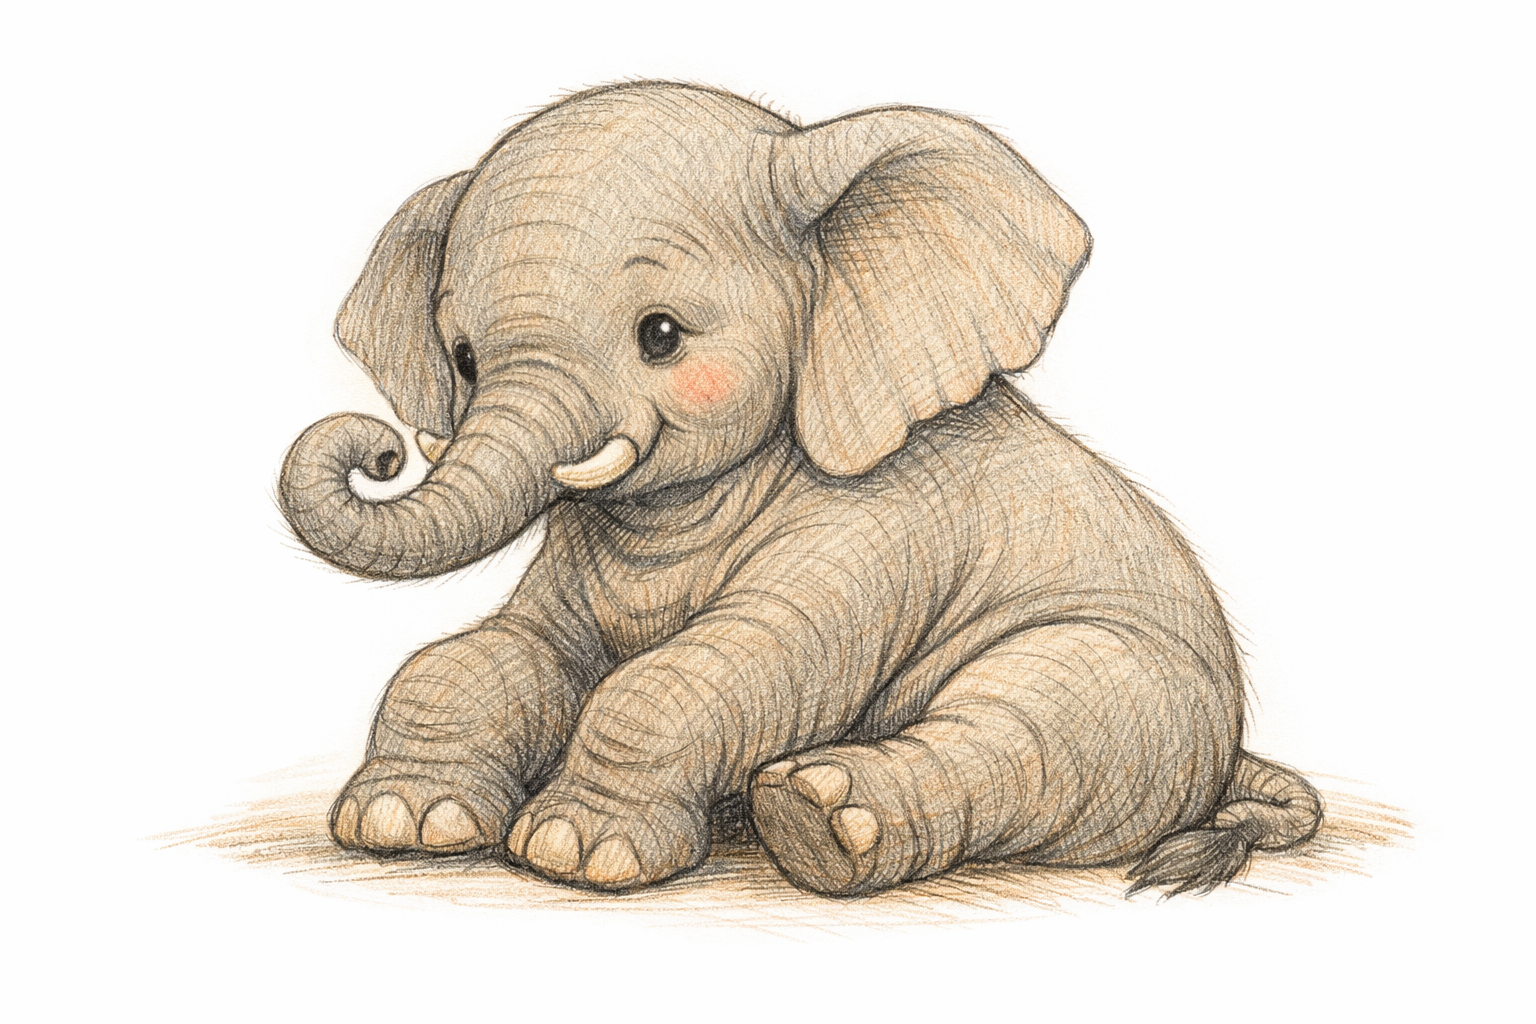
Add gentle skin folds at joints
Place short, curved lines where the skin compresses: behind the ear’s base, at the base of the trunk, under the chin, at the top and back of each leg, and a few along the belly. Keep these light and spaced so the drawing doesn’t look overly wrinkled.
- 13
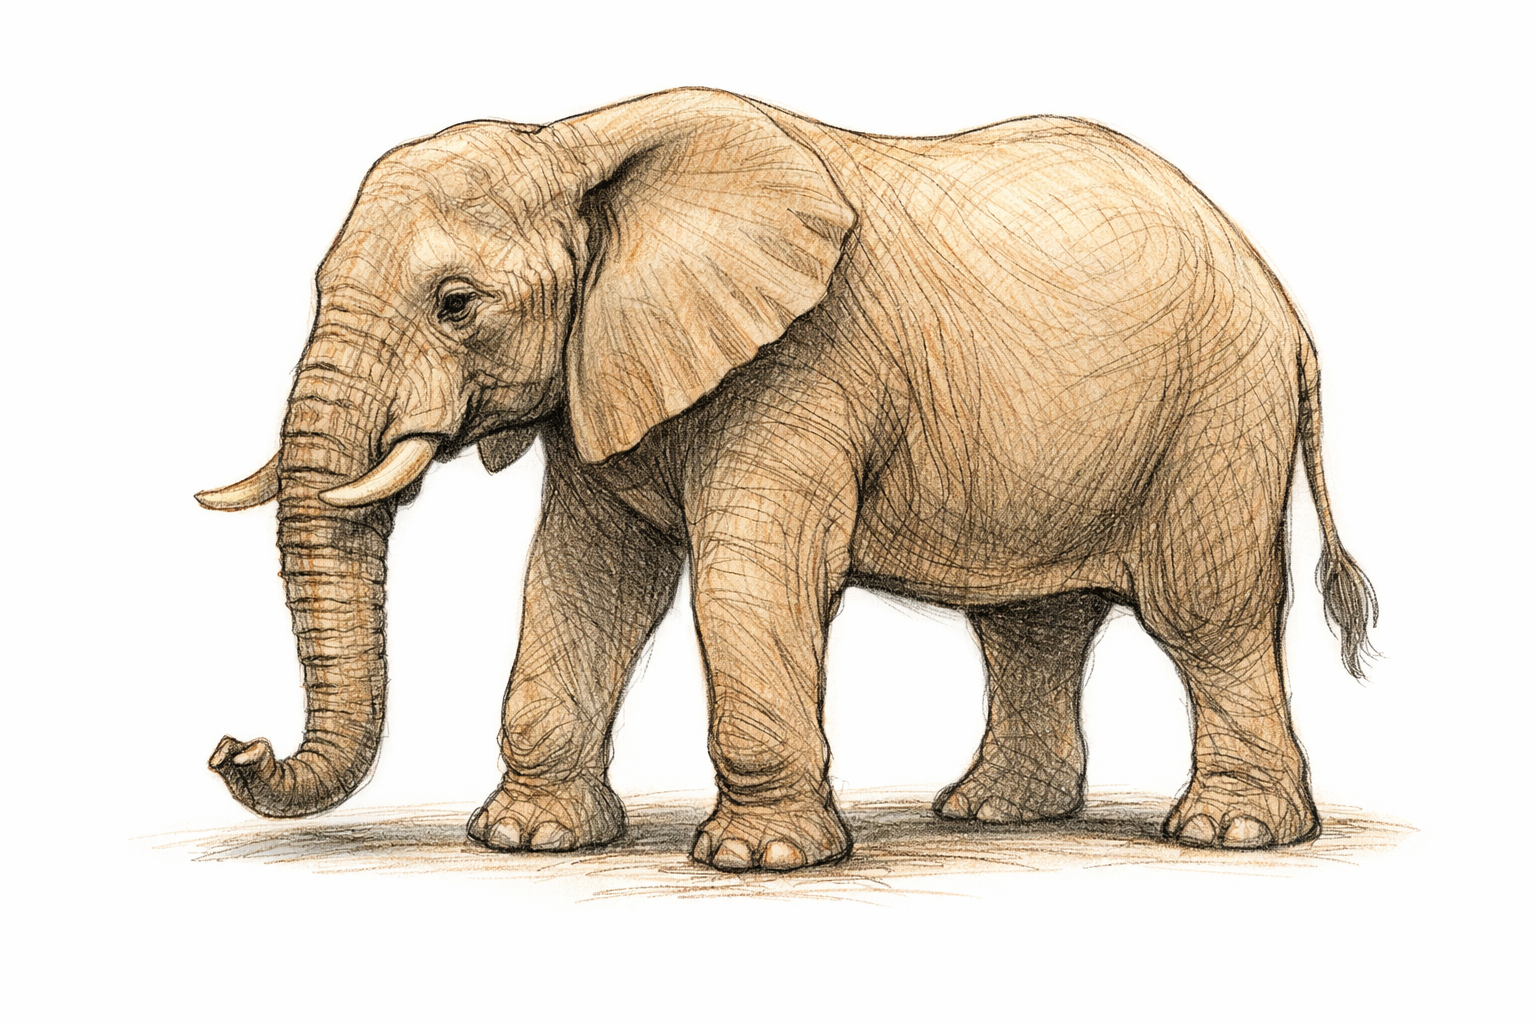
Shade the undersides for volume
Pick a light source (for example, top left). Shade the opposite surfaces lightly: underside of the trunk, lower ear, belly, inner sides of legs, and the far-side legs overall. Build tone with gentle layers, then soften with a blending stump or tissue if you like.
- 14
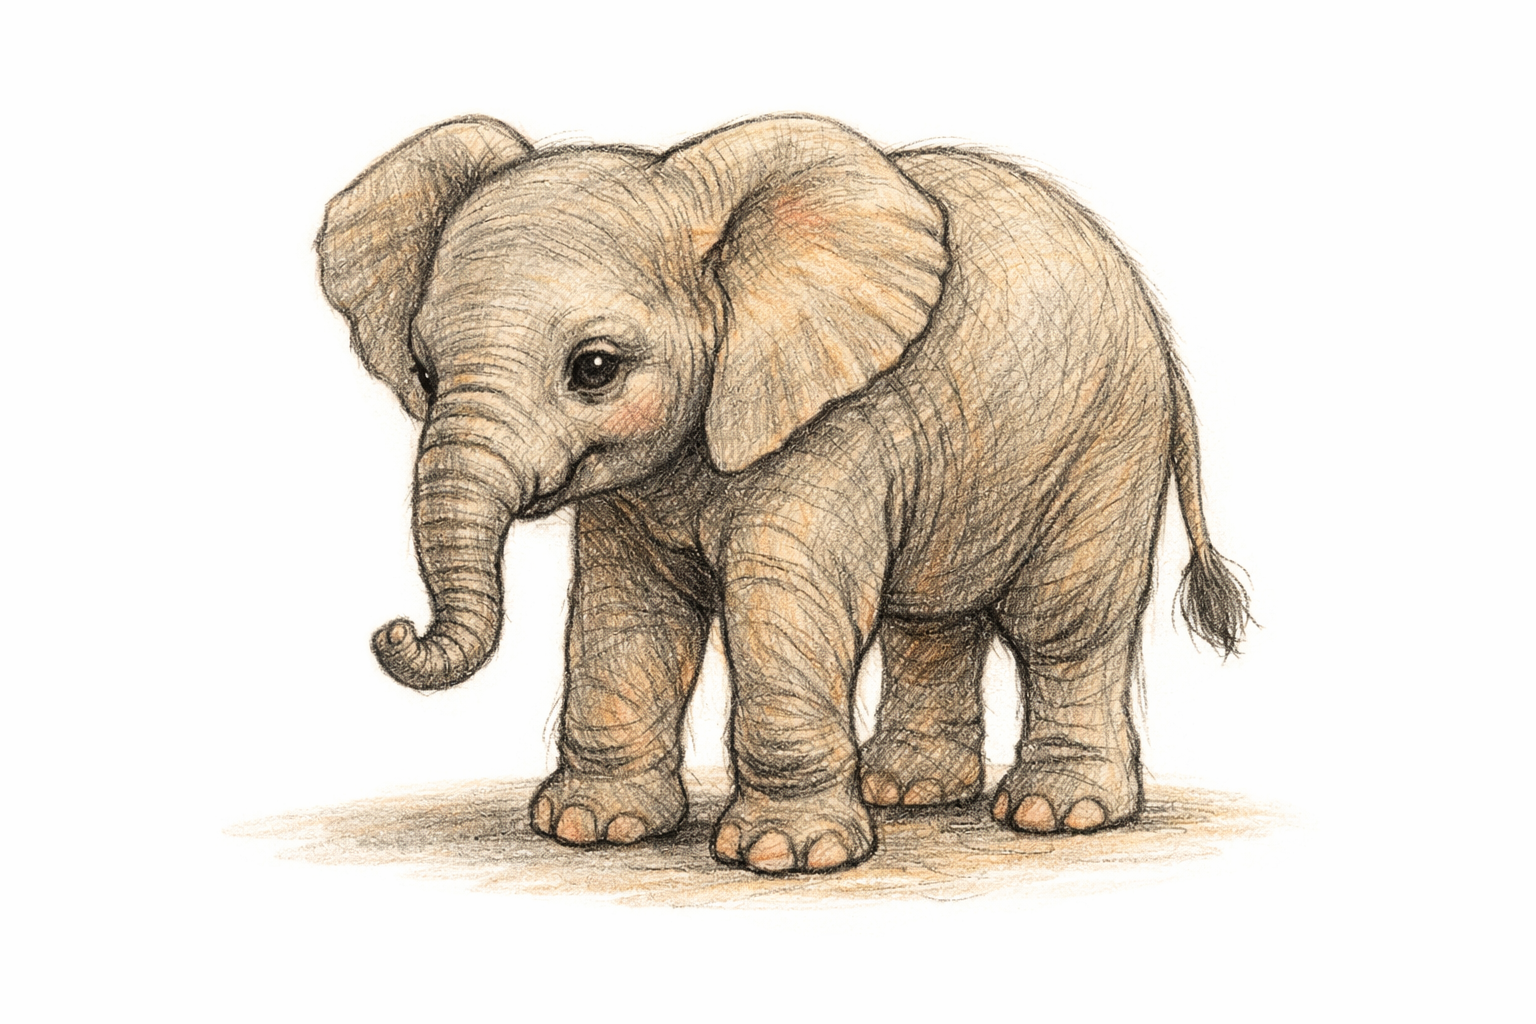
Finish with small accents and a ground shadow
Darken the eye slightly and add a tiny highlight by leaving a speck of paper white. Deepen the crease where the trunk meets the head and the ear’s inner fold. Add a simple, soft oval shadow on the ground under the feet so the elephant feels grounded.
If this was useful
Try one of these next
Home & life
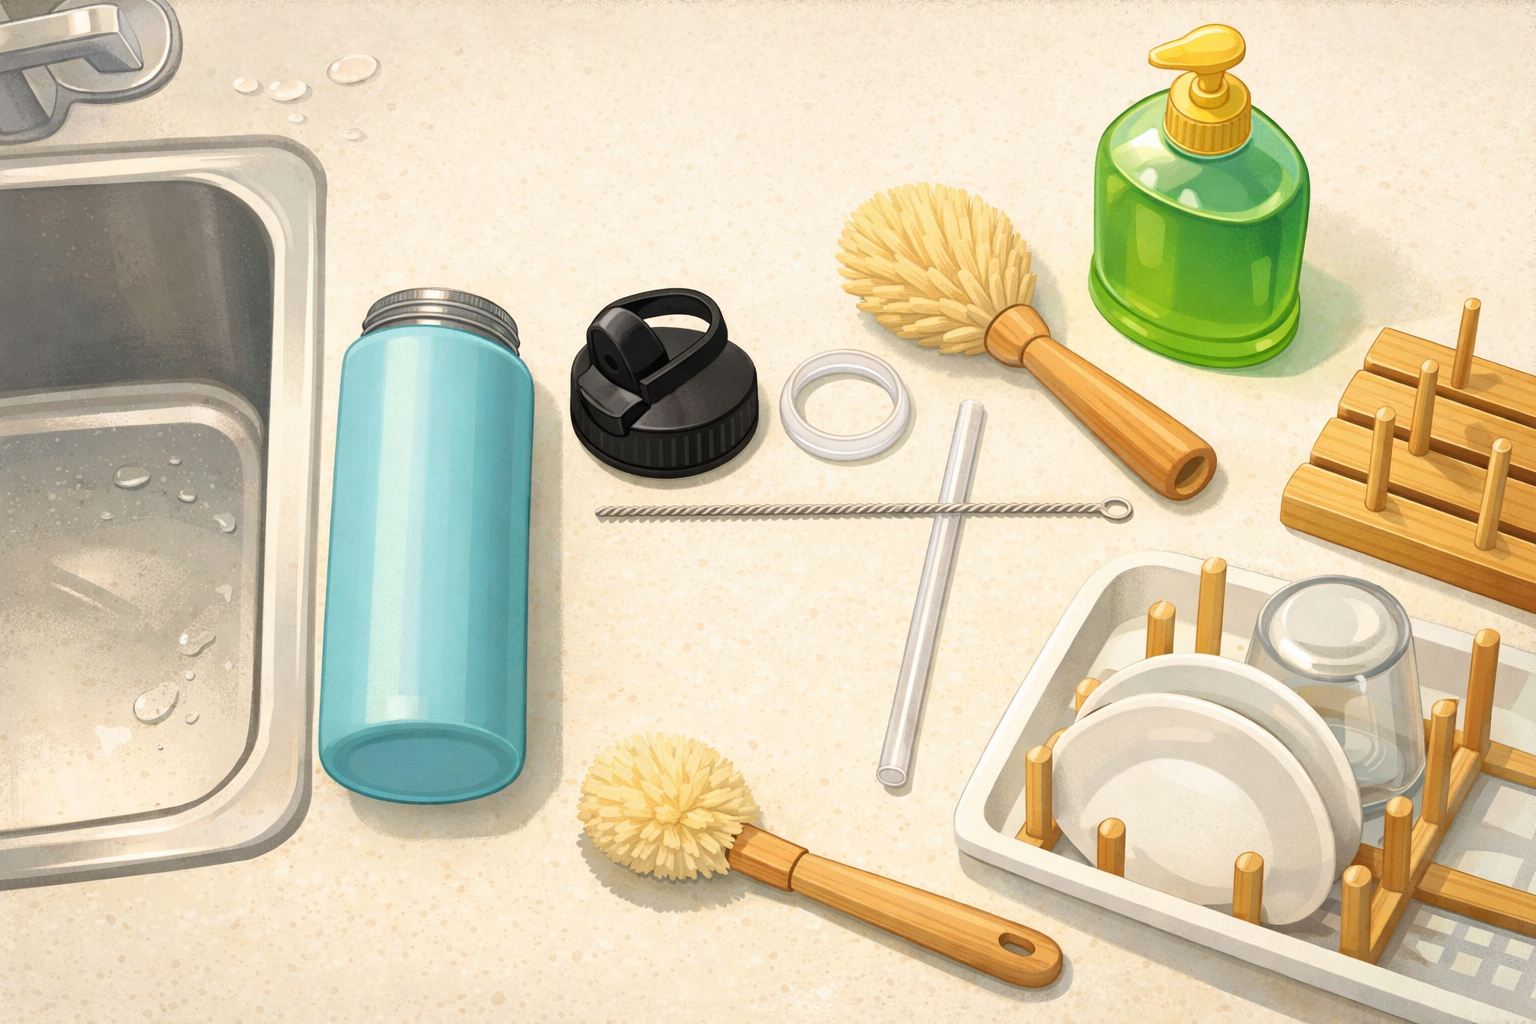
How to clean and dry a reusable water bottle after a picnic
Disassemble the lid, clean threads and seals, wash the body, rinse thoroughly, and air‑dry so it doesn’t develop odours between countryside trips. Close‑ups show where residue hides and a quick drying rack setup.
Read the guide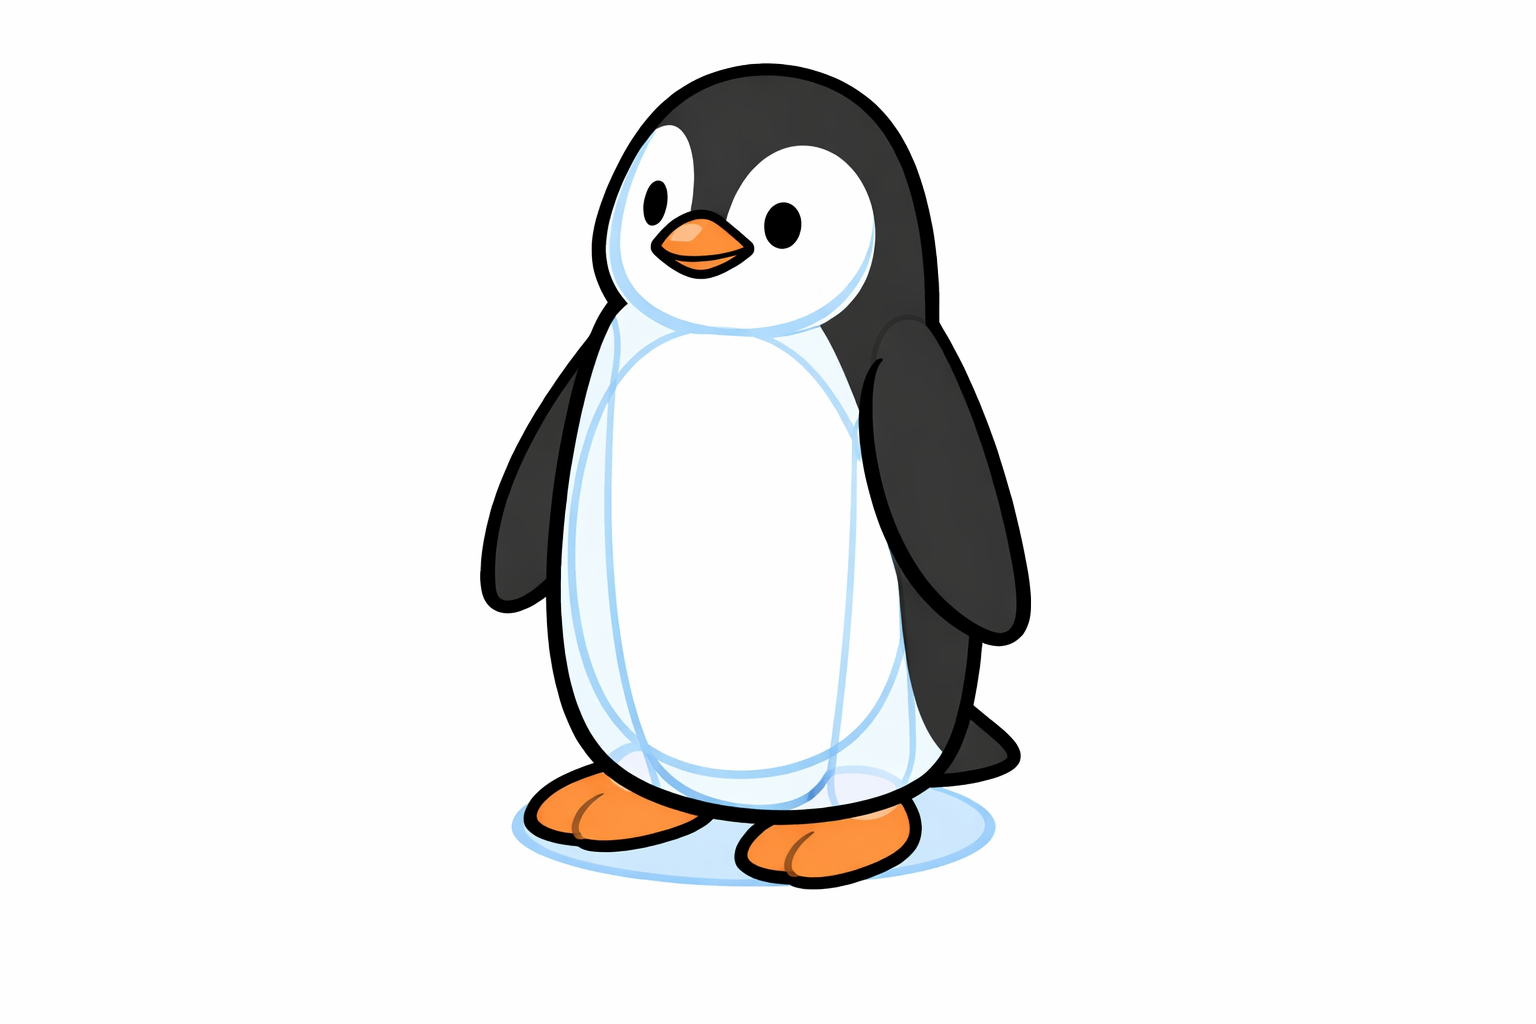
Hobbies & crafts
How to draw a standing penguin using teardrop shapes
Start with a tall teardrop for the body and small ovals for the head and feet. Add a simple beak and flippers with more teardrops, map the tuxedo belly, then refine the outline. Erase the guides and finish with light shading for roundness. Each step’s image overlays pale guide shapes and the darker final lines so you can see what to keep.
Read the guide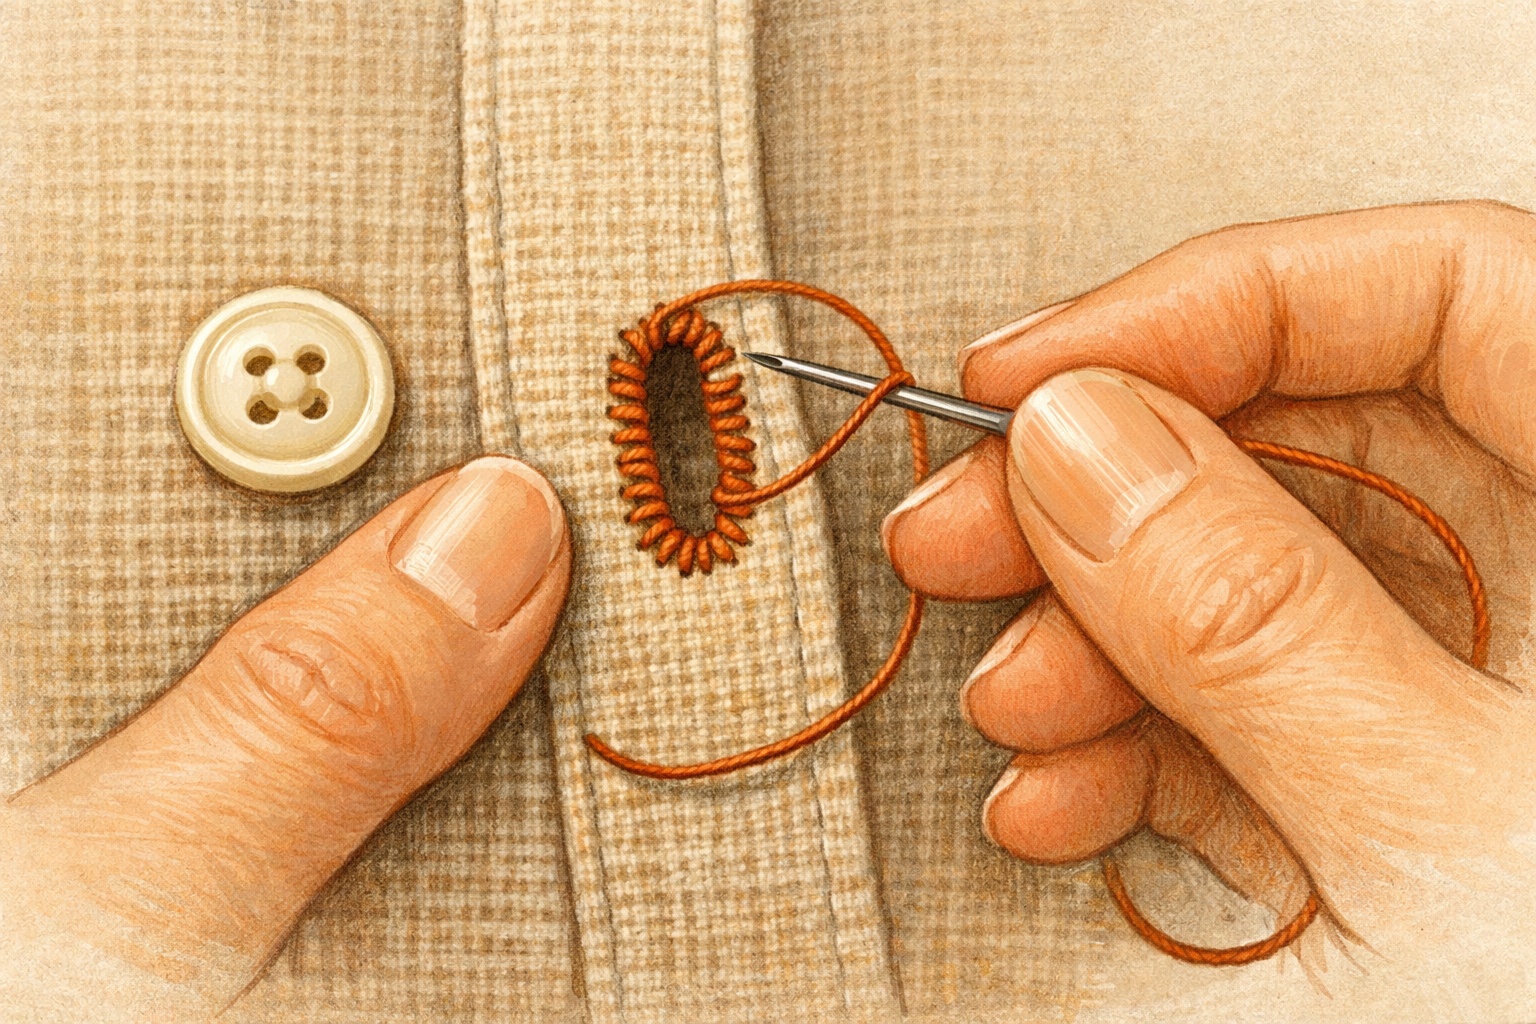
Hobbies & crafts
How to Tighten a Loose Buttonhole with Blanket Stitches
Reinforce stretched buttonholes by stitching a neat border that grips the button and prevents further fraying.
Read the guide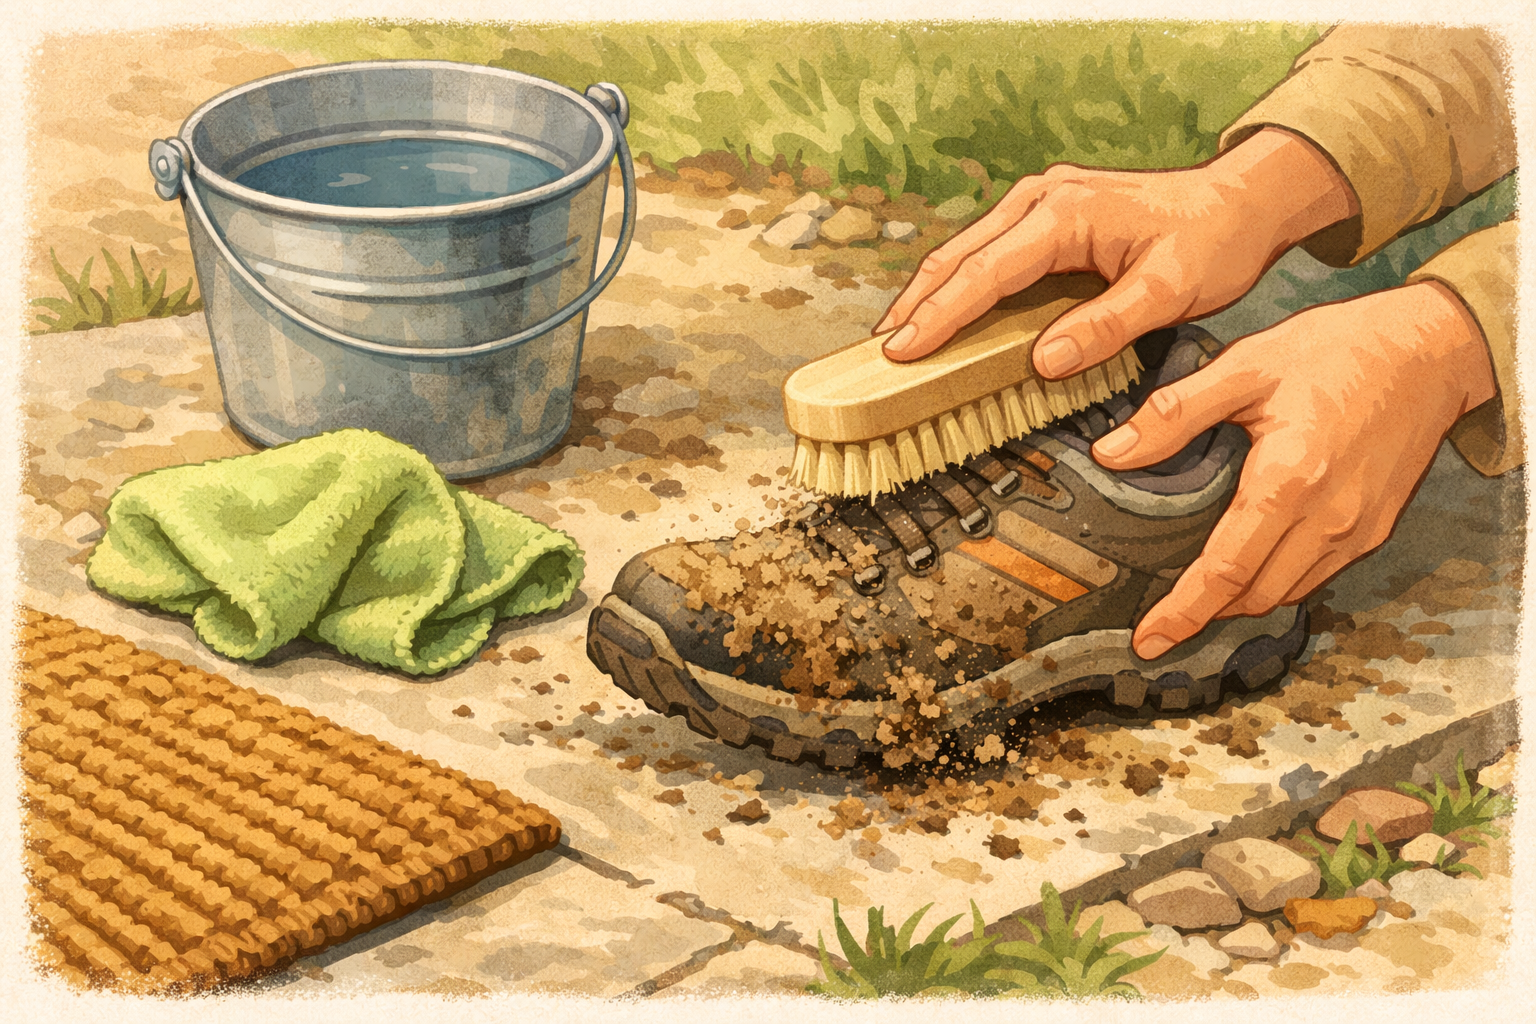
Home & life
How to clean muddy walking shoes after a countryside footpath
Knock off dried mud, brush seams, wipe uppers, clean outsoles, freshen insoles, and air‑dry so your shoes are ready for the next path. Photos show the order and which brushes or cloths to use.
Read the guide