Home & life
How to clean muddy walking shoes after a countryside footpath
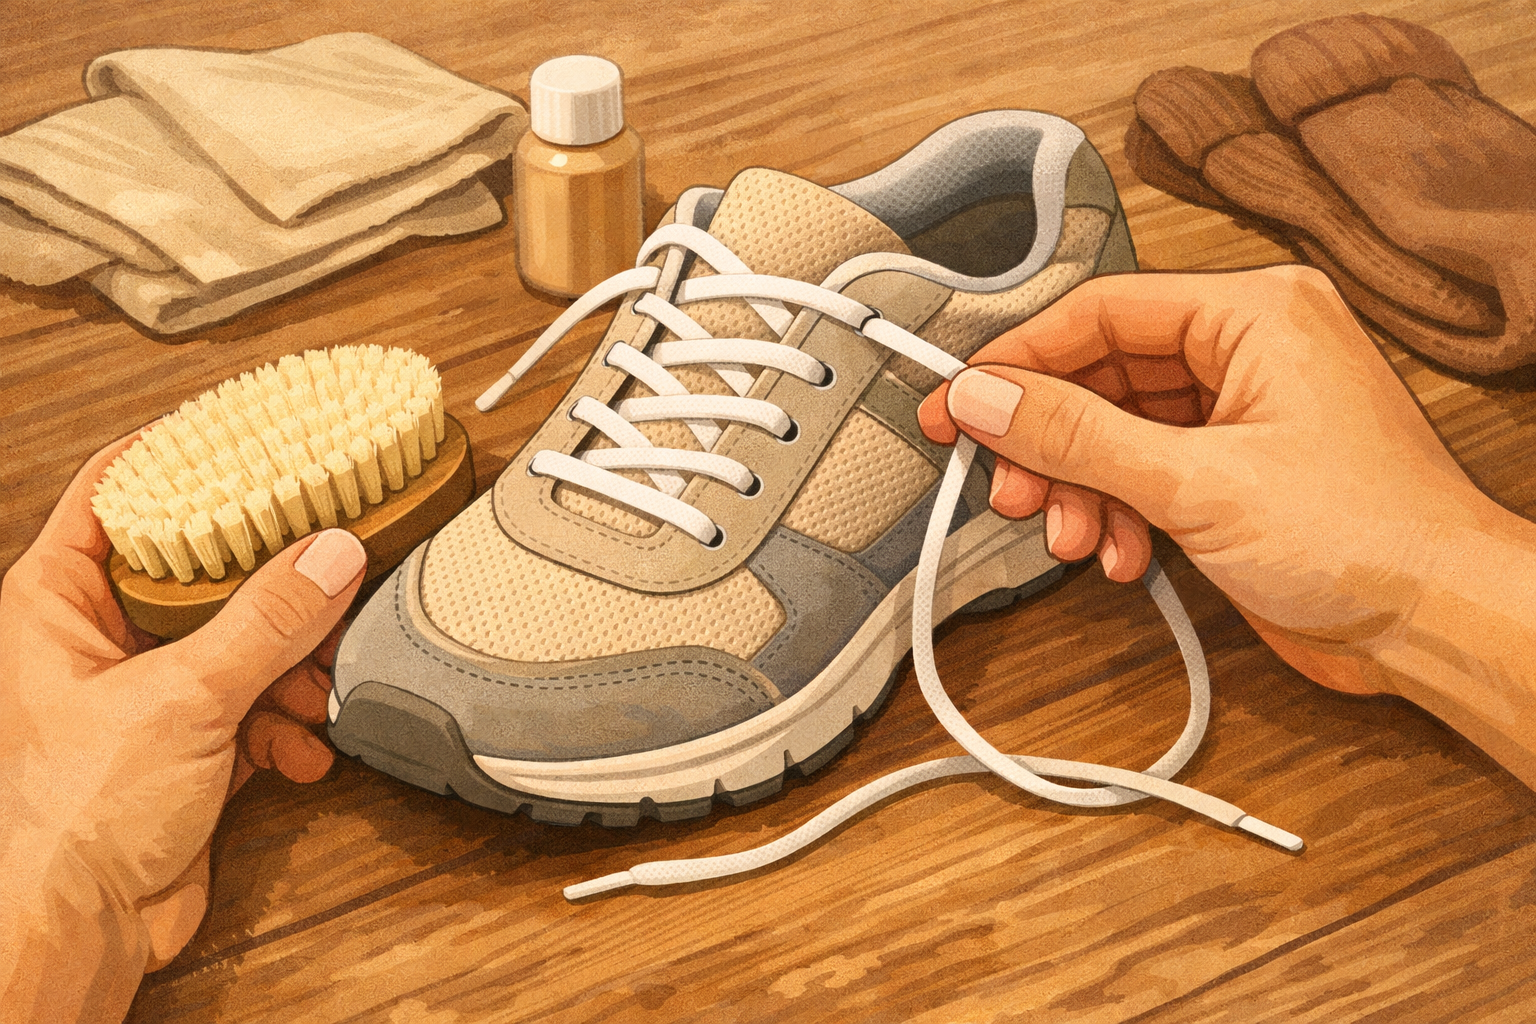
Knock off dried mud, brush seams, wipe uppers, clean outsoles, freshen insoles, and air‑dry so your shoes are ready for the next path. Photos show the order and which brushes or cloths to use.
- 01
Set up and let the mud dry
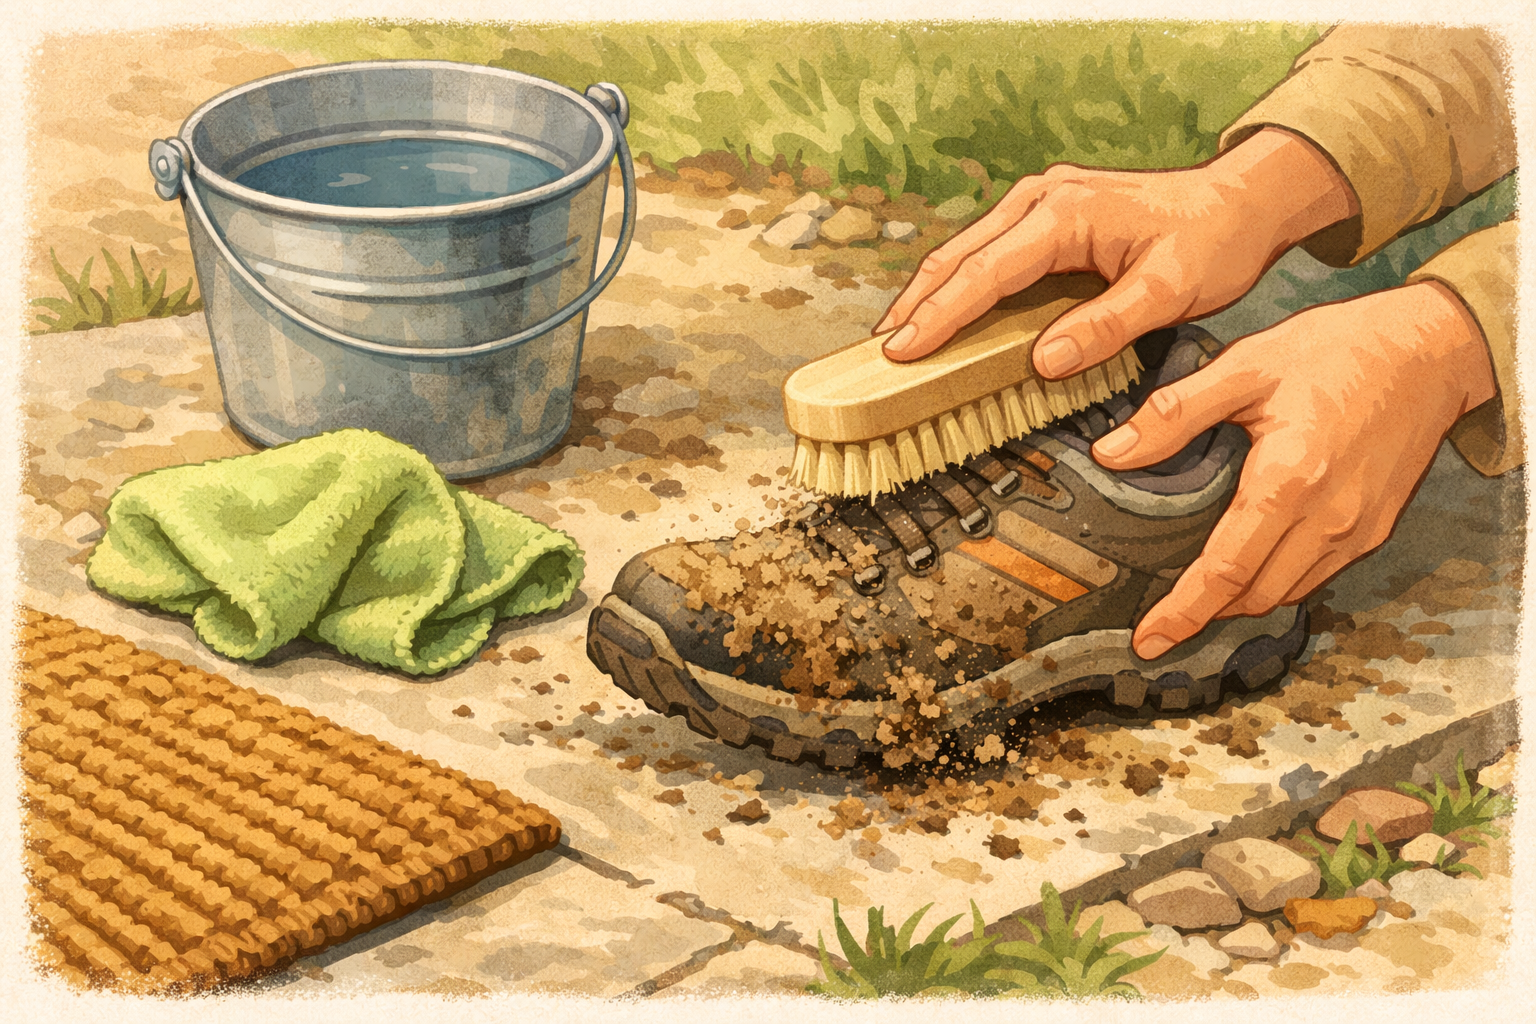
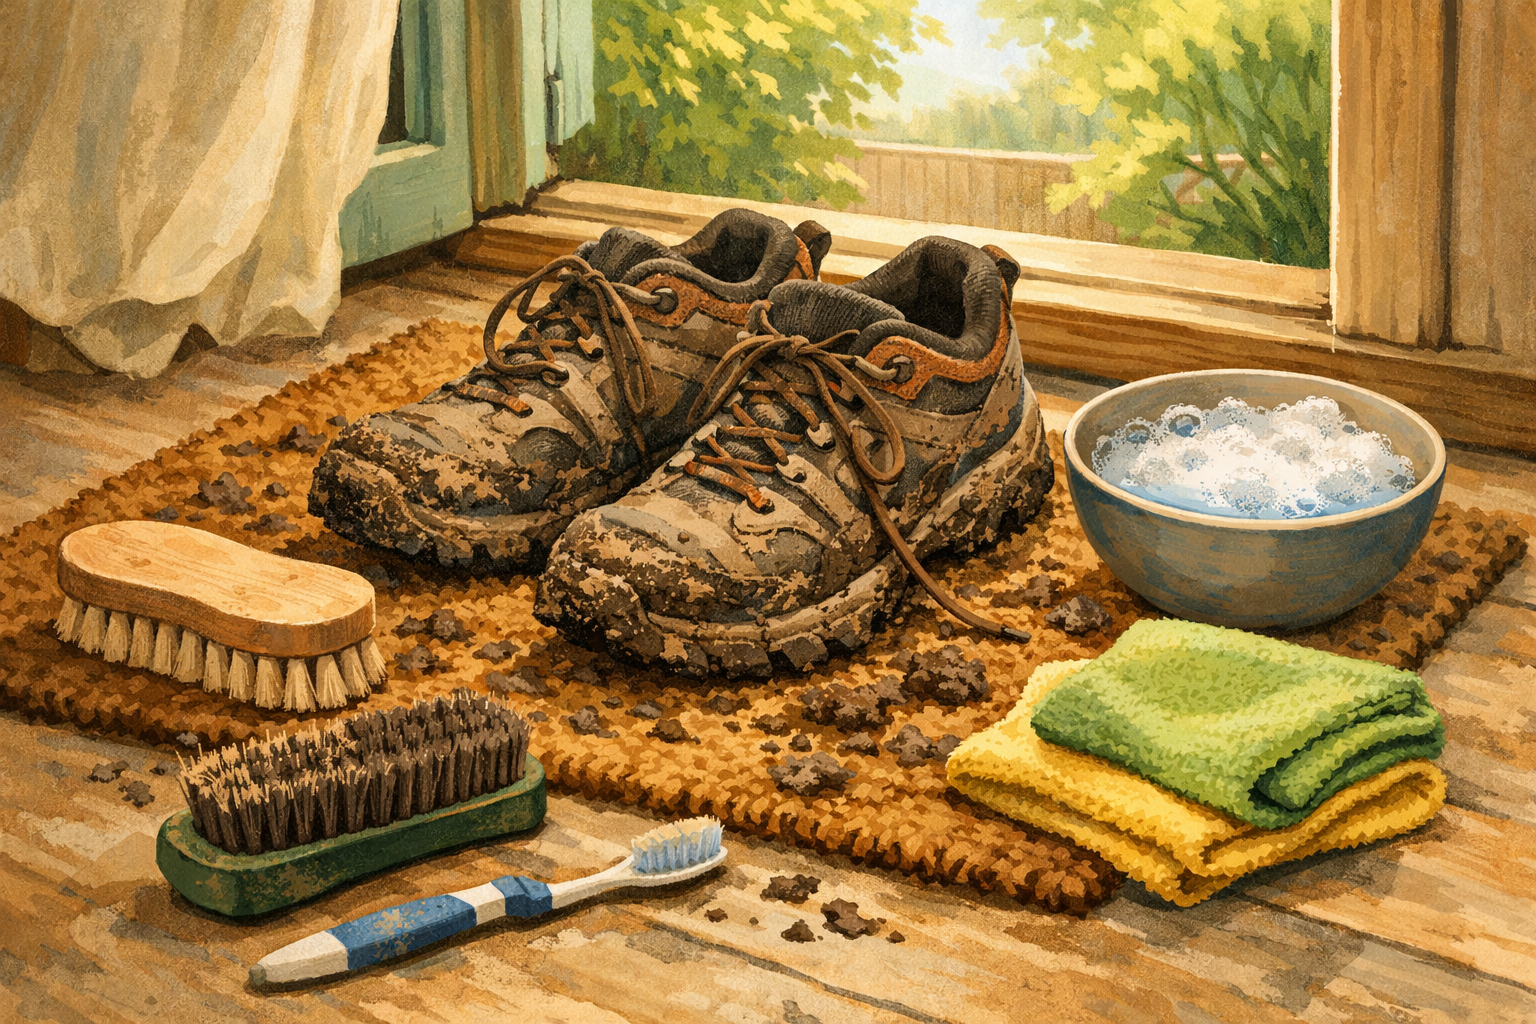
Place the muddy shoes on a mat or newspaper in a ventilated spot. If the mud is wet, allow it to dry fully so it crumbles off easily. Gather a soft brush, a stiff brush, an old toothbrush, microfiber cloths, and a small bowl of warm water with a drop of mild soap.
- 02
Remove laces and insoles
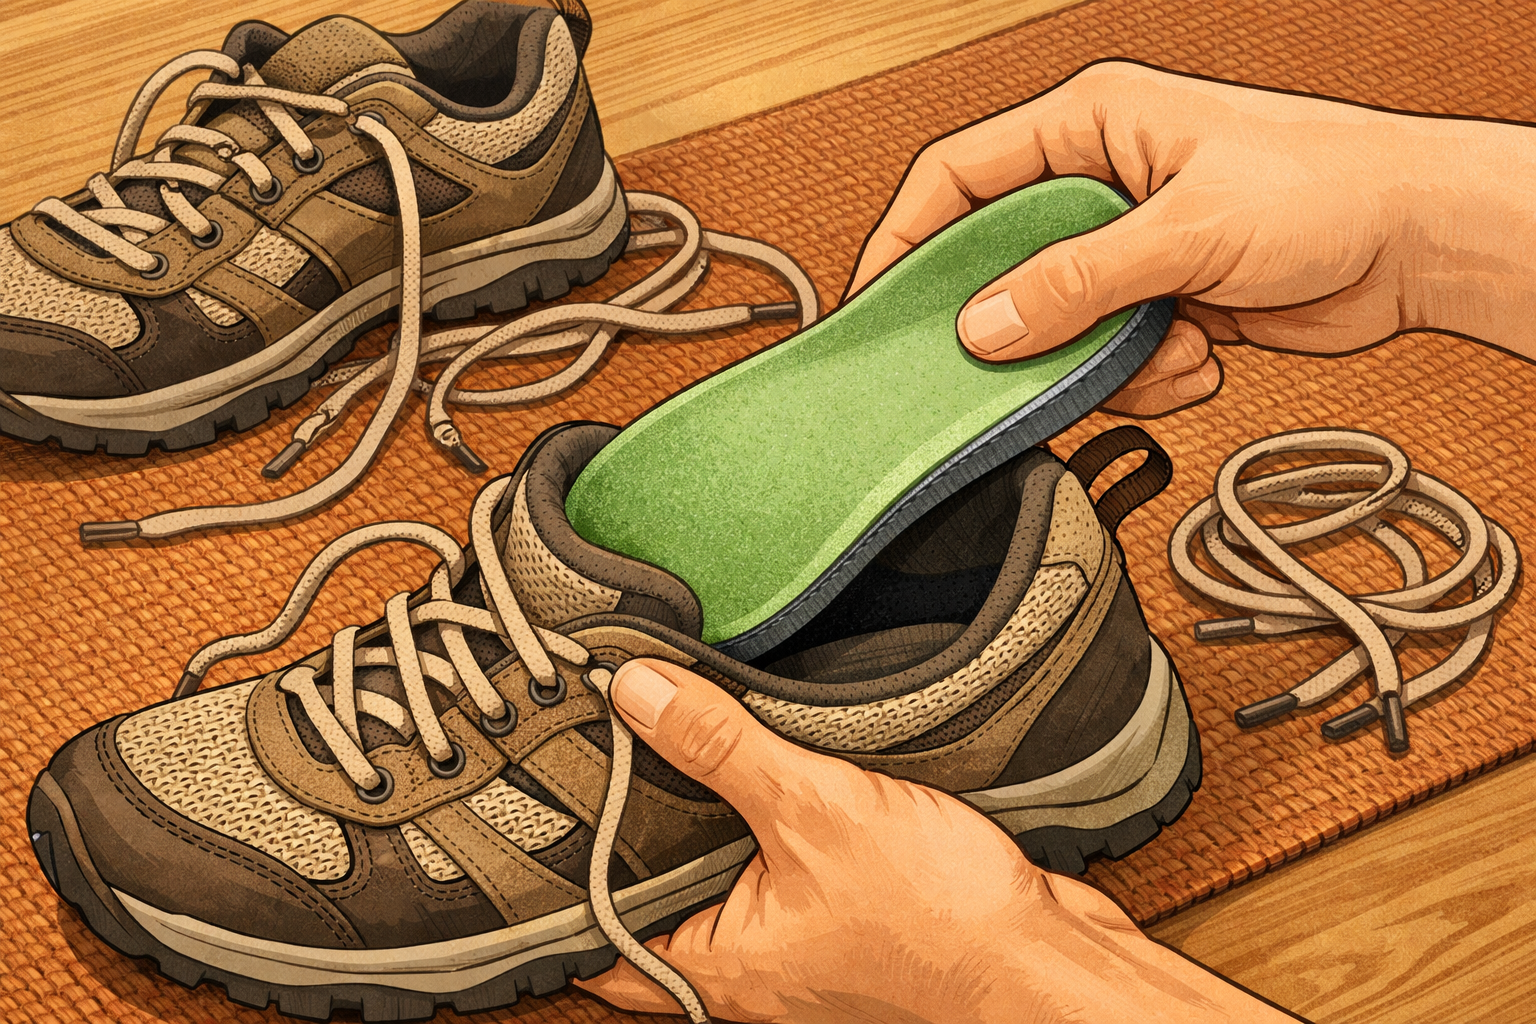
Take out the laces and pull out the insoles. This exposes seams and helps everything dry faster. Shake or brush off any loose grit from the insoles and set them aside.
- 03
Knock off loose, dried mud outdoors
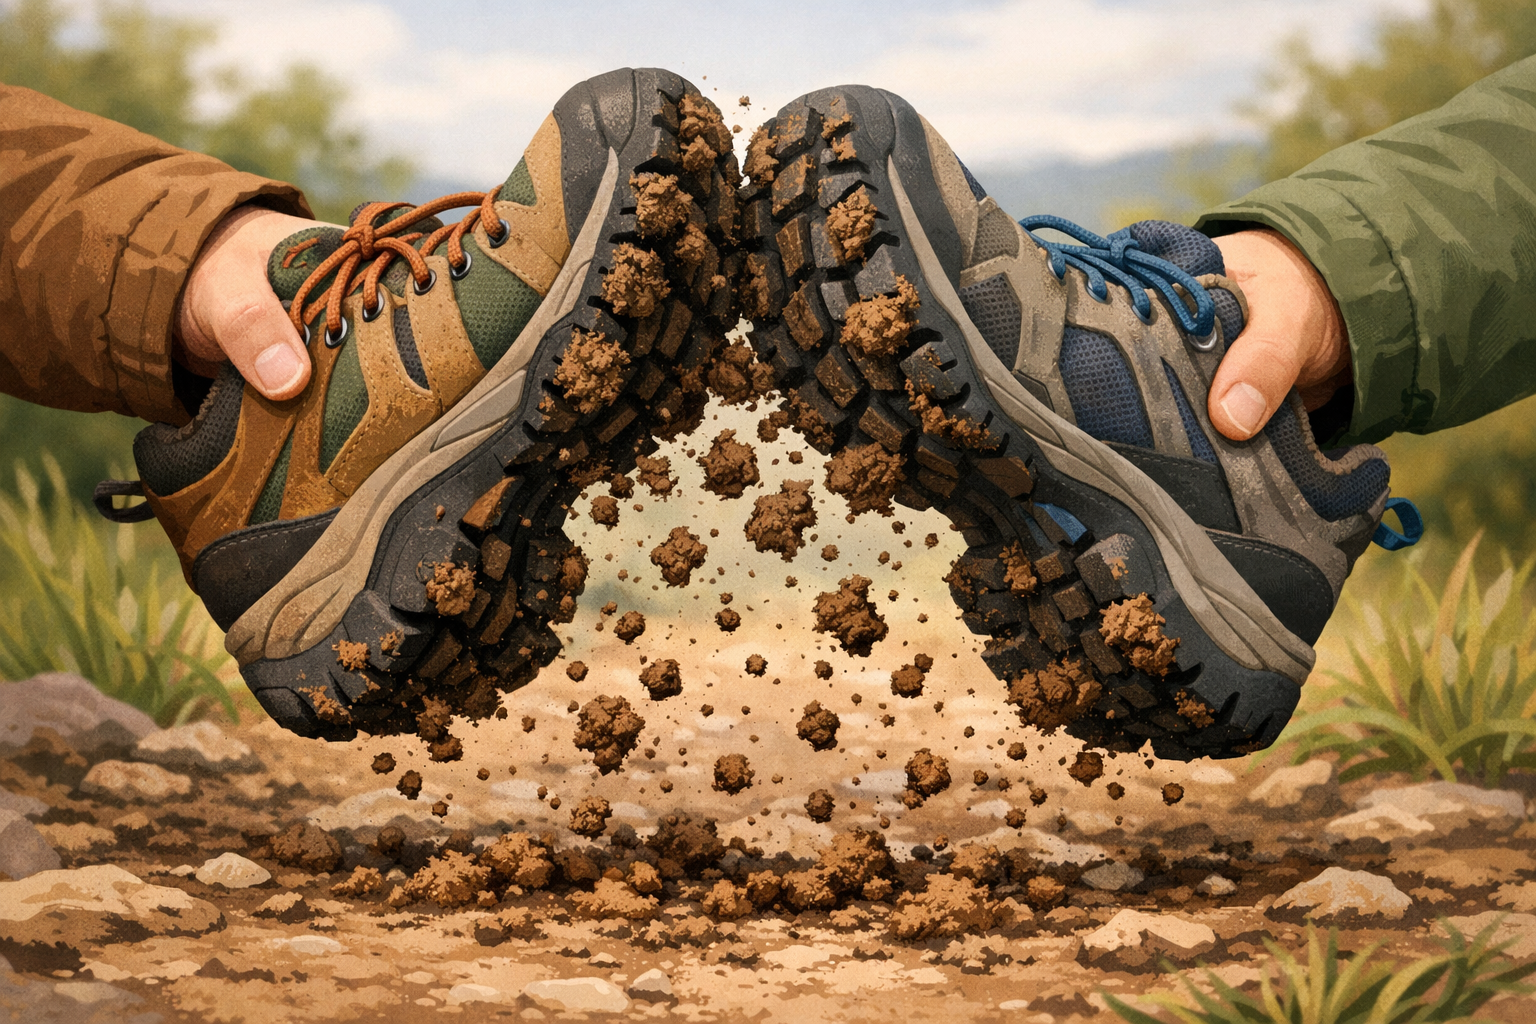
Carry the shoes outside and clap the soles together over a bin or bare ground to shed big chunks. Tap the heel and toe areas with your hand to release more debris.
- 04
Brush seams, stitching, and eyelets
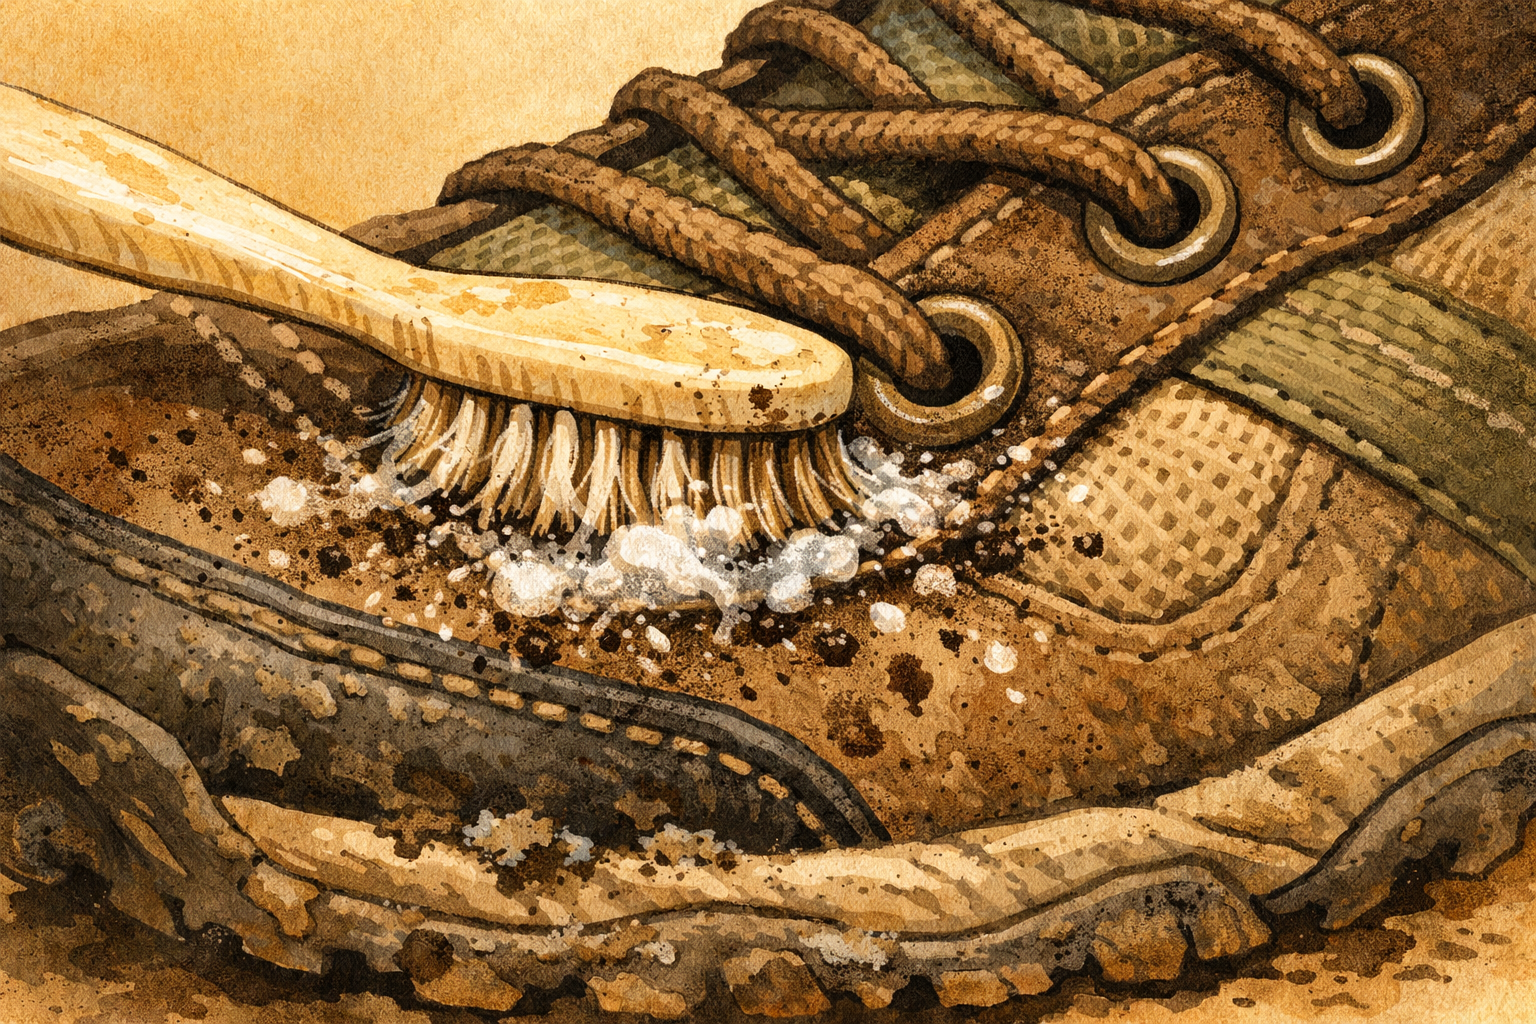
Use an old toothbrush to work along stitching lines, around eyelets, the tongue gusset, and where the upper meets the sole. Short, firm strokes will dislodge packed dirt without scratching.
- 05
Dust off the uppers
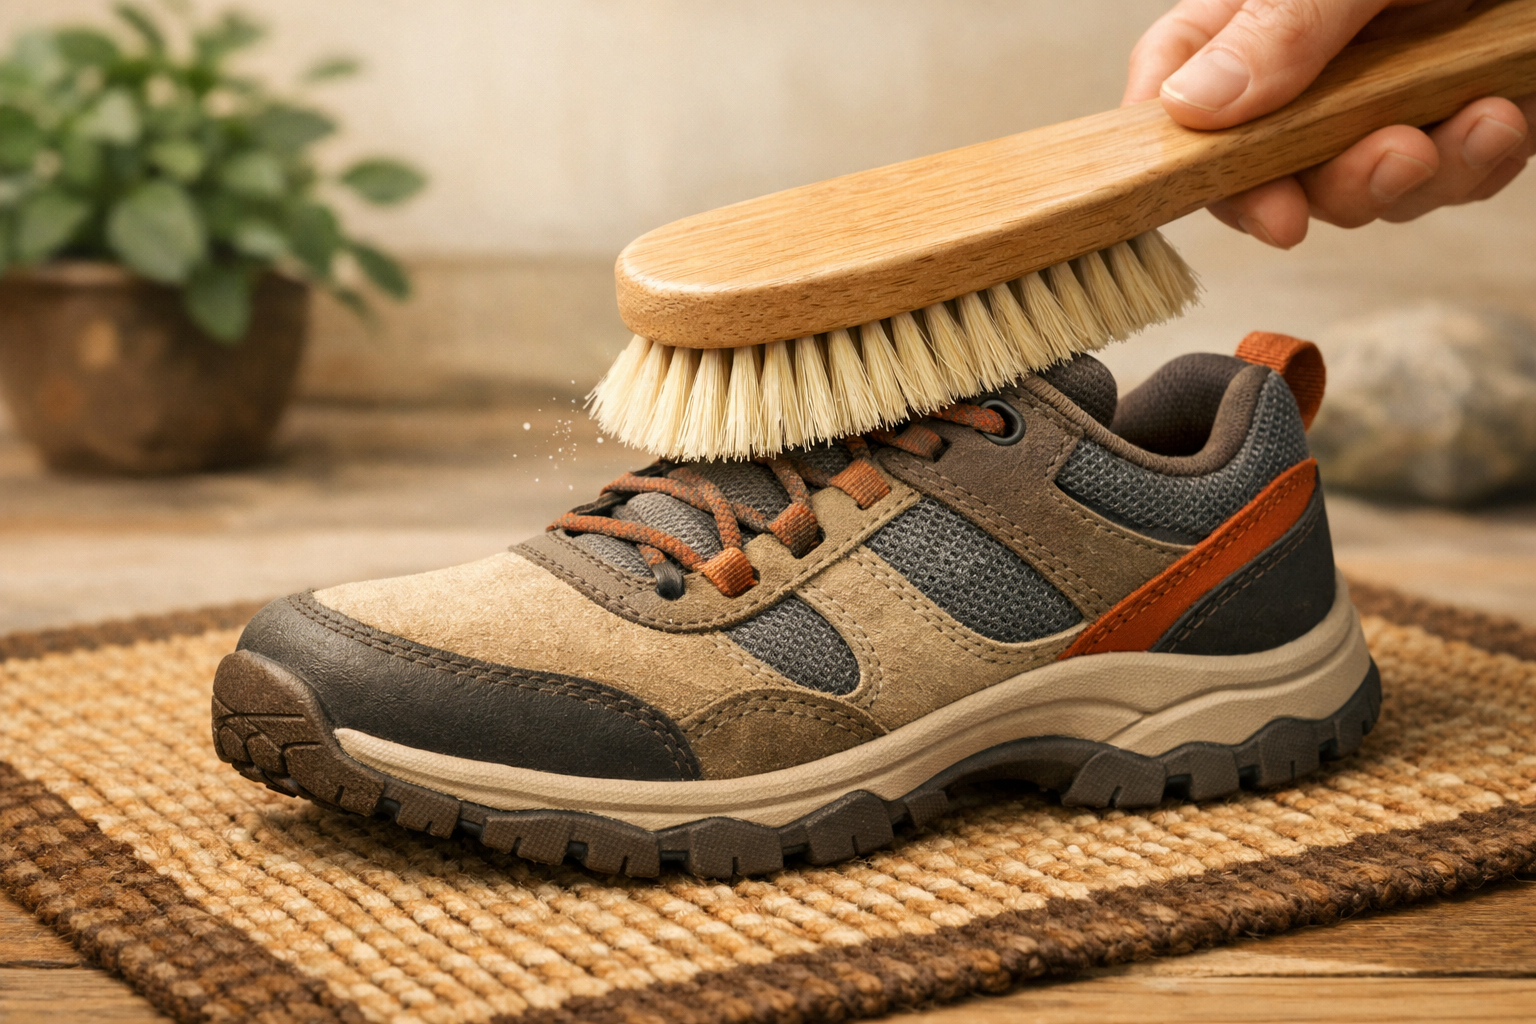
With a soft‑bristled shoe brush, sweep the entire upper—sides, toe box, tongue, and collar—to lift remaining dust and fine mud. Use light pressure, especially on fabric or delicate finishes.
- 06
Wipe uppers with a damp cloth
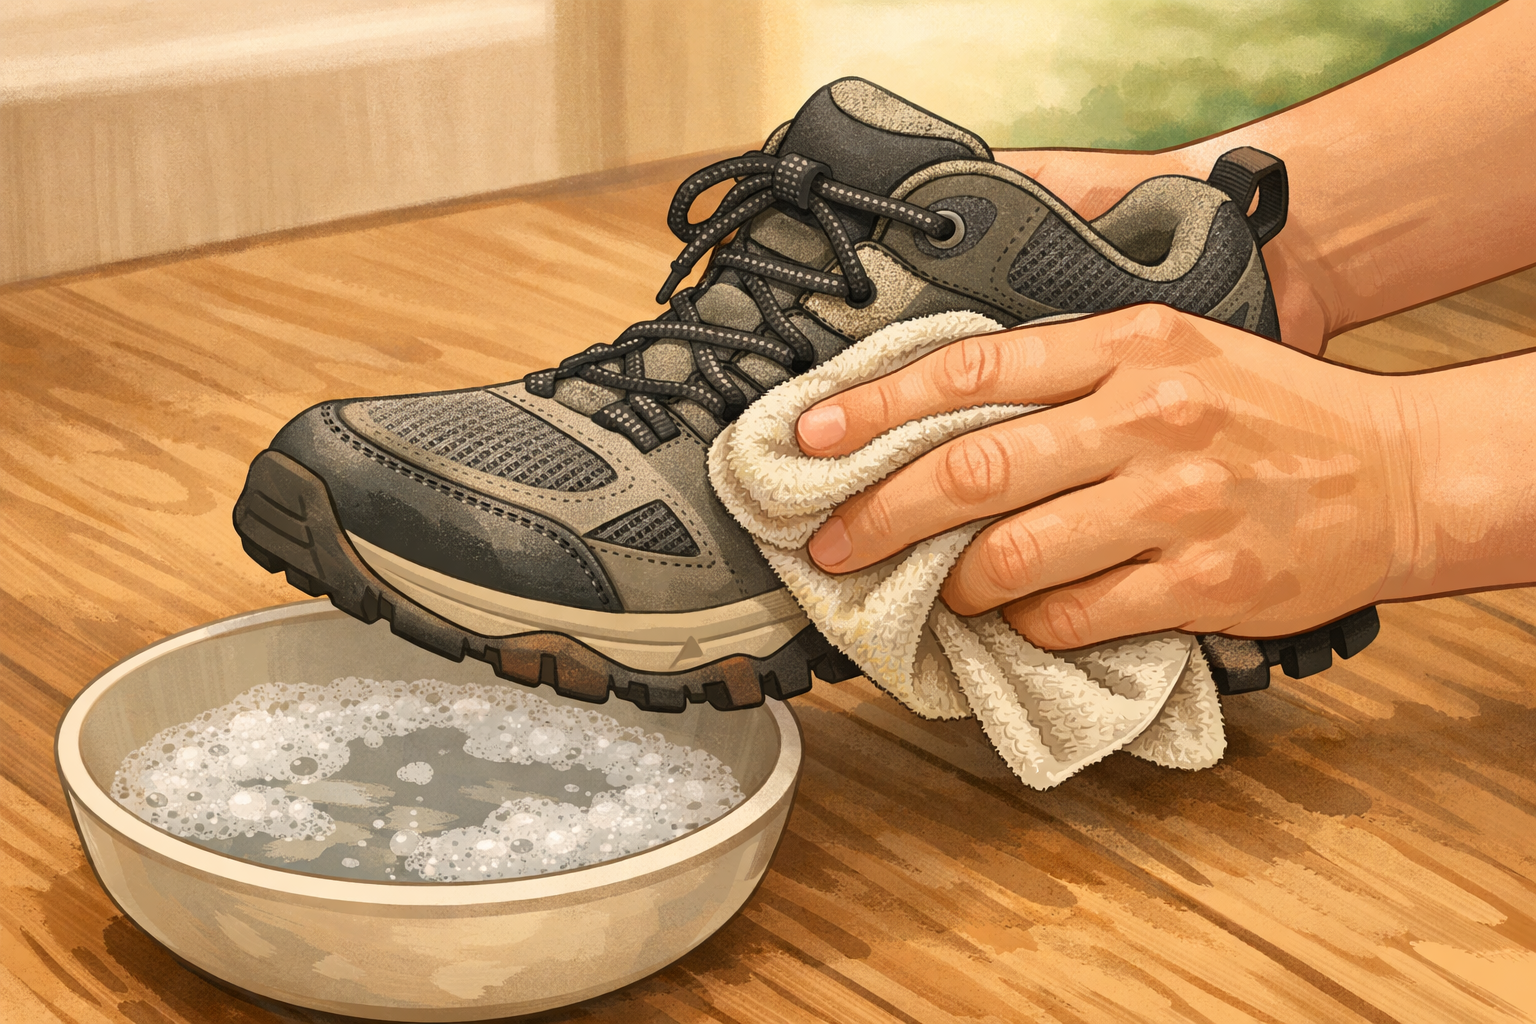
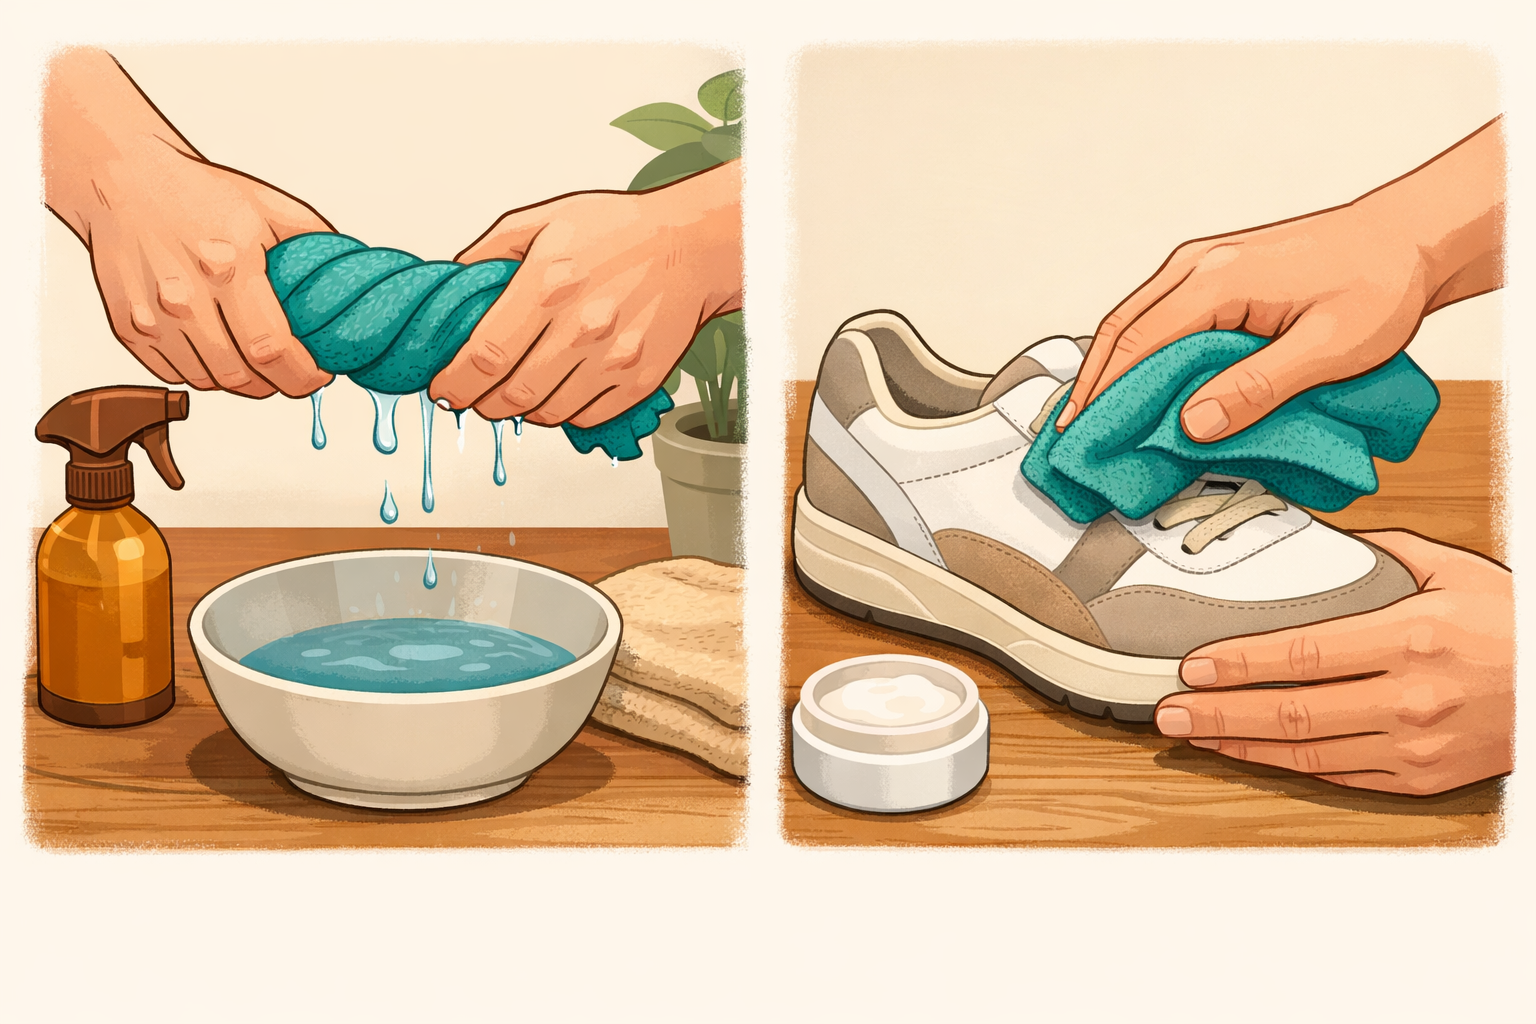
Dip a microfiber cloth in warm, mildly soapy water and wring it until just damp. Wipe the uppers in sections, including the tongue and collar. Avoid soaking the material or letting water pool inside the shoe.
- 07
Clean the outsoles and tread
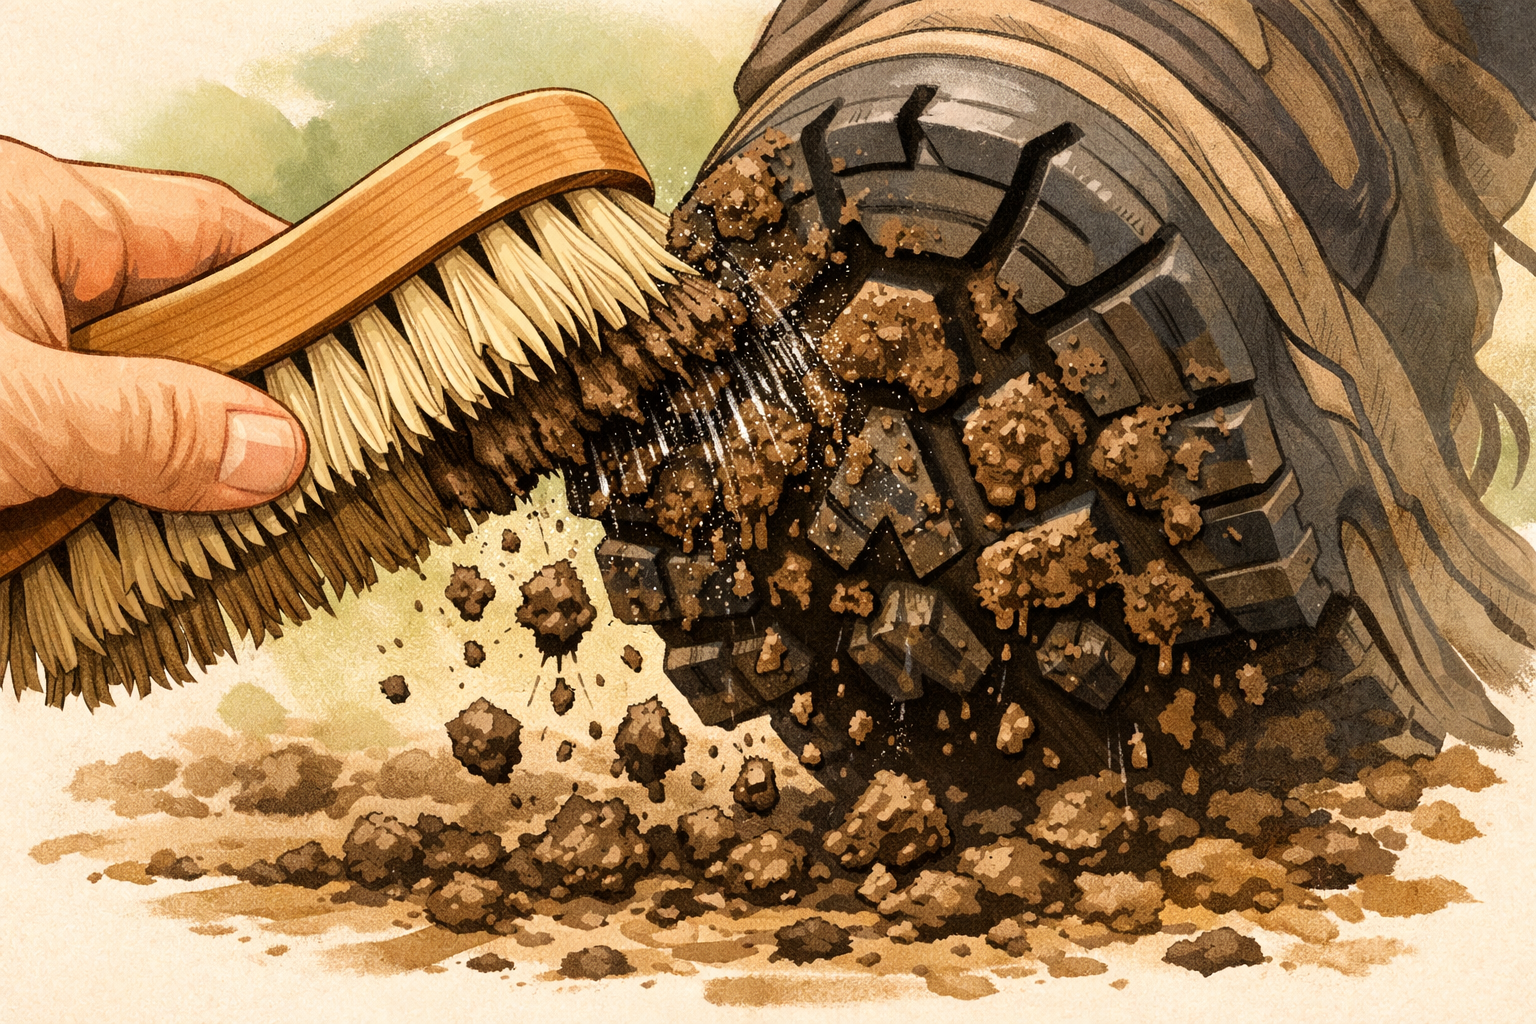
Use the stiff brush to scrub the soles and tread, loosening packed soil from grooves. For stubborn bits, pry gently with the brush edge or a small stick, then give the soles a final scrub.
- 08
Rinse cloth and remove any soap residue
Rinse the microfiber cloth in clean water, wring it well, and wipe the uppers and soles again to lift any leftover soap and fine grime. Swap to a clean section of cloth as it becomes soiled.
- 09
Clean laces and insoles
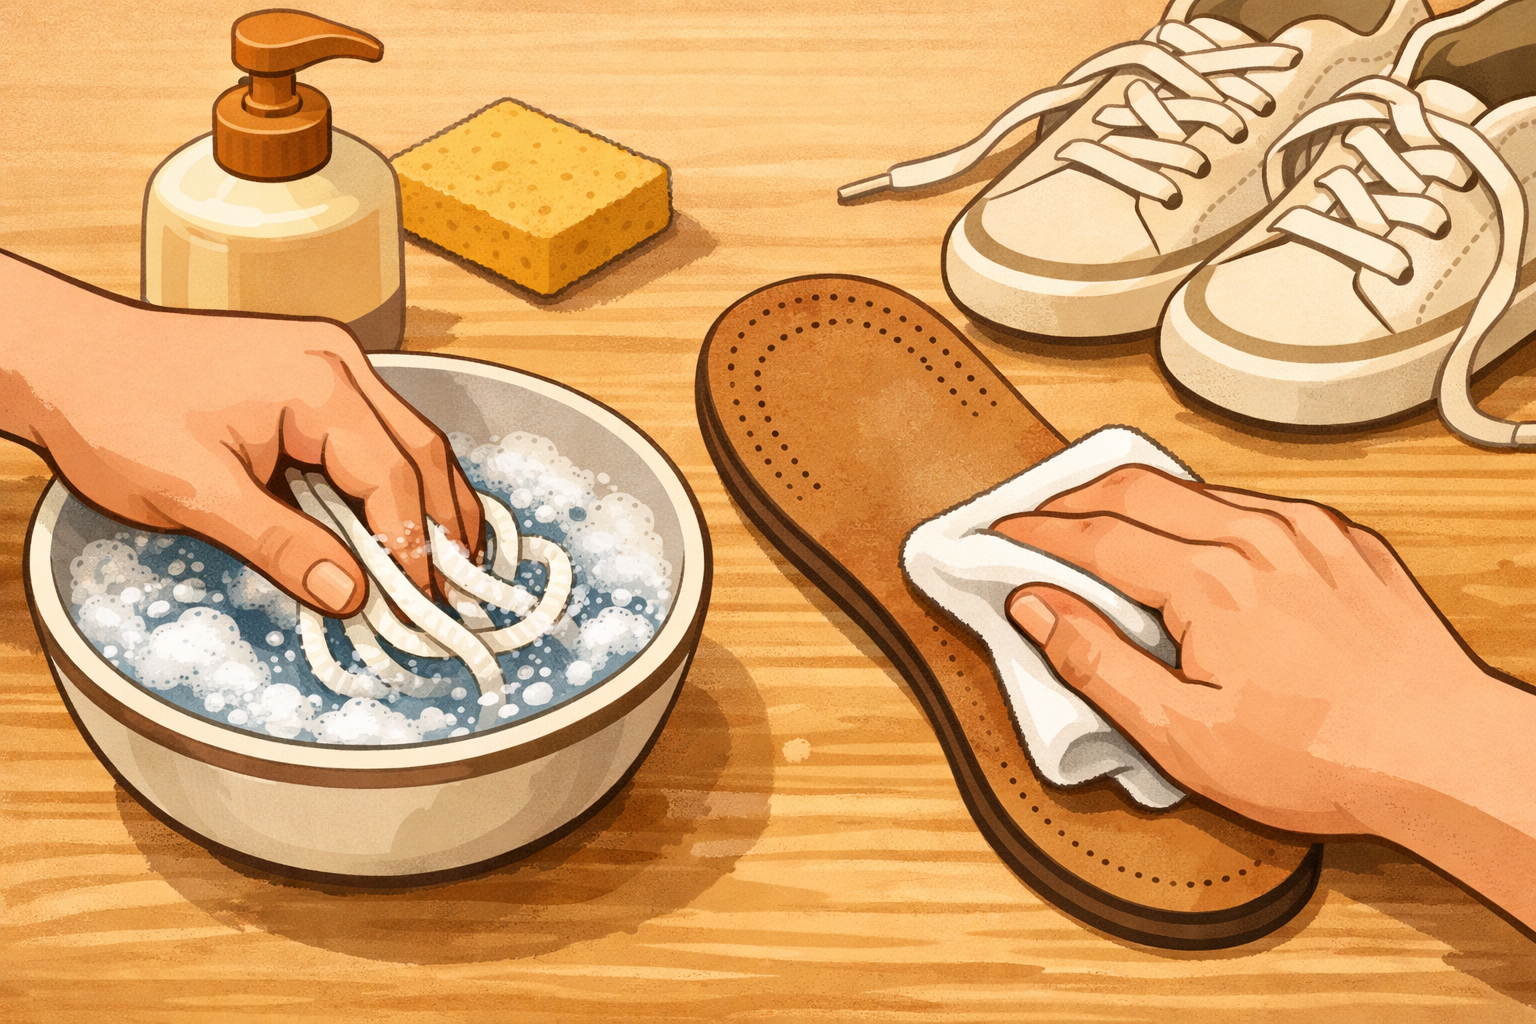
Swish the laces in the soapy bowl, rub them between your fingers to remove dirt, then rinse and squeeze out water. Wipe both sides of the insoles with a damp, soapy cloth, then wipe again with a clean damp cloth to remove soap.
- 10
Pat dry and reshape
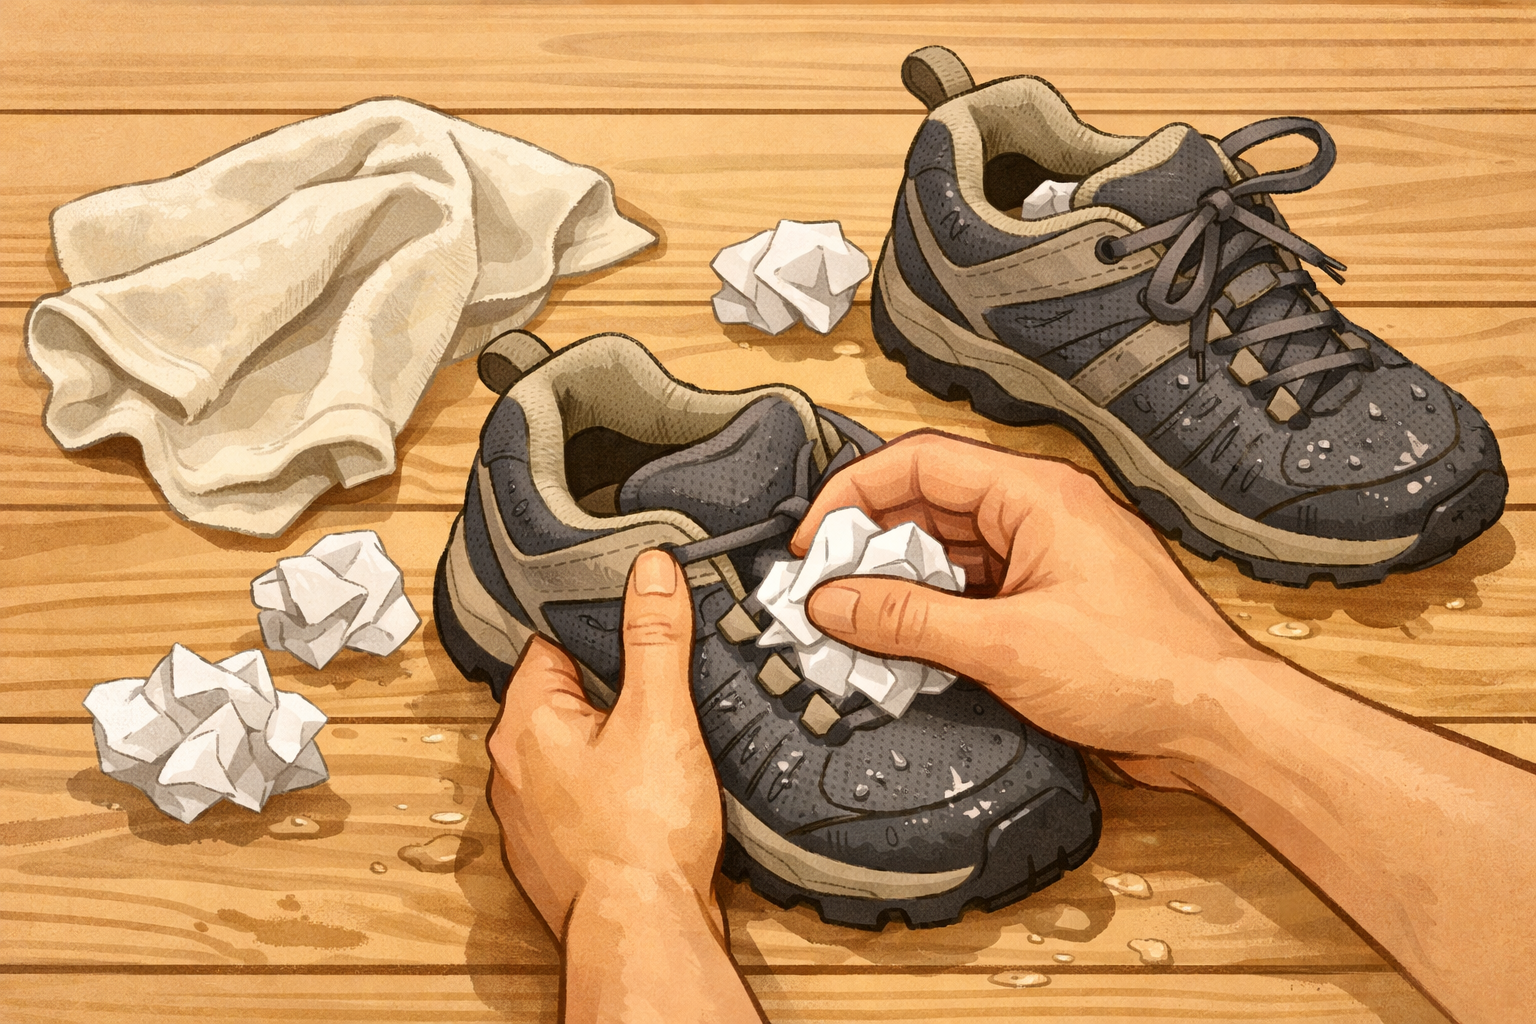
Pat the shoes, insoles, and laces with a dry cloth. Stuff each shoe with loosely scrunched paper to help absorb moisture and hold the shape, especially around the toe and sides.
- 11
Air‑dry away from direct heat
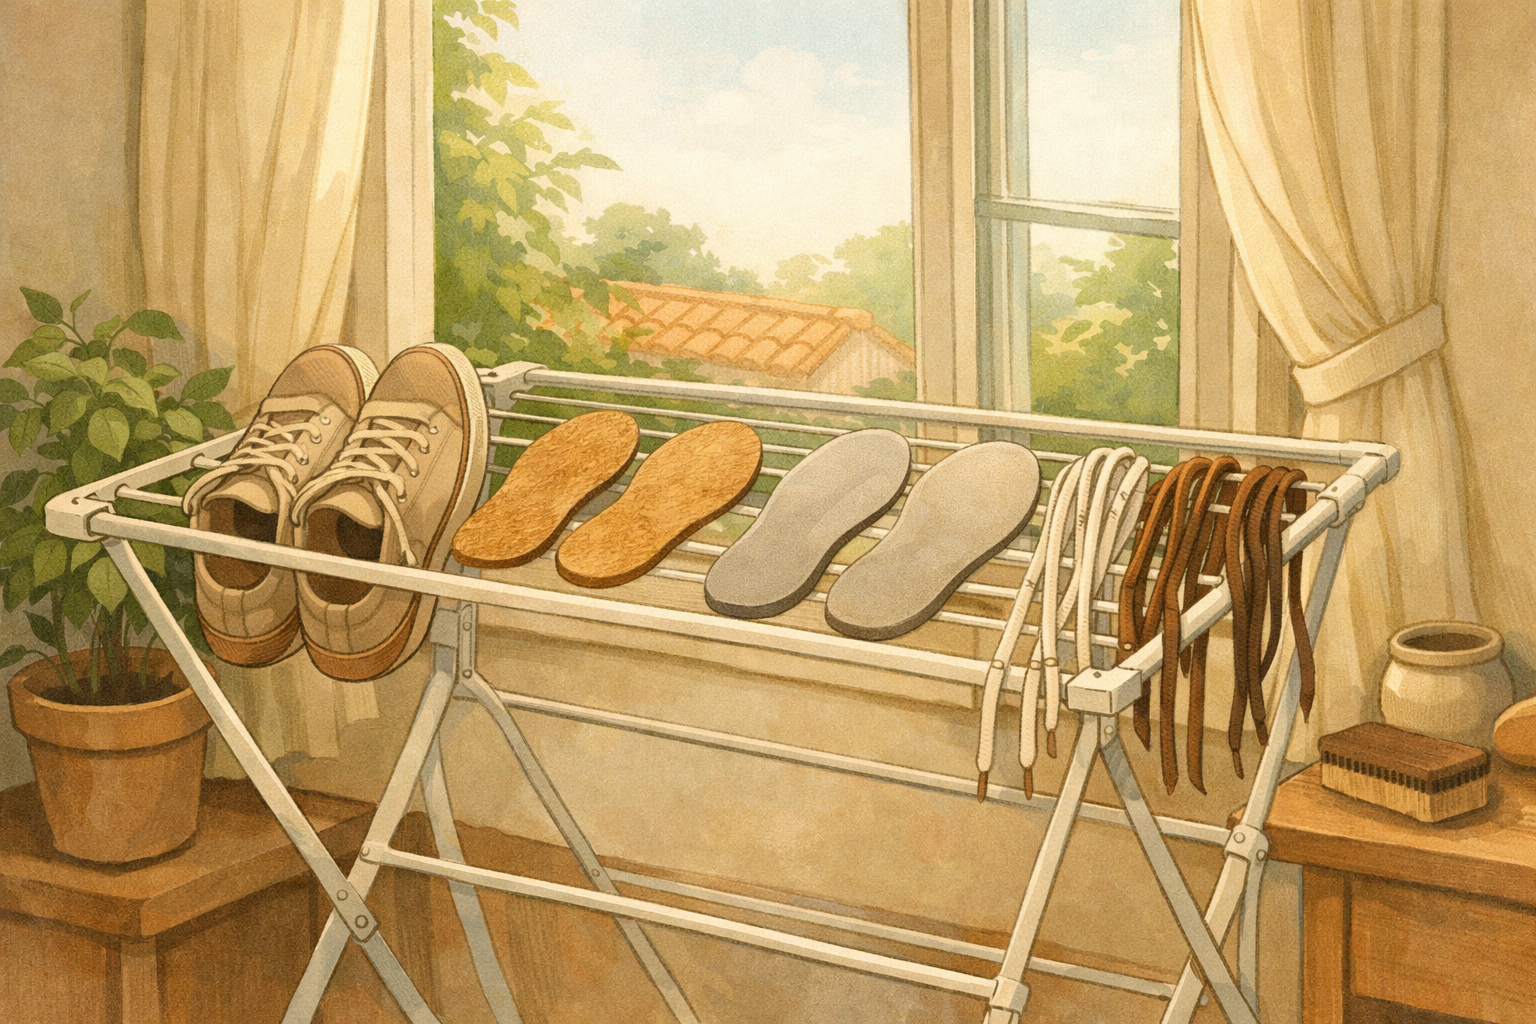
Place shoes, insoles, and laces in a warm, airy spot out of direct sunlight and away from heaters. Let everything dry completely before putting the shoes back together.
- 12
Reassemble and finish
Remove the paper, reinsert the dry insoles, and relace the shoes. Give the uppers a quick pass with the soft brush to lift the nap or smooth the finish so they’re ready for your next walk.
If this was useful
Try one of these next
Home & life
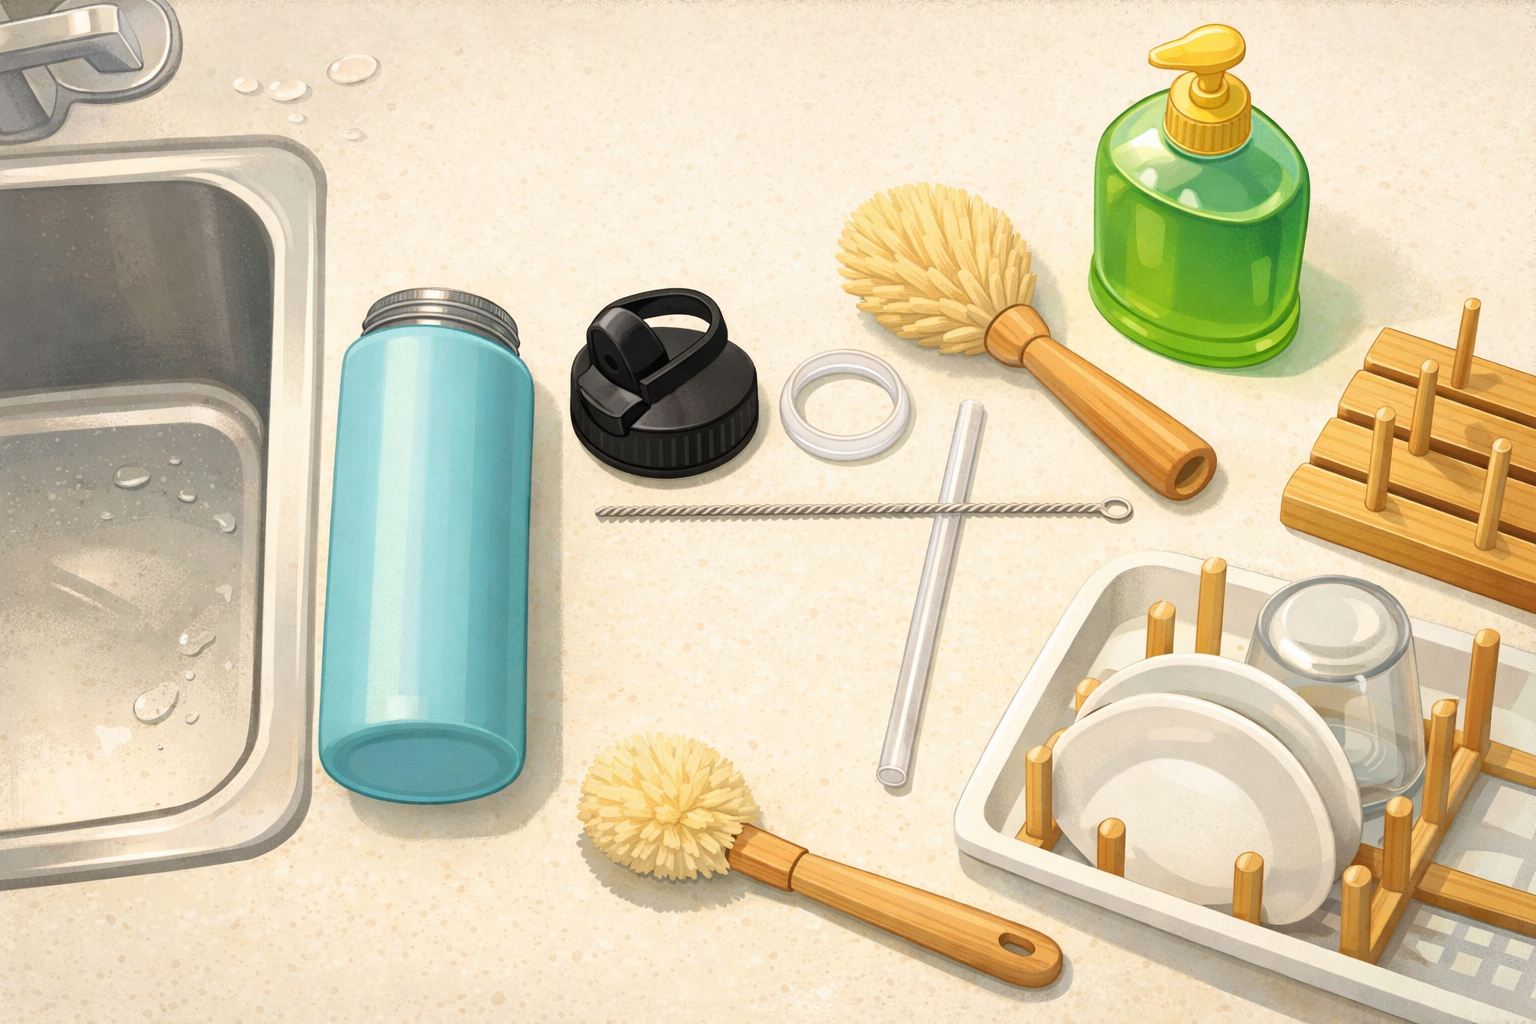
How to clean and dry a reusable water bottle after a picnic
Disassemble the lid, clean threads and seals, wash the body, rinse thoroughly, and air‑dry so it doesn’t develop odours between countryside trips. Close‑ups show where residue hides and a quick drying rack setup.
Read the guide
Hobbies & crafts
How to draw a standing penguin using teardrop shapes
Start with a tall teardrop for the body and small ovals for the head and feet. Add a simple beak and flippers with more teardrops, map the tuxedo belly, then refine the outline. Erase the guides and finish with light shading for roundness. Each step’s image overlays pale guide shapes and the darker final lines so you can see what to keep.
Read the guide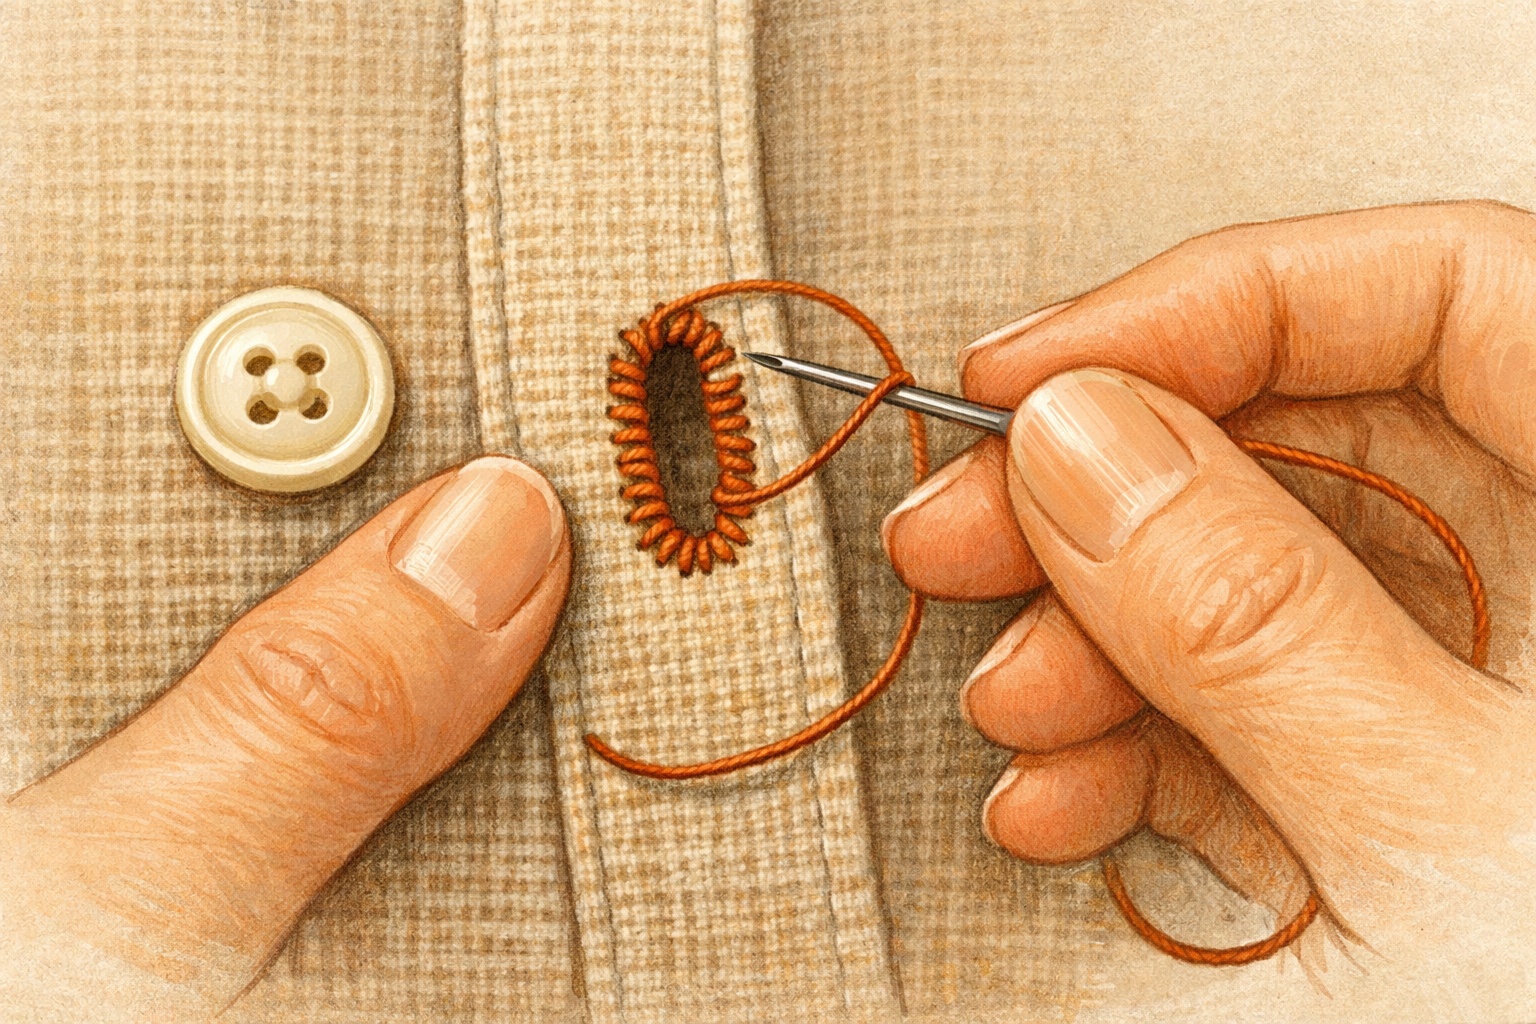
Hobbies & crafts
How to Tighten a Loose Buttonhole with Blanket Stitches
Reinforce stretched buttonholes by stitching a neat border that grips the button and prevents further fraying.
Read the guide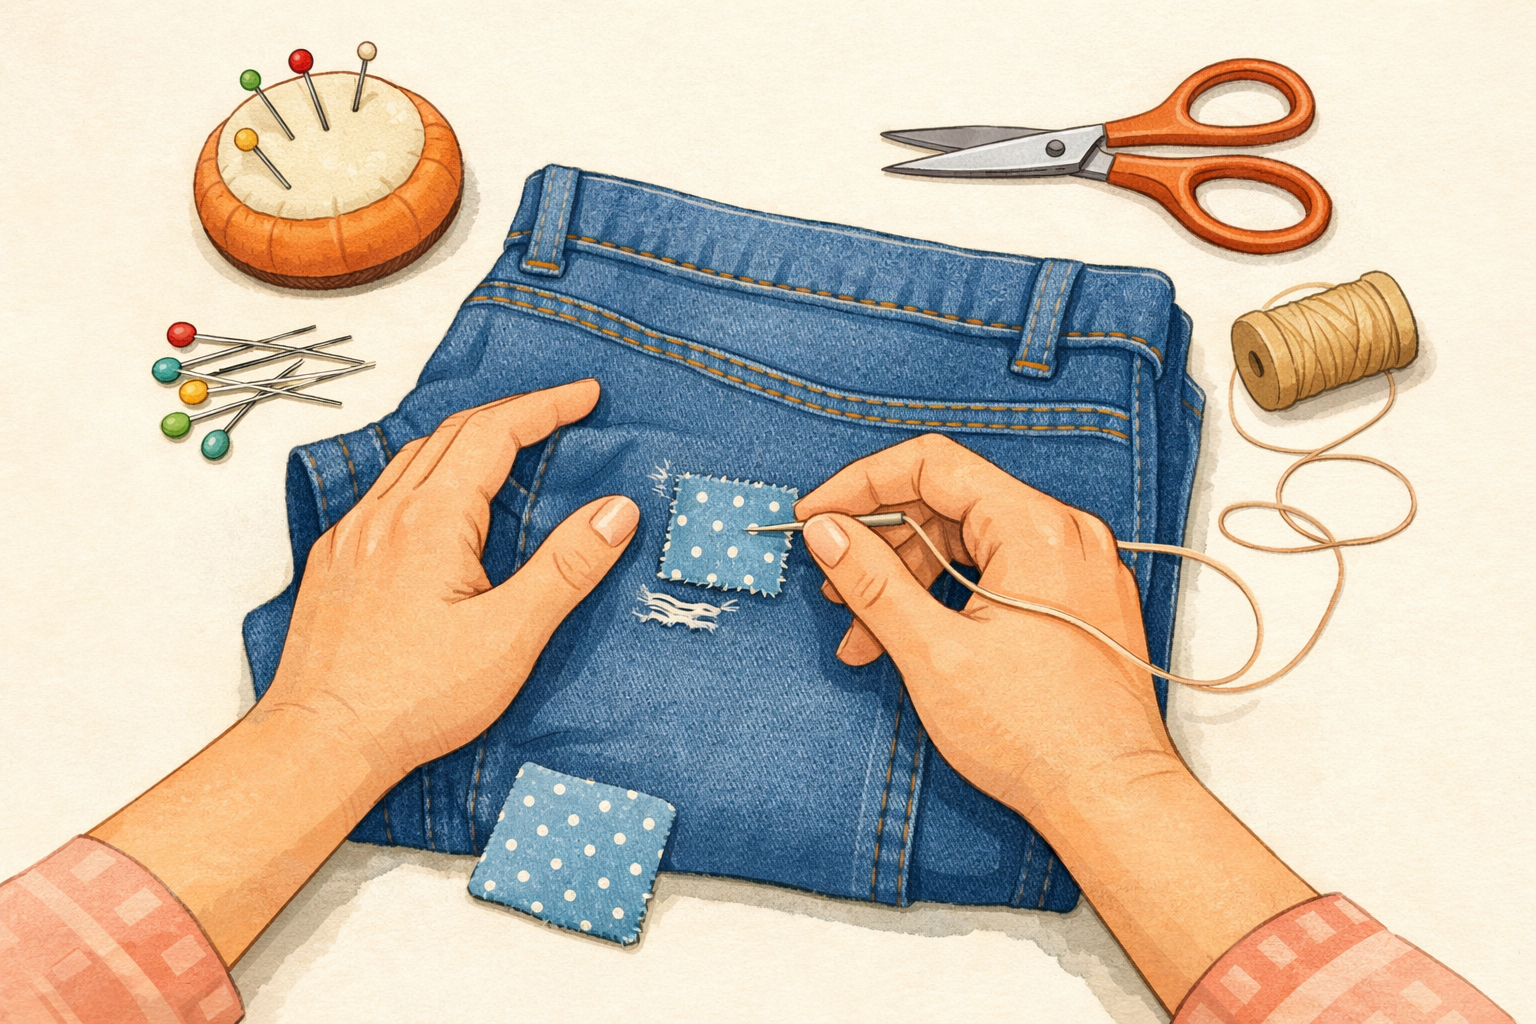
Hobbies & crafts
How to Patch a Small Hole in Jeans by Hand
Stop fraying and extend wear by hand‑sewing a durable patch over or under a small denim hole with simple stitches.
Read the guide