Hobbies & crafts
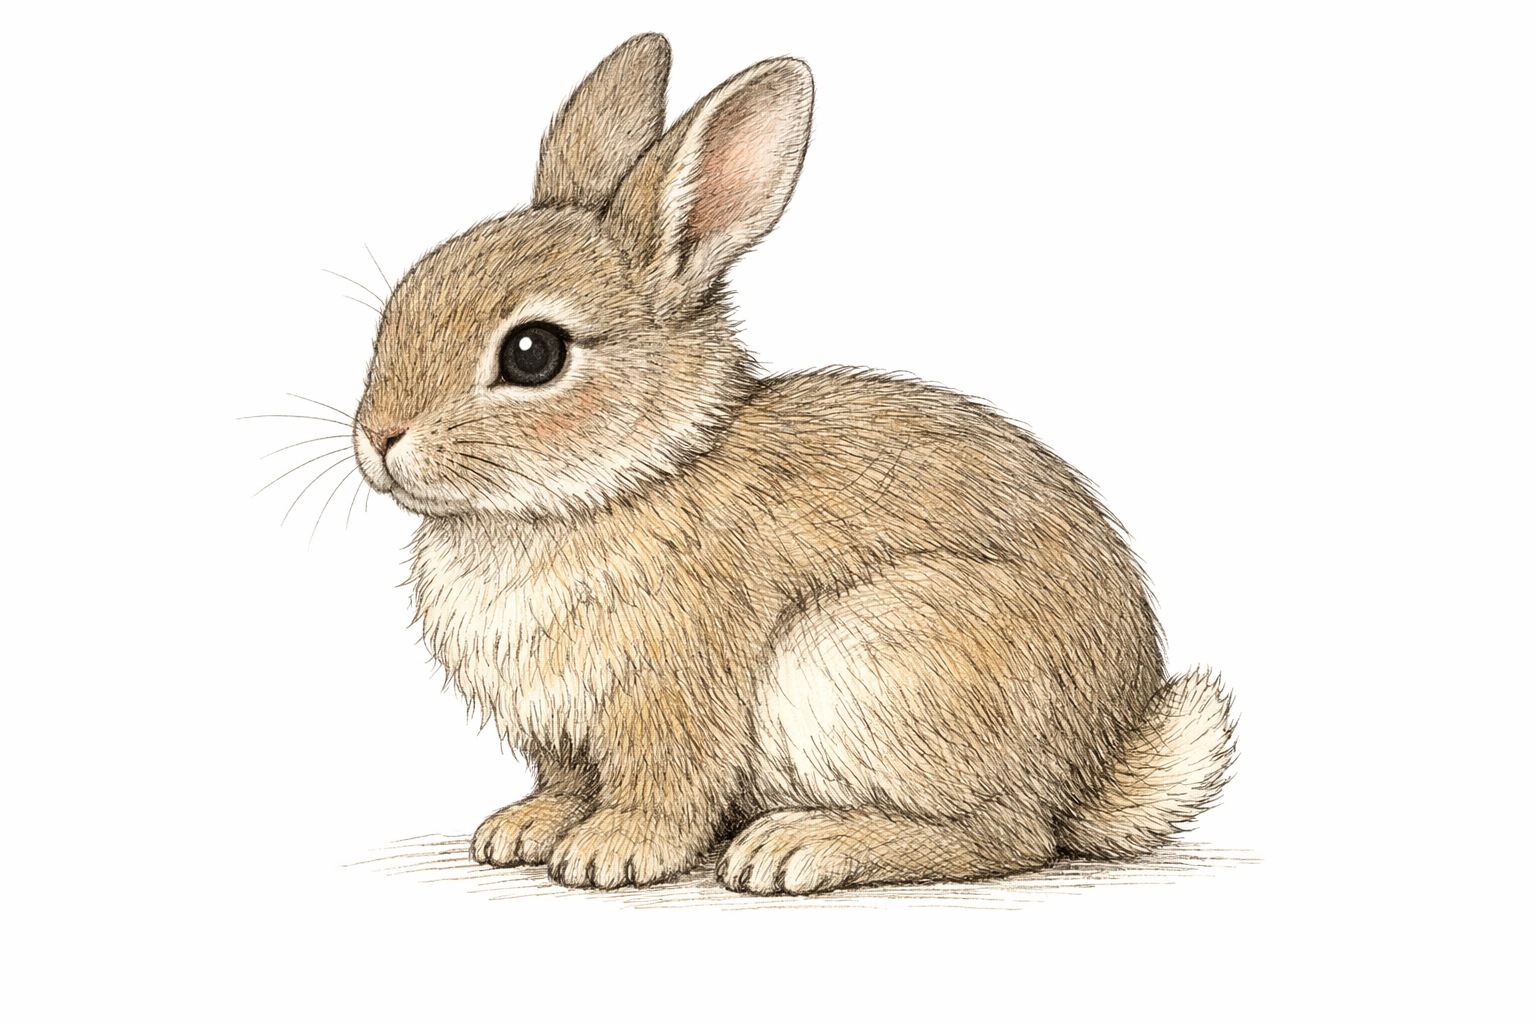
How to draw a rabbit in profile
Use bean shapes to pose a side-view rabbit, then add long ears, eye, nose, paws, and a fluffy tail. Refine the outline, add short fur strokes, and shade gently along the belly and back. Each step shows proportion checks you can copy.
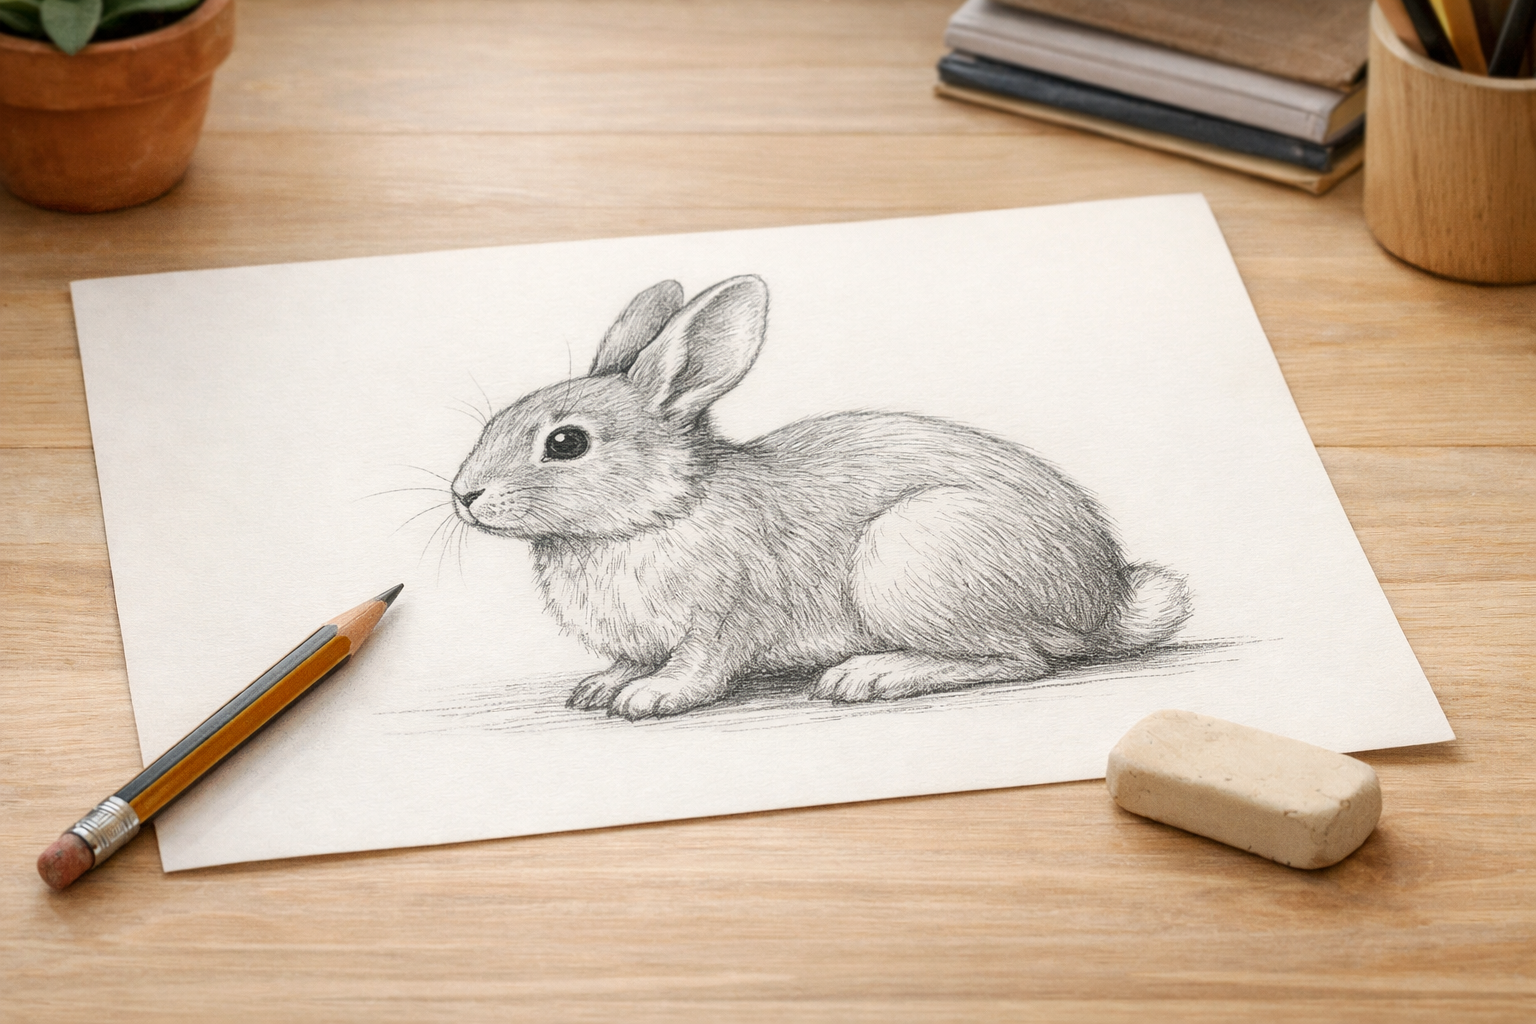
- 01
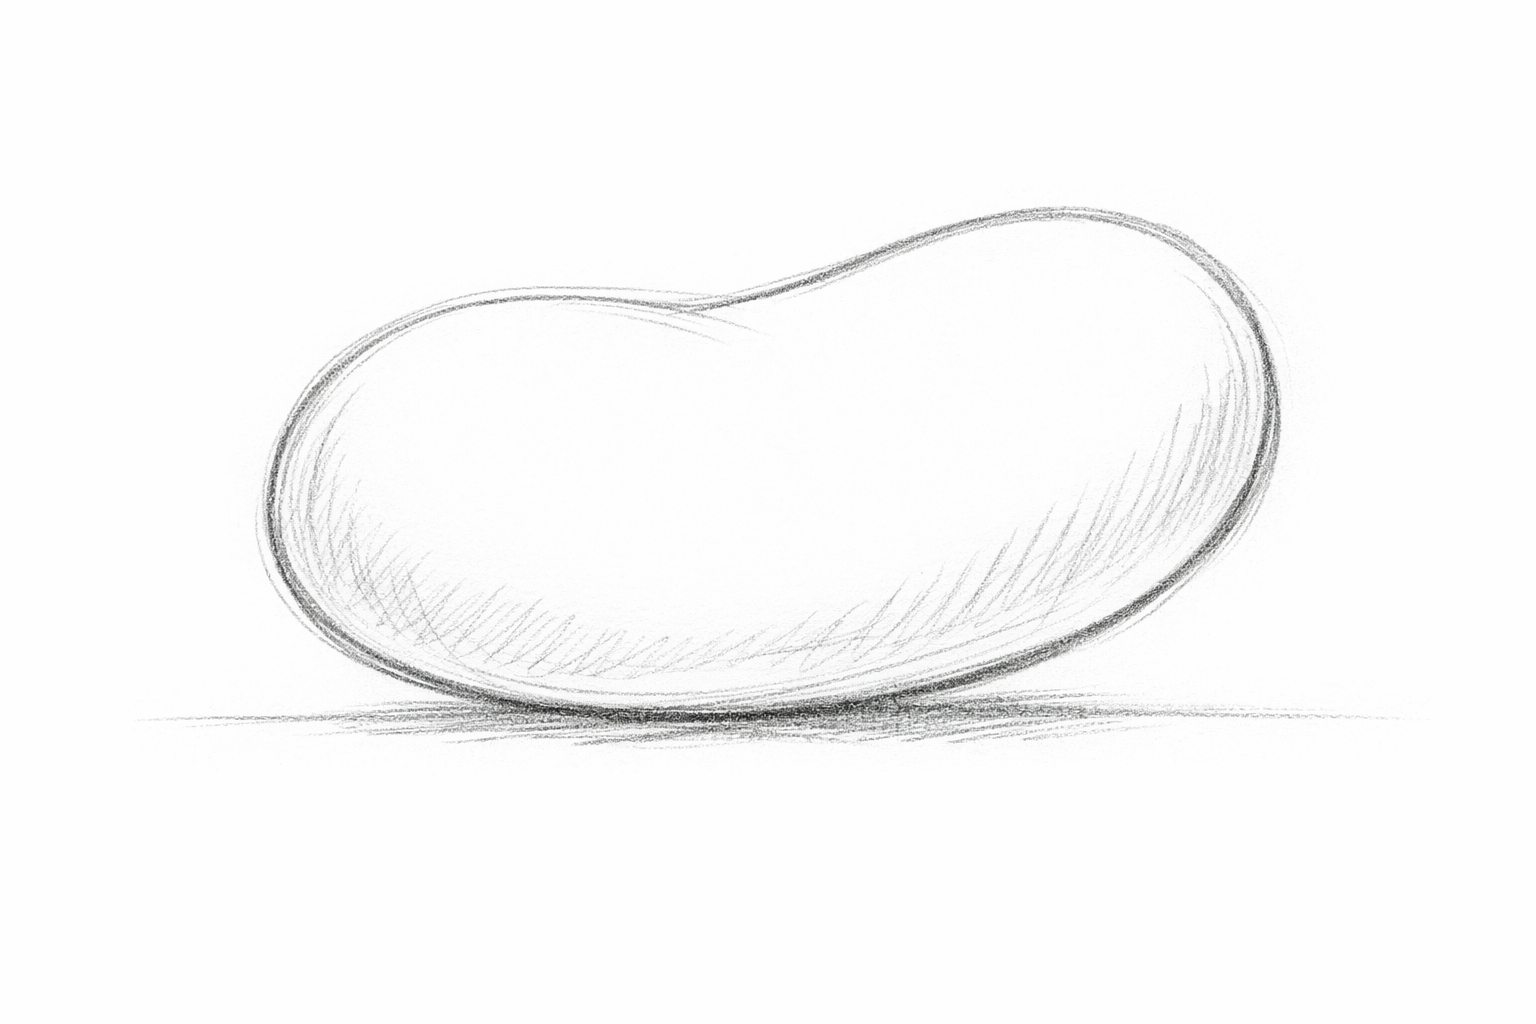
Sketch a light baseline and the body bean
Lightly draw a horizontal ground line across the lower third of your page. Above it, sketch a plump, slightly leaning bean for the torso, with the back end a touch higher than the front. Proportion check: make the bean about twice as long as it is tall, and leave an open space in front equal to roughly one quarter of the bean’s length for the head and nose.
- 02
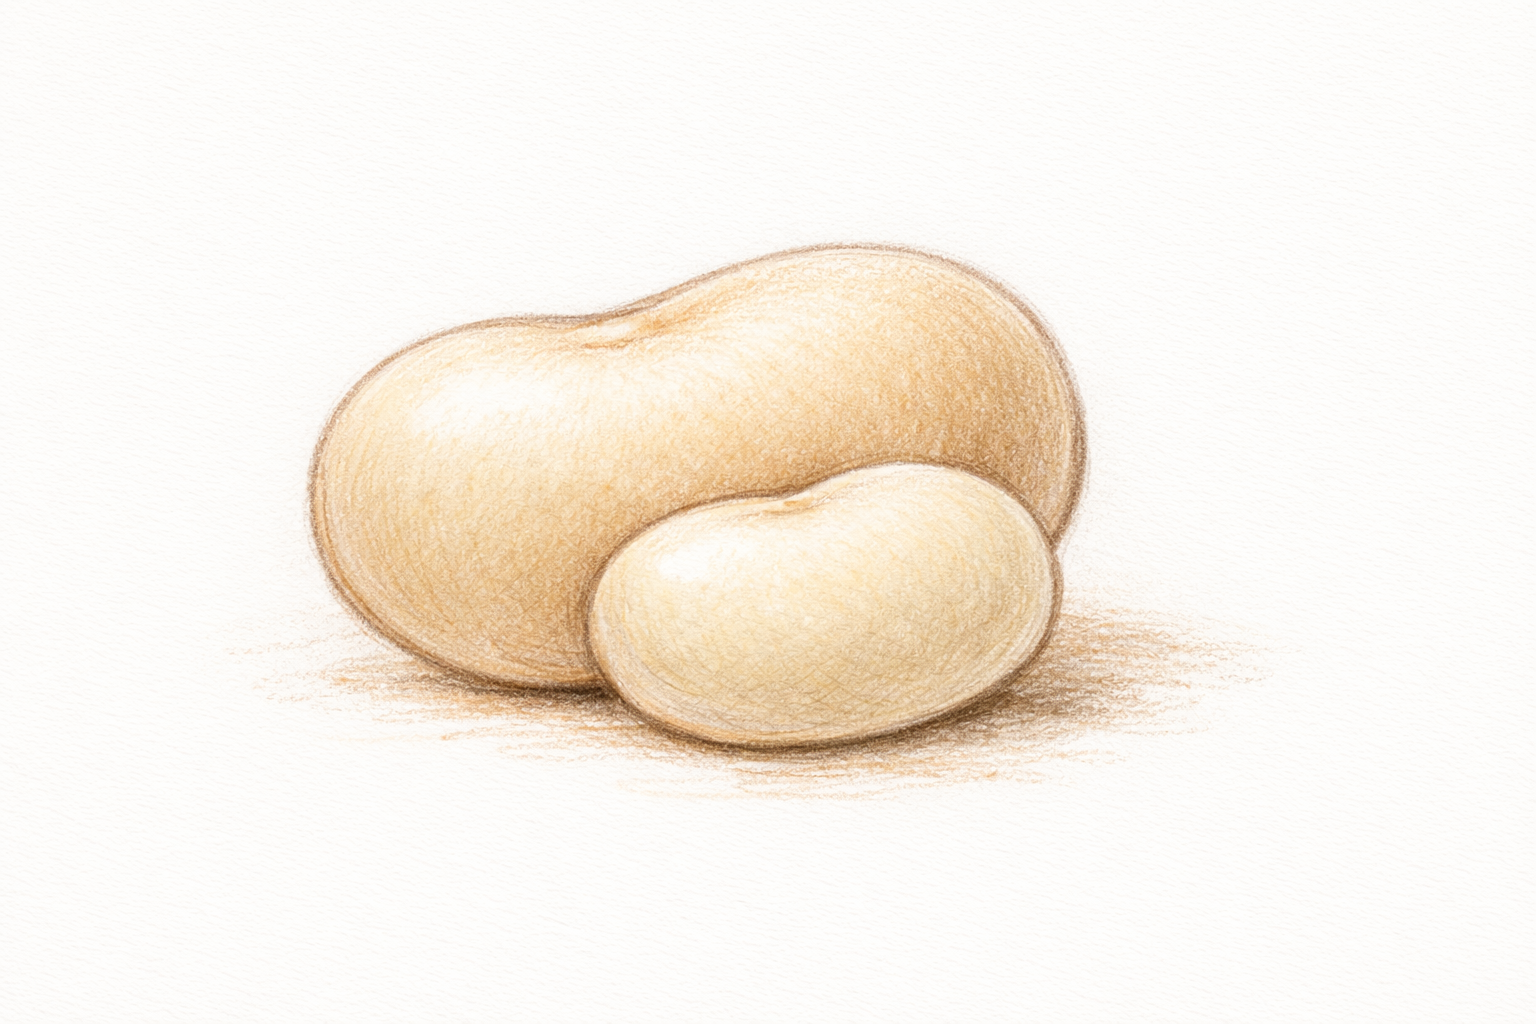
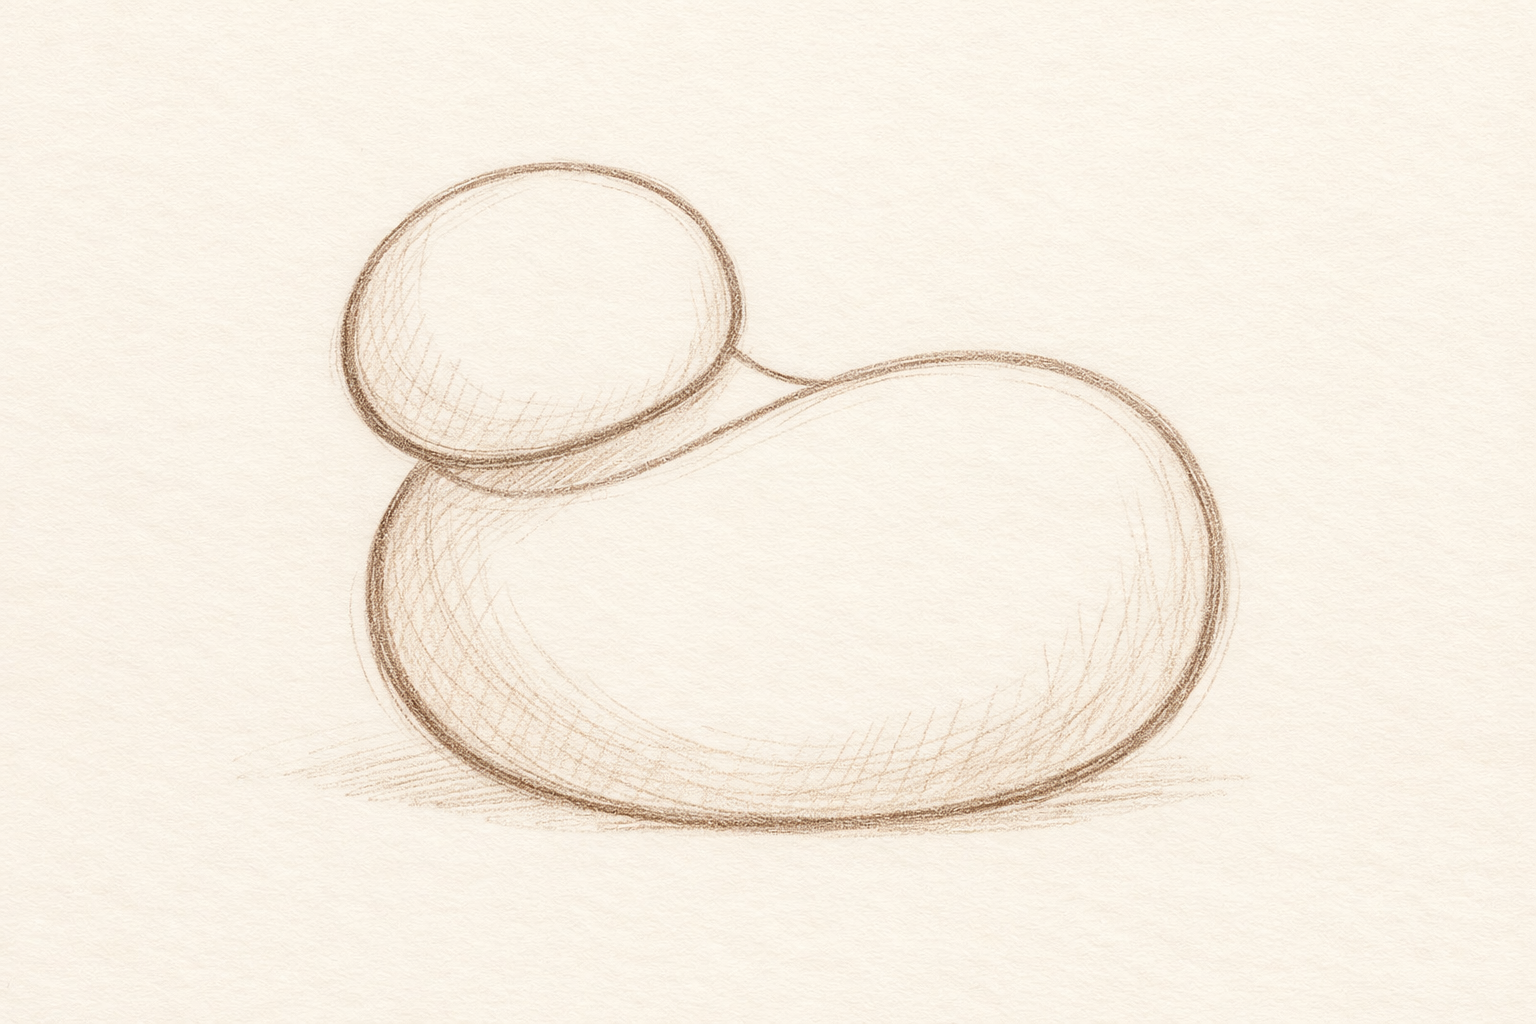
Add a smaller head bean at the front
Touching the front of the body bean, draw a smaller, rounded bean for the head so the two shapes overlap slightly. Keep it forward of the body and a little lower in front. Proportion check: make the head bean about half the length of the body bean and roughly two thirds of its height.
- 03
Connect head and body with neck and chest curves
From the top back of the head bean, draw a shallow curve to meet the top front of the body bean (neck). From the bottom back of the head bean, draw a deeper curve to the lower front of the body bean (chest). Proportion check: the top connector is about one head-bean width long; the lower connector is about one and a half head-bean widths.
- 04
Block in the hind leg and foot
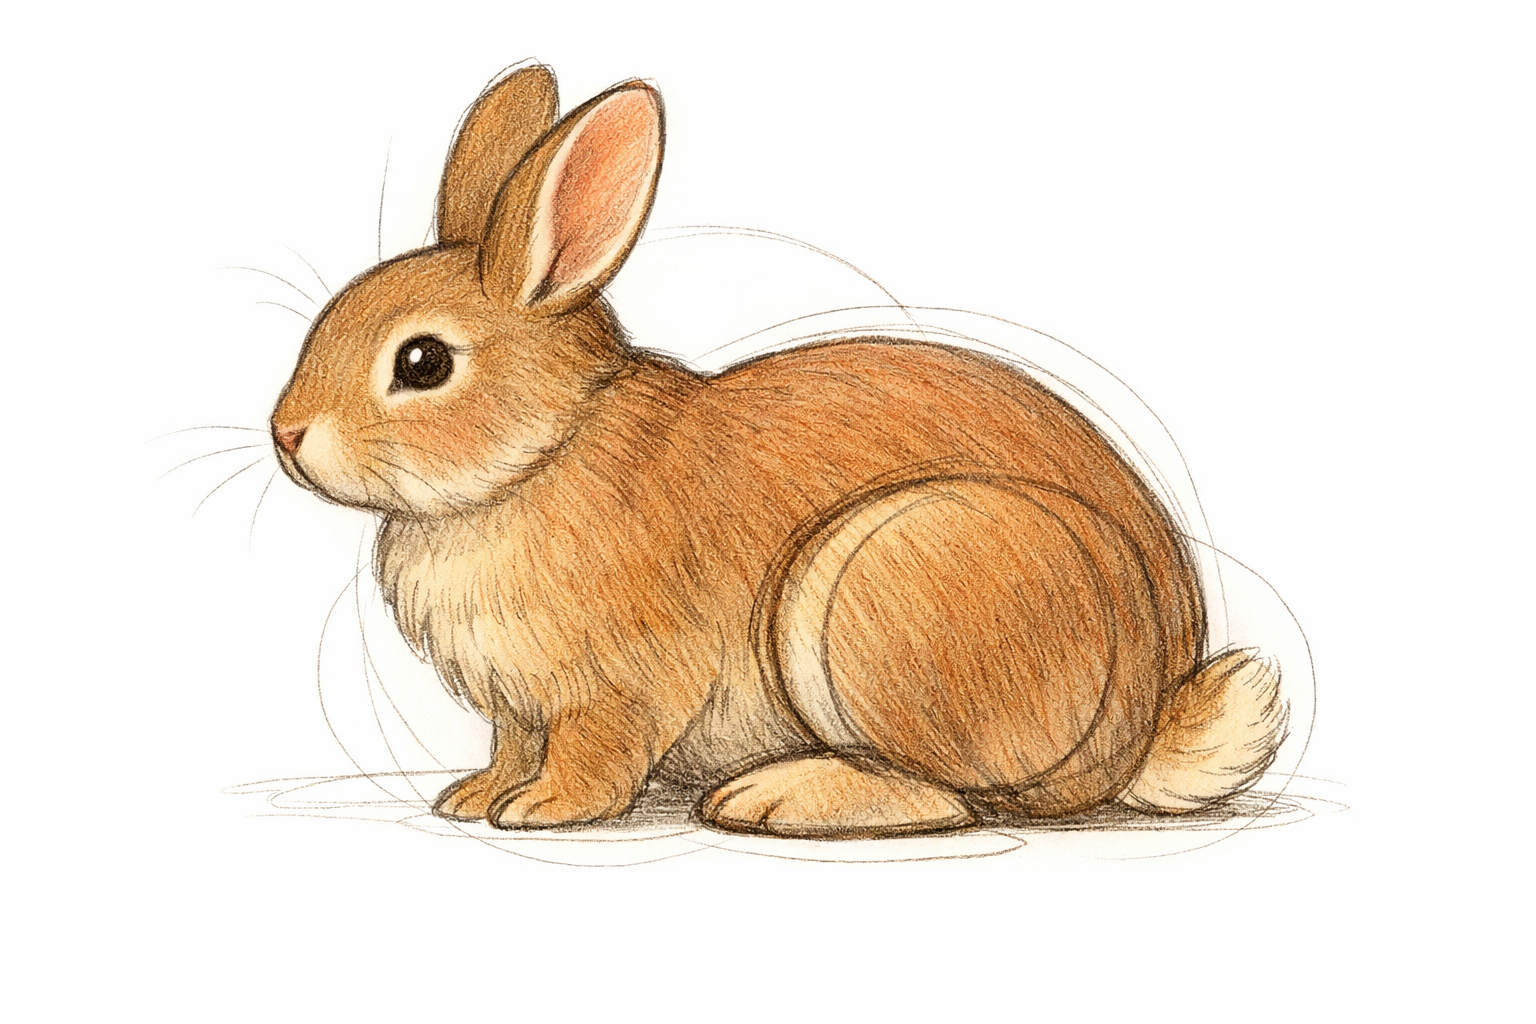
At the back of the body bean, draw a large, soft C-shape for the haunch that overlaps the body a little. On the ground line just ahead of the rear, add a flattened oval for the hind foot. Proportion check: the haunch rises to about three quarters of the body bean’s height; the hind foot is about half a head-bean length long.
- 05
Place the front paws under the chest
Under the chest curve, draw two small ovals on the ground line for the front paws, the front one slightly ahead of the other. Proportion check: each paw oval is about one third of the head-bean length, and the rear front paw aligns roughly under the front edge of the head bean.
- 06
Add two long leaf-like ears
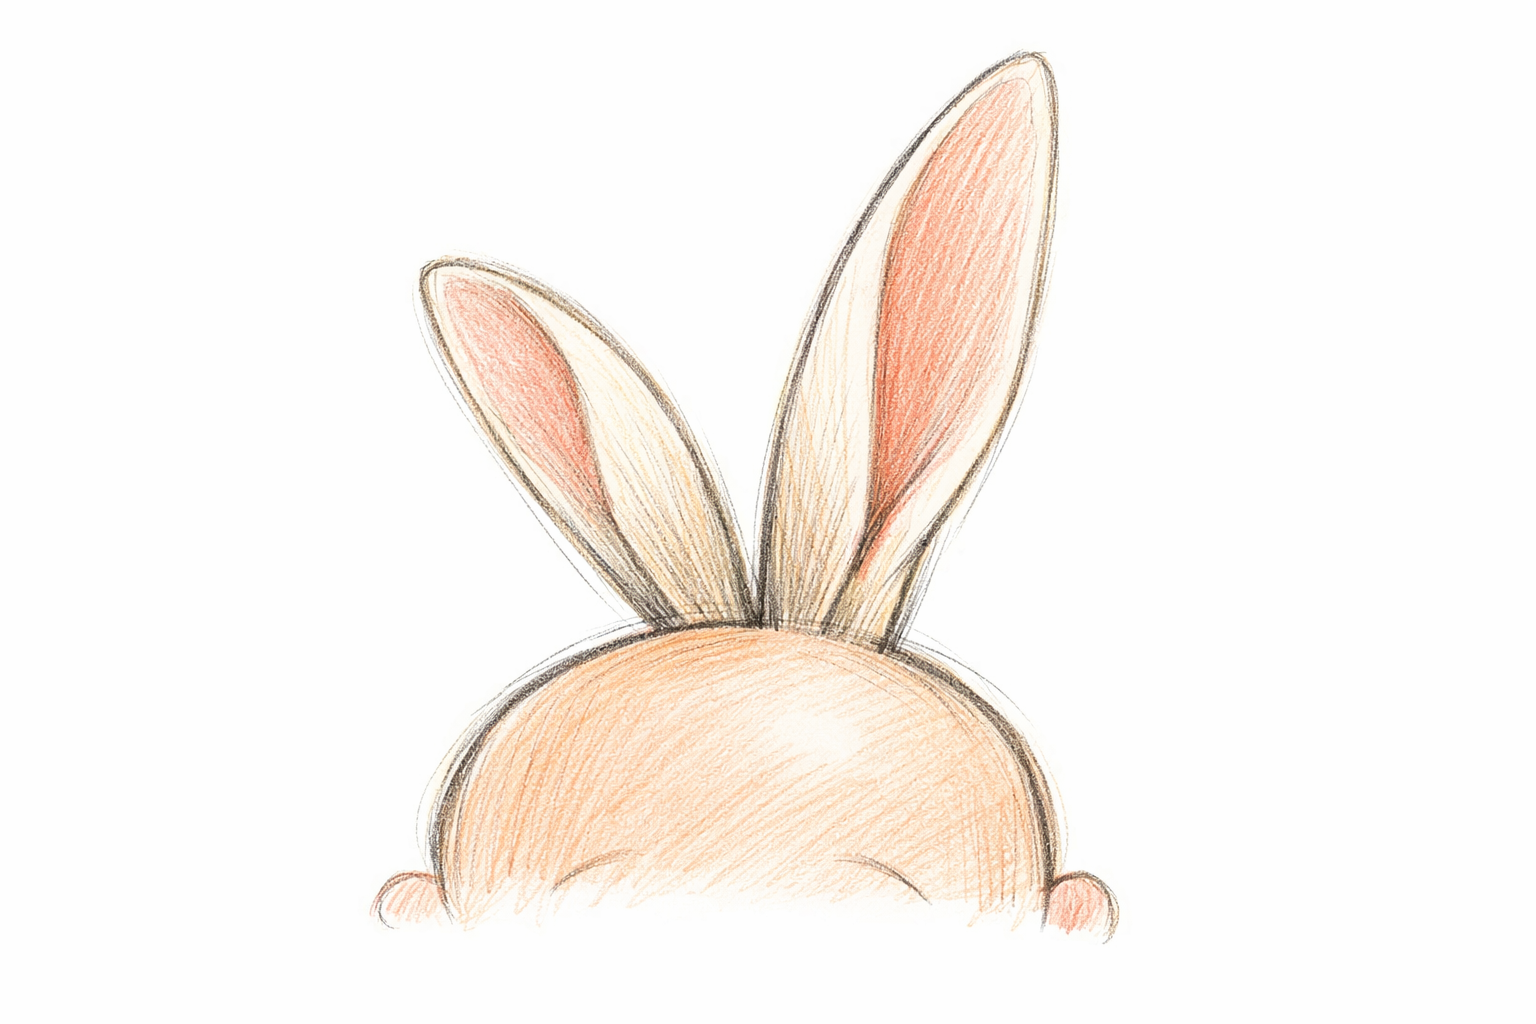
From the top of the head bean, draw two long, tapering leaf shapes that lean slightly back; let the far ear peek out behind the nearer one. Proportion check: each ear is about one to one and a quarter head-bean lengths long and about one quarter of a head-bean length wide at the base.
- 07
Mark the eye, nose, and mouth
Add a small almond or round eye on the head bean, sitting slightly above its midline and centered in the back half of the head. Place a tiny rounded triangle for the nose at the front tip, then a short curved line back for the mouth. Proportion check: the eye sits about one eye-width above the head’s midline, and the nose-to-eye distance is roughly one eye-width.
- 08
Pop in a small fluffy tail
At the rear where the haunch meets the body, draw a small, fuzzy oval for the tail, slightly above the ground line. Proportion check: the tail is about one third of the head-bean height and sits low on the back, near the hind leg crease.
- 09
Choose the final contour and erase guides
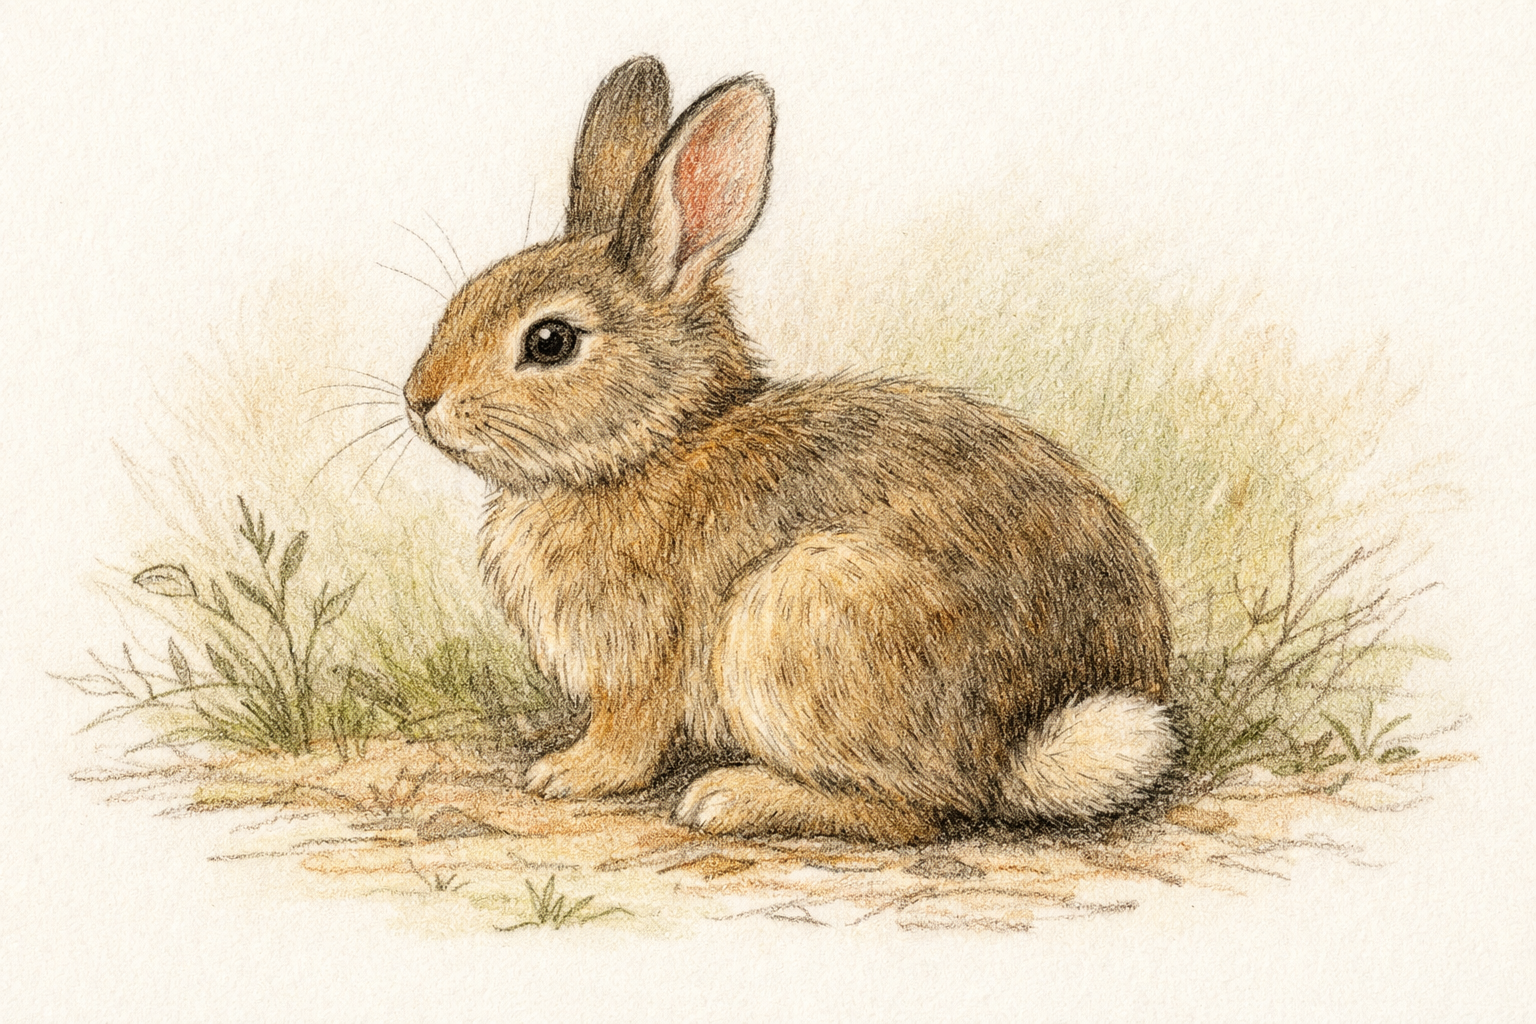
Trace a clean outer contour that flows from nose to forehead, along the back, over the haunch and hind leg, along the hind foot, belly, front paws, chest, chin, and back to the nose. Lightly erase the extra bean and overlap lines you no longer need. Proportion check: the back curve should be longer and gentler than the belly curve, and the finished body length reads as roughly two head-bean lengths.
- 10
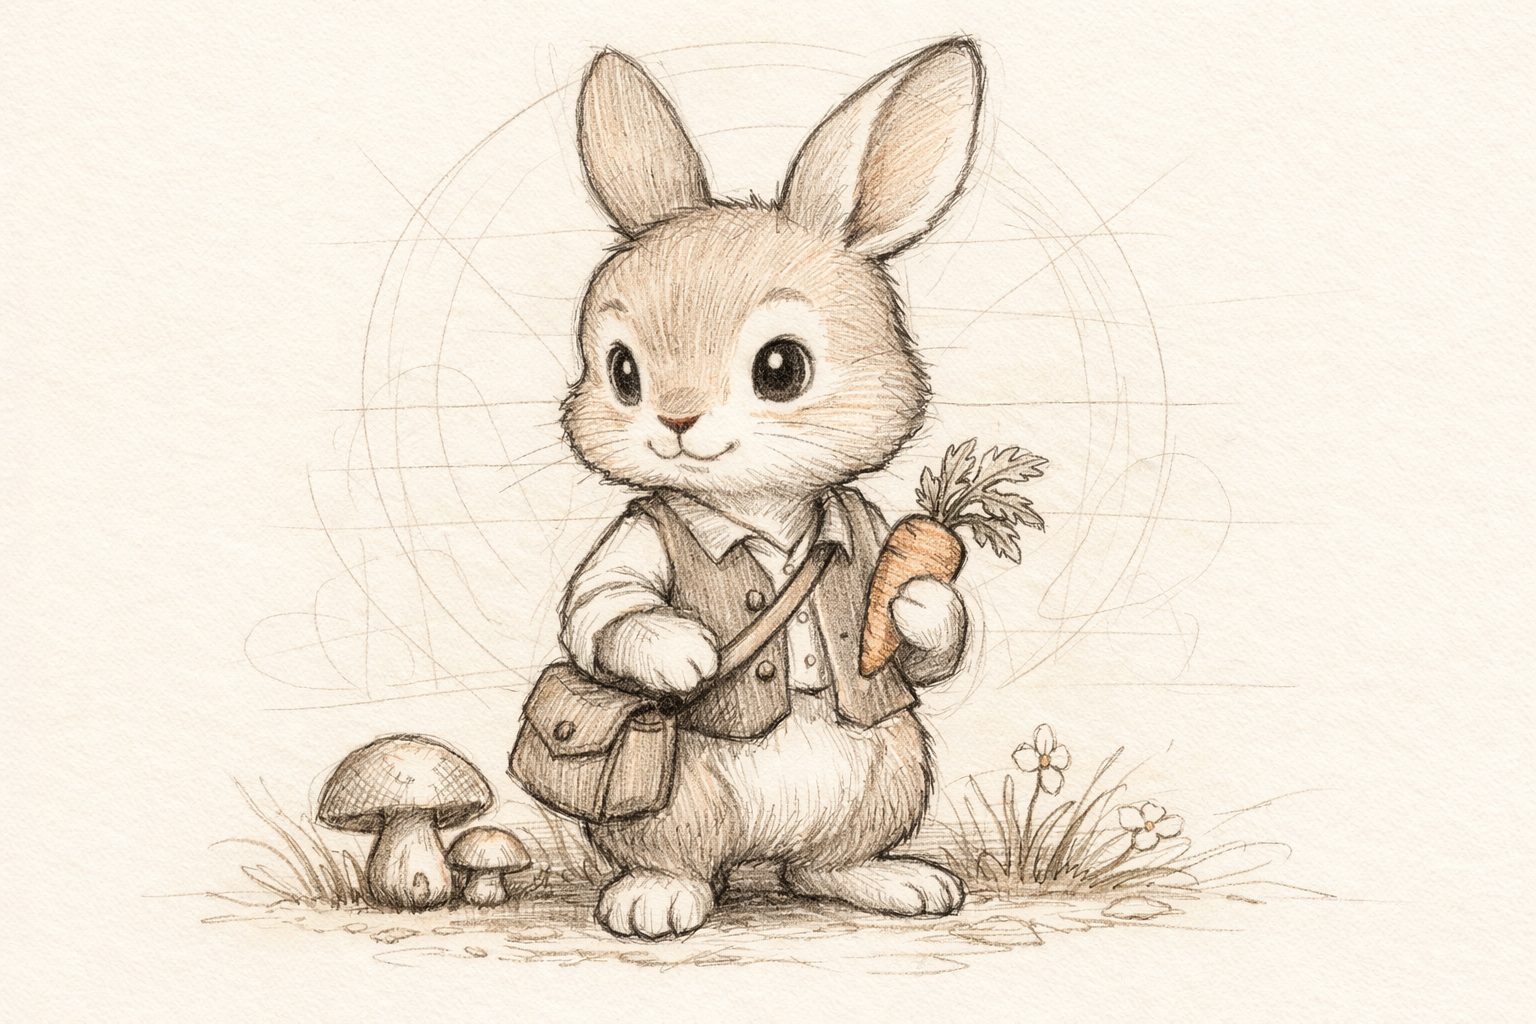
Suggest fur with short directional strokes
Using quick, short strokes, add fur that follows the form: upward on the forehead, back along the neck and back, downward on the chest, and slightly forward on the belly. Keep the face and paws softer. Proportion check: most fur marks should be shorter than the eye’s width, and all strokes lean in the overall direction of the body part they sit on.
- 11
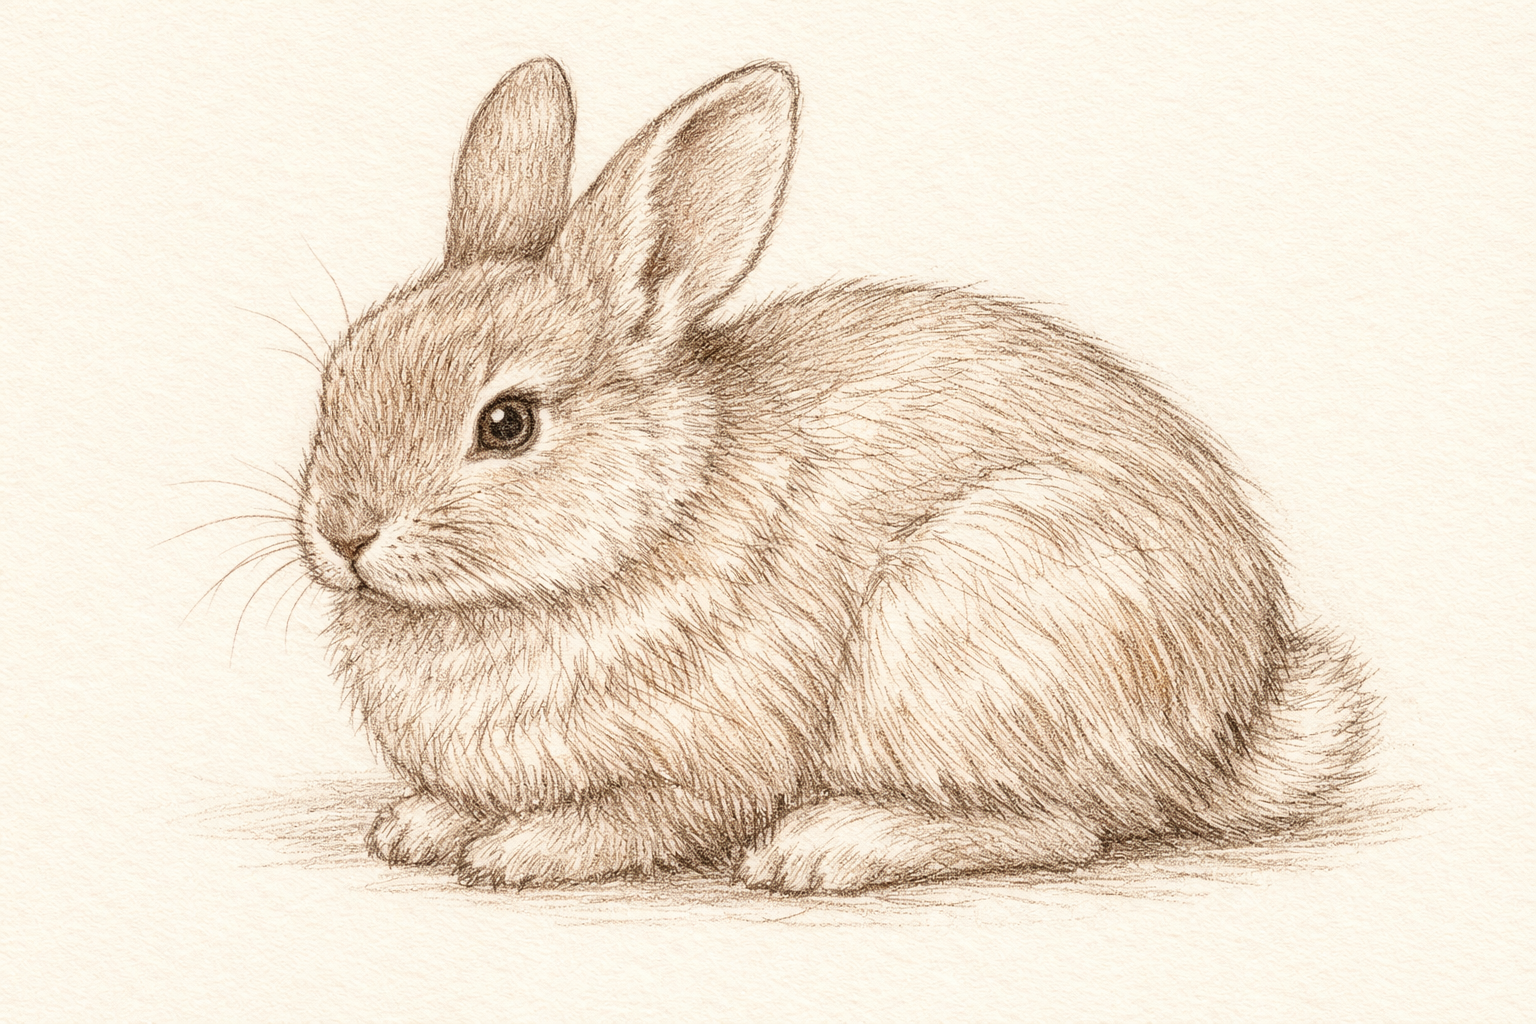
Add gentle shading for volume
Pick a light source (for example, from above-left). Shade lightly under the jaw, along the lower belly, inside the far ear, behind the front leg, and in the hind leg crease. Soften with a blending stump or tissue. Proportion check: the darkest shadows stay at or just lighter than your nostril and eye outline, and the belly shadow fades out about halfway up the side of the body bean area.
- 12
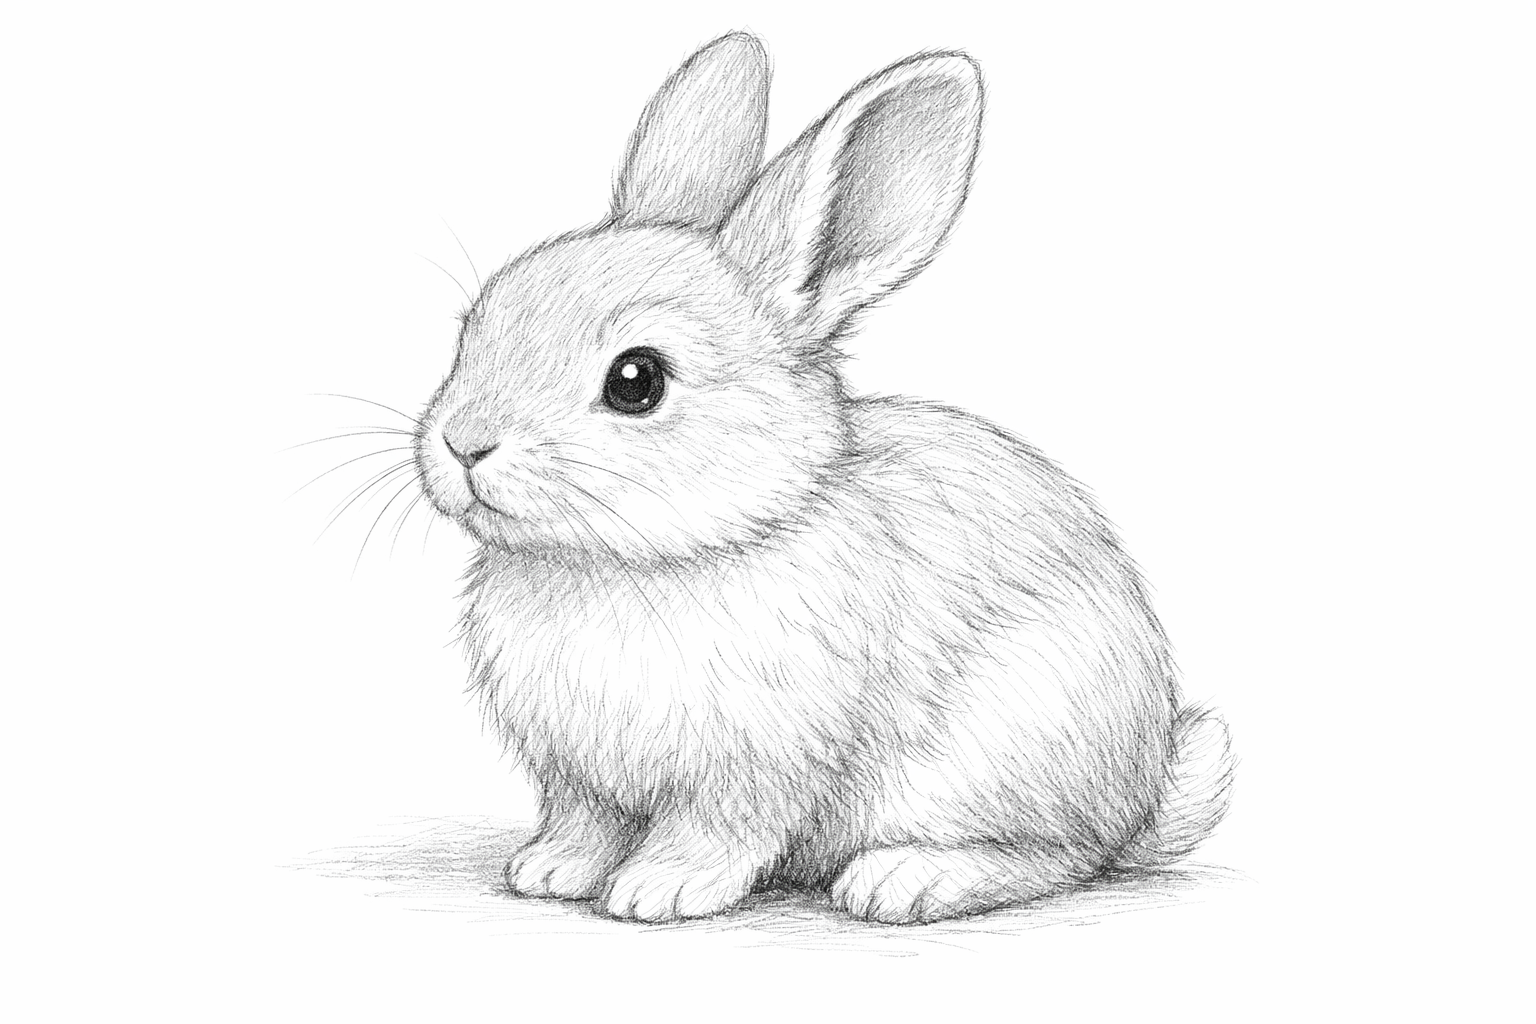
Finish with small accents and clean edges
Darken the eye rim and a small pupil, leave a tiny white catchlight, add a tiny nostril dot, and suggest two or three toe splits with short lines. Tidy any smudges and keep the silhouette crisp. Proportion check: ear tips sit above the back but below an imaginary line one head-bean height above it, and the tail remains smaller than the eye-to-nose distance.
If this was useful
Try one of these next
Home & life
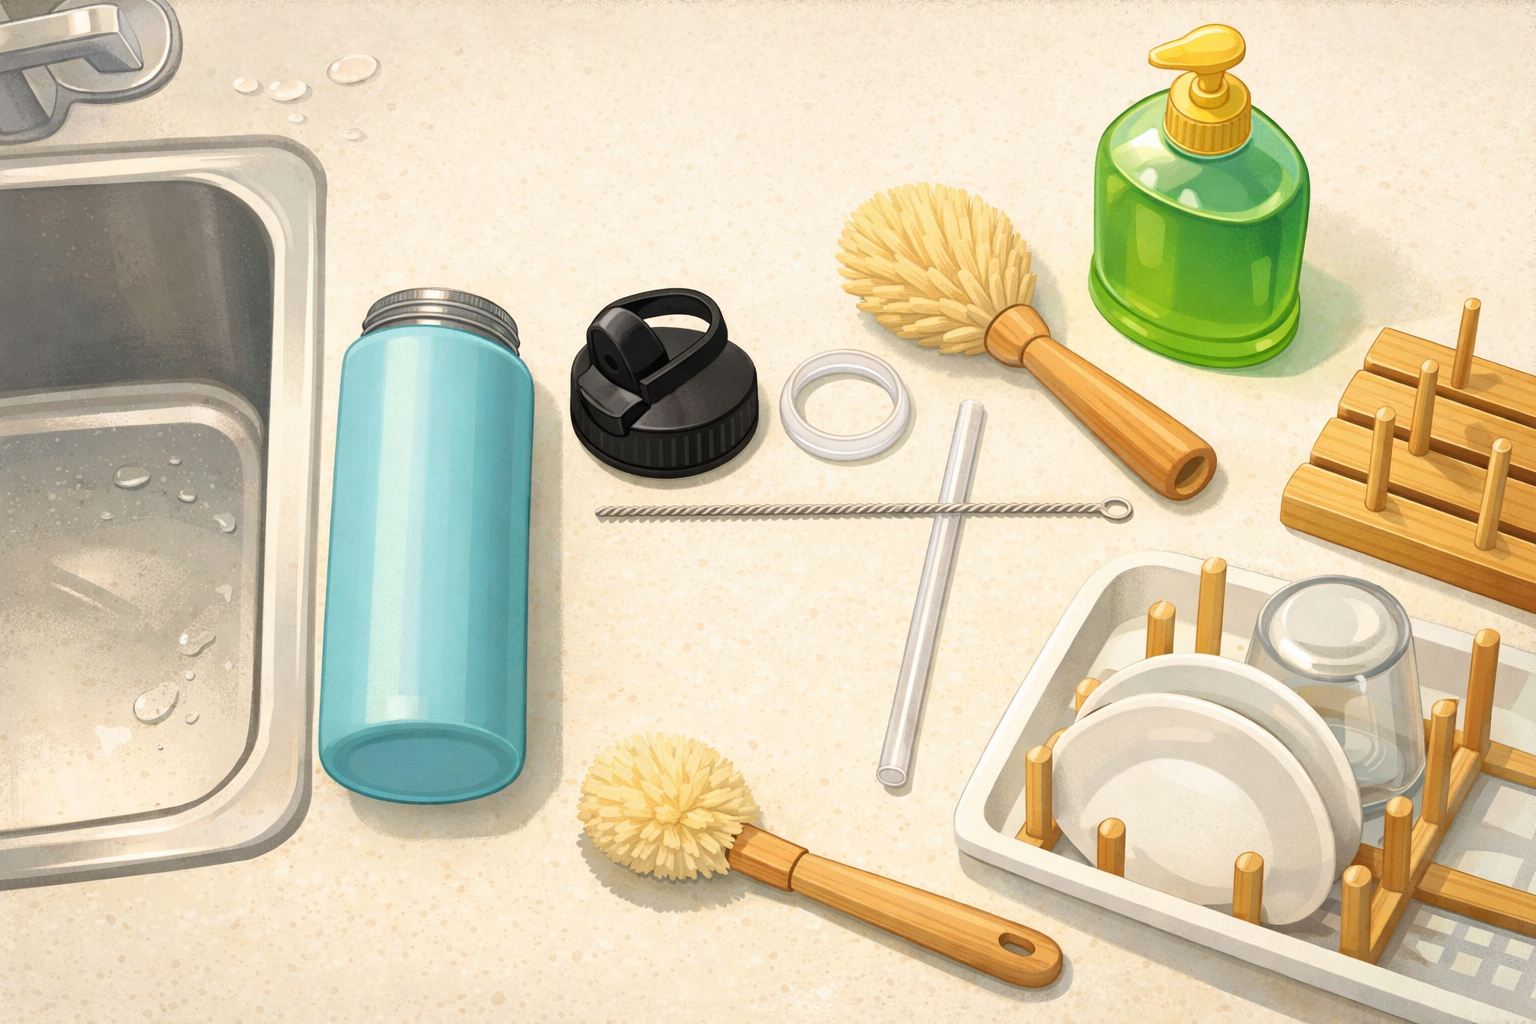
How to clean and dry a reusable water bottle after a picnic
Disassemble the lid, clean threads and seals, wash the body, rinse thoroughly, and air‑dry so it doesn’t develop odours between countryside trips. Close‑ups show where residue hides and a quick drying rack setup.
Read the guide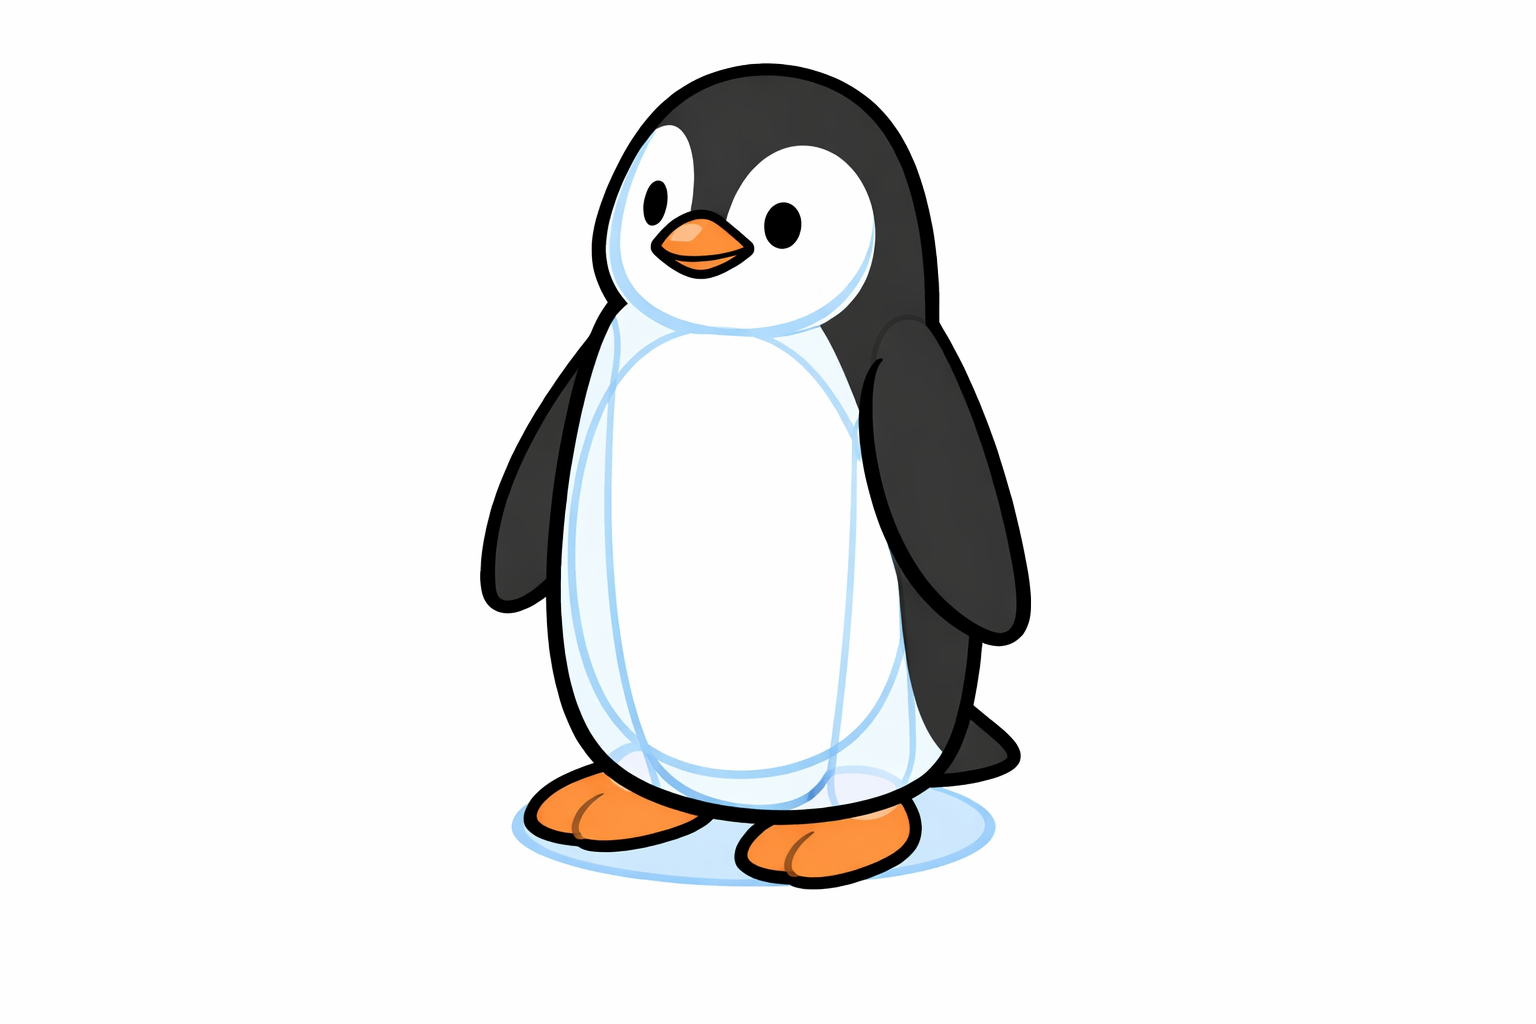
Hobbies & crafts
How to draw a standing penguin using teardrop shapes
Start with a tall teardrop for the body and small ovals for the head and feet. Add a simple beak and flippers with more teardrops, map the tuxedo belly, then refine the outline. Erase the guides and finish with light shading for roundness. Each step’s image overlays pale guide shapes and the darker final lines so you can see what to keep.
Read the guide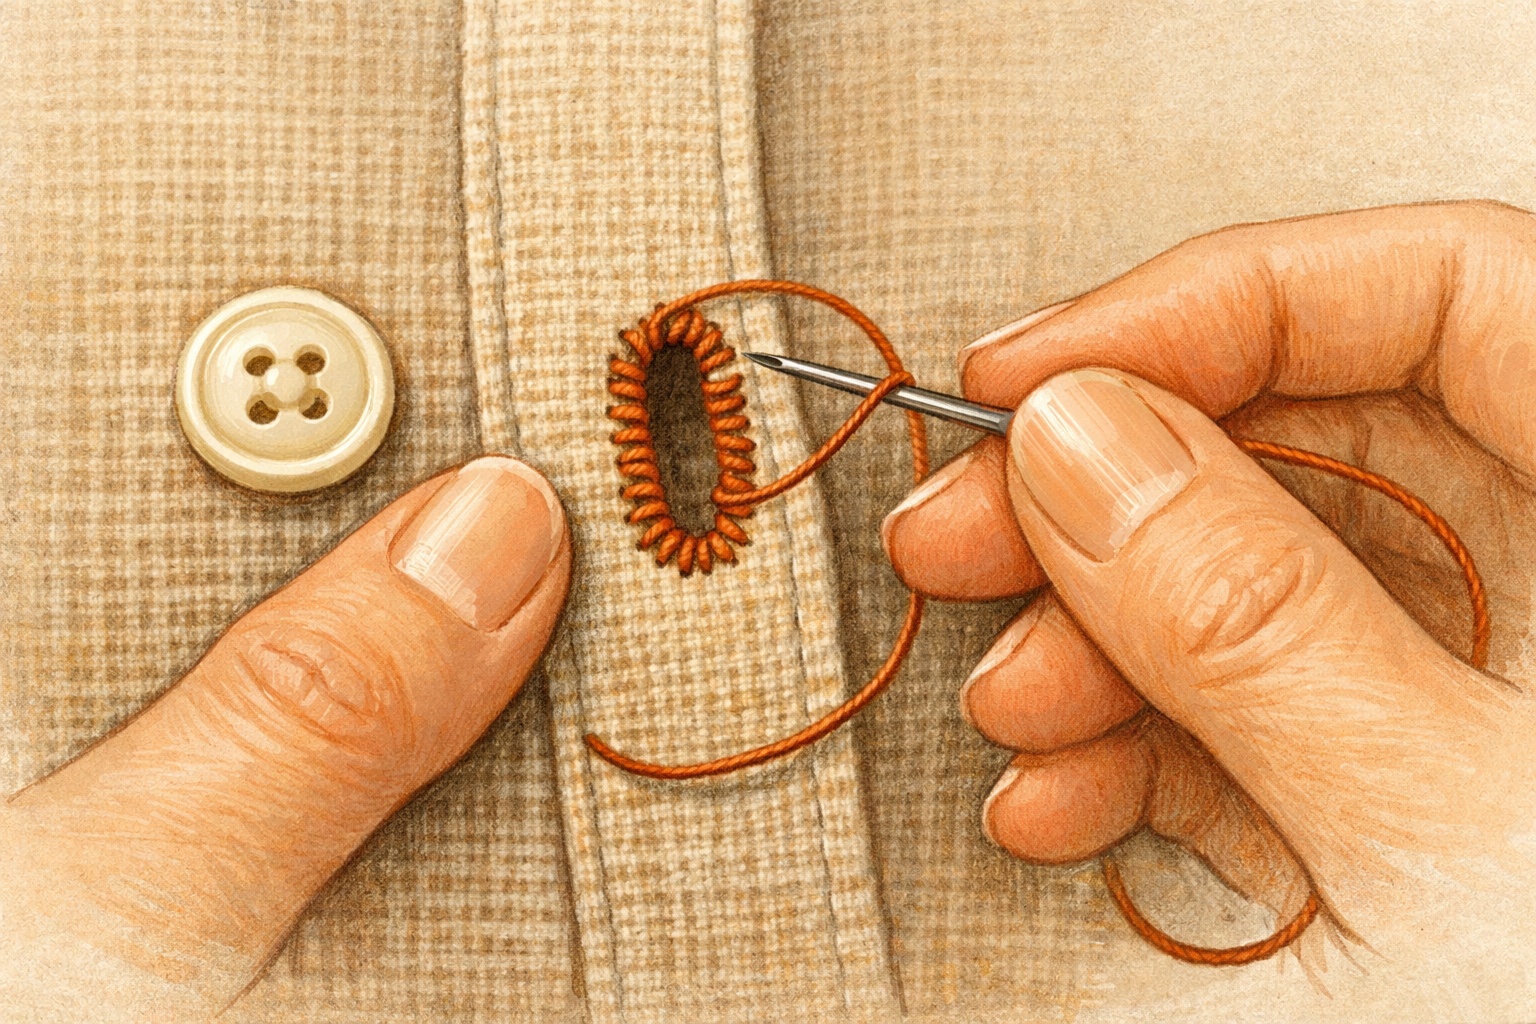
Hobbies & crafts
How to Tighten a Loose Buttonhole with Blanket Stitches
Reinforce stretched buttonholes by stitching a neat border that grips the button and prevents further fraying.
Read the guide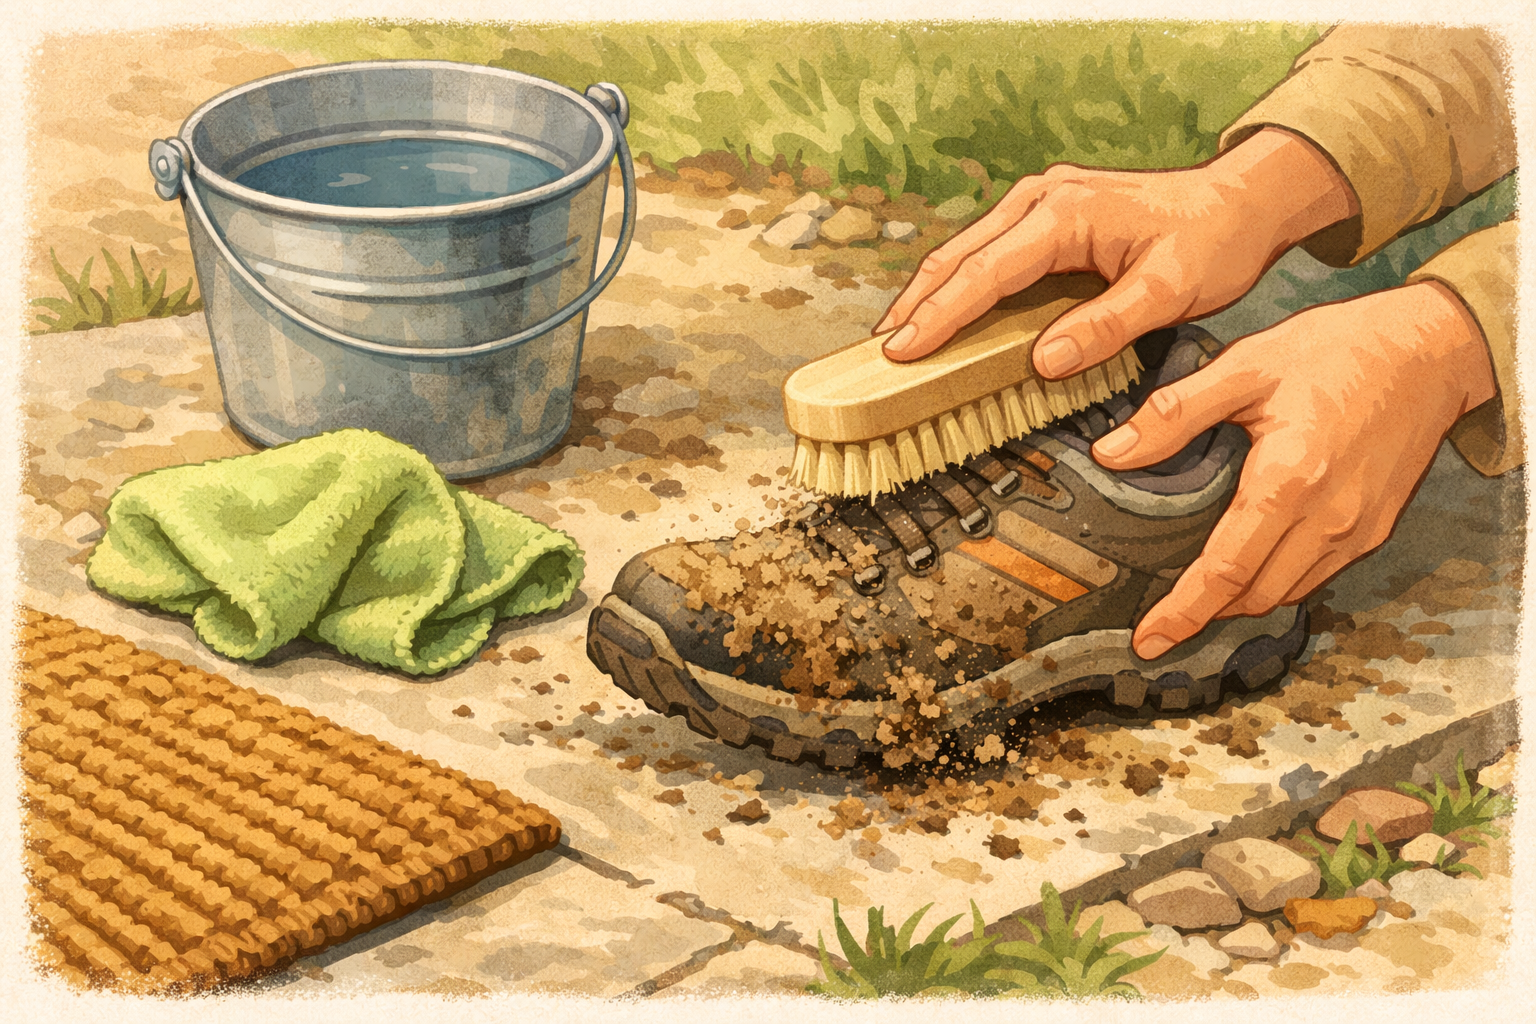
Home & life
How to clean muddy walking shoes after a countryside footpath
Knock off dried mud, brush seams, wipe uppers, clean outsoles, freshen insoles, and air‑dry so your shoes are ready for the next path. Photos show the order and which brushes or cloths to use.
Read the guide